Cute Negative Space Daisy Accent Nail

Hello lovelies & happy Tuesday!

It’s a beautiful, sunny, Spring day here which I’m pumped for. Winter has been way too long — its about time we had some beautiful weather!

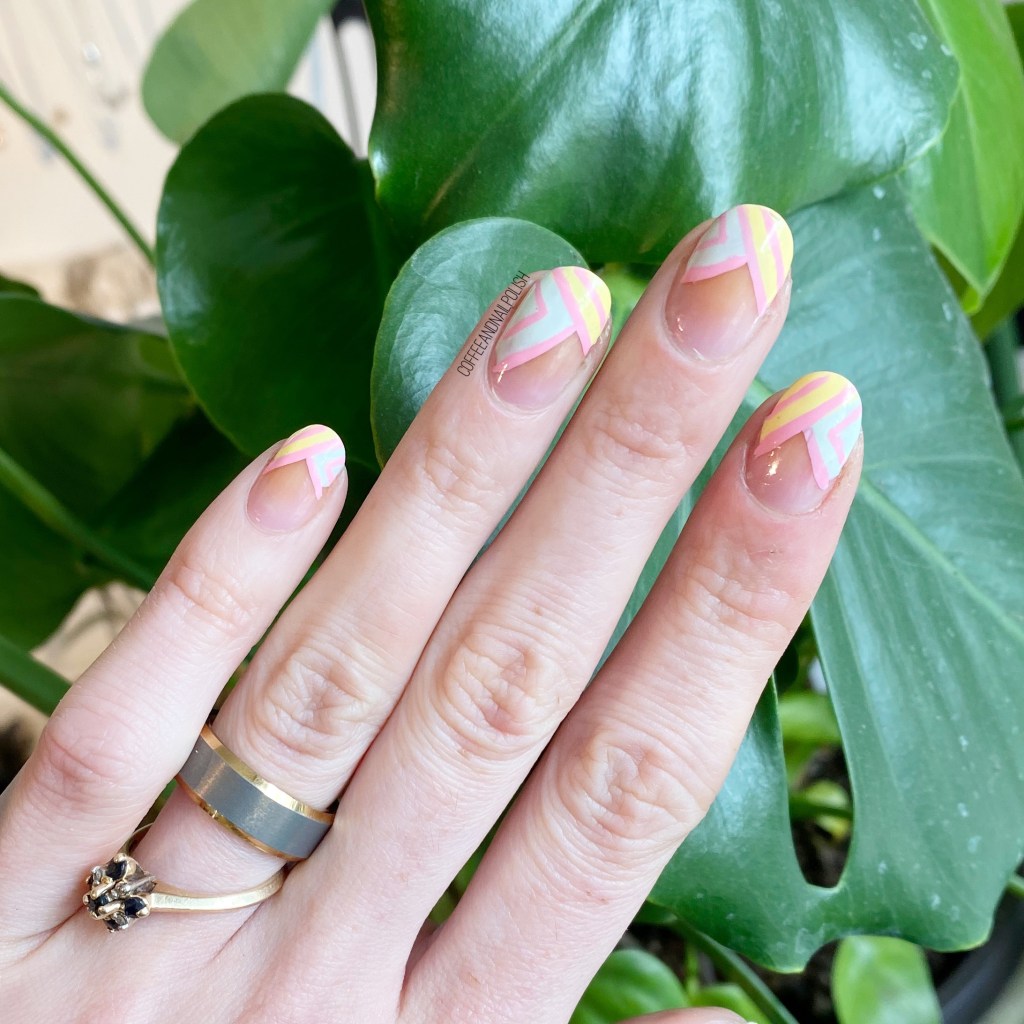
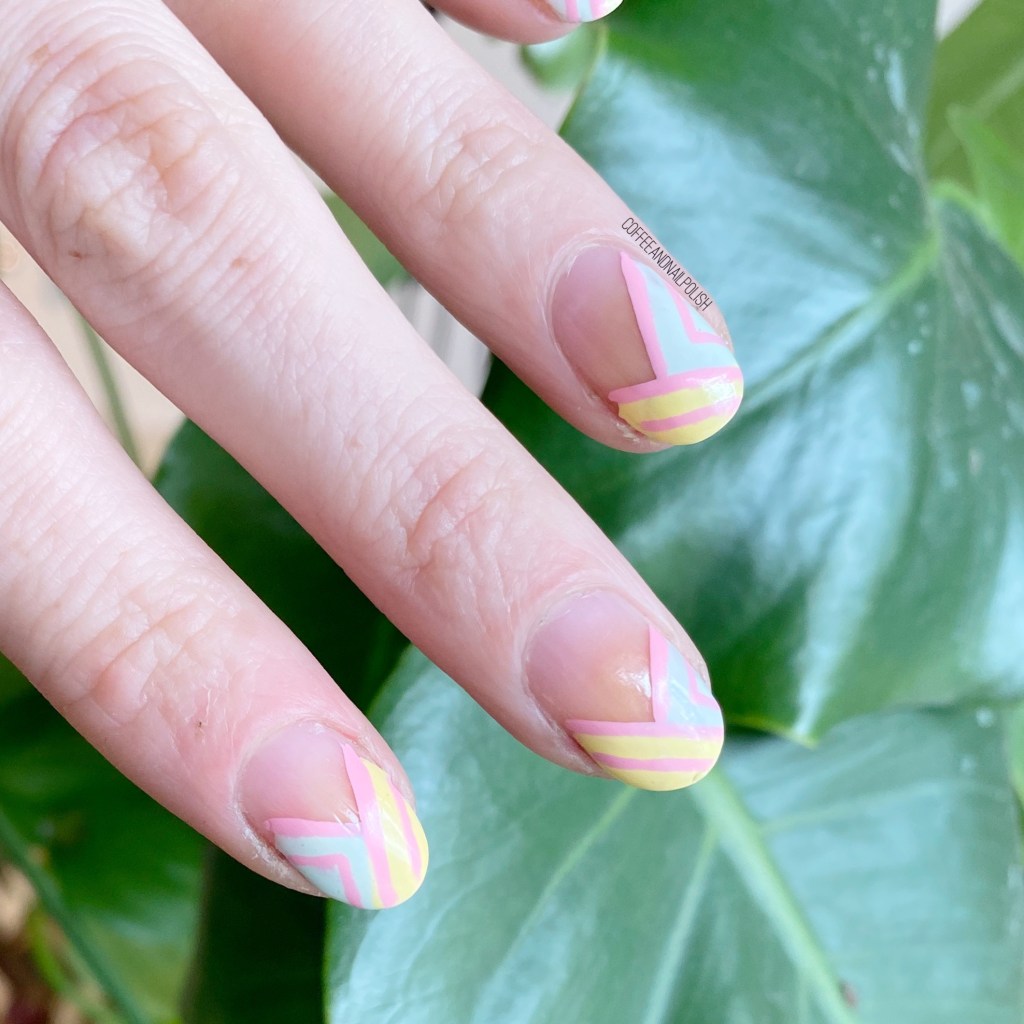
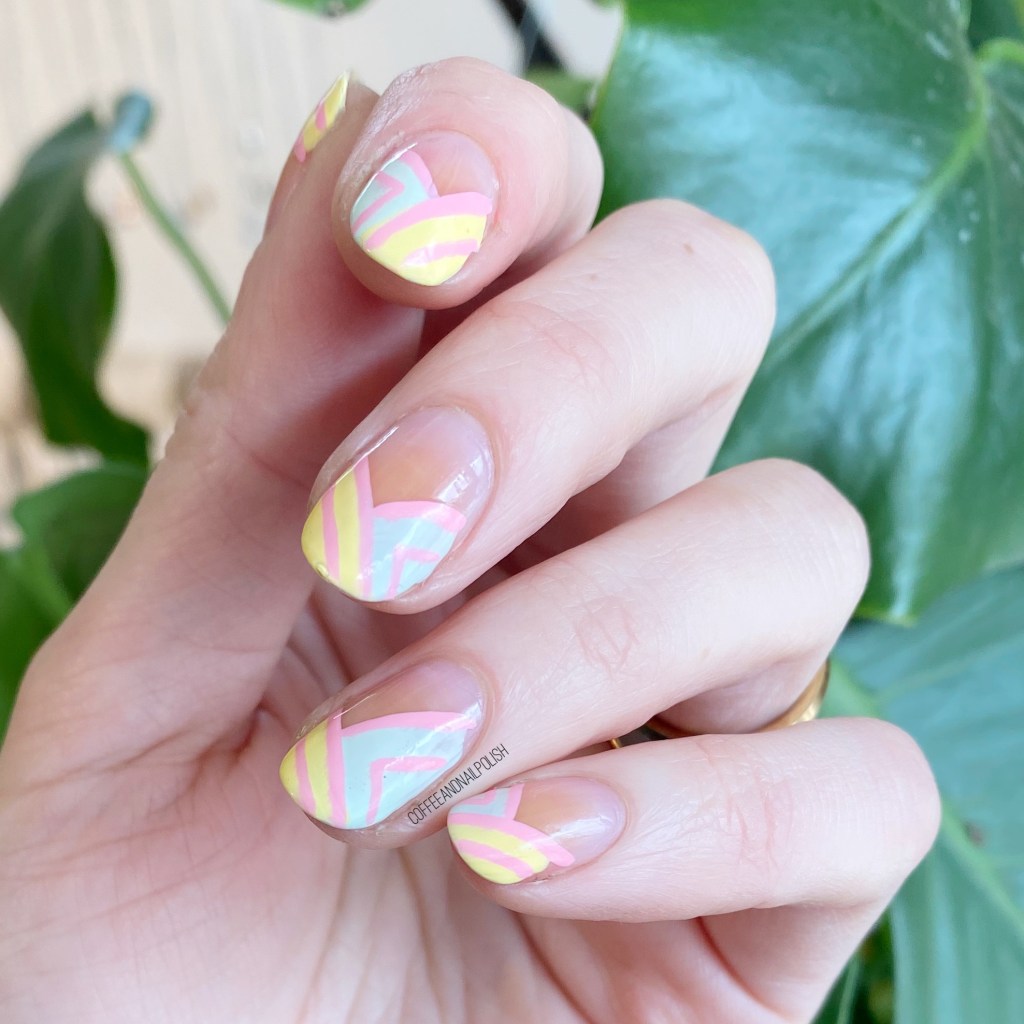
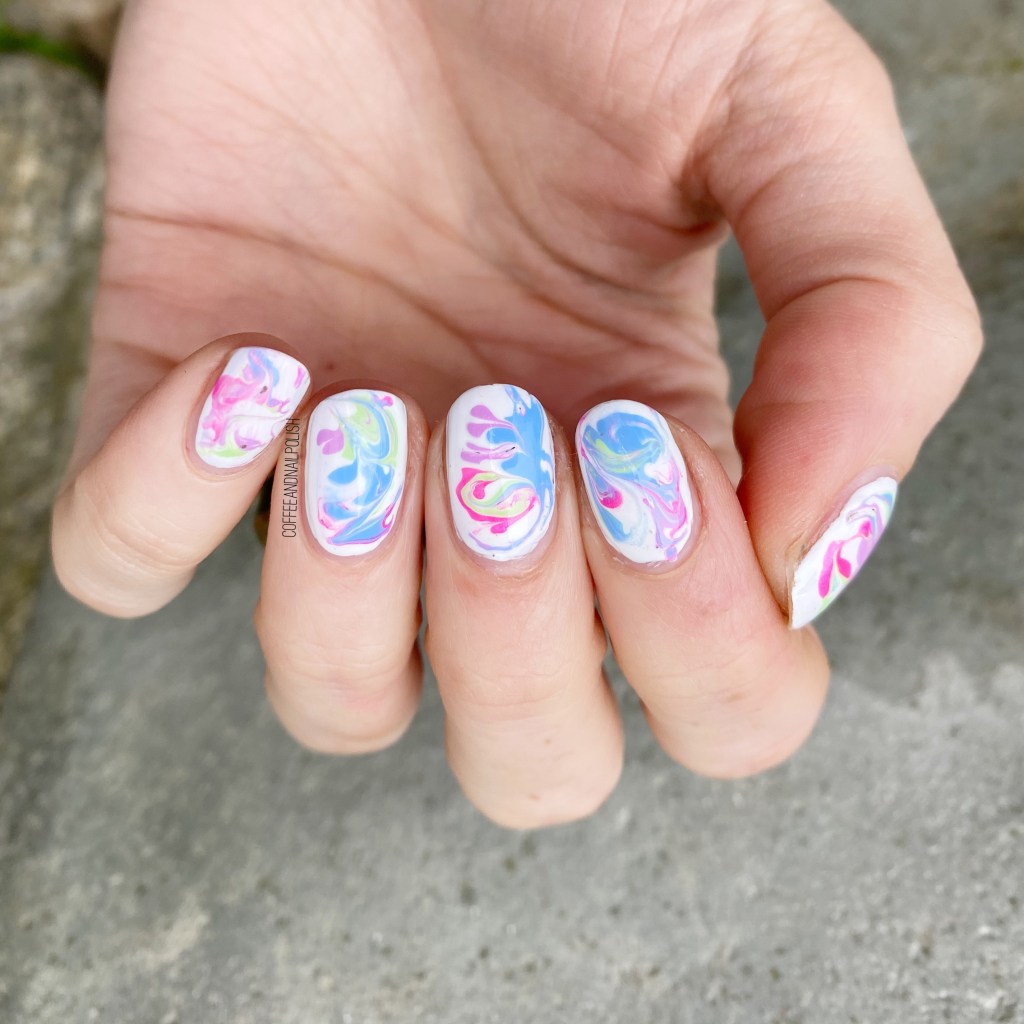
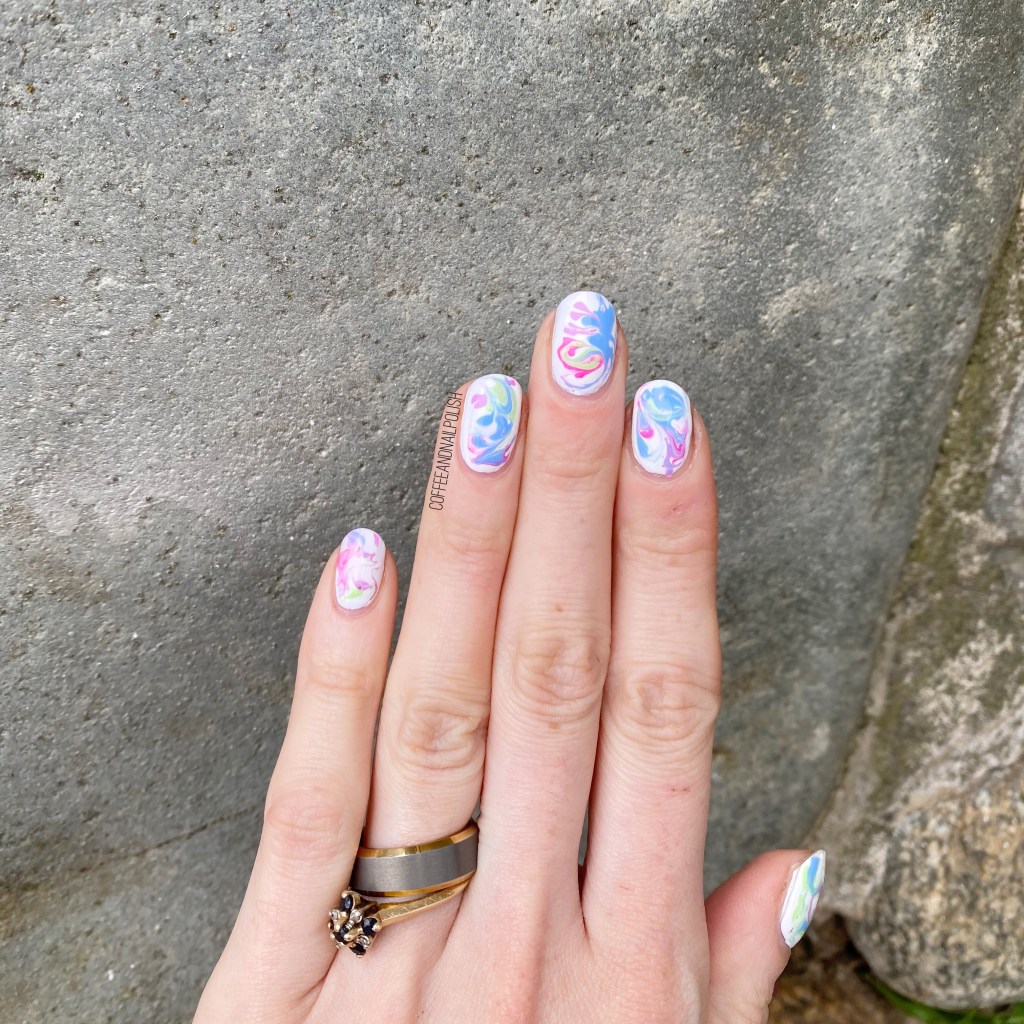
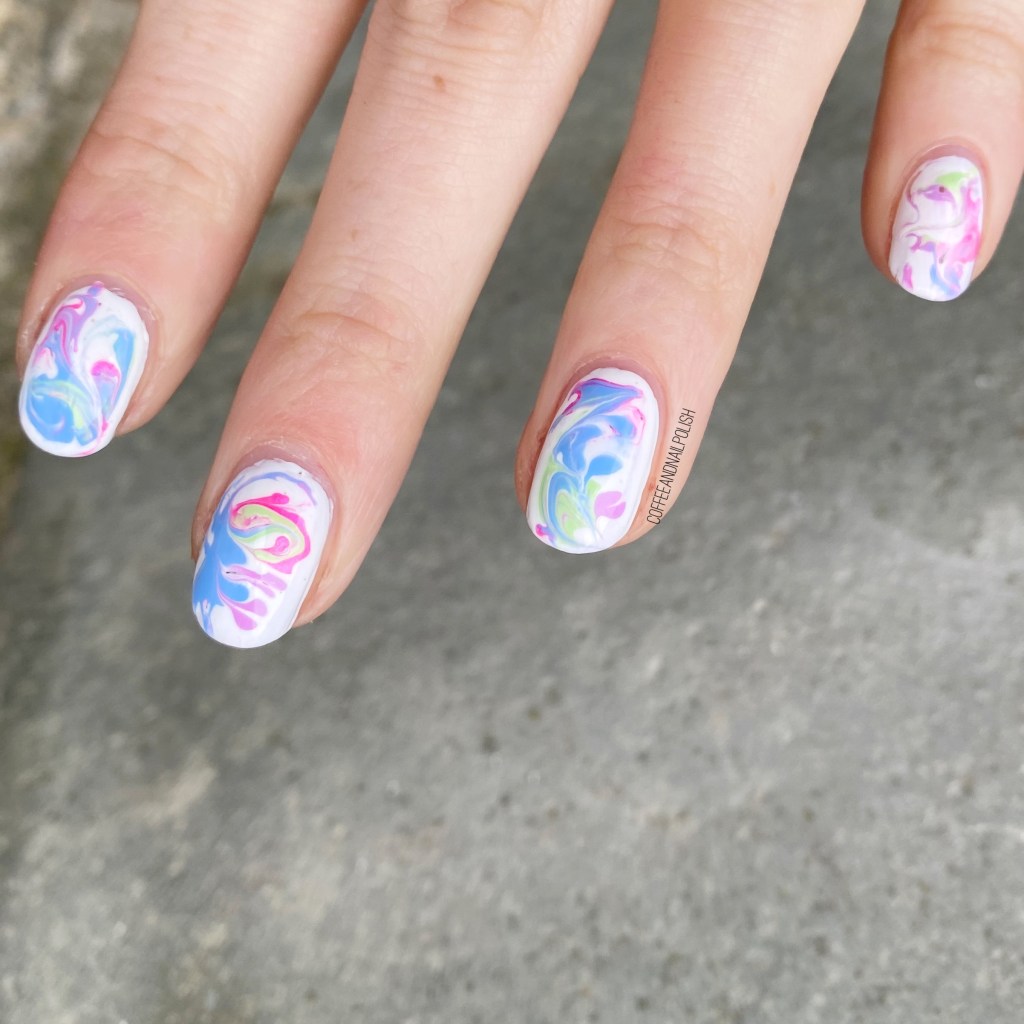
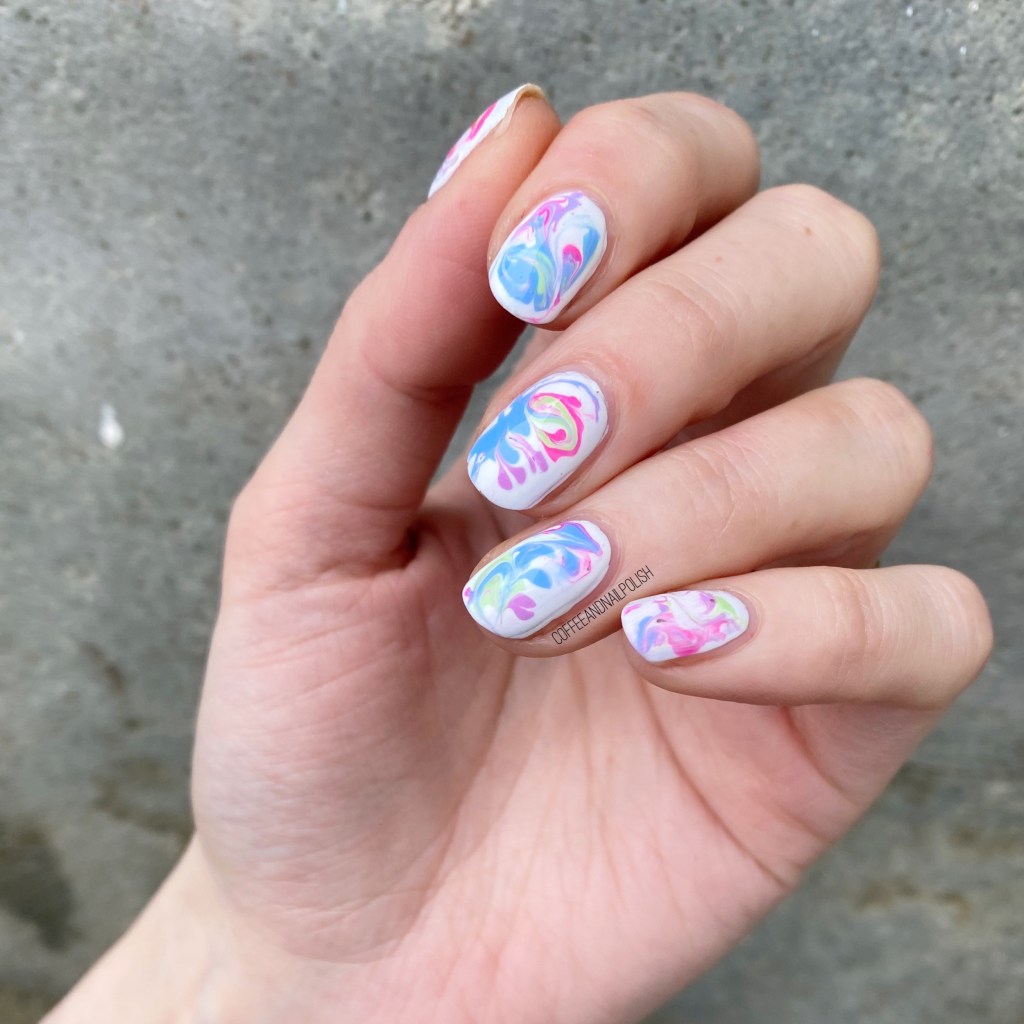
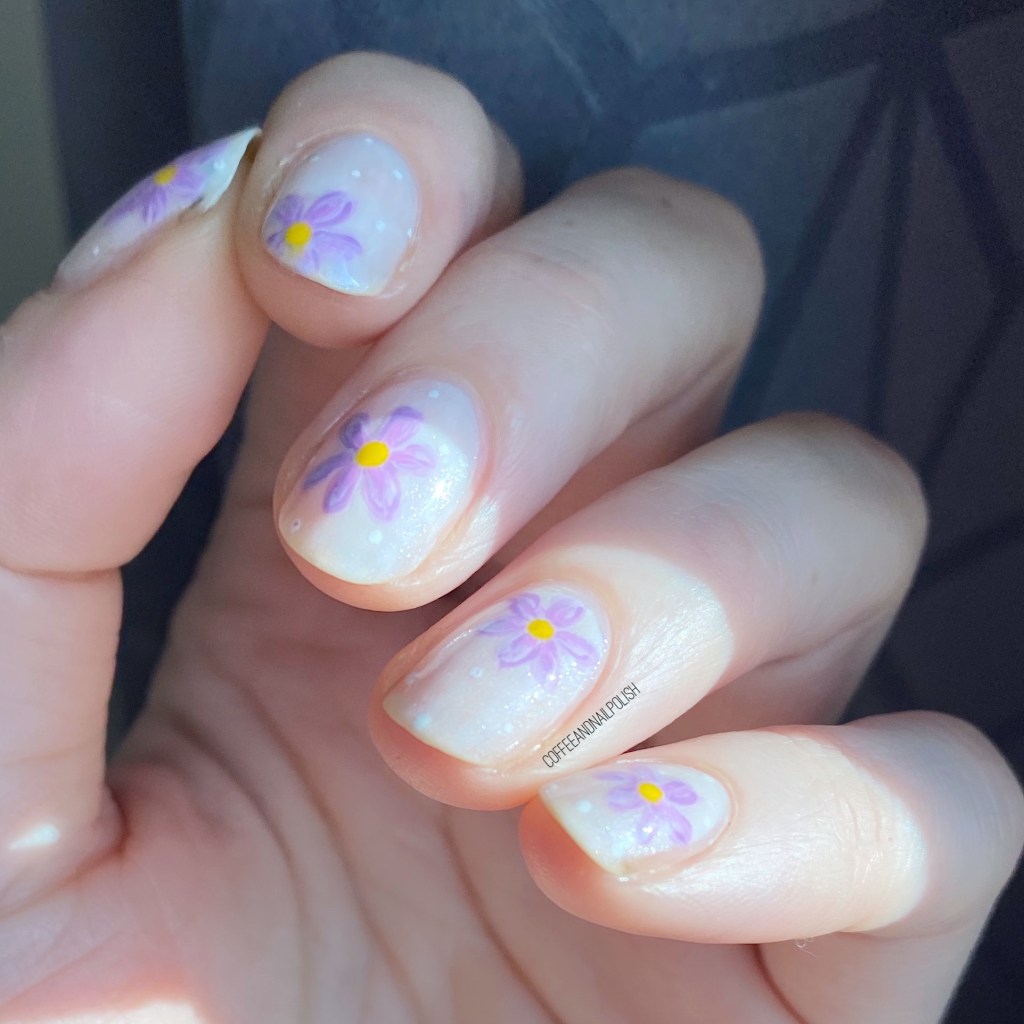
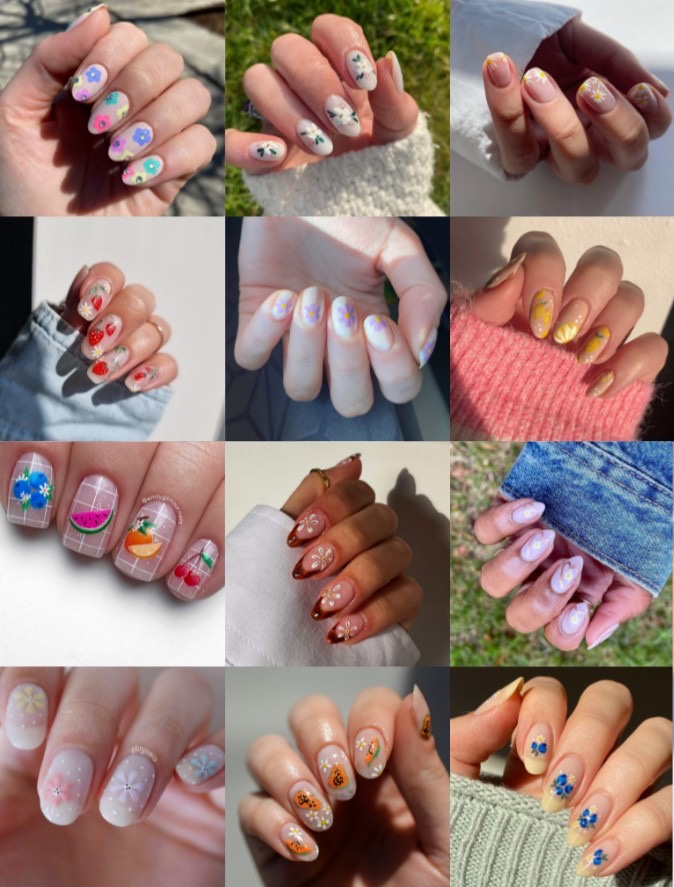
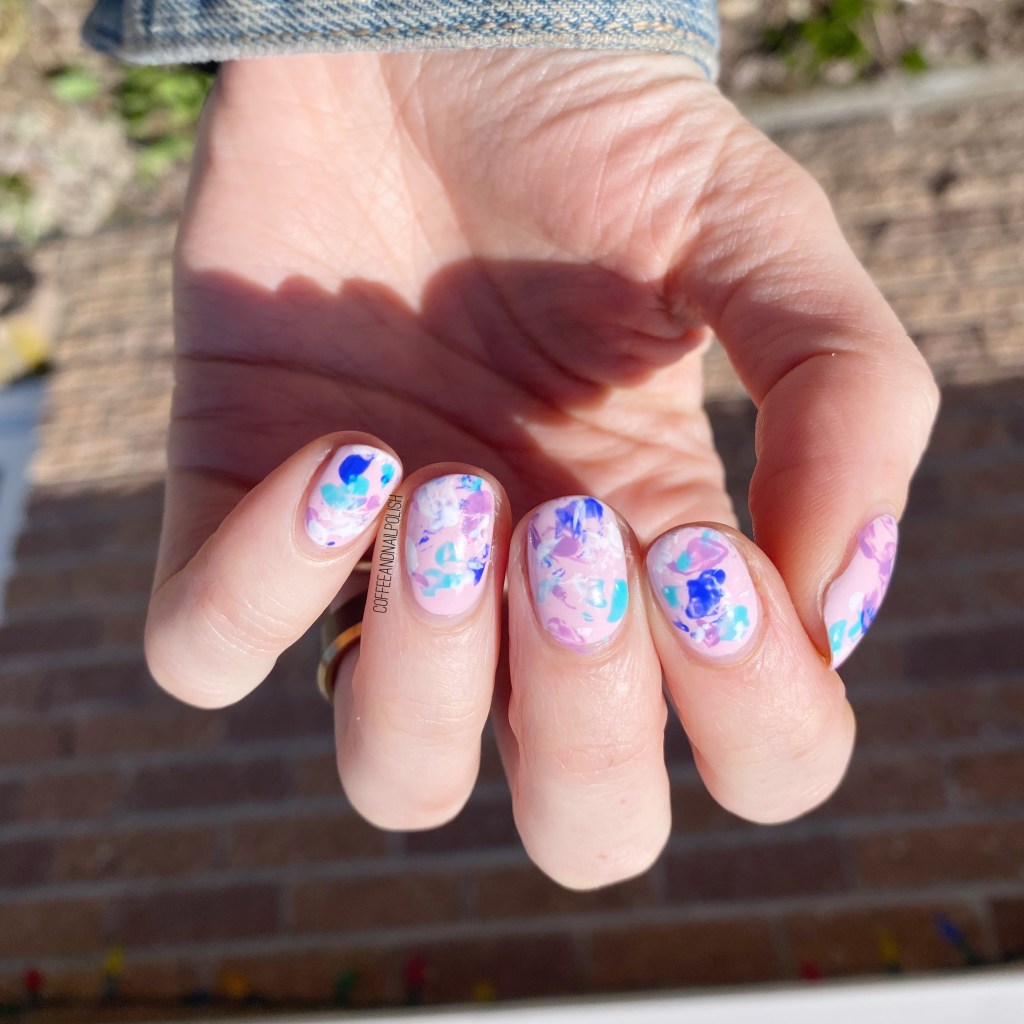
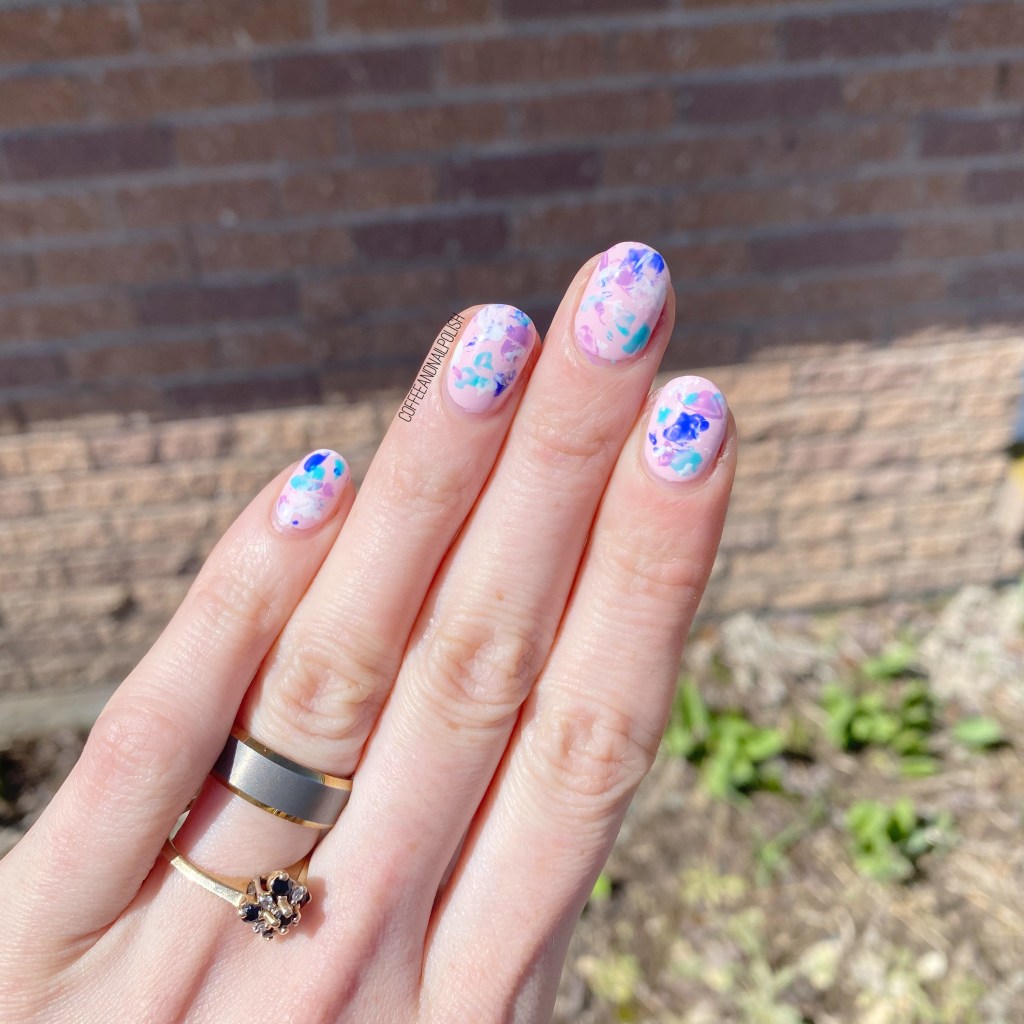
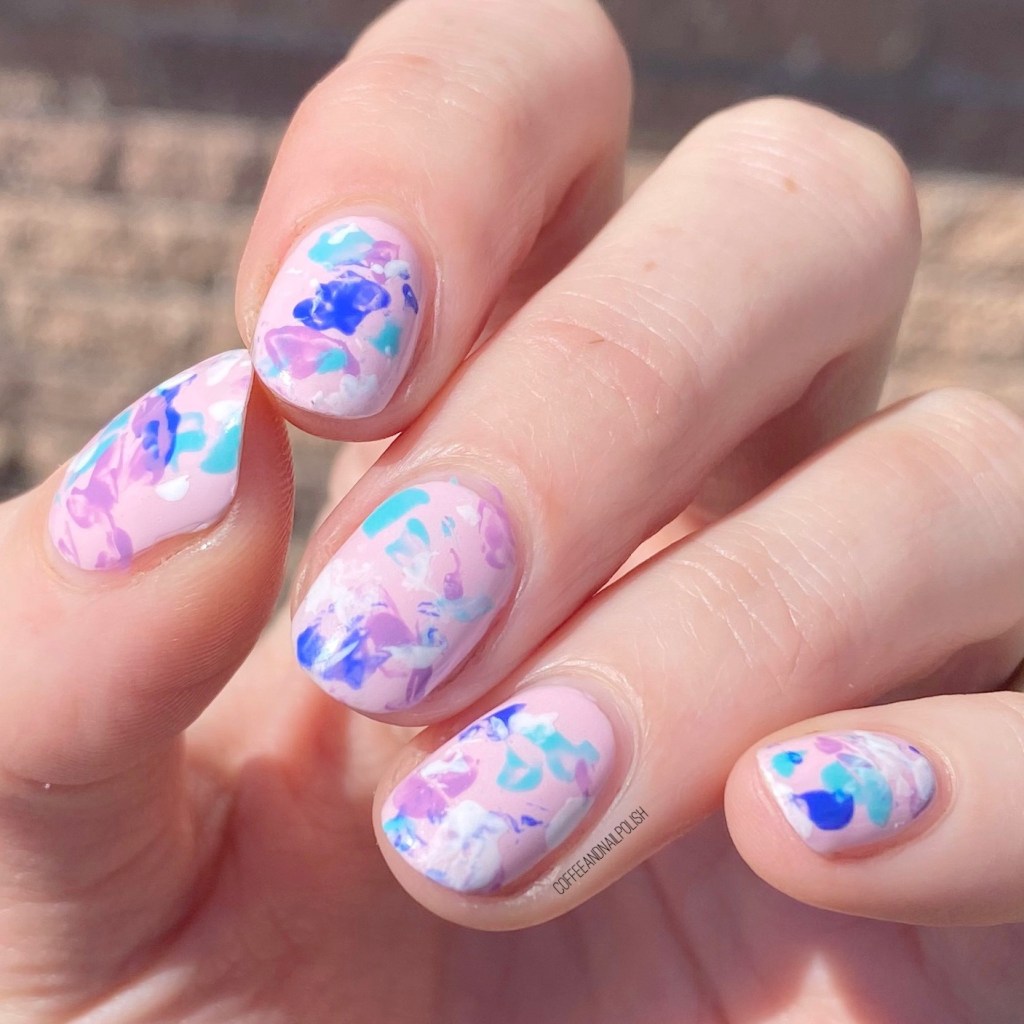
Today I’m showing off a Spring-y manicure featuring some negative space action. I needed a quick look but I really wanted some kind of accent. & this Daisy accent nail was created.

The polishes I used for this manicure are: 

These were super simple to do & I think the end result is very cute.

What do you think about this Daisy accent nail look? Are you a fan of the negative space look? Let me know in the comments below!

Pastel Geometric Tips

Good morning lovelies & happy Thursday! It’s almost the weekend — & the end of the month! I can’t believe how quickly April has sped by. It’s actually crazy.

Today I have some pretty pastel geometric tips to show off. I was feeling a bit of a colour block look, & we went from there & I love the final look. I’ve been looking at old negative space geometric looks (like this one circa 2016) & really have been missing them! So I thought a blast from the past was in order.

The polishes I used for this manicure are: 

  • Base Coat: Essie Hard To Resist Glow & Shine
  • Top Coat: Essie Speed Setter
  • Revlon Ultra HD Snap Nail Enamel Making the Most
  • Sally Hansen Miracle Gel Sweet Pea
  • Color Club Art Club Pink Pastel

How beautiful do these shades look paired together? I think they’re very Spring-y & fun. 🌸

This was done completely without nail art tools, brushes or vinyls — but if you didn’t feel like you could do a clean enough application, you could definitely use them. I just didn’t feel like waiting that long for my base coats to dry.

Plus I find by using the Art Club striper around the edges, it gives it a nice clean finish & hides any mistakes I might make.

What do you think about these pastel geometric tips? Are you a fan of this look & colour combination? Let me know in the comments below!

Have a lovely Thursday.

Neon Drag Marble

Good morning lovelies & happy Tuesday! Hope you’re having a lovely start to your week.

Today I’m showing off a fun drag marble design I wore recently. I haven’t really done a drag marble in a while, & I thought one featuring a few neon-ish shades would be beautiful.

The polishes I used for this manicure are:

  • Base Coat: Essie Hard To Resist Glow & Shine
  • Top Coat: Essie Speed Setter
  • Sally Hansen Miracle Gel Get Mod
  • Sally Hansen MG Floresc-pink
  • Sally Hansen MG Electri-Lime
  • Sally Hansen MG Violet Voltage
  • Sally Hansen MG Sugar Fix
  • NailStuff.ca Dotting Tool Trio

I’m kind of obsessed with how these turned out! They remind me a bit of jawbreakers, which marble nails can do. I like the neon colours popping against the white base. They turned out exactly how I imagined in my head & I’m so happy about it!

Drag marble nails are one of those looks which I always think are going to be so easy, but then surprise me with difficulty, haha. In this case, I had to swirl my four polishes in the while before things started to dry… & I had to work fast! But, you know, I think in the end it gave a really cool effect, & I got lots of compliments on the finished look which always makes my day.

If I had to pick a favourite nail? Probably my middle nail. I think my swirling turned out best on that nail for sure.

What do you think about this drag marble look? Are you a fan of the neons against the white base?

Let me know all your thoughts in the comments below, & what colour combination you would do for a drag marble look!

Purple Floral for @brydiedoesnails Birthday Collab!

Hello beauties & happy Tuesday. A very Monday-esque Tuesday, but I feel like that’s always the way after a holiday.

It’s feeling very Spring-like today, even though we have a big rainstorm heading our way. But while the sun is out, I thought I would share you a lovely design I did as part of a birthday collab for @brydiedoesnails birthday today!

The polishes I used for this manicure are: 

  • Base Coat: Sally Hansen Good. Kind. Pure Hardener 
  • Top Coat: Essie Speed Setter
  • OPI After Alter
  • Essie PlayDate
  • Sally Hansen Xtreme Wear Lacey Lilac
  • Sally Hansen Miracle Gel Get Mod
  • OPI Good Grief
  • NailStuff.ca Dotting Tool Trio
  • NailStuff.ca 4mm Micro Detail Brush

I decided I wanted to recreate this beautiful floral by Brydie, & it was not an easy decision to make! She has so, so many beautiful designs–especially floral!–that I must have saved quite a few trying to decide. Bit this soft purple just worked so well with the semi-sheer base. The over all look turned out more beautiful than I could have ever imagined, & I’m very, very happy with them.

Here is a look at all the beautiful designs done in honour of @brydiedoesnails! You can check out all the looks by clicking on the hashtag #brydiesbirthdaycollab on Instagram.

These are the girls that all participated in the collab!

@pbnjnails
@phoebesummernails
@emilygilmour.nails
@polished_yogi
@naomisnailart
@polishedbypeyt
@lecame.shesaw.shepainted
@matteabout nails
@_jazzy_nails.
@ghthenailartist
@neeles_nails

Have a lovely day darlings!

Spring Inspired Saran Wrap Splatter

Hello loves & happy almost Easter weekend! It’s been a beautiful week here on the East Coast — very Spring-y! I even had a chance to break out my flip flops. So I’ve been feeling all the Spring colours.

Todays look is a nail art technique I haven’t done in a while — Saran Wrap splatter. This is a technique I’ve done a lot in the past, but it’s been a hot minute since the last time, so I was excited to pull it out of my repertoire.

The polishes I used for this manicure are: 

  • Base Coat: Sally Hansen Good. Kind. Pure Hardener
  • Top Coat: Essie Speed Setter
  • Sally Hansen InstaDri Racing Rose
  • Sally Hansen Miracle Gel Get Mod
  • Essie Butler Please
  • Essie Play Date
  • Icing Matte Nail Polish Neon Blue
  • Crinkled plastic

How fun are these colours together? I feel like these pinks & purples & blues just go so well together. I’ve been doing this technique a very long time, & it never gets old to me. It’s a way easier option than your traditional spatter, & way less clean up. I usually only have a few places I need to clean up with acetone, versus a traditional spatter that makes quite a mess,

What do you think of this Saran Wrap Splatter look? Have you ever tried this technique before? Let me know all your thoughts down in the comments below!