Contains PR
Hello lovelies & happy Saturday! I know what you’re thinking — I never do Saturday posts. But this is not just any Saturday… today is Coffee & Nail Polish’s 11th birthday!
Hard to believe it, but this blog has been around for 11 years already. 🥹 It’s seen me through so much life experiences & we’re still going! So thank you so much for joining me on this journey & I hope you’ll stick along with me for whatever is to come!
The polishes I used for this manicure are:
- Top Coat: Essie Gel Couture Top Coat
- Base Coat: Essie Hard to Resist Advanced
- Matte Top Coat: NailStuff Essentials Matte Top Coat *
- Madam Glam Birds Fairy *
- Madam Glam Purple Rain *
- Madam Glam Sweet Sunshine *
- Madam Glam Minty Green *
- Madam Glam Warm Up *
- Sephora Formula X Nail Polish Chaotic
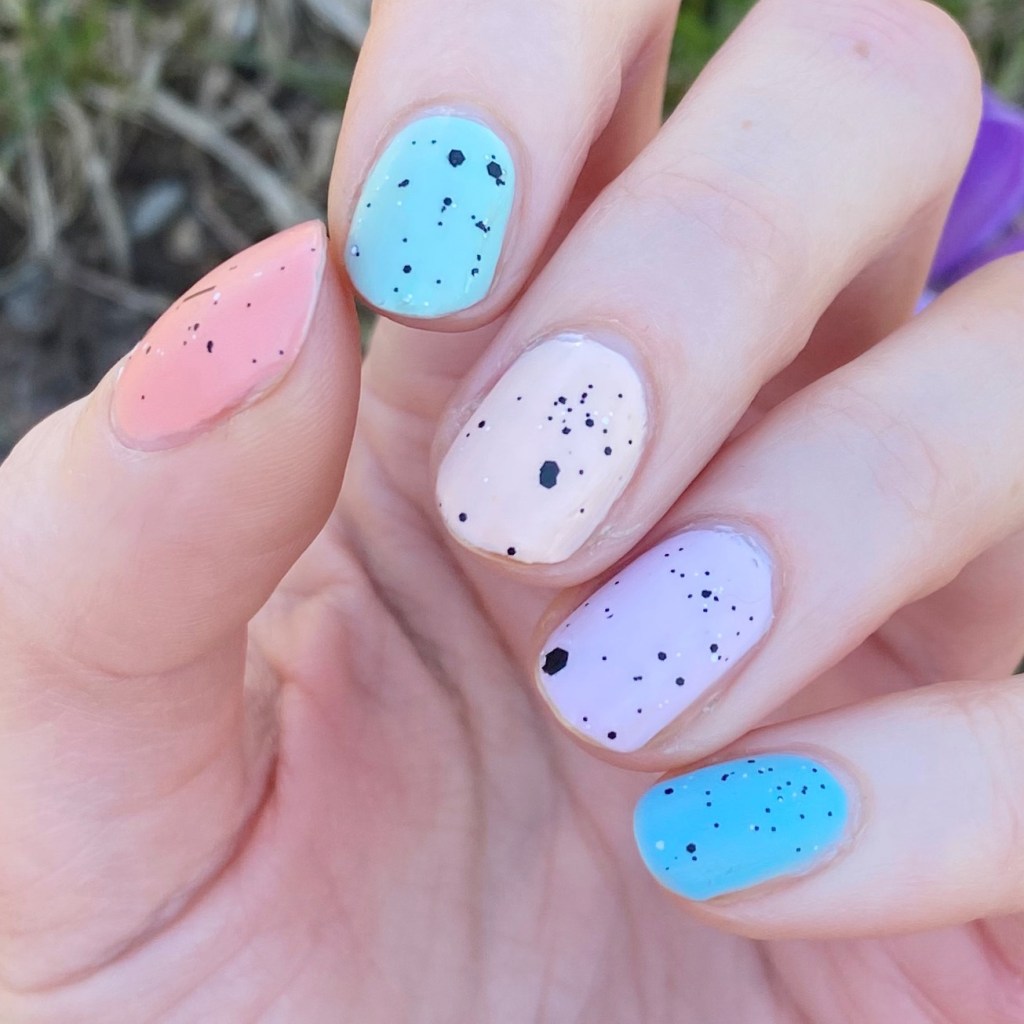
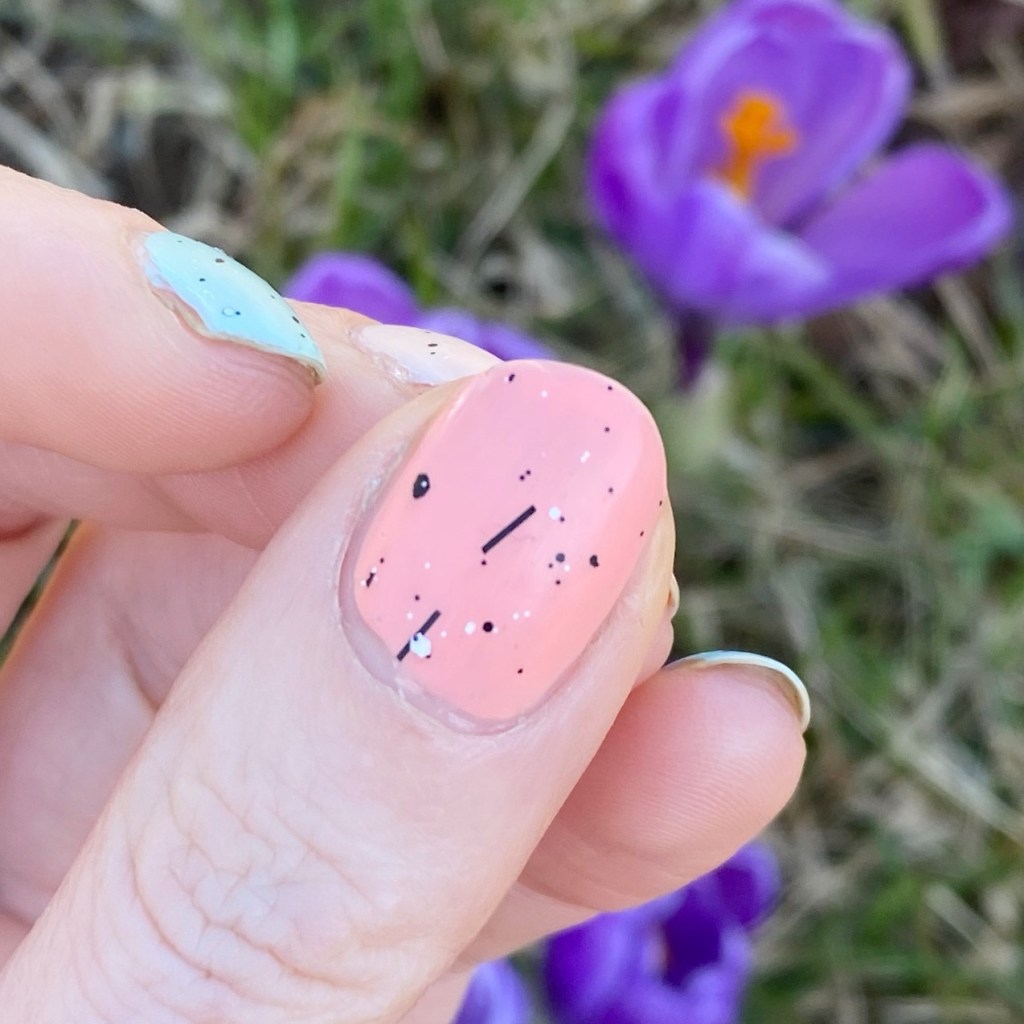
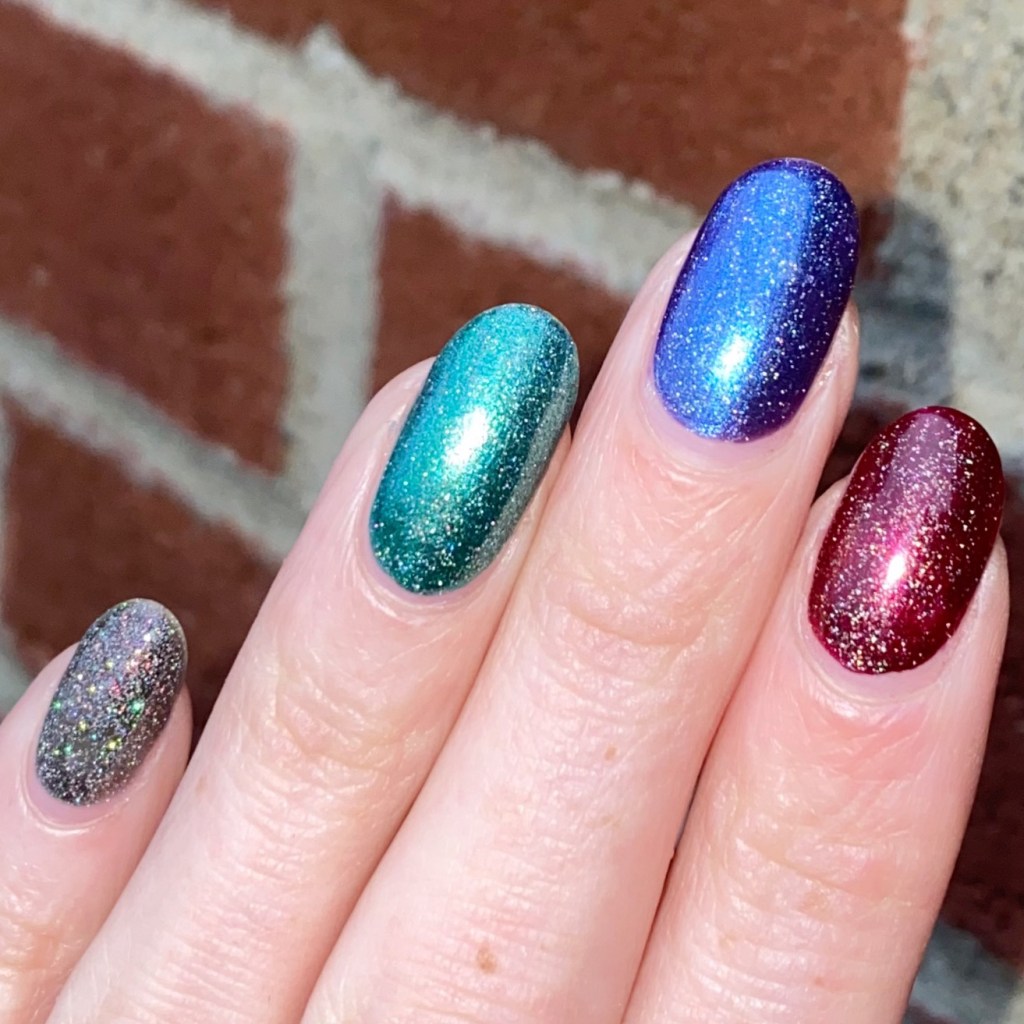
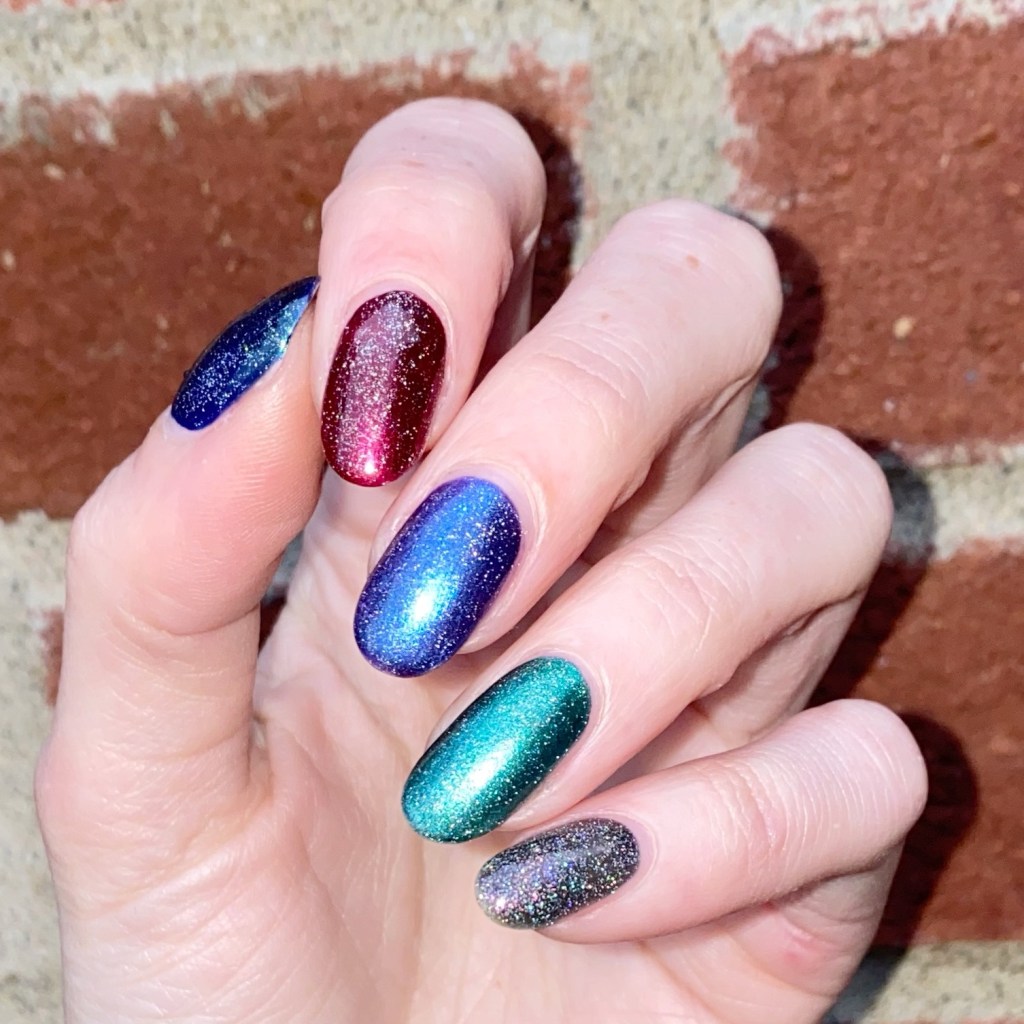
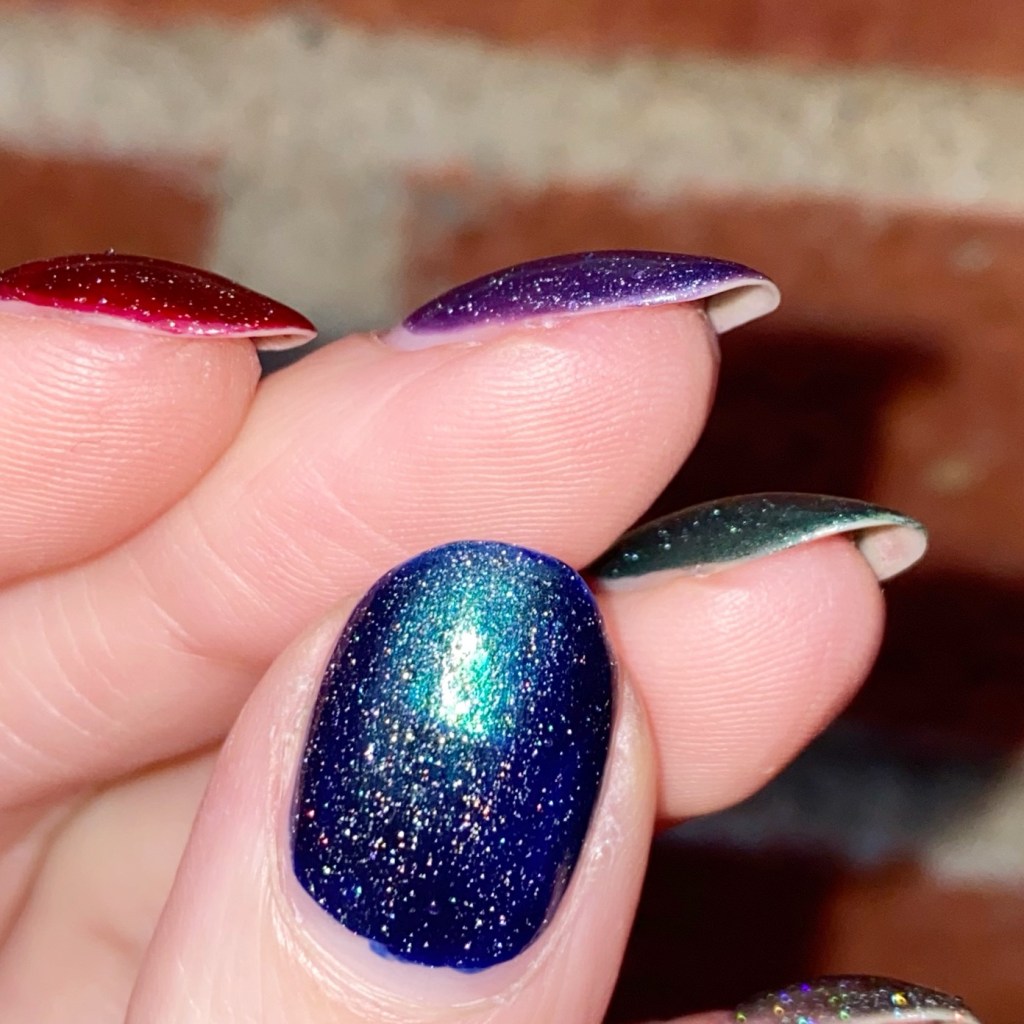
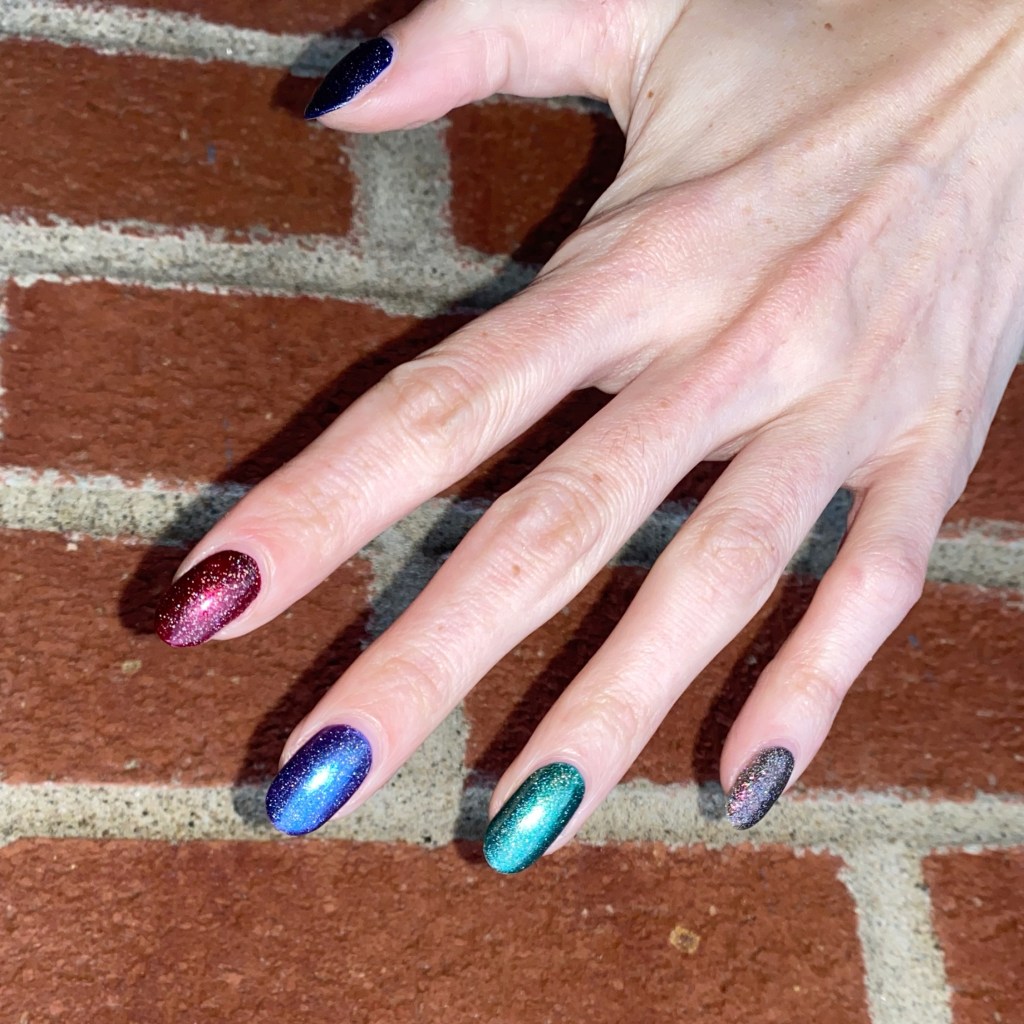
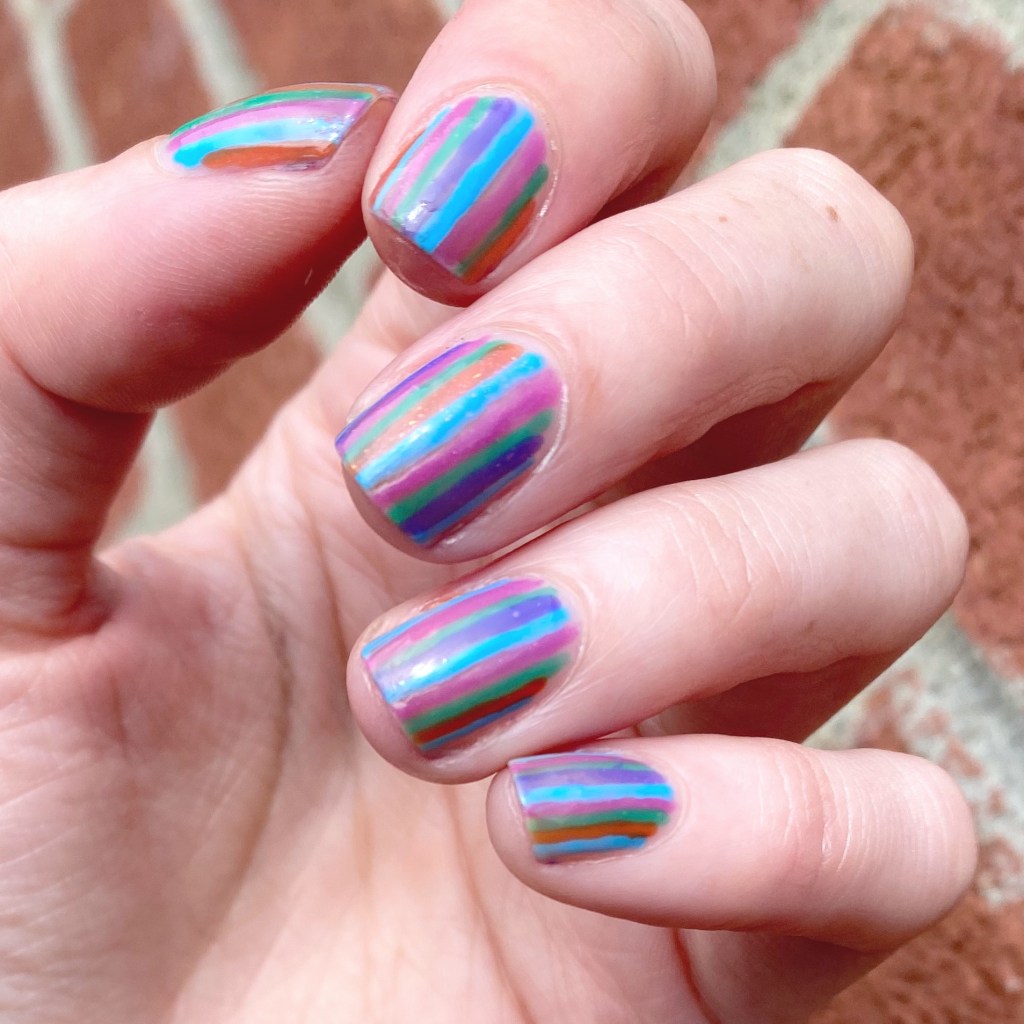
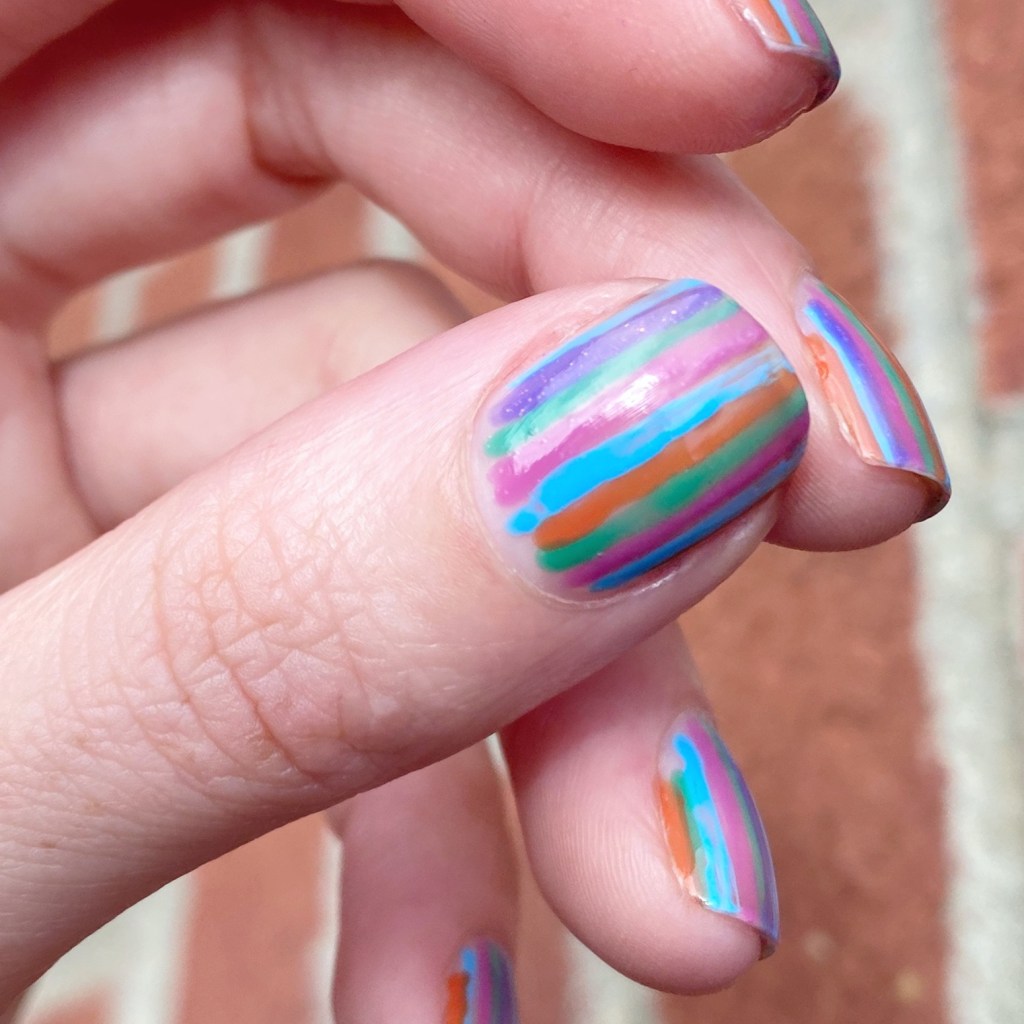
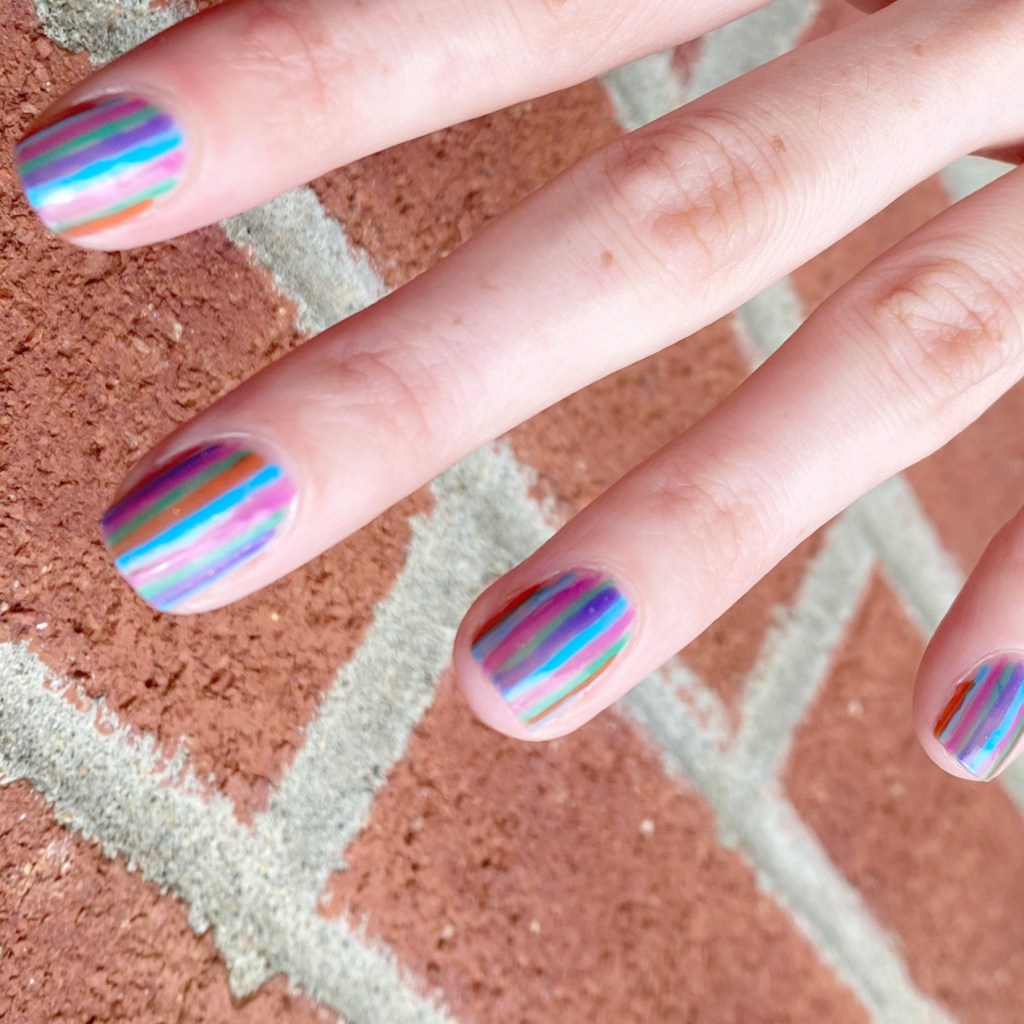
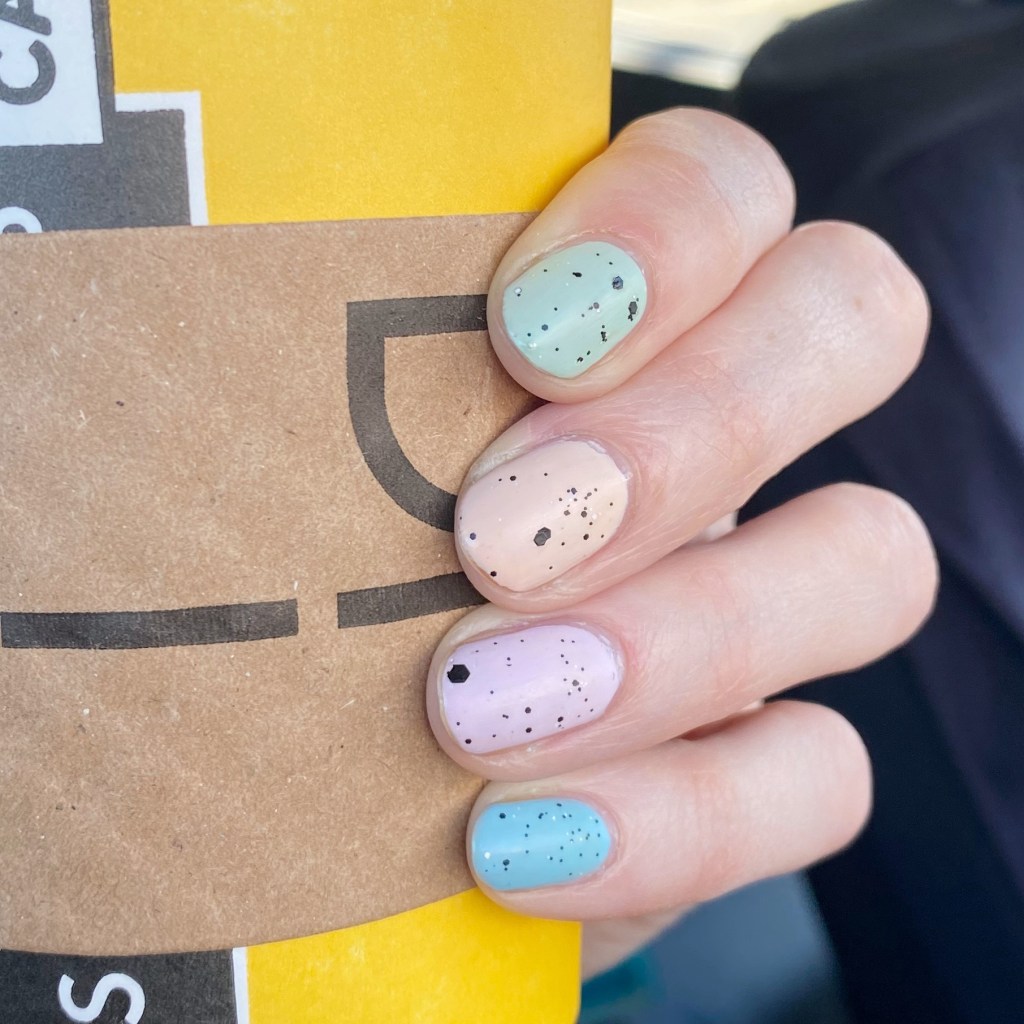
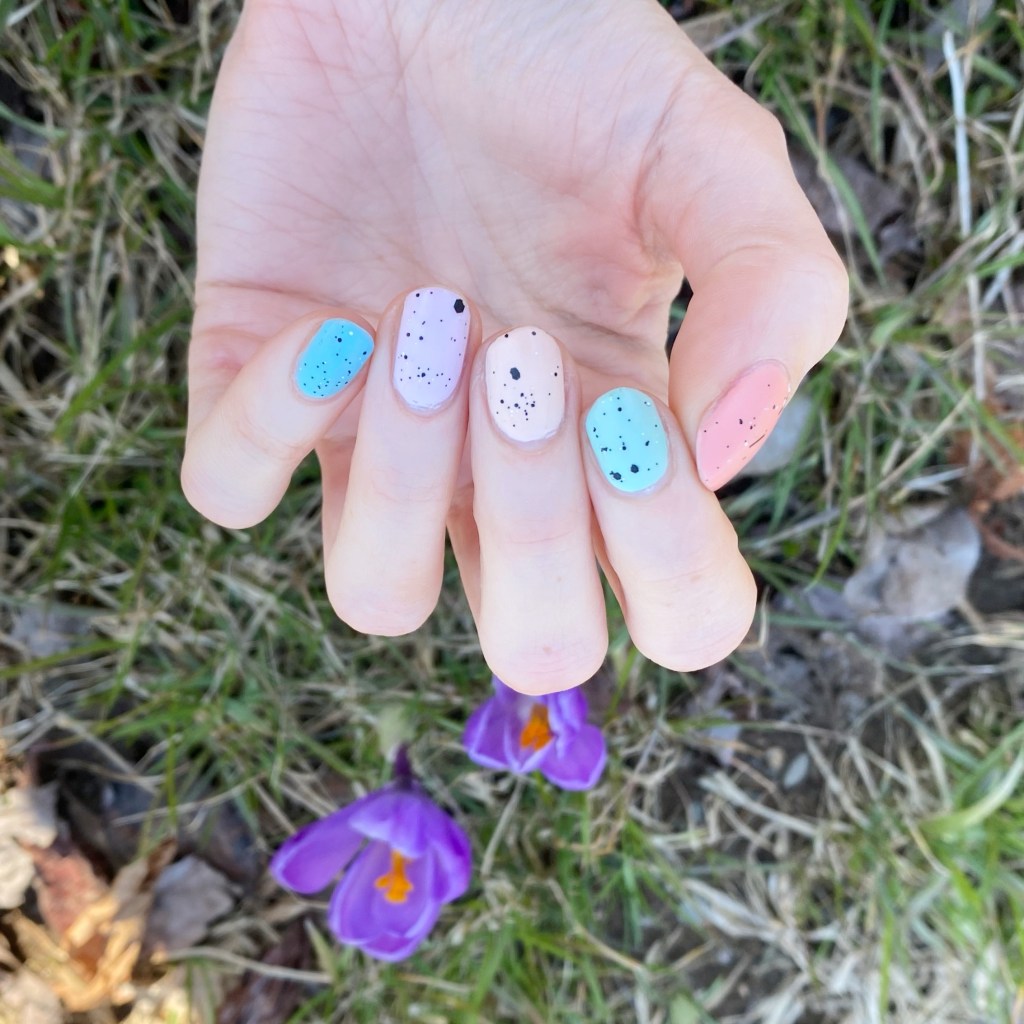
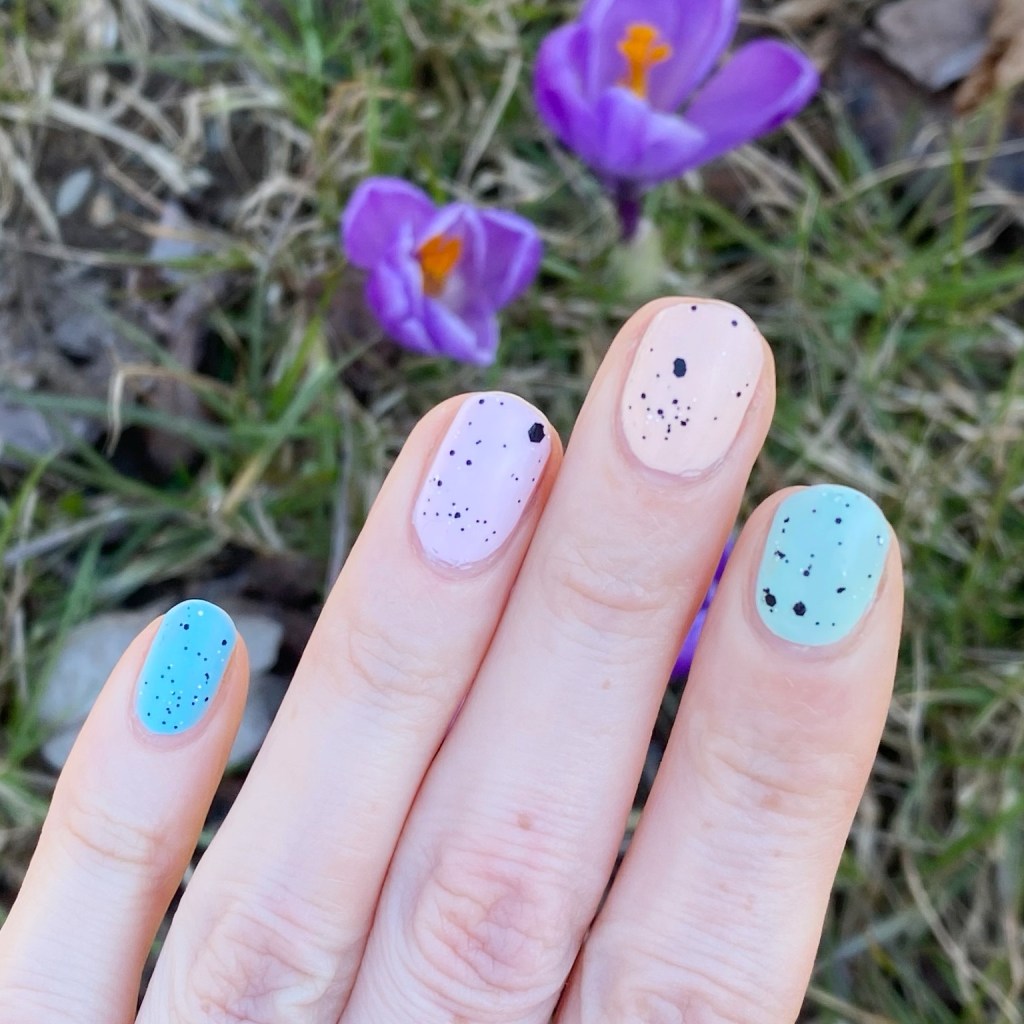
How cute did these Mini Egg inspired nails turn out? Using a very thin brush of that Sephora glitter worked perfectly for the specks!
I also thought it would be the perfect look to celebrate this big blog birthday! Plus you can never go wrong with Mini Eggs — they’re the best part of Easter! (Now if only they would come out with a dairy free version…)

What do you think of my mini egg nails? What is your favourite Easter nail art look? Let me know all your thoughts in the comments below! & thank you again so much for all the support over these years. This blog has keep going because of all the love & support & comments you have sent my way — so thank you!
Enjoy your Saturday!
💗