Good morning lovelies & happiest of Mondays! I hope the weather where you are is nicer than here on the East Coast — it’s raining, again.
My favourite.
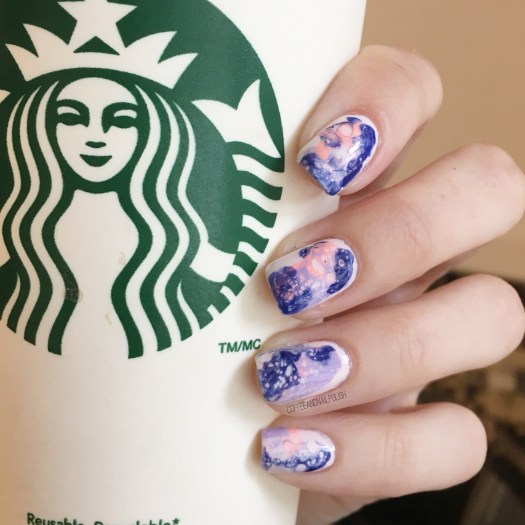
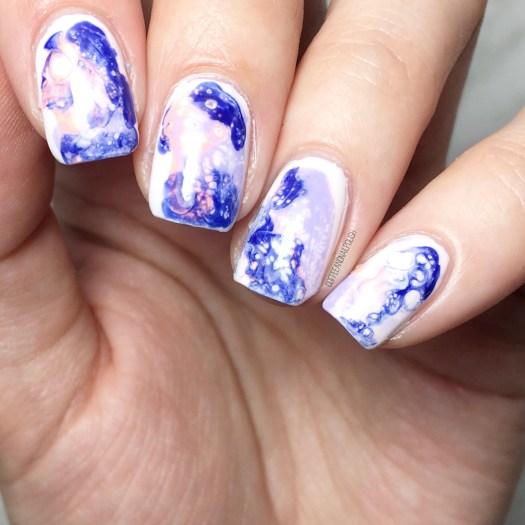
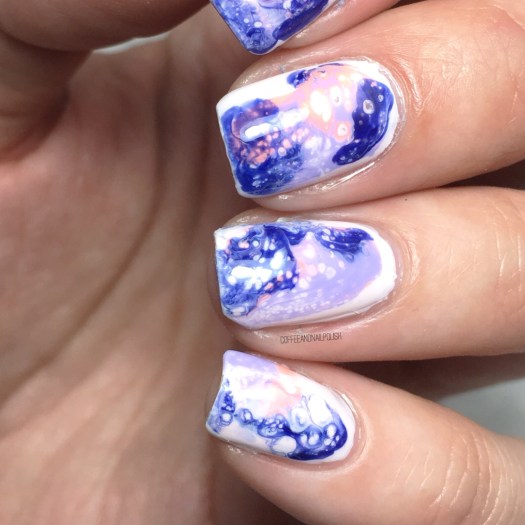
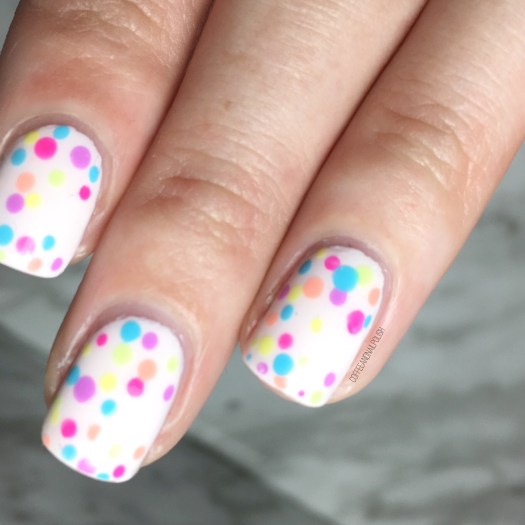
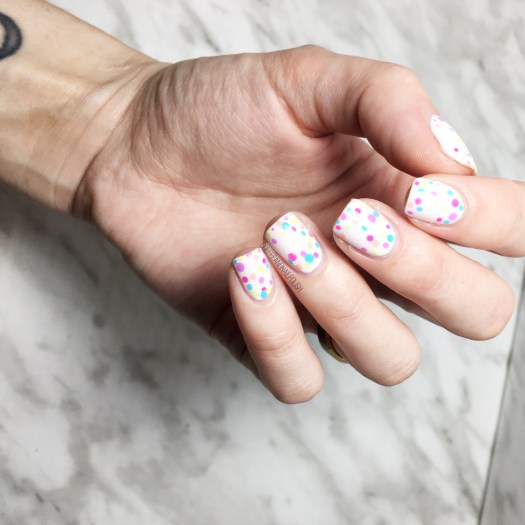
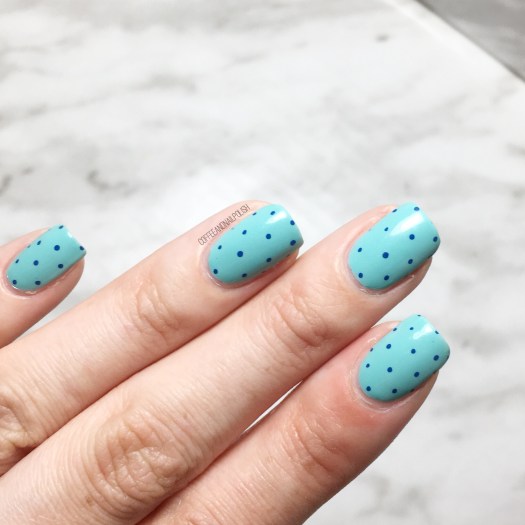
Today I’m showing off a quick & simple nail art look that I did last week. Now that the countdown for baby #2 is down to days, I’ve been trying to keep my manicures quick & simple. & there is nothing I love more when I want quick nails than a dotticure!
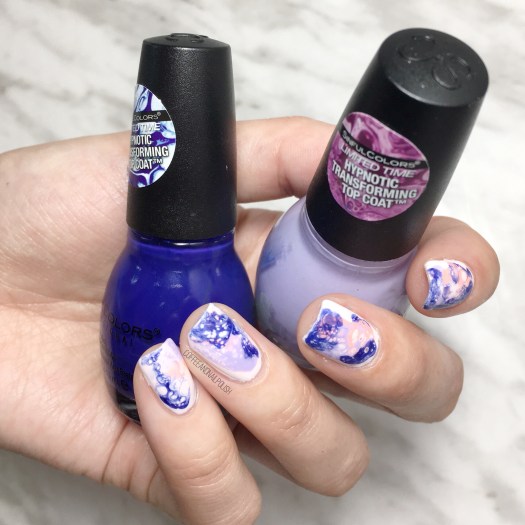
The polishes I used for this manicure were:
- Base Coat: Sally Hansen Green Tea & Bamboo Strengthener
- Top Coat: Essie Speed Setter
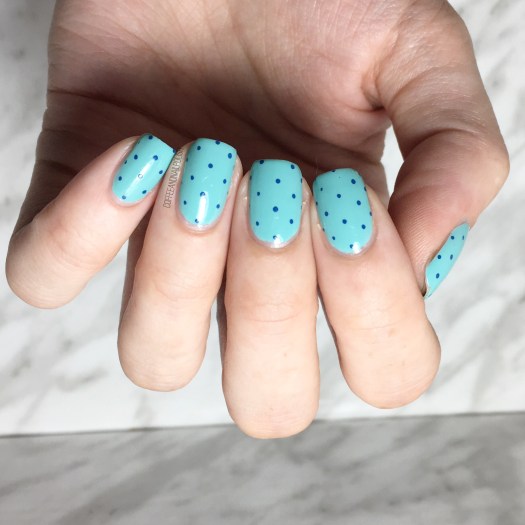
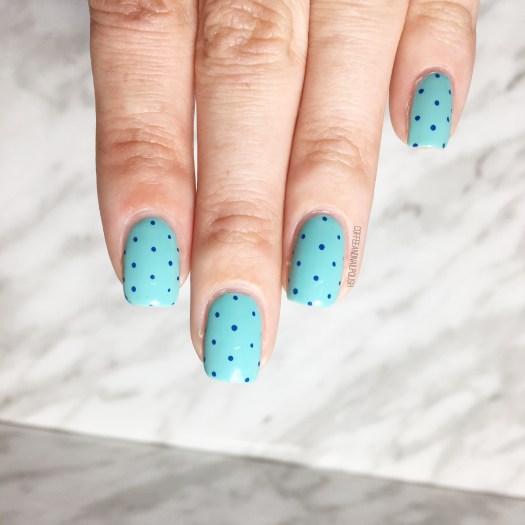
- China Glaze For Audrey
- Sally Hansen I ♥️ Nail Art Pen in Navy
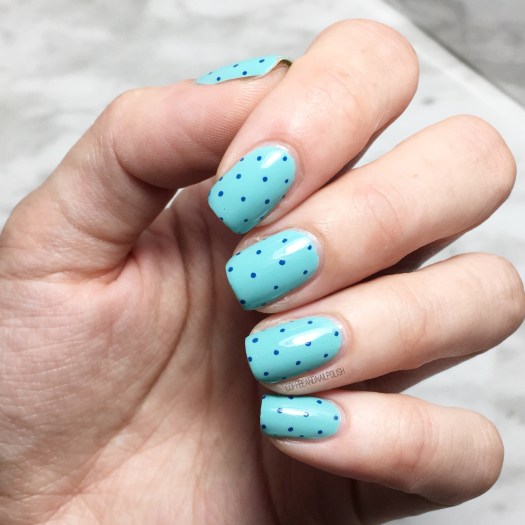

I’ve mentioned before how much I love my Sally Hansen nail art pens for creating dotticures. I find they’re the easiest because you don’t have to constantly need to reapply polish to your dotting tool, you just need to touch the nail. Obviously, that’s for petite polka dots as opposed to bigger dots.
This was also my first time wearing China Glaze For Audrey in absolute ages & I forgot how pretty it is. Fun fact: For Audrey was the very first China Glaze shade I ever bought (shortly after our very first Sally Beauty opened) & I bought it completely based on the fact Breakfast At Tiffany’s is one of my favourite movies.

What do we think about this dotticure? Do you have a favourite polka dot combination? Share your favourites down in the comments below!