Instagram Space Collab 🌌

Hello lovelies & happy Friday! I hope everyone’s having the most lovely week. I had yesterday off, & the kids had their first day of school, so it was a nice relaxing day where I caught up on laundry & blog stuff.

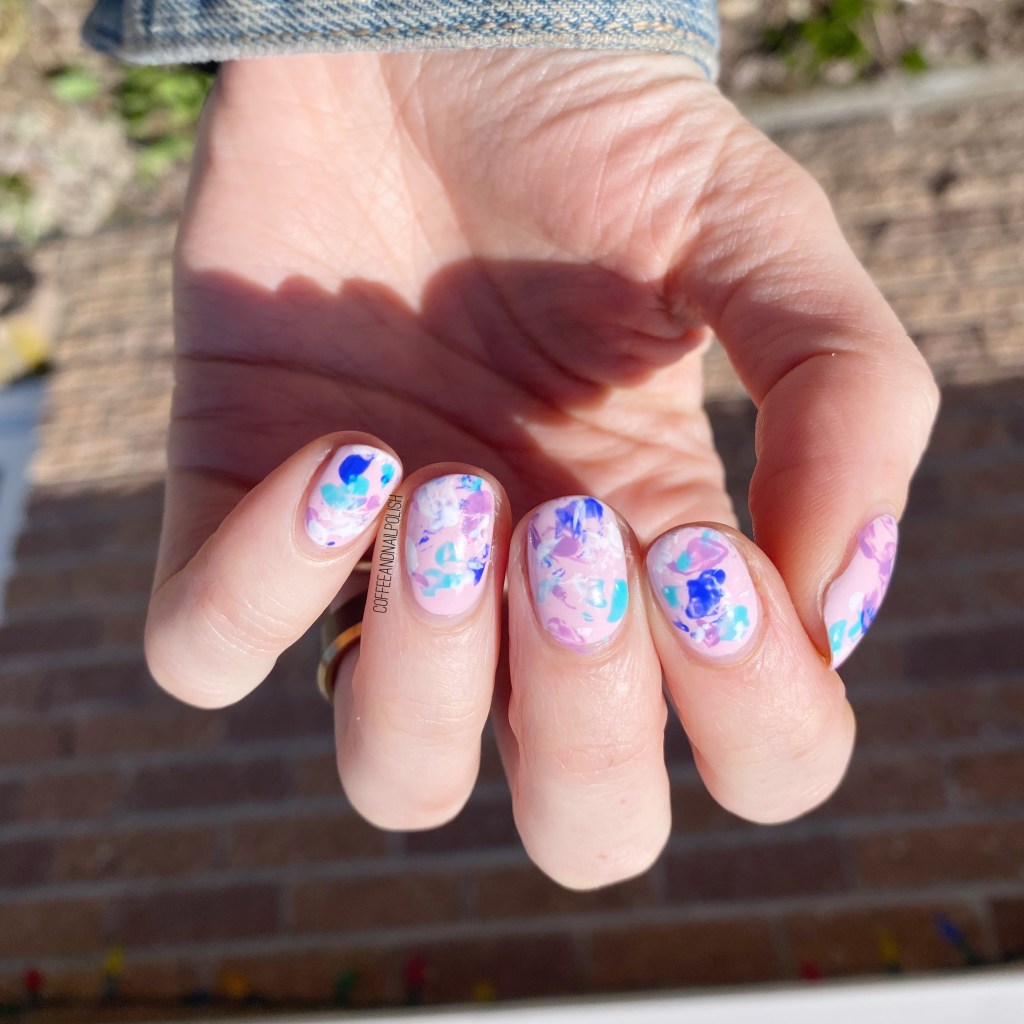
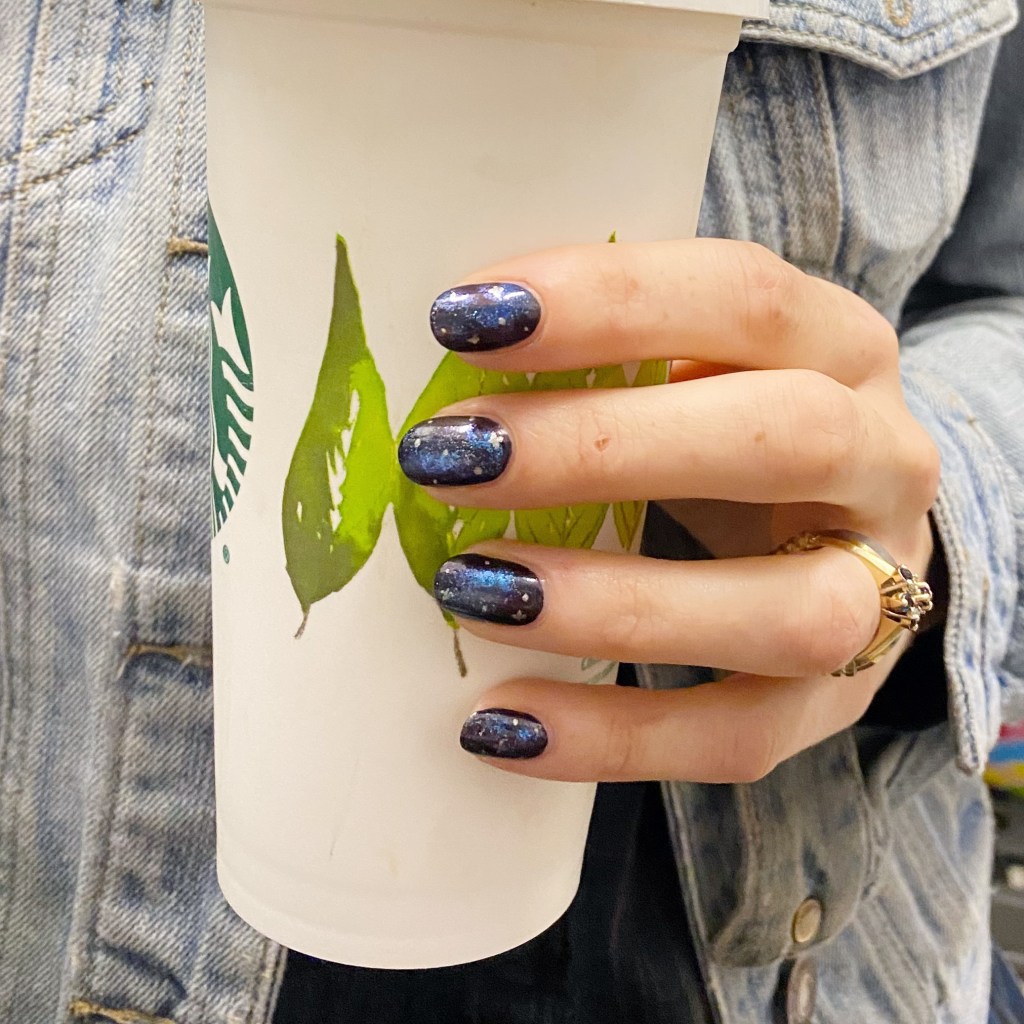
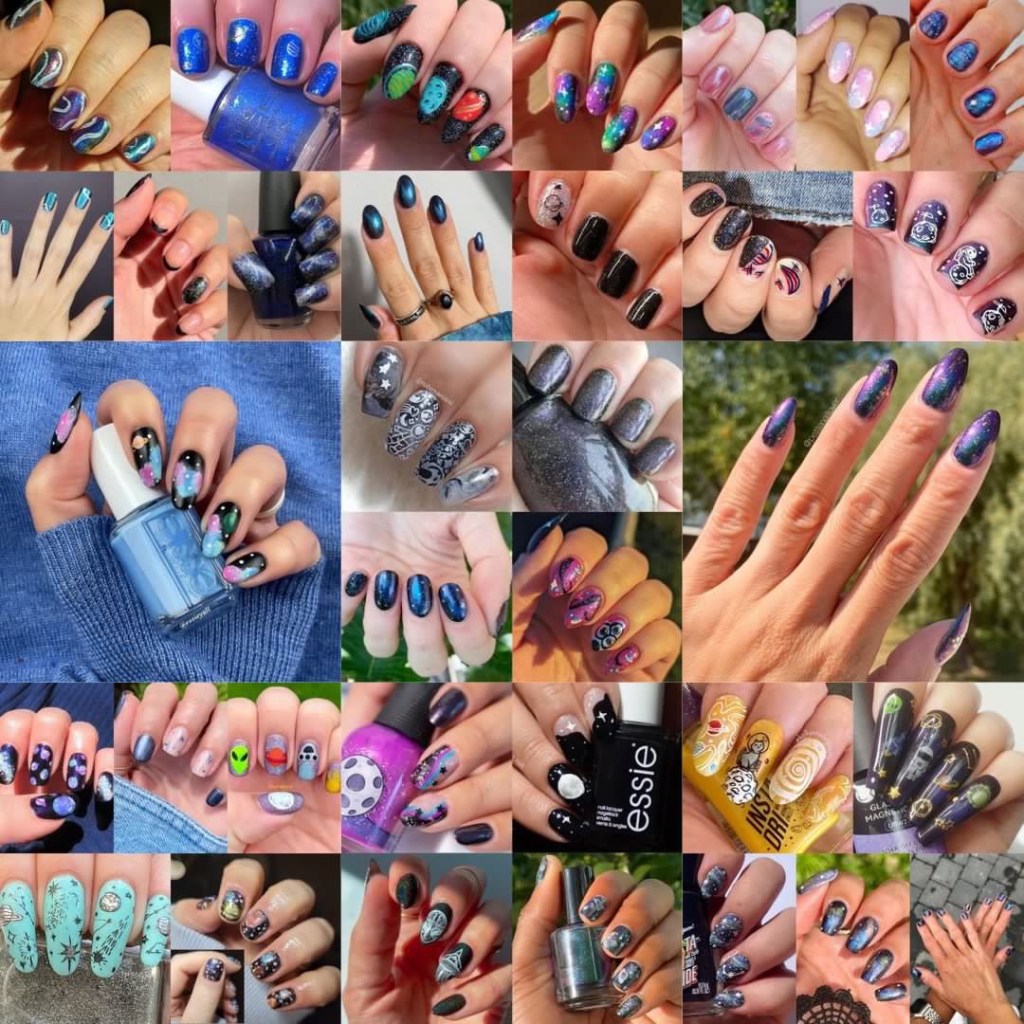
Today, though, I’m excited to share a new design I did as part of the monthly Instagram collaboration hosted by @Essiyall & @Petitenaillover. I’ve been having so much fun with these large collabs, & this month’s theme was SPACE. It’s been a bit since I did a galaxy design, so I was pumped.

The polishes I used for this manicure are: 

  • Base Coat: Sally Hansen Miracle Gel Colour Grip Primer Base Coat 
  • Top Coat: Quo by ORLY Color Amp’d Top Coat
  • China Glaze Glamcore
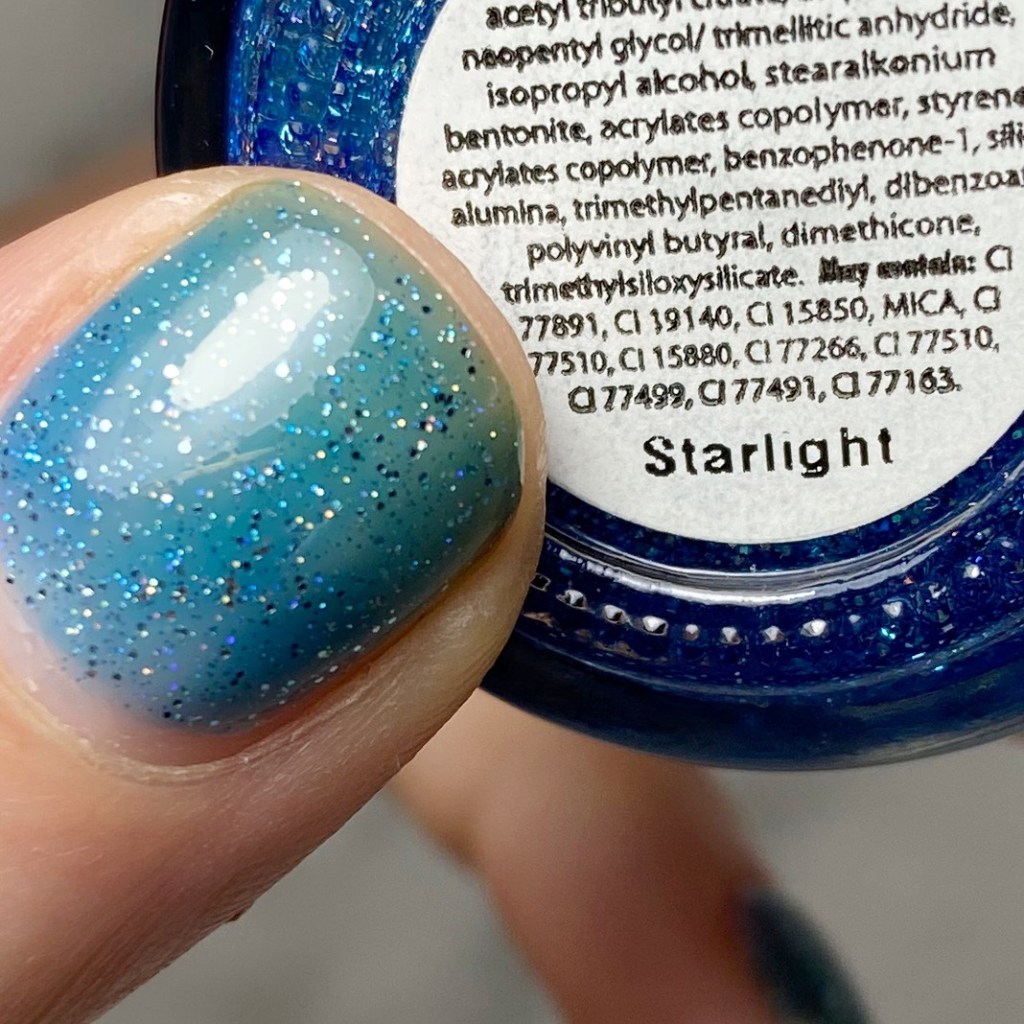
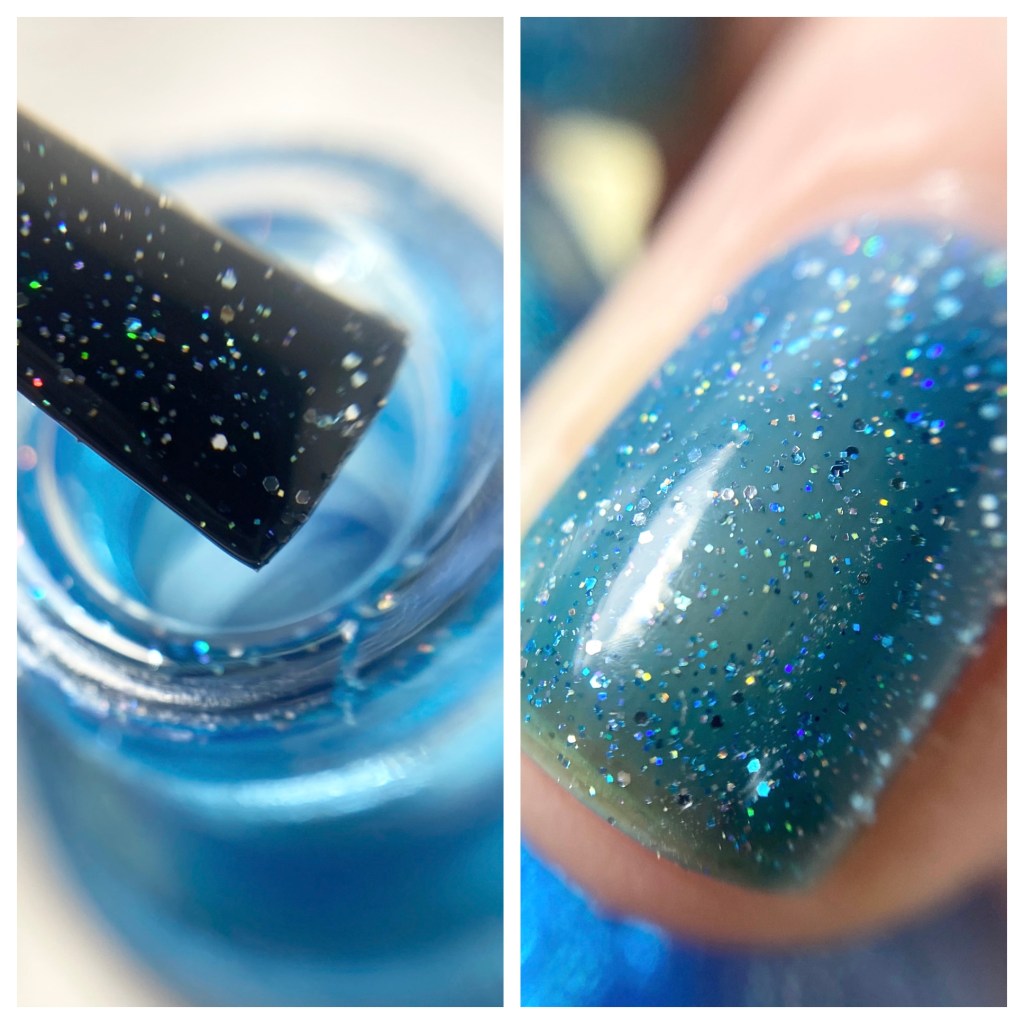
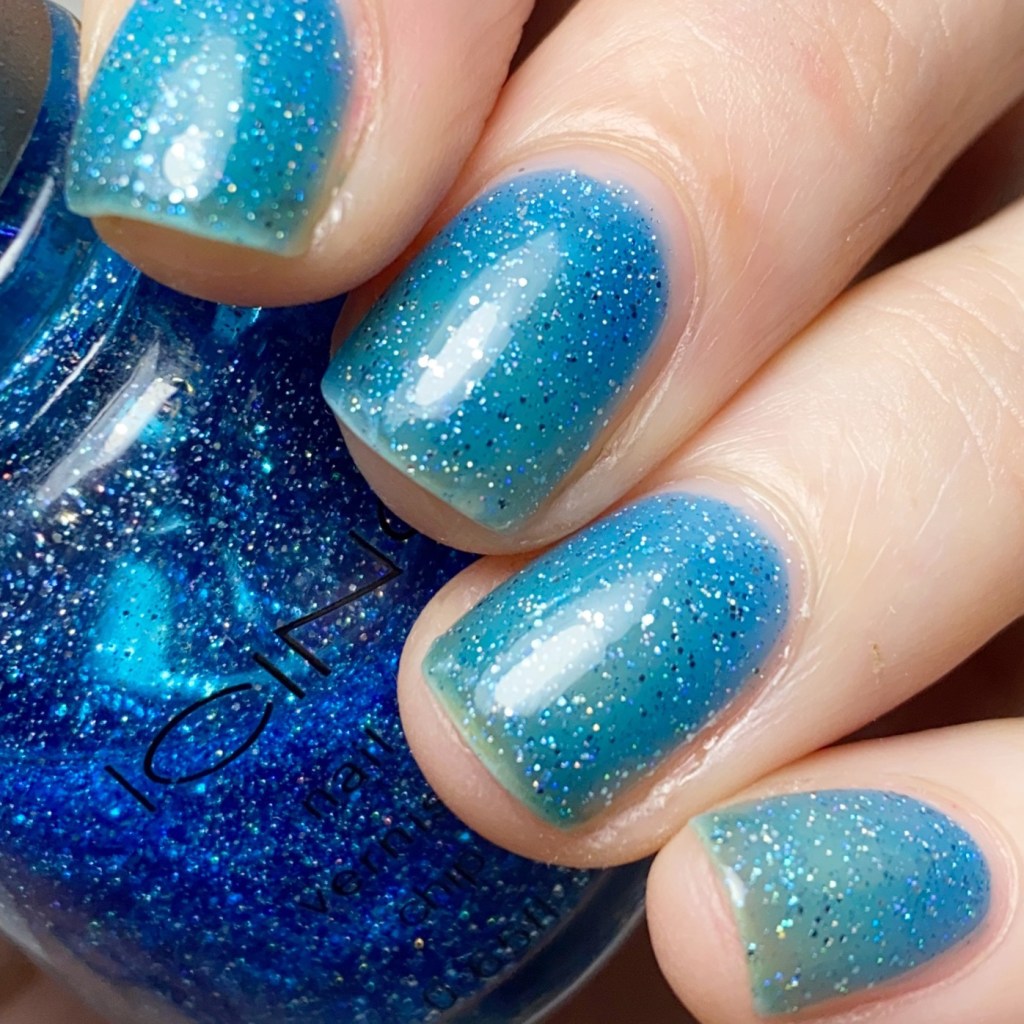
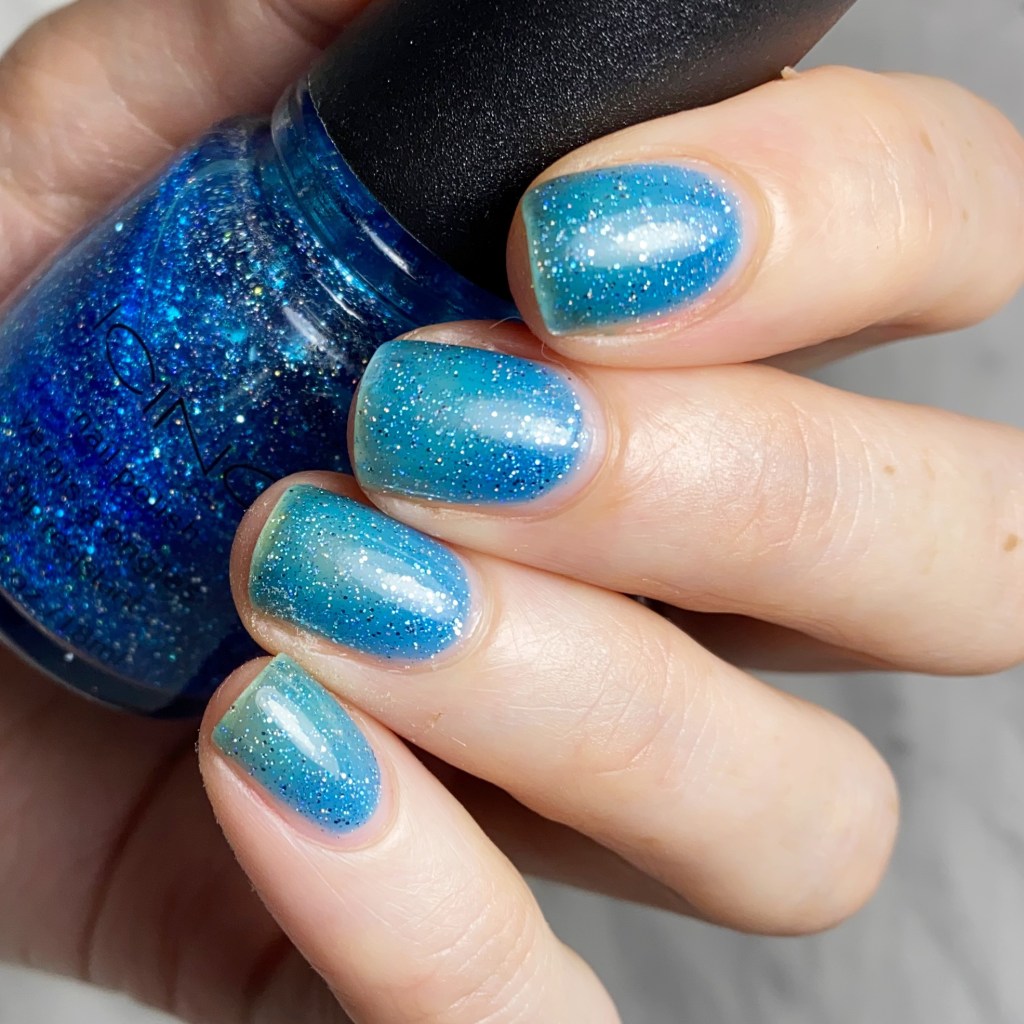
  • Icing Mermaids Have More Fun
  • Ardene La Luna
  • Sally Hansen Buffalo Nickel
  • NailStuff.ca 4mm Micro Detail Brush

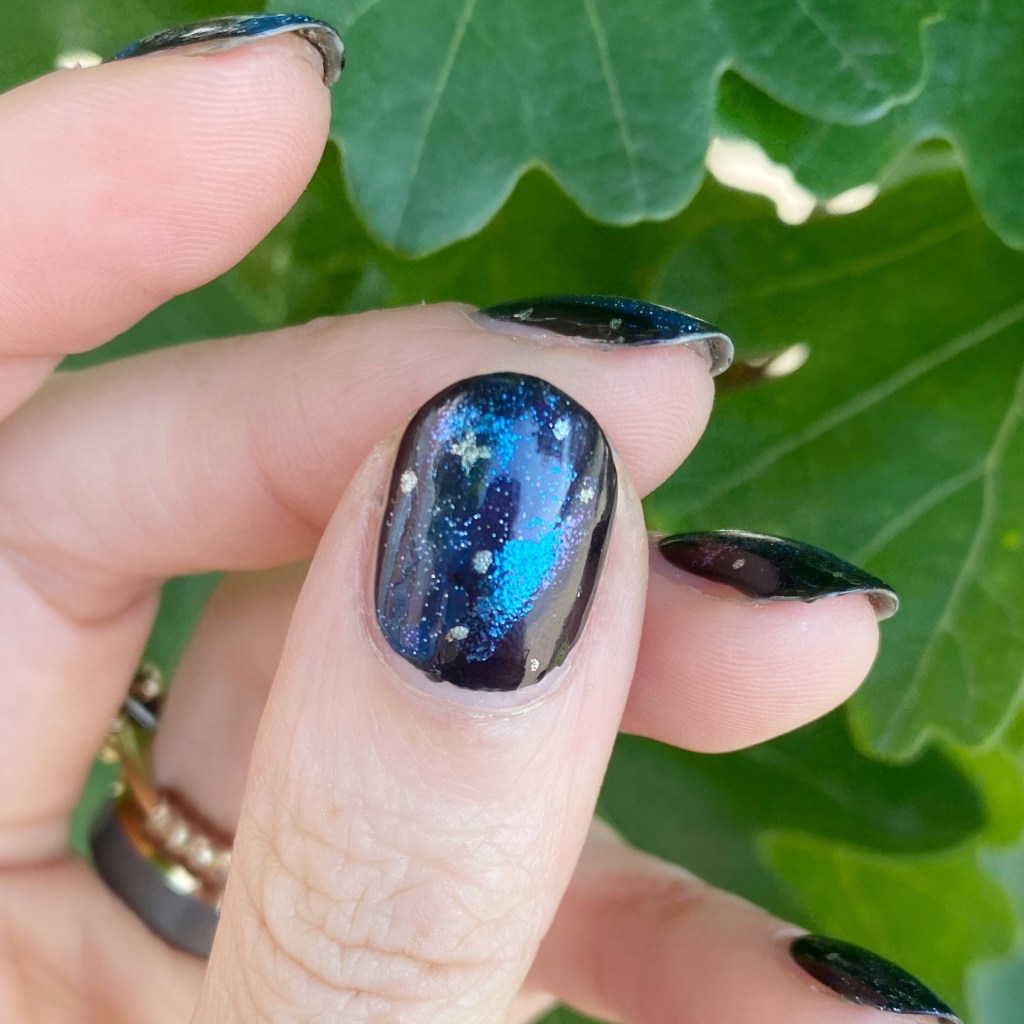
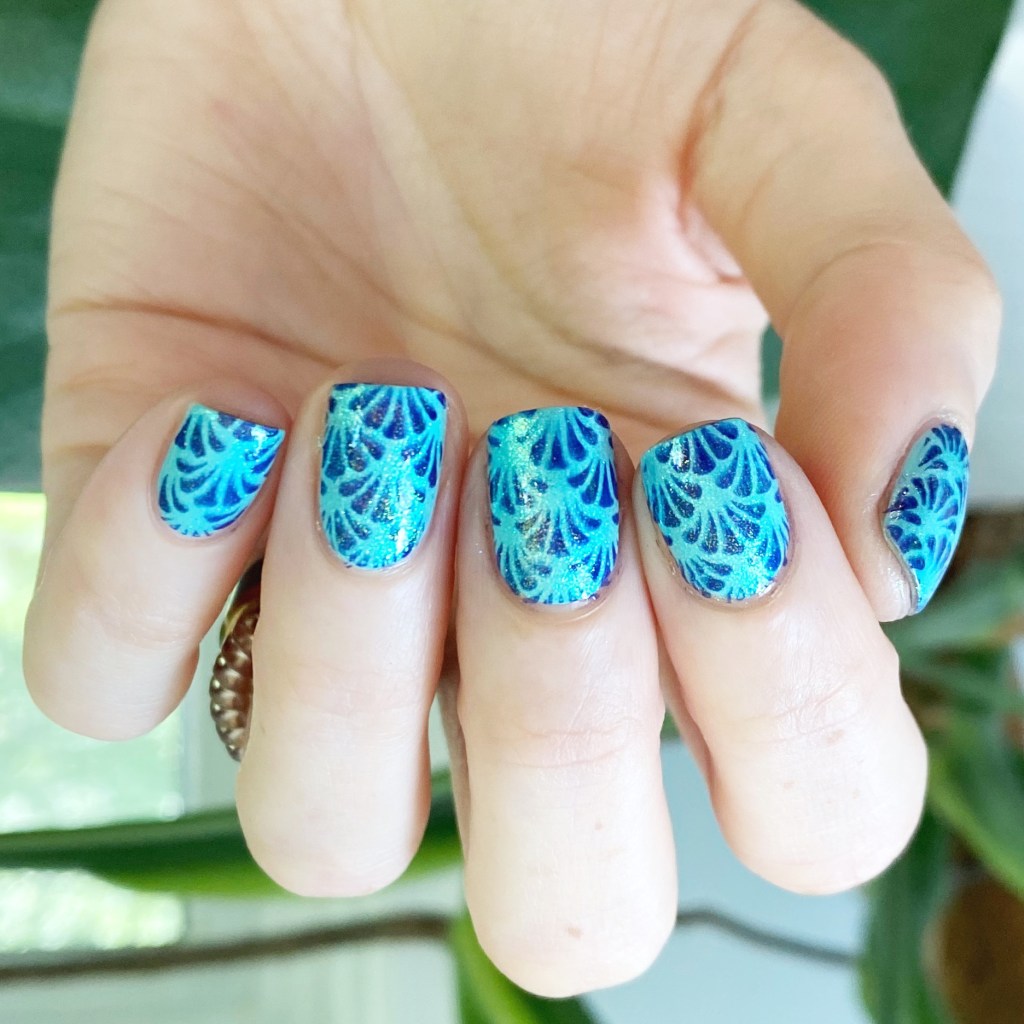
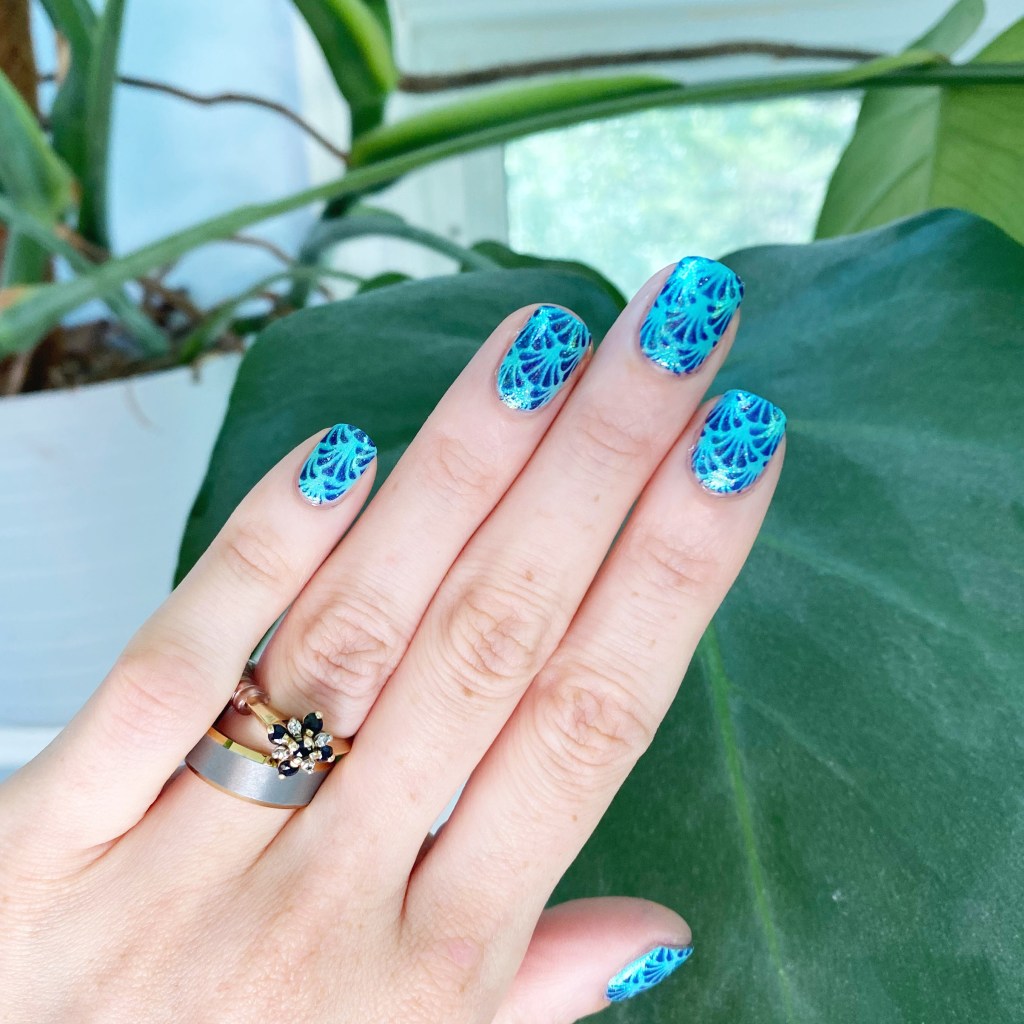
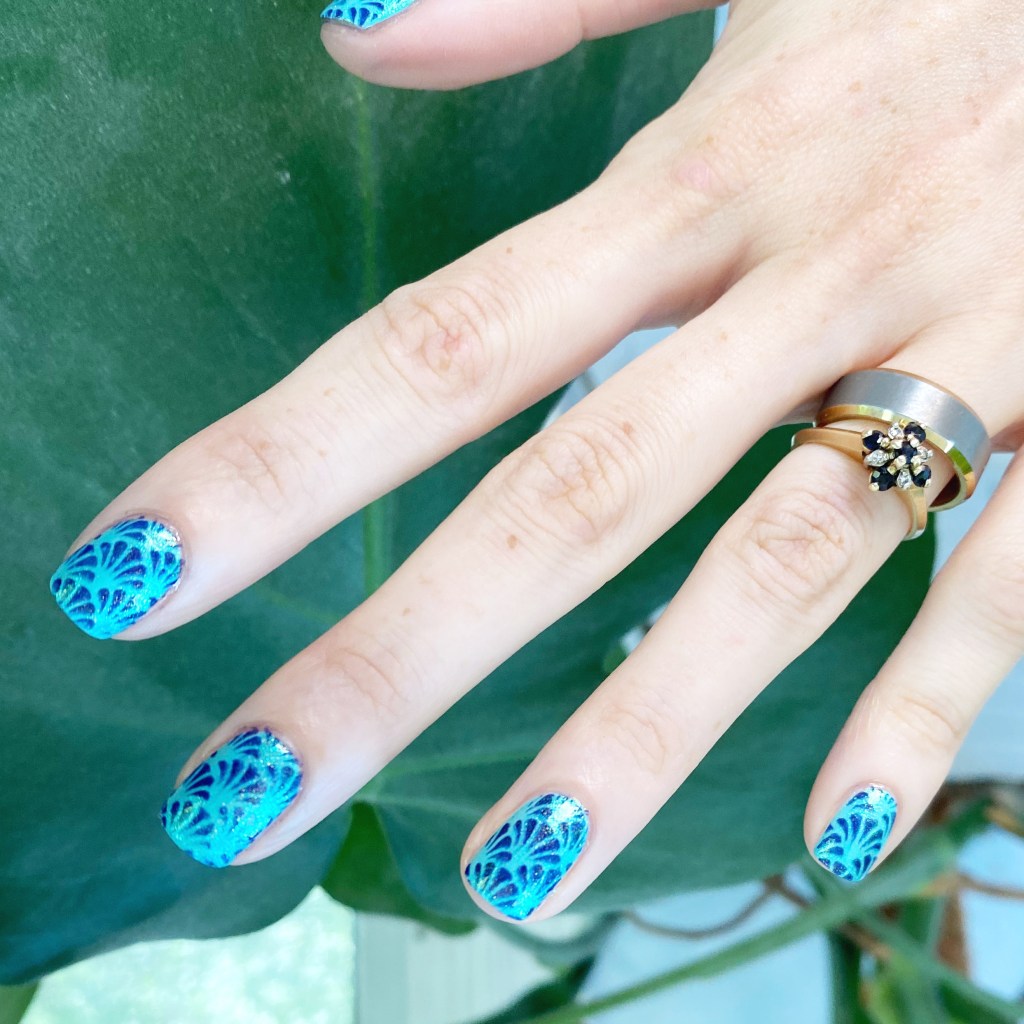
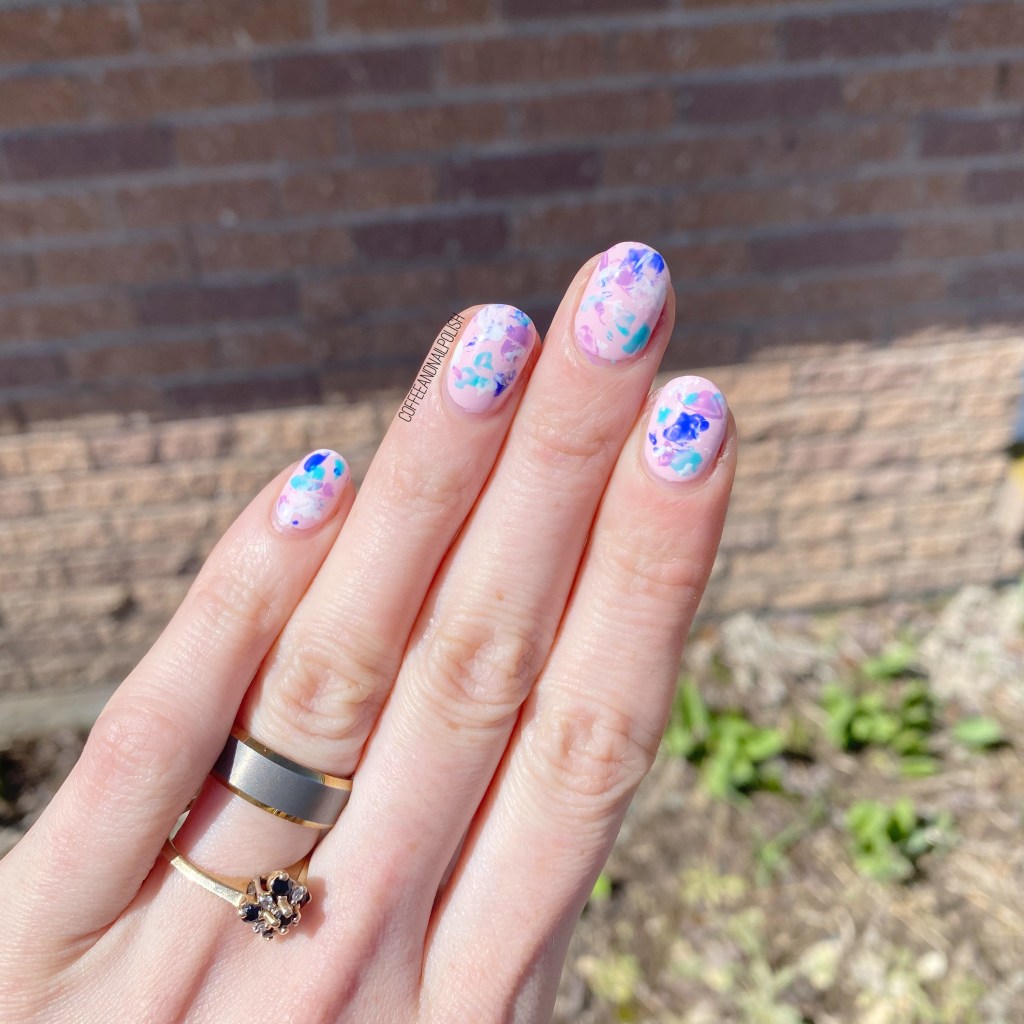
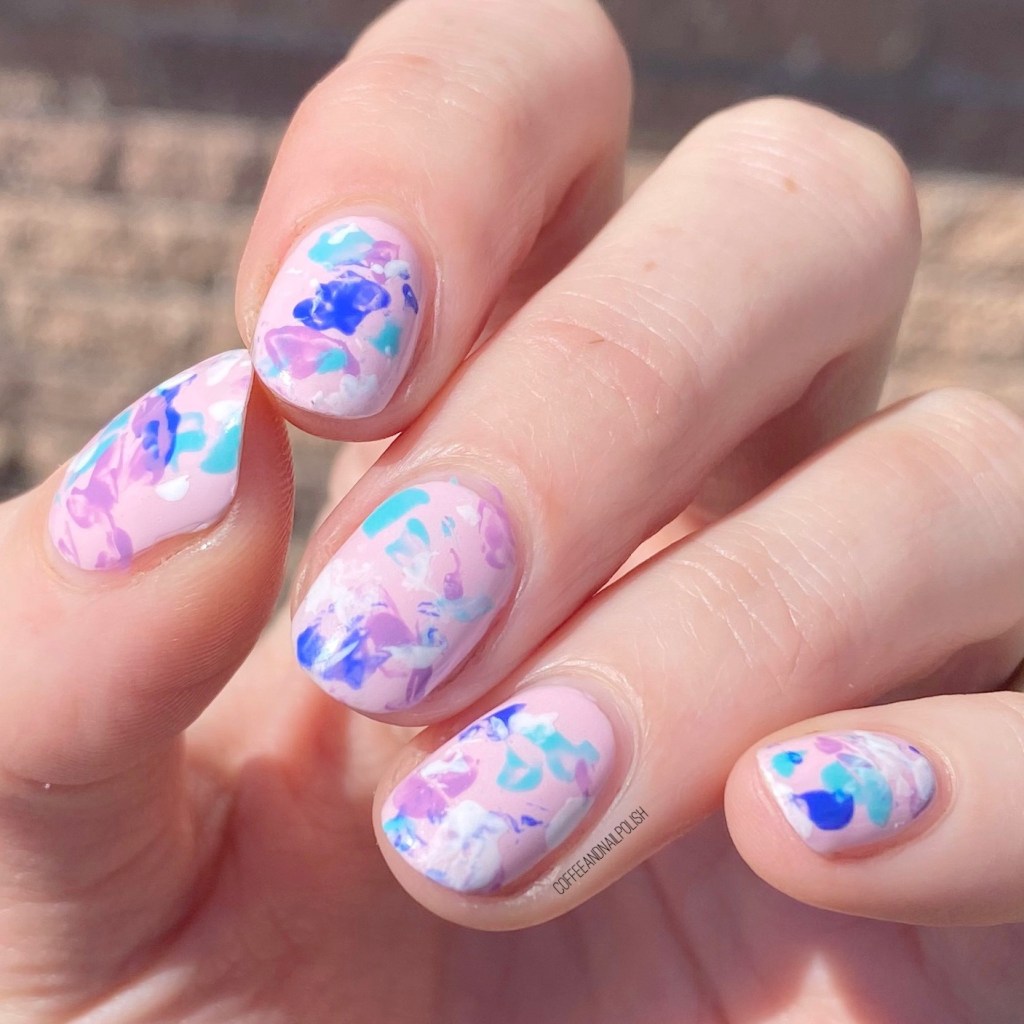
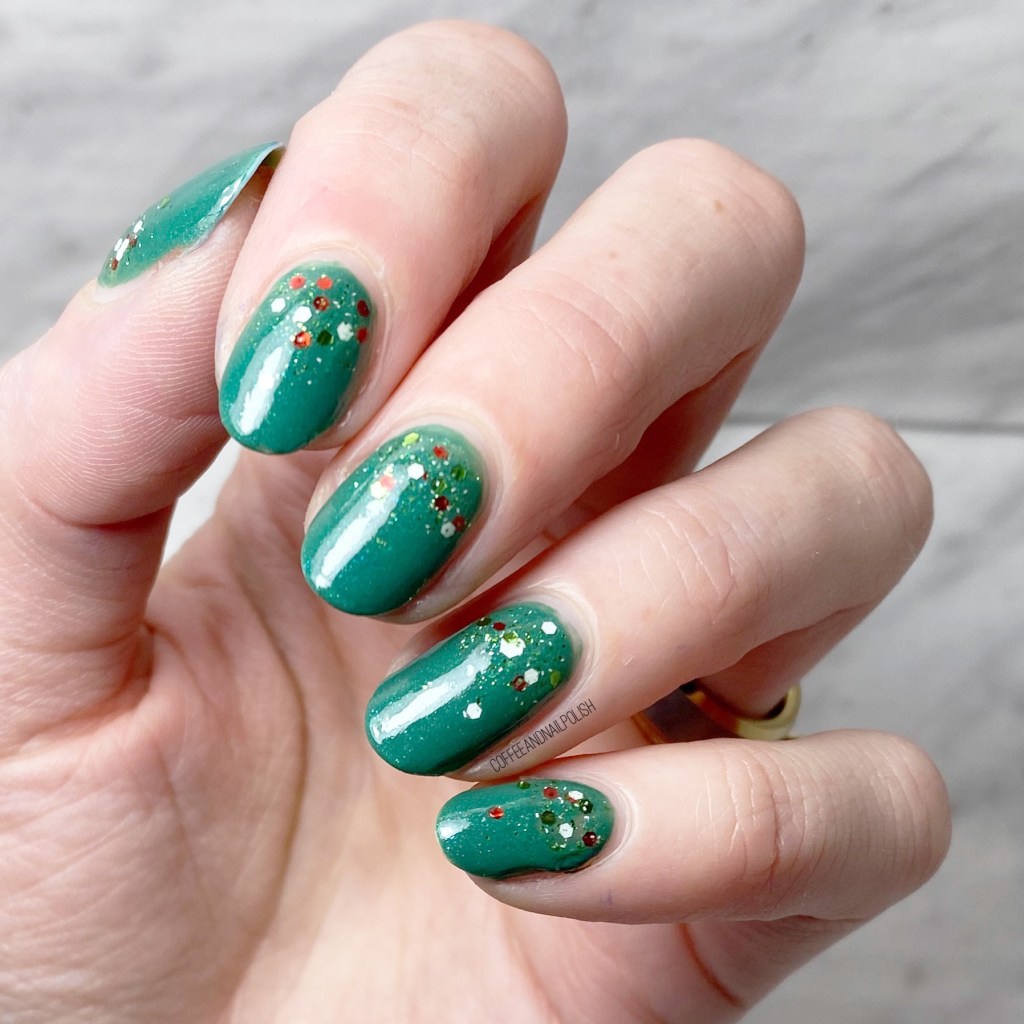
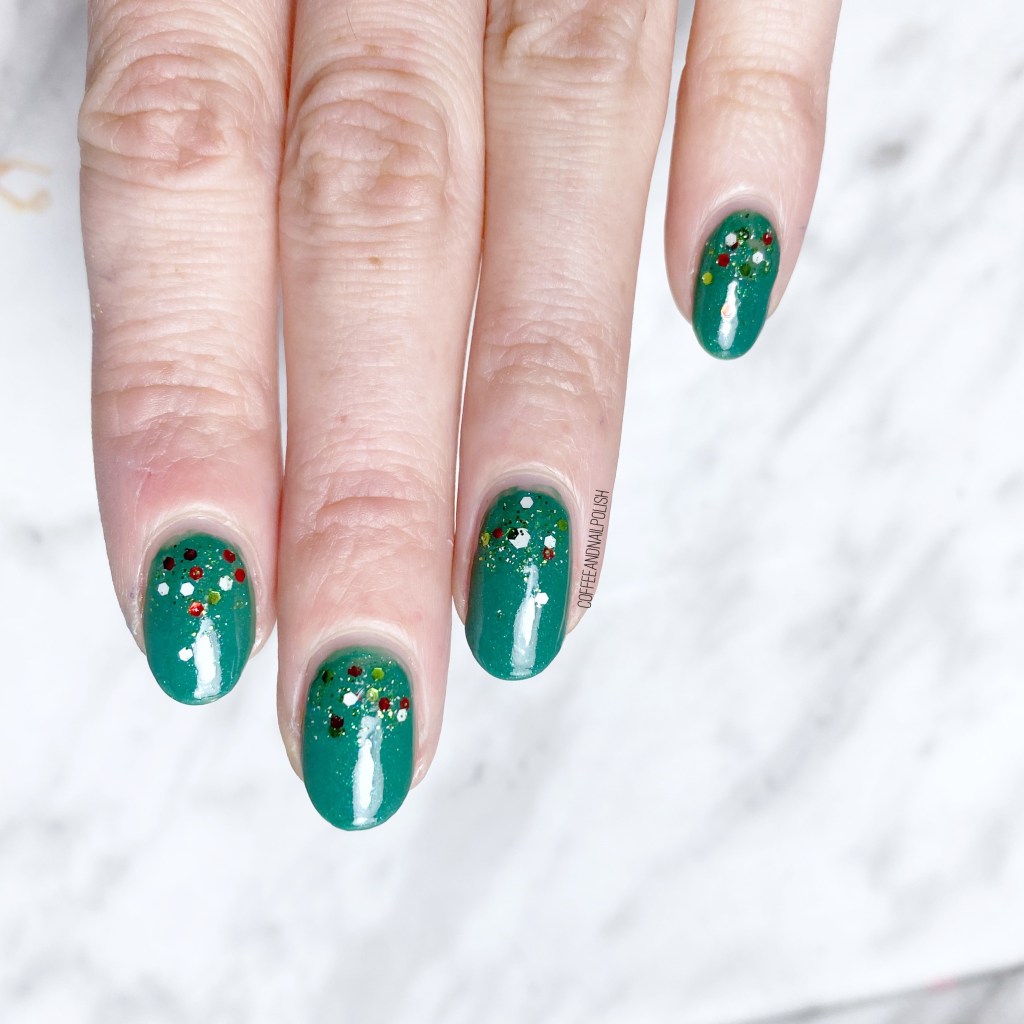
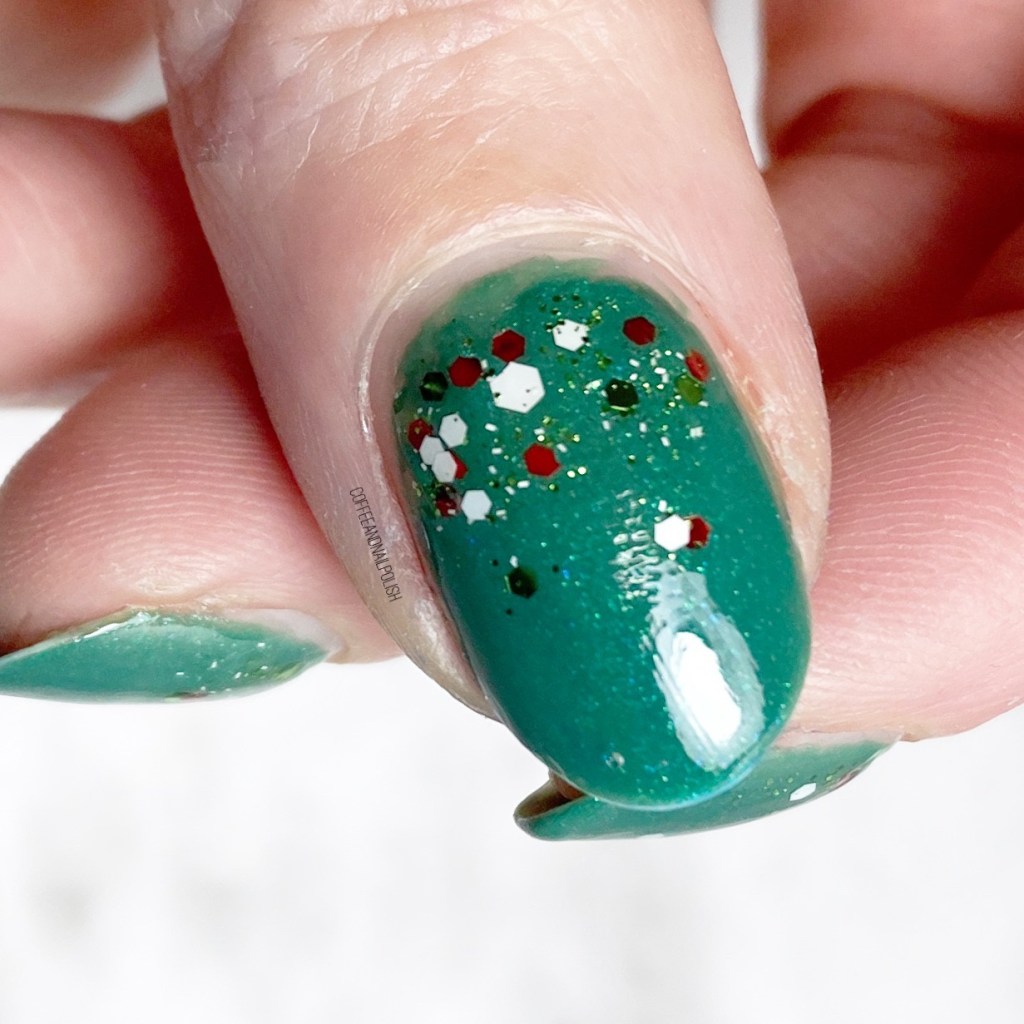
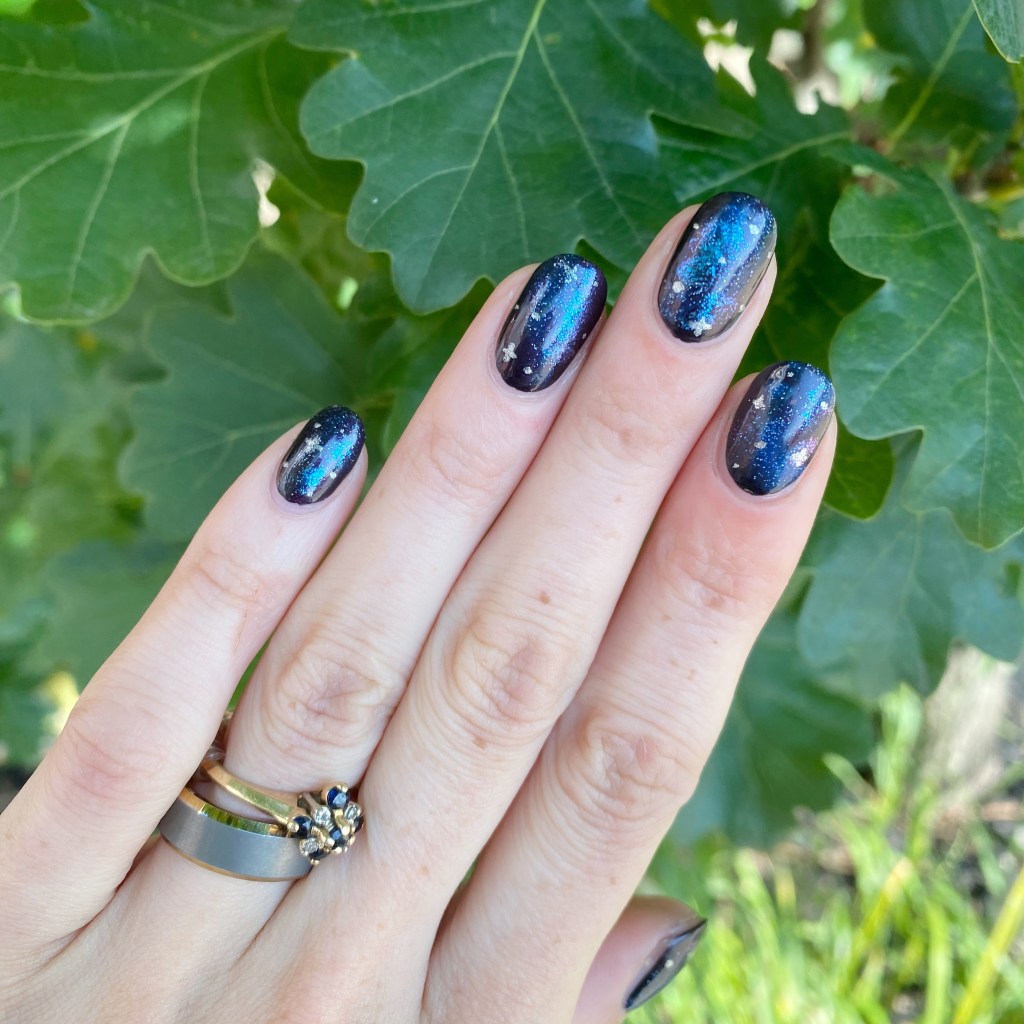
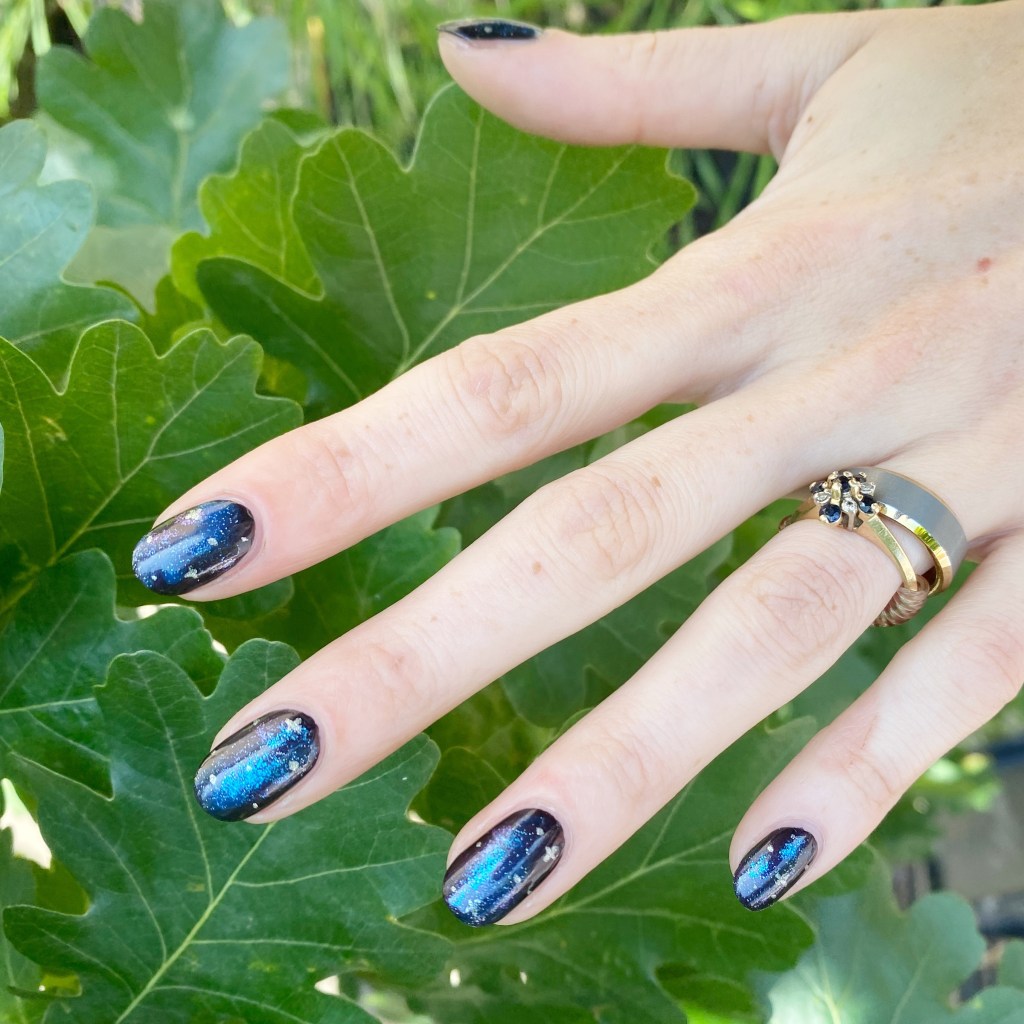
For this look, I went with the classic sponge effect for my design. I used two shades I thought suited each other well, especially the shifty base of Mermaids Have More Fun. Then I added the little details of the stars, for that fun galaxy effect. I really like how everything came together.

Don’t forget to hop on over to Instagram, & check out all the amazing beautiful designs that my fellow nail artists did. Everyone interpretation for this theme, & I absolutely love everyone’s manicures!

Have a lovely day!

♥︎

Instagram Mermaidcore Collab 🧜‍♀️🩵

Hello lovelies & happy Friday! Todays nail art look is another special collaboration I did with some fellow nail artists on Instagram. & it’s very fitting, as I’m currently on my way to vacation at Ocean’s Playgound (aka Prince Edward Island, Canada). So this Mermaidcore look is totally fitting for our fun ocean vacation this weekend.

For my mermaid themed look, I decided to go with a classic scale look. I don’t have a scale stamping plate, sadly, but I decided to pull out one of my older stamping plates & see if it would work for a scale pattern — & it did!

The polishes I used for this manicure are: 

  • Base Coat: Sally Hansen Miracle Gel Colour Grip Primer Base Coat 
  • Top Coat: Sally Hansen Miracle Gel Glossy Top Coat
  • Icing Stores Matte Effects 60217
  • Icing Stores Mermaid Mint
  • Essie Under The Twilight
  • Sally Hansen Miracle Gel Unicorn Top Coat
  • Bodico Stamping Plate B-12
  • NailStuff.ca Clear Stamper 

Do you think I captured the Mermaidcore aesthetic? Obviously I had to add a little extra shimmer with the Sally Hansen Miracle Gel Unicorn Top Coat over my stamped design. & I think it turned our absolutely perfect, & just the nail art look I was going for.

Mermaid vibes all the way.

What do you think about this Mermaidcore design I did for this Instagram Challenge? If you get a chance, hop over to Instagram & check out everyone else’s amazing mermaidcore manicures: #mermaidnailartmanicollab2023

Have a great weekend! I’ll be back to posting next Wednesday! 🩵

SWATCH SUNDAY — Icing Stores Starlight

Hello lovelies & happy Sunday. It’s a rainy, grey, & extremely blah day here on the East Coast — & it’s starting to feel like we’ll never see the sun.

I needed some cheering up after this blah, blah week so I started digging through my Claire’s/Icing drawer & found this old school beauty! & I just knew that I had to pick it for this week’s Swatch Sunday.

This is Icing Starlight.

3 coats + top coat

The formula on this beautiful jelly glitter is thin thin thin, but it builds to nice coverage. & because the formula is so thin, each coats dries down quickly before you apply the next one. It also means you can see each & every silver & holo glitter suspended in the base, which I love.

Truthfully, I could have applied a forth coat for a bit more opacity, but with the exception of my tips (where it shows of a bit of my natural yellowing from my nail polish obsession) I really love how this looks. & that could easily be corrected with a colour correcting base coat. Or, by using it as a topper over another blue polish.

In the bottle it reminds me a bit of China Glaze Dorothy Who? but the base is much thinner leaving the colour on the nail much, much lighter. However, it has those beautiful holographic glitters that really show up, so I can’t be mad about it. It’s a beautiful shade all on its own.

Sadly, this colour is long long out of circulation. If I had to hazard a guess, based just on the bottle shape, I would say I purchased this bottle somewhere between 2009-2011. The brand has gone through quite a few bottle changes since then, but I’m happy to see even a decade later, this shade applies & wears beautifully.

& sometimes it’s just fun to take a walk down nail polish memory lane with a shade you haven’t seen in a while.

What do you think about Icing Starlight? Do you have any oldies in your stash you haven’t pulled out in a while? This Sunday is a great day to find a shade you haven’t worn in a while, & pull it out!

Have a lovely day! 🖤

Spring Inspired Saran Wrap Splatter

Hello loves & happy almost Easter weekend! It’s been a beautiful week here on the East Coast — very Spring-y! I even had a chance to break out my flip flops. So I’ve been feeling all the Spring colours.

Todays look is a nail art technique I haven’t done in a while — Saran Wrap splatter. This is a technique I’ve done a lot in the past, but it’s been a hot minute since the last time, so I was excited to pull it out of my repertoire.

The polishes I used for this manicure are: 

  • Base Coat: Sally Hansen Good. Kind. Pure Hardener
  • Top Coat: Essie Speed Setter
  • Sally Hansen InstaDri Racing Rose
  • Sally Hansen Miracle Gel Get Mod
  • Essie Butler Please
  • Essie Play Date
  • Icing Matte Nail Polish Neon Blue
  • Crinkled plastic

How fun are these colours together? I feel like these pinks & purples & blues just go so well together. I’ve been doing this technique a very long time, & it never gets old to me. It’s a way easier option than your traditional spatter, & way less clean up. I usually only have a few places I need to clean up with acetone, versus a traditional spatter that makes quite a mess,

What do you think of this Saran Wrap Splatter look? Have you ever tried this technique before? Let me know all your thoughts down in the comments below!

Festive Glitter Gradient ✨🎄

Good morning lovelies & happy Thursday! & happy Christmas Eve Eve. I hope everyone is ready for their holidays, & for those still working long hours & not sure how they’re going to be ready — I feel you! Hopefully everyone is also staying safe with everything quickly changing in the world.

I said I was dedicated to 5 nail art looks this week in preparation for Christmas, & I wasn’t lying! Today is day four, & I went with a classic look that I do some incarceration of every year: a Christmas glitter gradient. Last year’s was very similar to this years, but that’s okay! When you find a classic that works for you, you go with it! (Plus my nails are so much longer this year!)

The polishes I used for this manicure are: 

  • Base Coat: Essie First Base
  • Top Coat: Seche Vive
  • Icing Emerald City
  • Icing Tis The Season

Hello Christmas sparkle! I was actually going to use my other Christmas-y glitter from Icing, Santa Baby, but unfortunately it’s on the goopier side, so I decided to go with my other very Christmas-y glitter for this look. I’ve mentioned before how I love the speed & ease of a glitter gradient, plus the versatility, so I don’t think I’ll ever get tired of them.

What do you think about my glitter gradient? Do you like this years version, or last year’s shorty version? Let me know what nail art design/style you repeat year after year & never get tired of!