Happy Birthday Waterfall Nails 💖🧁💅

*includes PR

Hello lovelies & happy Tuesday. & happy day after Canadian Thanksgiving. I’m sure my fellow Canadians are also feeling the post-holiday food coma.

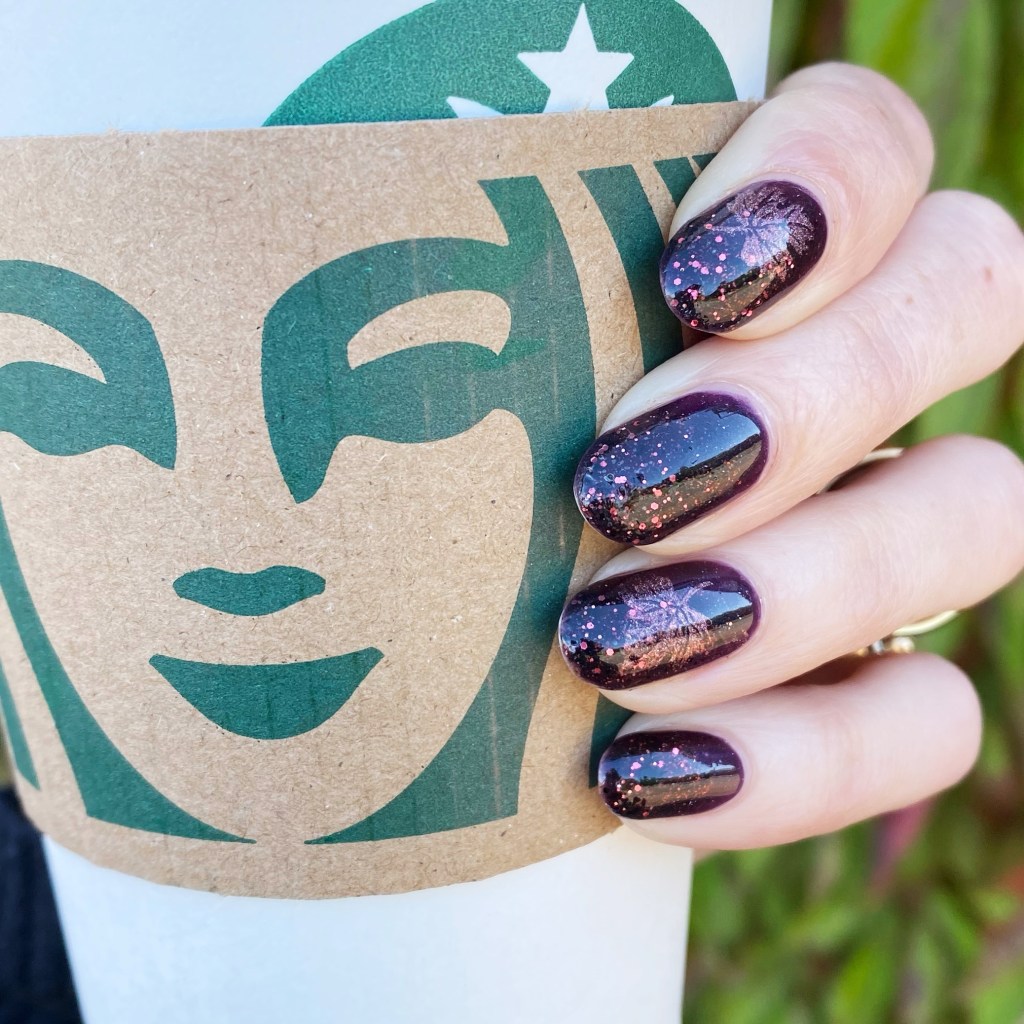
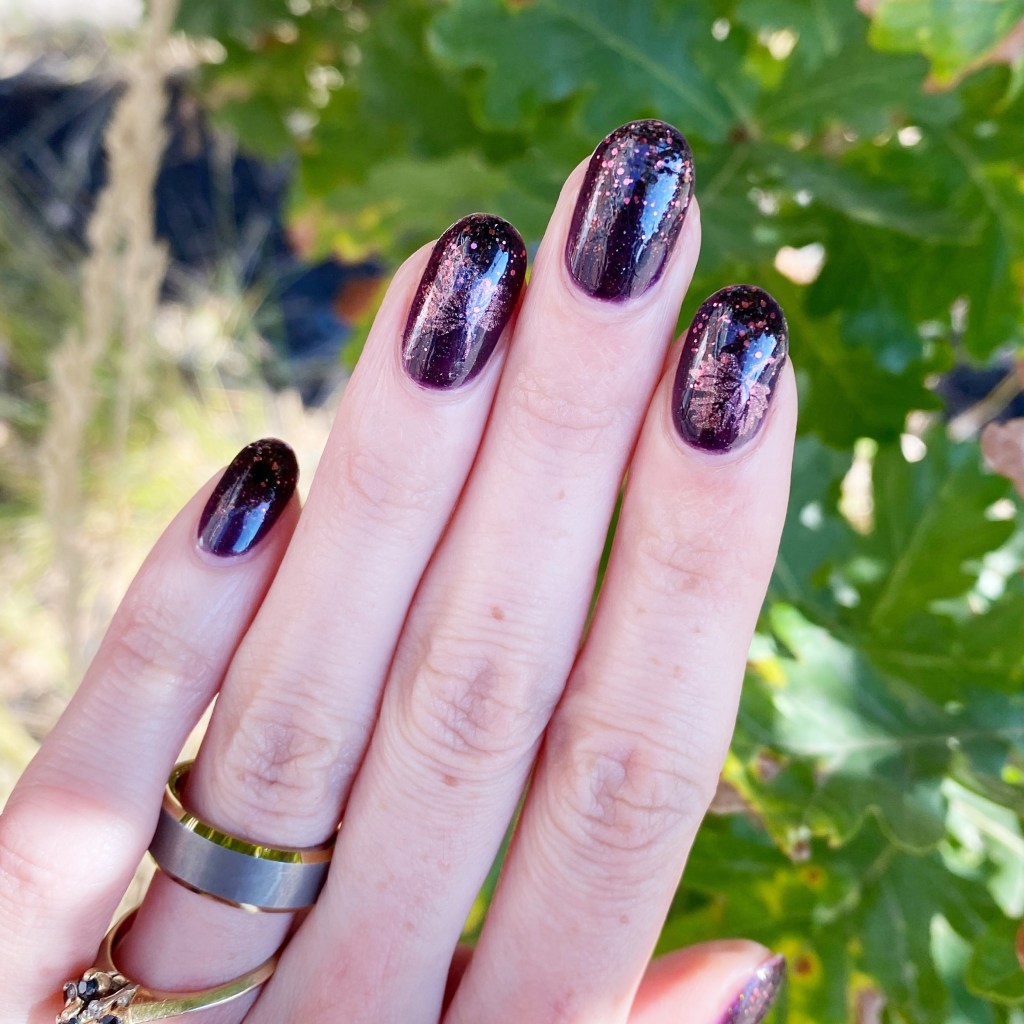
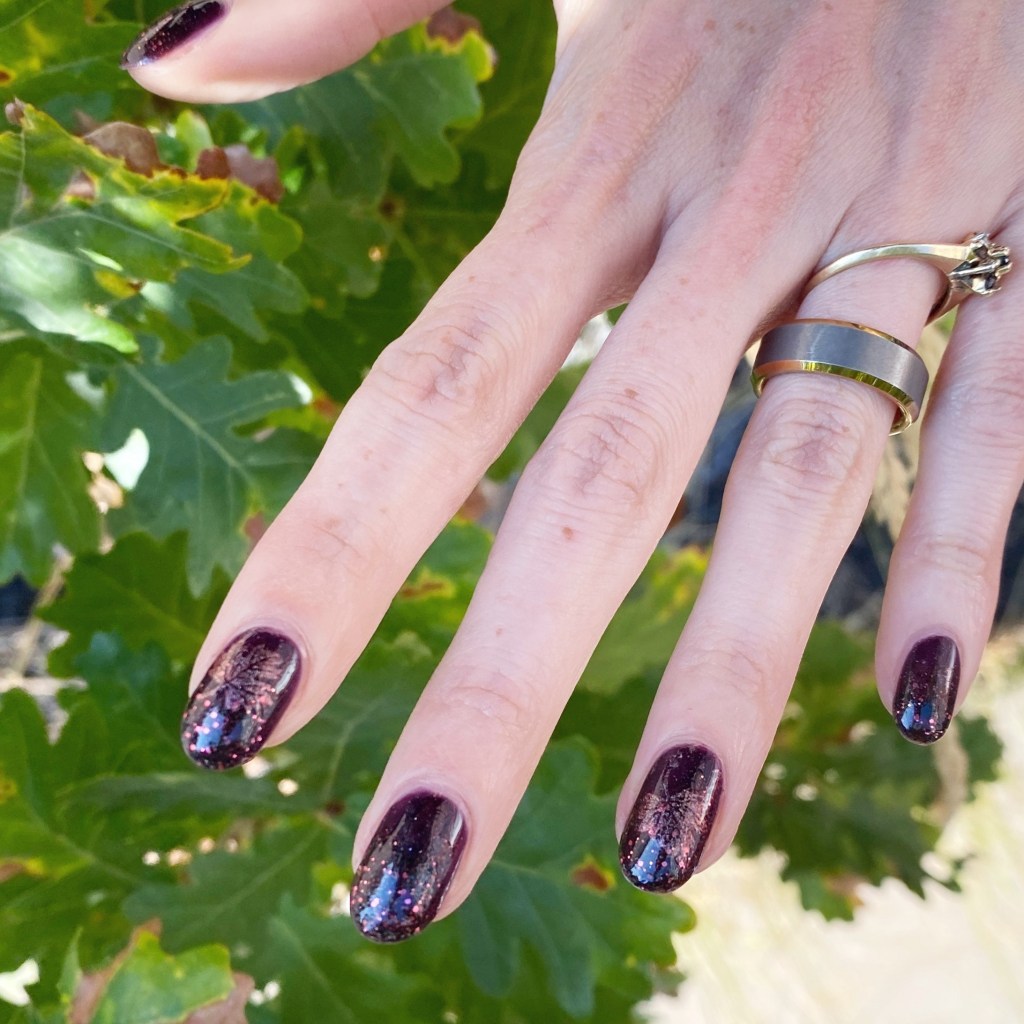
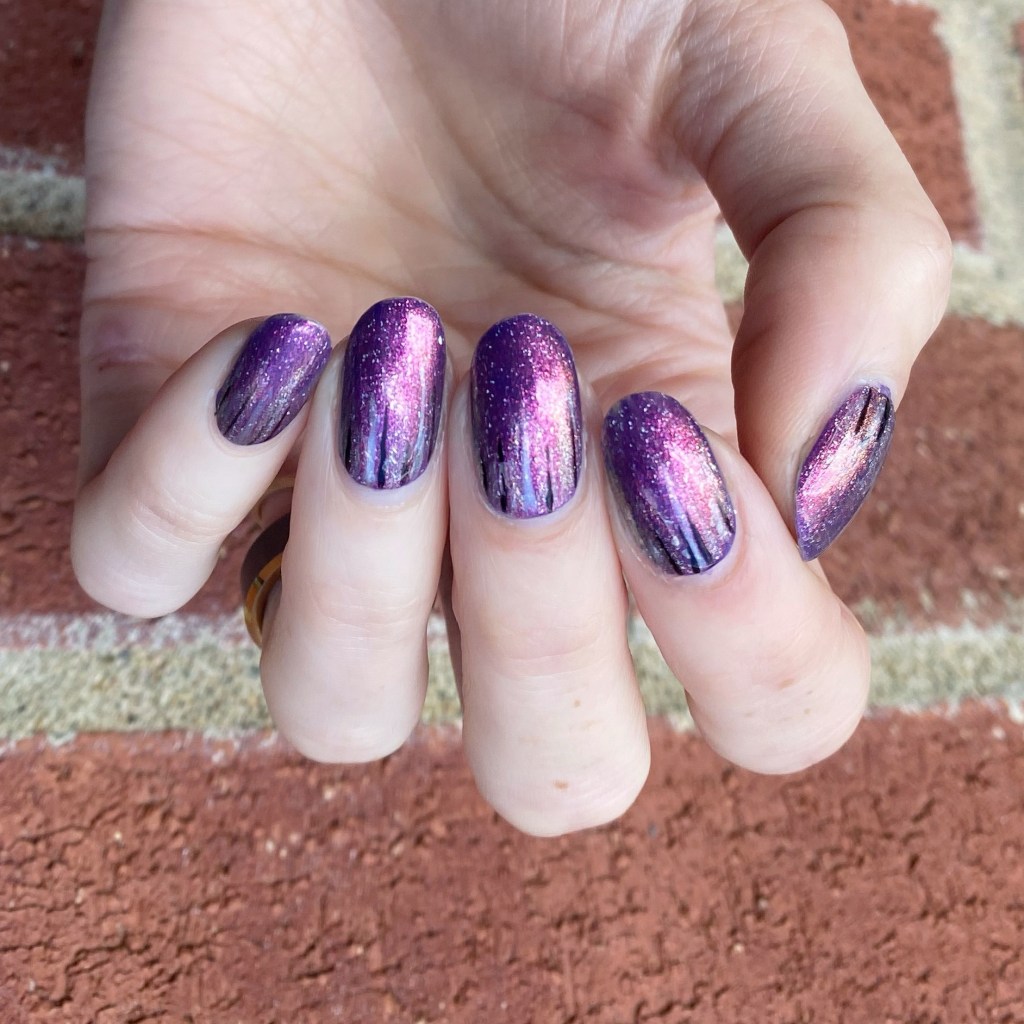
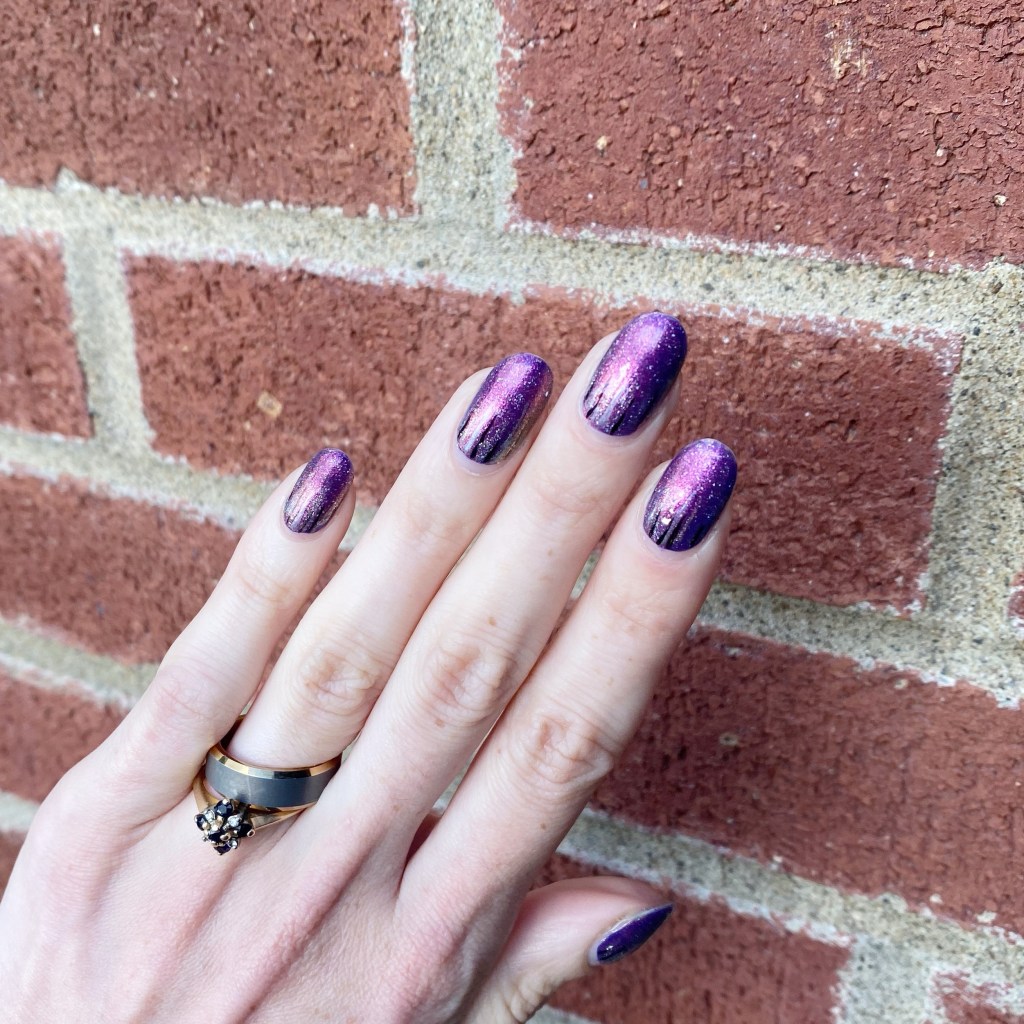
Today is my birthday, so I wanted to do some special nails for the occasion. & when thinking about what nail polish I wanted to wear, there was only one that came to mind: Cadillacquer Lavender Sunset — the NailStuff exclusive shade released earlier this year. & I finally tried layering it over a darker base, which I’ve been meaning to try for a while & it looks absolutely spectacular!

The polishes I used for this manicure are: 

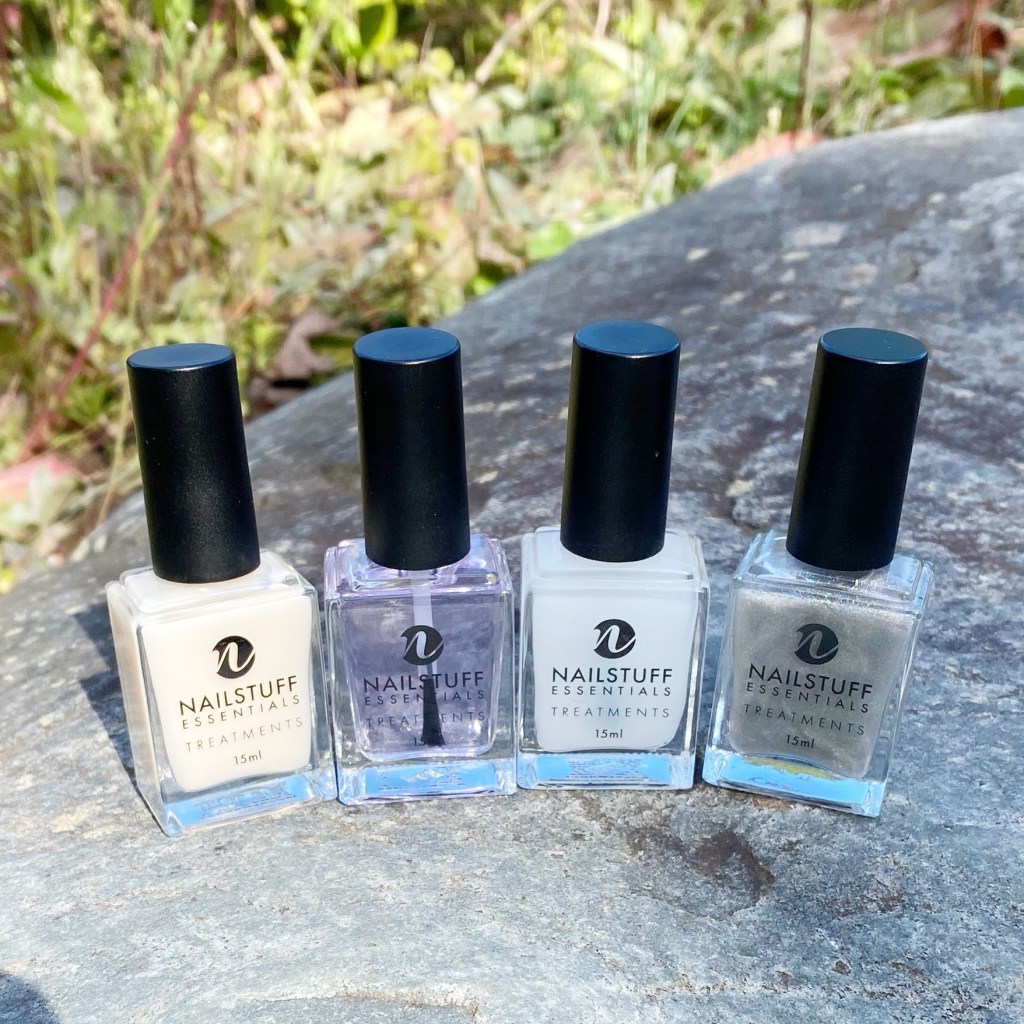
  • Base Coat: NailStuff Essentials Base Coat
  • Top Coat: Nail Stuff Essentials Quick Dry Top Coat
  • Cadillacquer Lavender Sunset
  • OPI Infinite Shine Mariachi Makes My Day (layered under Lavender Sunset)
  • NailStuff Essentials Holographic Top Coat
  • Essie Nail Art Studio Cosmic Chrome
  • Essie Separated Starlight
  • Essie Birthday Girl
  • Quo by Orly Black Striper
  • Nailstuff Mermaid Tail 7mm liner brush

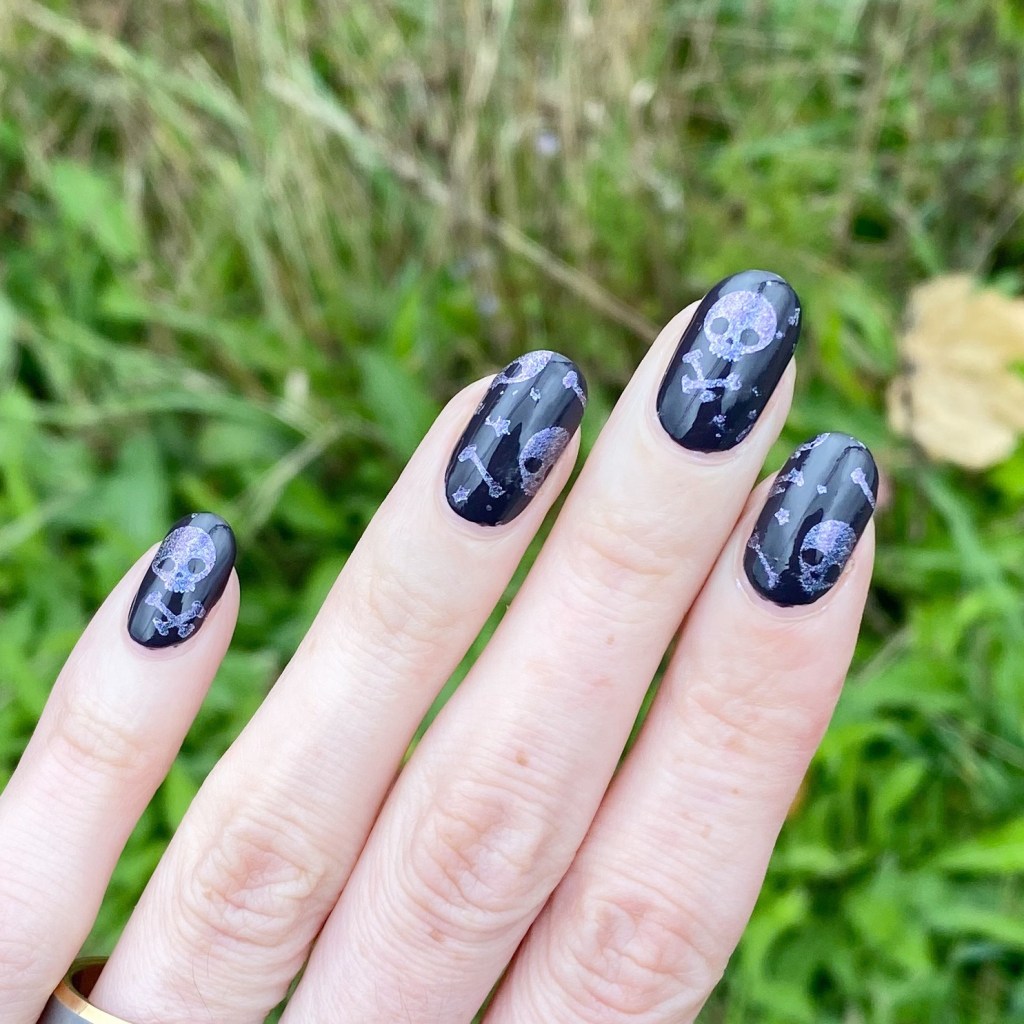
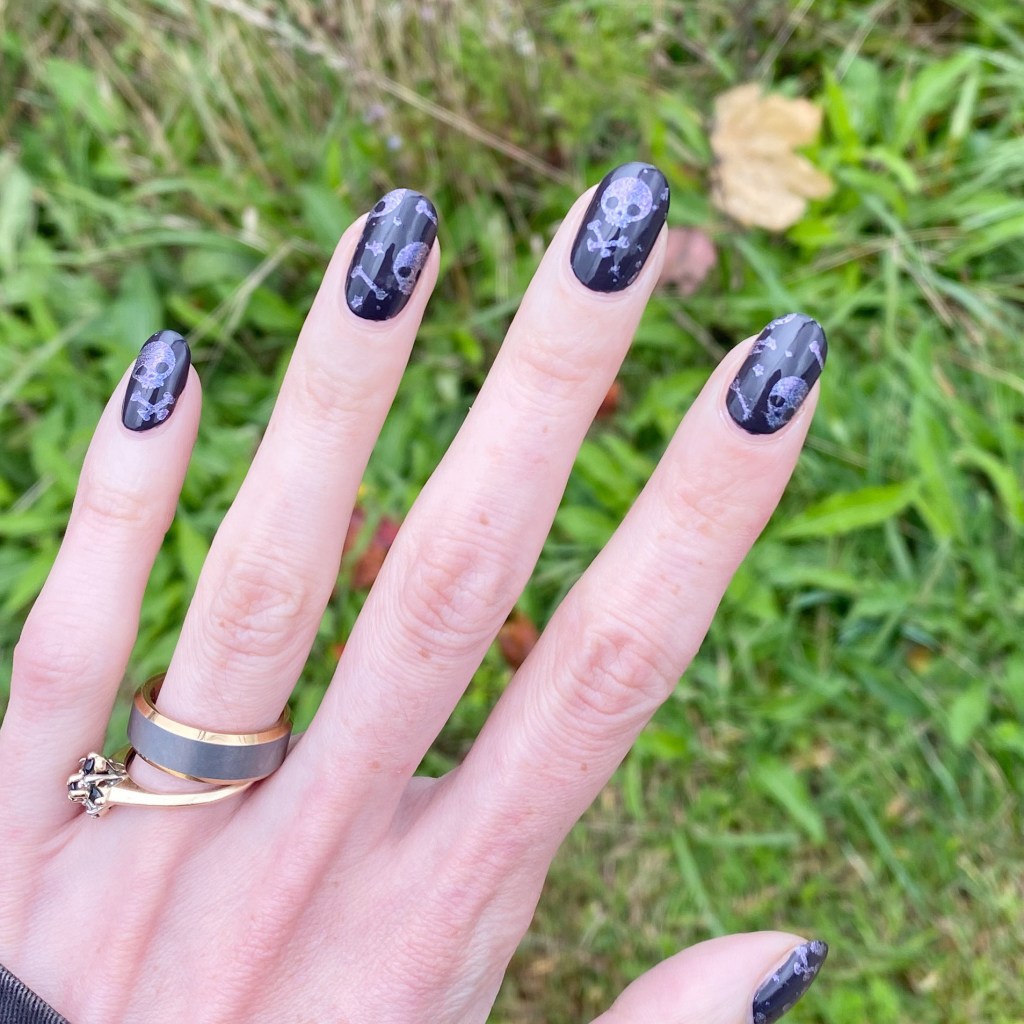
So, with full disclosure, this was not originally the design I had planned for my birthday nails. I saw a cool manicure online that I loved, but apparently when I went back to find it… I had forgotten to save it. So when I attempted it from memory… things did not turn out the way I planned.

This was actually design attempt #4… maybe #5. I’ll be honest… I lost count.

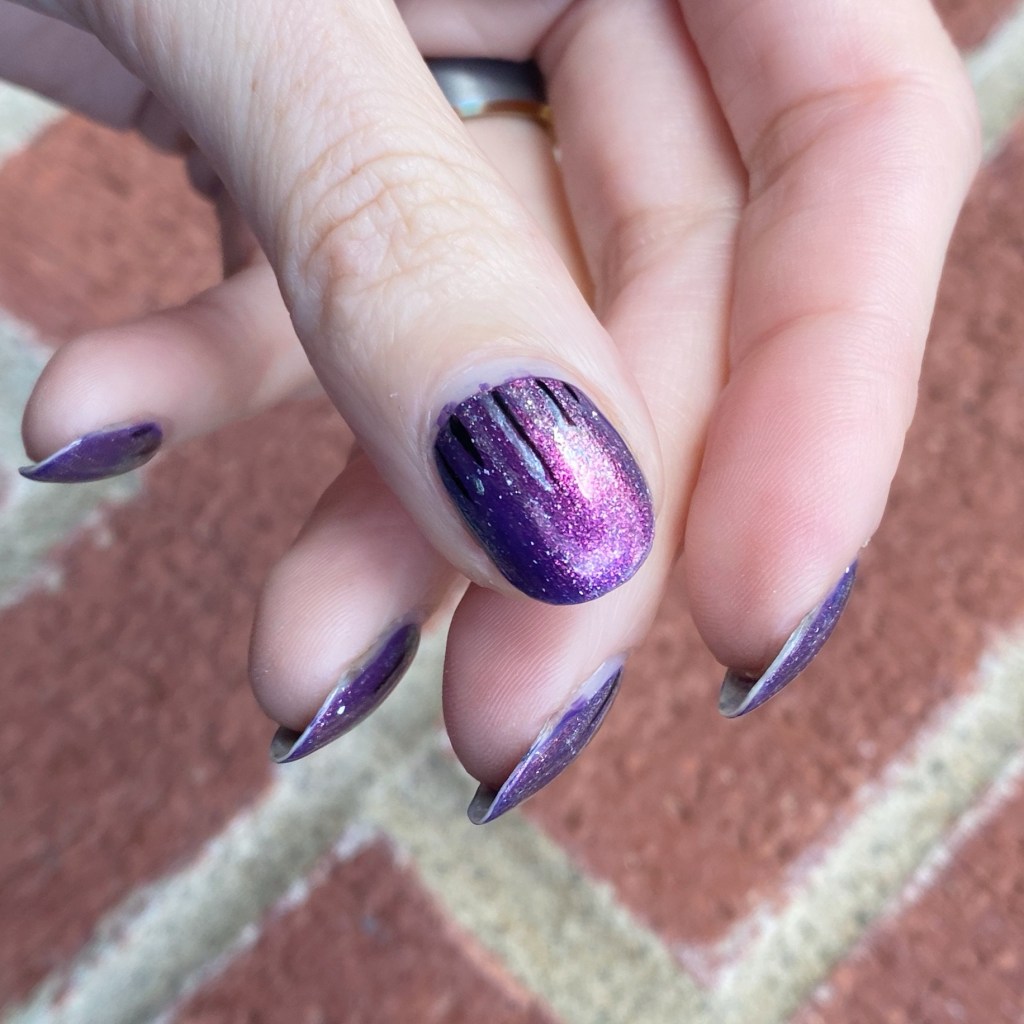
But you know after all the hassle & frustration, I actually love how these ended up looking! So I guess it was all worth it. When all else fails, pull out some sparkly polishes & create a fun waterfall look!

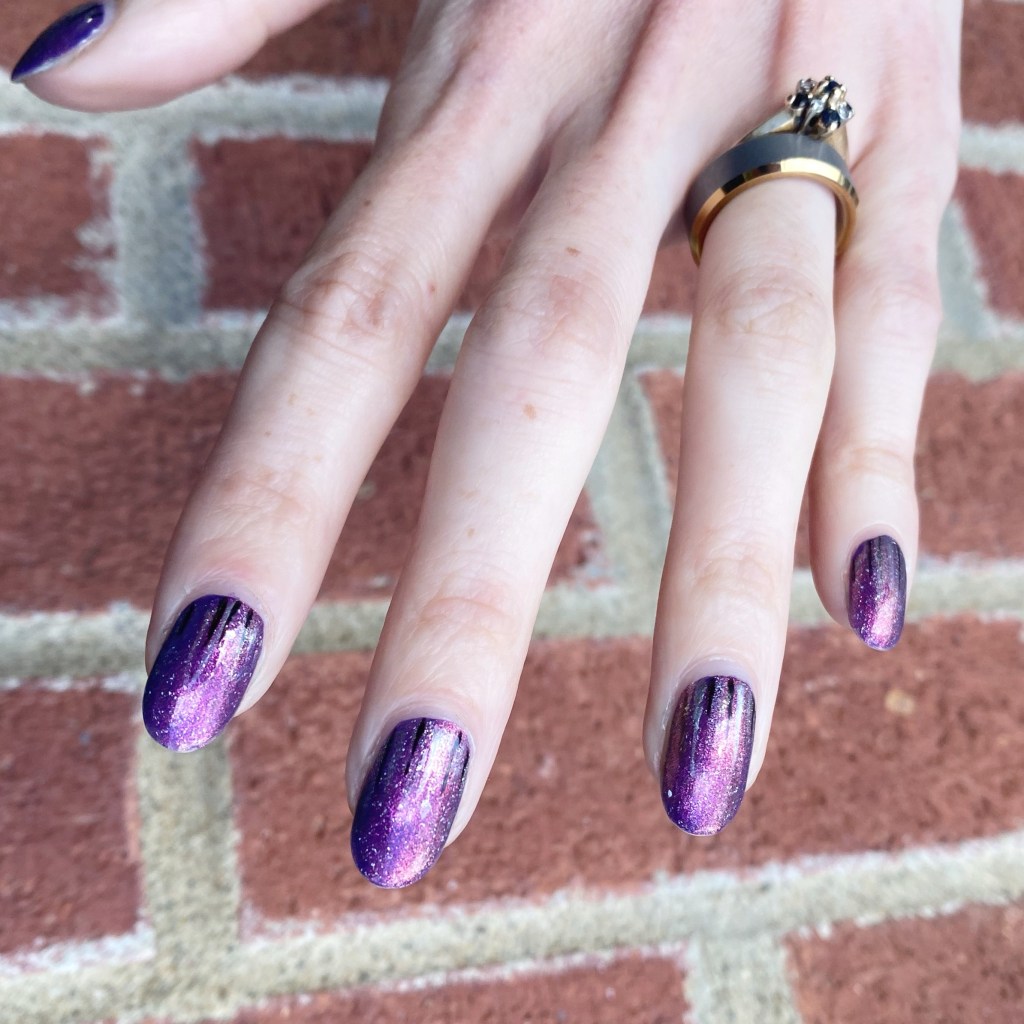
What do you think of these birthday nails? Would you wear this sparkly waterfall look?

Let me know what you think! & have a beautiful day.

🖤

SWATCH SUNDAY — NailStuff Essentials Treatments (New In-house Line from NailStuff.ca)

*paid PR

Hello lovelies & happy Sunday!

Today’s Swatch Sunday post is a super exciting one because I have the opportunity to share with you soon to be launched (aka launching tomorrow!) products from NailStuff.ca — their very own in house brand: NailStuff Essentials. & I was lucky enough to be able to be invited to swatch these new products to share with you!

The new line contains 4 products: base coat, top coat, matte top coat, & holographic top coat. Each bottle contains 15ml of product, & is cruelty free, vegan, non-toxic & made in the USA.

You can tell that a lot of love & dedication went into the creation of this treatment line, so let’s take a look!

Spooky Season Holo Skull & Crossbones ☠️🖤

*contains PR

Hello lovelies & happy Friday. I hope everyone’s had a great week so far.

The weekend is almost here & it’s Thanksgiving weekend here in Canada so I expect to be in a full food coma by Sunday night. I thought it would be fun, though, so start my Spooky Season nails with a fun little skull & cross bones design.

The polishes I used for this manicure are: 

How fun as these?! Again, I got to use another one of those beautiful Essie shades I was recently gifted which is very exciting. Sadly, I wore these on a day when it was cloudy & rainy so the fun holo effect was not showing up very well.

What do you think of this fun holo skull look? Just a little dip into the Halloween nails to come. ☠️ You know me, Halloween is my favourite season for nail art, so I’m excited to share lots of fun designs with you.

Enjoy your Friday!

🖤

Autumn Gradient Nails 🍁

Hello lovelies & happy Wednesday! & happy October!

I know what you’re thinking — no Glam Nails Challenge? As much I’ve had fun the last couple months, I decided to take this month off because I have so many Fall/Halloween designs brewing in my head, I didn’t want to feel restricted!

First design of October is pure Autumn vibes. I created a beautiful subtle gradient using a few of the China Glaze Halloween 2019 shades & then added a little bronze leaf accent on a few nails. I just love how this design came together.

The polishes I used for this manicure are: 

  • Base Coat: Essie First Base 
  • Base Coat: LA Colors Mega Grow Treatment 
  • Top Coat: Essie Speed Setter
  • China Glaze Private Side-eye
  • China Glaze Arrest in Peace
  • China Glaze Get Off My Cold Case
  • Color Club Sidewalk Psychic
  • NailStuff.ca Clear Stamper
  • Born Pretty Store Stamping Plate BP-L026

So originally I was just planning on wearing this Gradient, but even though it’s beautiful it felt like it was just missing something! The addition of a few stamped maple leaves brought everything together! & I think it looks so beautiful. It looks perfect paired with my cosy scarf — which was a necessity on a chilly day like today!

Fall is definitely in the air! 🍂🍁

What do you think about this Autumn inspired Gradient? Do you have favourite colours/designs to wear during October? Let me know all your thoughts down in the comments below, & stay tuned for lots of fun & spooky October designs to come!

🖤

SWATCH SUNDAY — Sally Hansen InstaDri HoloGlow Holo-Back

Hello lovelies & happy Sunday! The last Sunday of September, which is absolutely mad!

Sorry for missing out on Swatch Sunday last week — I’ve been dealing with absolutely horrendous allergies lately, & I was full on wrote off last Sunday. I could barely think, let alone write a blog post! So I hope a brand new (still in stores) nail polish pick for this week’s Swatch Sunday will make up for my absence last week.

This is Sally Hansen InstaDri HoloGlow in Holo-back.

2 coats + top coat

I’ve been seeing these Sally Hansen InstaDri HoloGlow shades in store lately, & absolutely obsessed with them. so when I needed a new polish to cheer myself up I was immediately was drawn to this new collection. Because… you know: holo. & when you can find holographic nail polish at your local drug store, you need to try it out!

The Sally Hansen InstaDri line boasts a 60 sec dry time. For application, I did need to have 2 coats, so I feel like that adds a little time. While it did dry quicker, I’m not sure if it was only 60 seconds. I will say, I could see it drying down to a kind of textured finish (I’m assuming because of the scattered holographic glitters) but I don’t know if I would say it was only 60 seconds.

I did end up adding some top coat to smooth out (& glossy up) the finish. I’ve read online about people complaining that top coat removes the holographic finish but the top coat I used (Essie Speed Setter) didn’t cause any issues like that, as you can see.

Lots of scattered holographic glitters!

Obviously, I was drawn to this beautiful darker blue shade but the collection does boast 8 holographic shades in the line–although, I think my local Shoppers Drug Mart was sold out of a few of them. I was torn between this shade & Chrome Zone, which was a dark almost black holo. I would definitely pick of that one next!

The Sally Hansen InstaDri HoloGlow shades can be found whenever you buy your Sally Hansen polishes. I picked up this bottle at my local Shoppers Drug Mart on sale for $5.99 CAD though they’re regularly $10.99 CAD.

What do you think about this beautiful Sally Hansen InstaDri shade Holo-back? Do you love being able to find holographic nail polish in mainstream stores? Have you tried the Sally Hansen InstaDri HoloGlow shades — which one is your favourite? Let me know all your thoughts down in the comments below.

Happy Sunday

♥︎