Hello lovelies & happy Monday! & happy Holiday week. Sending lots of beautiful wishes to everyone preparing for Christmas, or celebrating Hanukkah, or whatever brings you joy this time of year. The crunch is on right now to finish up this year, so I apologize for my sporadic posting schedule.
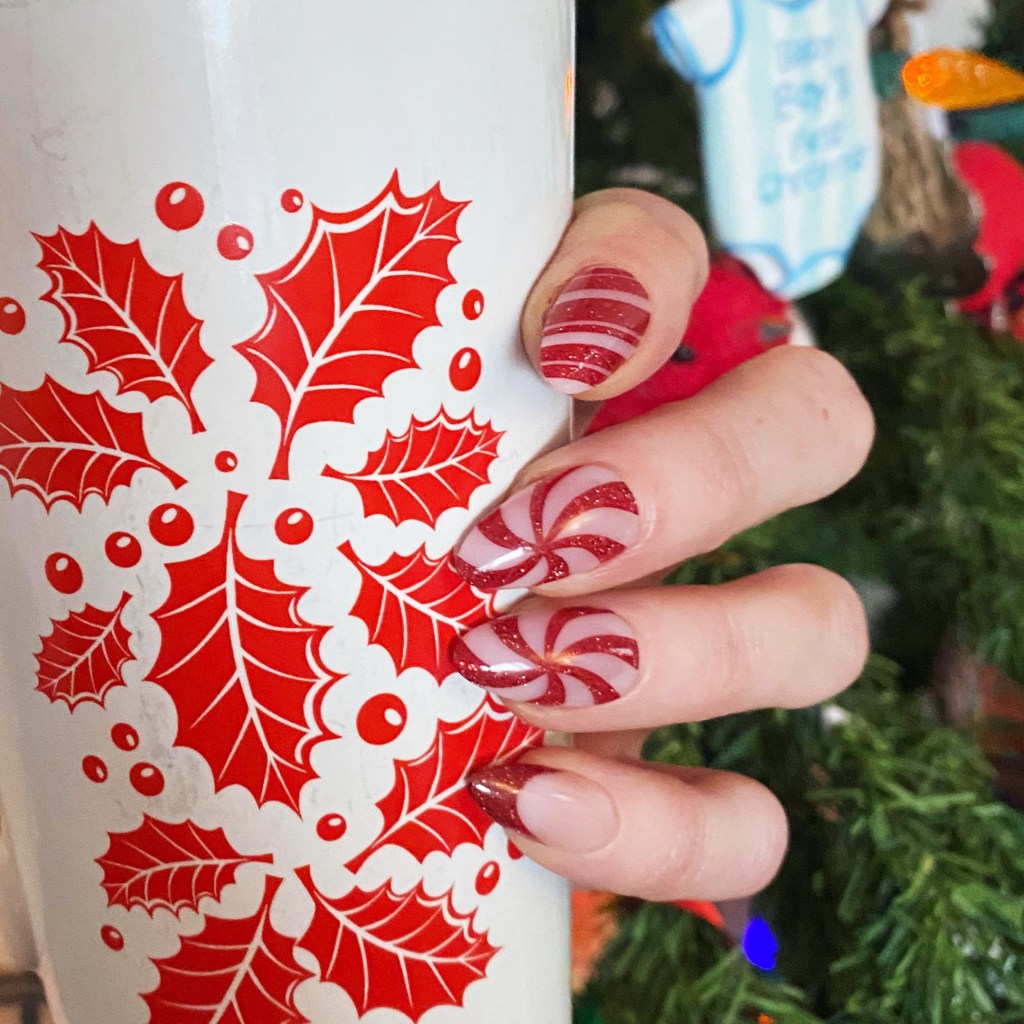
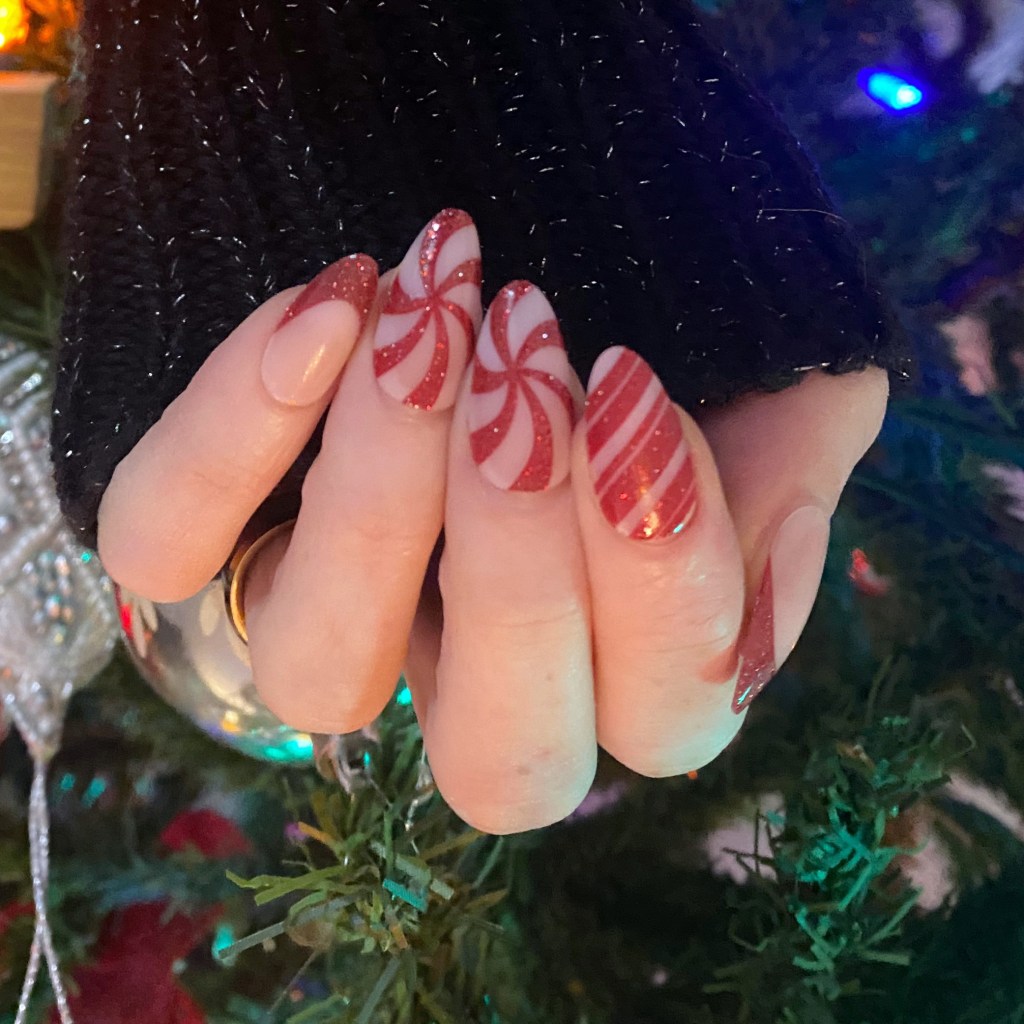
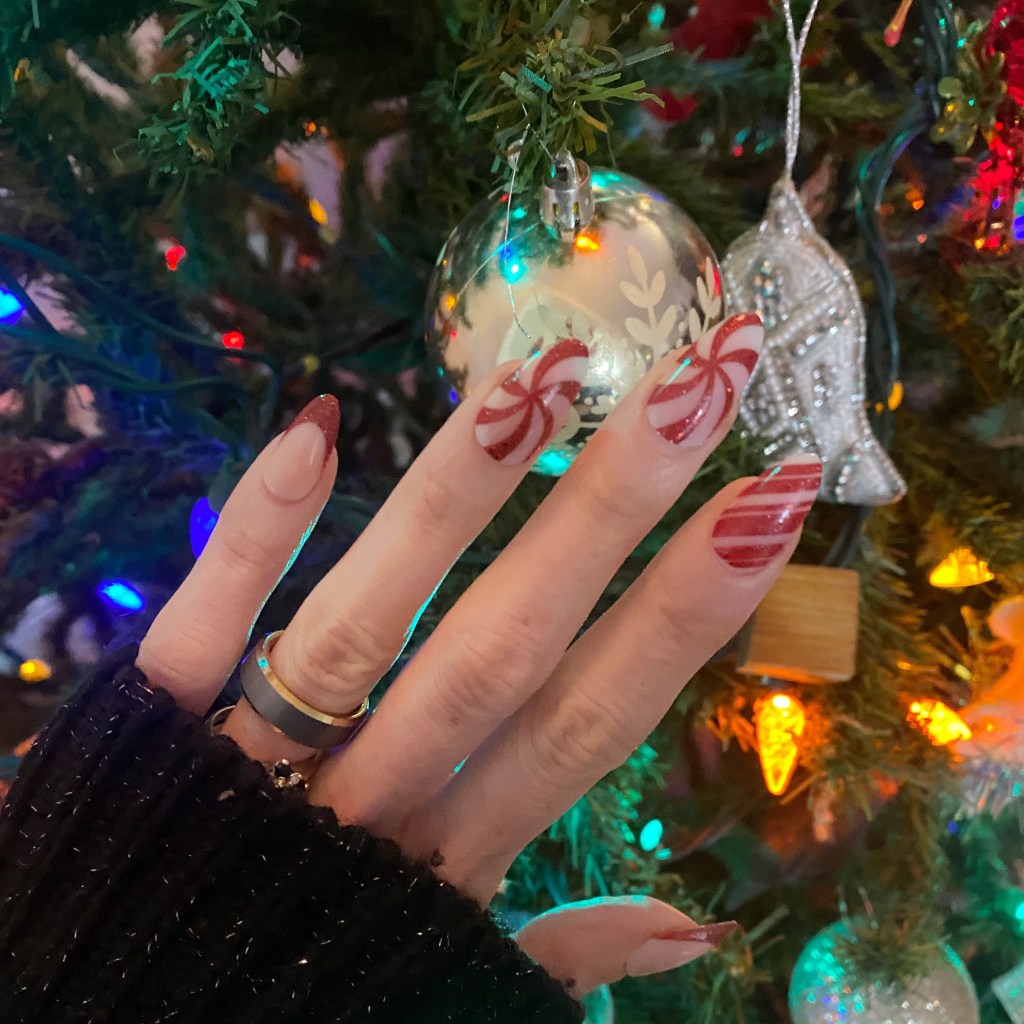
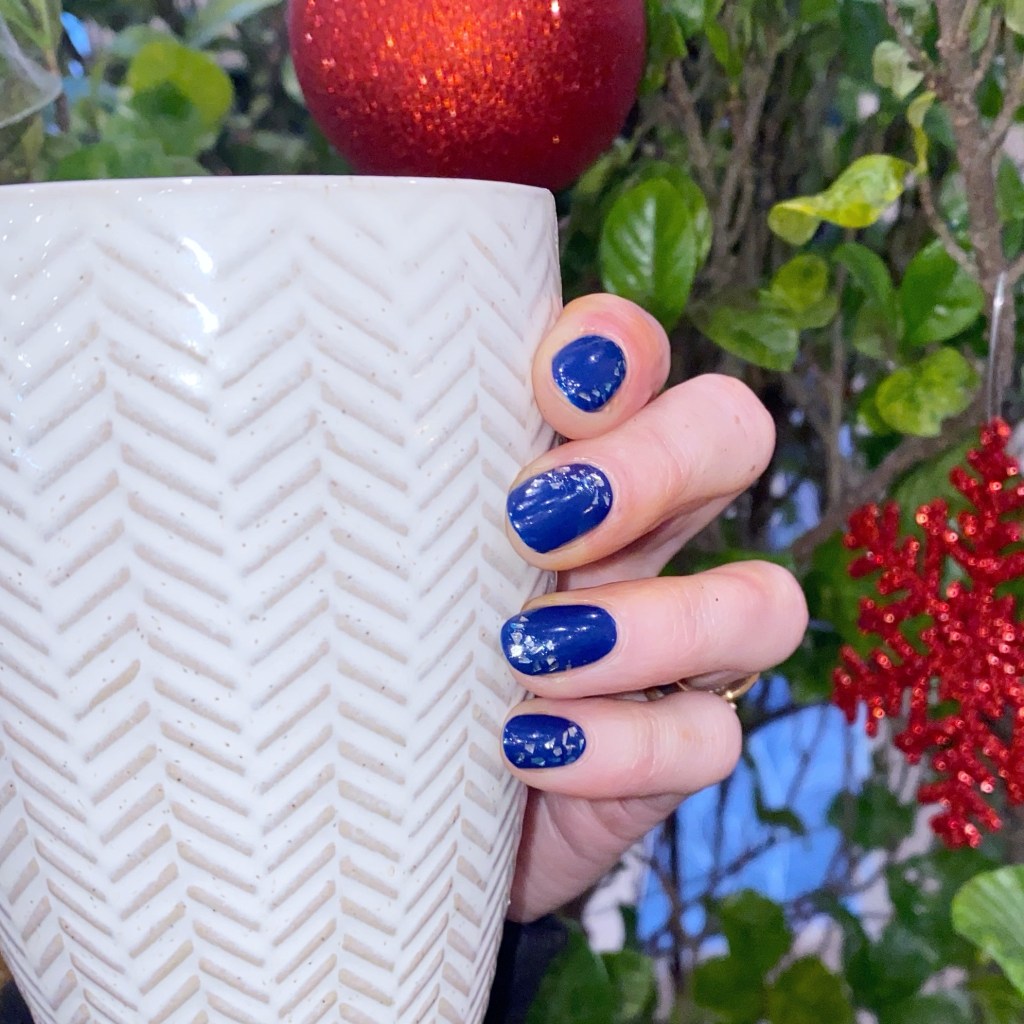
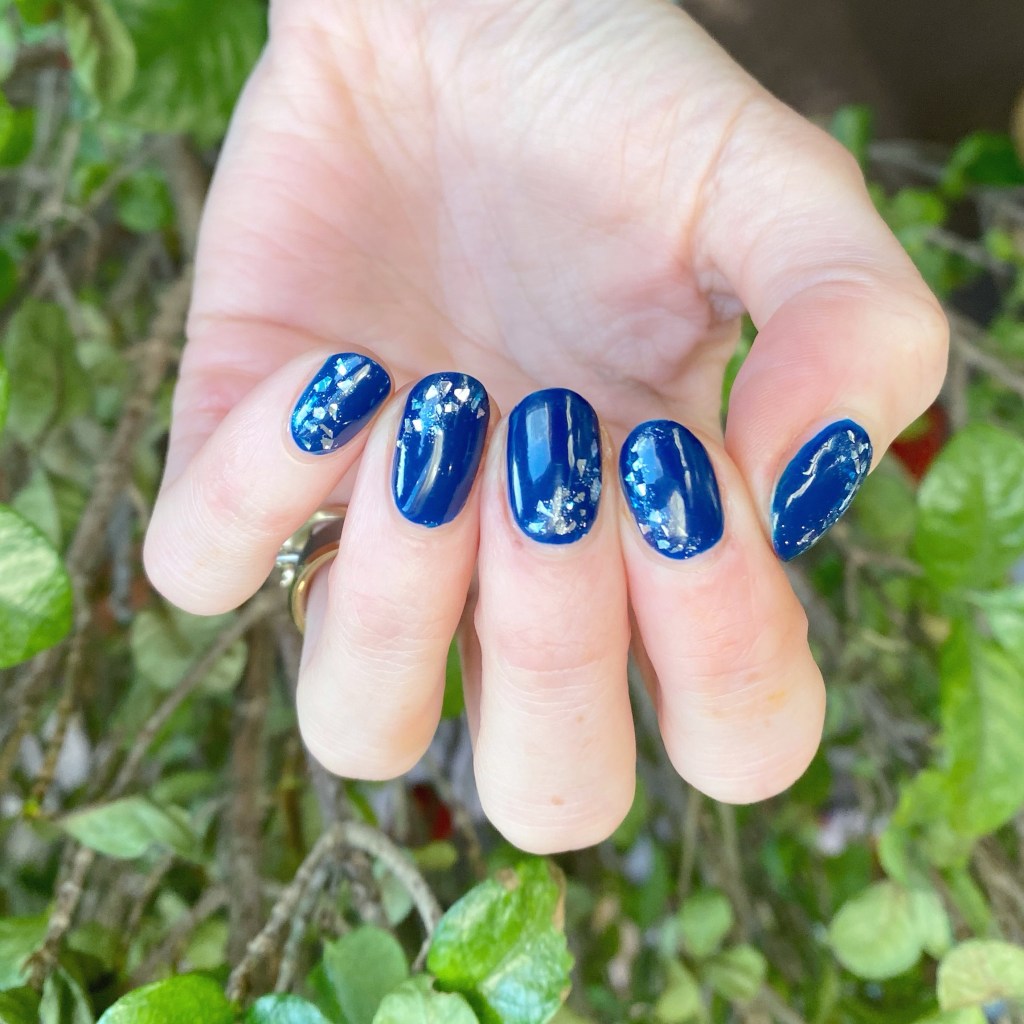
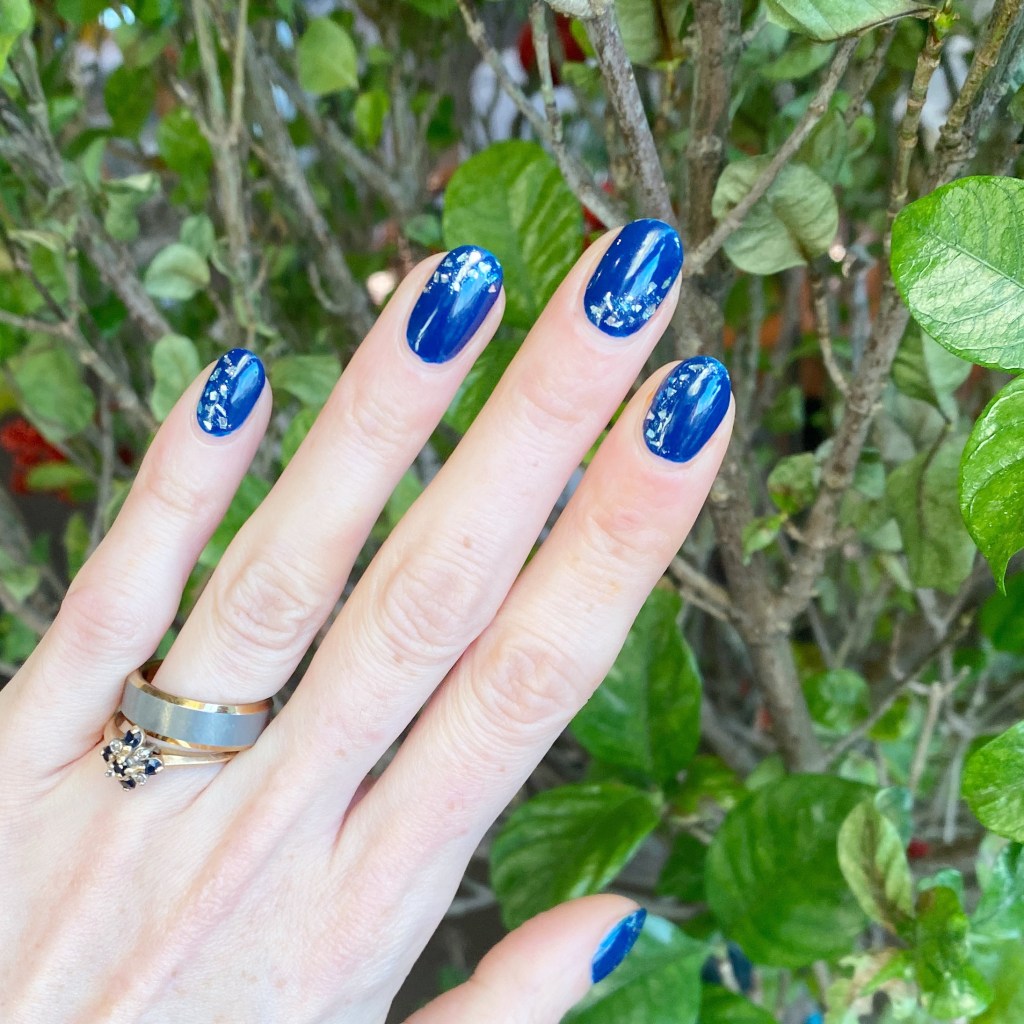
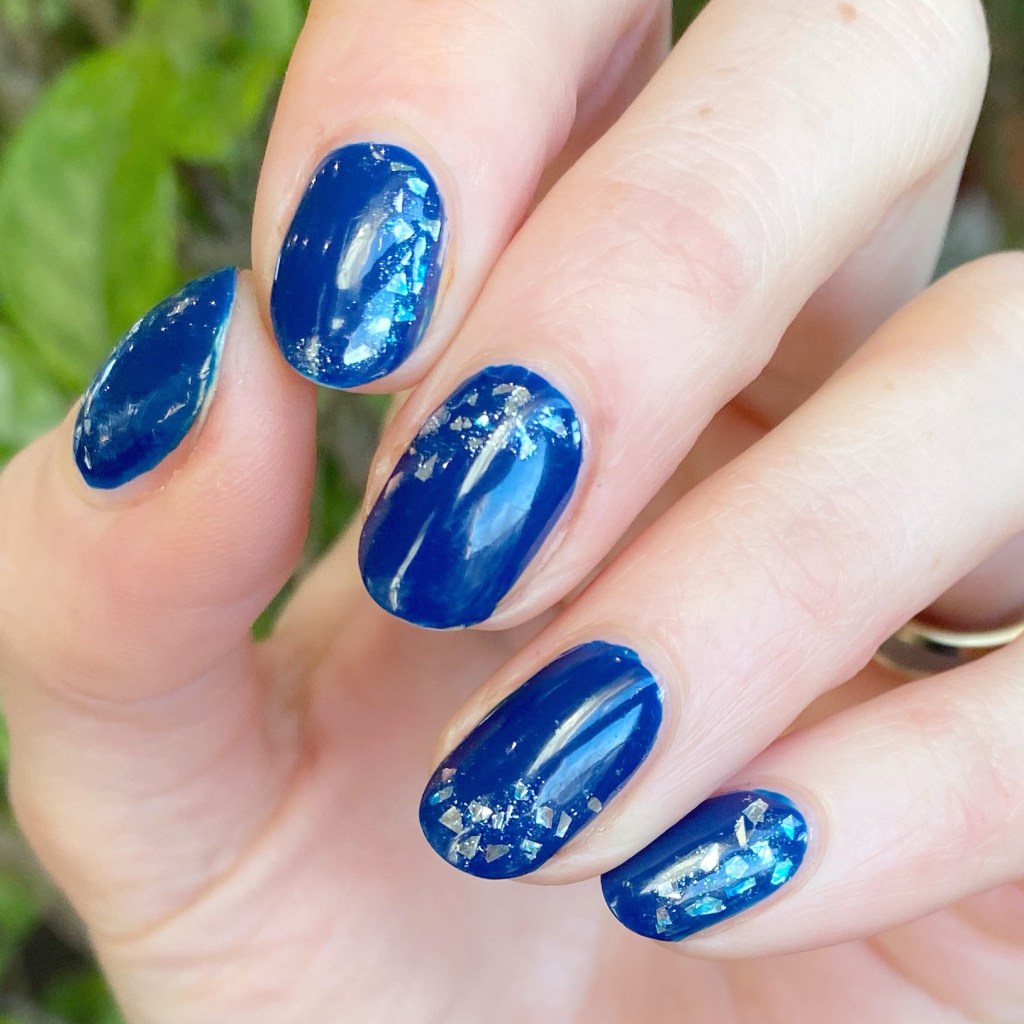
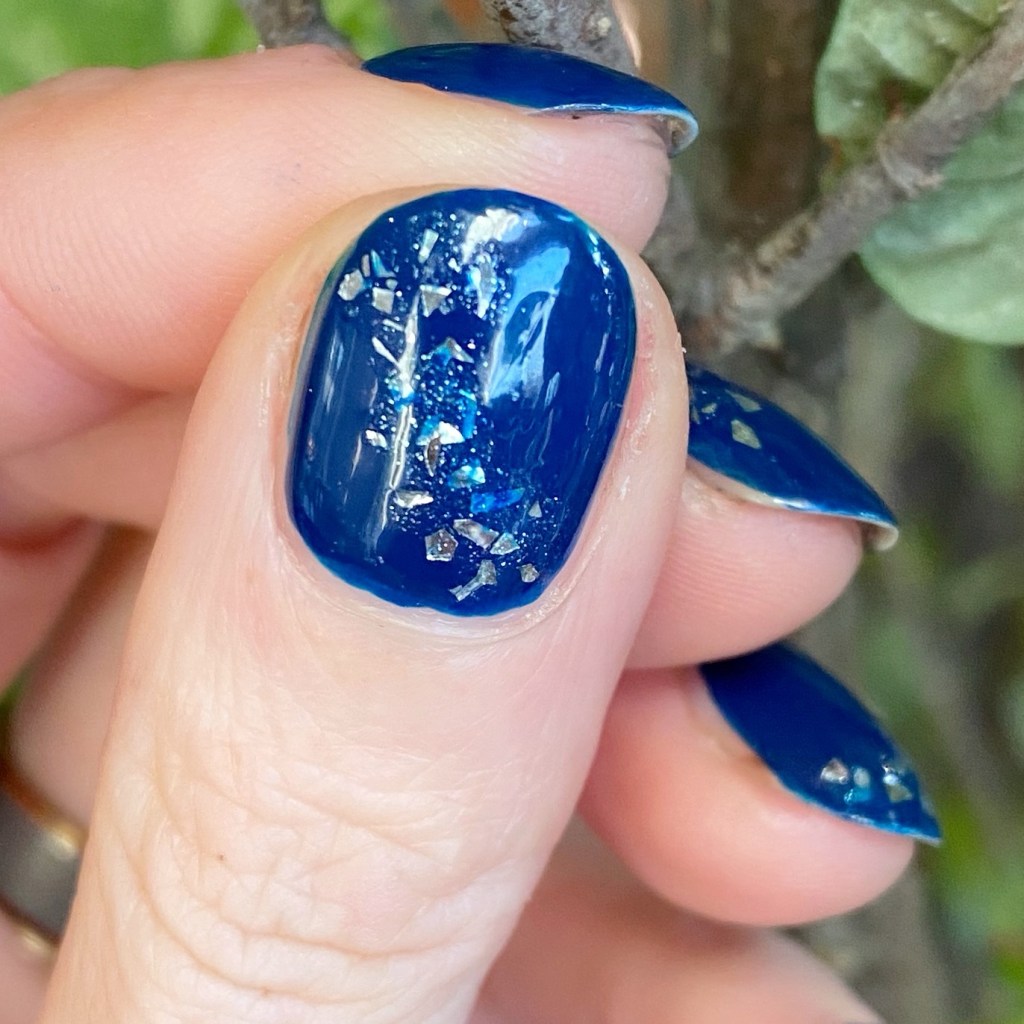
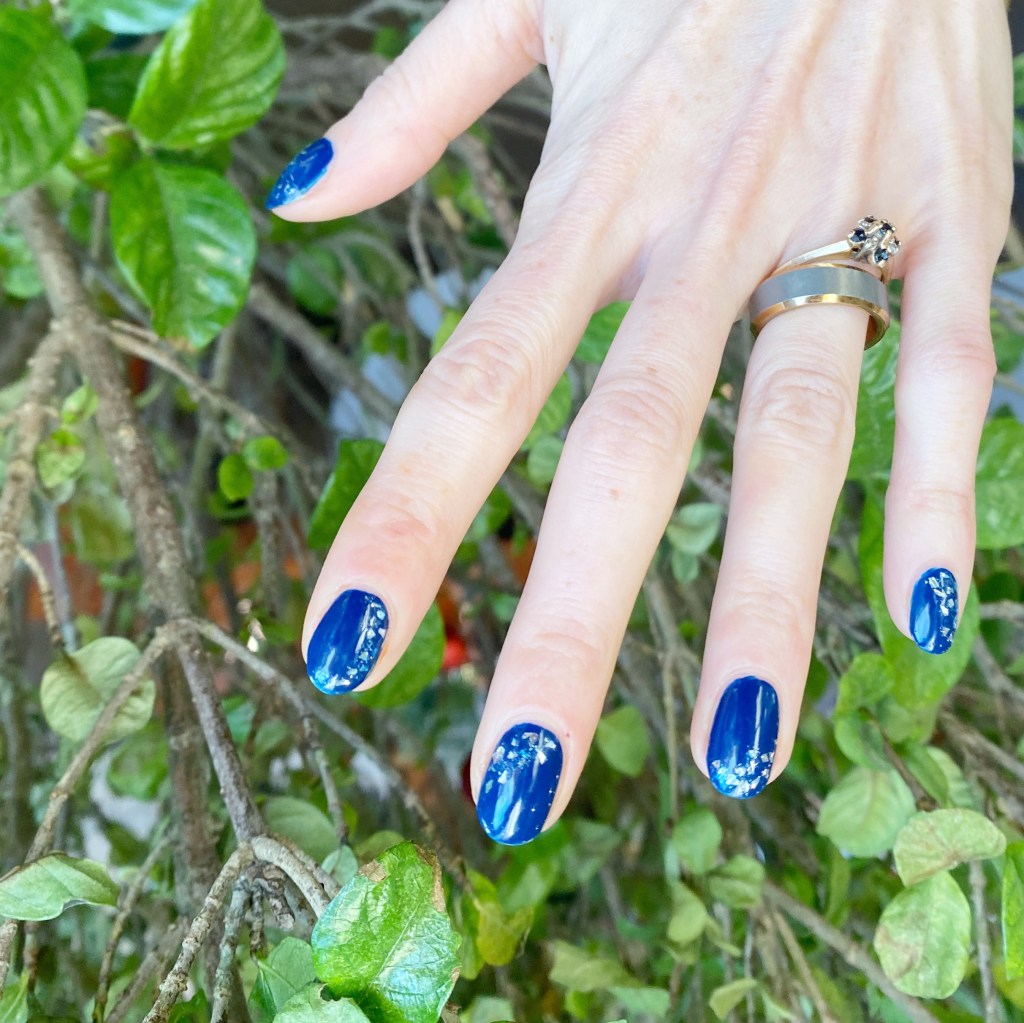
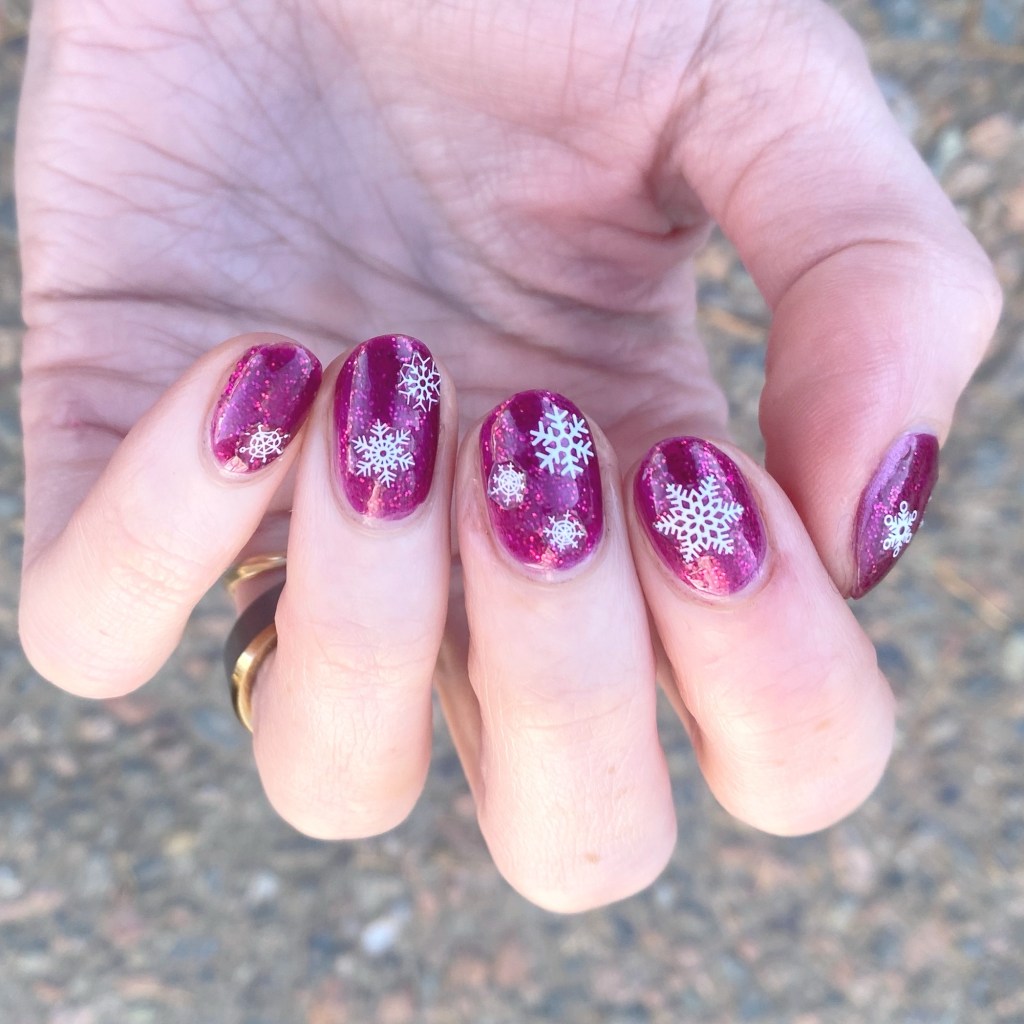
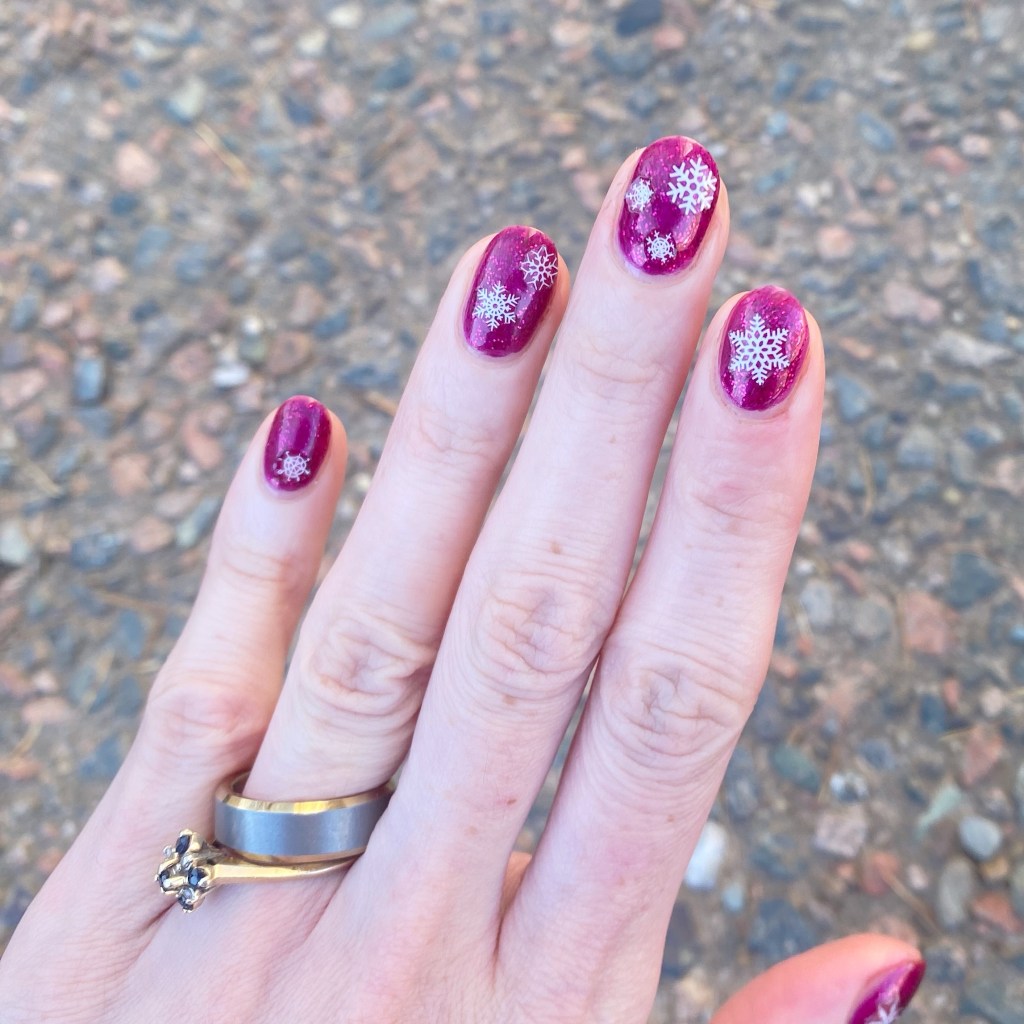
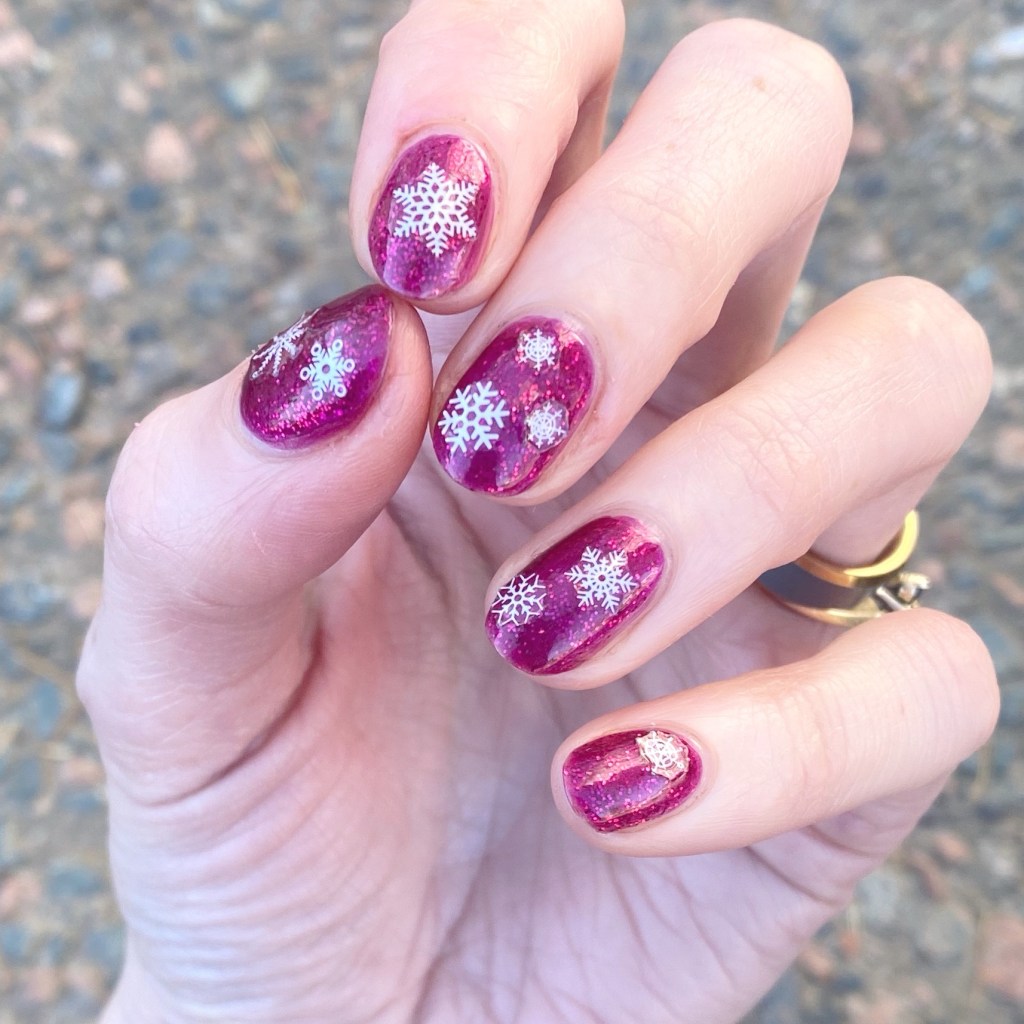
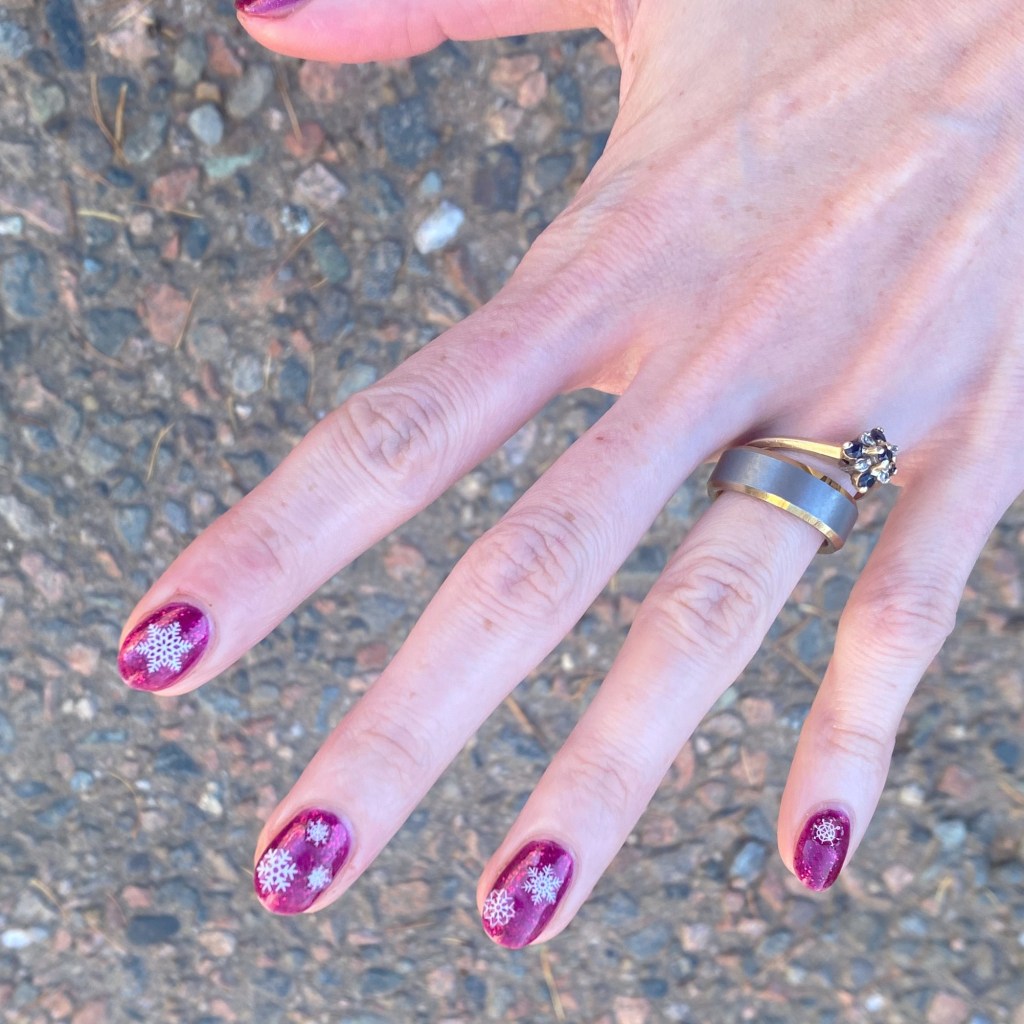
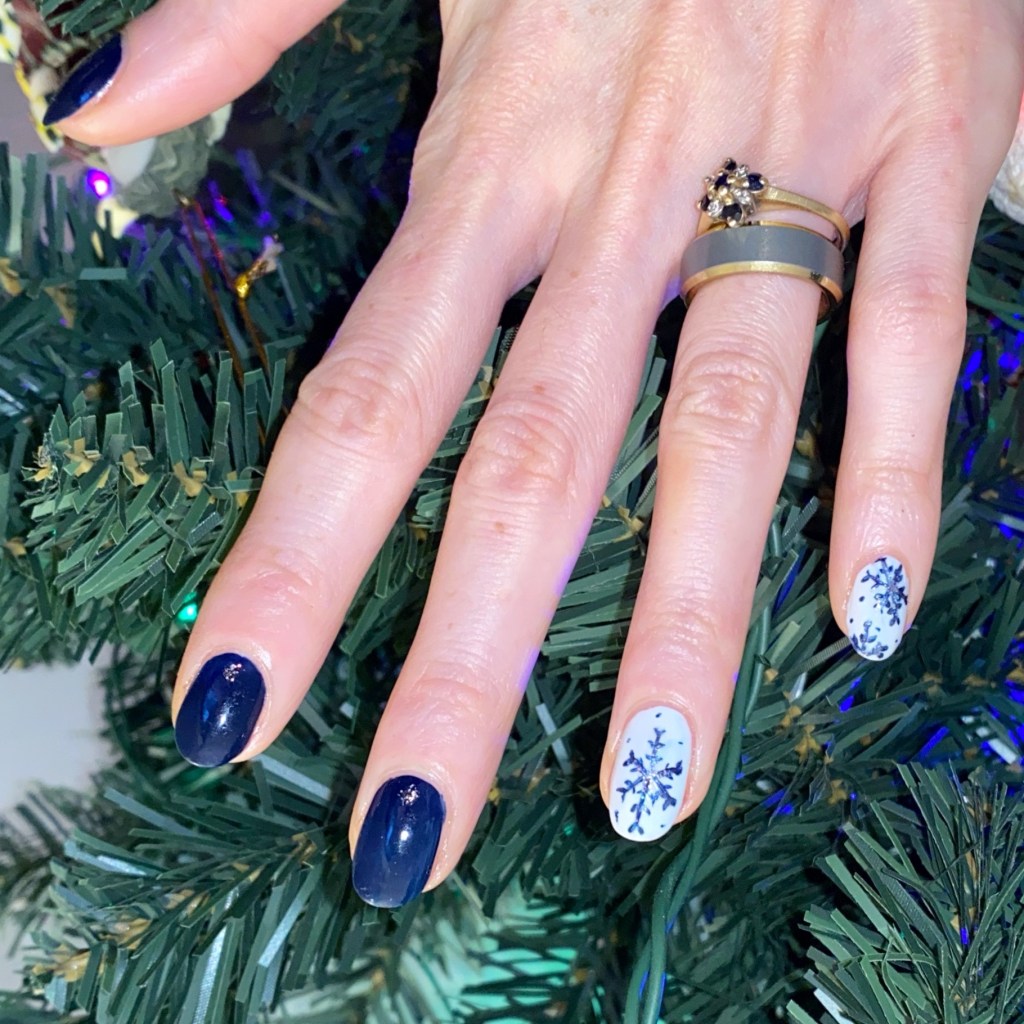
Today I’m sharing a freehand nail art Winter look I recently did. It’s not December/Christmas until I paint some freehand snowflakes, & I’m very proud of this design!
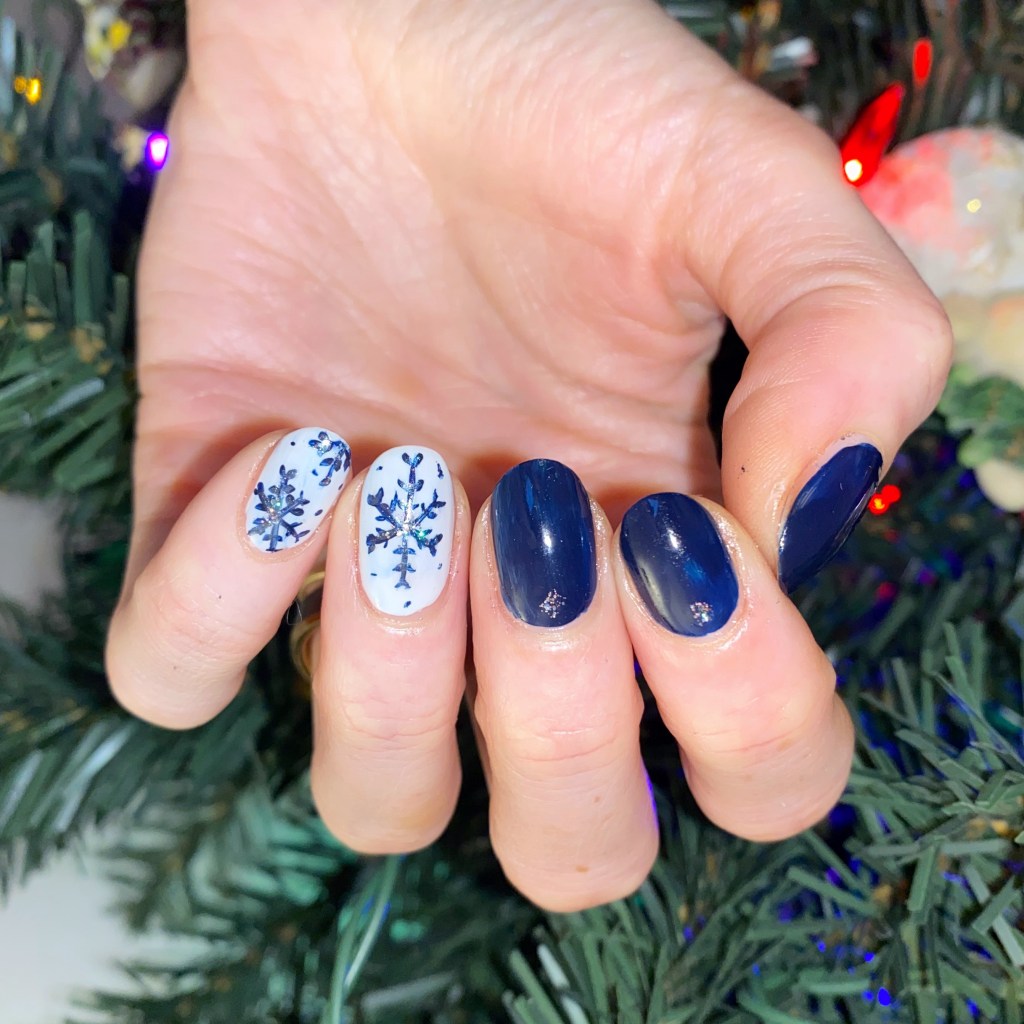

The polishes I used for this manicure are:
- Base Coat: Sally Hansen Miracle Cure
- Top Coat: Essie Speed Setter
- Sally Hansen Complete Salon Manicure Dark Hue-mor
- Sally Hansen Miracle Gel It’s a Moo Point
- Sally Hansen Xtreme Wear Strobe Light
- NailStuff.ca 4mm Micro Detail Brush

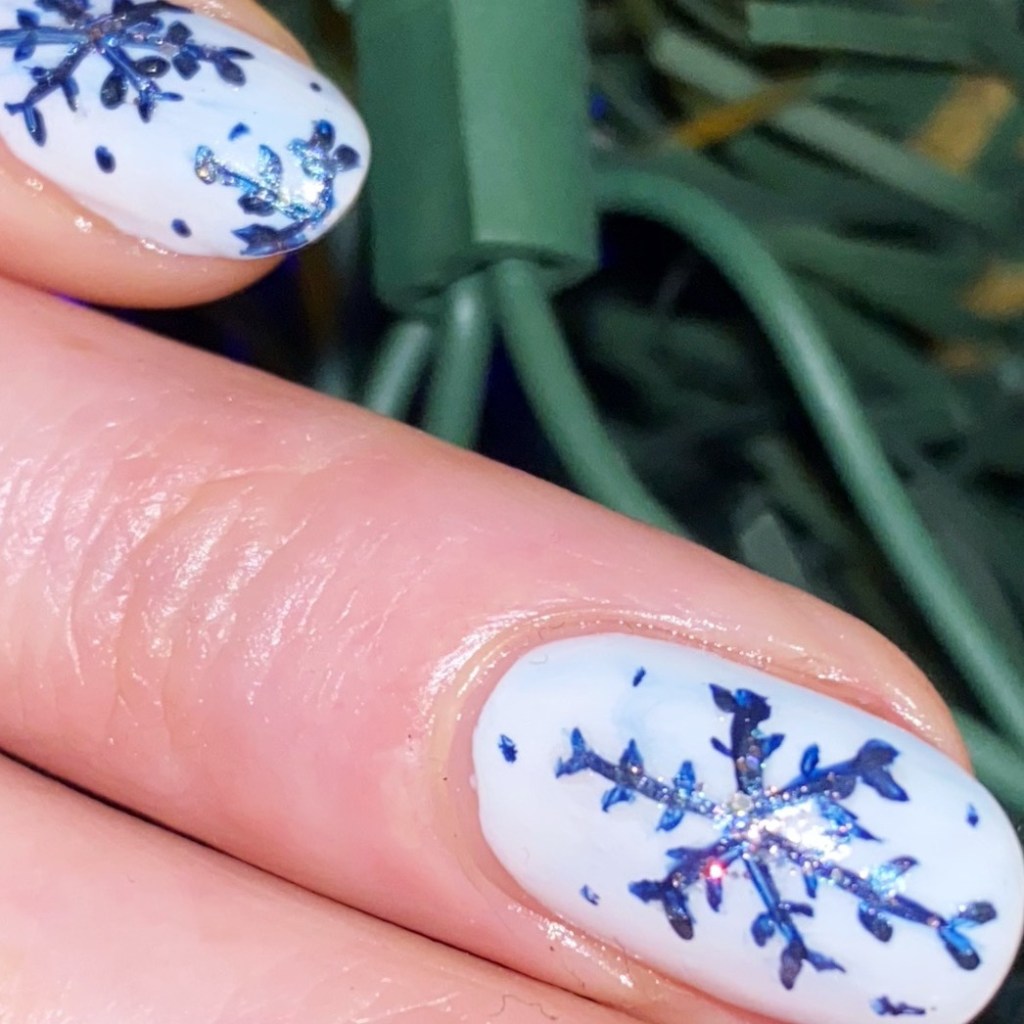
I always get scared to freehand something delicate like this, because in case you didn’t know — I can be kind of a perfectionist. But I’m trying to work on that, & challenge myself, & I’m really proud of my snowflakes. They’re dainty, & cute, with just the right amount of glitter.
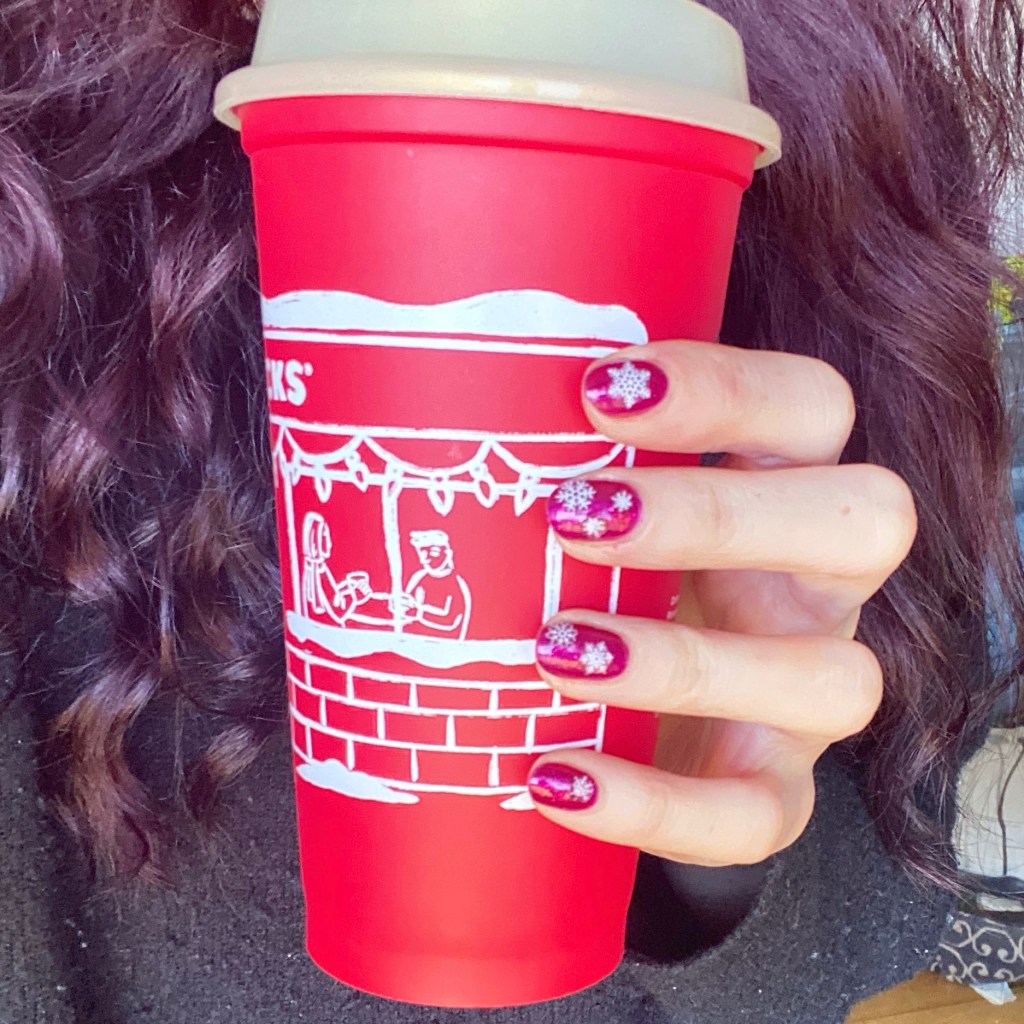
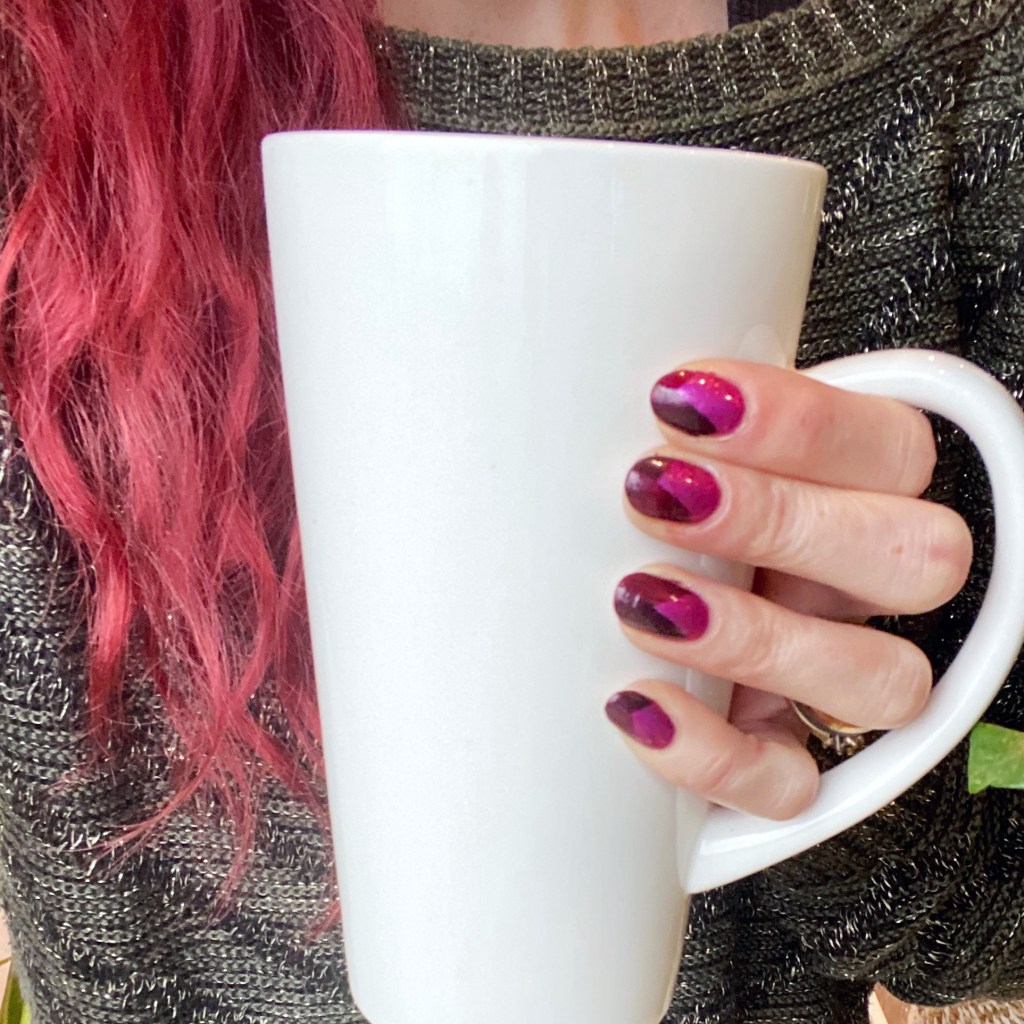
These are just such fun winter-y Holiday nails. I love how they turned out. Also I’ve been really, really feeling blue lately which is funny, because it’s not the most Christmas heavy colour. But I think for a design like this it’s perfect. & I got lots of compliments when I wore these nails to work, which always makes my whole day when someone notices them.
What do you think about these blue snowflake nails? Do you think it’s a fun, pretty design for the holidays? Are you all ready for the holidays? Let me know what you think down in the comments below.
& good luck to all my fellow last minute shoppers out there! I’ll be right out in the crowds finishing up my shopping, just like you.
♥︎