Happy Summer lovelies! & Happy Friday! I hope everyone is as excited for sunny days as I am! ☀️ seriously, the last few months has felt like a never ending Winter with a little fall thrown in for good measure. I’m very excited for sunshine & beach days… even if I spend most of my time hiding out within the walls of the Mall.
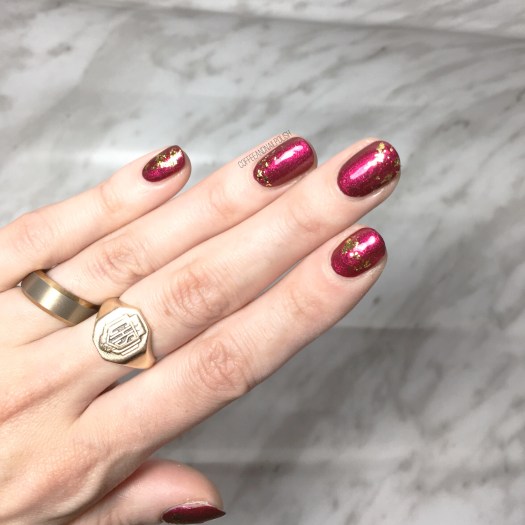
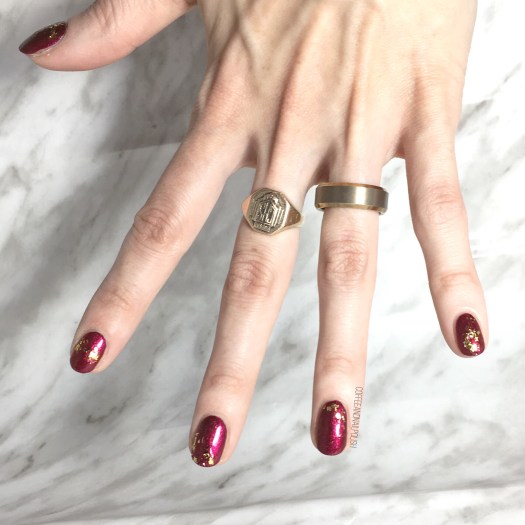
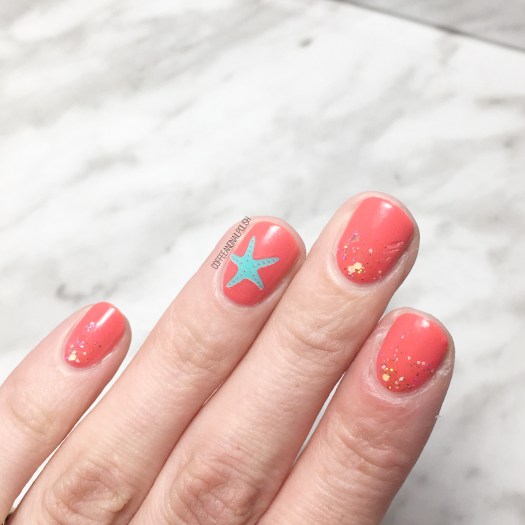
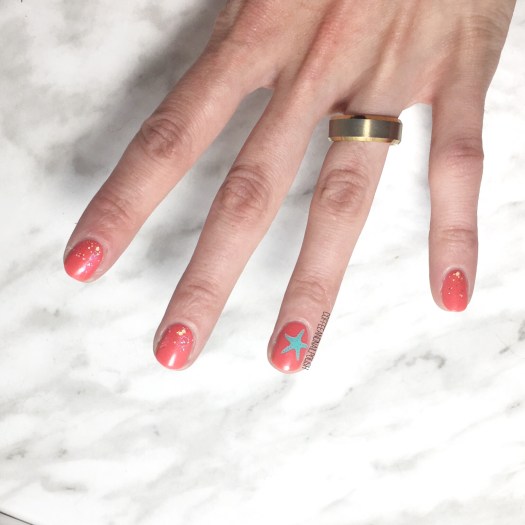
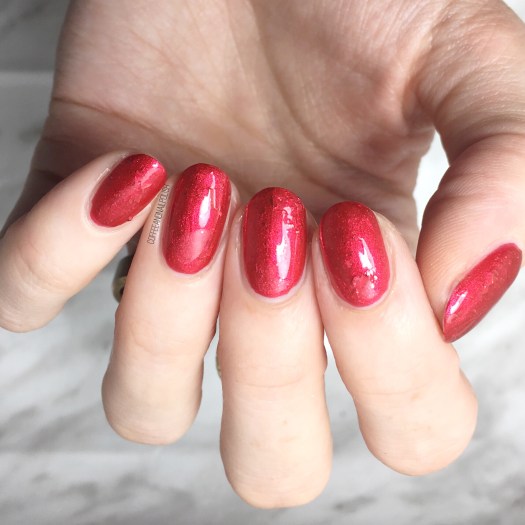
I just got over a very busy couple of weeks, which meant my nail designs needed to be fairly simplistic (since I had no time to do my nails!) That means I’ve been wearing either solid colour nails or going with simple accent nails. I’ve had these nail stickers from Icing in my nail art collection for a few years now, but I felt like I haven’t worn them in a while. I really wanted to have a contrasting colour to my base shade, so I decided to pick one of these turquoise starfish stickers as my accent.
For this manicure, the polishes I used were:
- Base Coat: Sally Hansen Green Tea + Bamboo Strength
- Top Coat: Essie Gel Setter
- Essie Sunday Funday
- Deborah Lippmann Make Someone Happy
- Icing Stores Nail Art Stickers (beach themed circa 2015/2016)

Originally I was planning on just wearing Essie Sunday Funday on its own with the starfish sticker, but it really felt like it needed something extra which I why I added the glitter gradient on my other nails…. & I LOVE how it turned out. Like, seriously love. It gives the design that Beachy feel I was hoping for without too much work. Like I said, it’s been a CRAZY few weeks with a lot of late nights at work, so nail art has taken a bit of a back seat. Thank goodness I have a huge back stock of nail art stickers & decals & other goodies to make doing my nails so much easier!
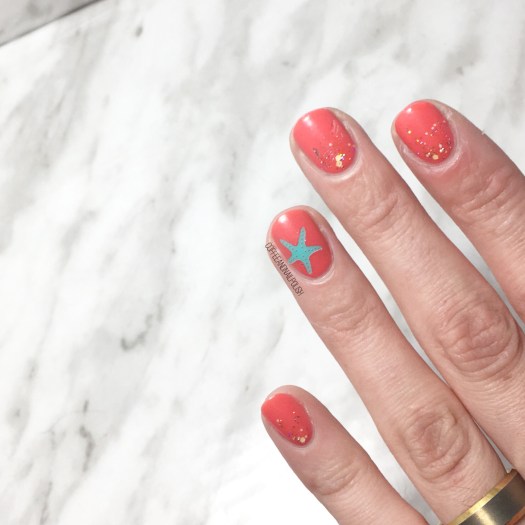
I think coral & turquoise is going to be one of my favourite colour combinations for Summer. After seeing them together here, I’m definitely going to need to do a half moon design featuring them… like now! (Or whenever I recover enough to actually function for nail art haha.)
what do you think of this simple design? Do you use nail art stickers to fancy up your nails? Share your thoughts down below!


 <<
<< <
<