Hey lovelies! I totally meant to post this manicure last week, but I got knocked out by the cold from hell which left me ravaged & not in the mood to do any posting! But my sinuses are finally recovering, & now I can finally show this fun look I did last week!
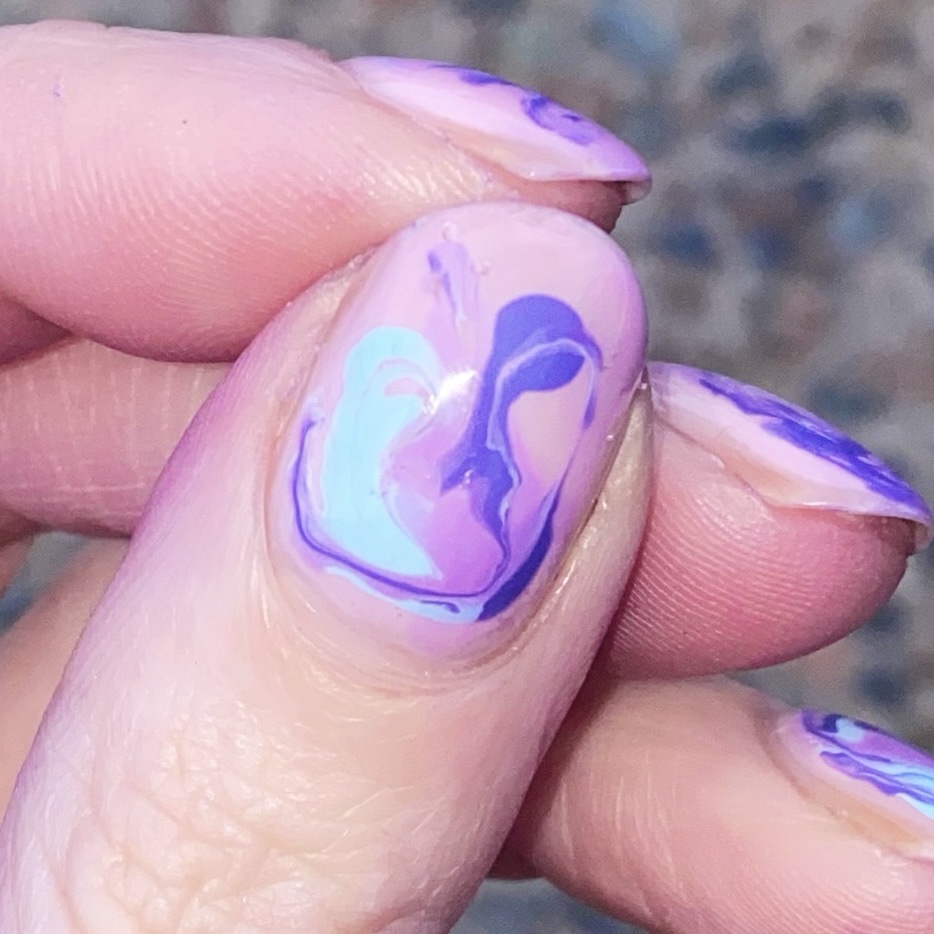
I was super curious about doing nail art over my gel manicure base, so I wanted to give it a try. I plan on also doing some nail art using all gel, but I was curious what would happen if you painted some nail art over just gel. (Including topping it with a regular top coat.)


Products used for this manicure:
- Olive & June Peel Off Base Coat *
- Olive & June Gel Polish Base Coat *
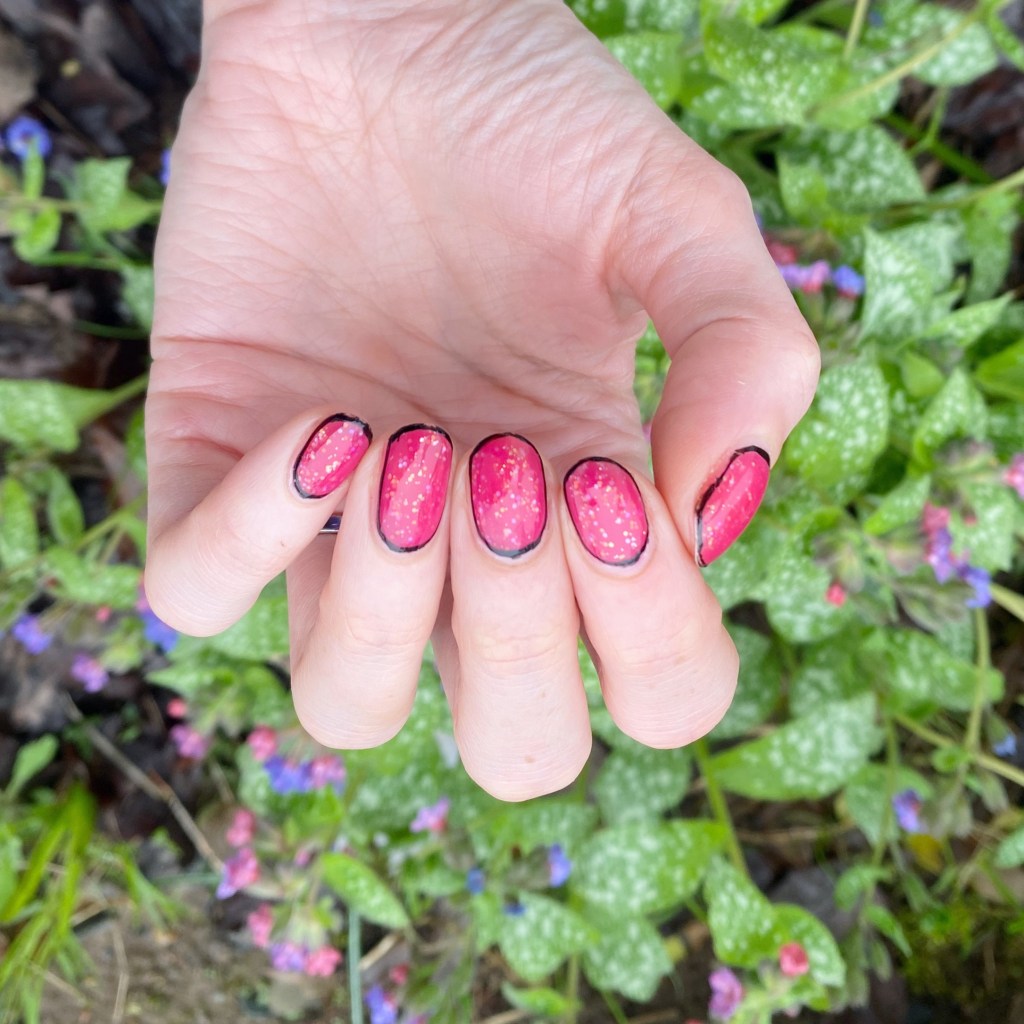
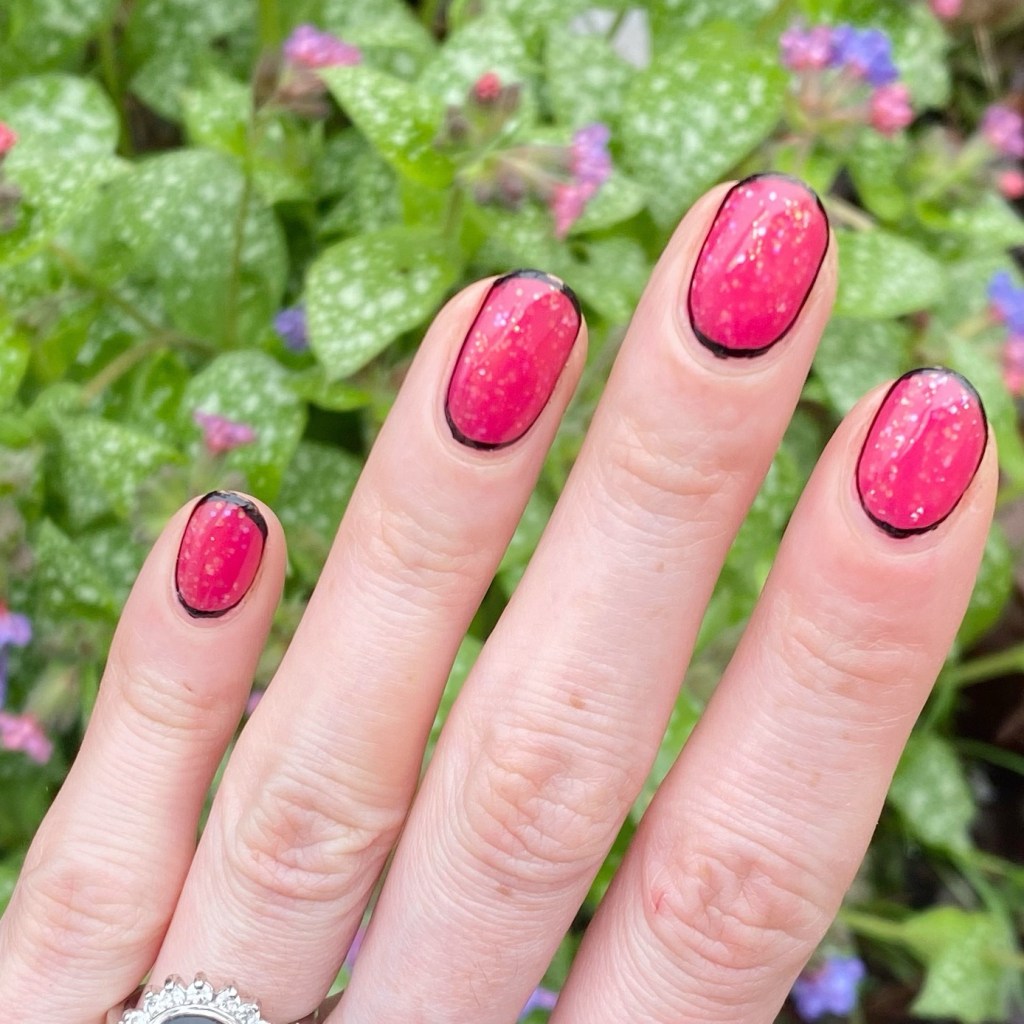
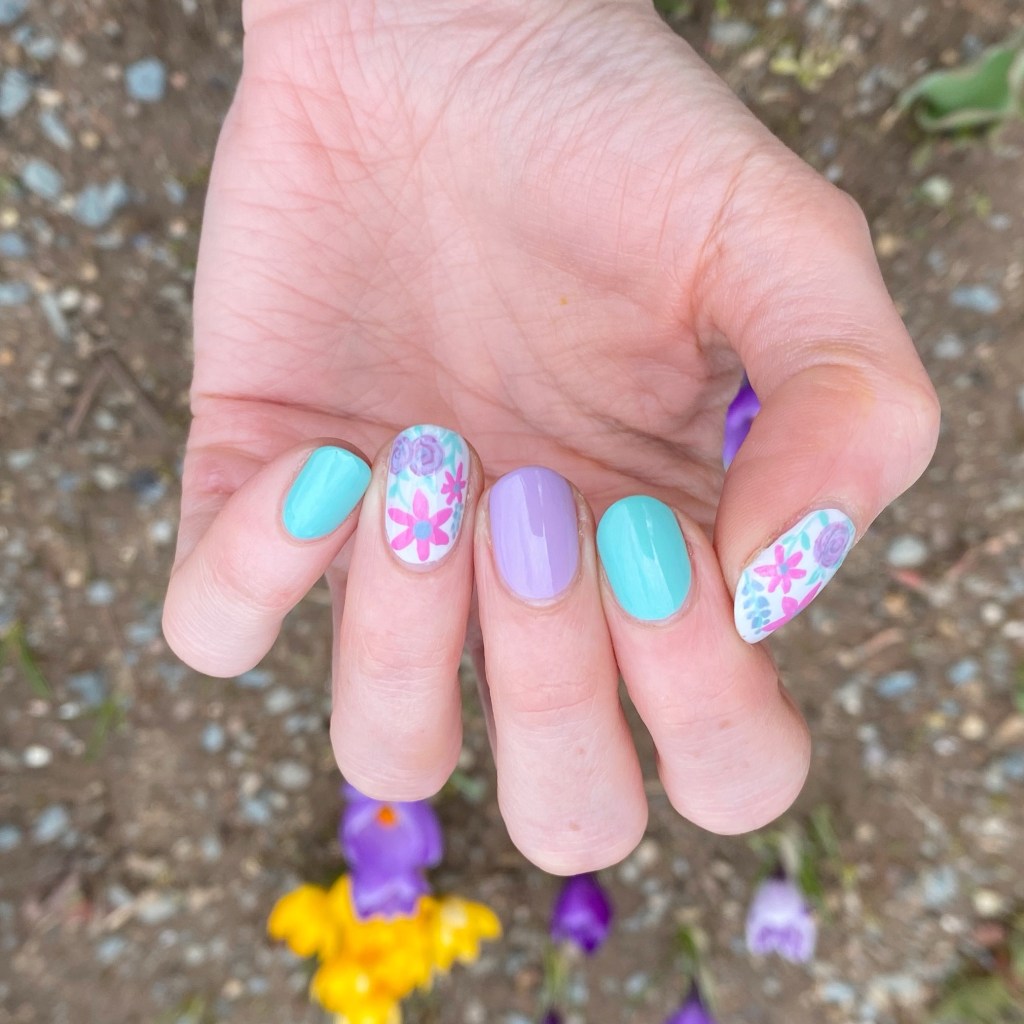
- 2 coats Olive & June Gel Polish XOXO *
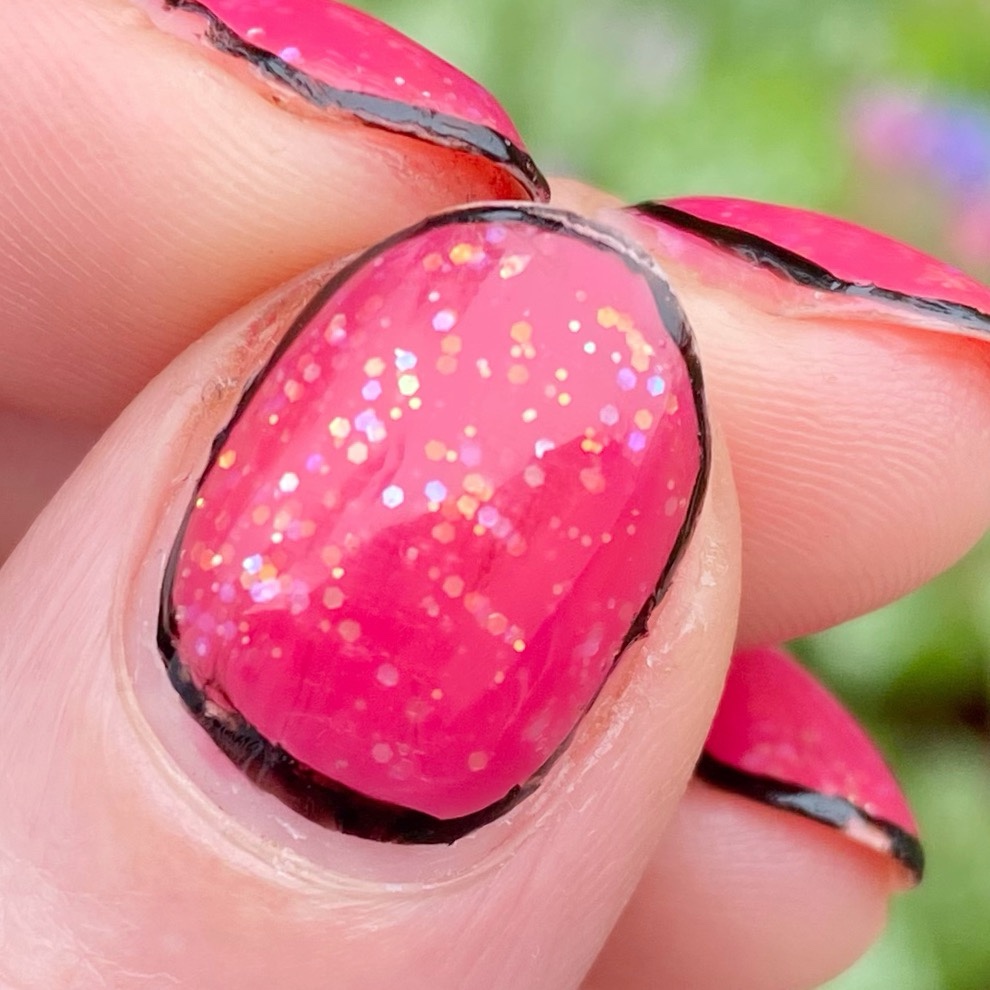
- 1 coat Olive & June Gel Polish Pink Goldfish *
- Olive & June Gel Polish Top Coat *
- Sinful Colors Bold Color
- Essie Mint Candy Apple *
- Essie Satin Sister
- Butter London Coming Up Roses *
- Nailstuff.ca Mermaid Tail 7mm liner brush
- NailStuff.ca Dotting Tool
- China Glaze Fast Forward Top Coat
**gifted/PR
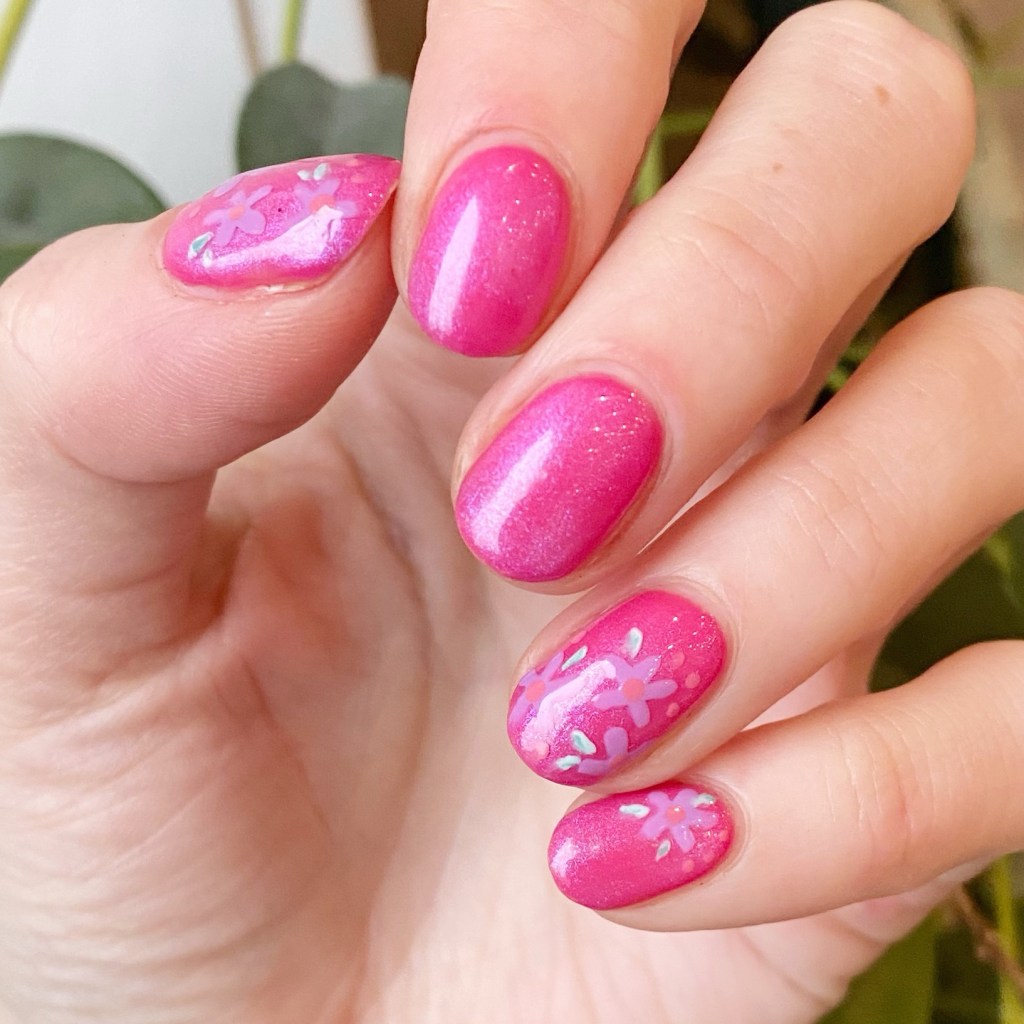

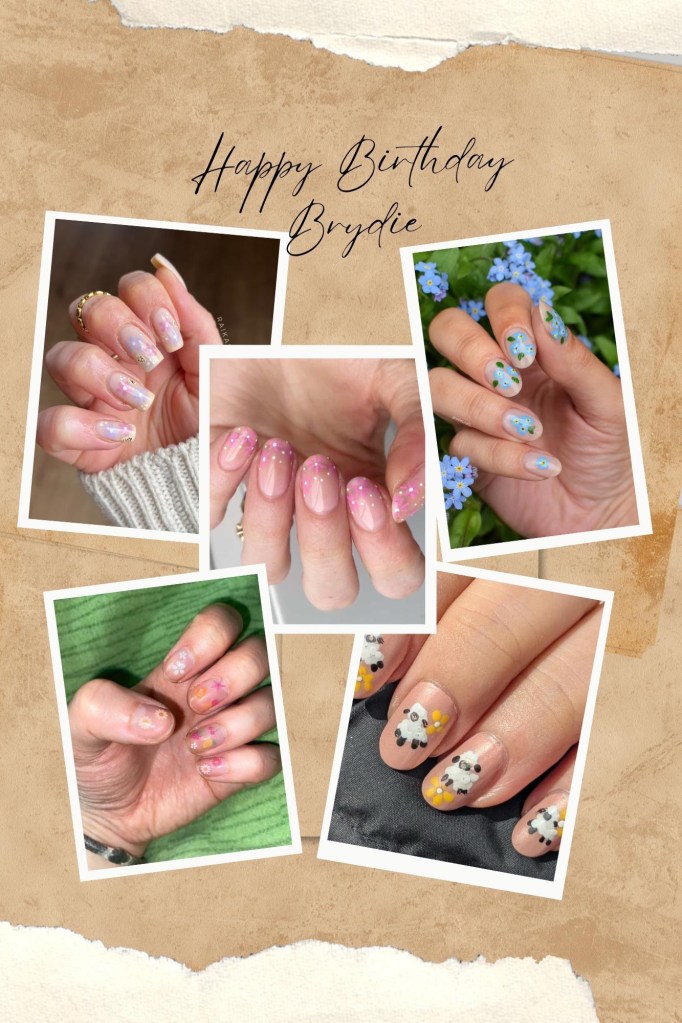
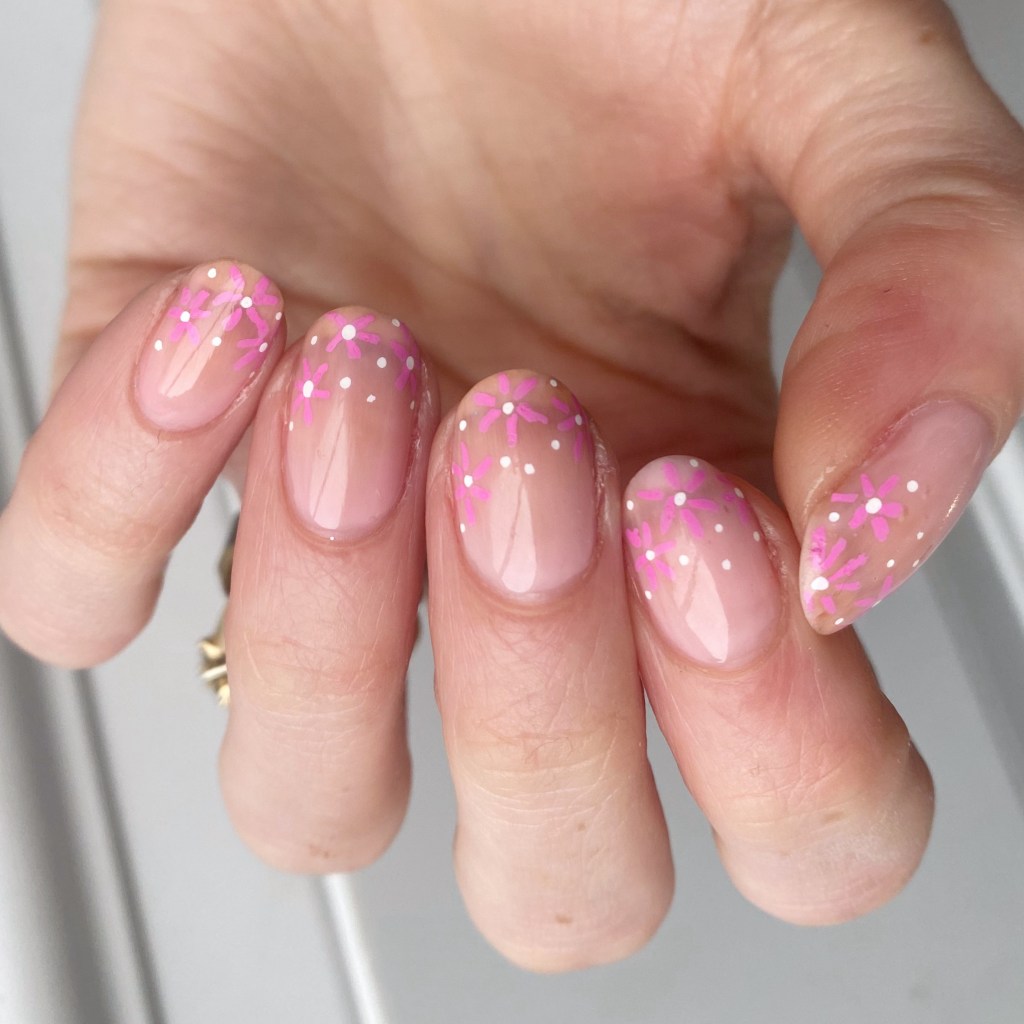
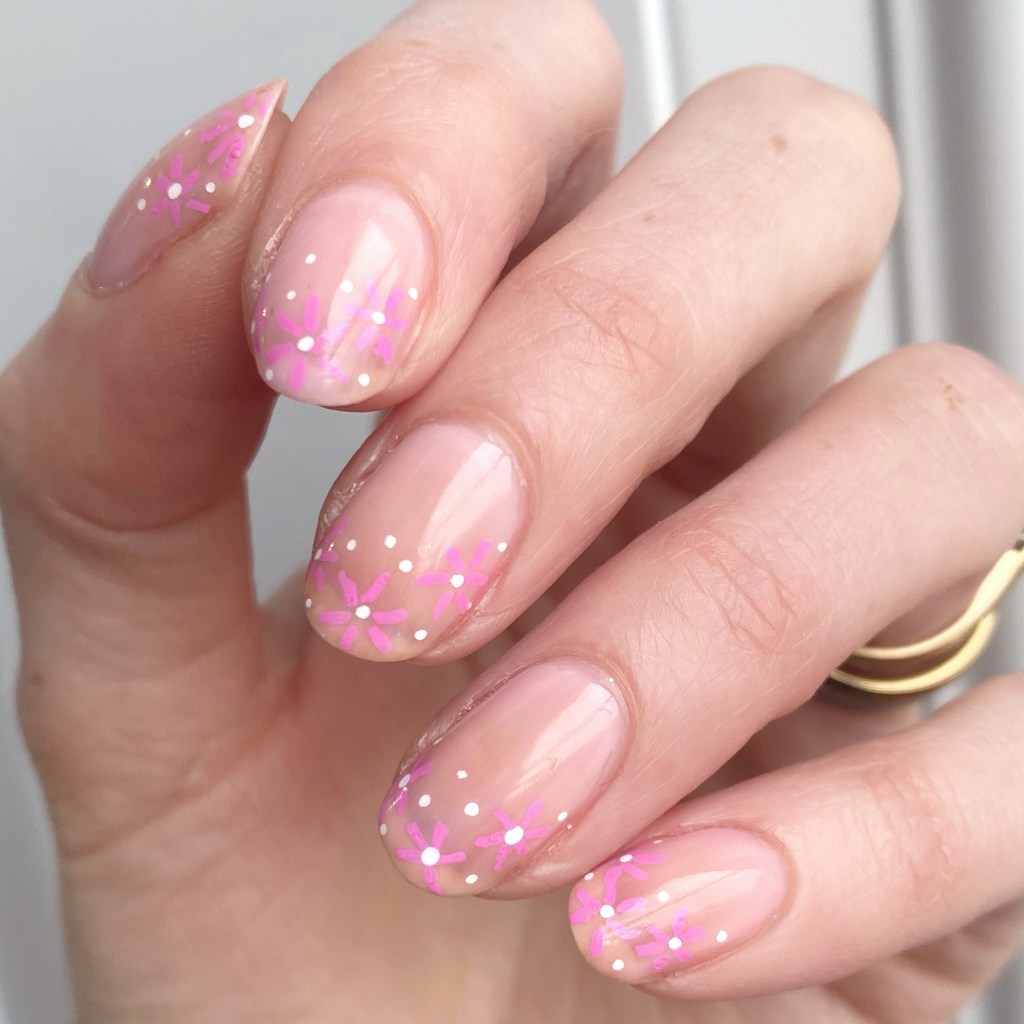
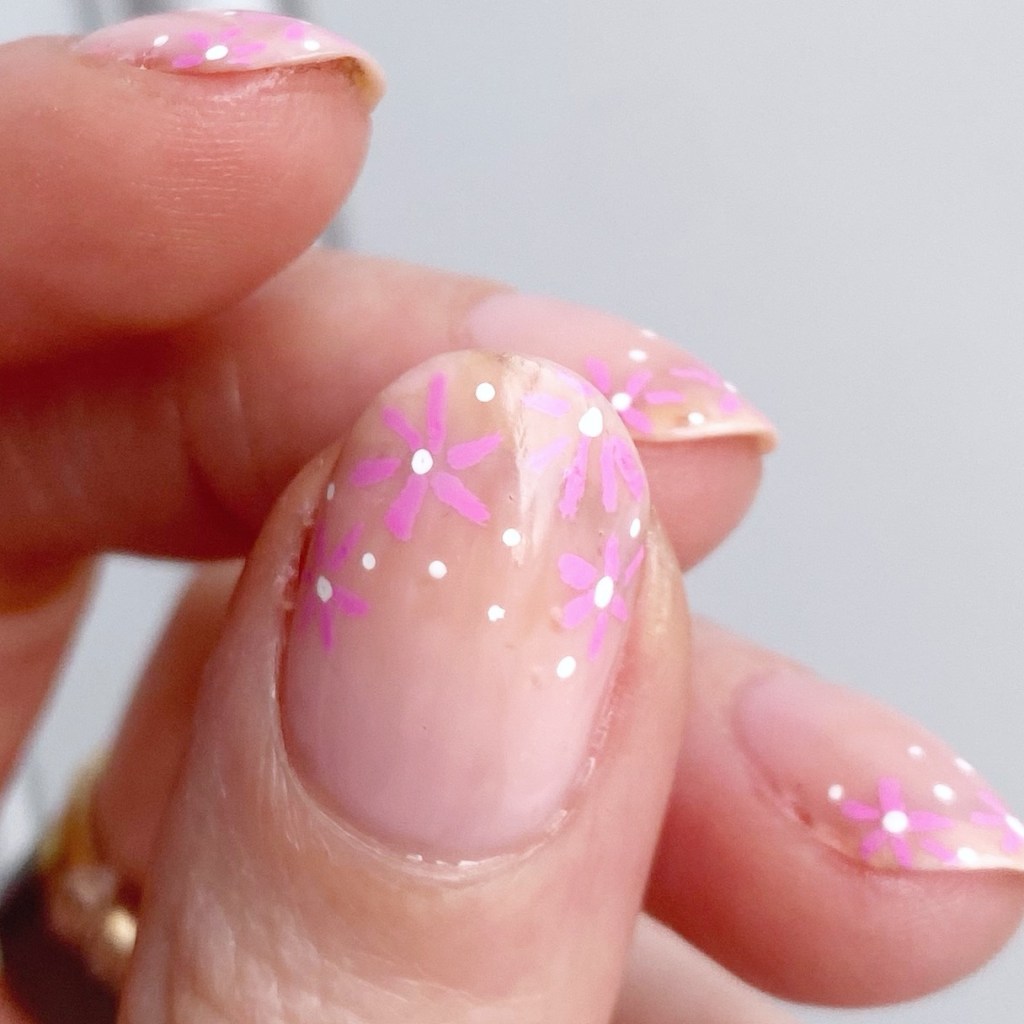
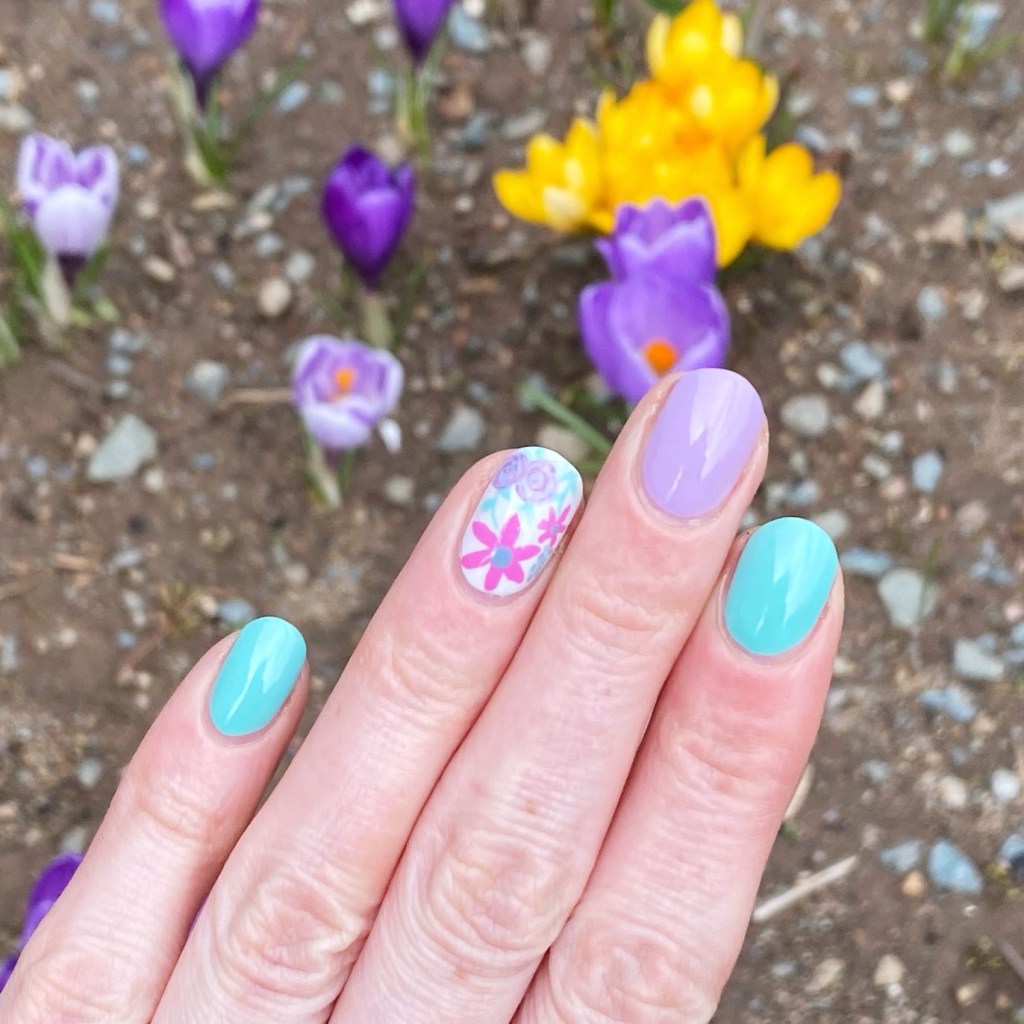
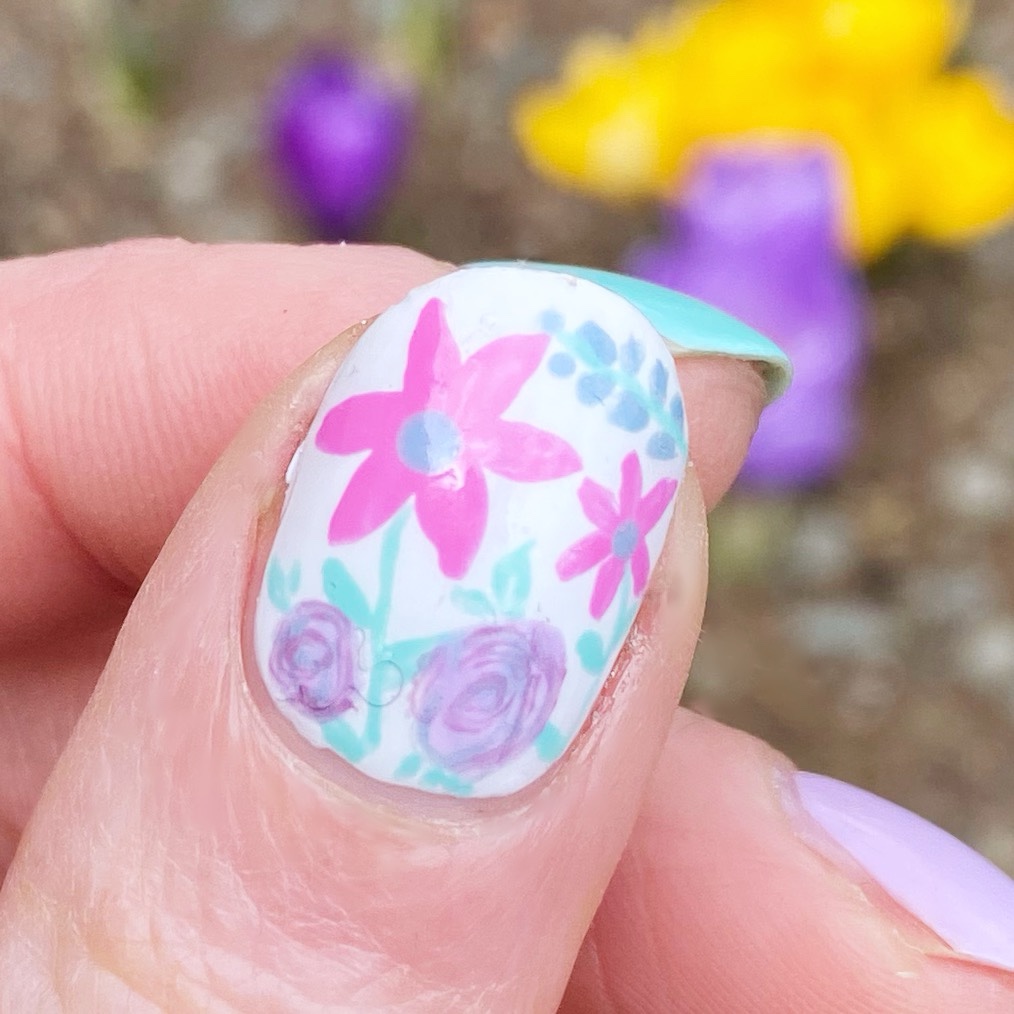
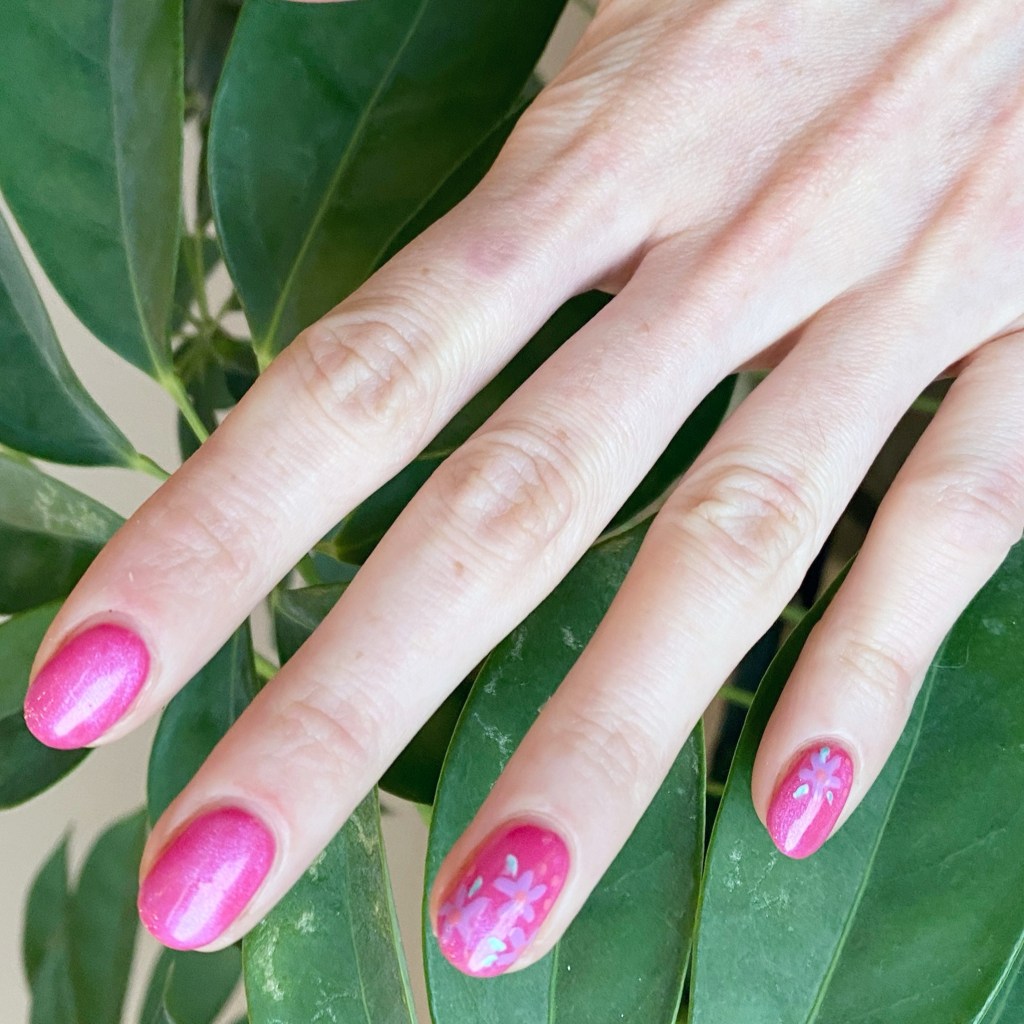
I think these are so just so pretty! I will say, the quick dry top coat I used (China Glaze Fast Forward Top Coat) did dry down in a way that made the nail art flowers almost look like 3D stickers — which I thought I was very cool. I’m curious what would have happened if I had used the Olive & June Gel Top Coat — & I might have to experiment to see what happens!
As I mentioned, I’m still so new to the world of gel, so I’m enjoying playing around with it.
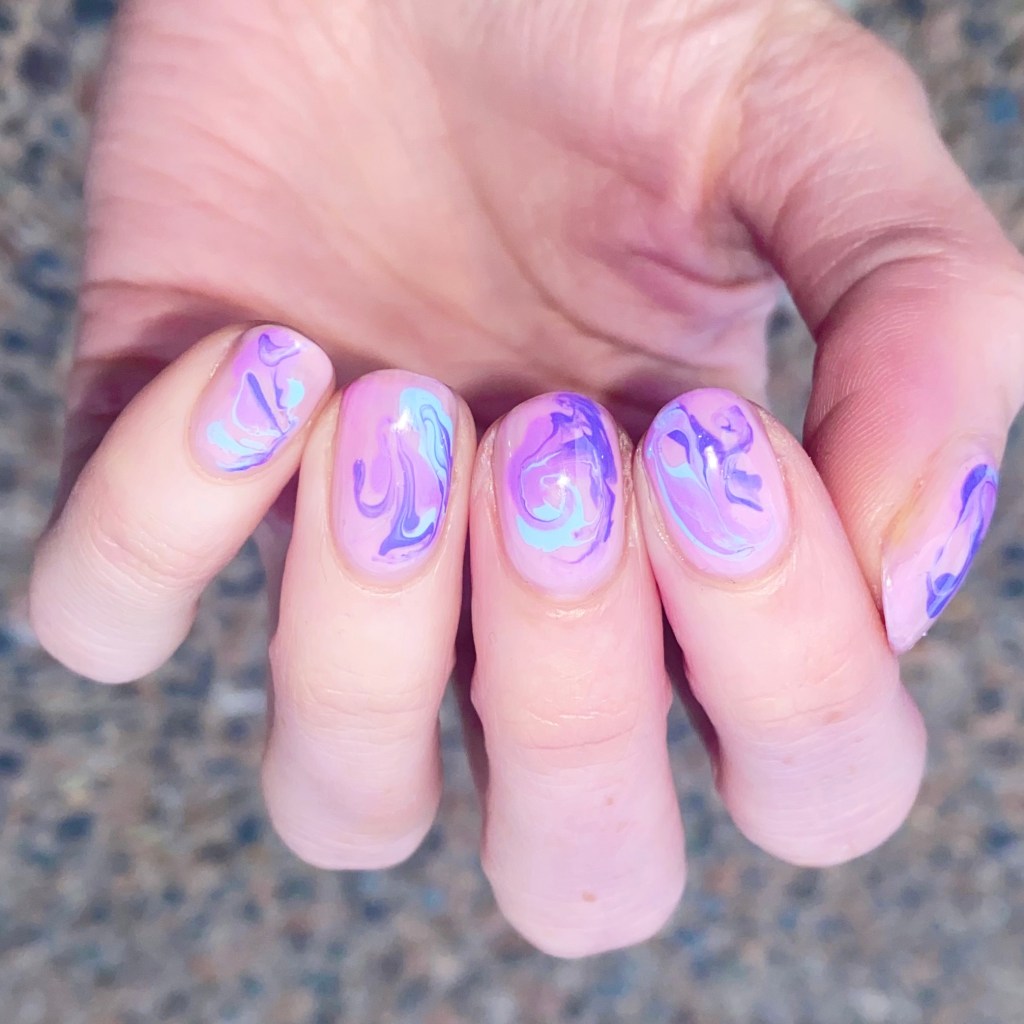
What do you think of this little bit of nail art? Would you like to see me do a series or feature on nail art using only gel nail polishes? Let me know all your thoughts down in the comments below!
Happy Wednesday
💖