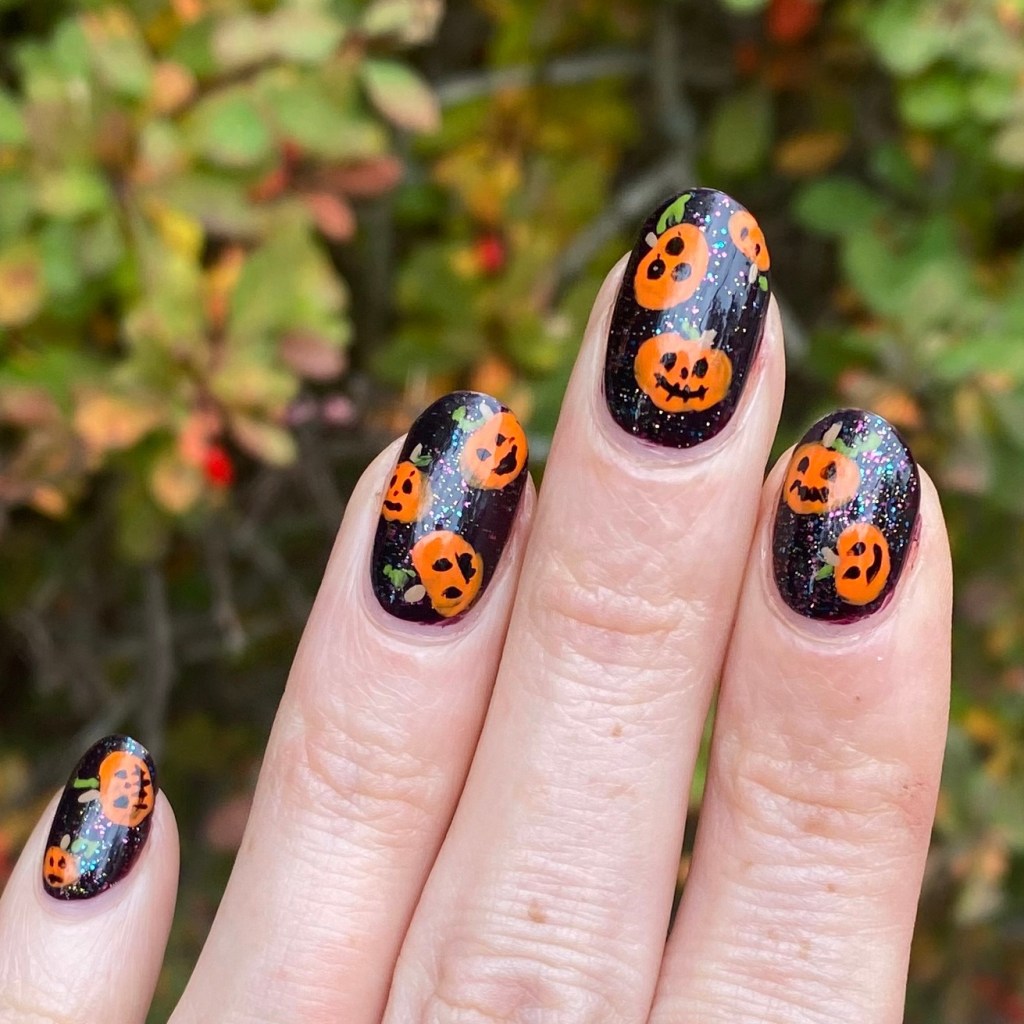
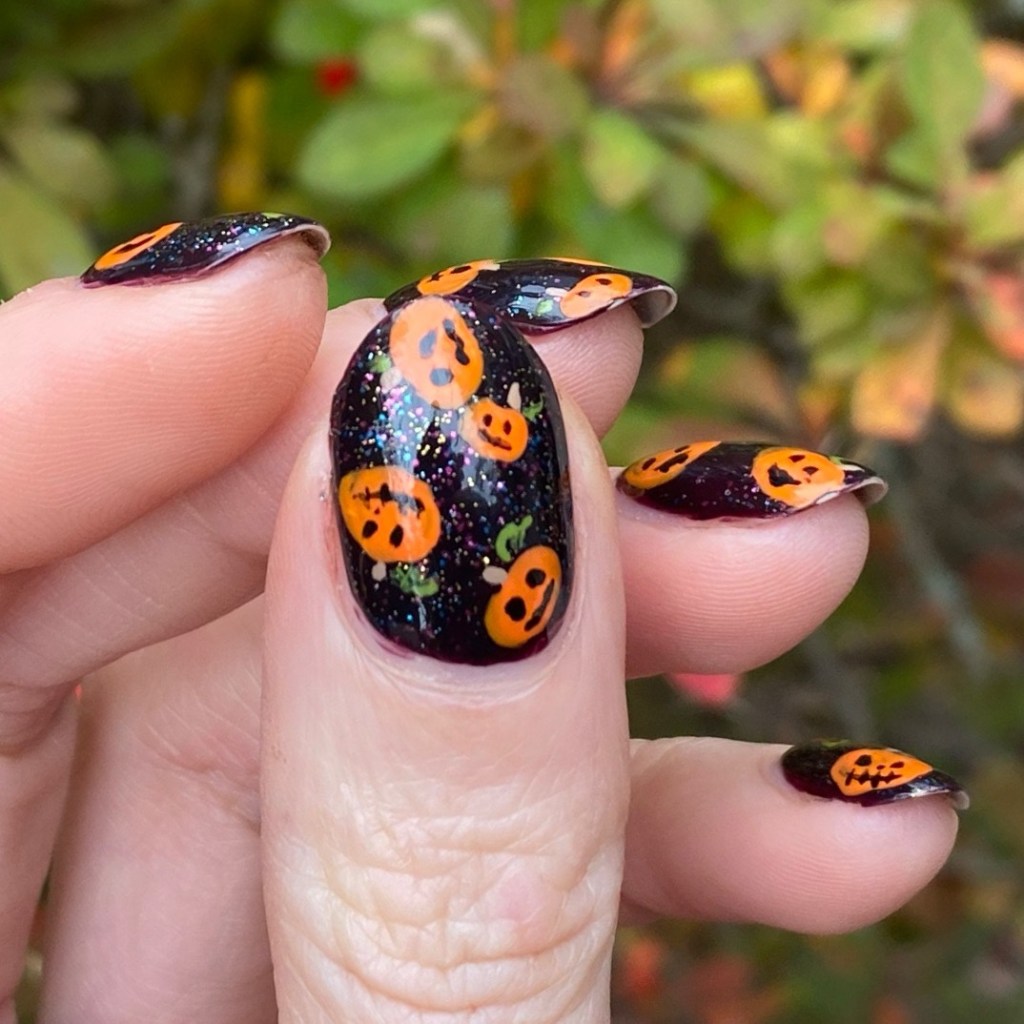
Happy Halloween week lovelies! The countdown is officially on to my most favourite night of the year! Has everyone figured out their costumes?
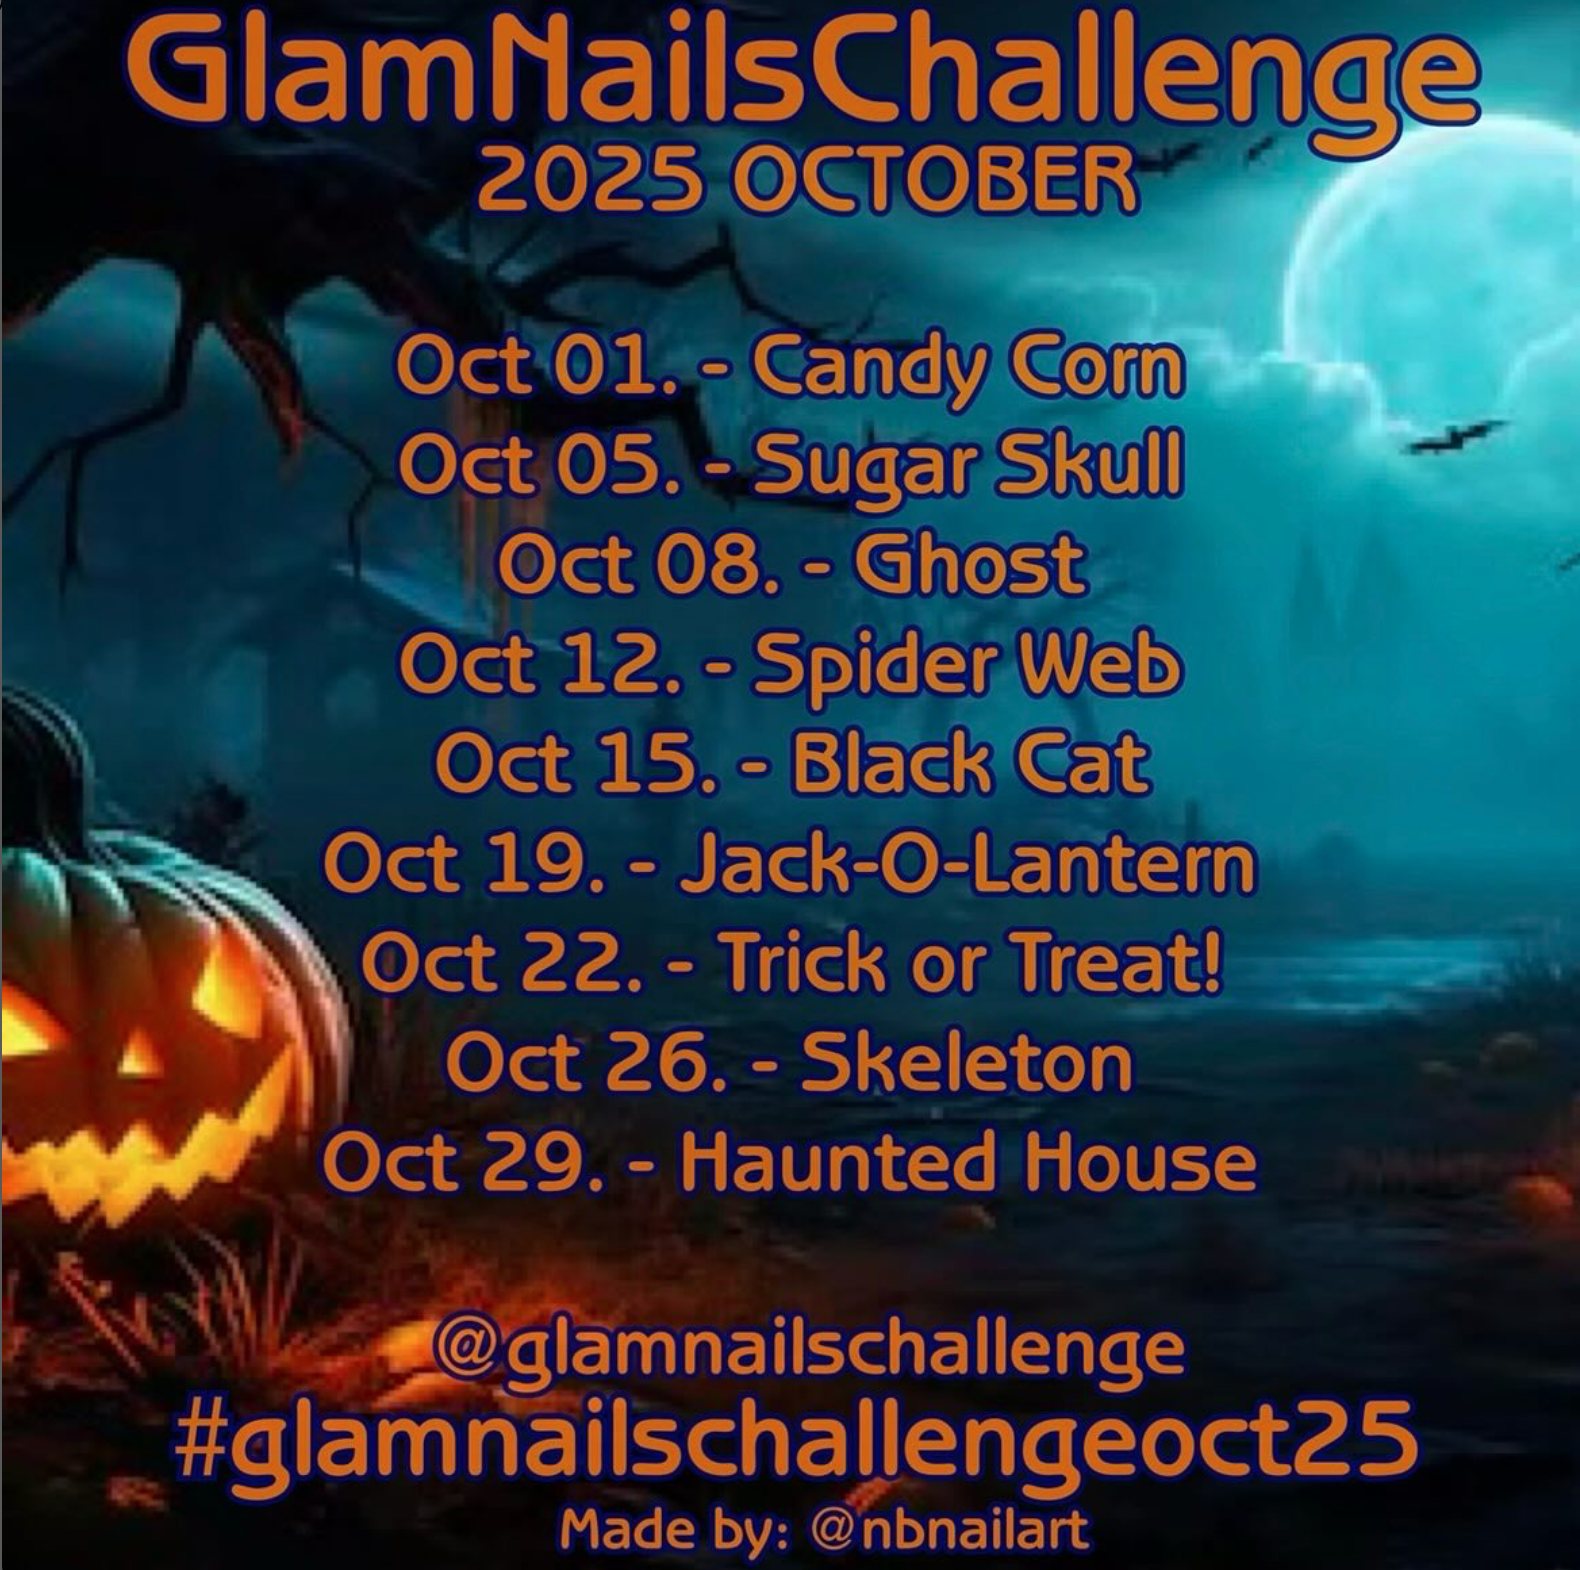
We also only have two prompts left for Glam Nails Challenge October — how crazy is that?! I’ve had so much fun joining in this month, & I’m really glad I did. It’s just what I needed to get inspired to paint my nails again!
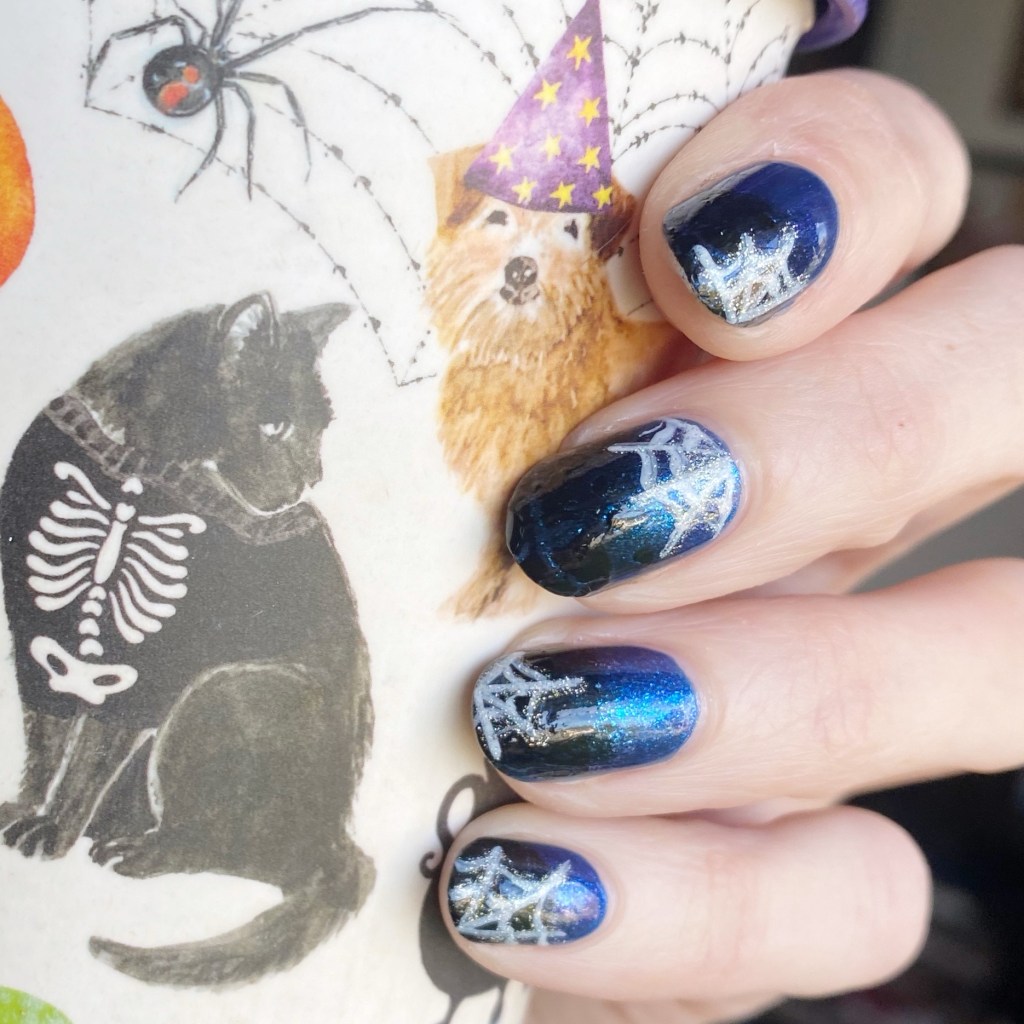
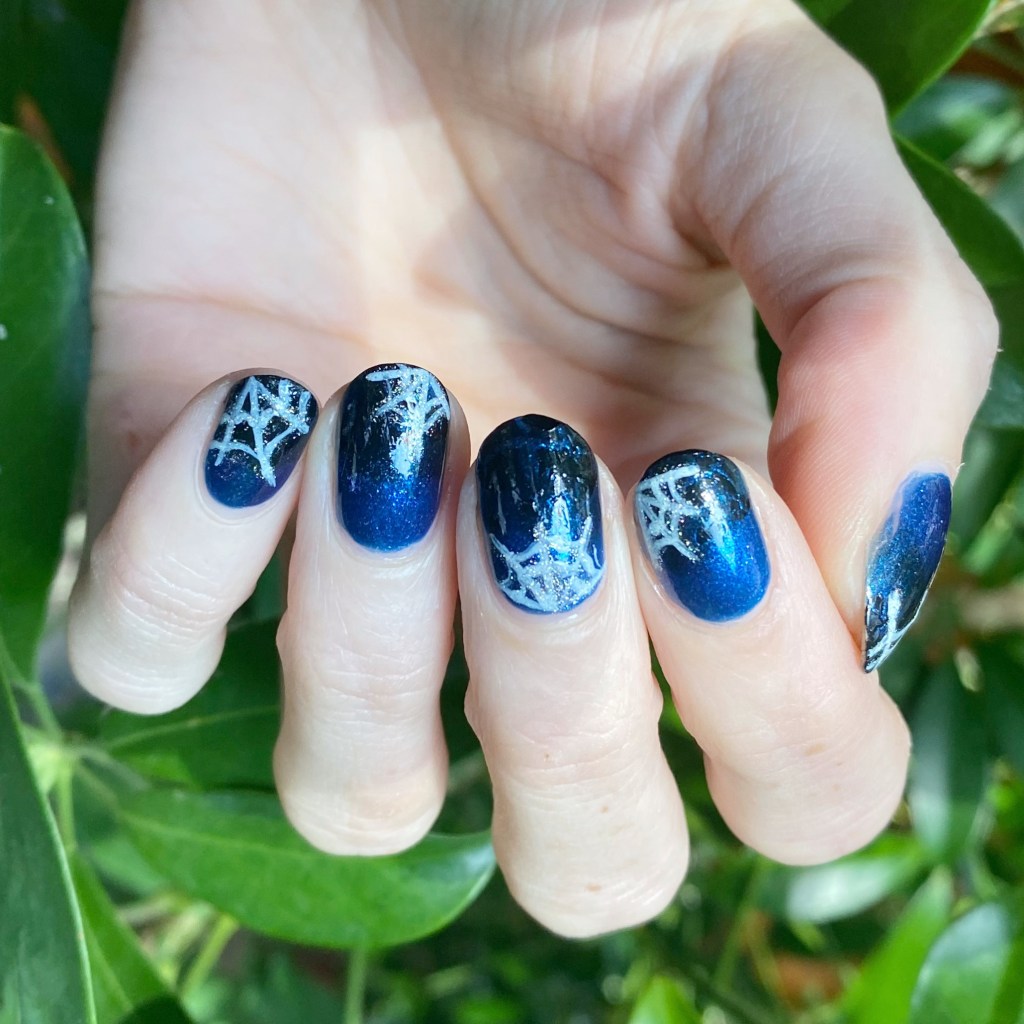
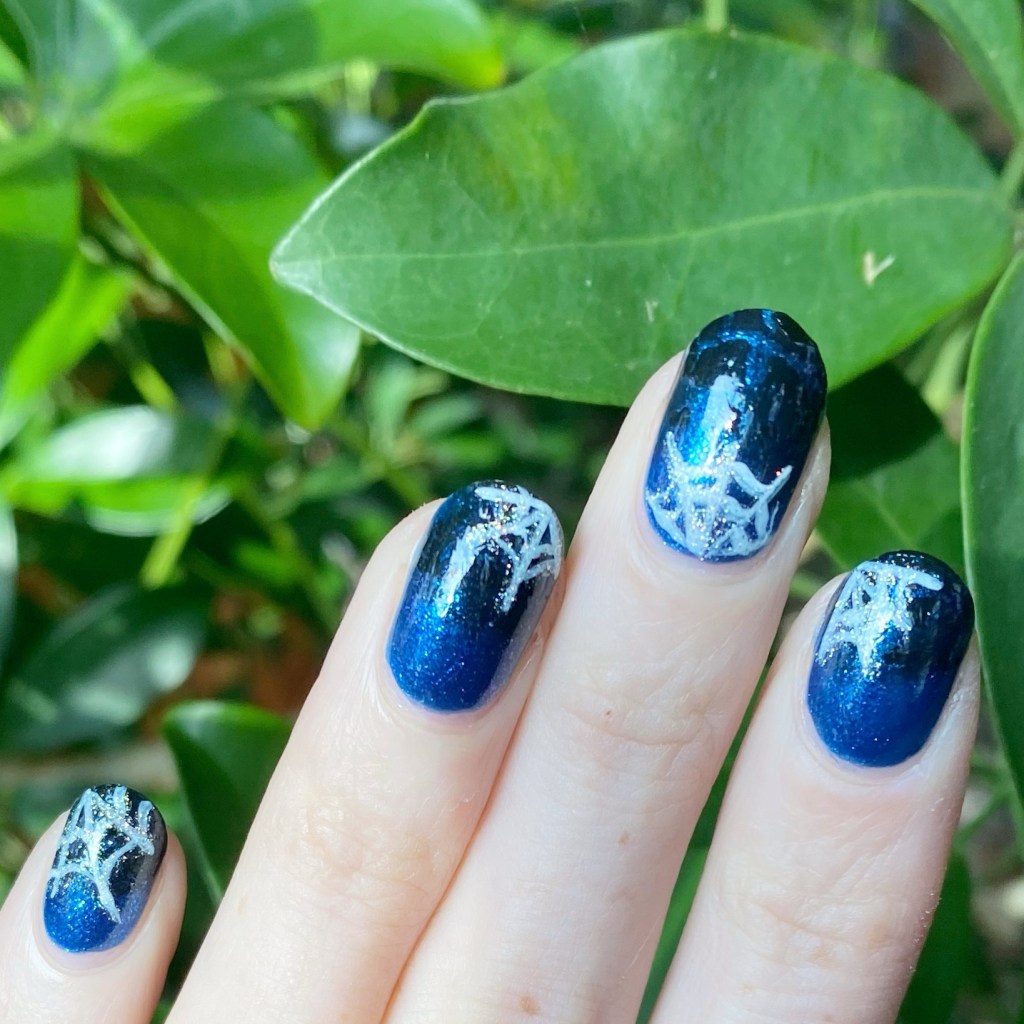
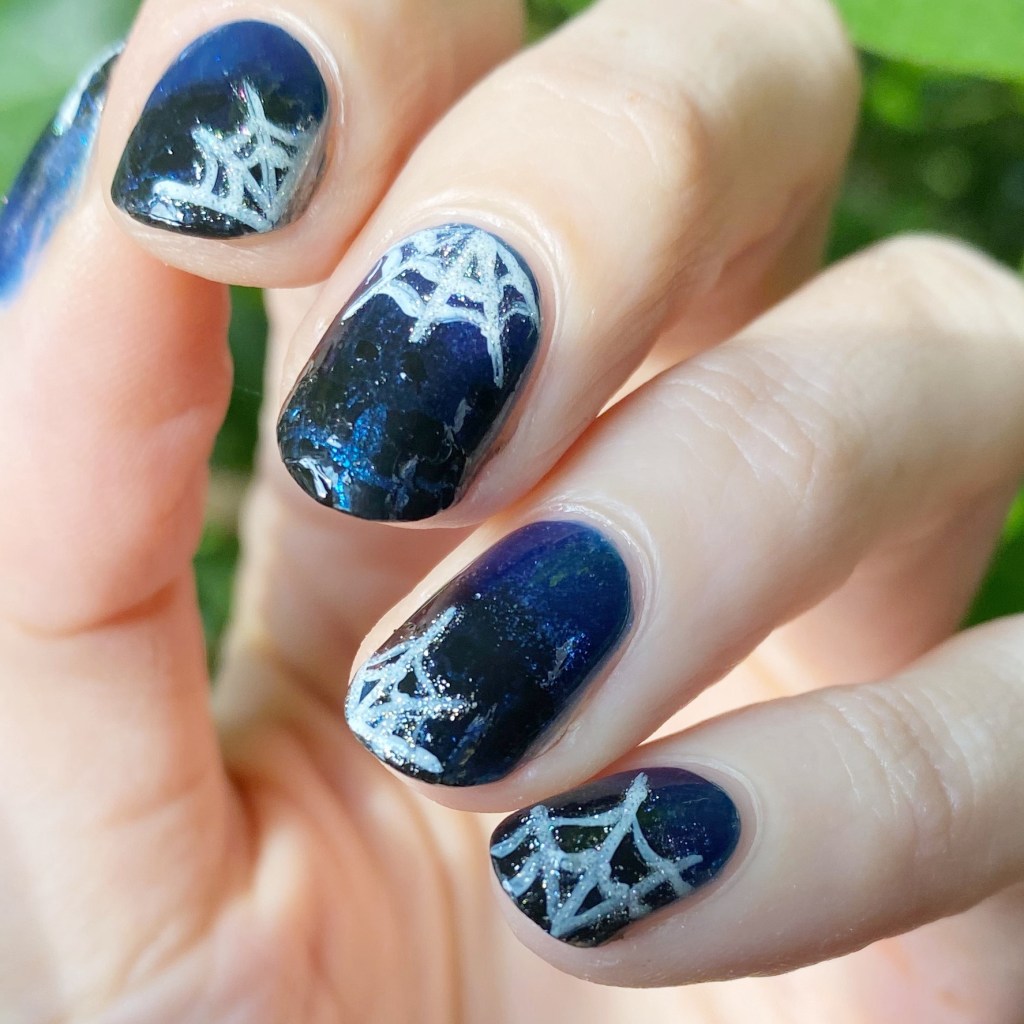
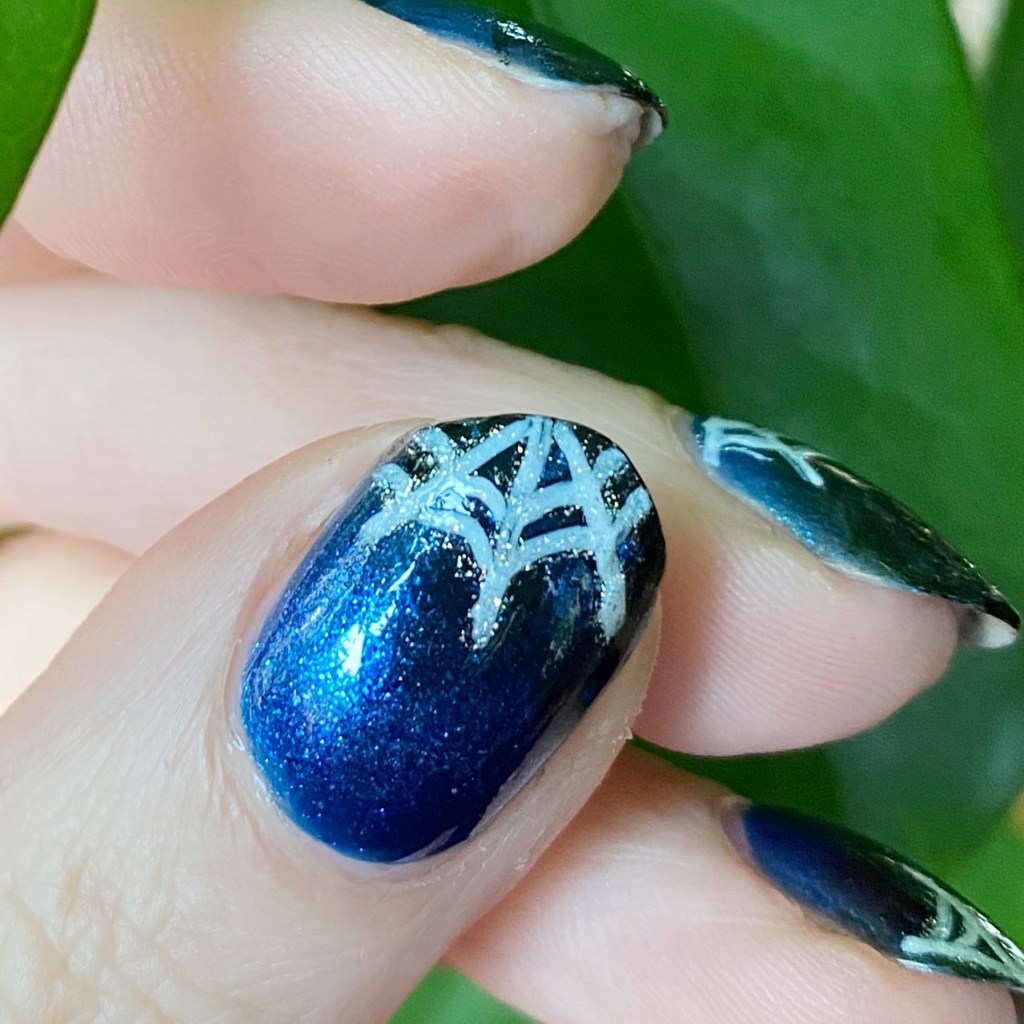
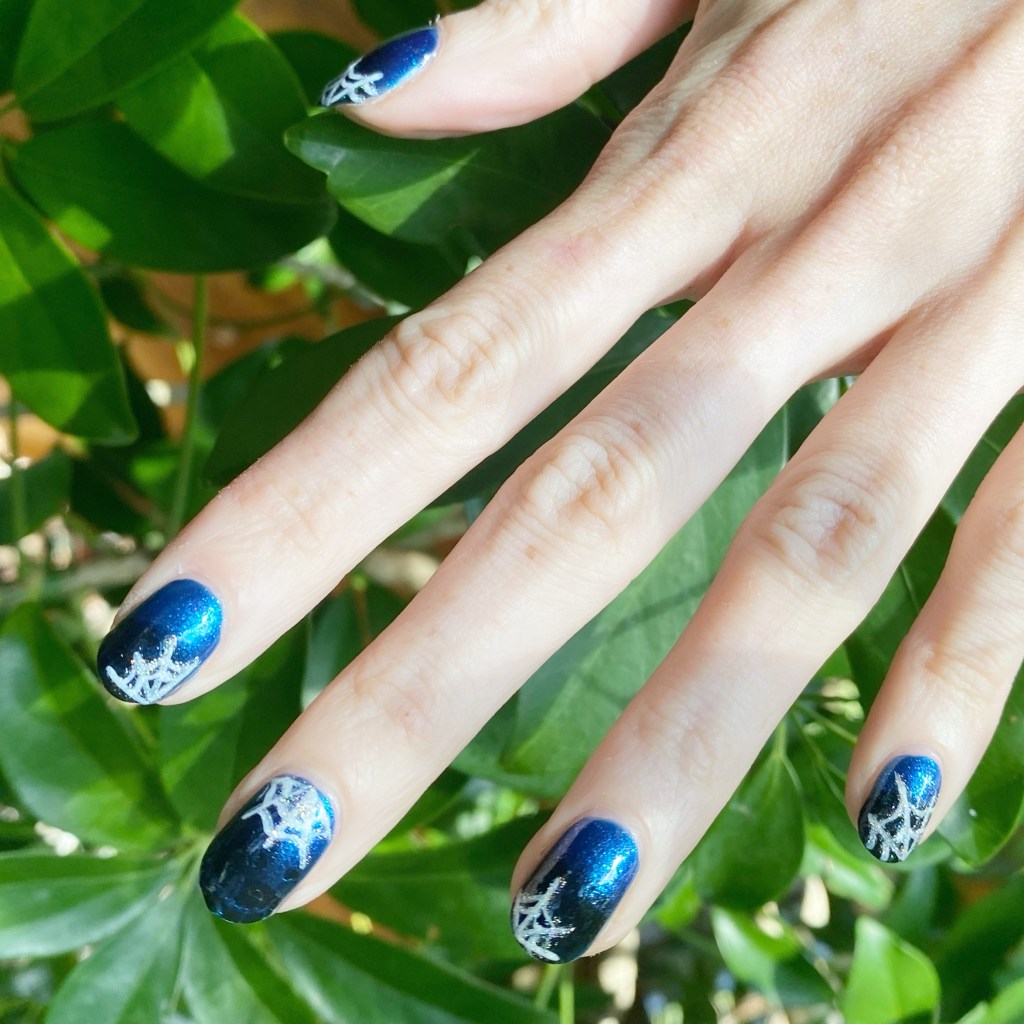
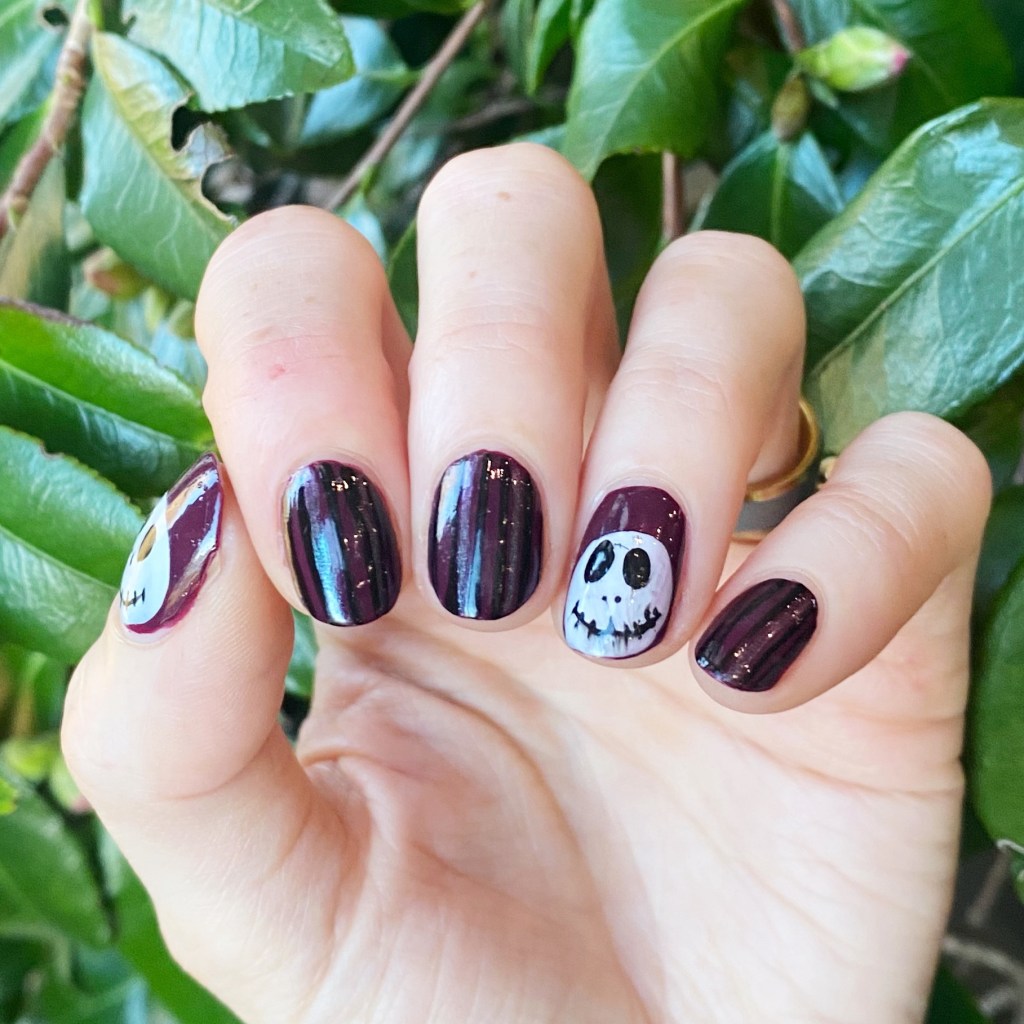
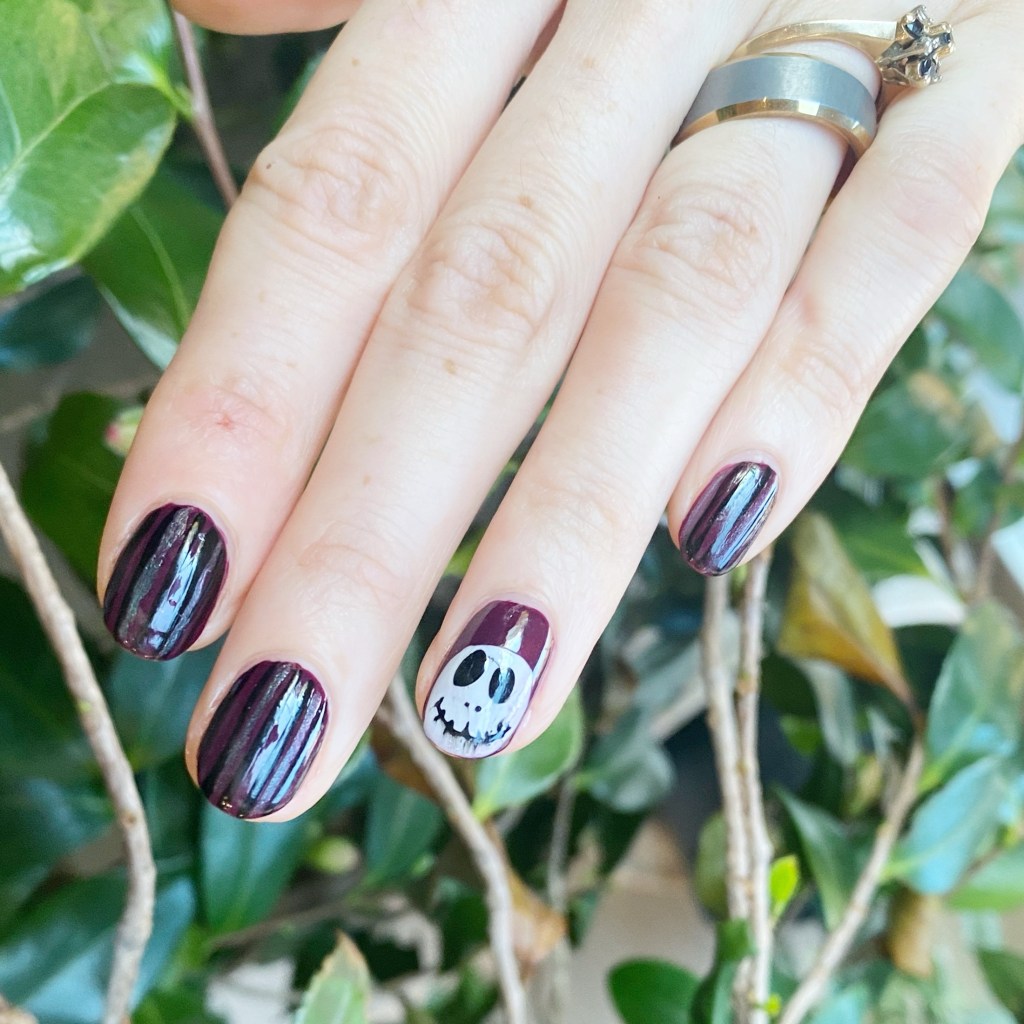
Todays prompt? Skeleton. & I thought it would be fun to do a design featuring the Halloween King himself — Jack Skellington.
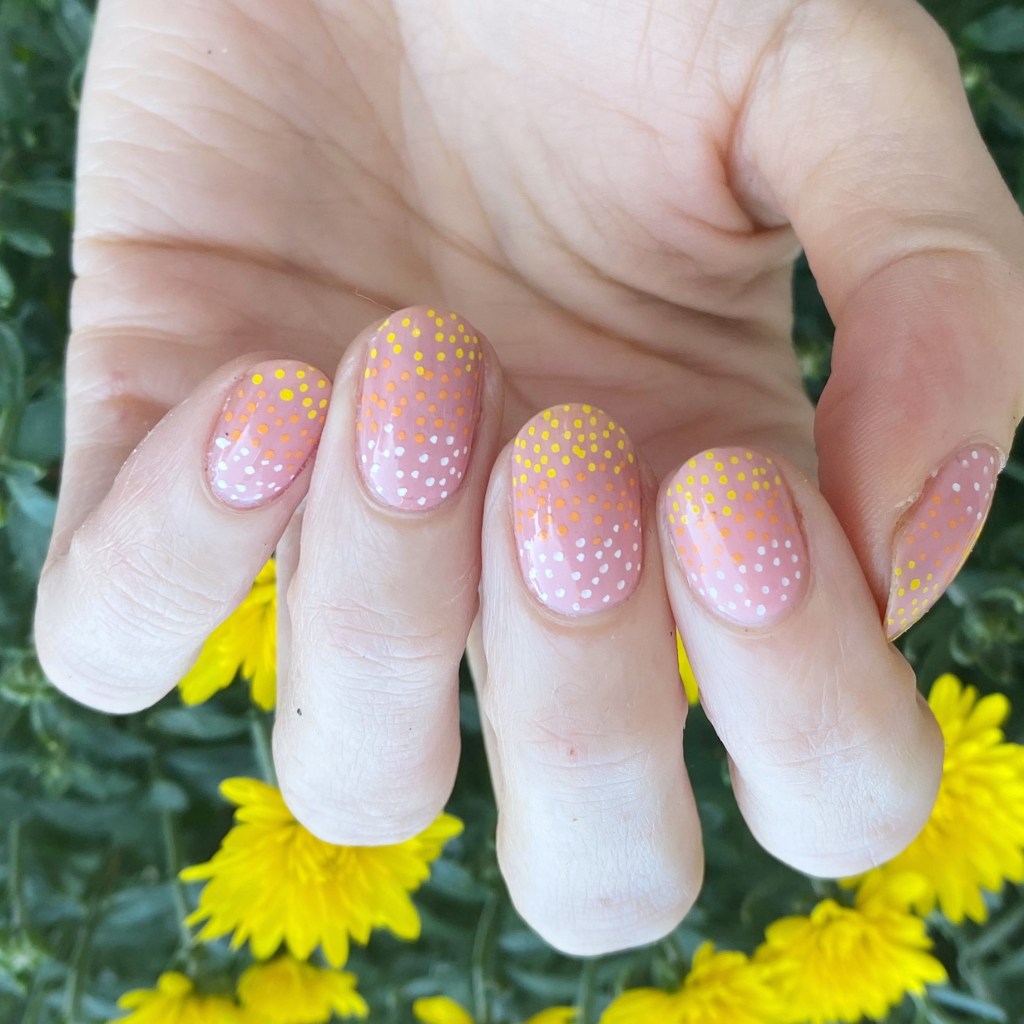
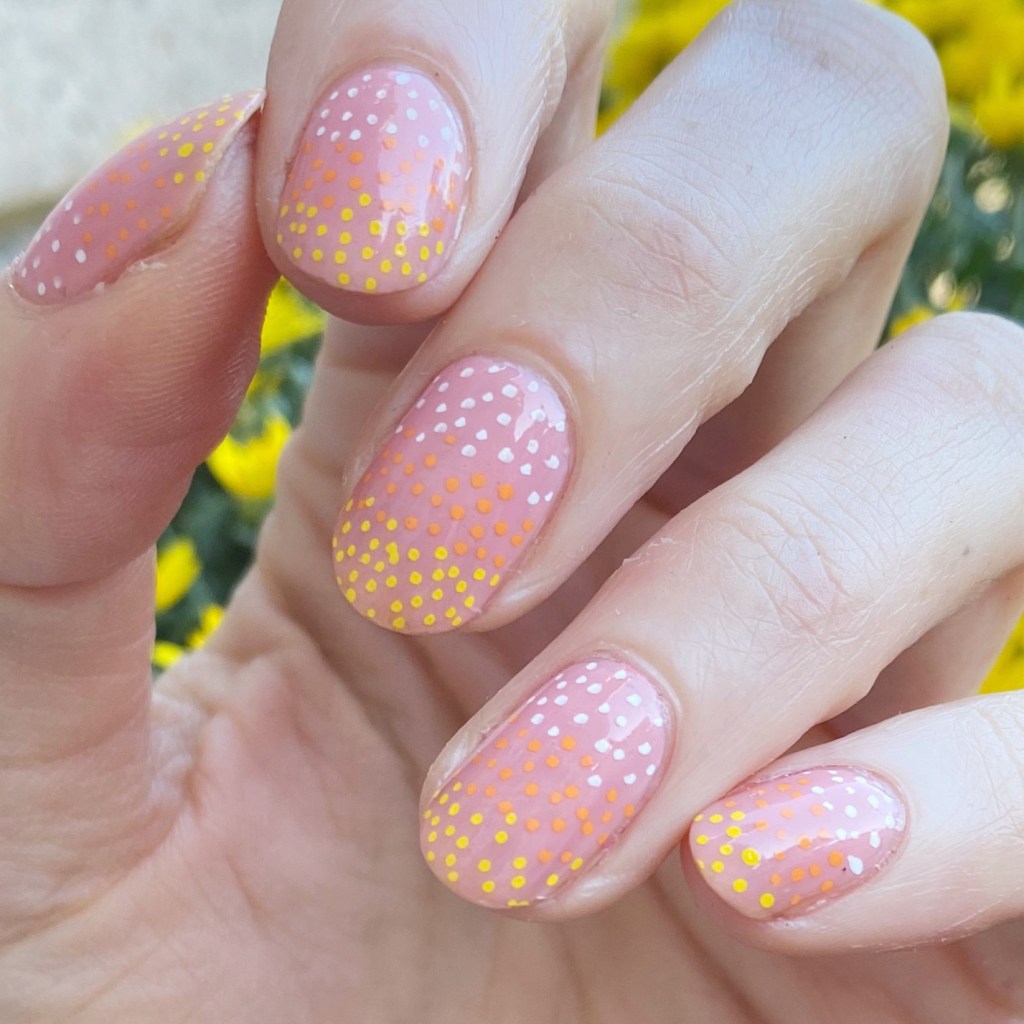
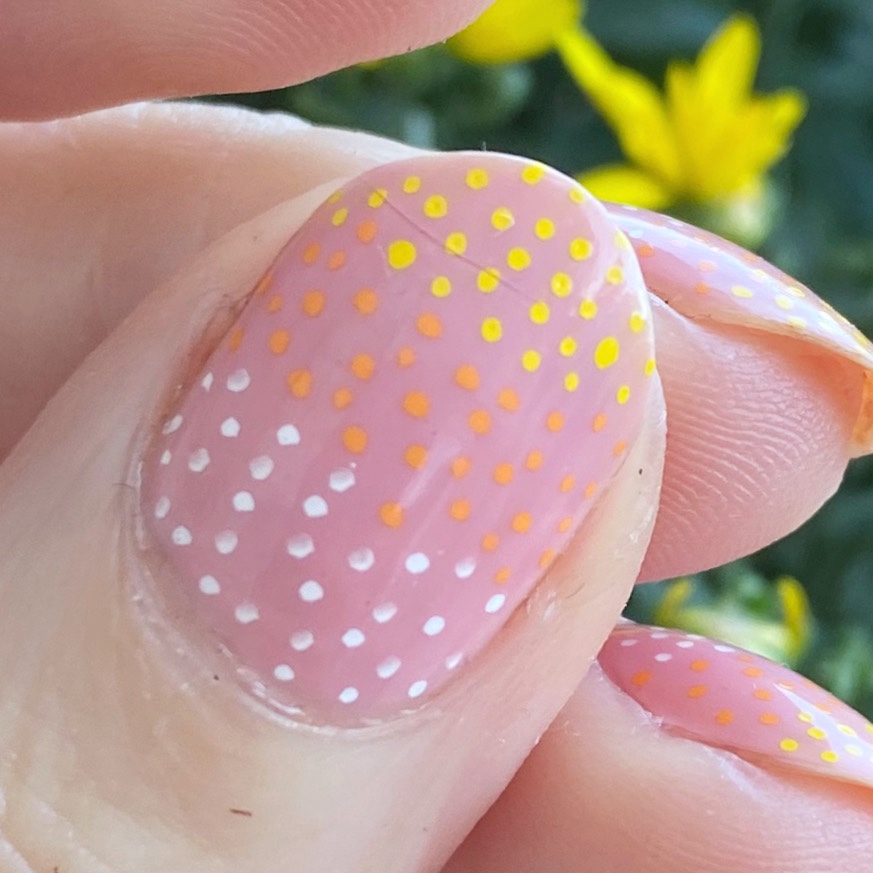
The polishes I used for this manicure are:
- Top Coat: Sally Hansen InstaDri Top Coat (red bottle)
- Base Coat: Essie Hard to Resist (purple)
- Essie Bahama Mama
- OPI I Cannoli Wear OPI
- Quo by Orly Nail Art Striper Black
- Essence Chic Reloaded
- NailStuff.ca 7mm Mermaid Tail Liner Brush


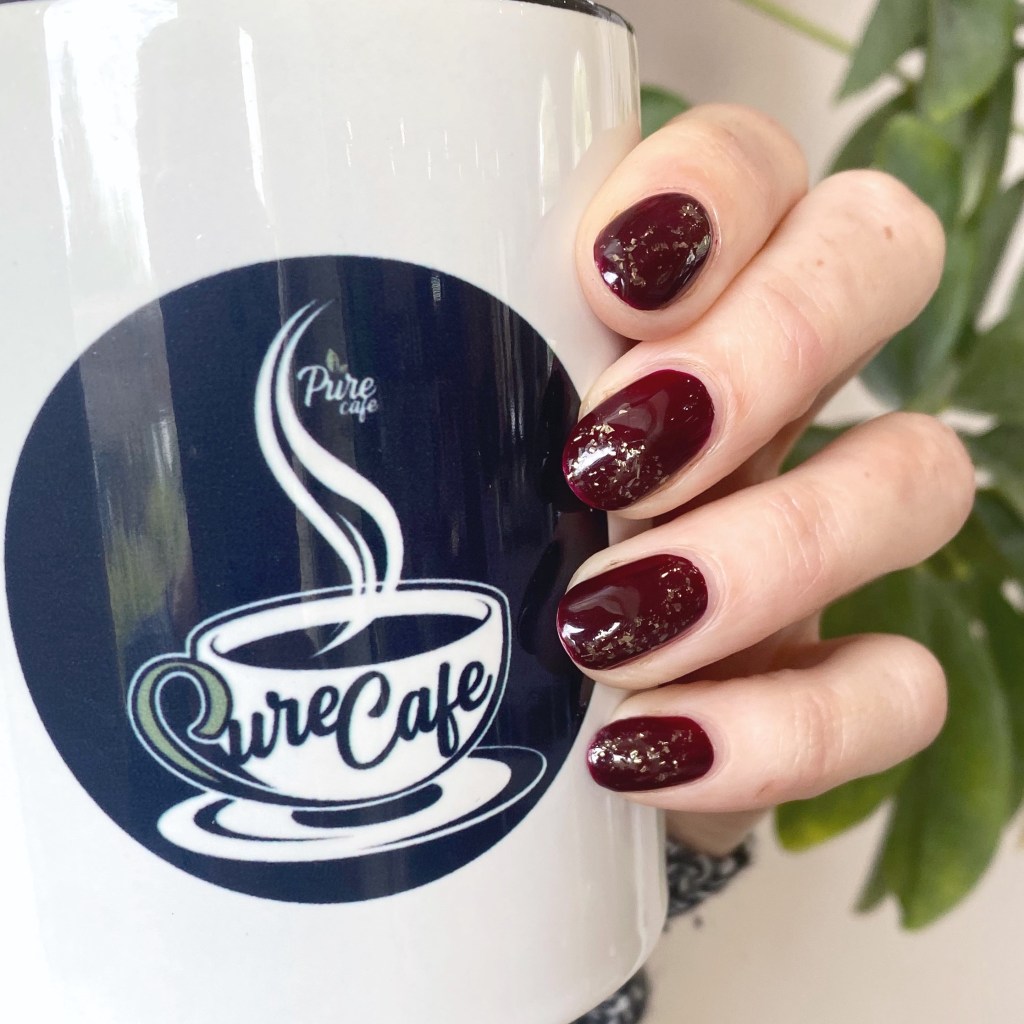
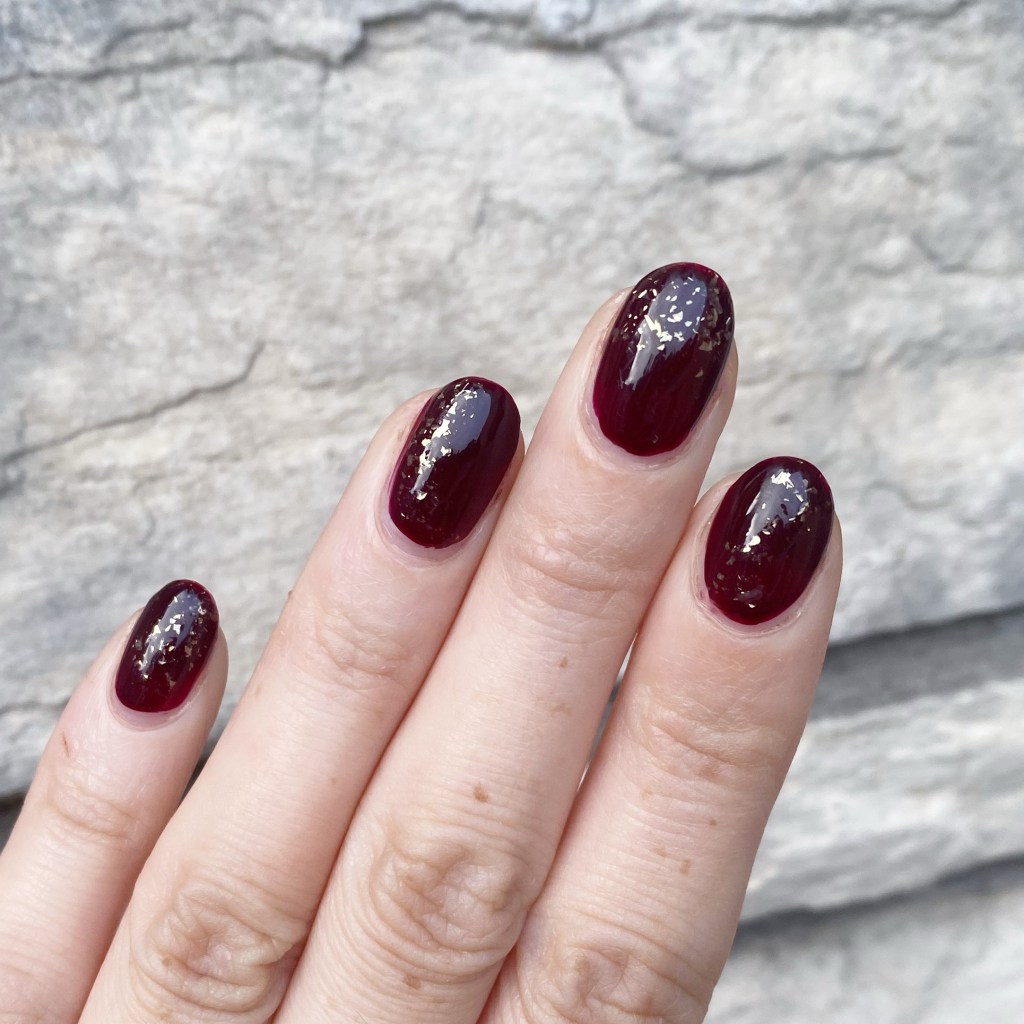
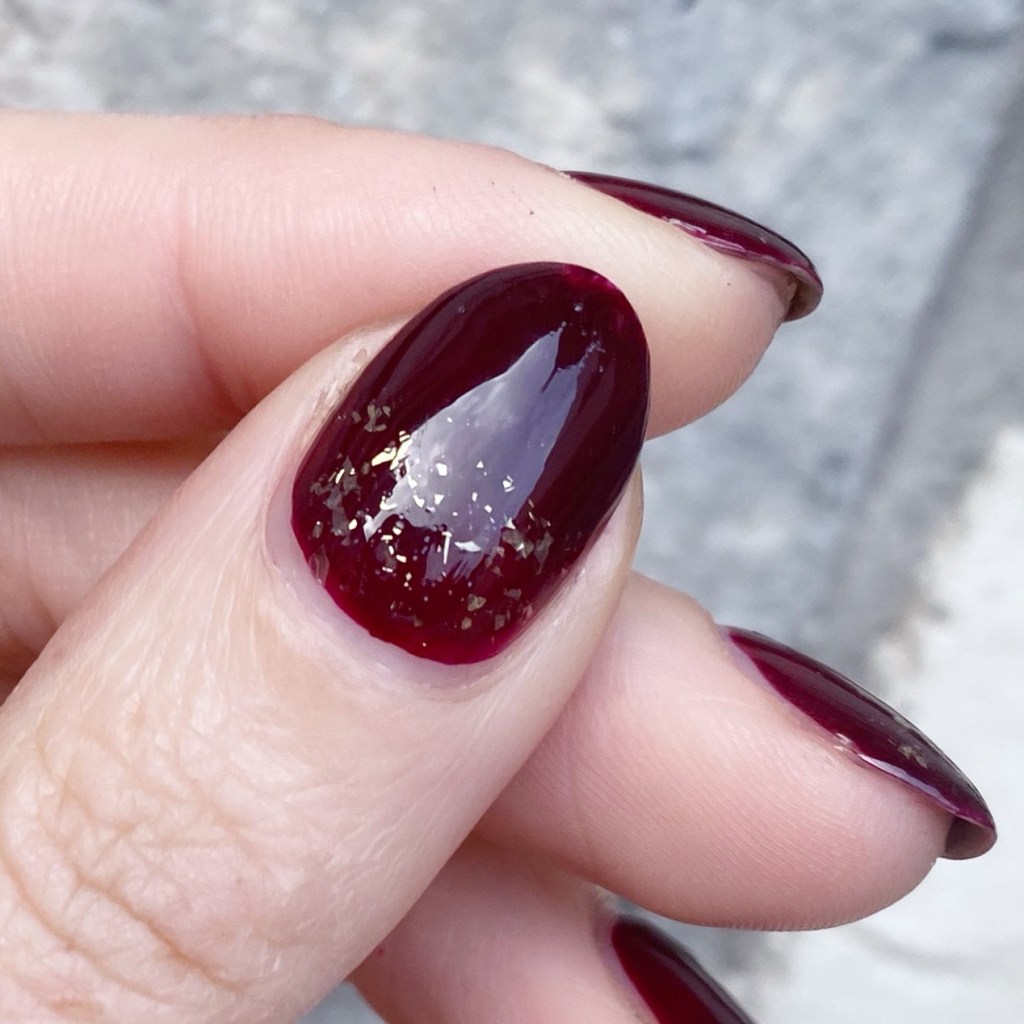
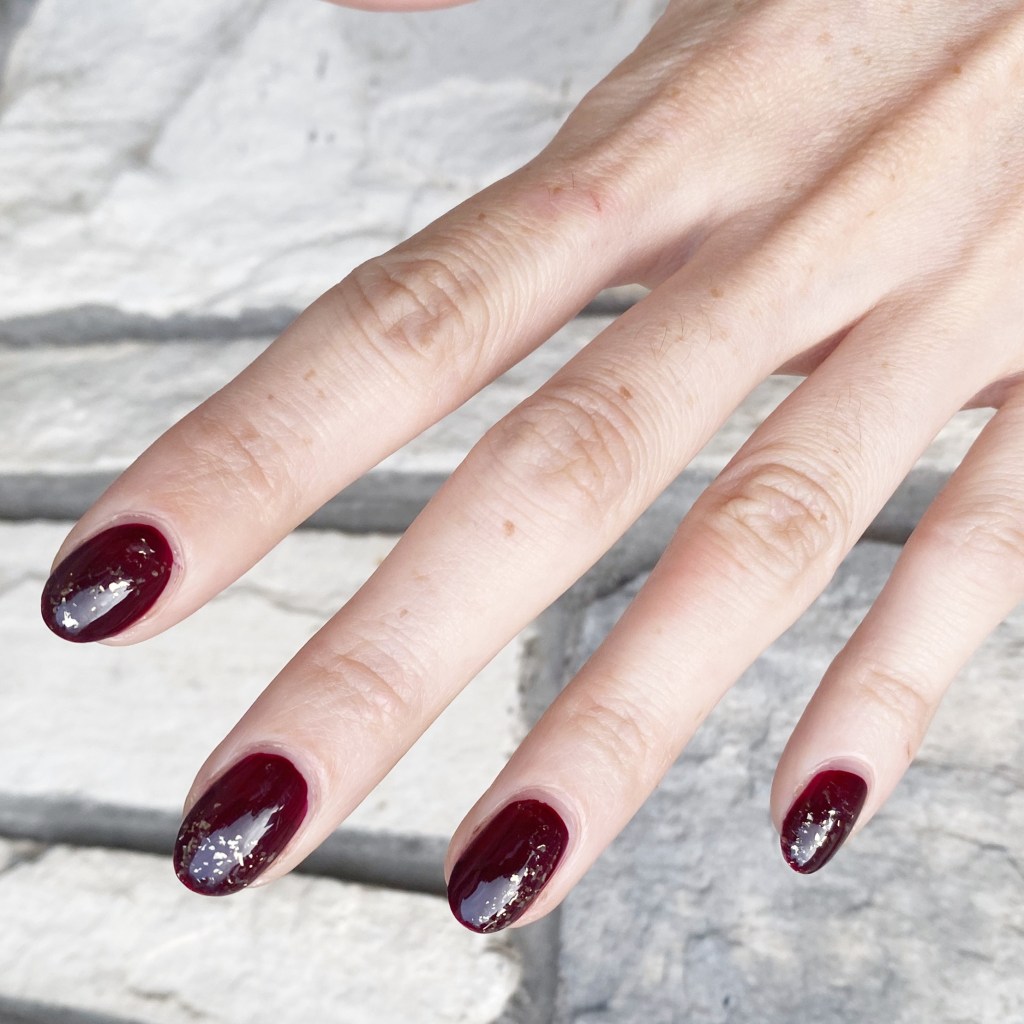
So my original plan was to use Essie Wicked as my base colour, but when I went to Walmart they didn’t have it in their display! So I went with another darker shade — Bahama Mama. Less of a spooky vibe, but the colour is really nice.
& I love how everything just came together.

What do you think about my Jack Skellington nails for Glam Nails Challenge October? Do you think he fits the skeleton prompt? Let me know all your thoughts in the comments below!
& happy Monday!
🖤