#GlamNailsChallengeFeb — Roses

Hello lovelies & happy Wednesday lovelies!

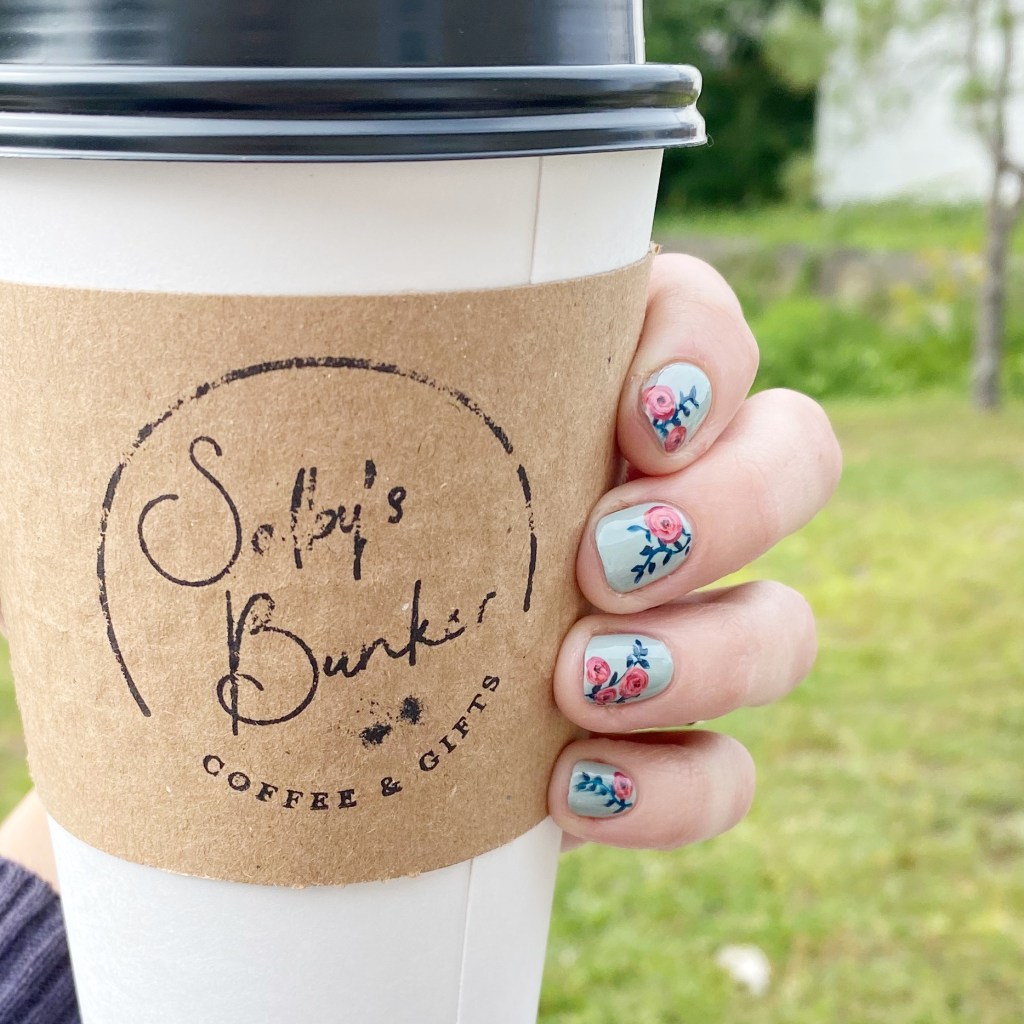
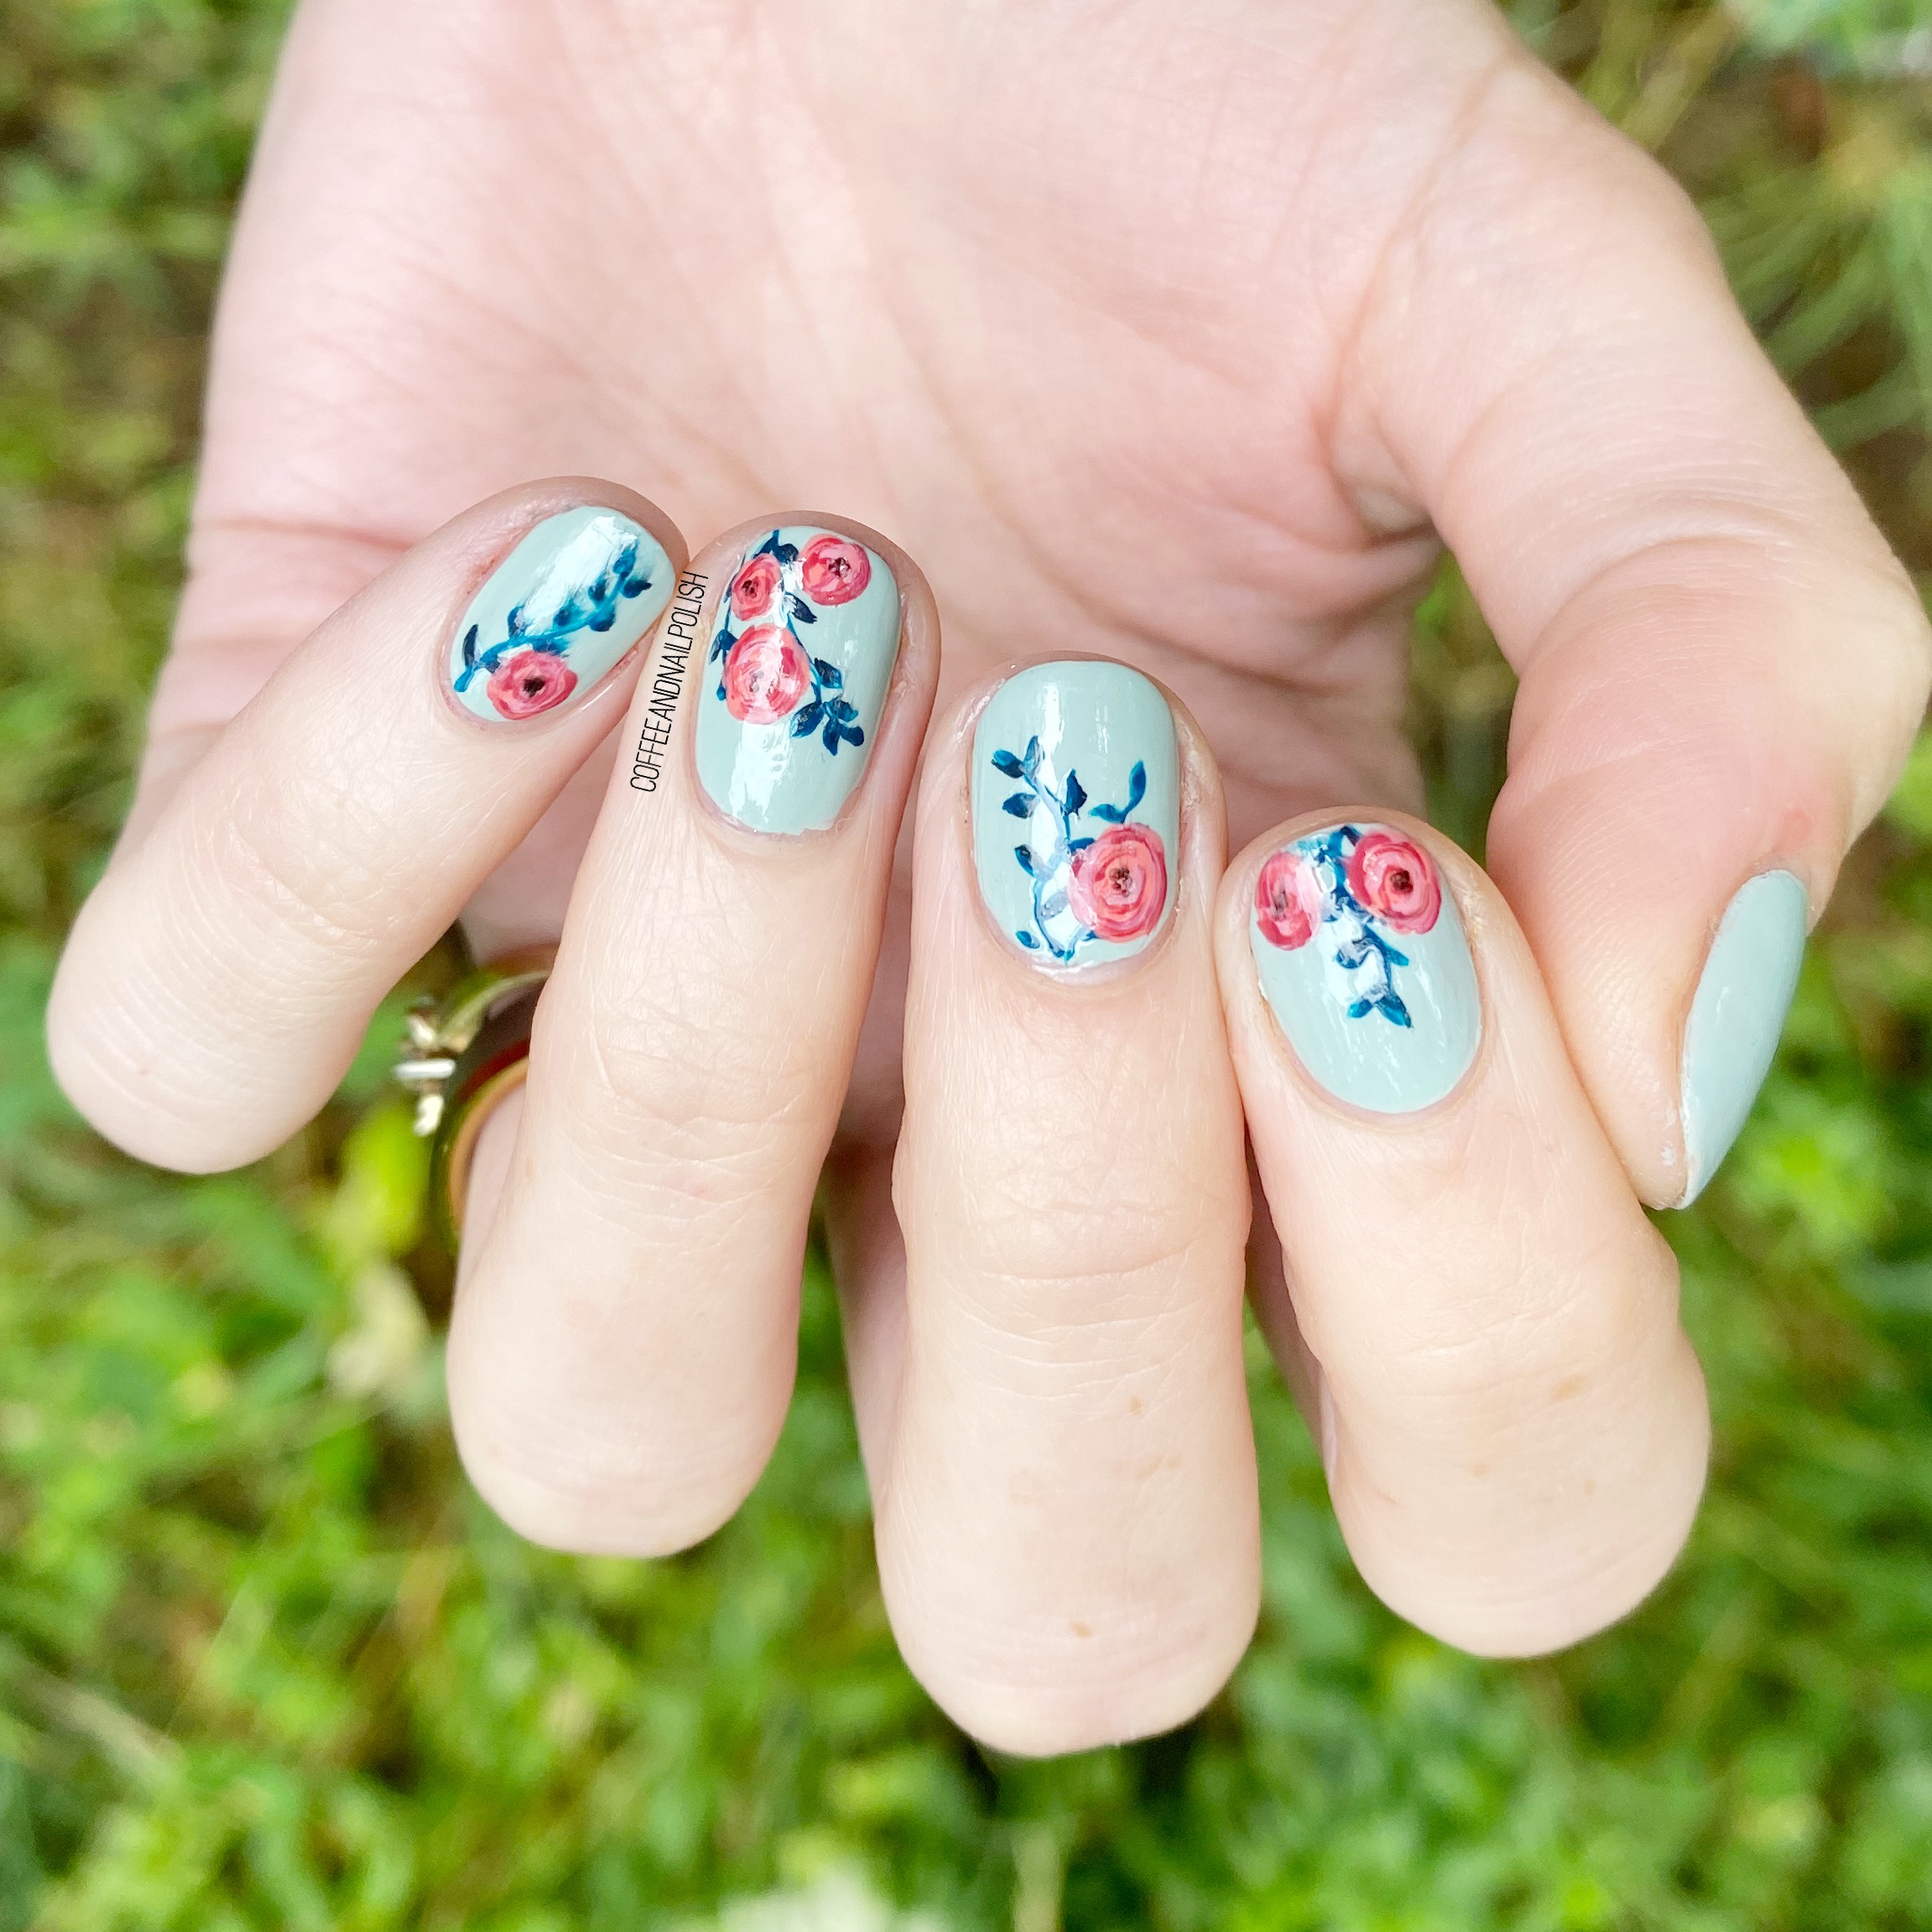
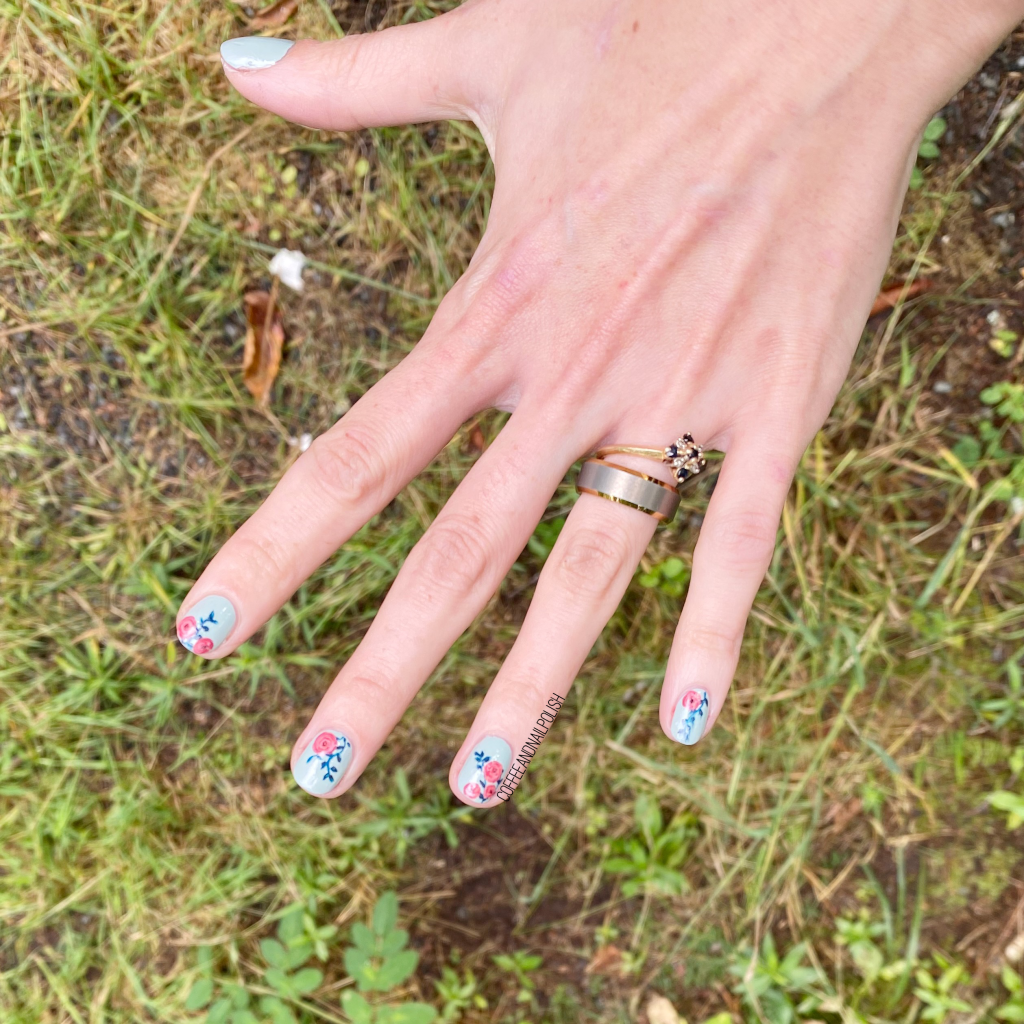
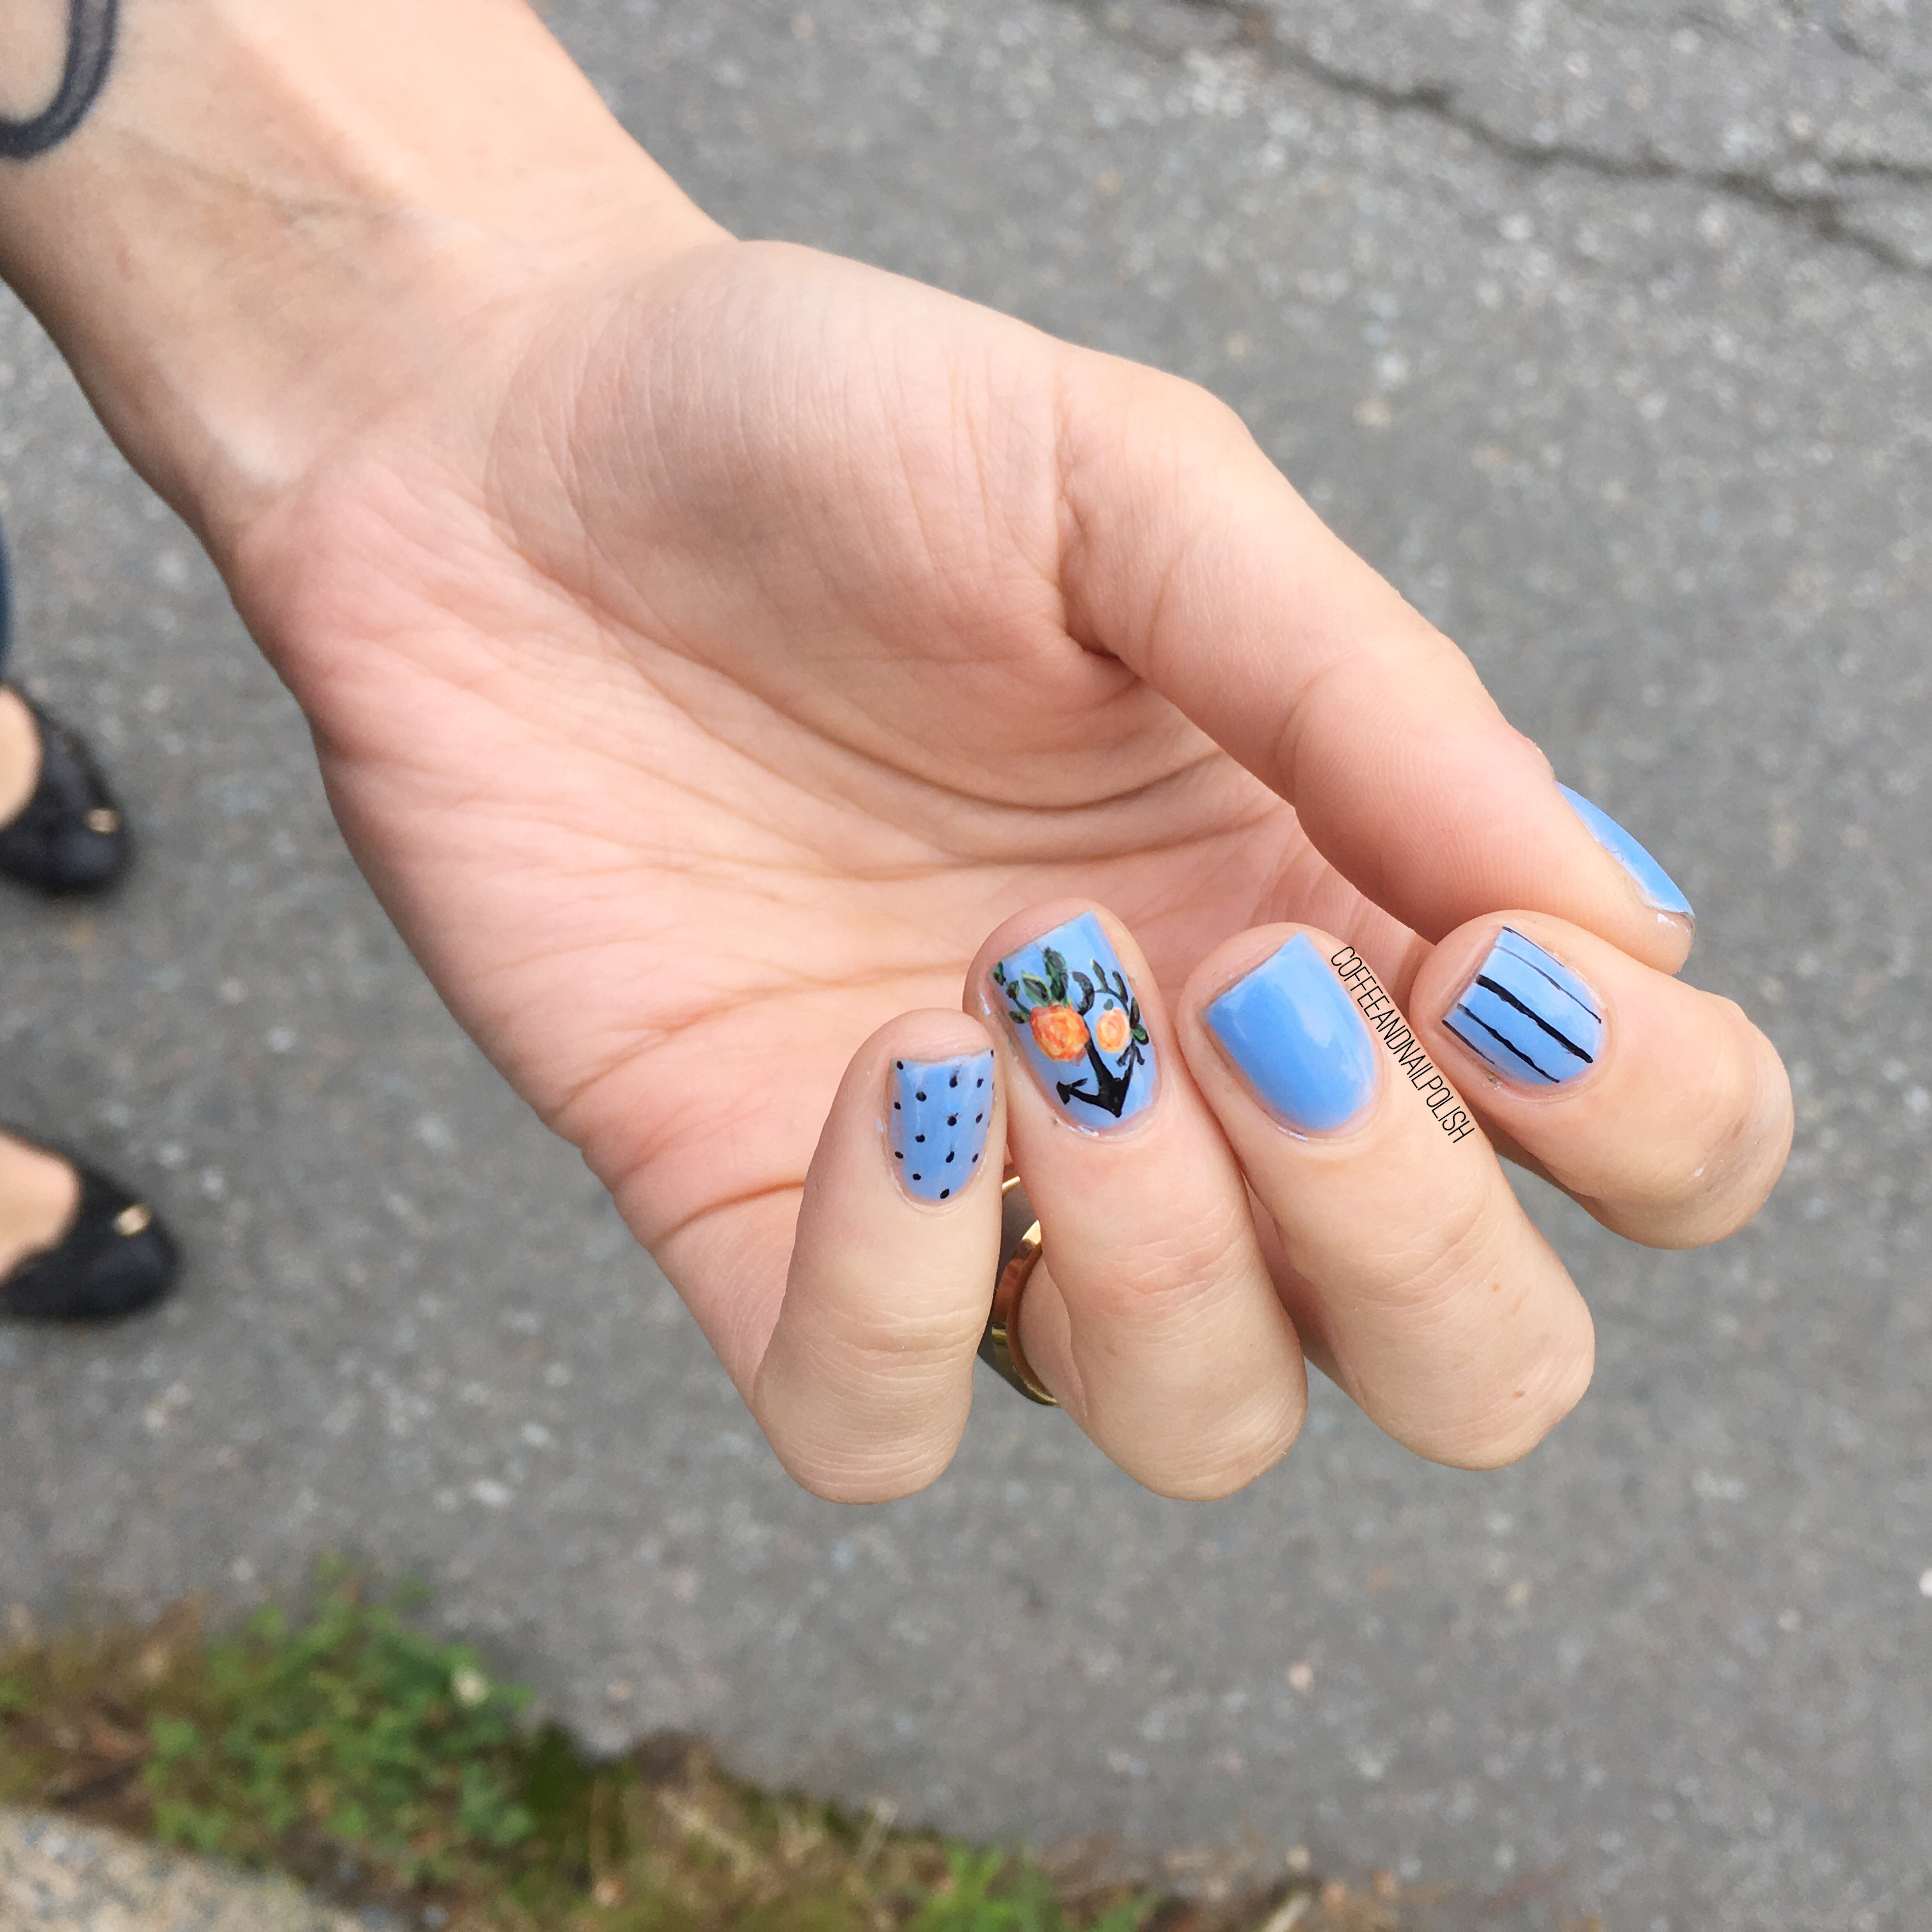
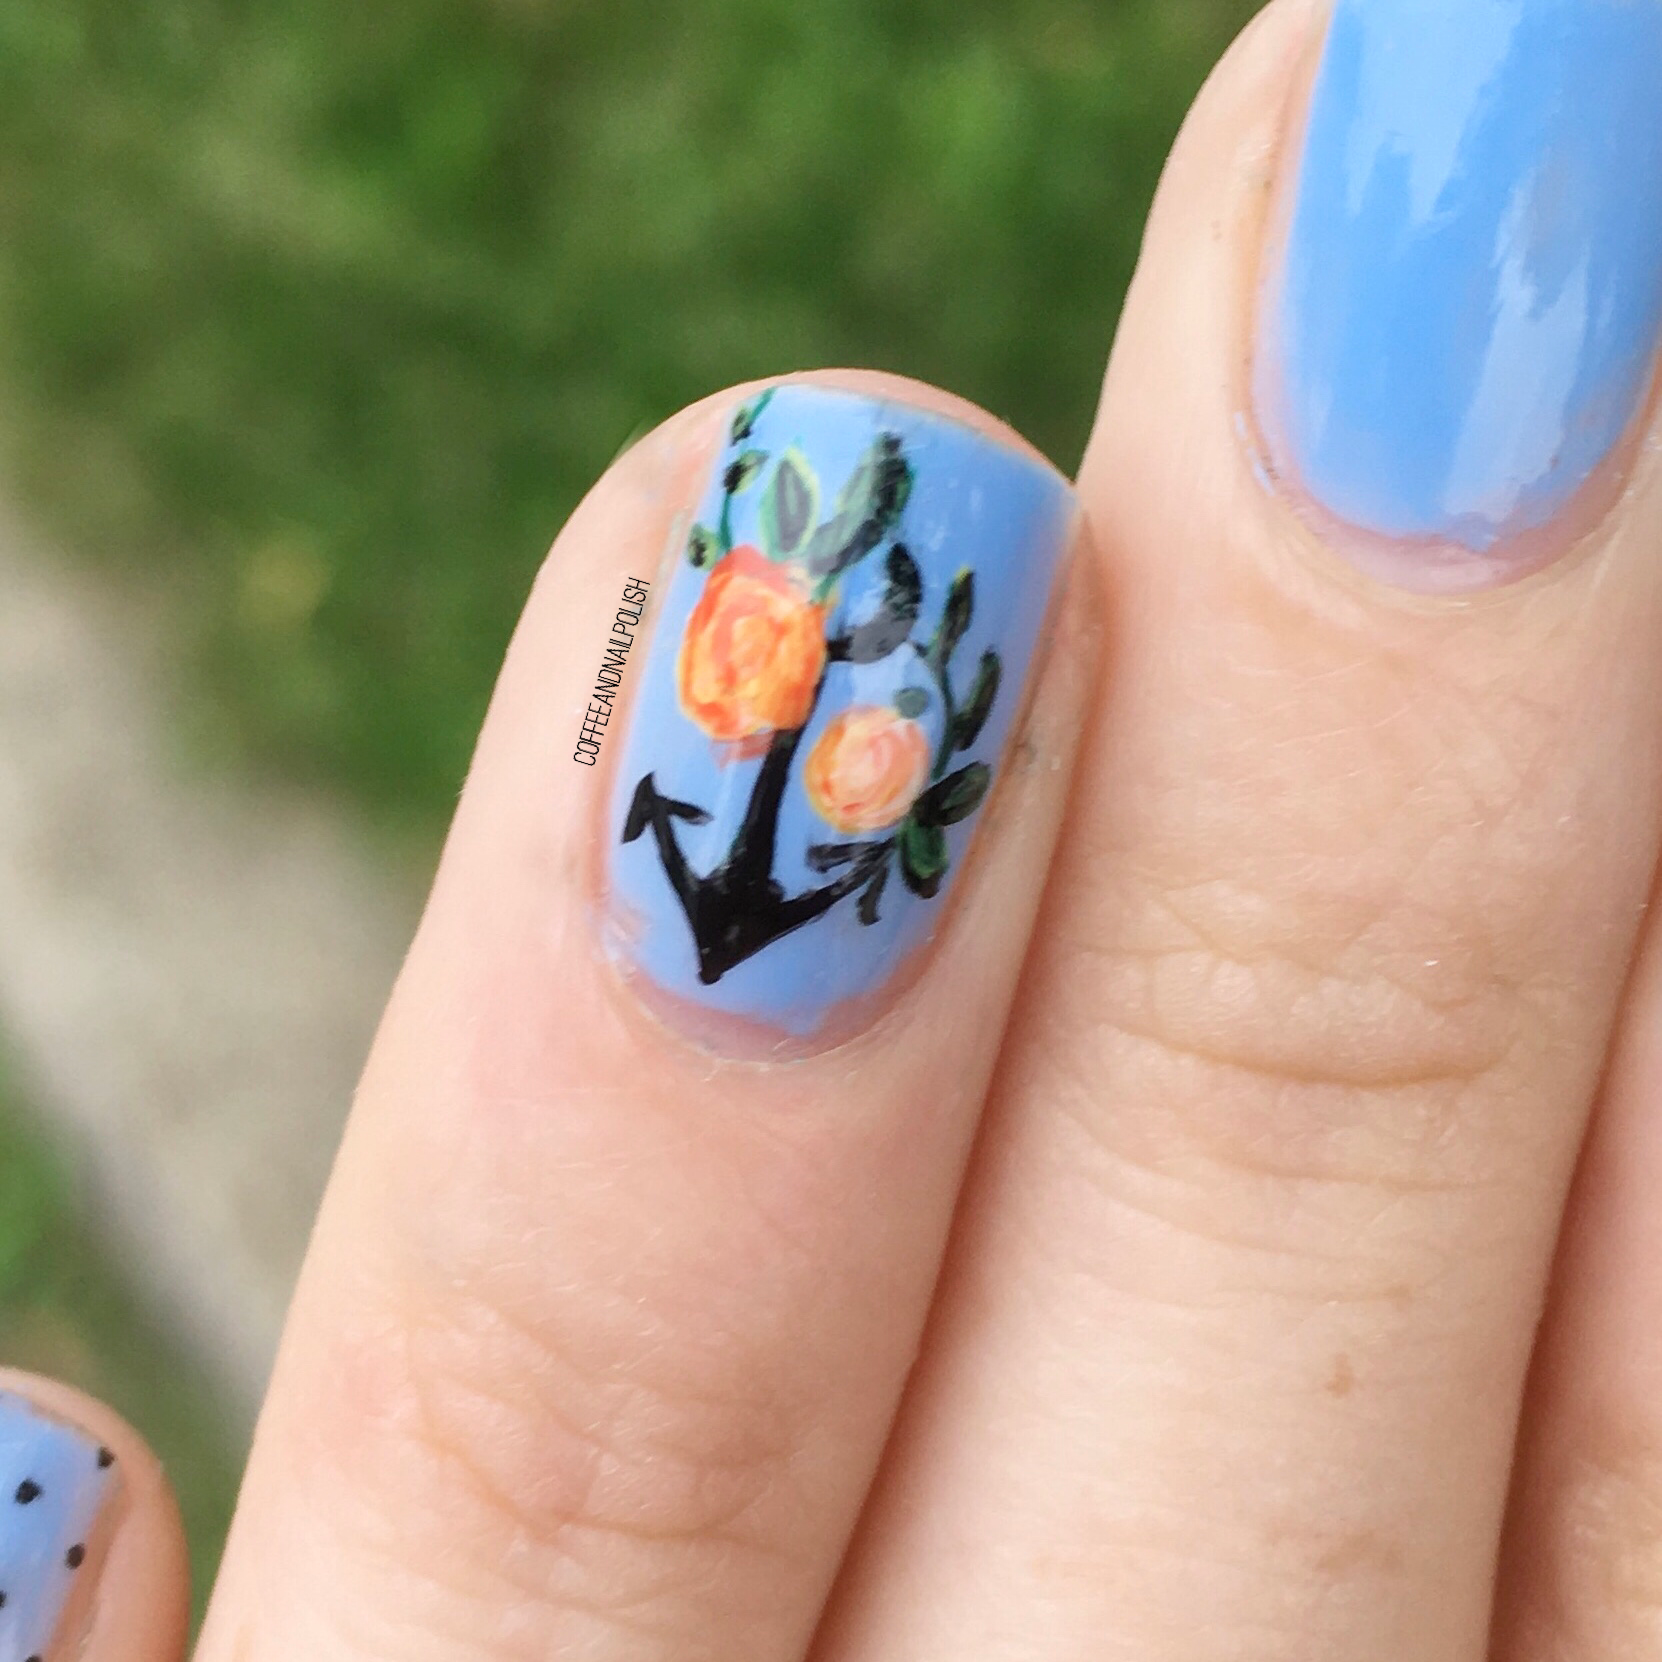
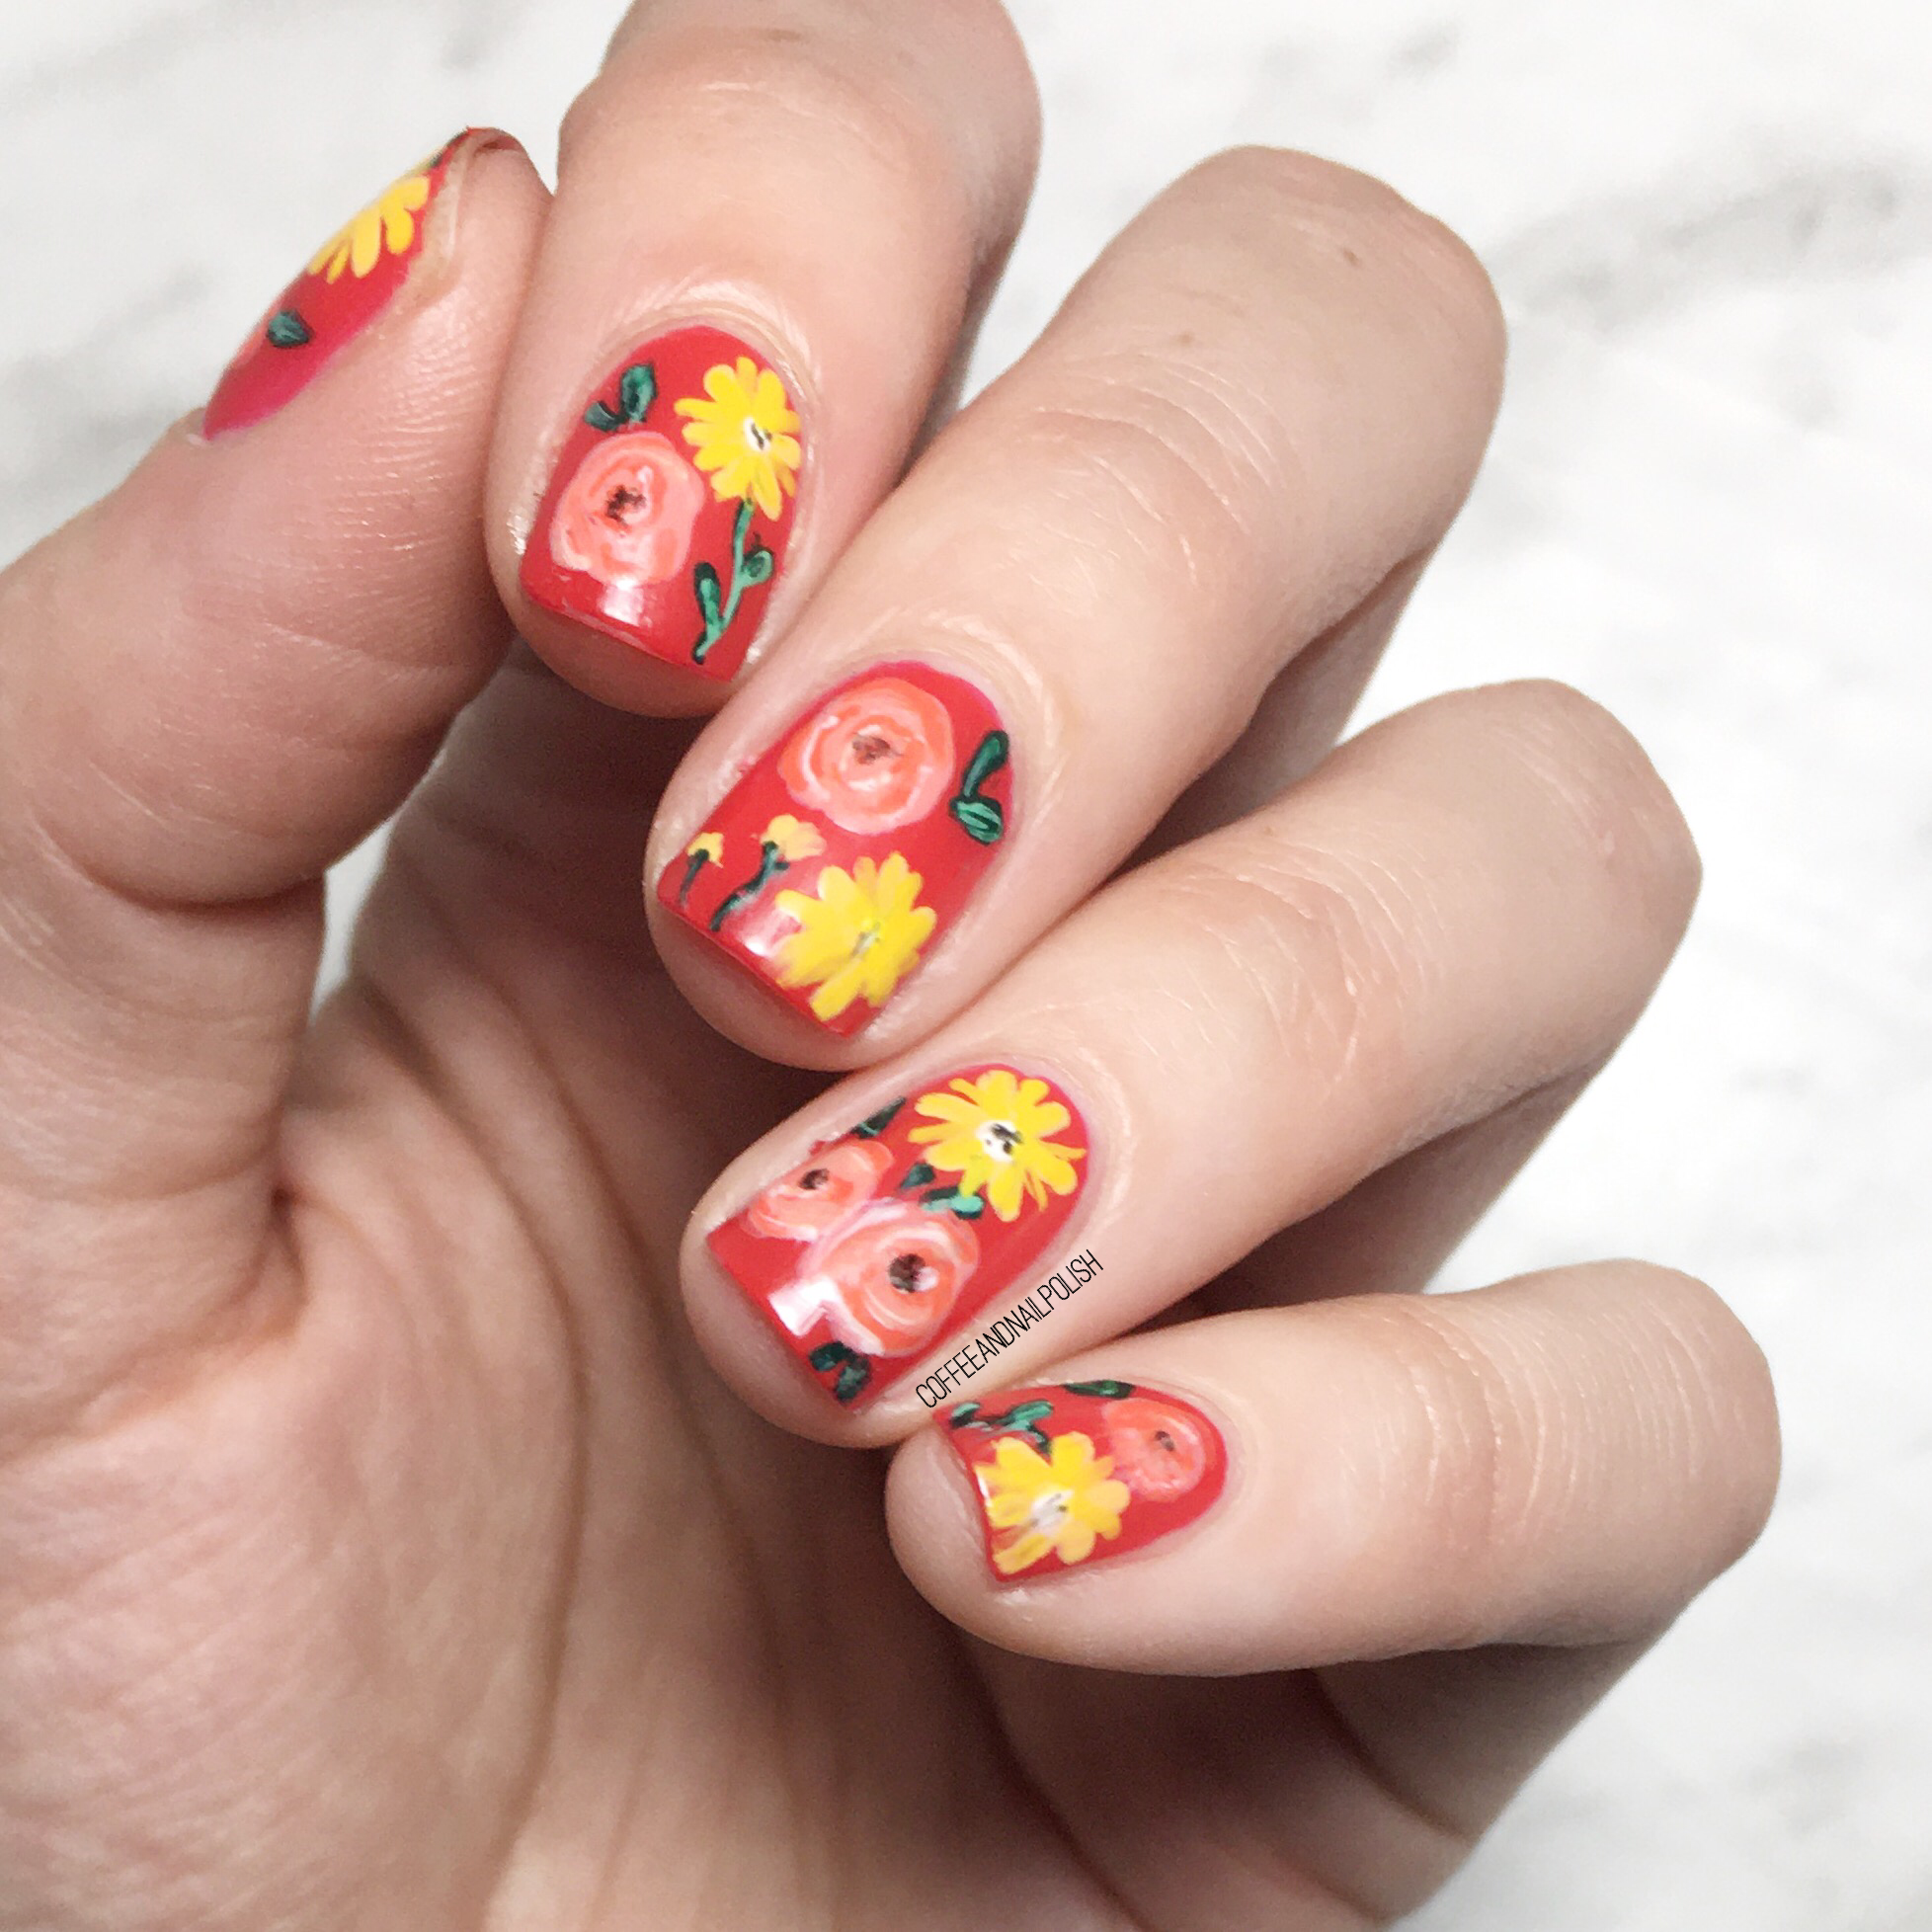
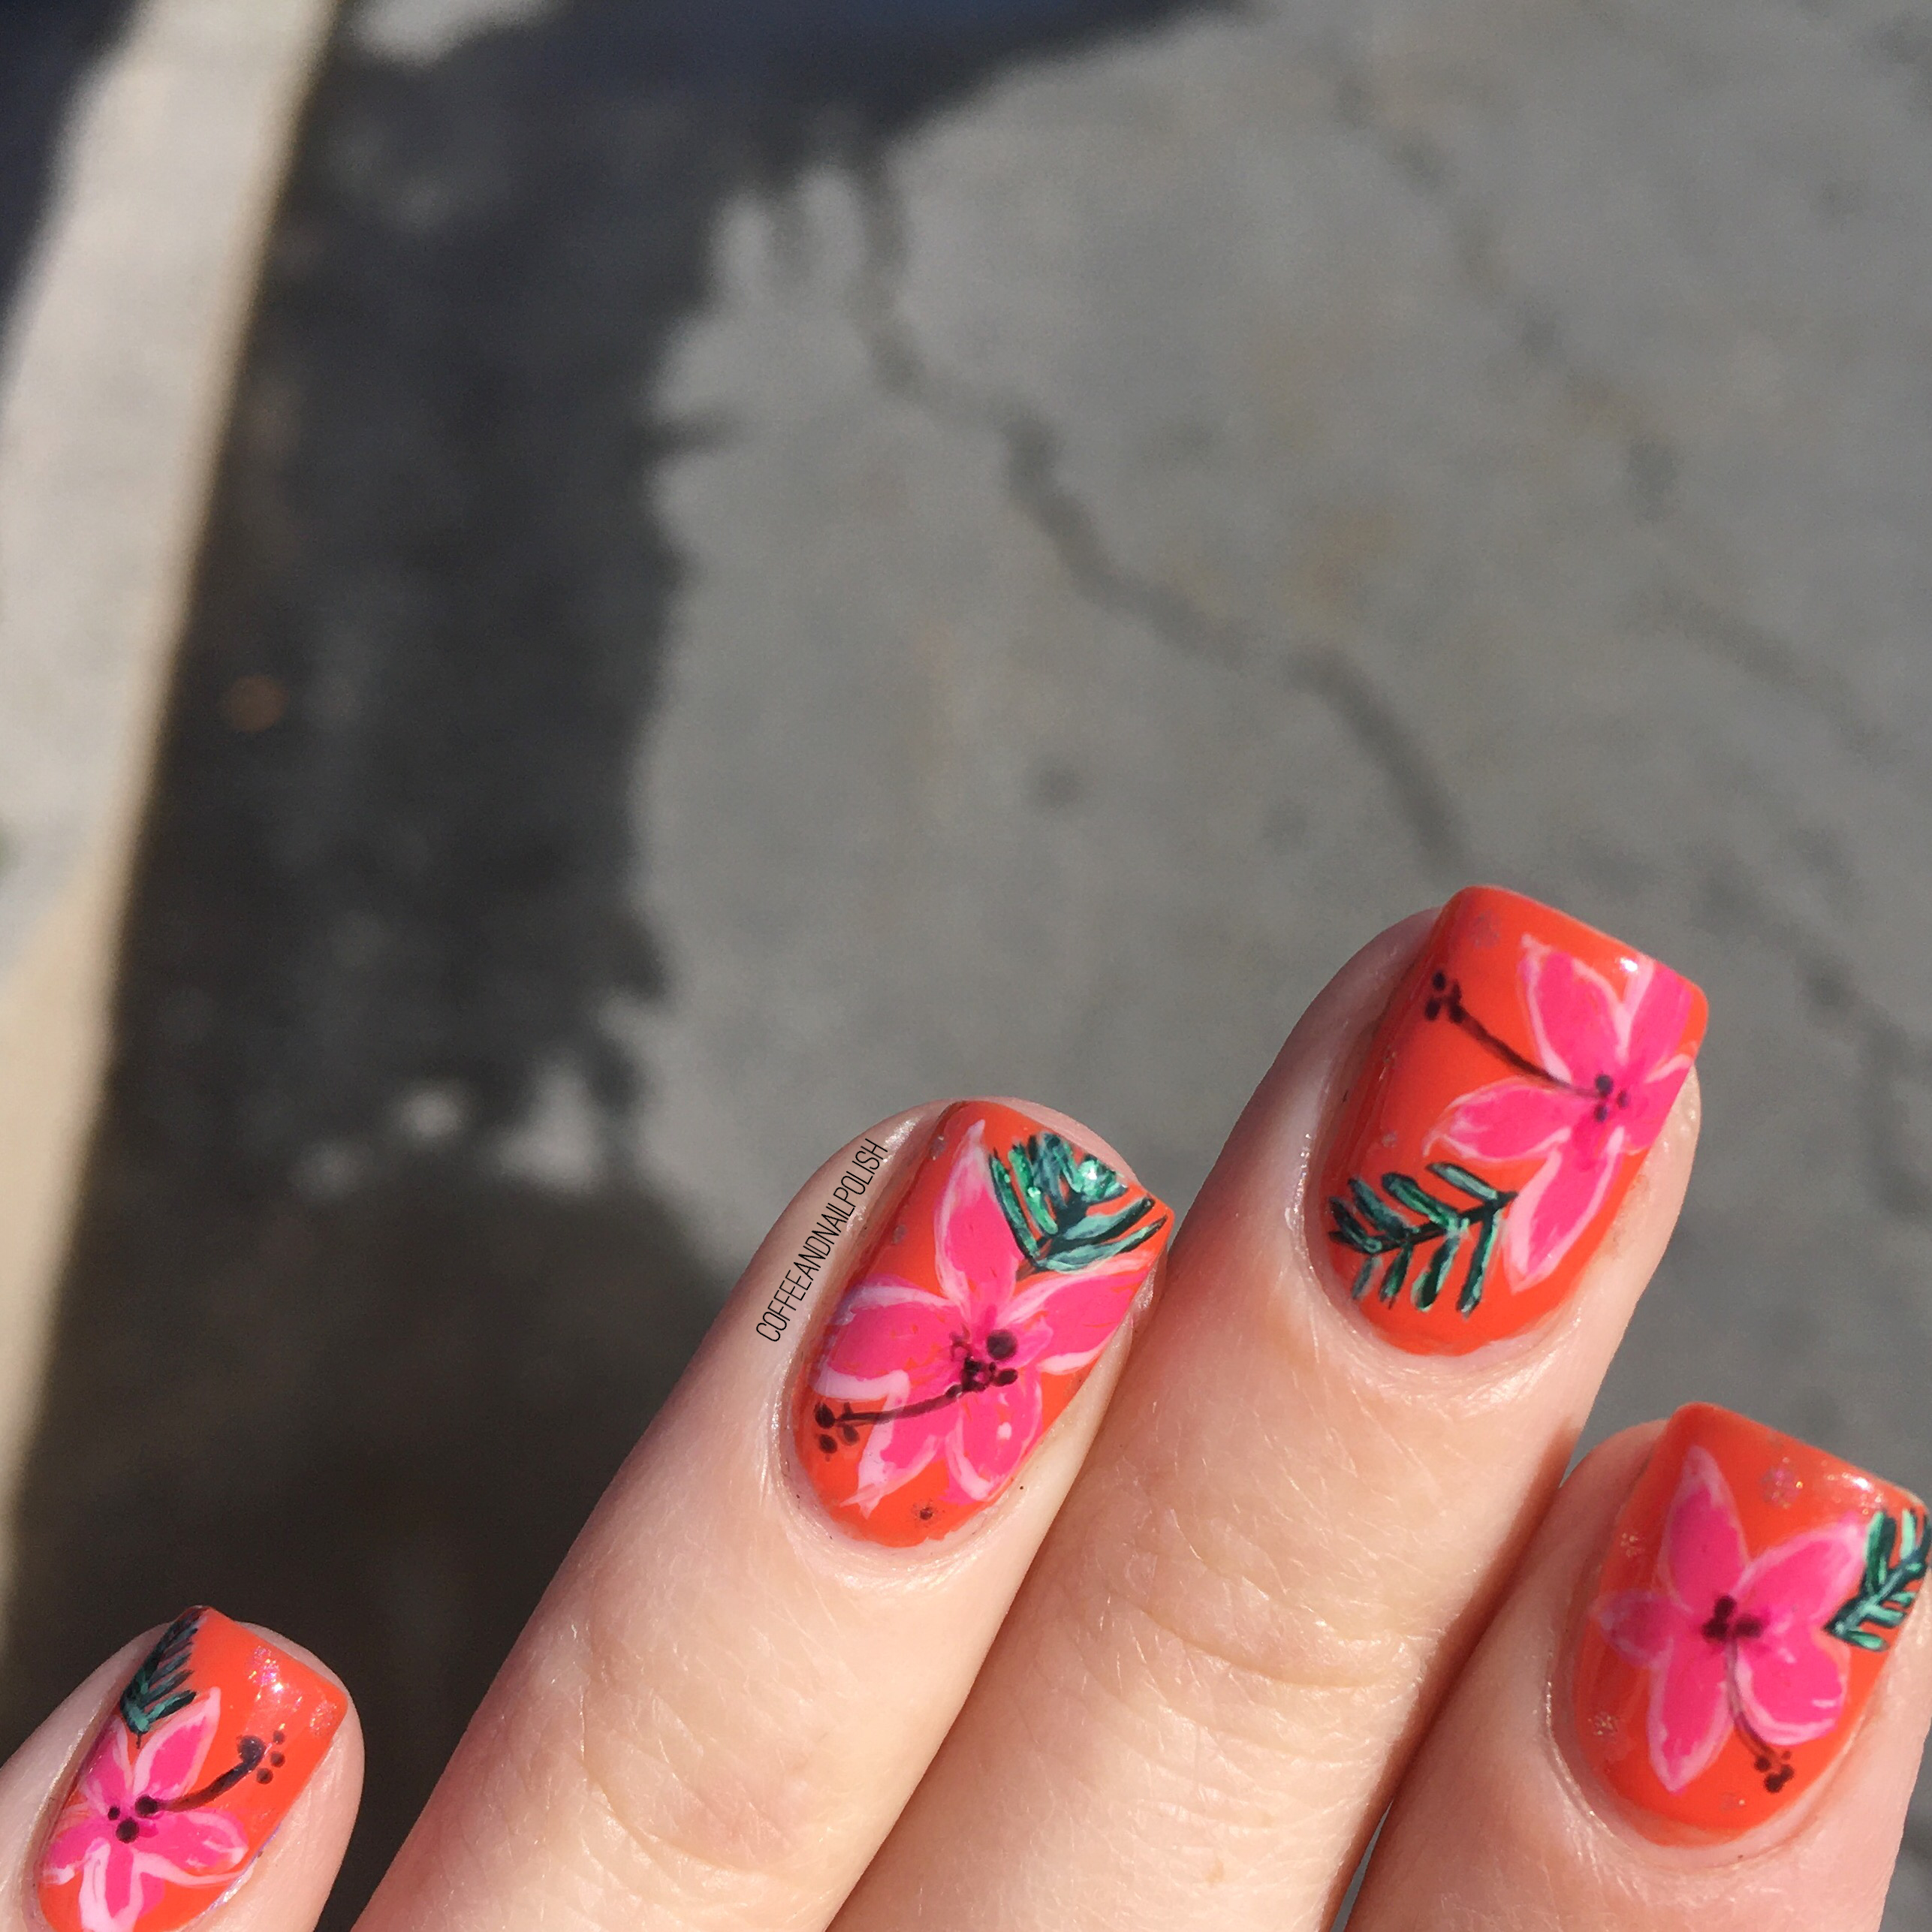
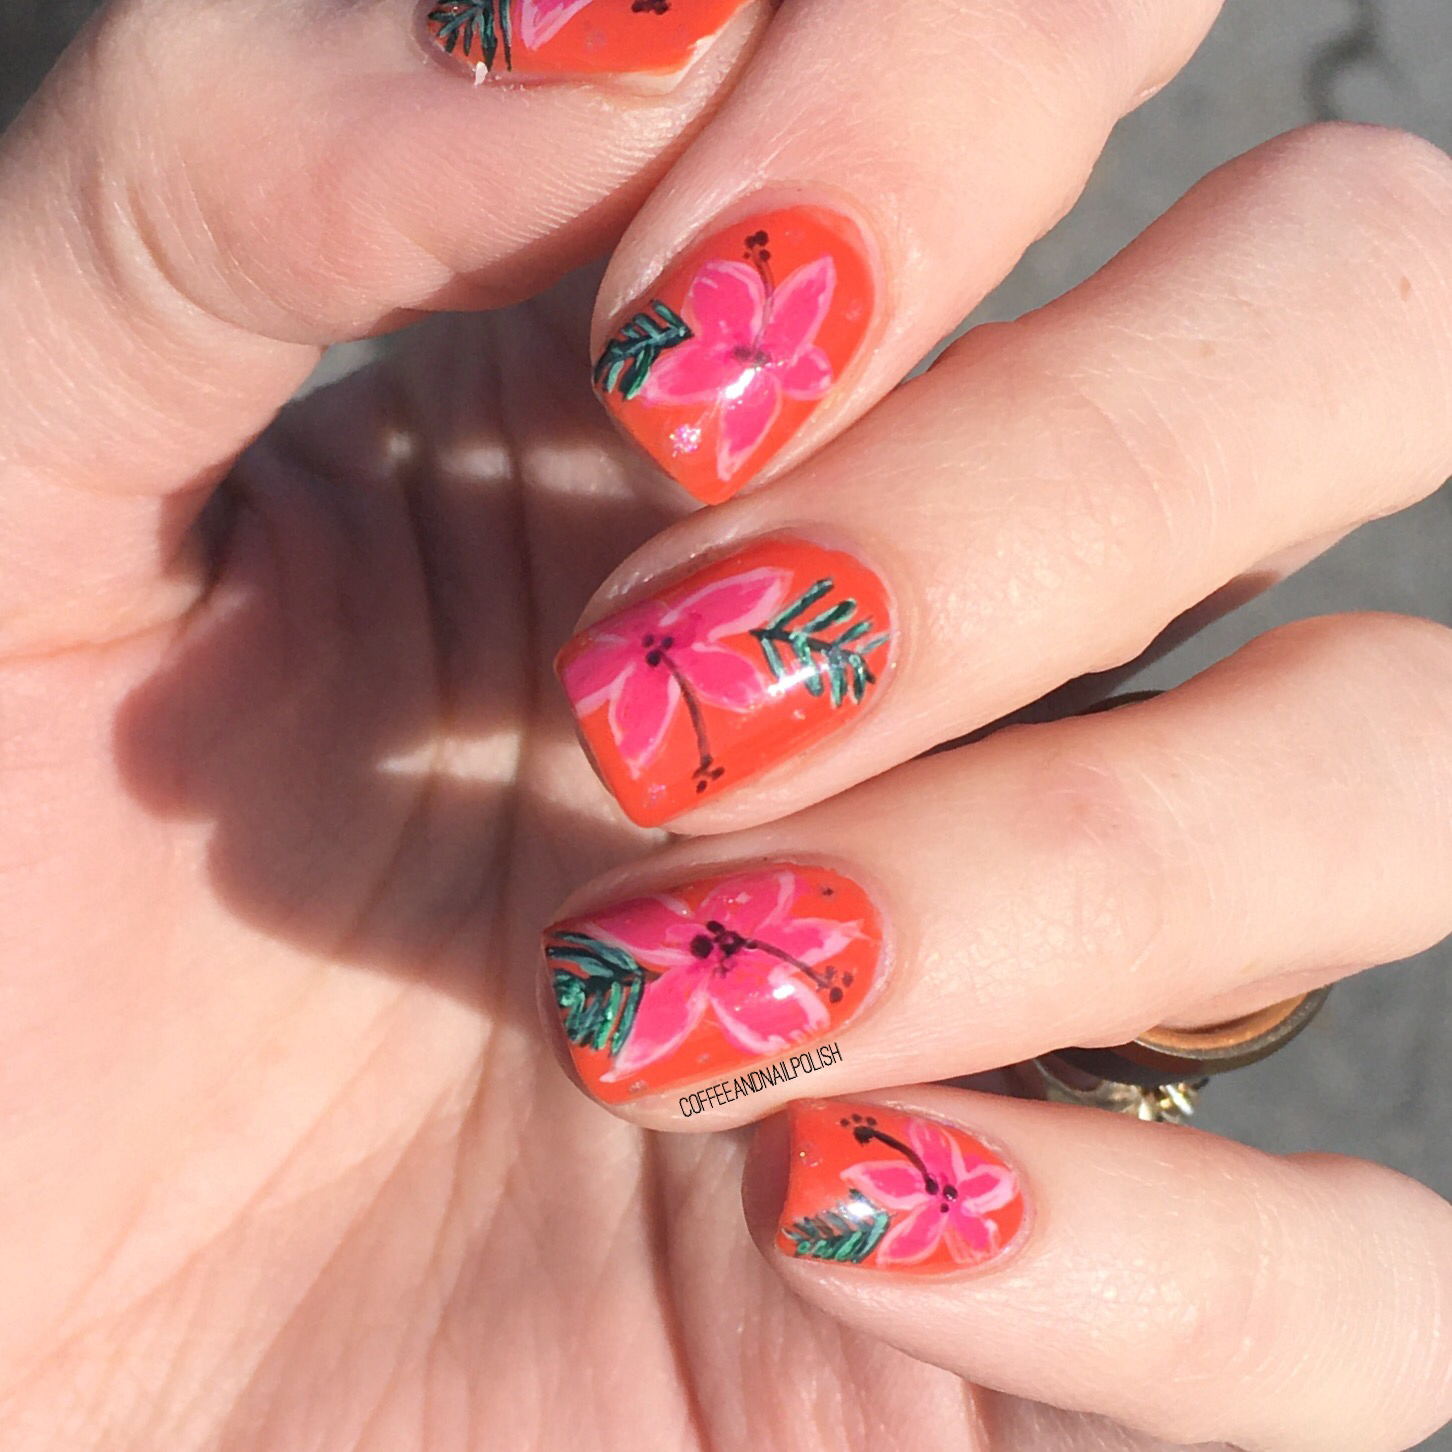
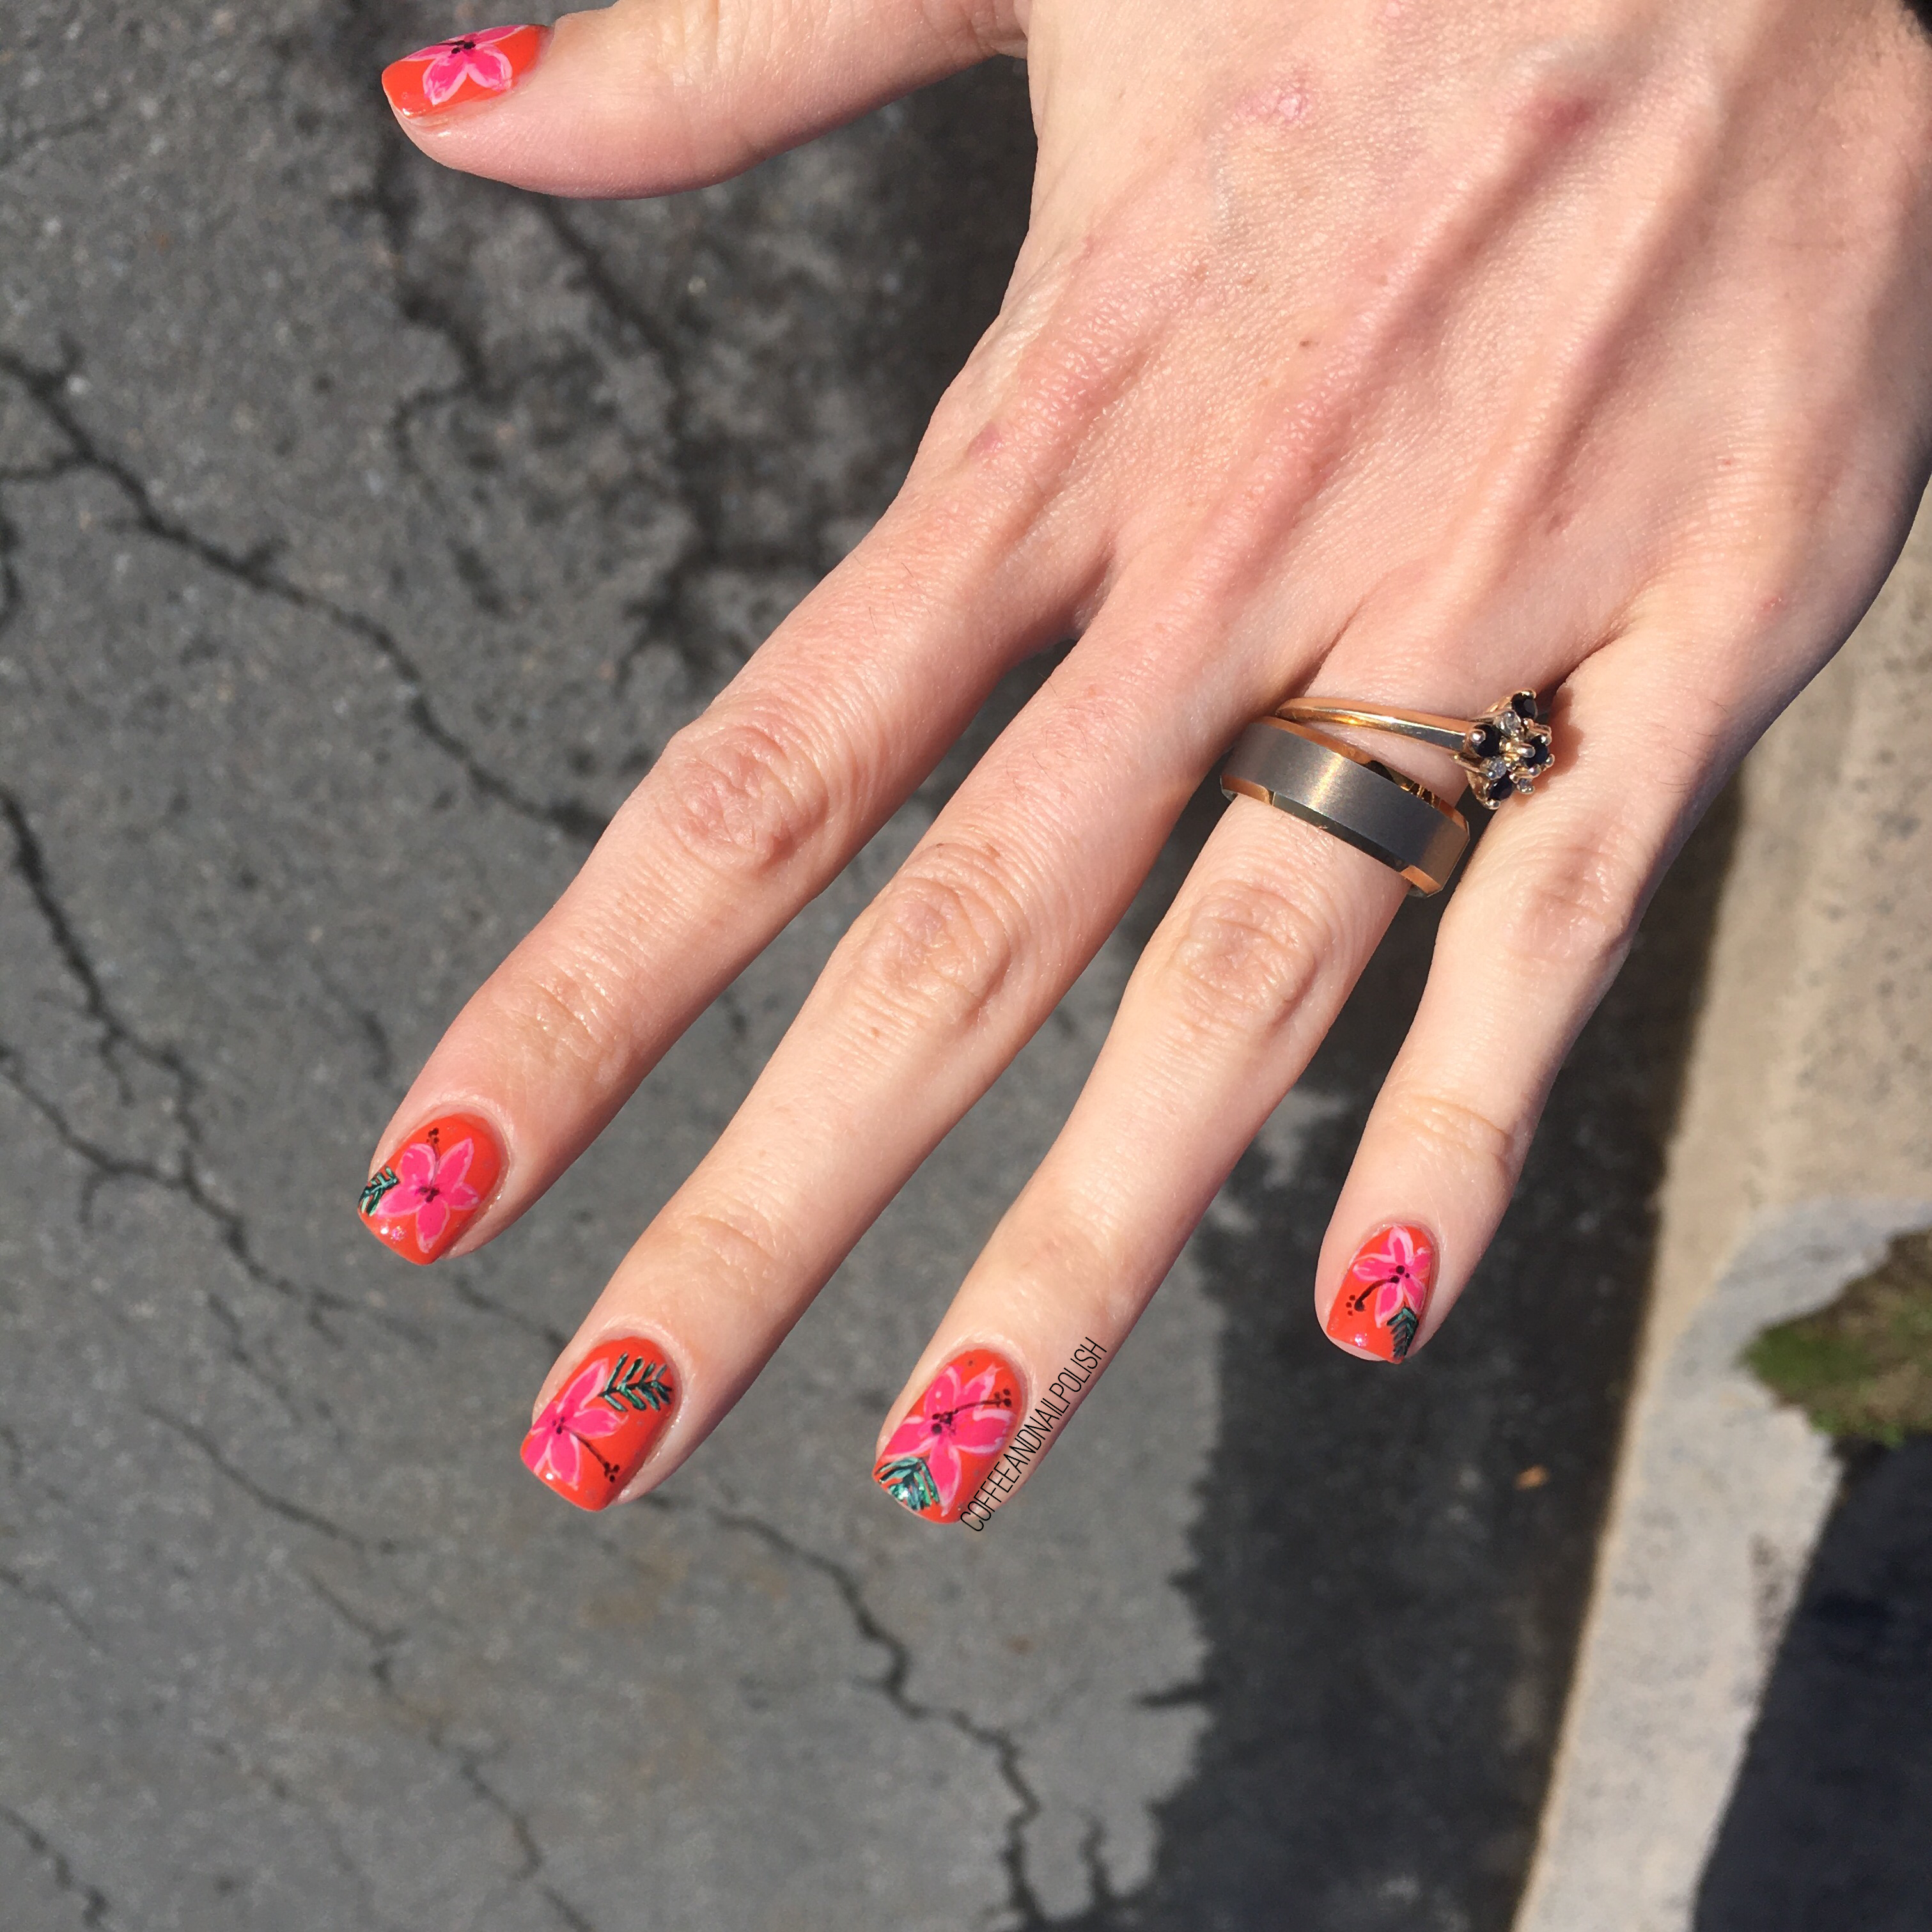
As you can see from the background of my nail art pictures today, it’s Winterland here in Halifax! But on my nails, it’s totally Spring. Today is prompt #3 for GlamNailsChallengeFeb, & it is Roses! & as you know, if you’ve been around the blog a while, roses are one of my favourite things to paint on my nails!

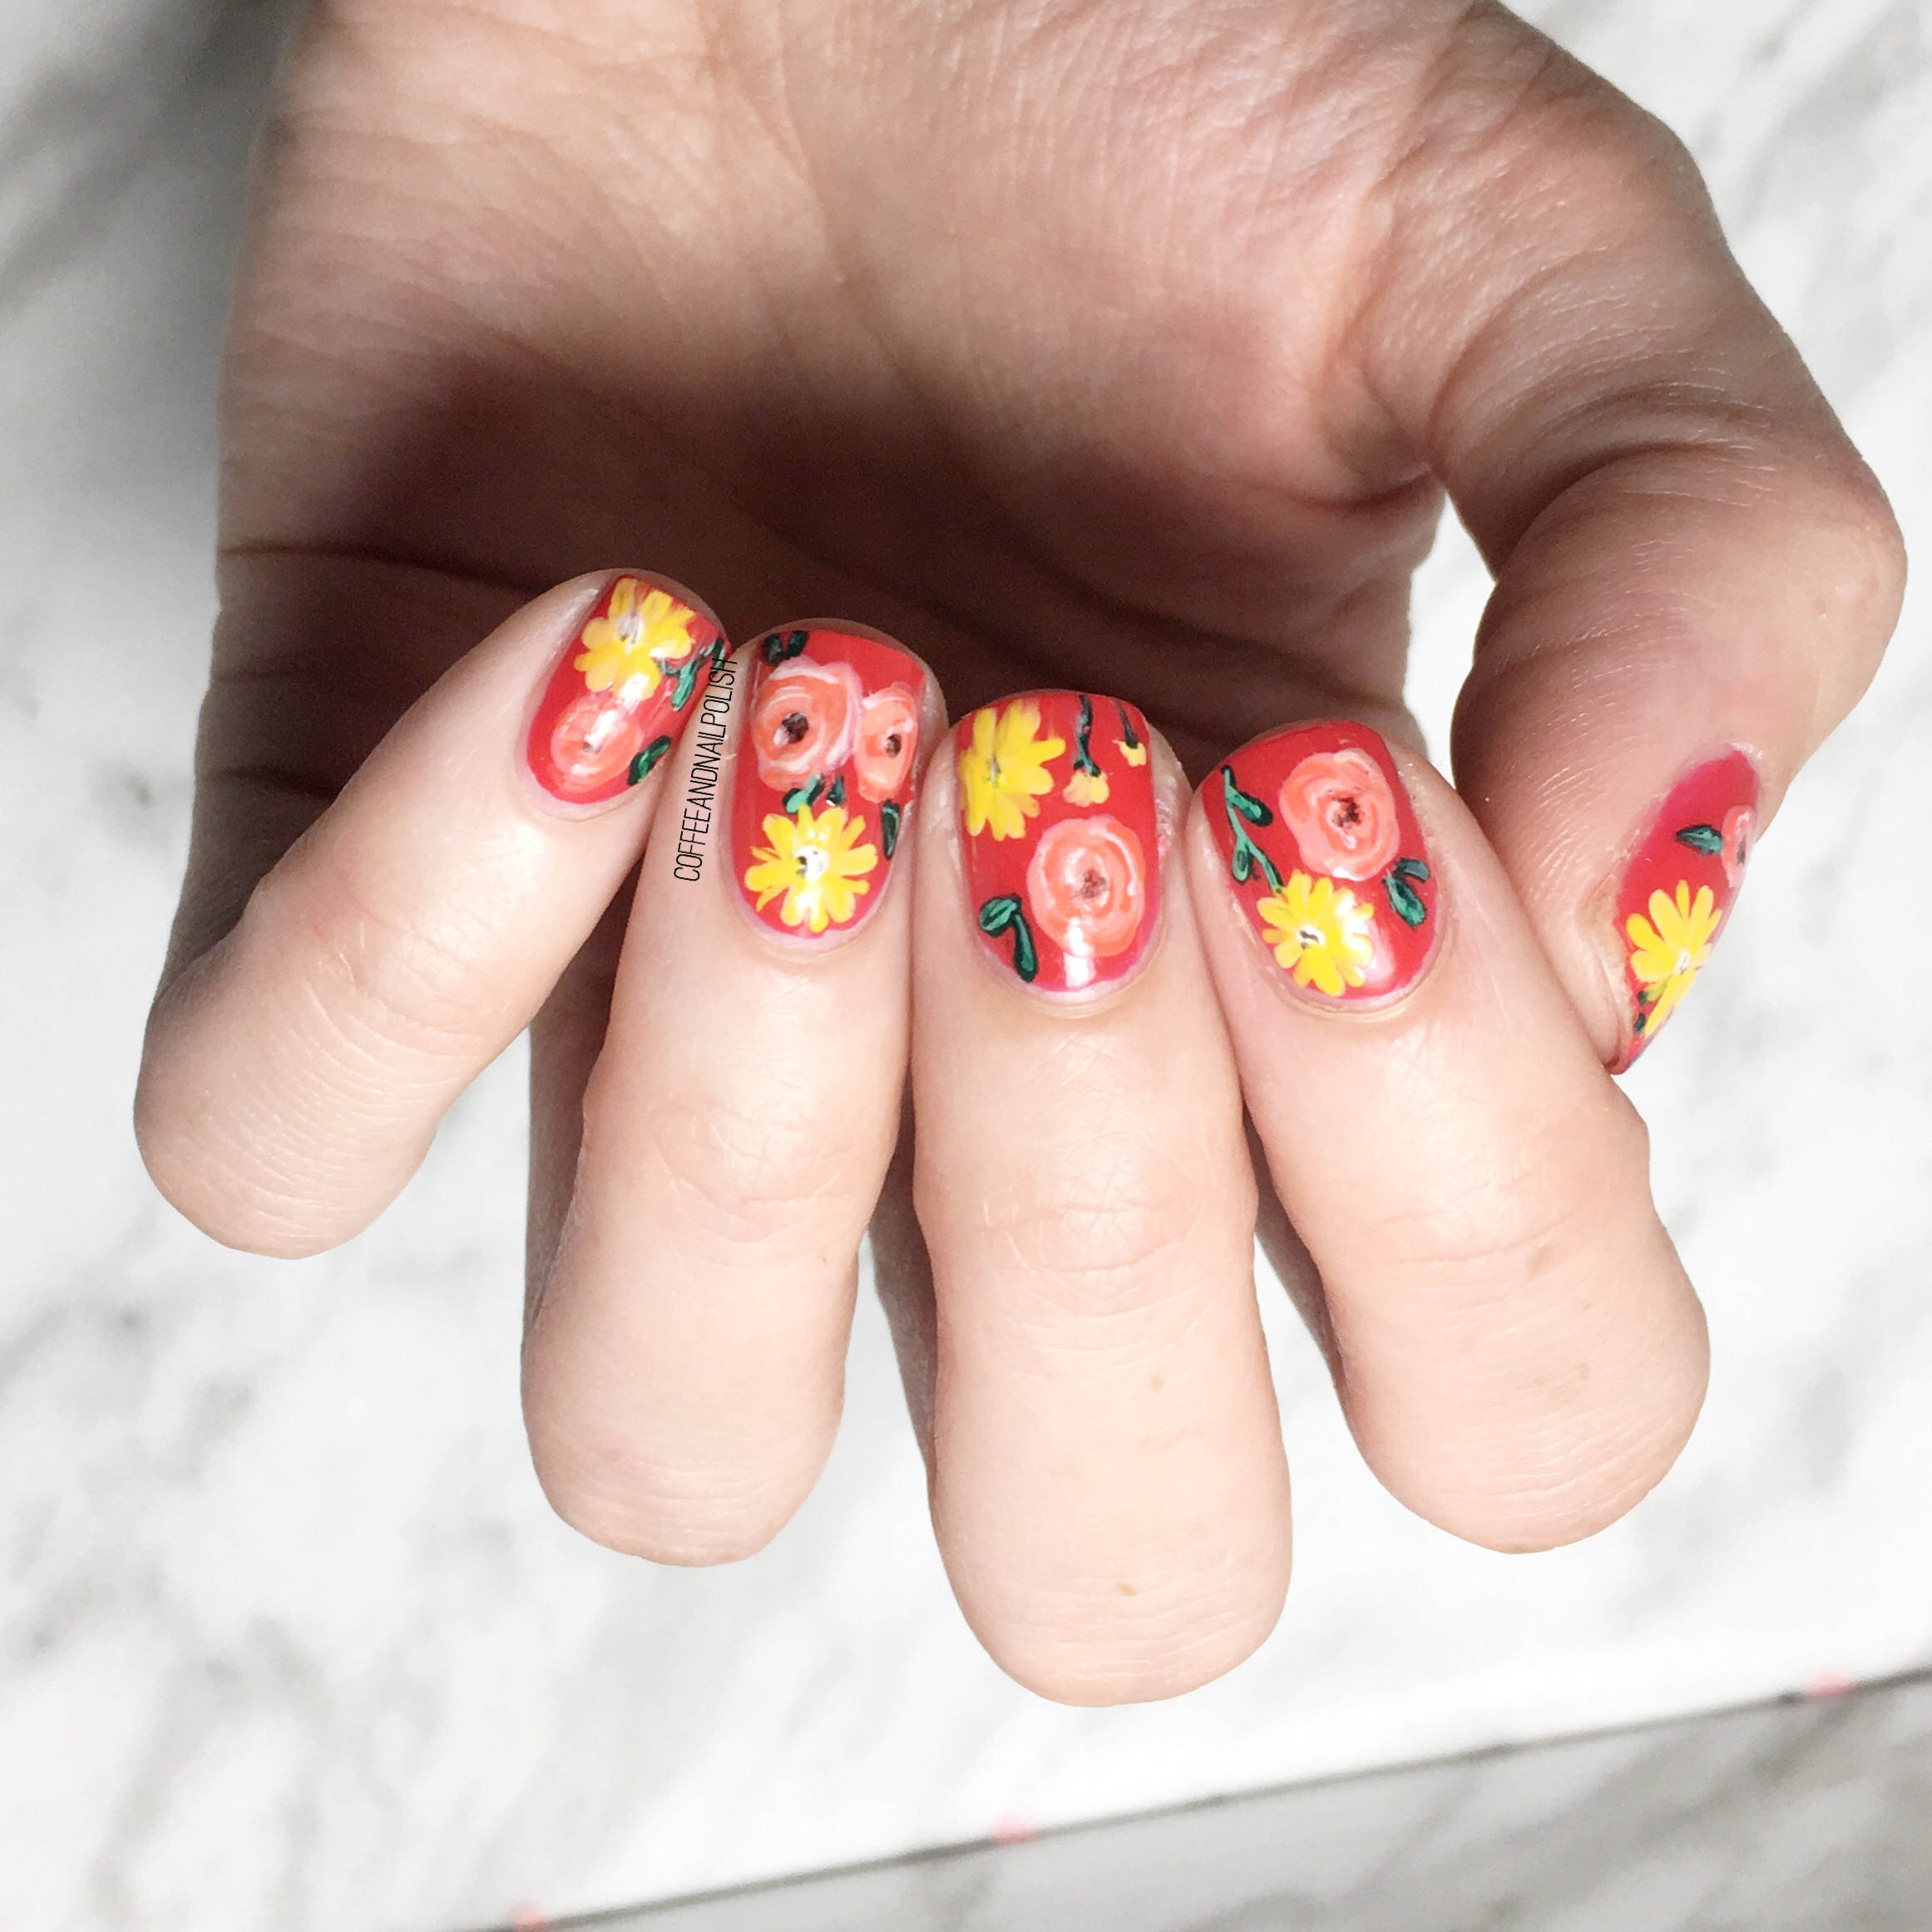
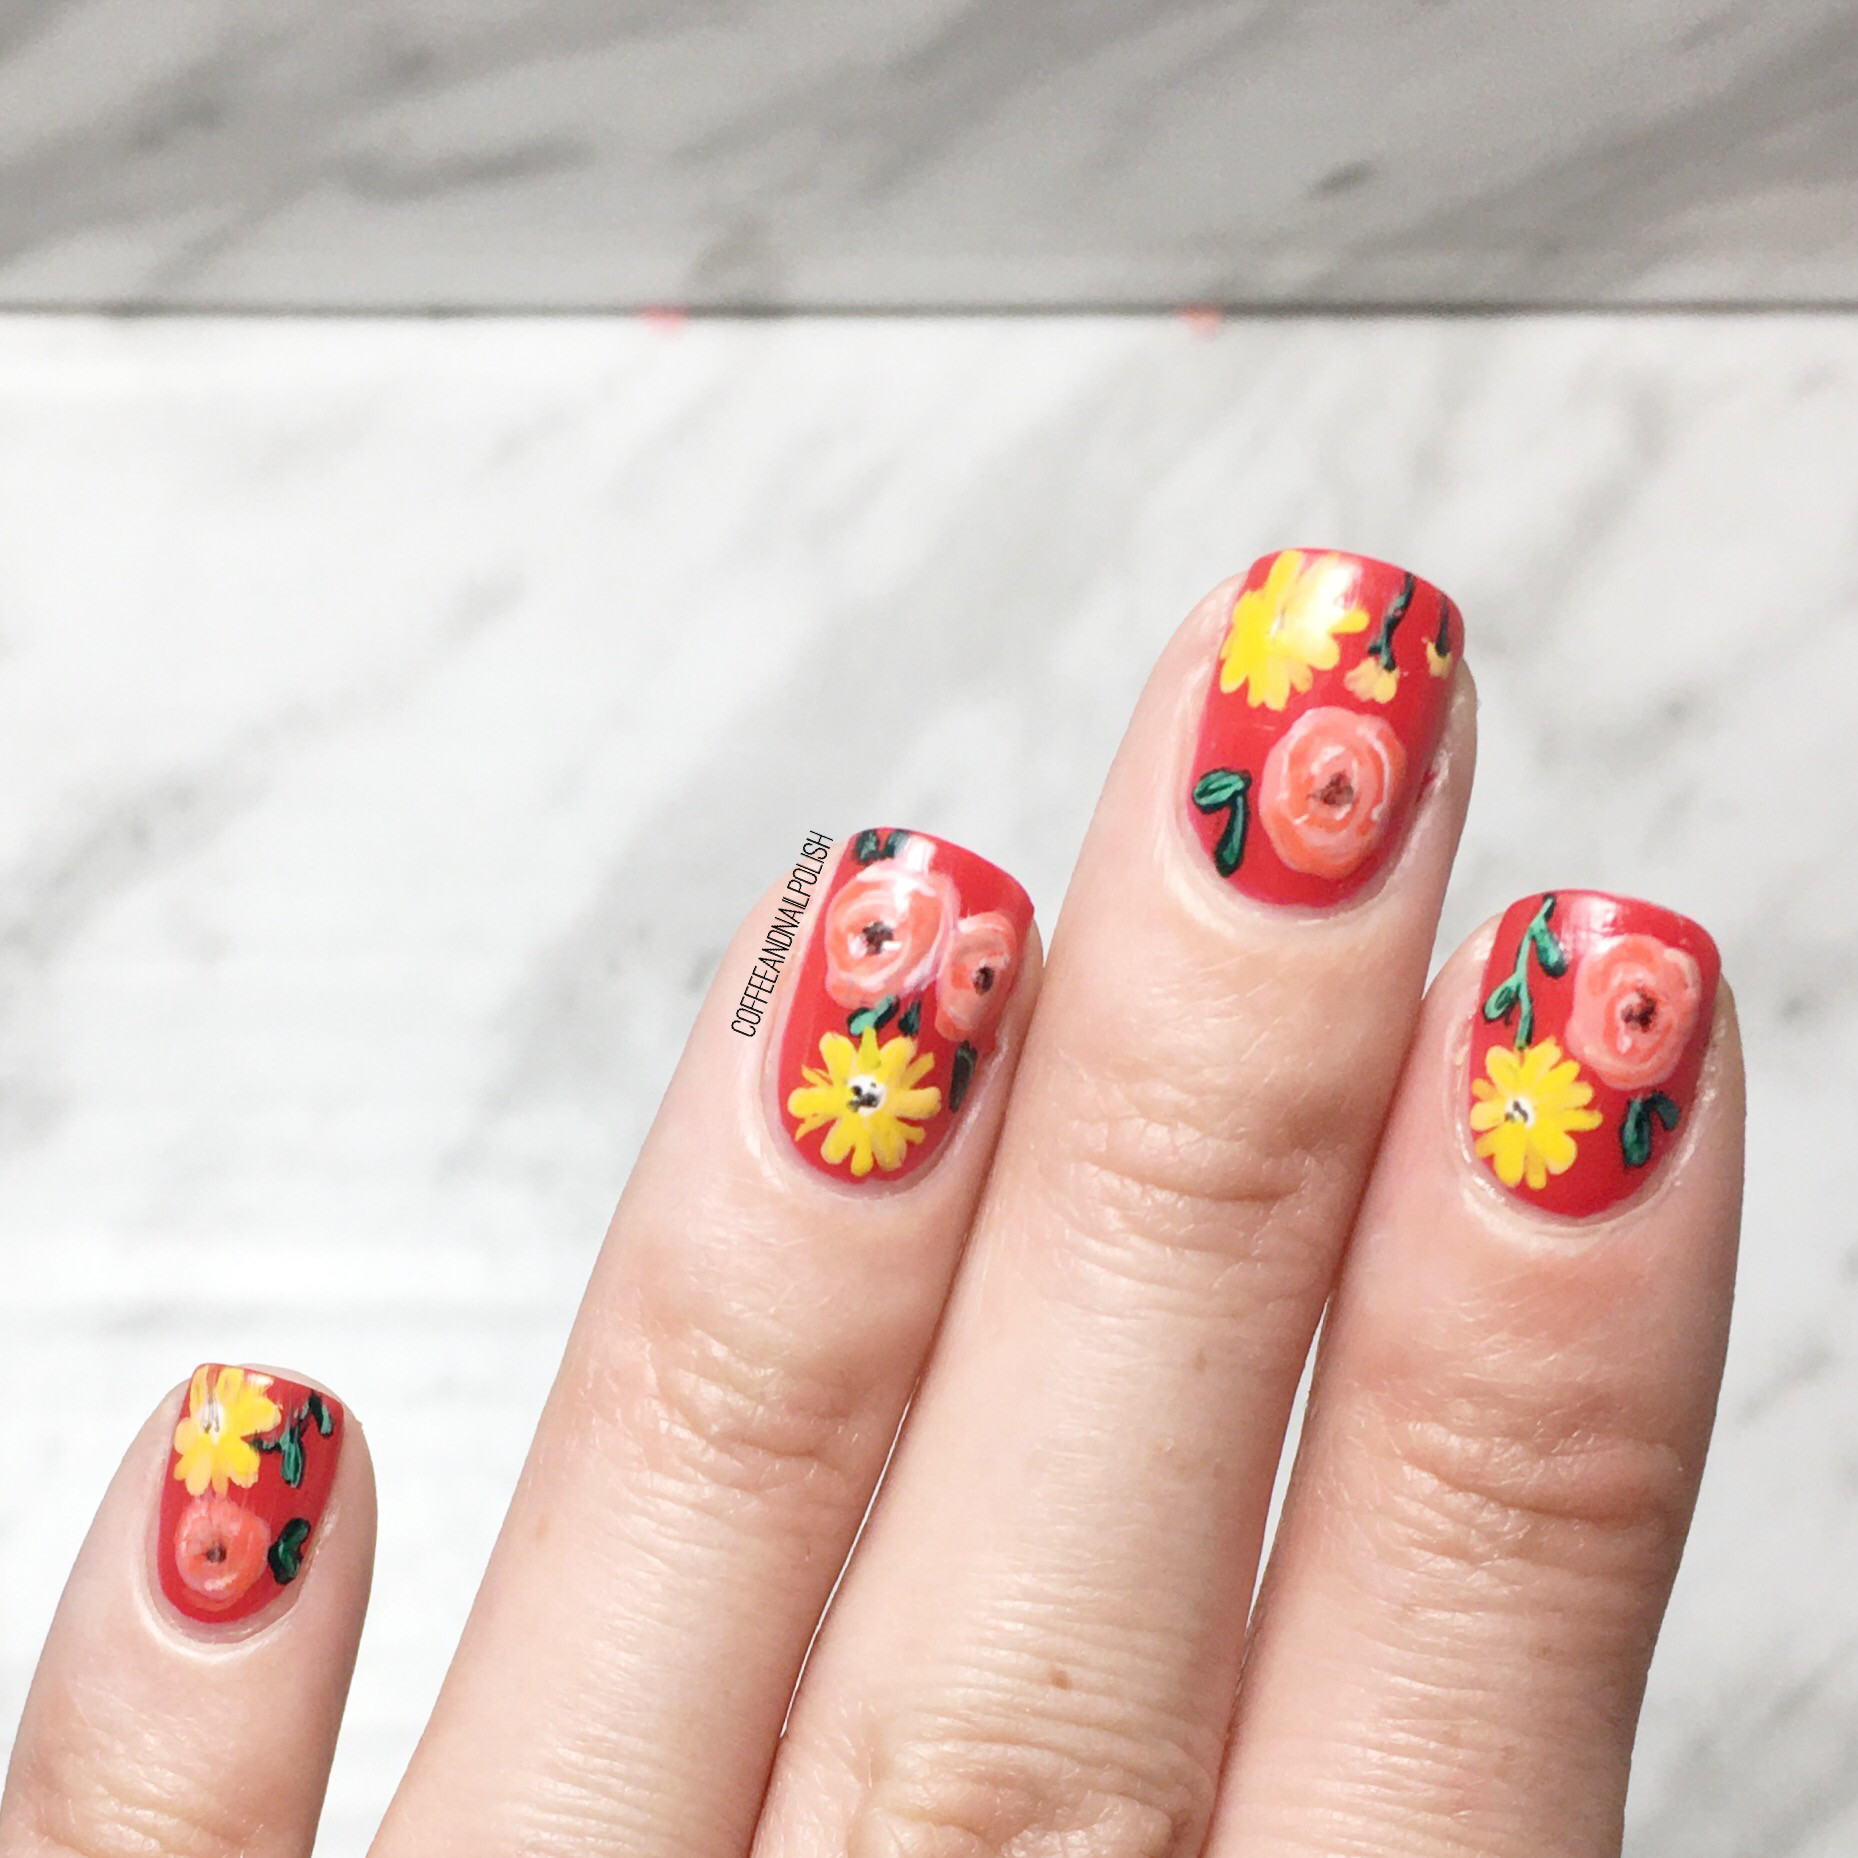
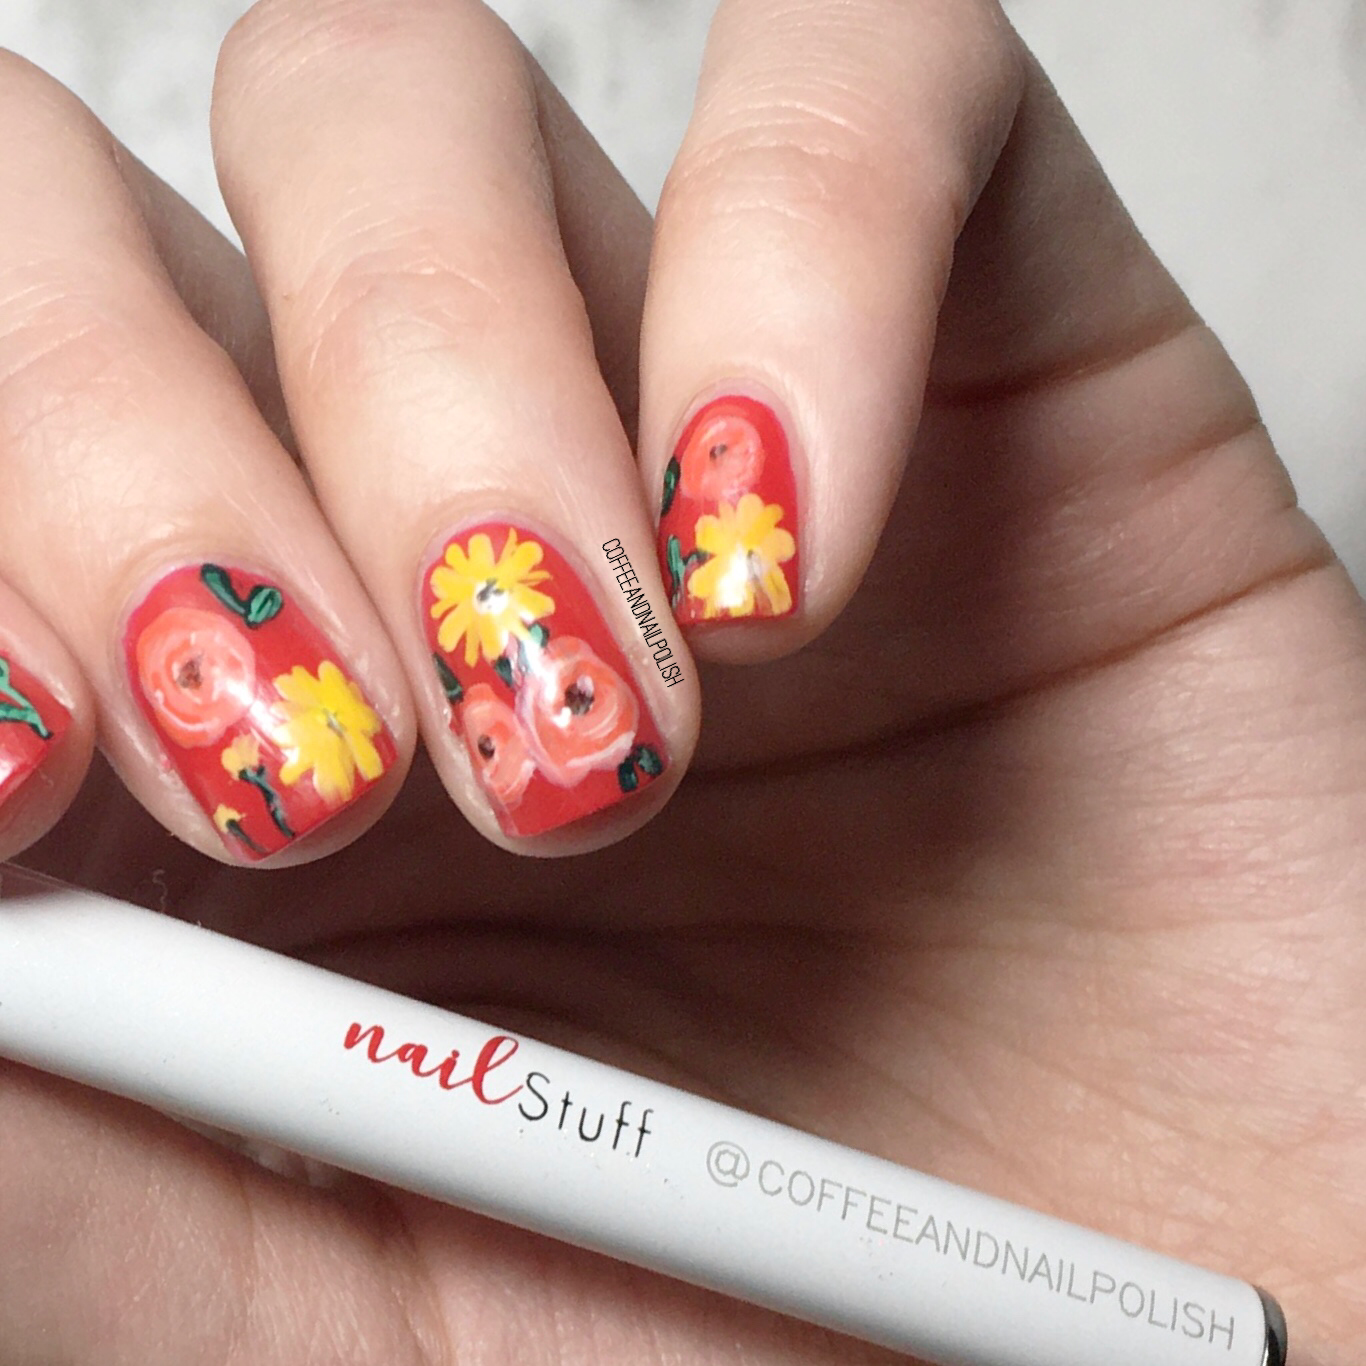
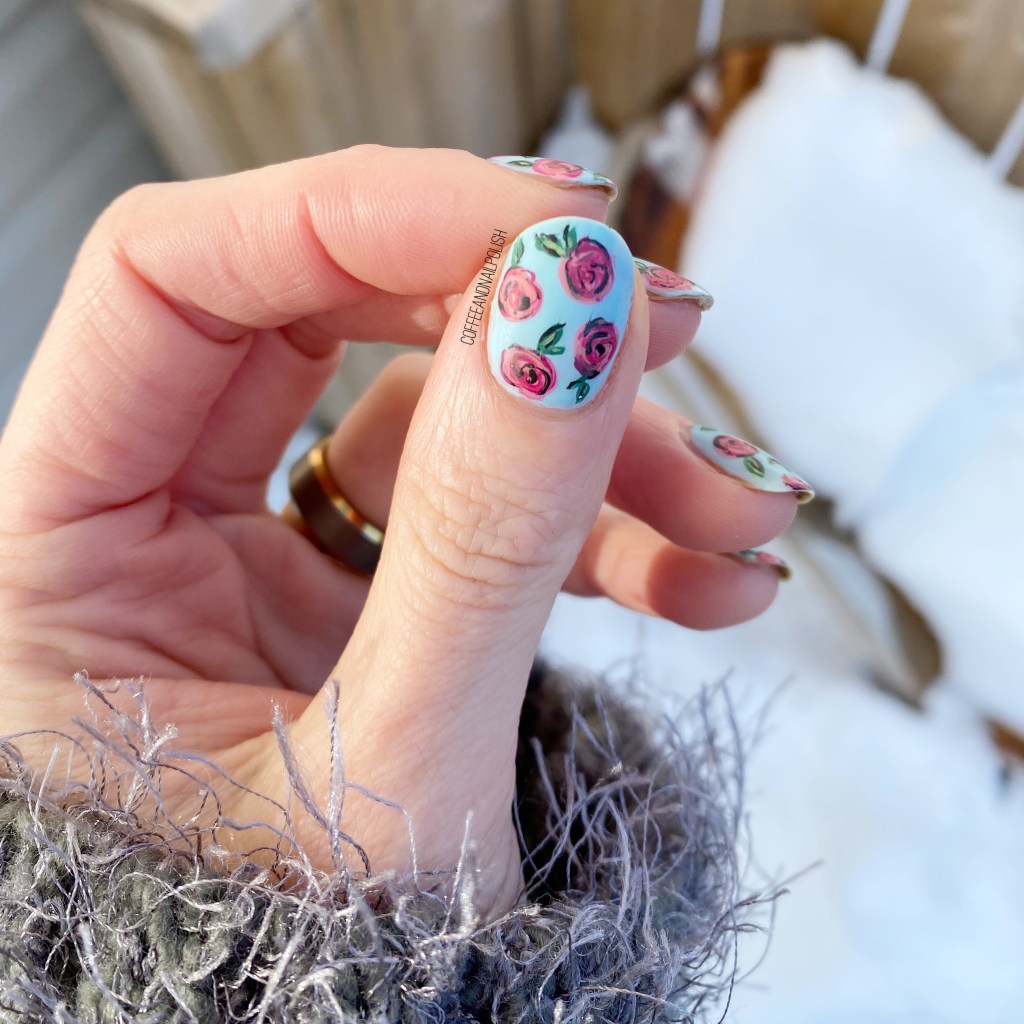
This time I decided to go with a vintage inspired rose look. Usually I tend to go for a more realistic looking floral, but I wanted to try something different!

For this manicure, the polishes I used were:

  • Base Coat: Sally Hansen Nailgrowth Miracle
  • Top Coat: Essie Good to Go
  • Matte Top Coat : Sally Hansen Miracle Gel Matte Top Coat
  • Essence shine last & go! Take Me To Heaven
  • L’Oréal Jardin Des Roses
  • Sally Hansen CSM So Much Fawn
  • OPI Koala Bear-y
  • Starrily Vantablack
  • Essence Gel Nail Polish The Green & the Grunge
  • Sally Hansen MG Wet My Whistle
  • NailStuff.ca 4mm Micro Detail Brush (COFFEE10 saves you 10%!)
  • NailStuff.ca Dotting Tool Trio

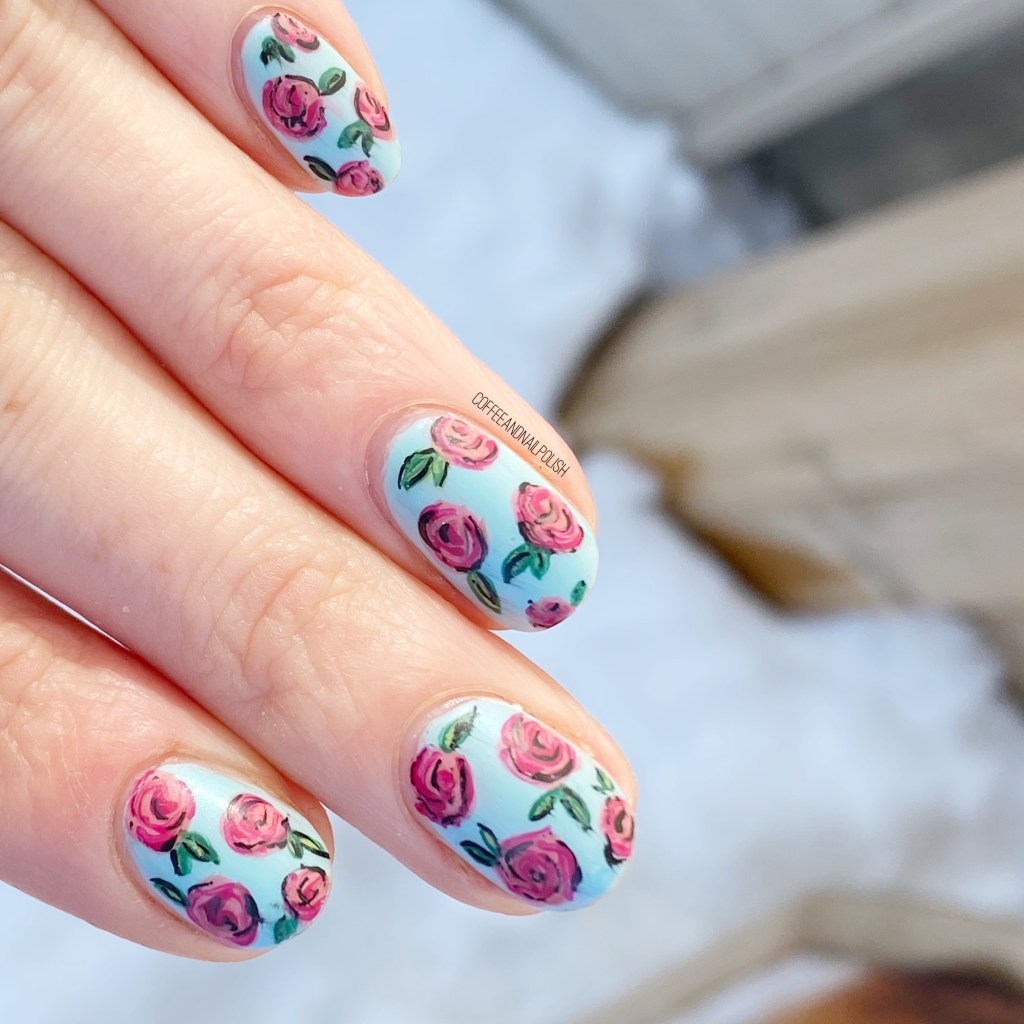
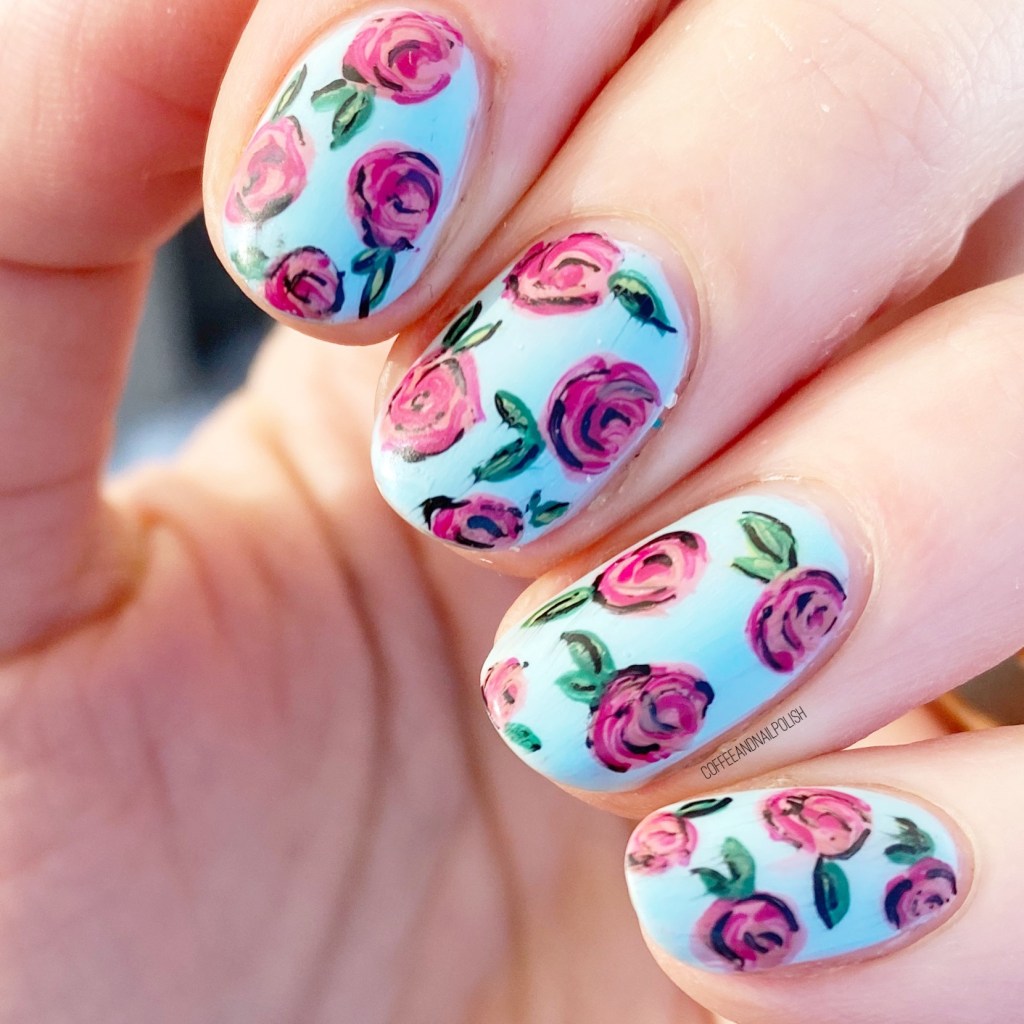
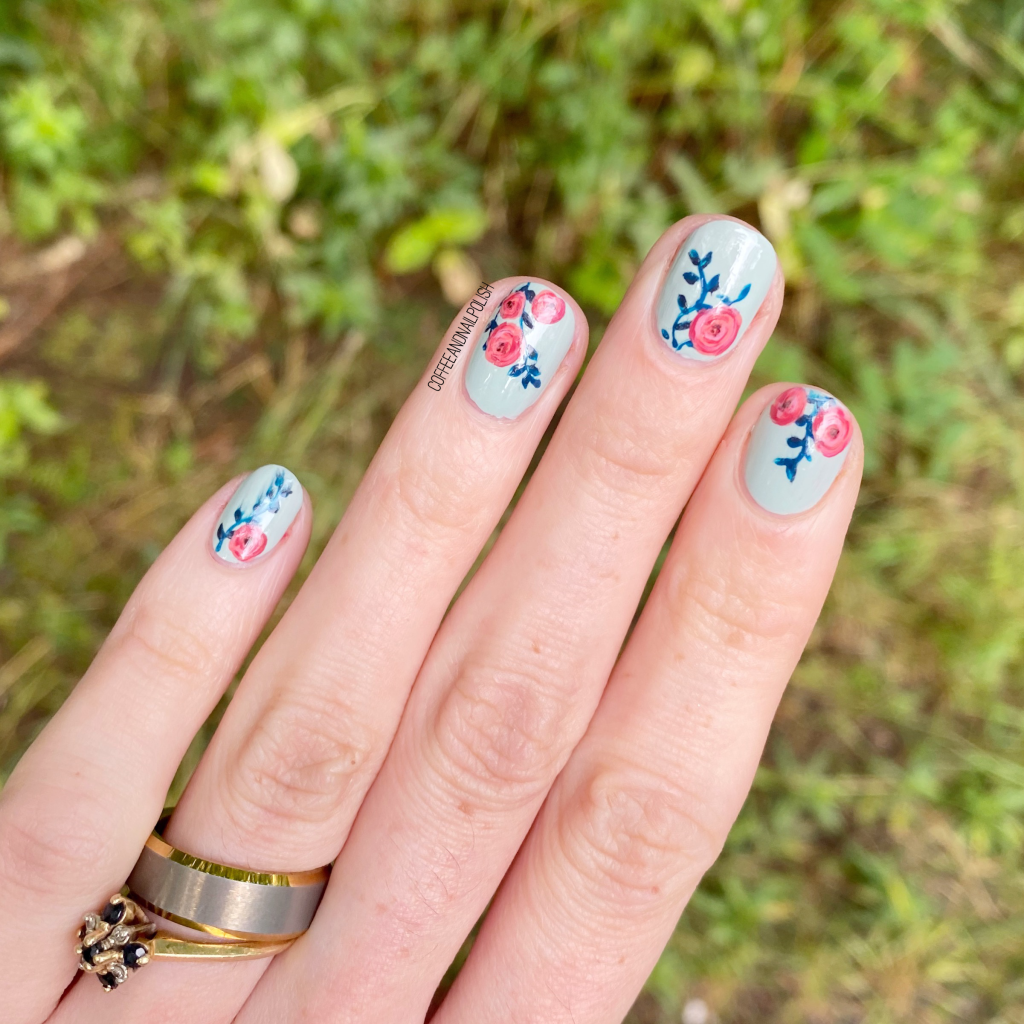
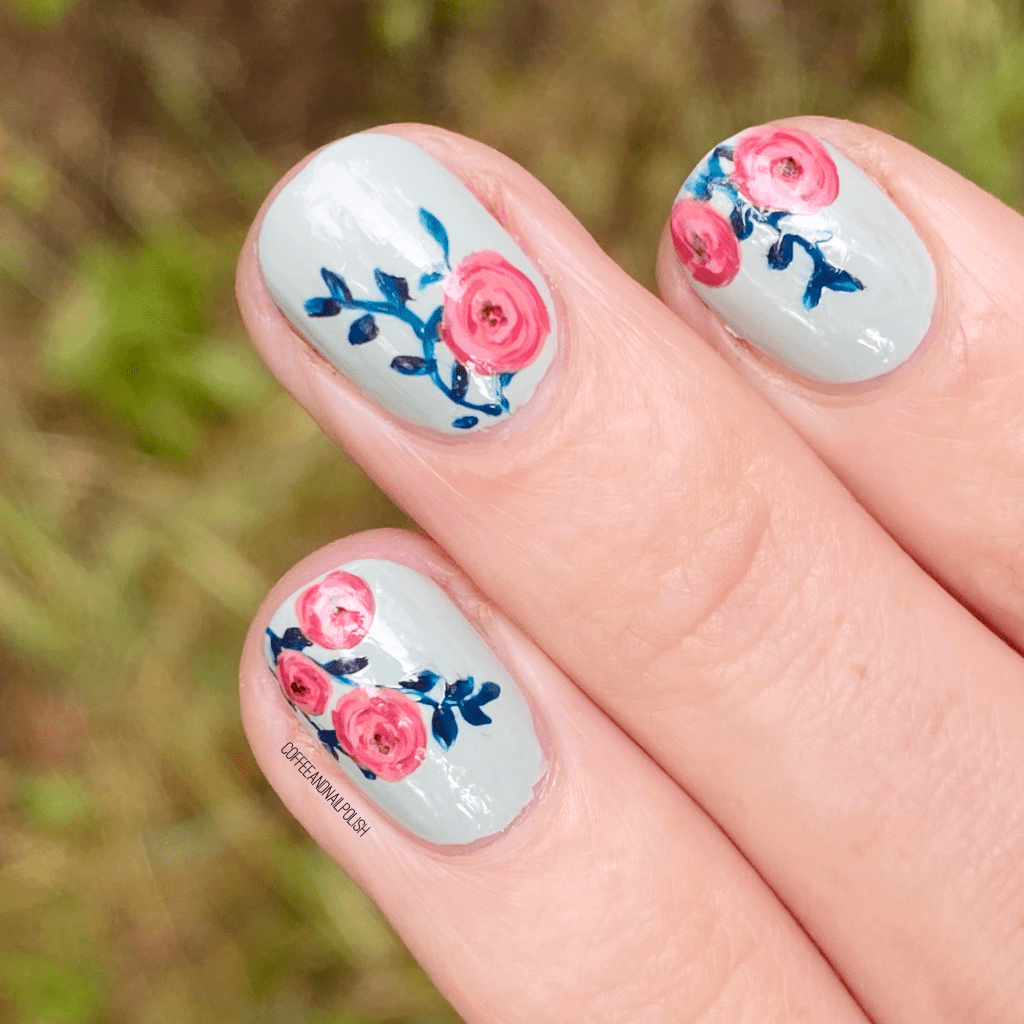
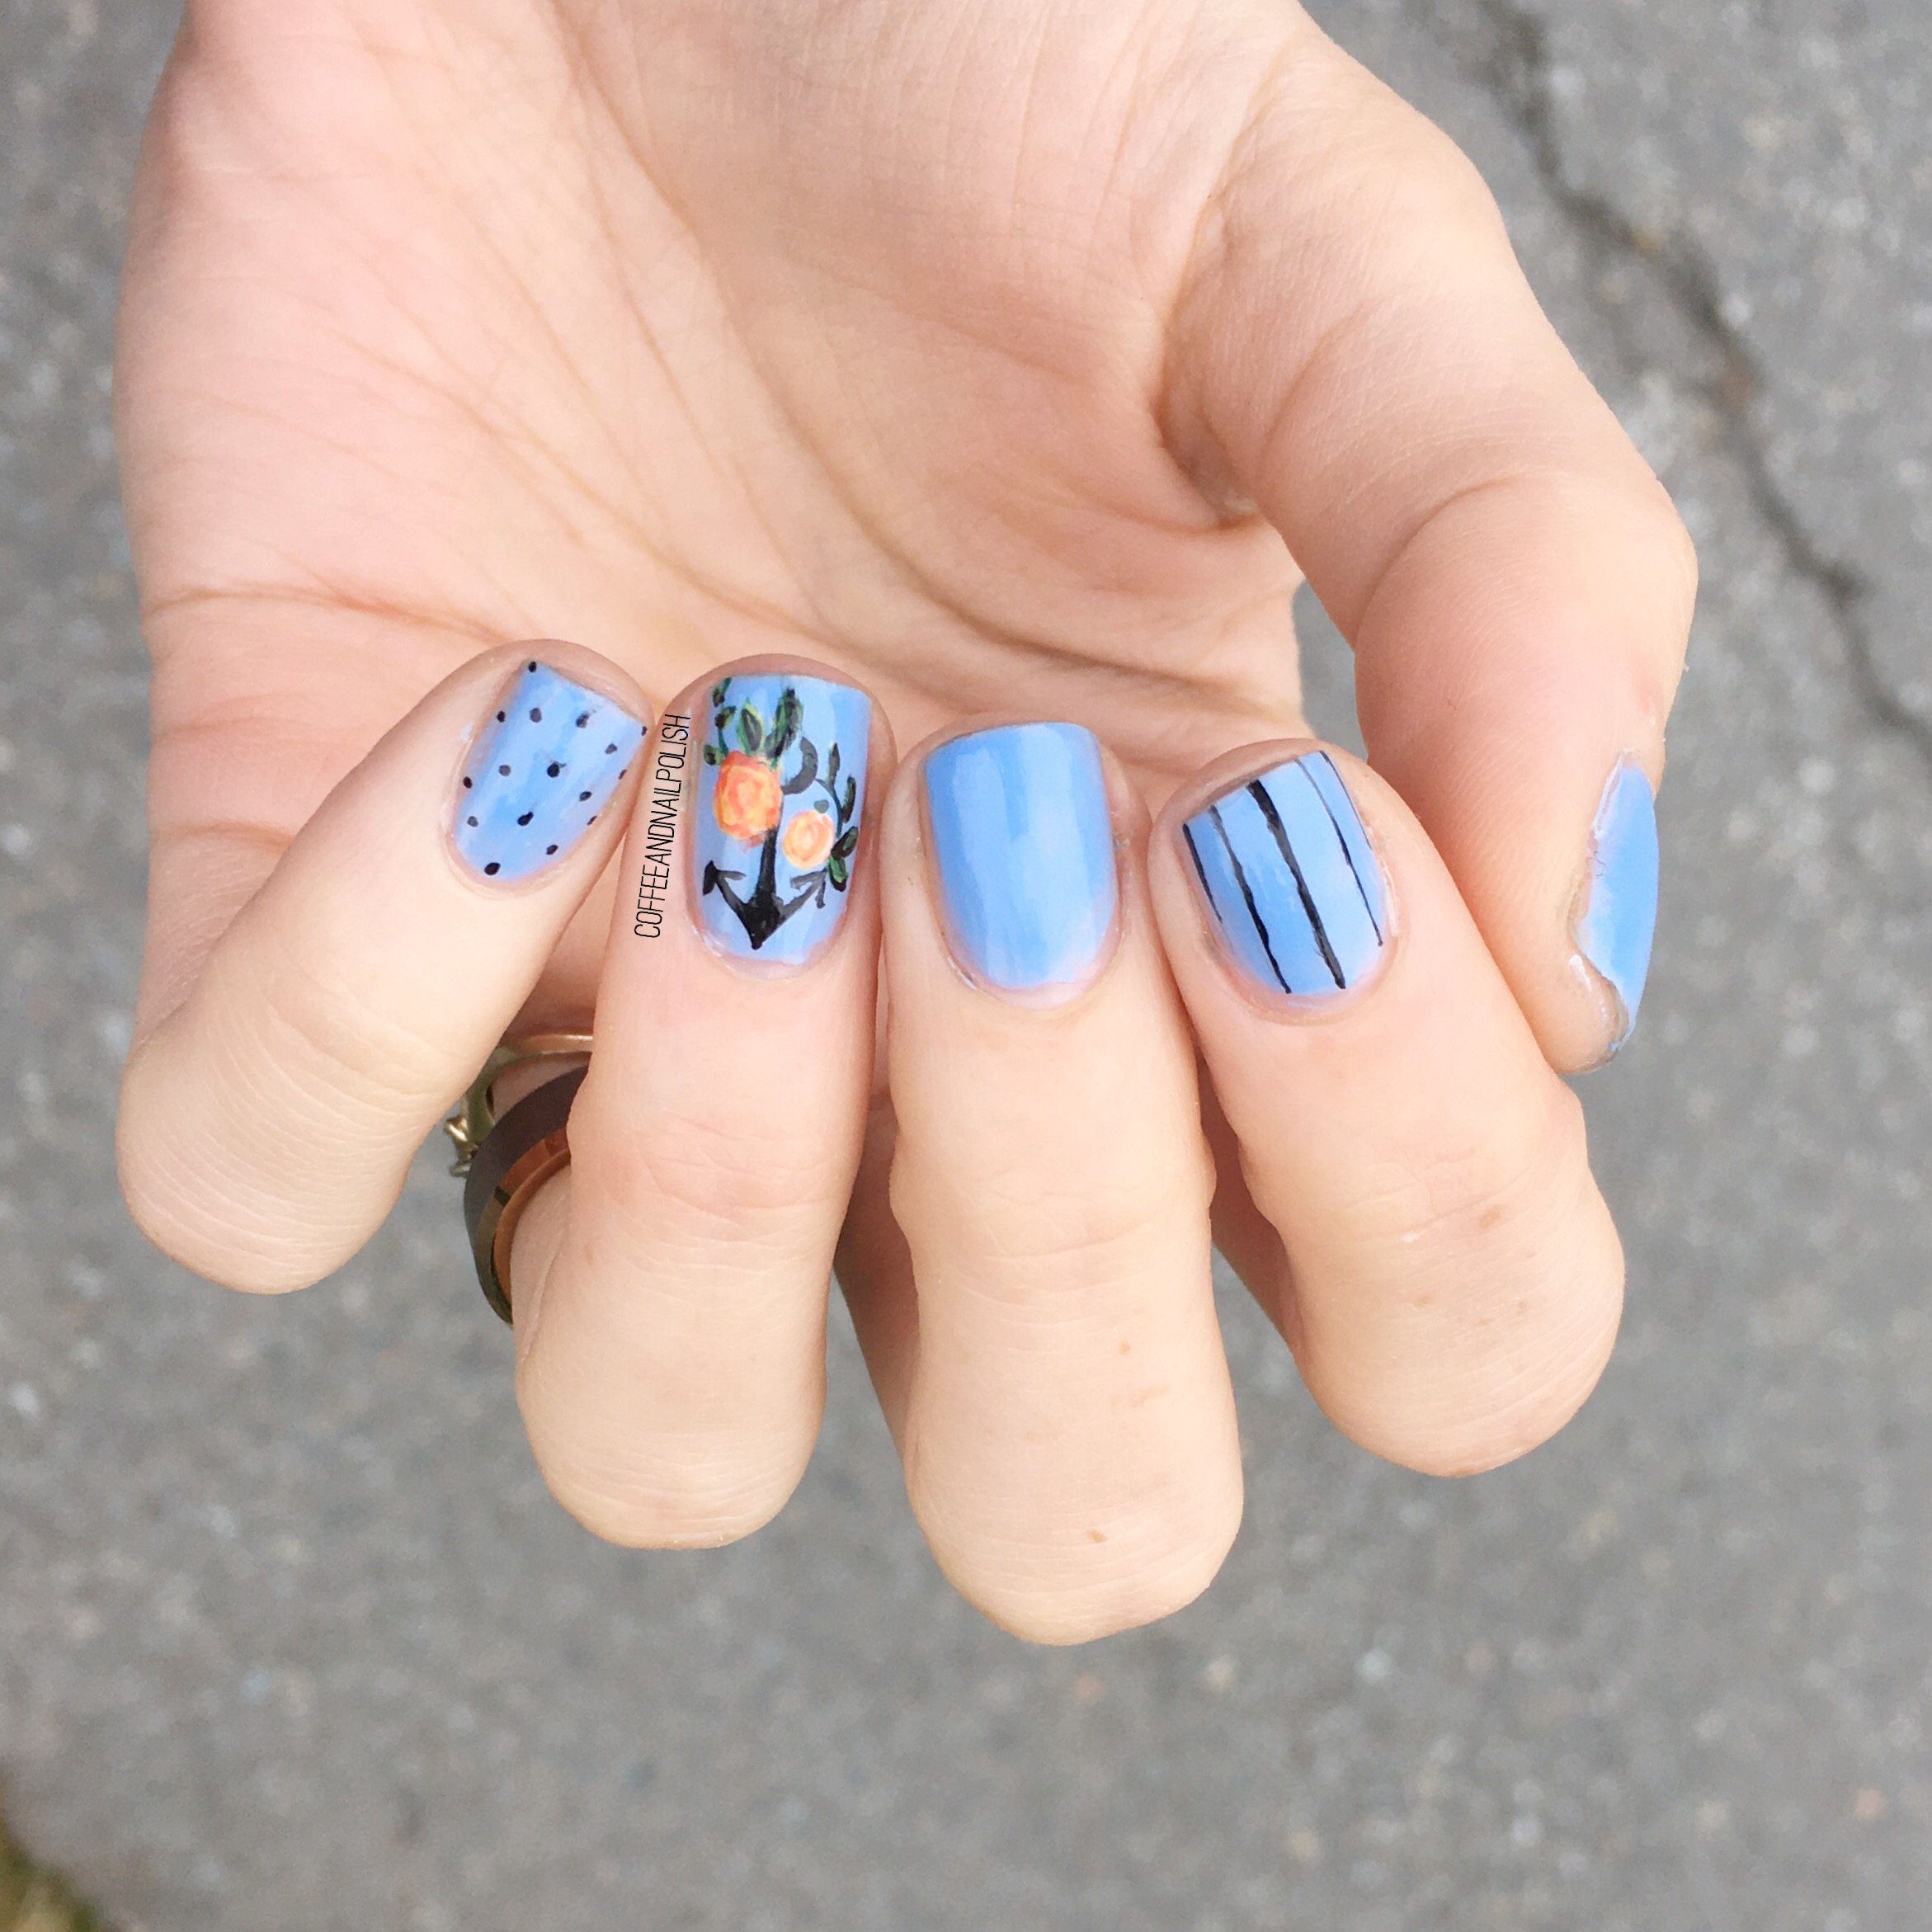
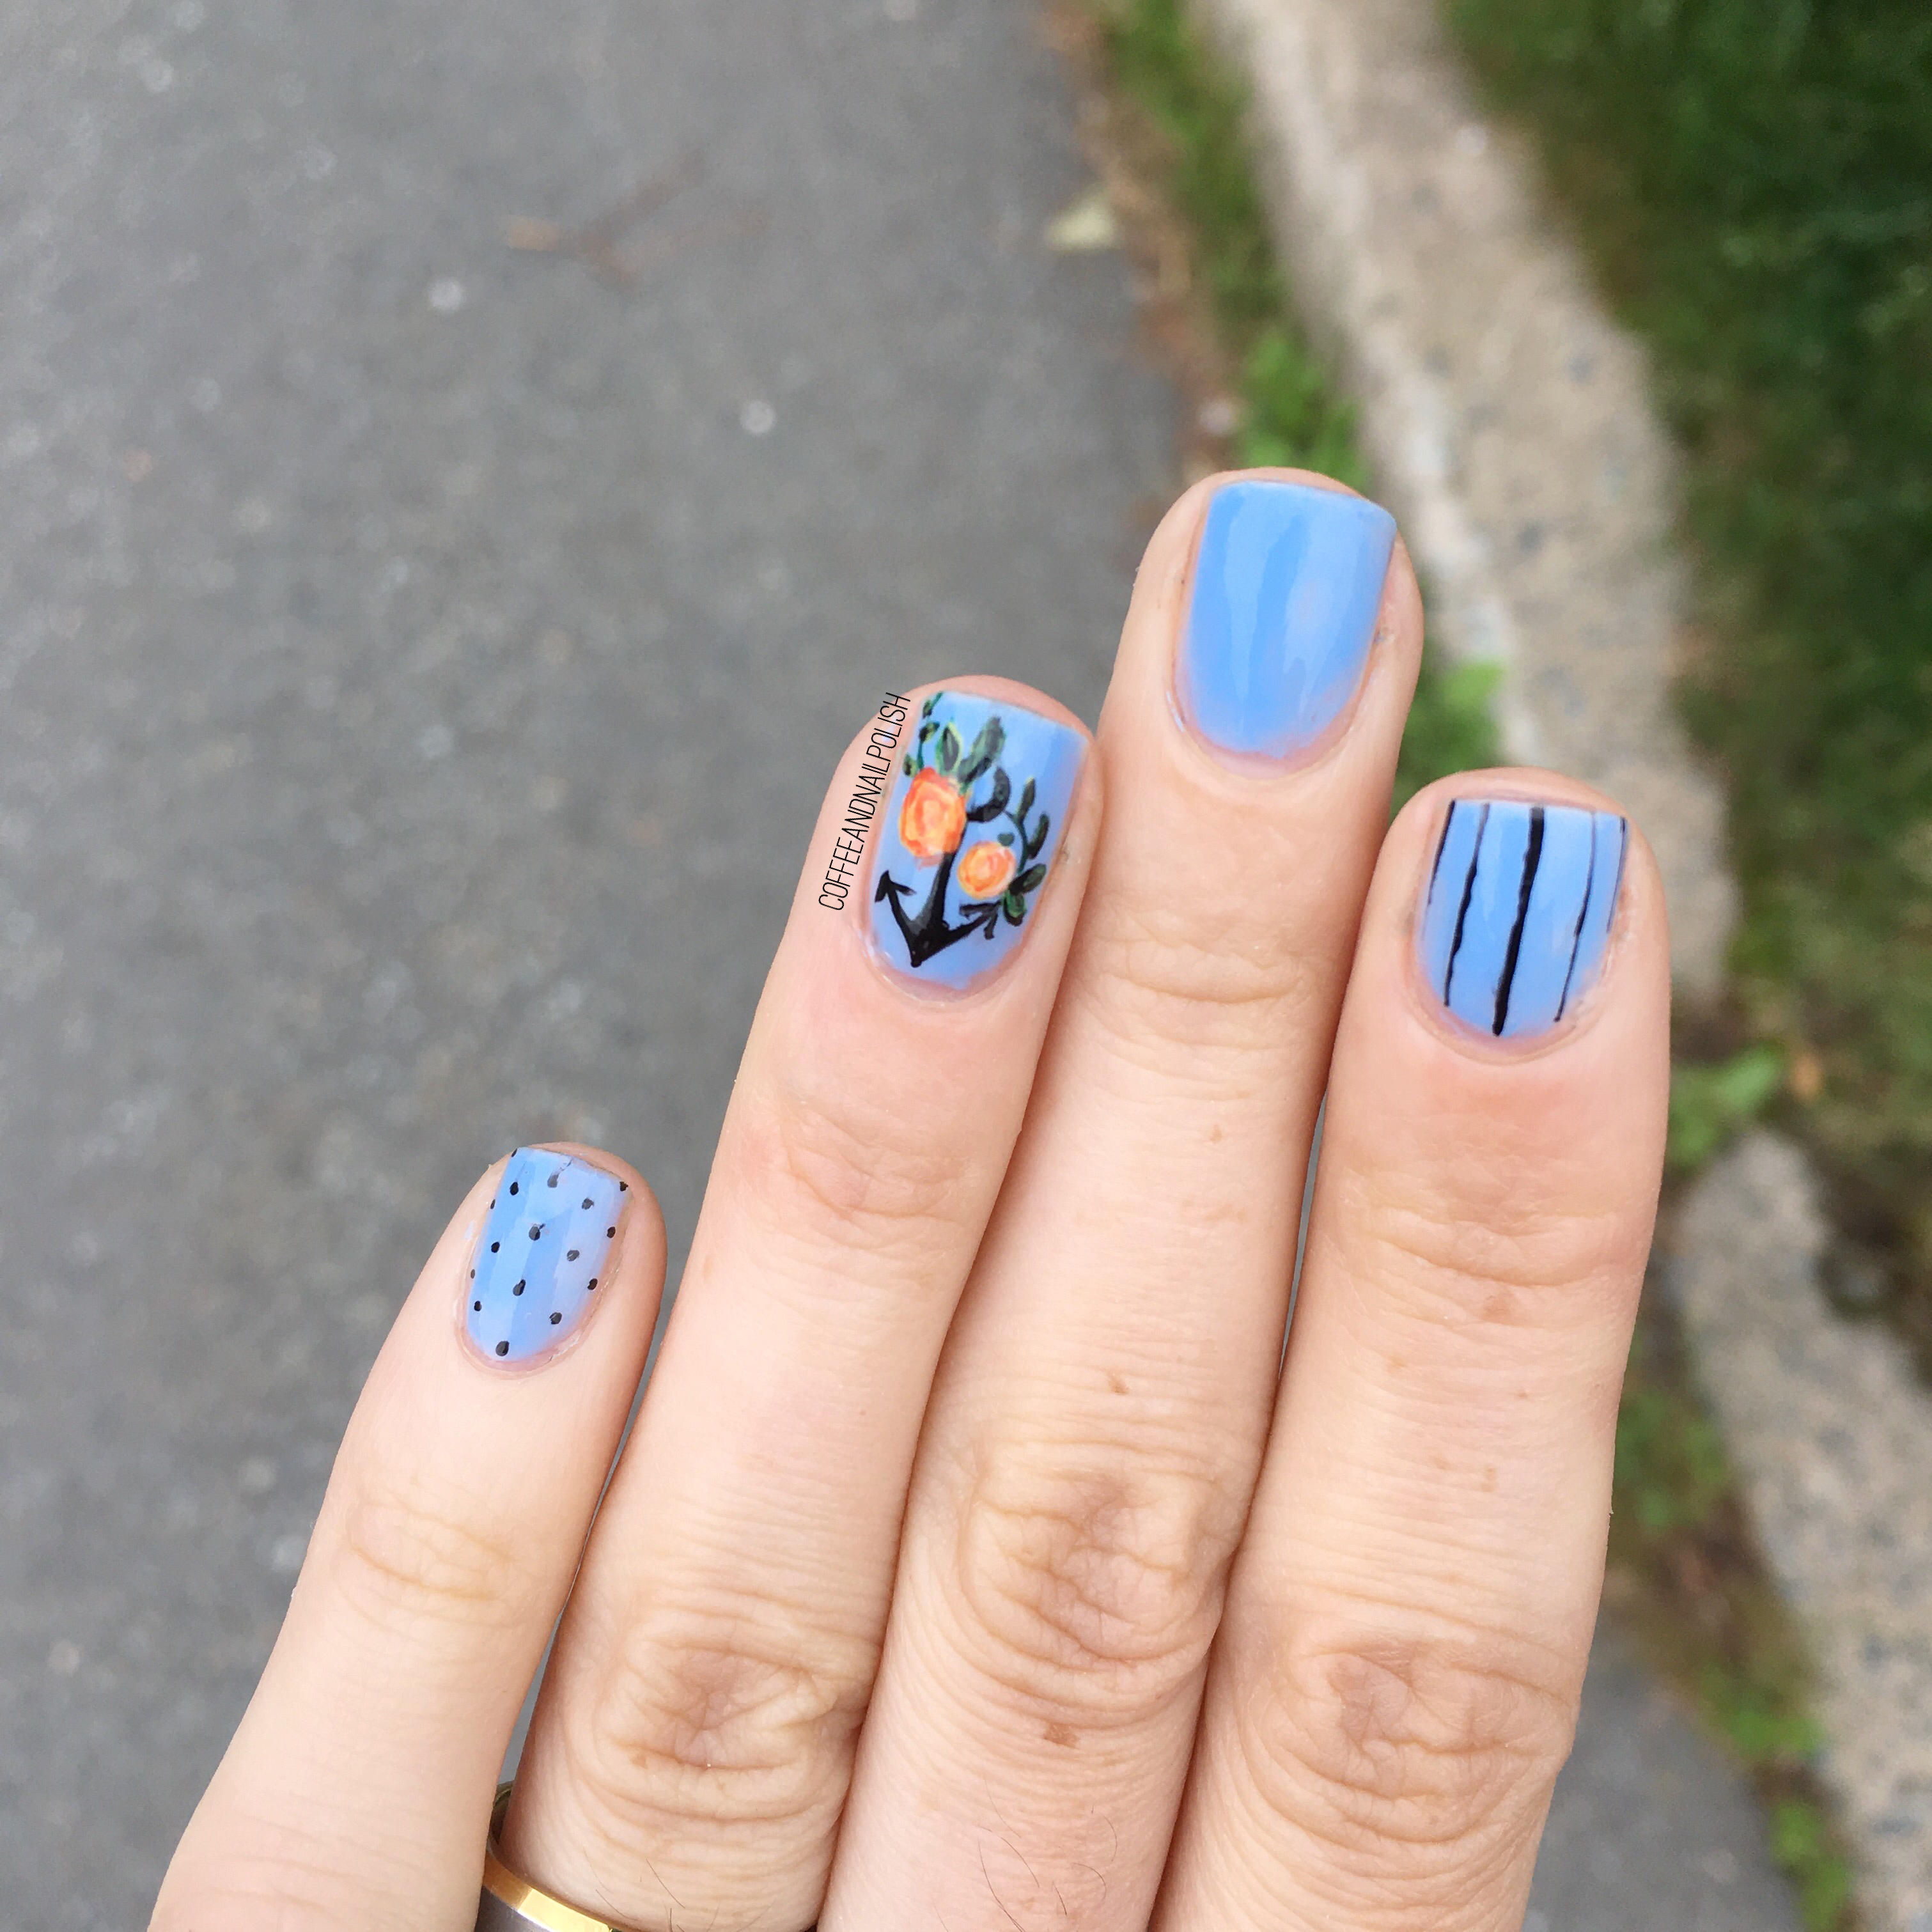
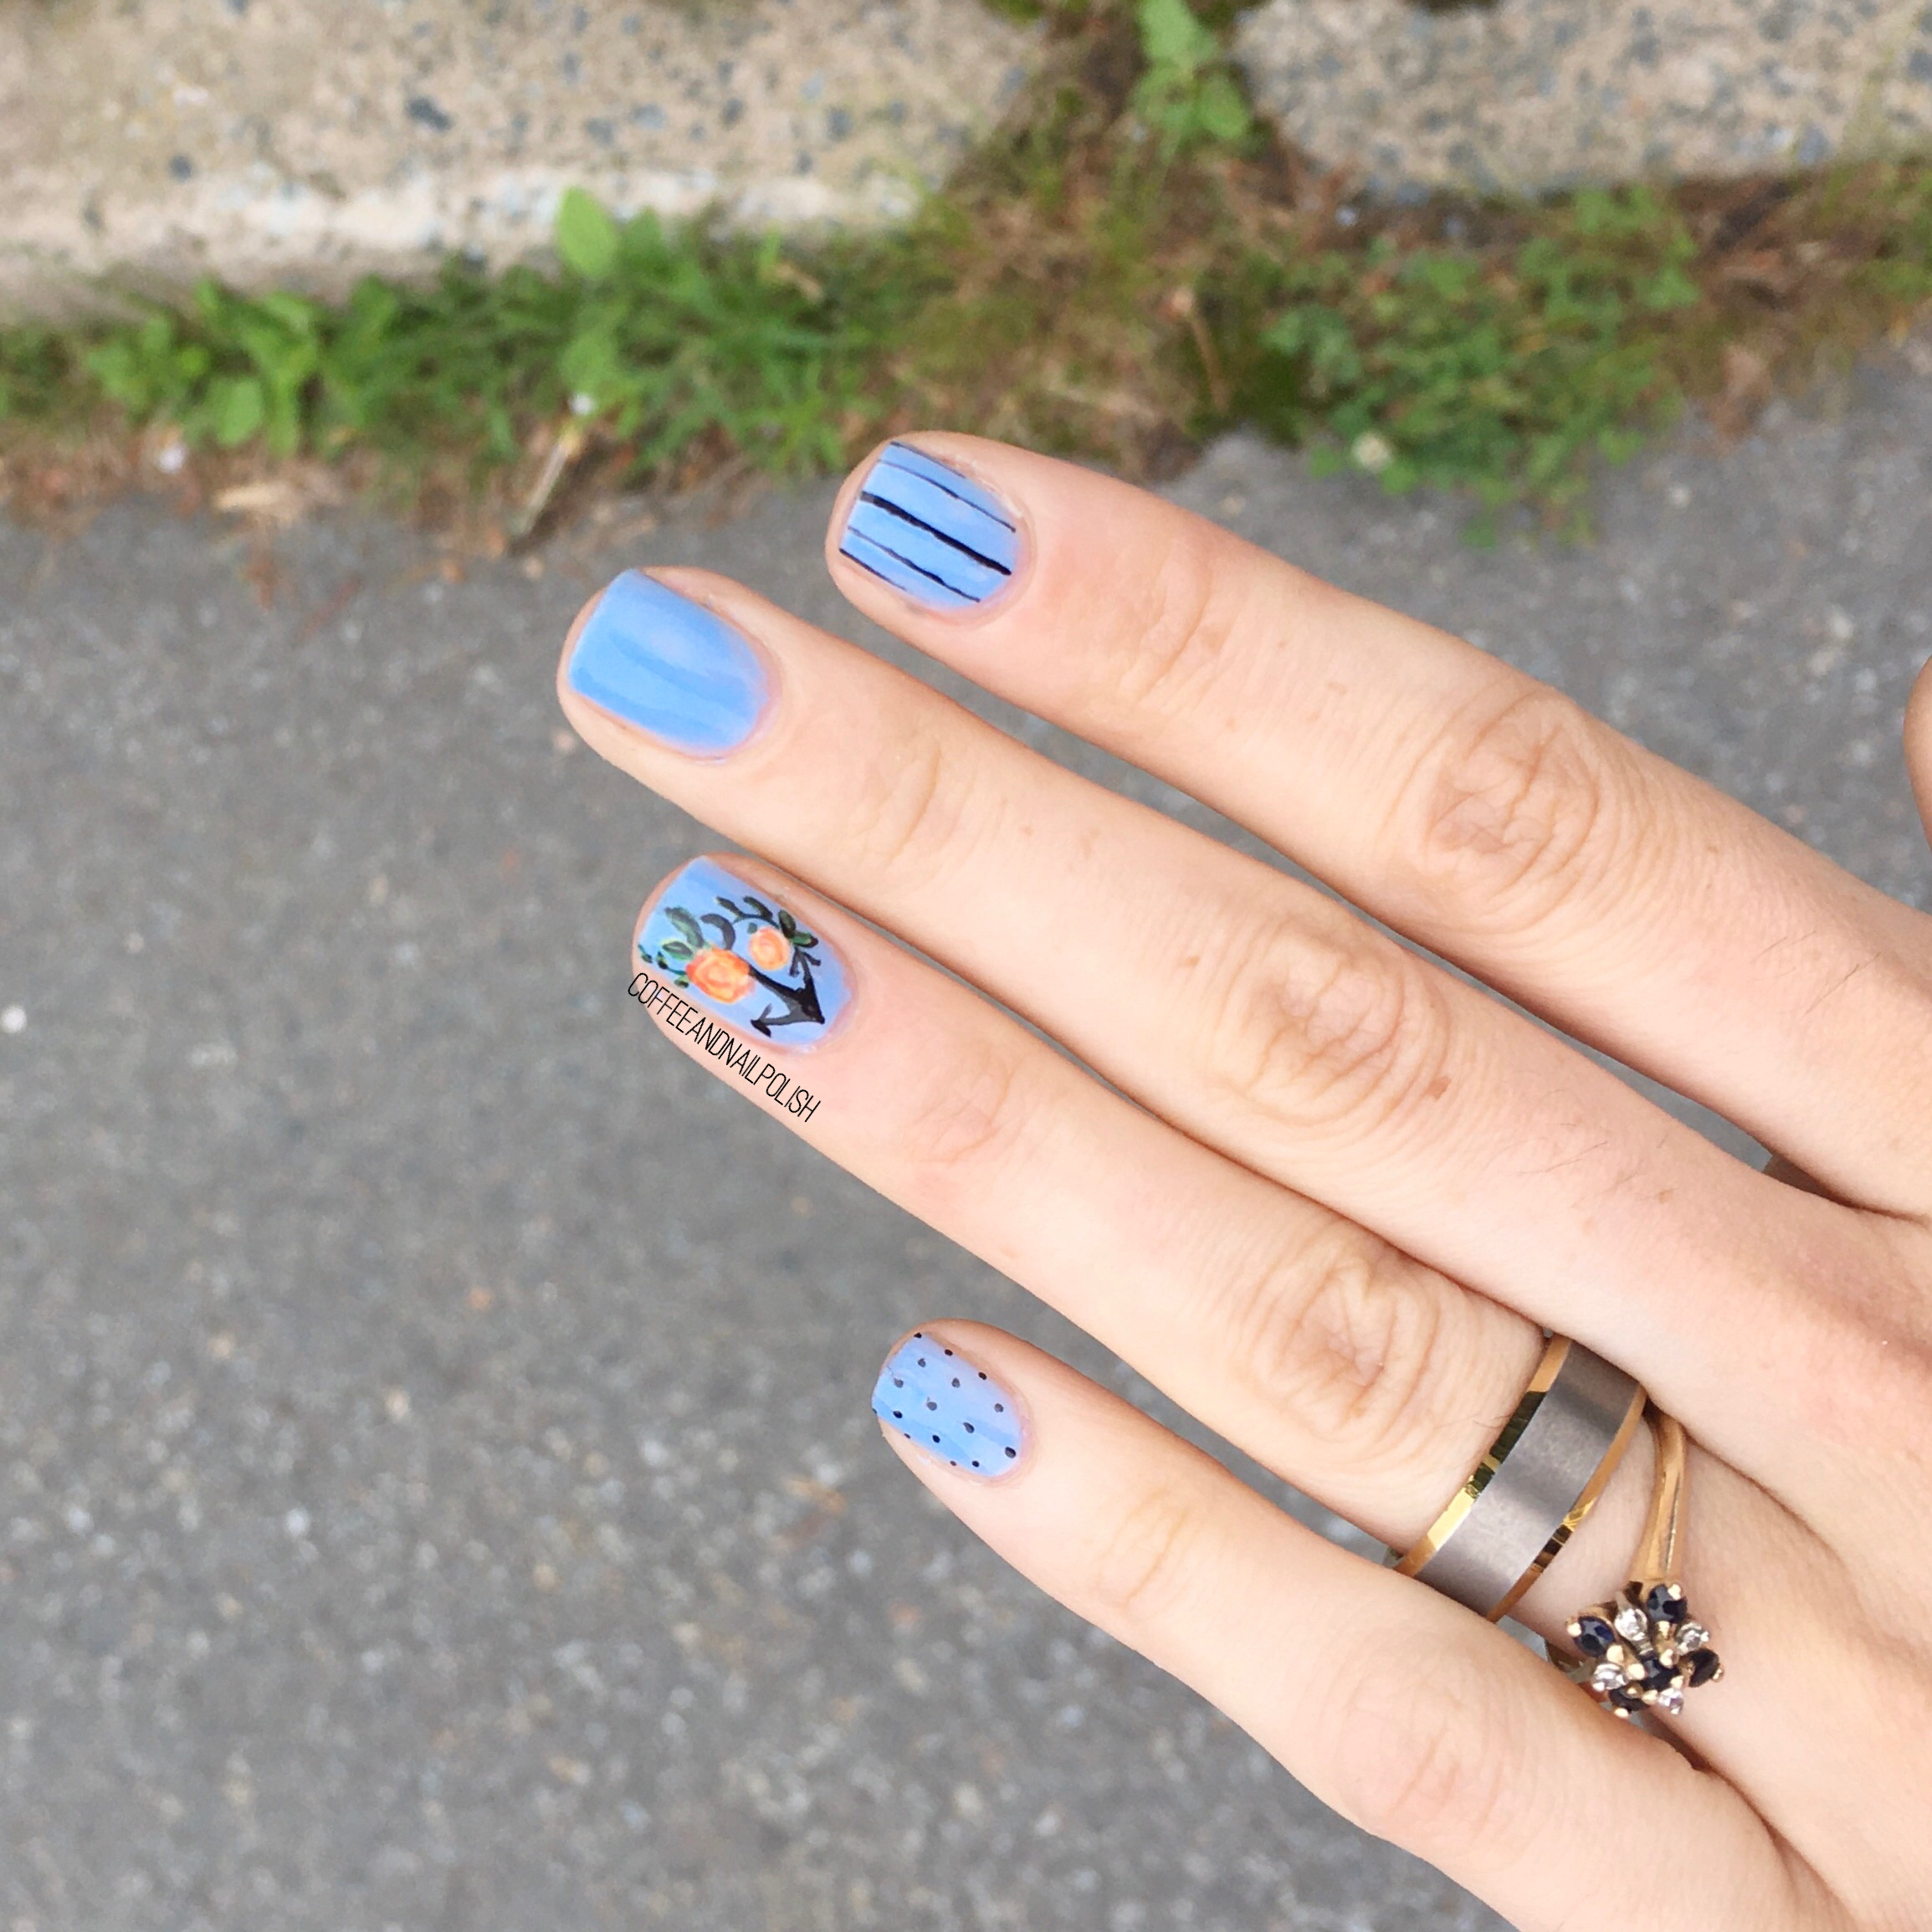
How pretty did these roses turn out with the black accents. It gives them almost a sketched effect, which I really like. It reminds me a bit of a manicure I did a few years back, obviously with a different colour scheme (& a bit more nail art practice!)

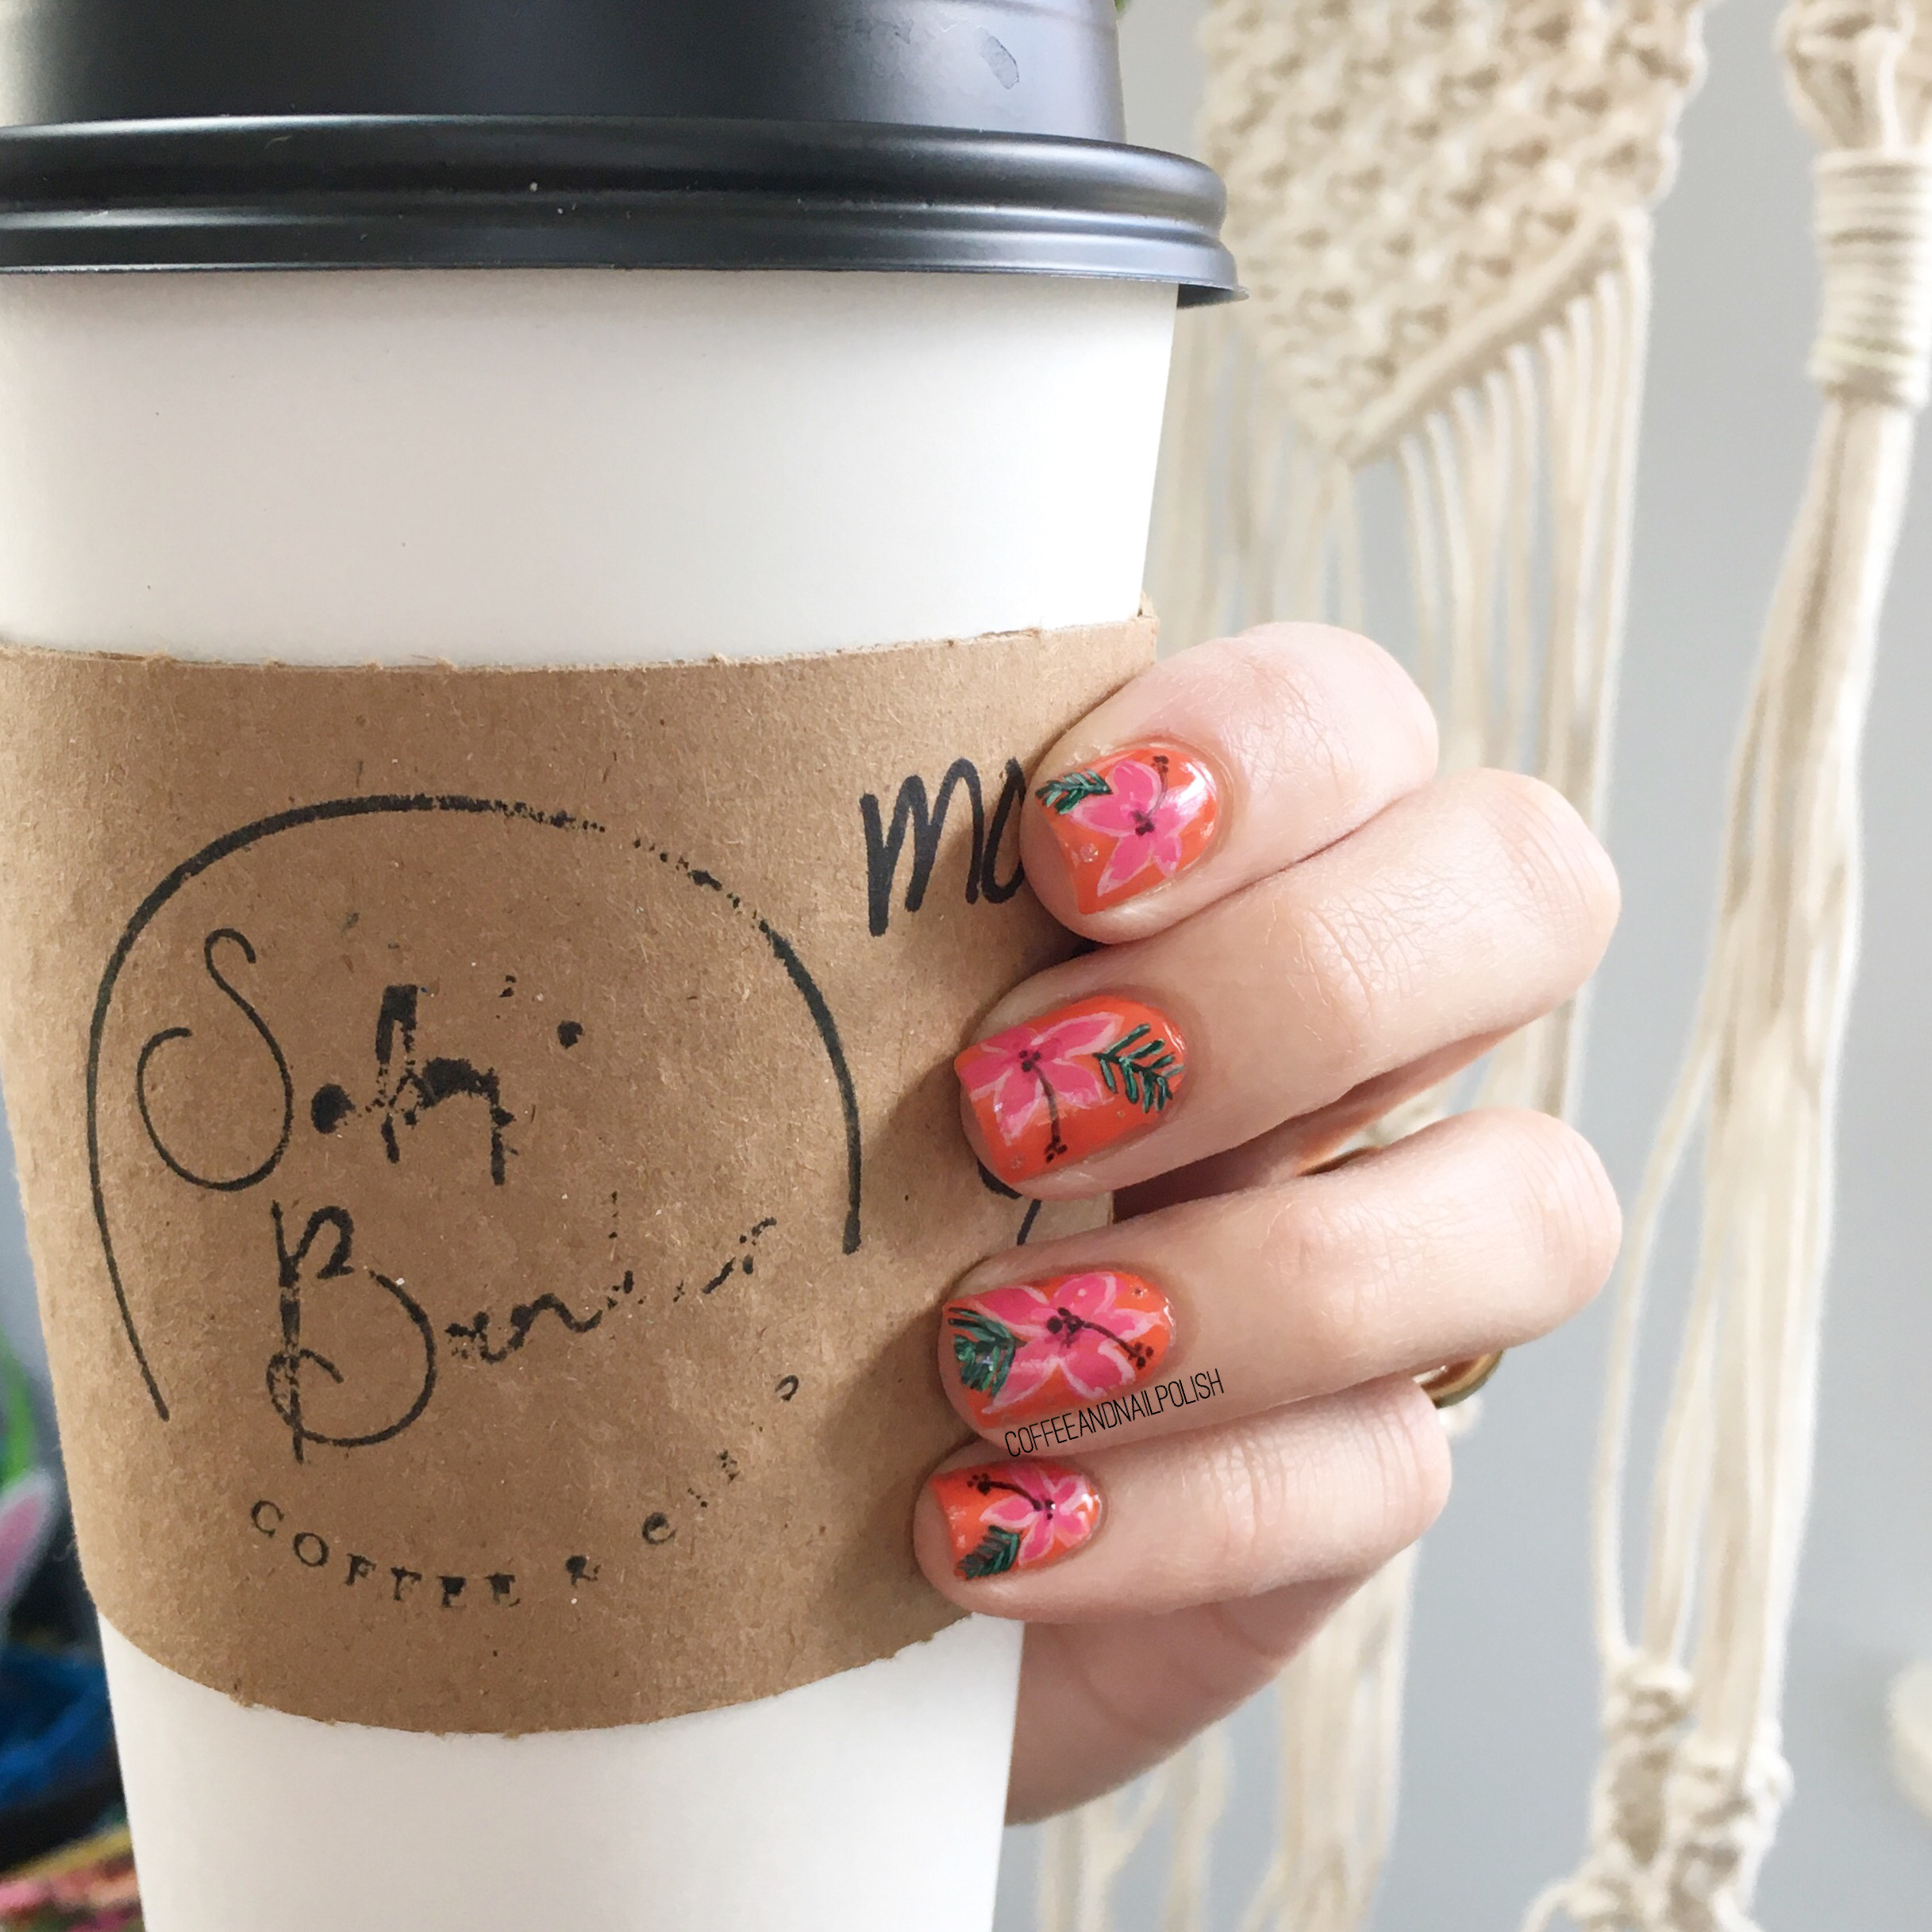
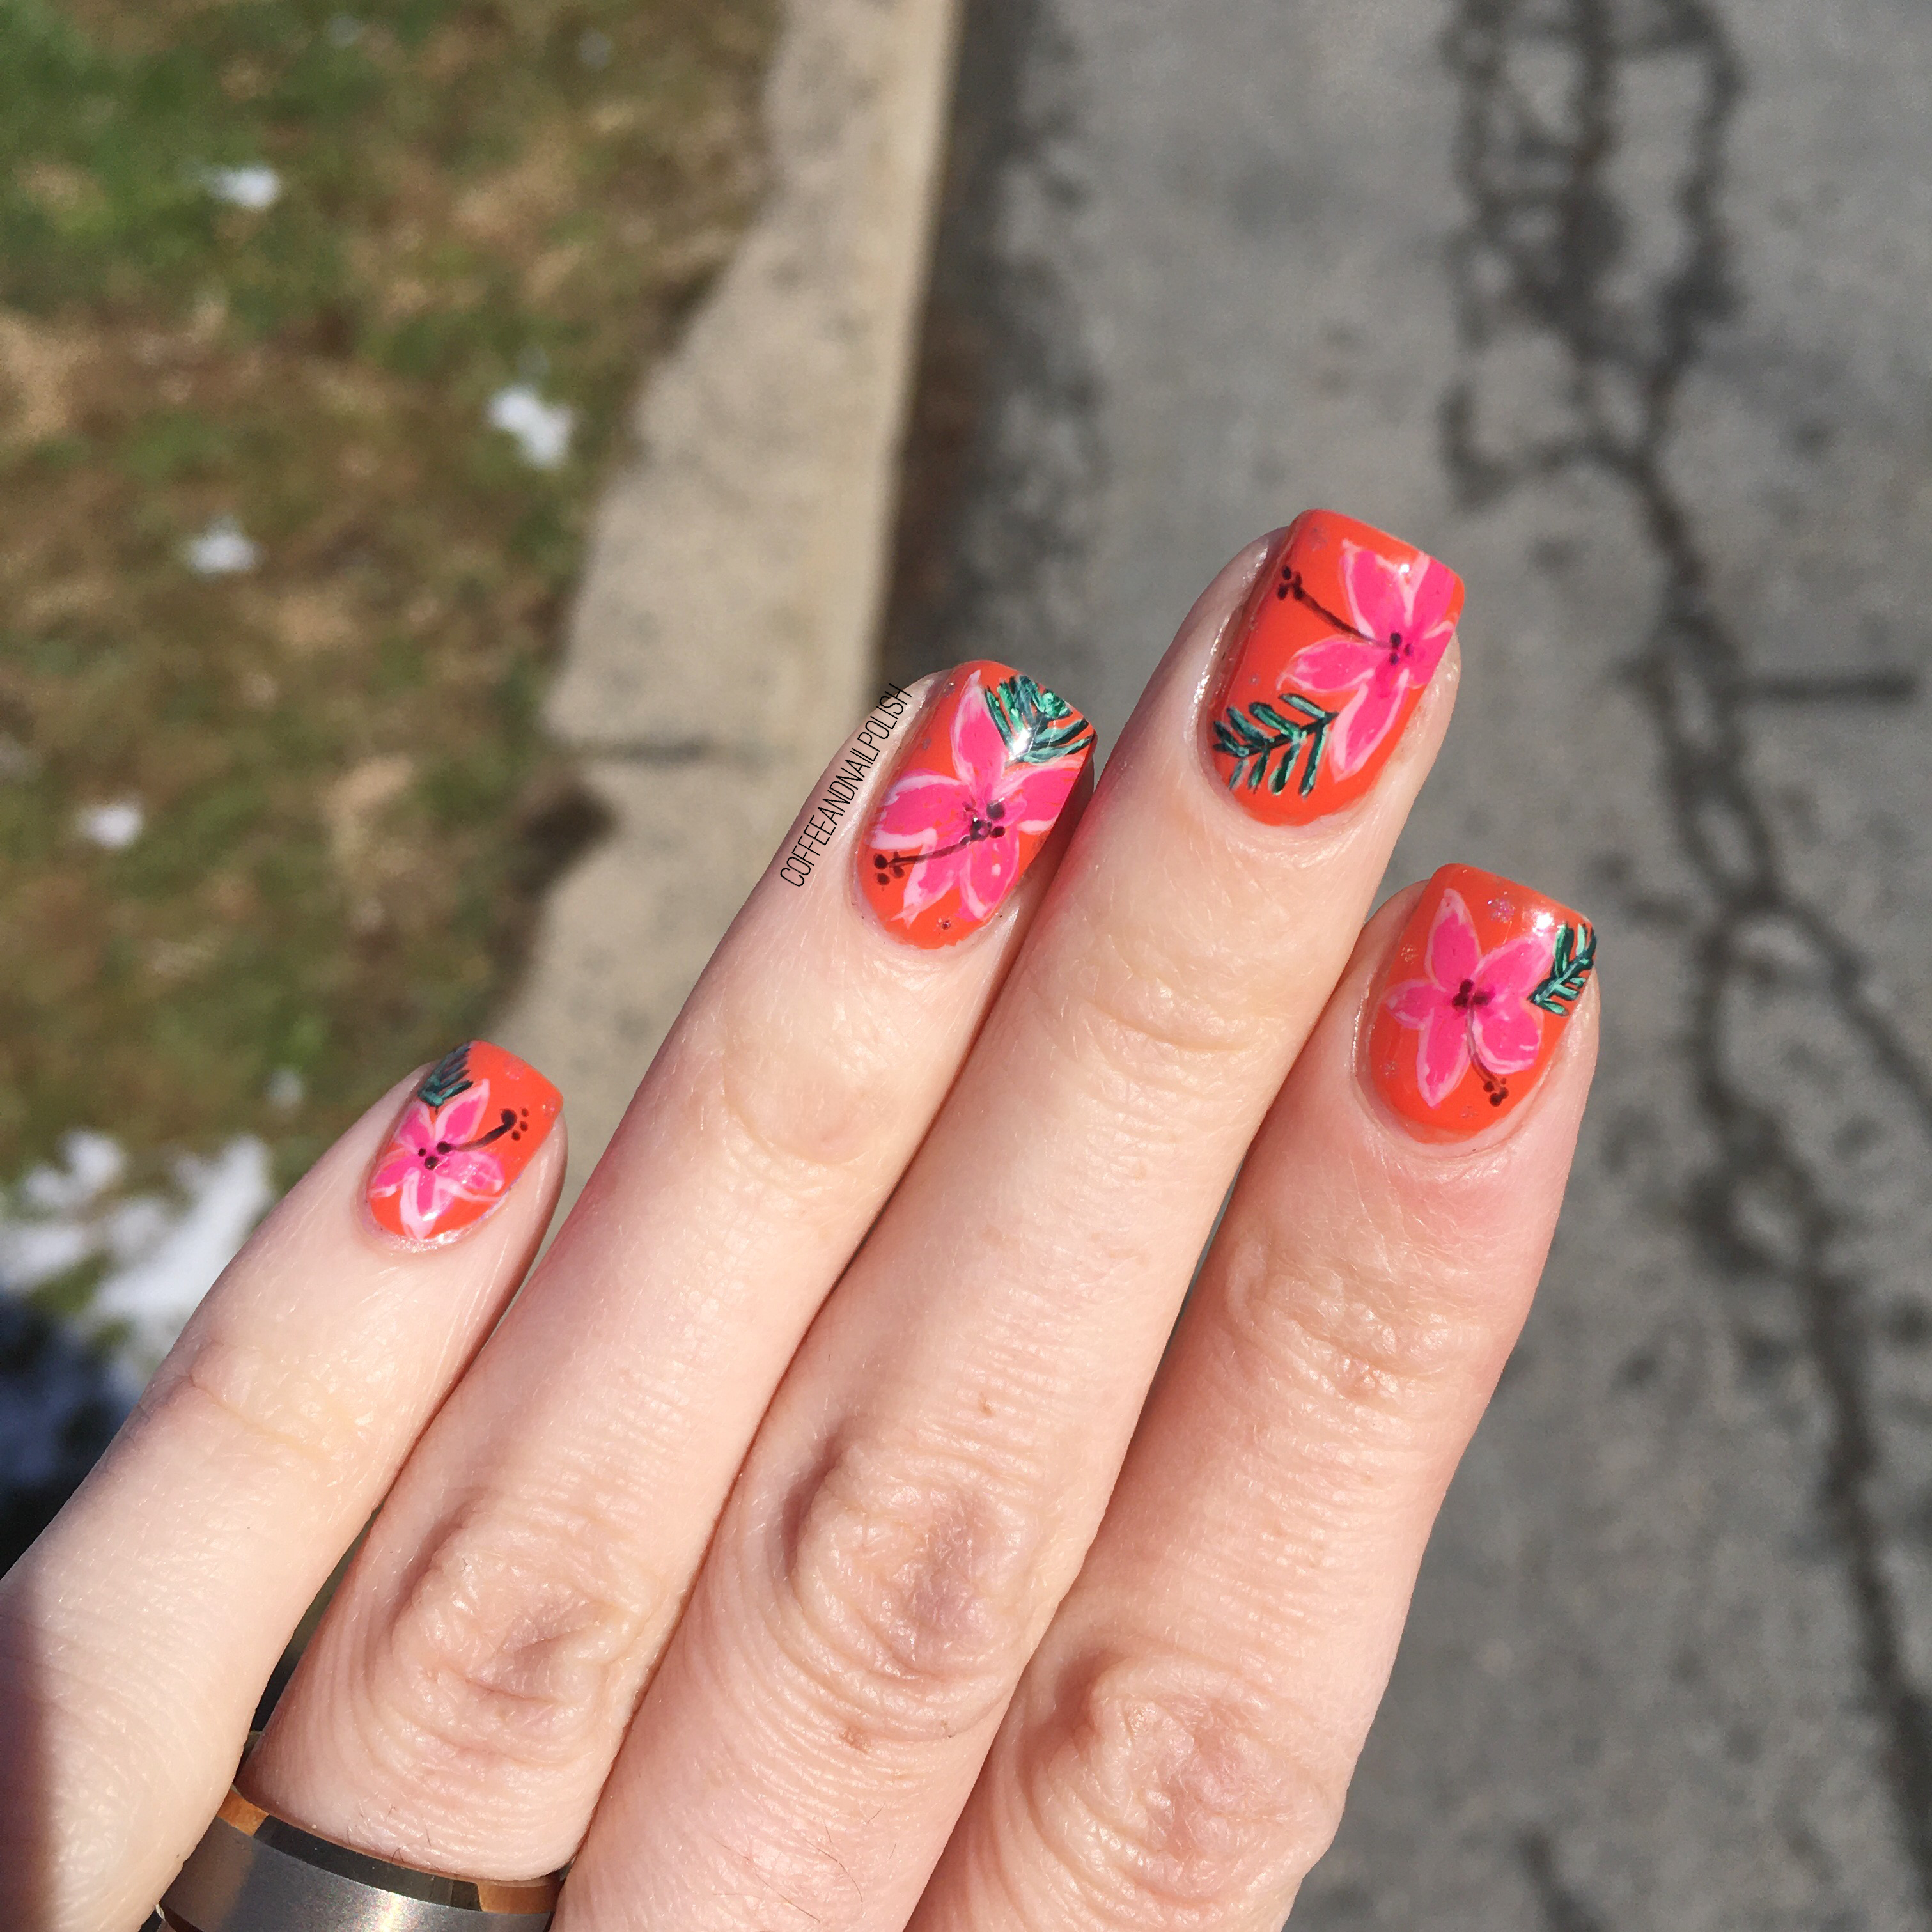
This is my first time wearing this Essence shade in a manicure, I think. I really like the blue background against the brightness of the pink roses. I really think this is a super cute design, both for Valentine’s Day, & Spring in general.

Yep, already dreaming of Spring. Winter can be over now!

What do you think of this rose design for #GlamNailsChallengeFeb? Are these giving you Valentine’s Day feels? Would you wear this look for a Valentine’s Day date?

Let me know all your thoughts down in the comments below!

Mint & Floral 🌿🌸

Hello lovelies & Happy Thursday. It’s been a minute since my last floral design, so I thought I was more than overdue. Truthfully, this started out as just a look featuring vining, but something felt like it was missing. So I freehanded a few roses & BAM! The look was complete!

  • Base Coat: Sally Hansen Hard As Nails
  • Top Coat: Essie Speed Setter
  • Sally Hansen Insta-Dri Thyme Is Money
  • Sally Hansen CSM One In A Melon
  • OPI Suzy Shops & Island Hops
  • Essie Stop Drop & Shop
  • Quo by Orly Diva
  • Essie After School Boy Blazer
  • Essence Black is Back
  • NailStuff.ca 4mm Micro Detail Brush (COFFEE10 saves you 10%!)
  • NailStuff.ca Dotting Tool Trio

You know I love a good floral — clothing, nails, phone cases. Give me all the floral! Also I really love the look of a pink floral over a pale blue or green vase — it really makes the flowers pop! Also using the micro detail brush from NailStuff really makes a difference when I’m free handing florals. The roses turned out so realistic! I’m so absolutely in love with them.

What do you think about this freehand floral? Have you missed seeing floral on my blog? Let me know down in the comments below!

Freehanded Floral & Anchor Nails

Hello lovelies & happy Thursday!

It’s certainly been a while since I had some nail art to share! Actually, that’s a lie. I have a ton of nail art looks saved on my phone, but I’ve been struggling a lot lately with the motivation to keep posting. I love love love nail polish, & nail art, & blogging, but this year has really messed things up. I need to figure out a good blogging schedule for my free time, but right now it’s almost non-existent, hence my very sporadic posting schedule.

But new nails! Let’s get excited.

For this manicure, the polishes I used were:

  • Base Coat: Essie Strong Start
  • Top Coat: Essie Gel Setter
  • China Glaze Boho Blue
  • Essence Black is Back
  • Essie Check Your Baggage
  • Essie Fall for NYC
  • Sally Hansen CSM Fire Island
  • Essence The Green & The Grunge
  • Essence Don’t Be Shy
  • NailStuff.ca 7mm detail brush (COFFEE10 to save 10%)
  • NailStuff.ca Dotting Tool Trio 

I’m so incredibly proud of the freehanding I did for this nail art look. I’ve never attempted a freehand anchor before, but I don’t think it ended up too bad! This idea is actually based on a tattoo I want to get in honour of my grandparents — the anchor for my Granddad who just passed, & the yellow roses for my Granny. My roses turned out a little more peachy than intended, but I think the overall look is lovely. 🌿⚓️🌼 & it pains me these didn’t last more than a day, because I absolutely adore them.

What do you think about this freehand look? Where do you get your nail art inspo? Let me know down in the comments below!

A Fresh Floral


Happy Tuesday lovelies! Hope your week is off to a fantastic start. Today officially marks the last day of June, & even though I had a pretty quiet month blog wise, I’m back & going to end June with my absolute favourite thing to paint: floral. 🌸🌿 It’s actually been a hot minute since my last floral design, so I thought it was long overdue. (Plus flowers just make me so happy.)

For this manicure, the polishes I used were:

  • Base Coat: Essie Strong Start
  • Top Coat: Essie Gel Setter
  • Sally Hansen Complete Salon Manicure Warm Regards
  • Essie Check Your Baggage
  • Sally Hansen Miracle Gel Malibu Peach
  • Sally Hansen MG Bourbon Babe
  • Sally Hansen MG Get Mod
  • Sally Hansen MG Black-y O
  • Essie Off Tropic
  • Essie First Timer
  • NailStuff.ca 7mm detail brush (COFFEE10 to save 10%)

I’m super obsessed with how these turned out — they actually remind me a bit of a design I did a few years ago that were inspired by a day planner of mine. But I think I love these even more! I absolutely adore rustic floral designs over something a little more realistic. Maybe because there is beauty in the imperfections. Either way, I think this design turned out so beautiful & I couldn’t stop staring at them. The peach & yellow just go so well with the red-ish base shade. I can’t get enough. 

what do you think about this floral design? Are you more a fan of rustic or realistic floral? Let me know all your thoughts down in the comments below (& maybe share what your favourite real life flower is as well!) 

Tropical Florals 🌺


Good morning lovelies! & happy Thursday. I hope wherever you are reading this from, that your coffee (or tea, or energy drink, or wine) is strong, & the sun is shining. Today I’ve got a really pretty tropical floral that I did a few weeks back, which I really loved. & I feel like it’s the perfect manicure for this increasingly beautiful weather we’ve been having!

For this manicure, the polishes I used were:

  • Base Coat: Sally Hansen Good Kind Pure Hardener
  • Top Coat: Essie Speed Setter
  • Sally Hansen Complete Salon Manicure Fiery Island
  • Sally Hansen I ♥ Nail Art Pen in Magenta
  • OPI Suzy Shops & Island Hops
  • Sally Hansen Miracle Gel Fuchsia Fever
  • Sally Hansen Miracle Gel Blacky-O
  • Essie Off Tropic
  • Essie First Timer
  • Sally Hansen Miracle Gel Terra-Coppa
  • Sally Hansen I ♥ Nail Art Pen in Green
  • NailStuff.ca 7mm detail brush (COFFEE10 to save 10%)

As you guys have seen, I love a good floral but I tend to have a certain trend — it’s mostly roses or a similar style. But lately I’ve been really trying to improve my skill with different florals, which is why I wanted to try out a tropical inspired look. It’s definitely out of more comfort zone, & takes a bit more talent to create, but the end result looks jsut beautiful! & it’s fun to try something I don’t feel like I’m that awesome at. Plus, you know, wearing the same style floral over & over can get a bit monotonous, so it’s nice to switch things up a bit!

Also this look definitely makes me want to pull out my favourite tropical print dress to wear! & since it’s supposed to be feeling very Summery today, that’s exactly what I might do! 

What do you think about this tropical floral? Is the weather feeling like Summer where you are? Let me know down in the comments below!