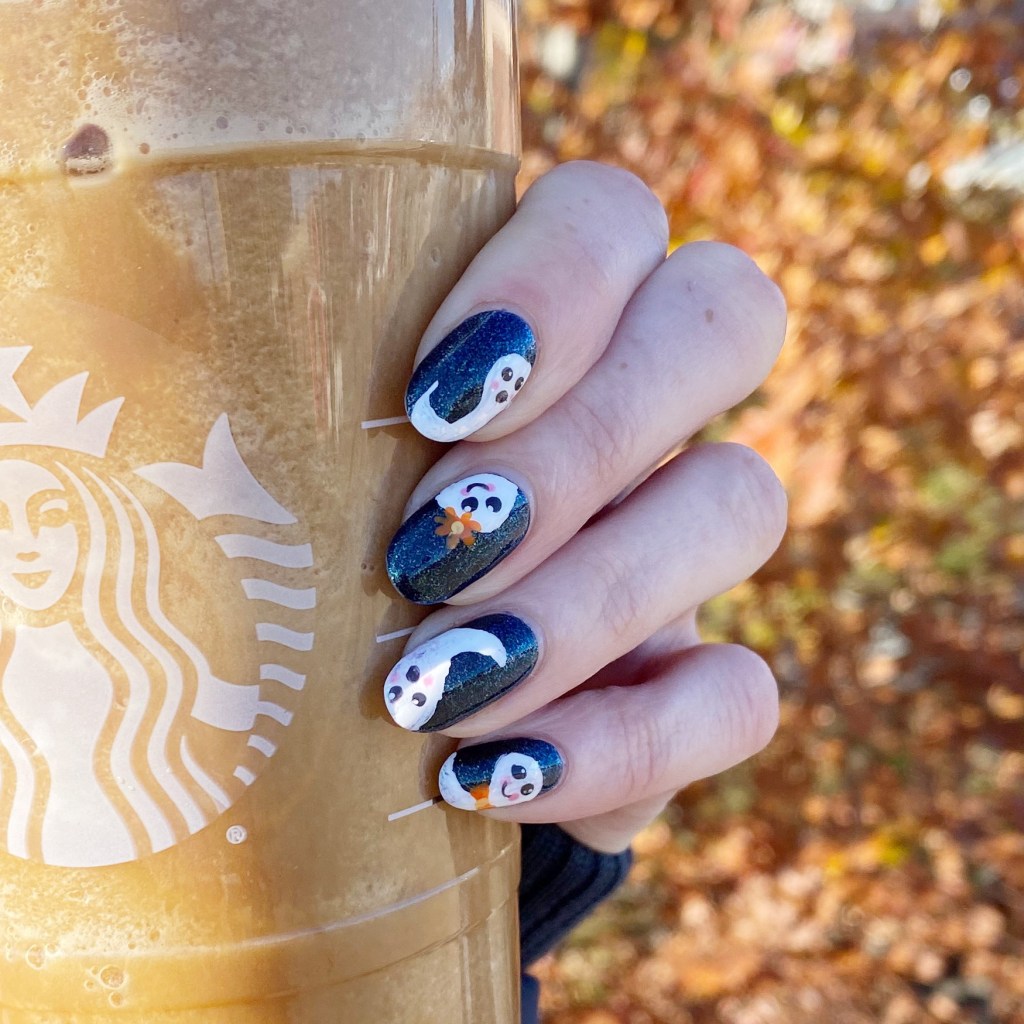
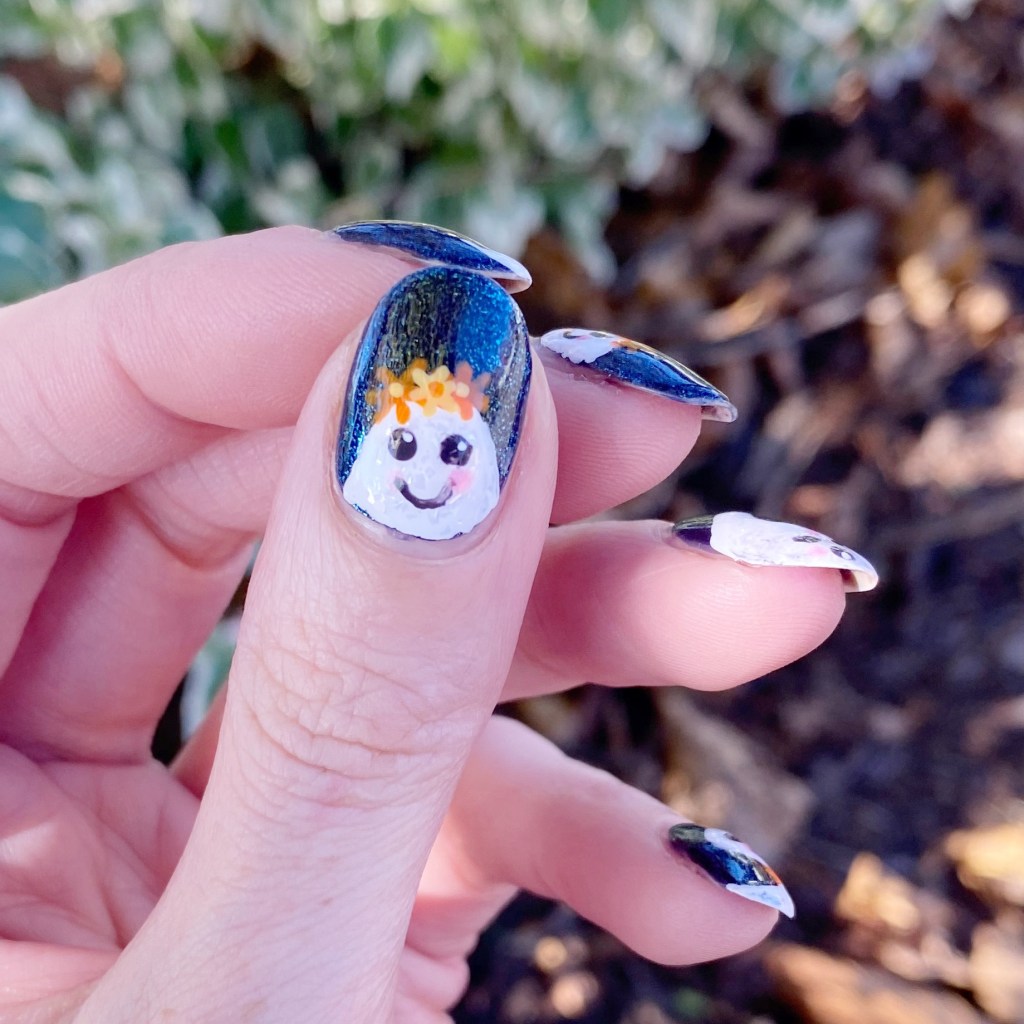
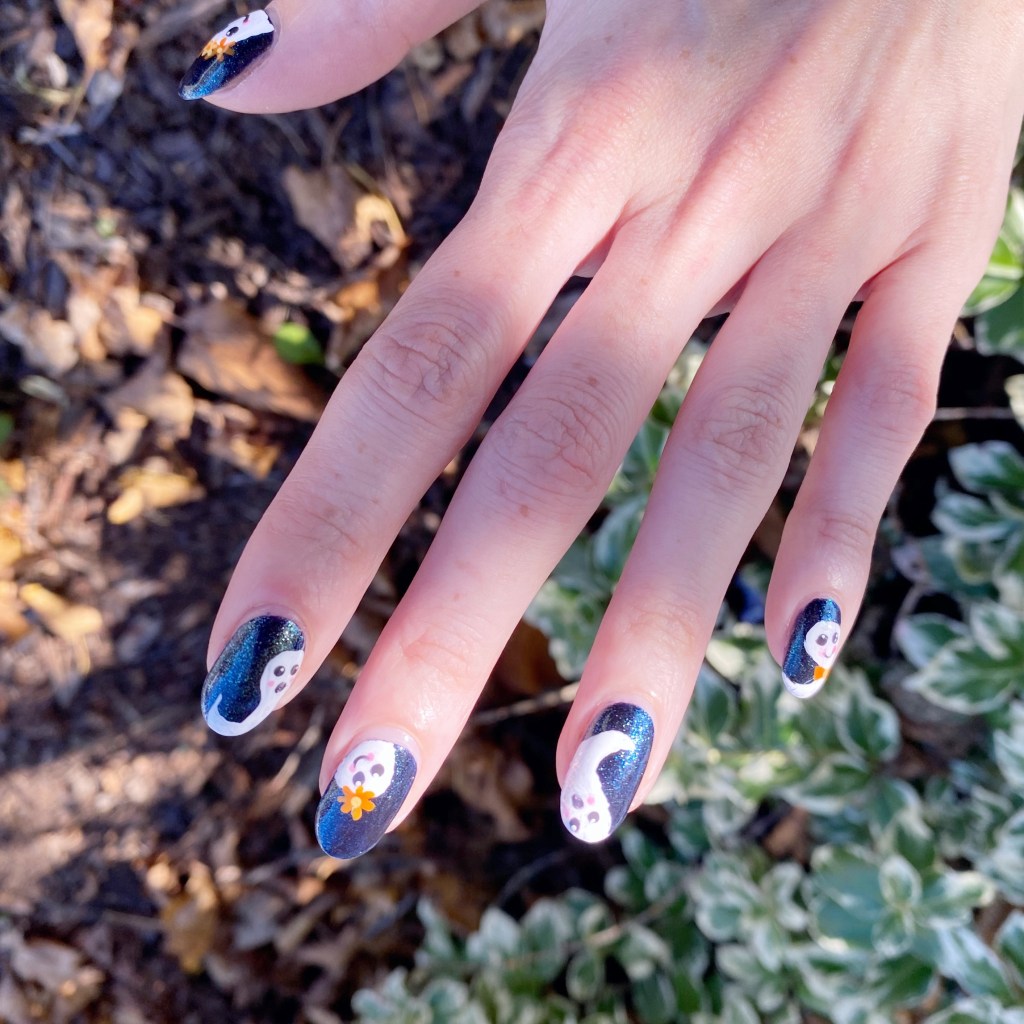
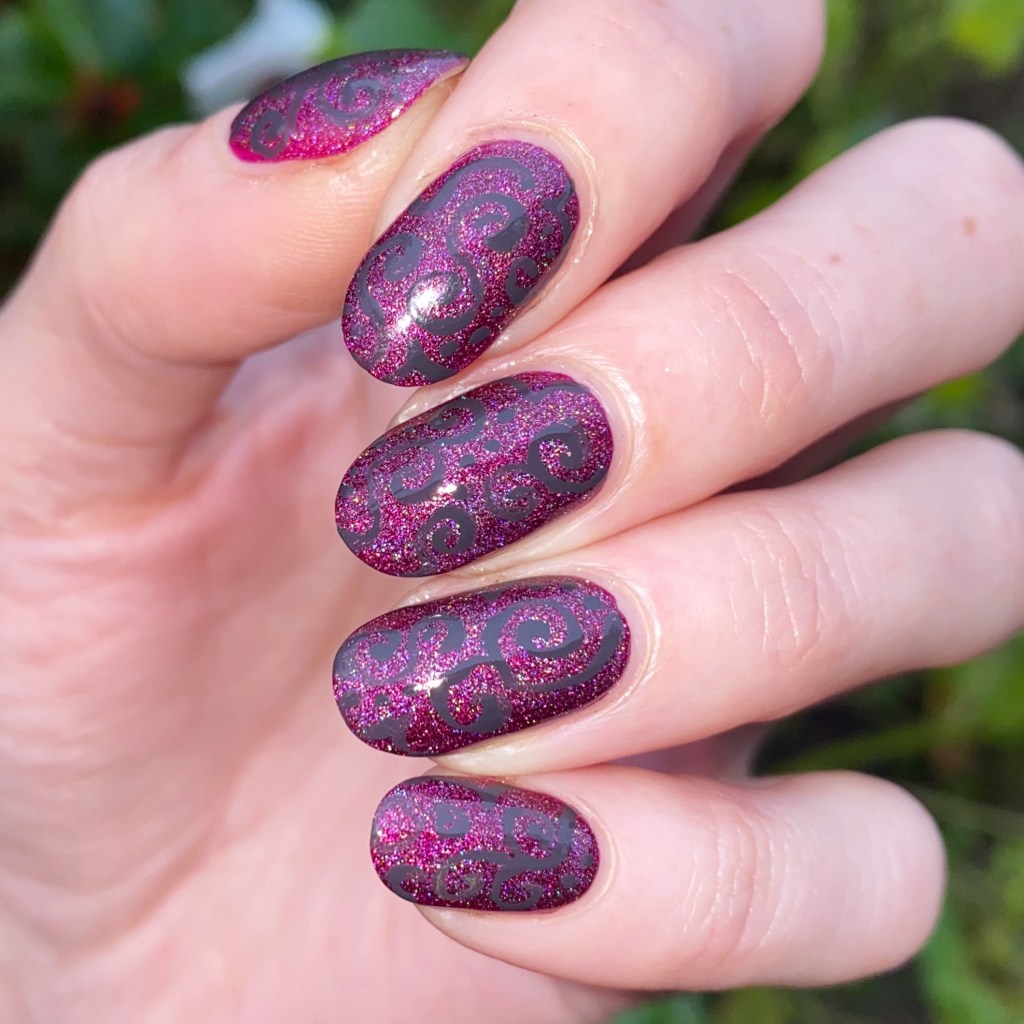
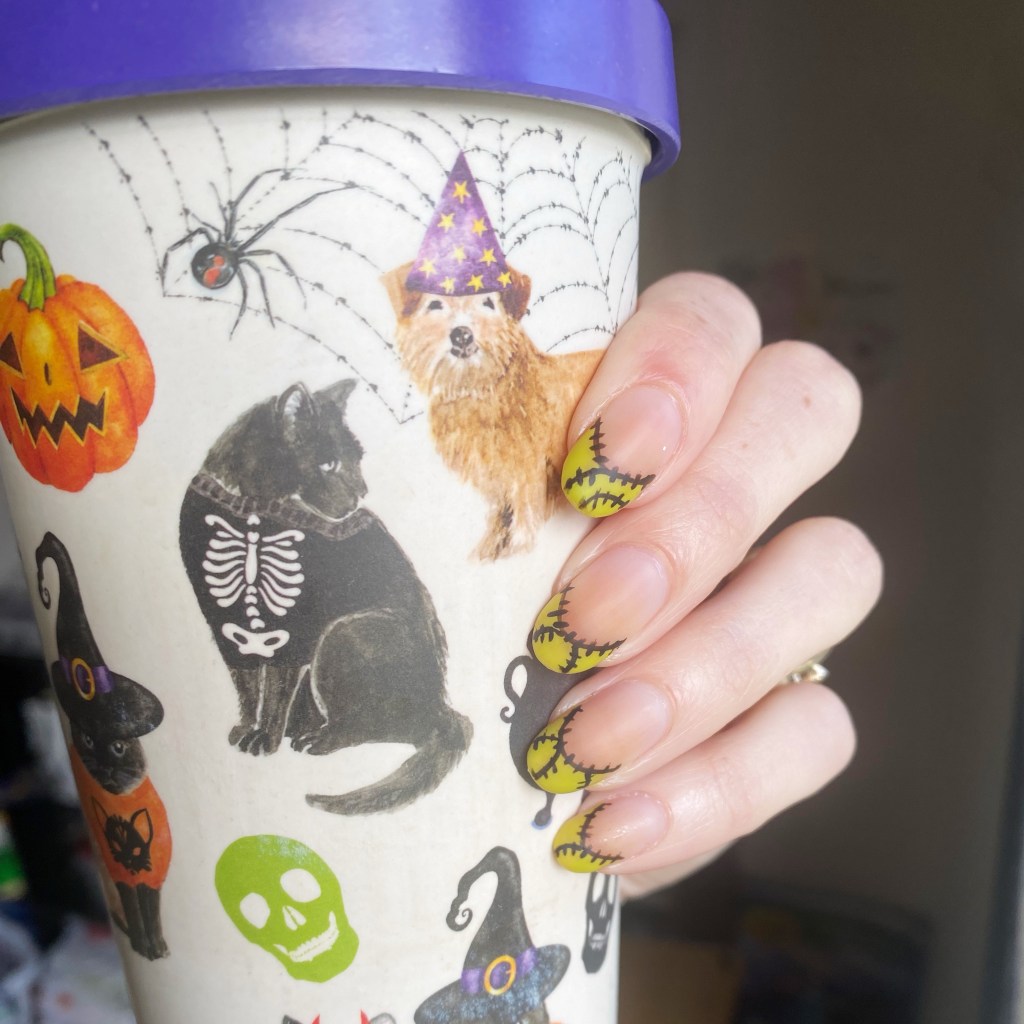
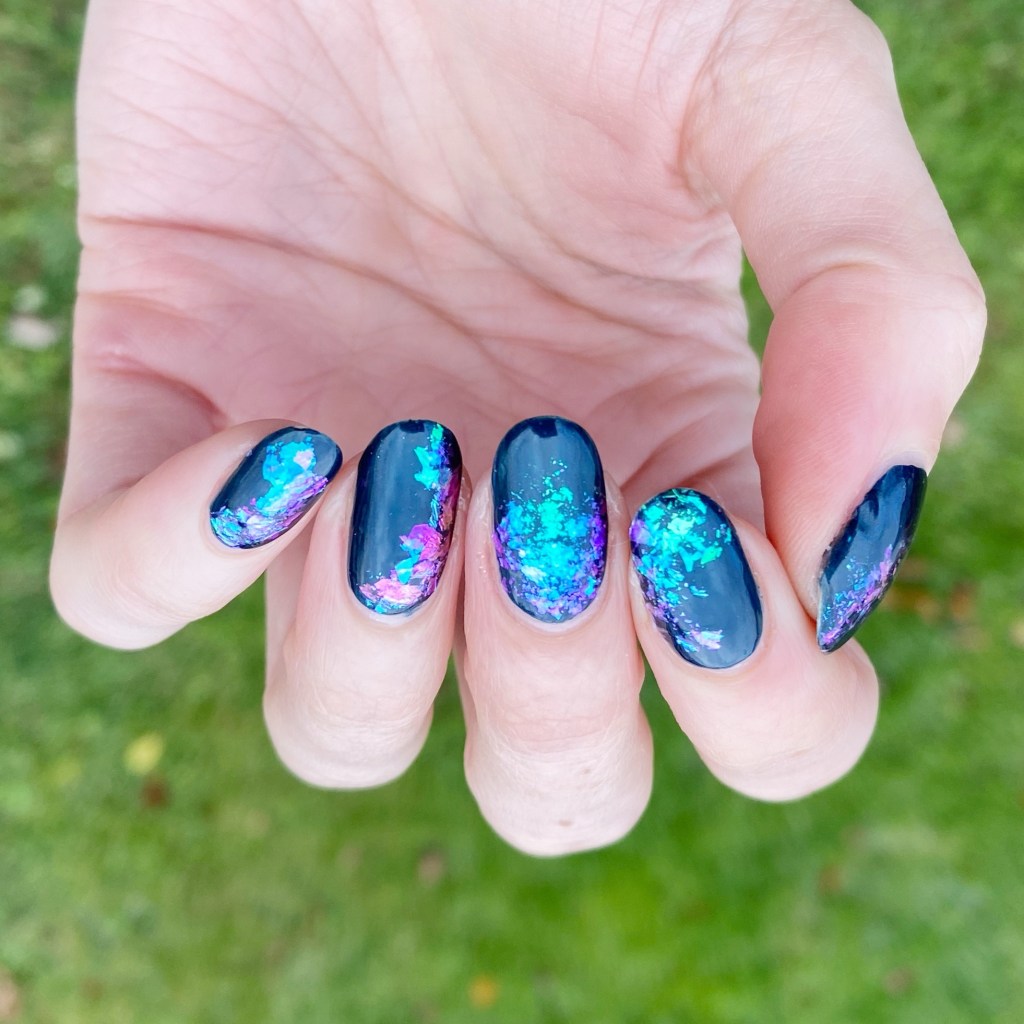
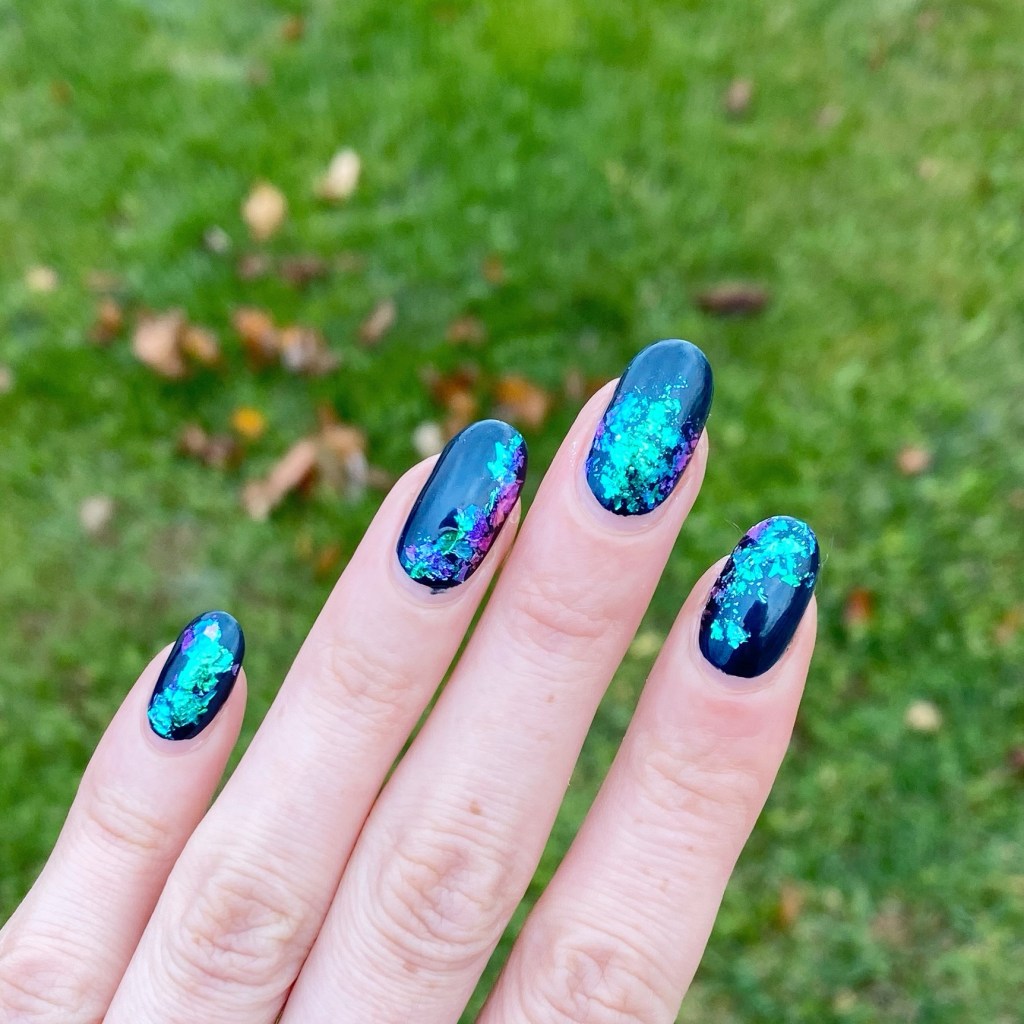
Good morning lovelies & happy Tuesday! It’s a rainy & chilly Tuesday — very much November weather. So I thought I would break up some of the gloom with a pretty flakie look, because flakies make everything better.
I realized the other day I hadn’t played with any of my flakies or Chrome powders in my collection, & got this idea to do a look using them in a similar look to my favourite stained glass technique. & I think they turned out so pretty!
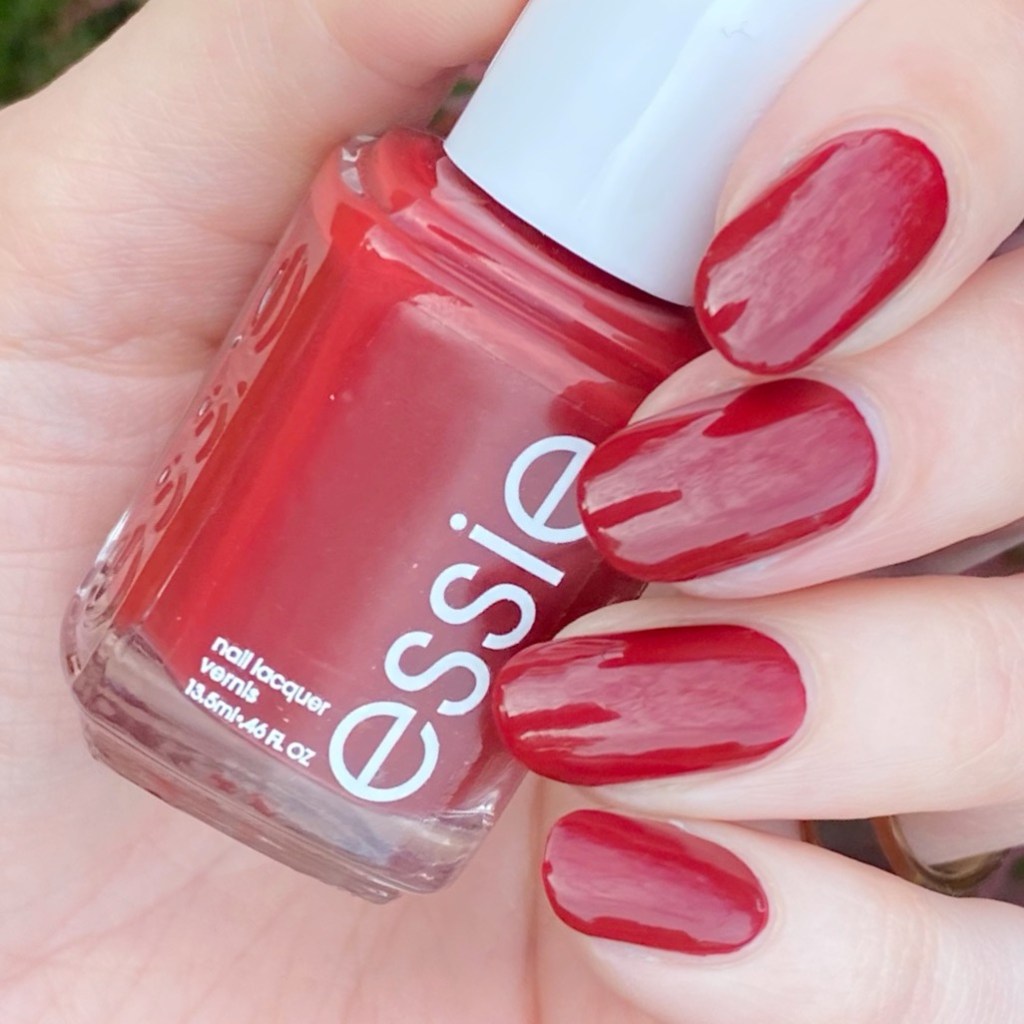
The polishes I used for this manicure are:
- Base Coat: NailStuff Essentials Base Coat *
- Top Coat: Nail Stuff Essentials Quick Dry Top Coat *
- Sally Hansen Special Effects Salon Chrome Top Coat (used as a base to help my flakies stick!)
- Dimension Nails Kronosaurus
- NailStuff.ca Mermaid Flakies
- NailStuff.ca Flat nail brush


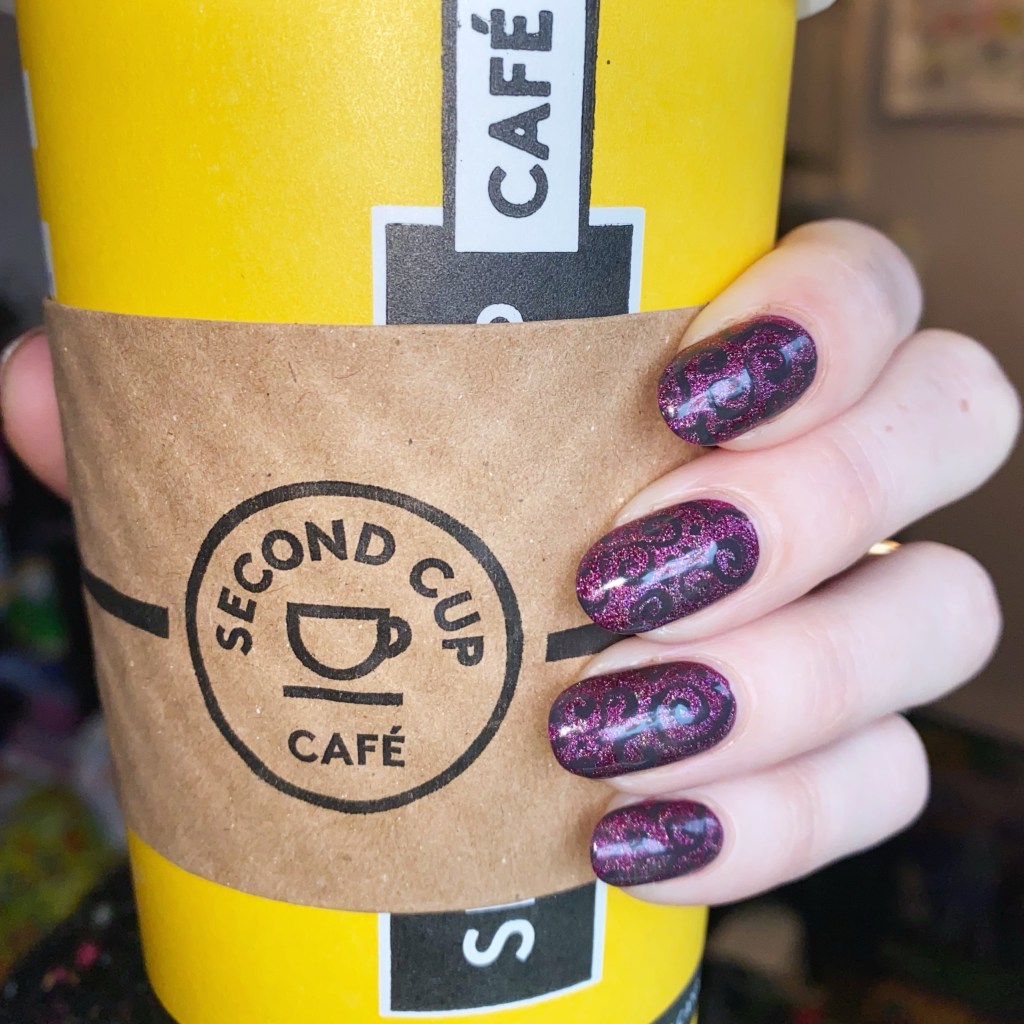
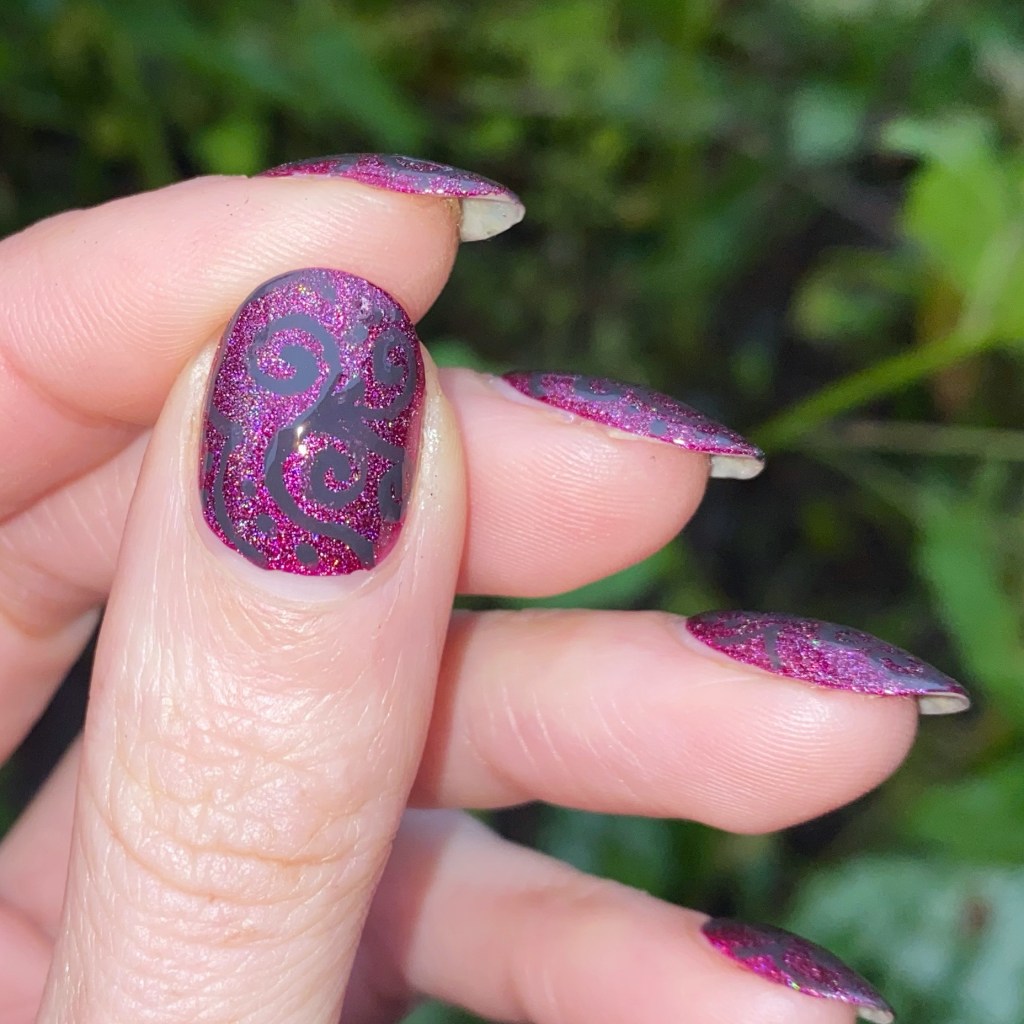
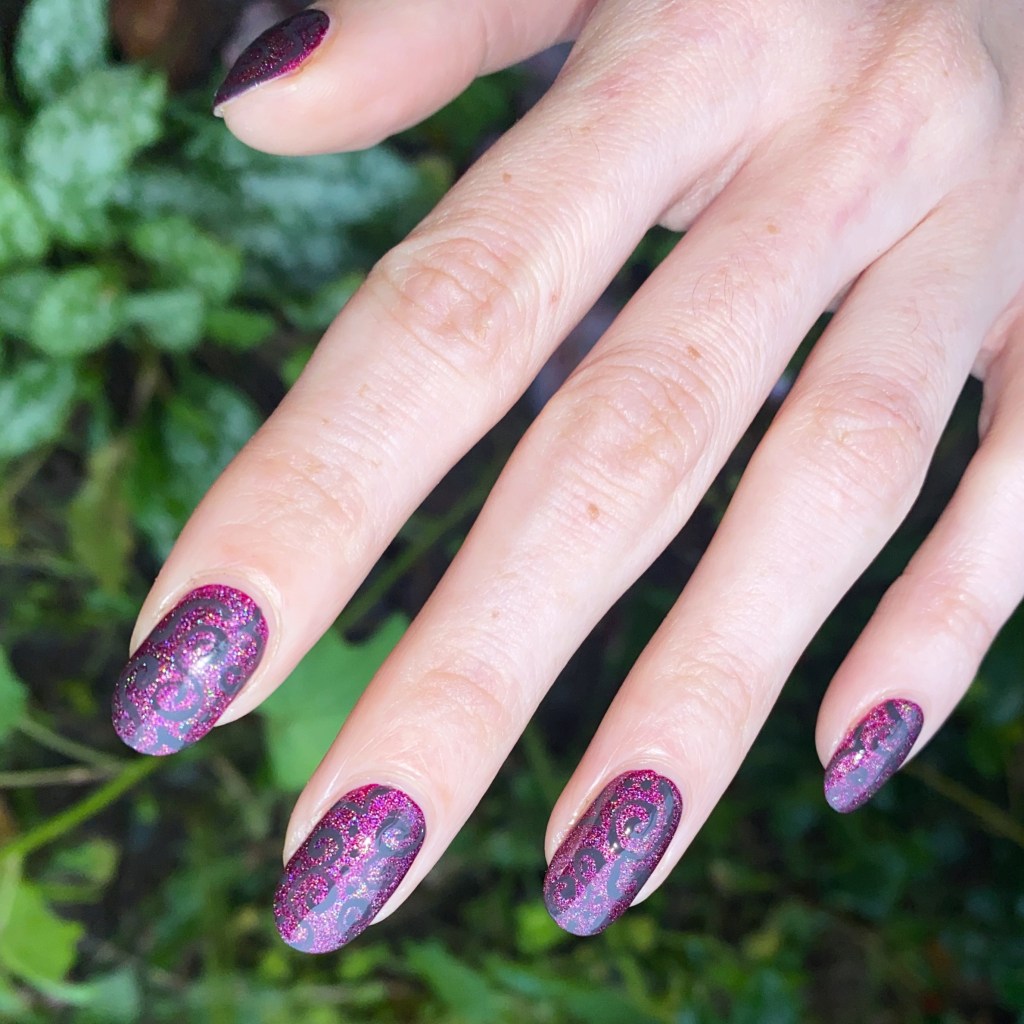
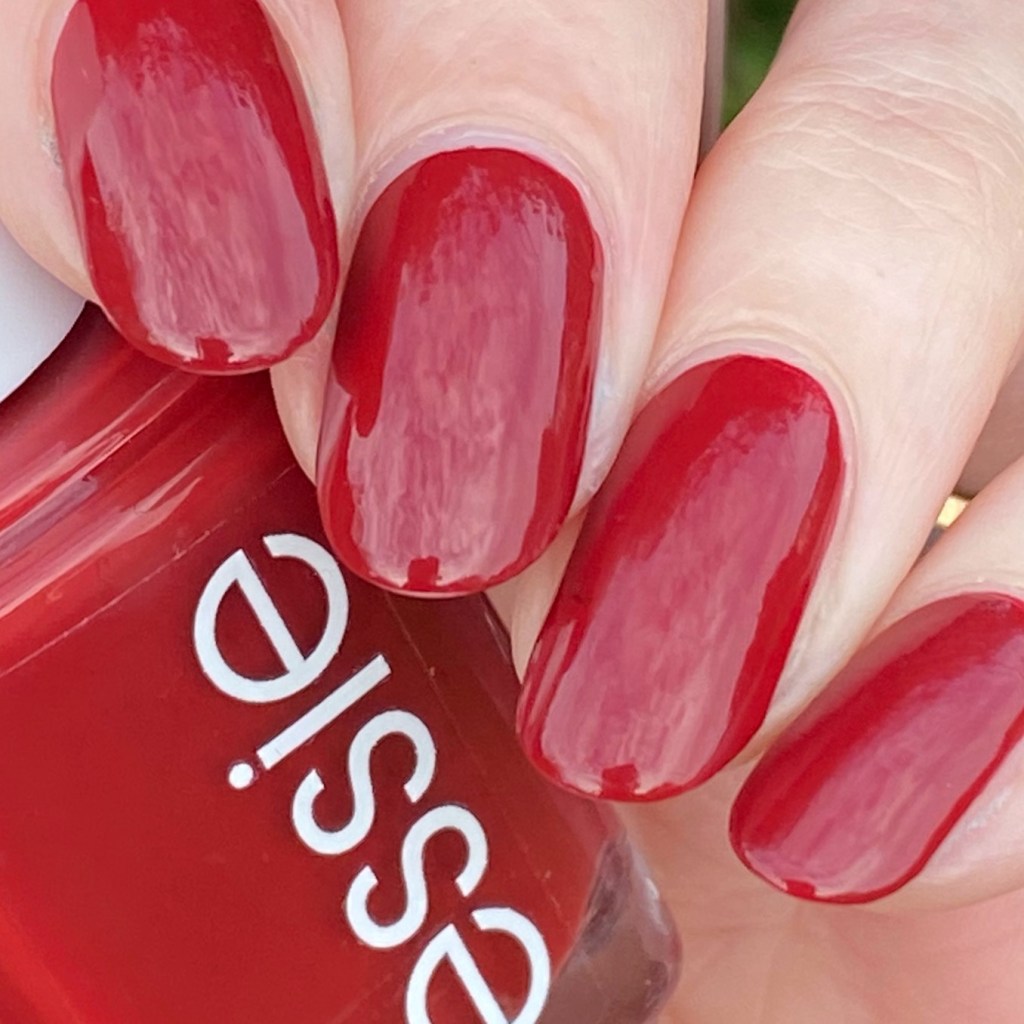
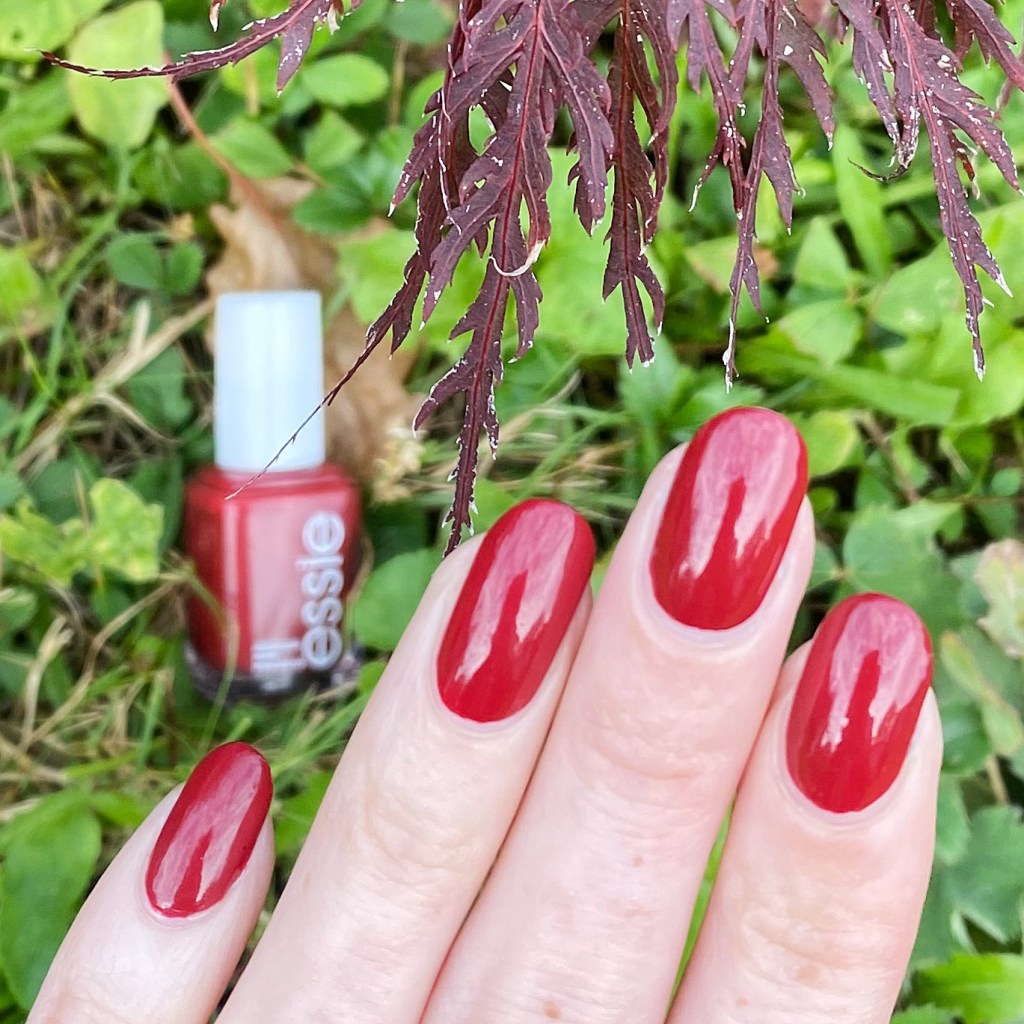
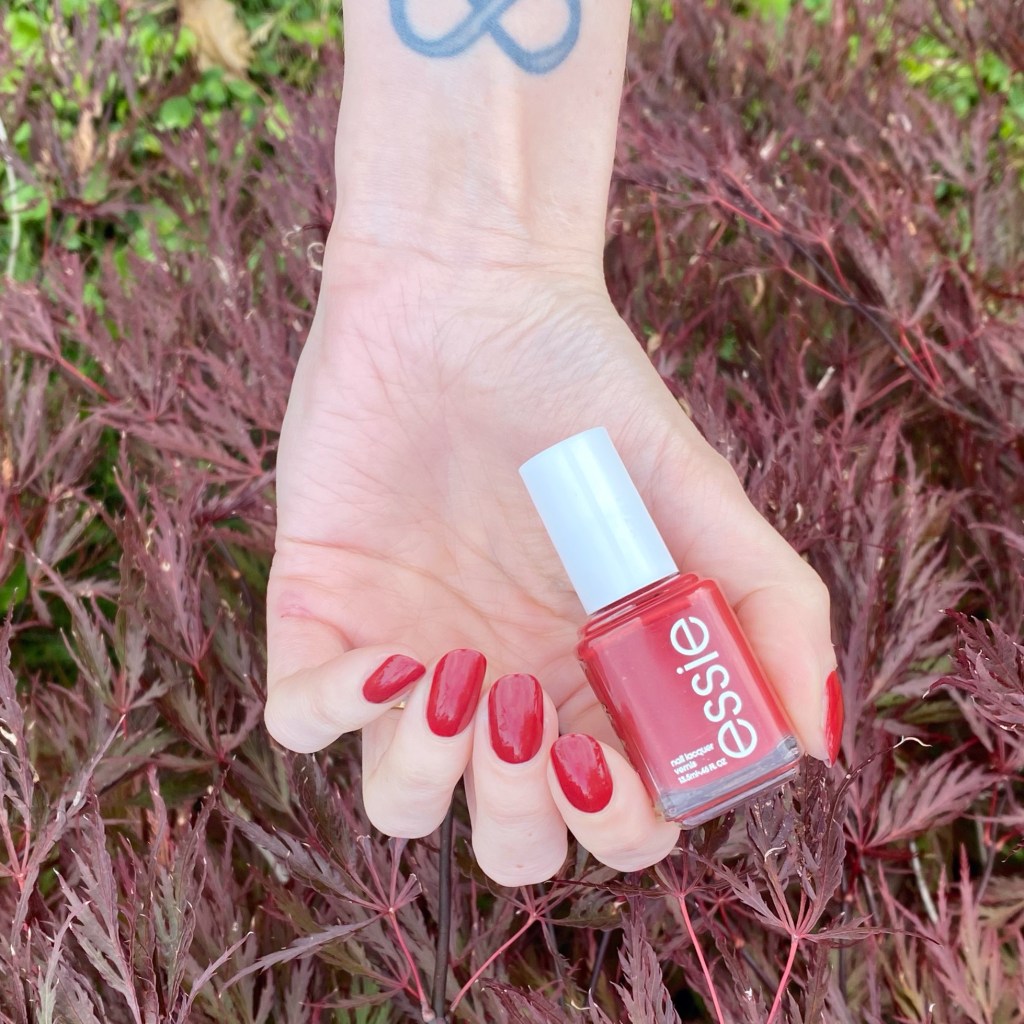
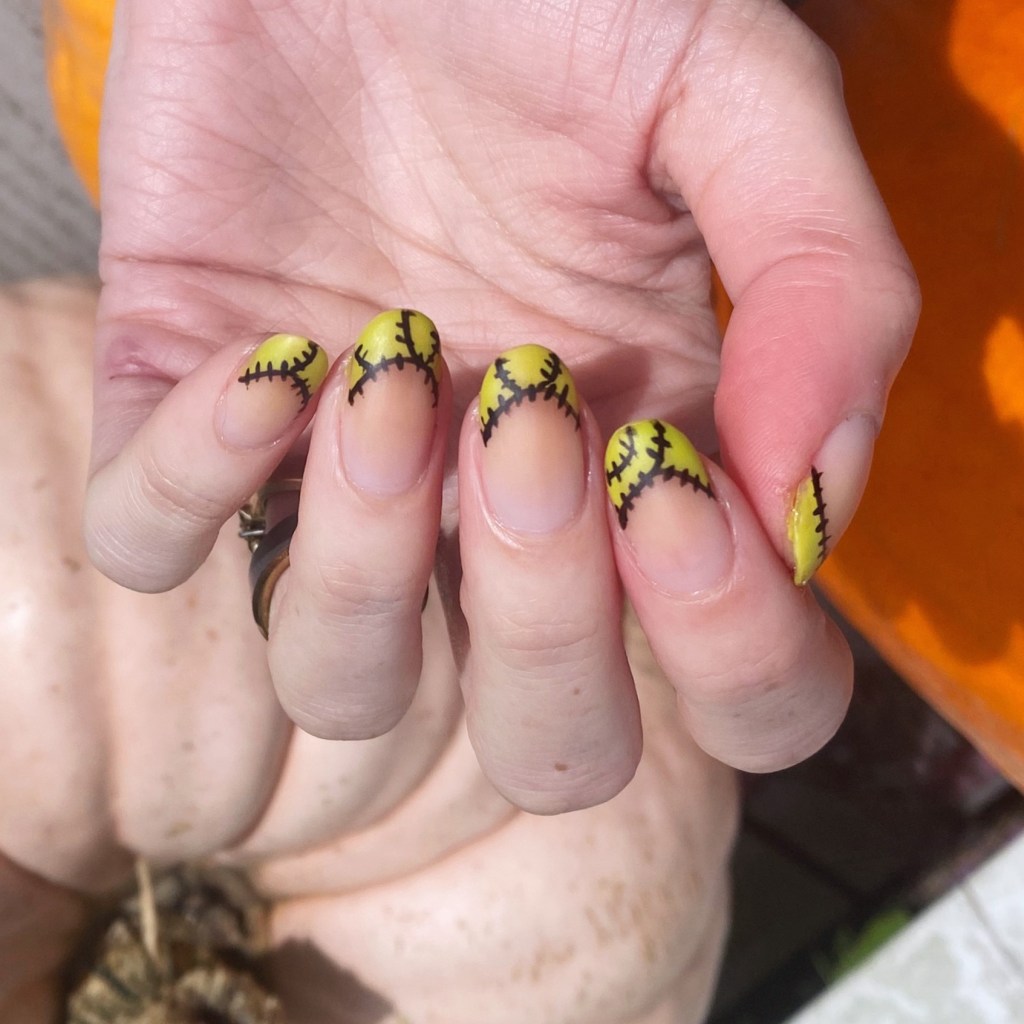
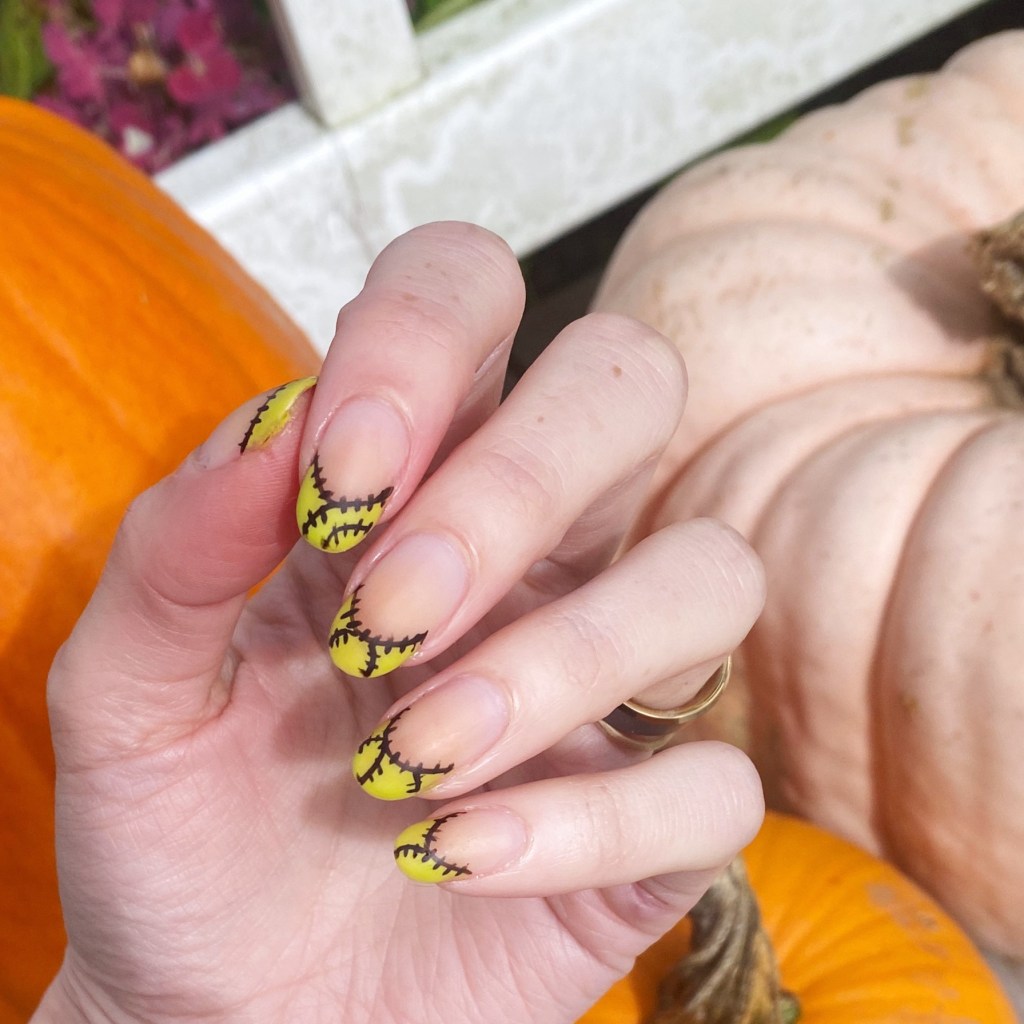
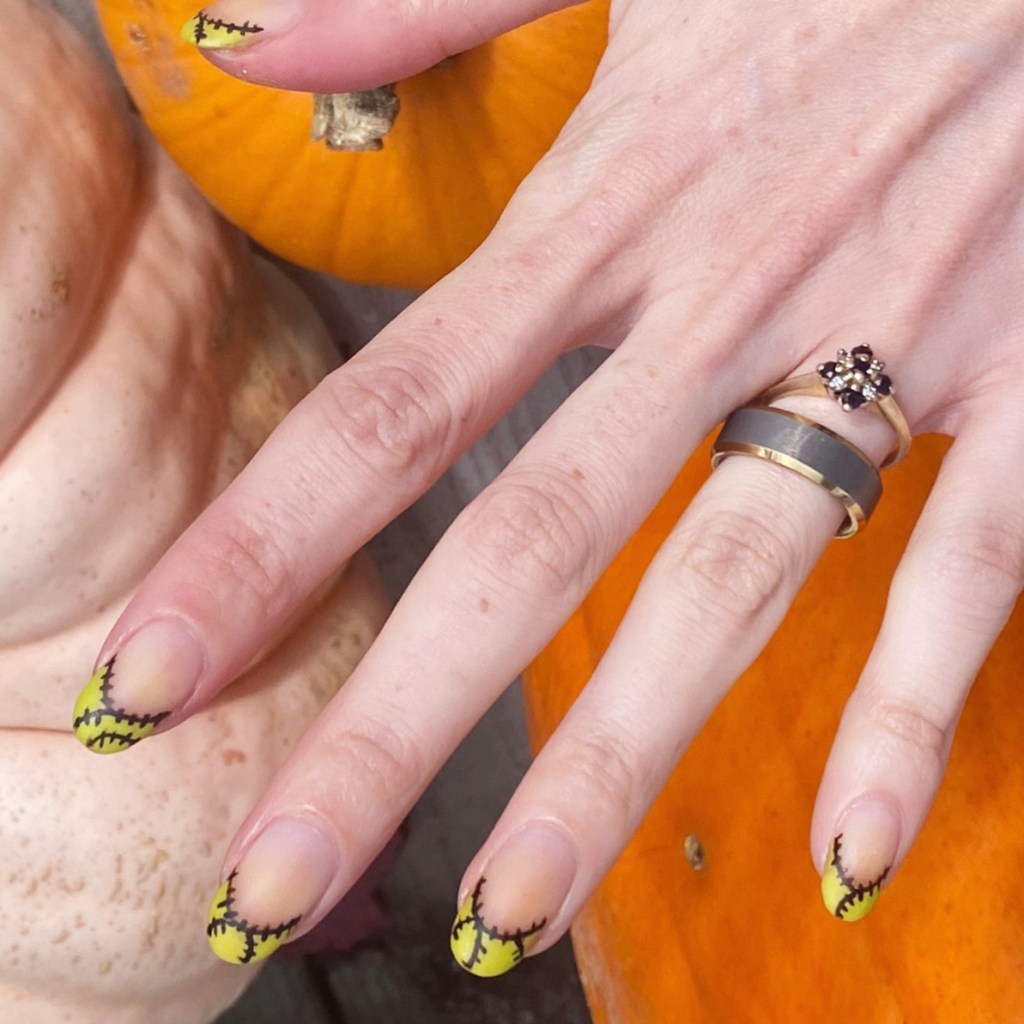
Look at that beautiful shift! I can’t believe I’ve taken so long to use these again. I definitely go through fazes where I use nail art stuff less than others, but I’m going to make a conscious effort to go through more stash more frequently to use these items! Because they really do give such a beautiful look on the nail!
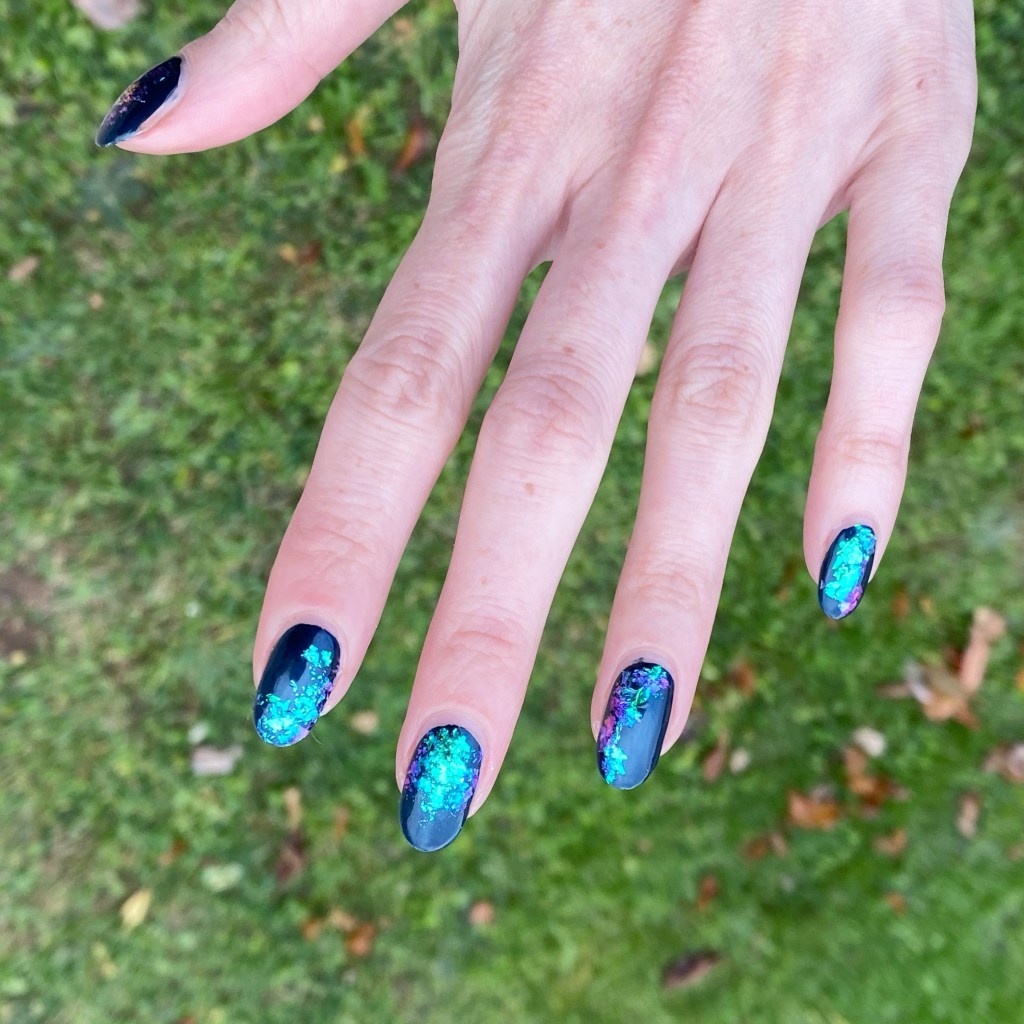
What do you think of these flakie glitter gradient nails? Can you believe the shift on these flakies? I can’t believe I’ve been sleeping on using them! Definitely will be glkng through my stash & seeing what nail art looks I can create with my little pots of glitter.
Happy Tuesday
🖤