Halloween Skull Nails 💀 

We are only FOUR days away from Halloween which means I only have a couple more days to get in a few more spooky designs. My next Halloween design is one that is quite popular on Instagram—Jack Skeleton’s face (or just a skull since I don’t want any Disney copyright person coming after me!) 

For this design, I wanted to do something quick & easy for those who may be looking for a last minute Halloween nail design that isn’t too complicated to do. 

  • Base Coat: OPI Natural Nail Base Coat
  • Top Coat: Cutex Quick Dry Top Coat
  • Revlon Elusive
  • Ardene Ice Mist
  • Sally Hansen Hard To Get 
  • Kiss Products Nail Art Striper in Black 
  • Bundle Monster small nail art brush
  • Bundle Monster dotting tool 

This design was super simple to do! I decided to freehand my stripes because I wanted my stripes to look somewhat imperfect. I also like that they’re over such a sheer base colour. These really are super simple to do & I feel like you can accomplish them at any nail art level. My eyes/nose were the hardest to get right but even though they’re not perfectly symmetrical, they still turned out fun & Halloween-y. 🎃 For the eyes, I just created blobs using my larger size dotting tool & the mouth length using my striper. I then went in with my smaller brush & created the teeth & nose. 

What are you wearing on your nails for Halloween? Do you have any Halloween designs you’d like to see me take a stab at before Tuesday? Leave your suggestions here or on Instagram & I’ll try my best! 🖤

Vacation Nails! 

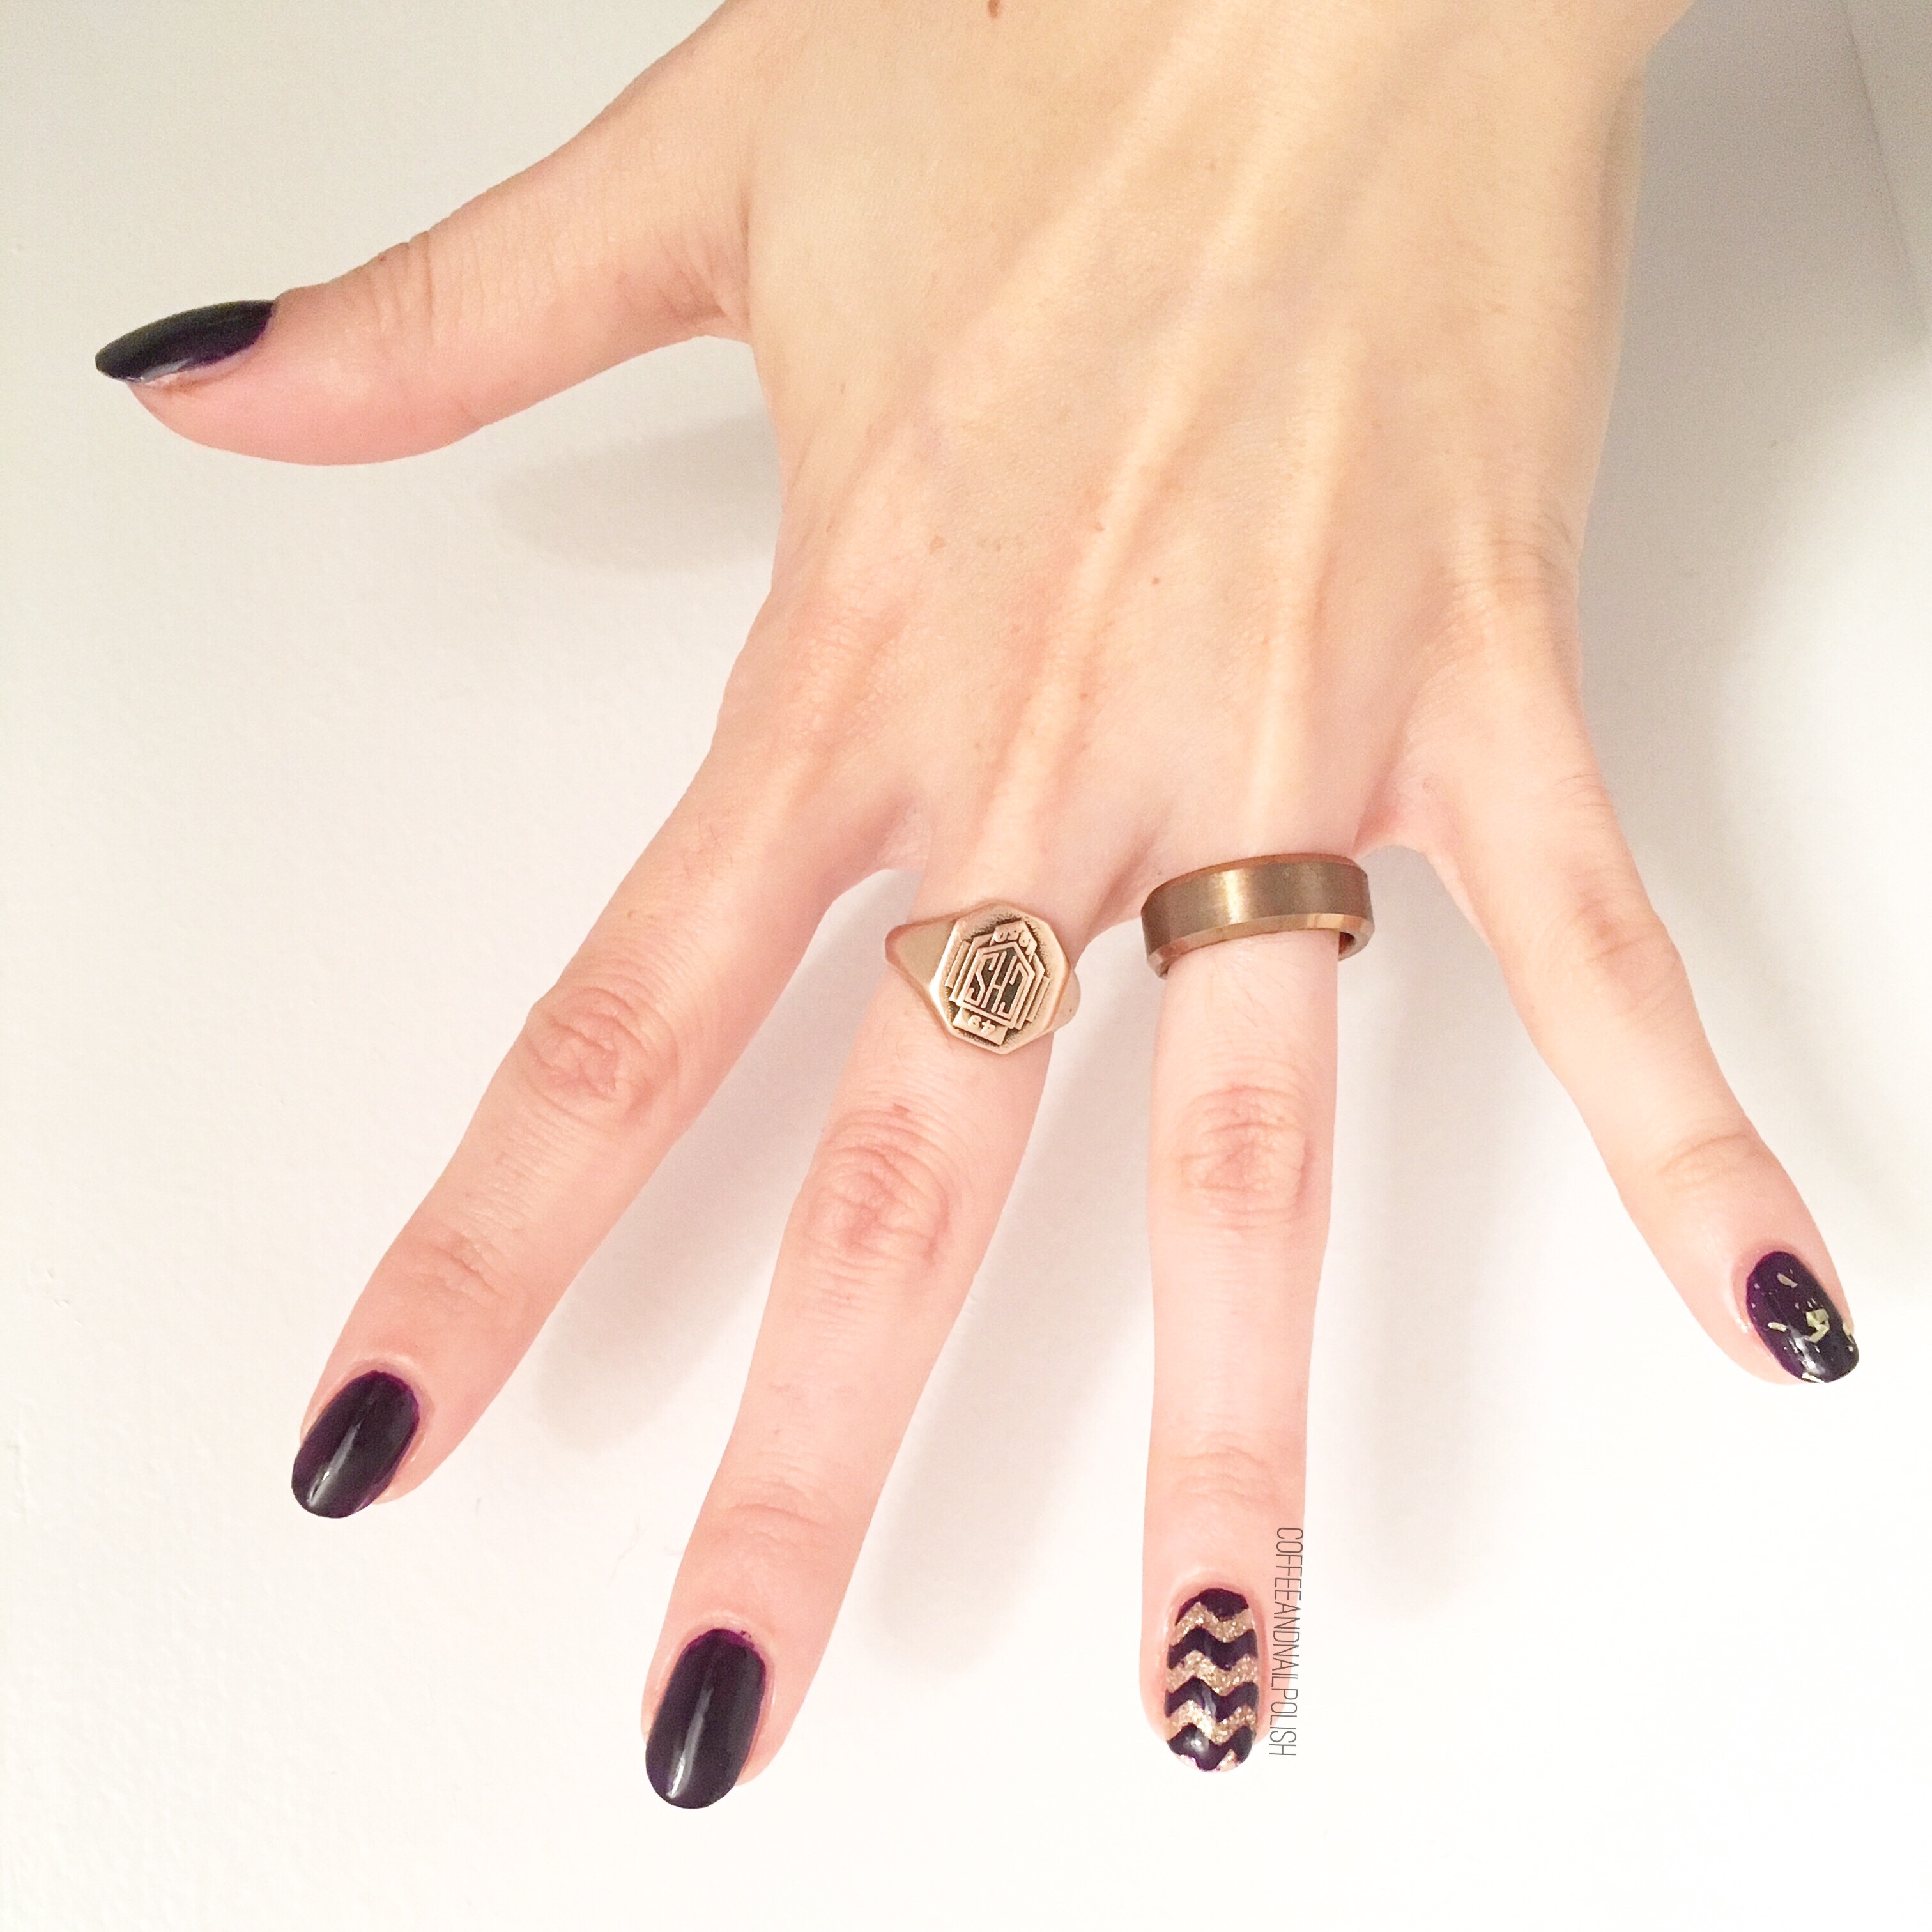
This week, I took a mini vacation with our Lil Bubs to visit my parents up in Northern New Brunswick. Usually when I travel I tend to bring an assorted variety of nail goodies with me, because I know I will need to change up my manicure. However, because I know my Mum has quite the stash of polish on hand (she’s started painting sea glass jewellery peices with it—I’ll share a picture at the end!) I decided to leave my polishes behind for the opportunity to play around with the many shades she owns. 

For this manicure, the polishes I used were:

  • Base Coat: OPI Nail Envy
  • Top Coat: Seche Vive 
  • My Beauty Spot unnamed dark purple
  • L’Oréal Because I’m Worth It
  • L’Oréal The True Gold Transforming Top Coat
  • Essence Metal Glam Steel-ing the Scene 
  • Kiss Products zig zag Nail Vinyls 

These are definitely Fall nails. I’ve been really feeling gold & purple lately (especially together). I also totally forgot how good Steel-ing the Scene looks over dark colours (I also have a bottle in my stash at home.) This is a great combination which sadly I couldn’t capture as well as I would have liked thanks to some fairly dull bathroom lighting. Even still, I really dig how this mani turned out. At first I wasn’t quite sure but the more I stared at it, the more I like how everything came together. 

& just for fun, here is one of the beautiful pieces of sea glass my mum painted (using nail polish!) for the jewelry she’s been making. I have a couple pieces she’s made & they’re such pretty statement pieces. 


What do you think of this vacation design? Do you do your nails while on vacation or stick with what you leave with? What are your vacation nail essentials? Let me know in the comments below! 

Saran Wrap Smoosh Nails

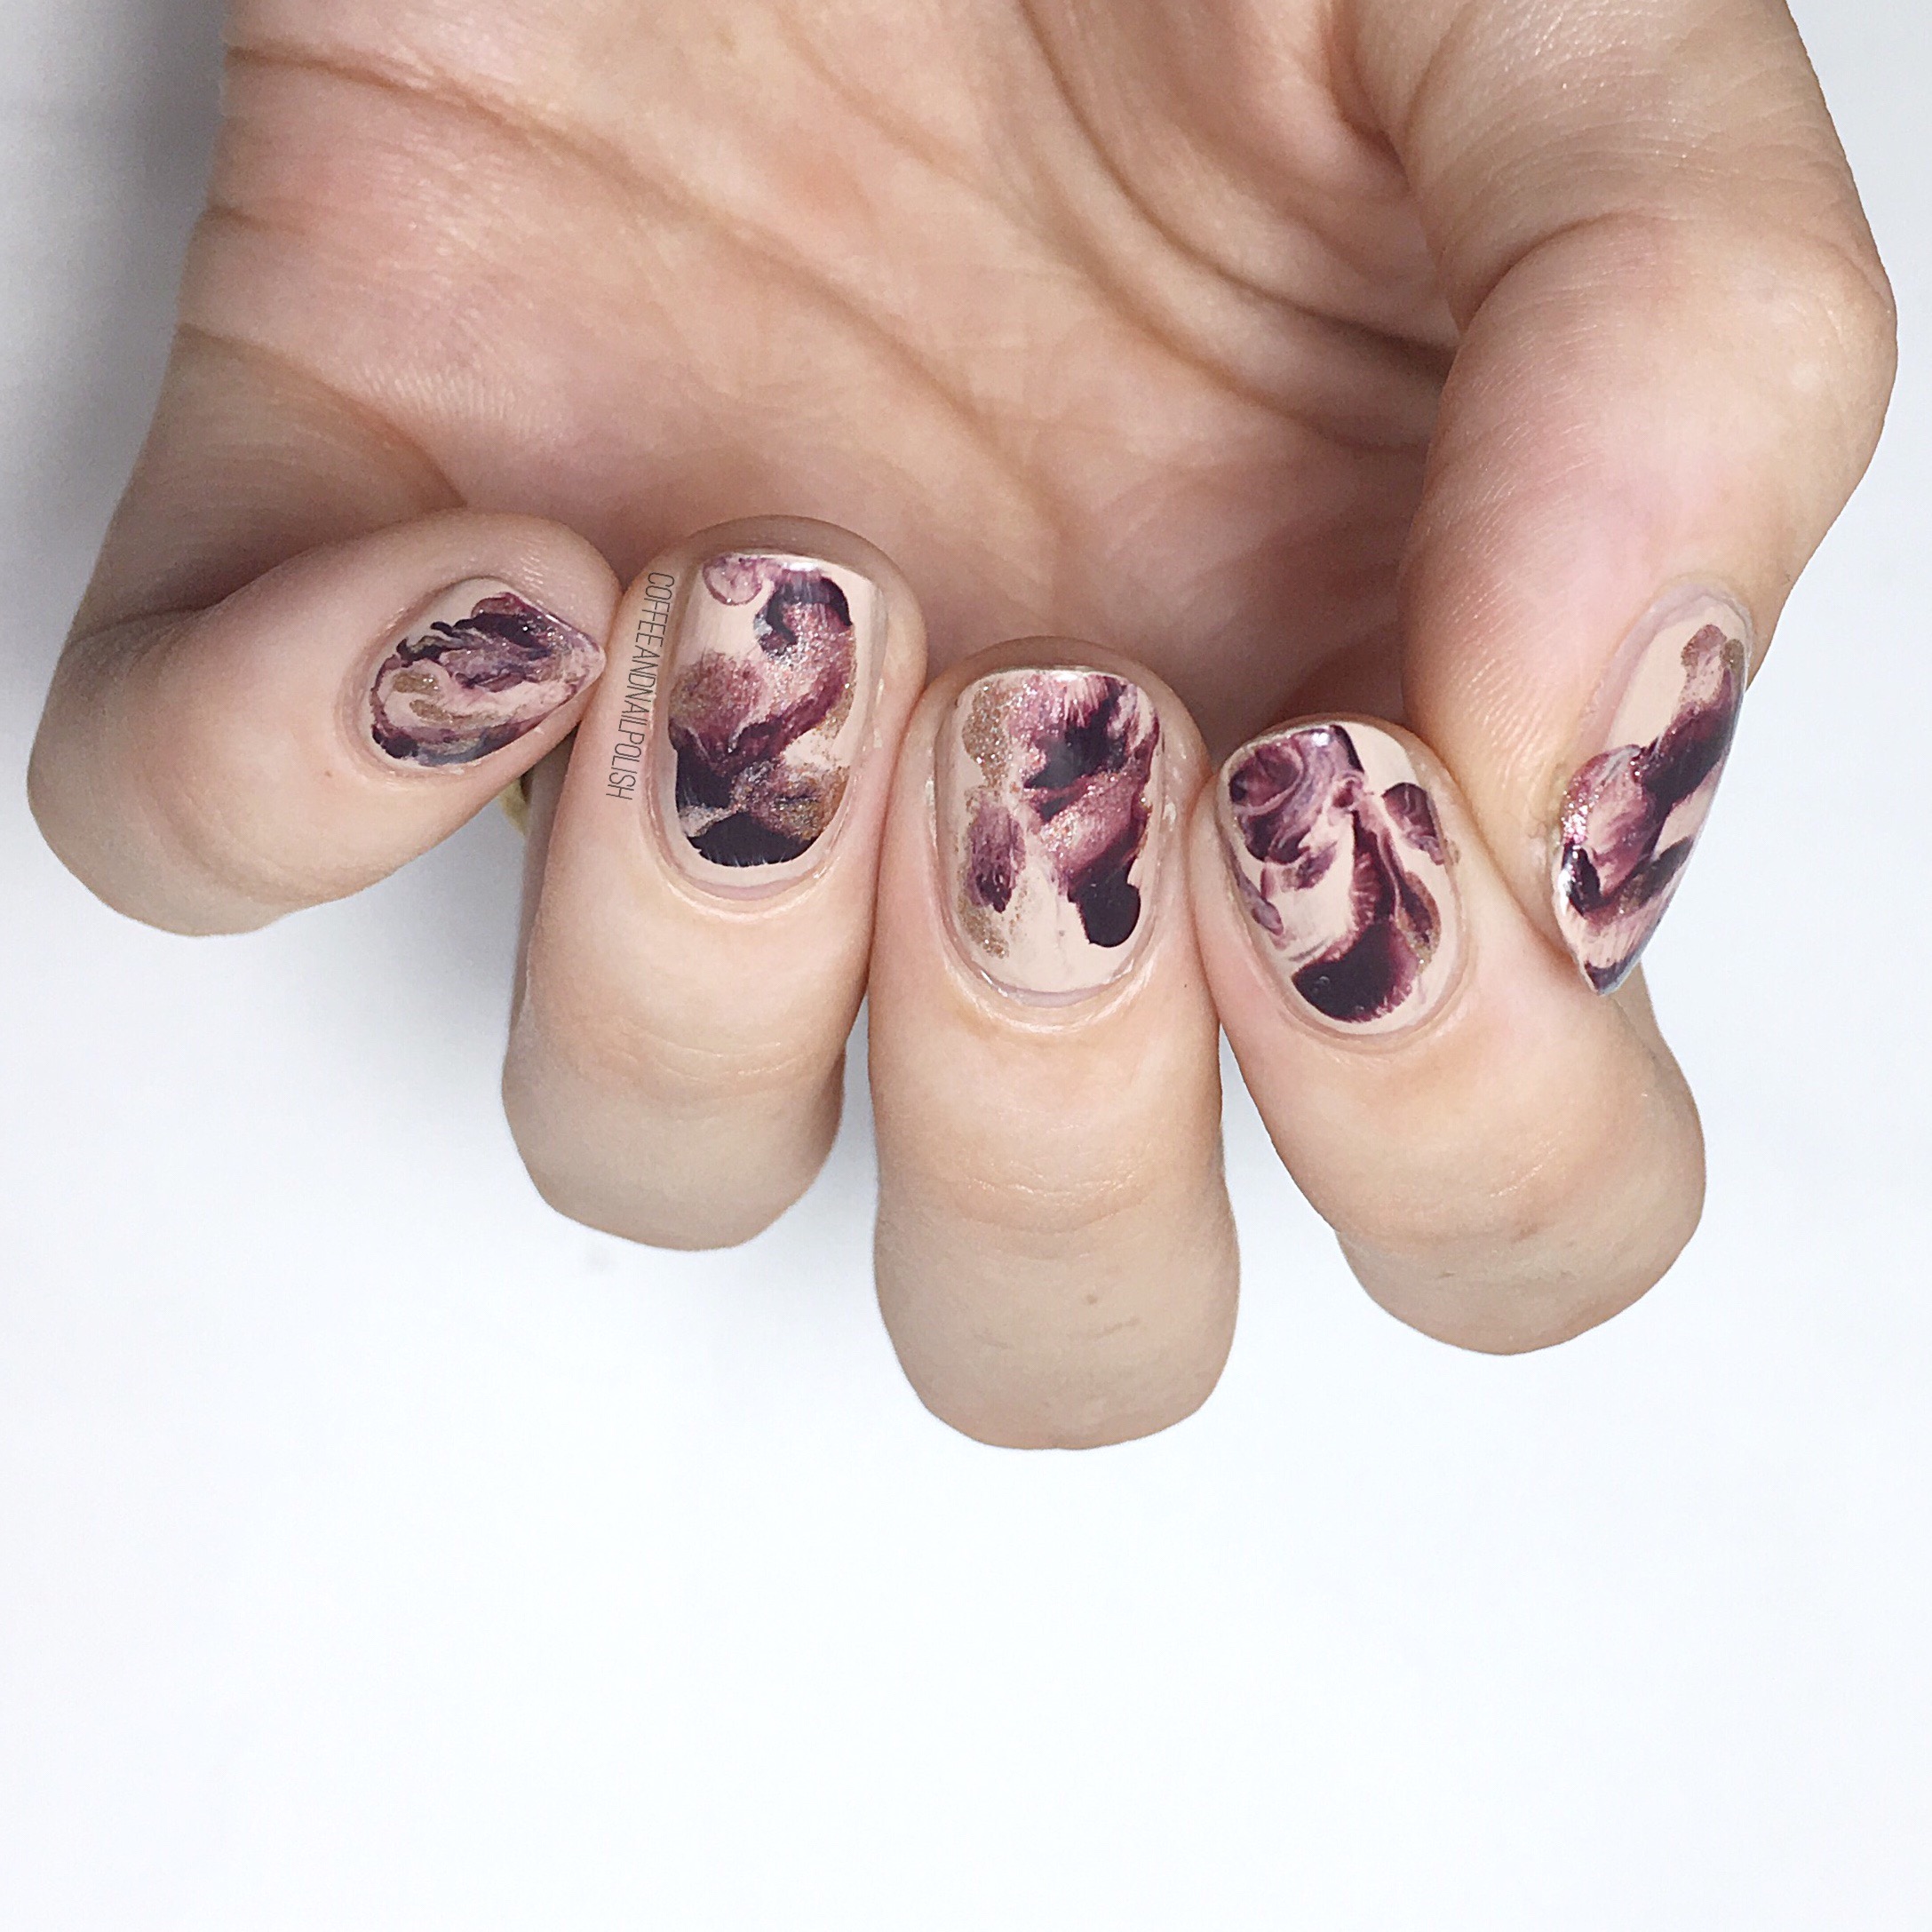
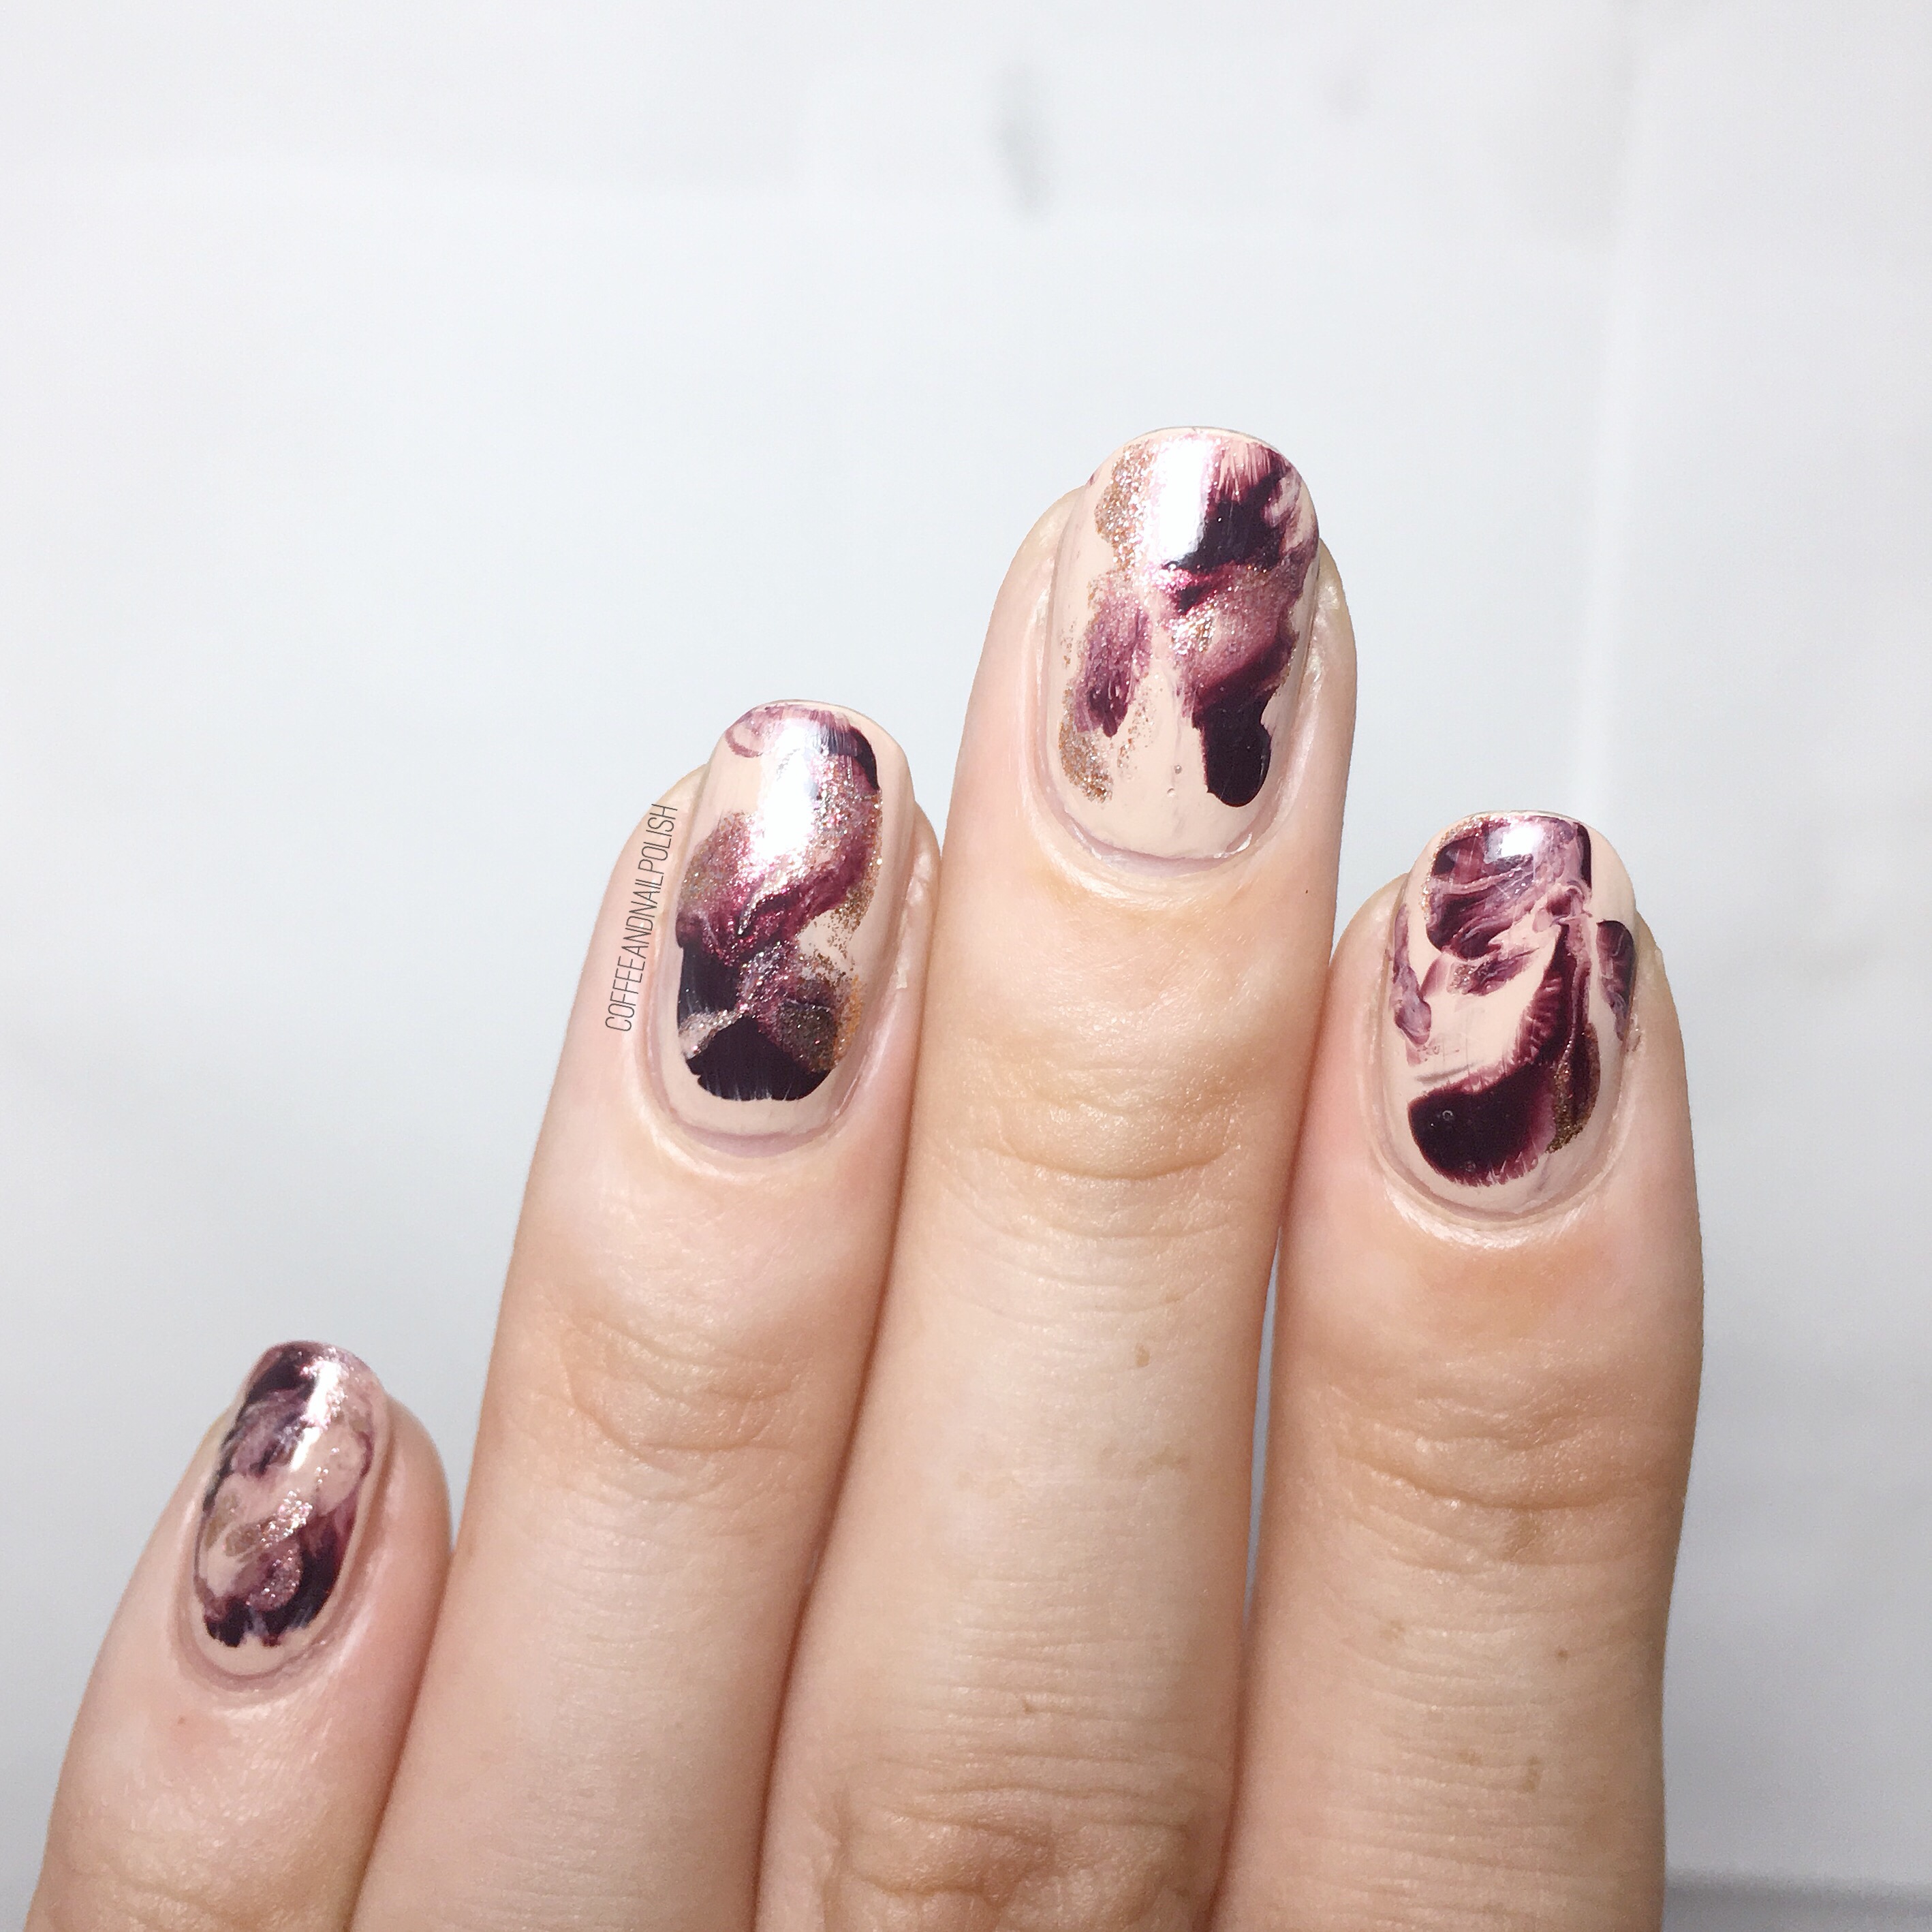
I don’t do a lot of Saran Wrap smoosh nails, mostly because I find them fairly messy (& I ran out of liquid latex & I’m being lazy in replacing it). But every time I see one pop up on my Instagram feed I tell myself I need this technique in my life again. They just always look so cool! I’ve been struggling with inspiration lately, so I decided to risk the messy clean up & do a smoosh. 

For this manicure, the polishes I used were:

  • Base Coat: OPI Natural Nail Base Coat
  • Top Coat: Cutex Quick Dry Top Coat 
  • Essie Cocktails & Coconuts
  • China Glaze VII
  • Quo by ORLY Fairy Godmother
  • Saran Wrap, or plastic bag of some sort. 

If you’ve never done a Saran Wrap smoosh, there are lots of tutorials on the internet (this one from @snowglobenails is great). From my expirence, I find sometimes they can take a few tries before you figure out what works for you, but for me less is more.  I prefer to use maximum 3 shades together, otherwise I find my nails can end up looking kind of swampy. & I also try not to push blend colours too much when pressing down on my plastic. 

What’s your thoughts on smooshy nails? Do you have a favourite colour combination? Let me know your thoughts in the comments below! 

 Silver Chevron Claws 

I did not fall off the face of the planet, I swear. This weekend was busy with family Thanksgiving, trying to get our apartment ready for showing (we’re moving soon!) & dealing with a super upset stomach that left me with no energy for blogging. I decided to take a little break to recoup, wear some glitter on my nails. I’m finally feeling a little bit better, so I wanted to get a blog post up! & what’s better to blog about than chevron claws! 

For this manicure, the polishes used were:

  • Base Coat: OPI Natural Nail Base Coat 
  • Top Coat: Cutex Quick Dry Top Coat
  • Nails INC St Martian’s Lane
  • Nicole by OPI Phil’s Paradise 
  • Kiss Products Nail Art Striper in Black
  • Snail Vinyls Deep Single Chevron Nail Vinyls

This design is very reminiscent of my very first chevron moon design, colour wise. Comparing the two, I’ve definitely come a long way since those early days! Thank goodness for nail vinyls—I no longer have to create my own triangles in order to get the design right! But hey… it worked. & those first chevron moons are what started my all out obsession with the design, which has obviously lasted all this time! 

I’m feeling like I’m in a bit of a nail art lull right now. Even with Halloween approaching, I’m just struggling to be in the mood to paint my nails anything other than a solid colour (&, even then, I can barely make up my mind on what to wear.) My birthday is coming up on Sunday, so I’m dedicated to doing a fun design in celebration—maybe birthday cupcakes? Good thing I have 5 days to make up my mind! Off to Pinterest I go. 


What do you think of these chevron claws? Let me know your thoughts in the comments below! & if you have any birthday nail suggestions for me, please share! 💜

Happy National Coffee Day Nails! ☕️


You know I love a good excuse to celebrate a holiday & what better holiday to celebrate than National Coffee Day! I joined my girls in #thenailartsquad for some caffeine inspired manicures in order to celebrate this day in style! 

Obvious if we’re doing coffee inspired nails, I had to do something Starbucks inspired! I also thought I would pull out some of the acrylic paints I recently picked up for my freehanding details. 


For this design, the products I used were:

  • Base Coat: OPI Natural Nail Base Coat
  • Top Coat: Sally Hansen Diamond Flash
  • Essie Mochacino
  • Essie Cocktails & Coconuts 
  • Sally Hansen Hard To Get
  • Acrylic Paints (black, white, brown & green)
  • Silicone Mat
  • Tiny dotting tool 
  • Small Detail Brush

I had this idea of how I wanted this design to turn out, & it turned out exactly how I imagined in my head… I love when that happens! I used my pink silicone mat to create my “latte art” drag marble decals which (I think) turned out really good. I also tested out my acrylic paints for the first time, & they were so easy to use for nail art! I definitely understand why they are such a popular option for nail art—I would have had a much harder time creating my little Starbucks cup using just regular nail polish. Now I want to buy even more colours to test out designs! 

What do you think of these coffee nails in honour of National Coffee Day? What’s you favourite coffee drink of choice? Obviously I love pumpkin spice this time of year, but if we’re picking favourites I absolutely can’t wait for Gingebread lattes to return! 
Don’t forget to check out the hashtag #thenailartsquad to see all the coffee themed designs, as well as our past collaborations!