SWATCH SUNDAY — China Glaze First Class Ticket (Fall 2010 Vintage Vixen Collection)

Hello lovelies & happy Sunday! The weather is absolutely perfect Autumn vibes right now — I wore tights yesterday with my favourite denim skirt. I felt so Fall.

Obviously, I’ve been perusing my stash for past Fall shades I haven’t shared yet with everyone, & stumbled across this beauty in my China Glaze drawer. Yes, I have a whole drawer full of China Glaze nail polishes… a drawer & a half if we’re being technical. But I was excited to stumble across this beauty, & I realized that I haven’t shared it yet!

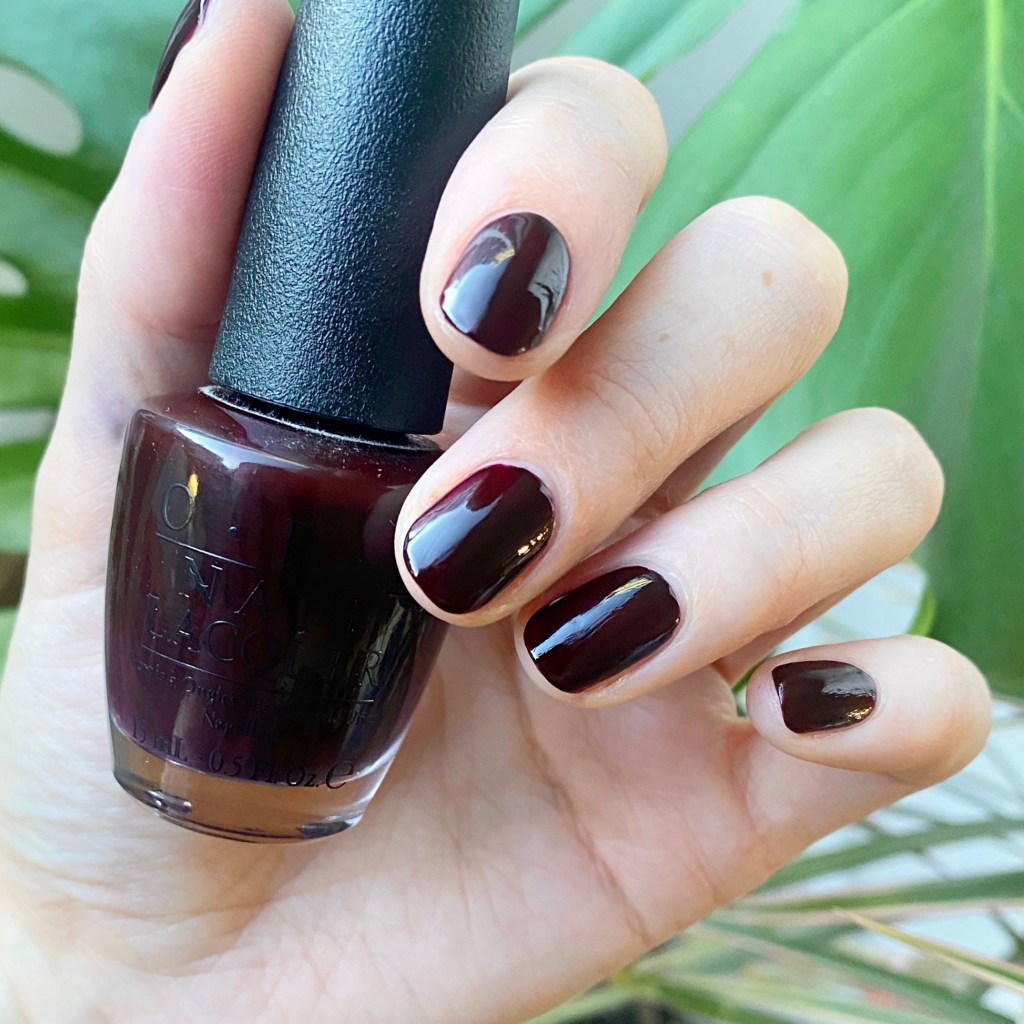
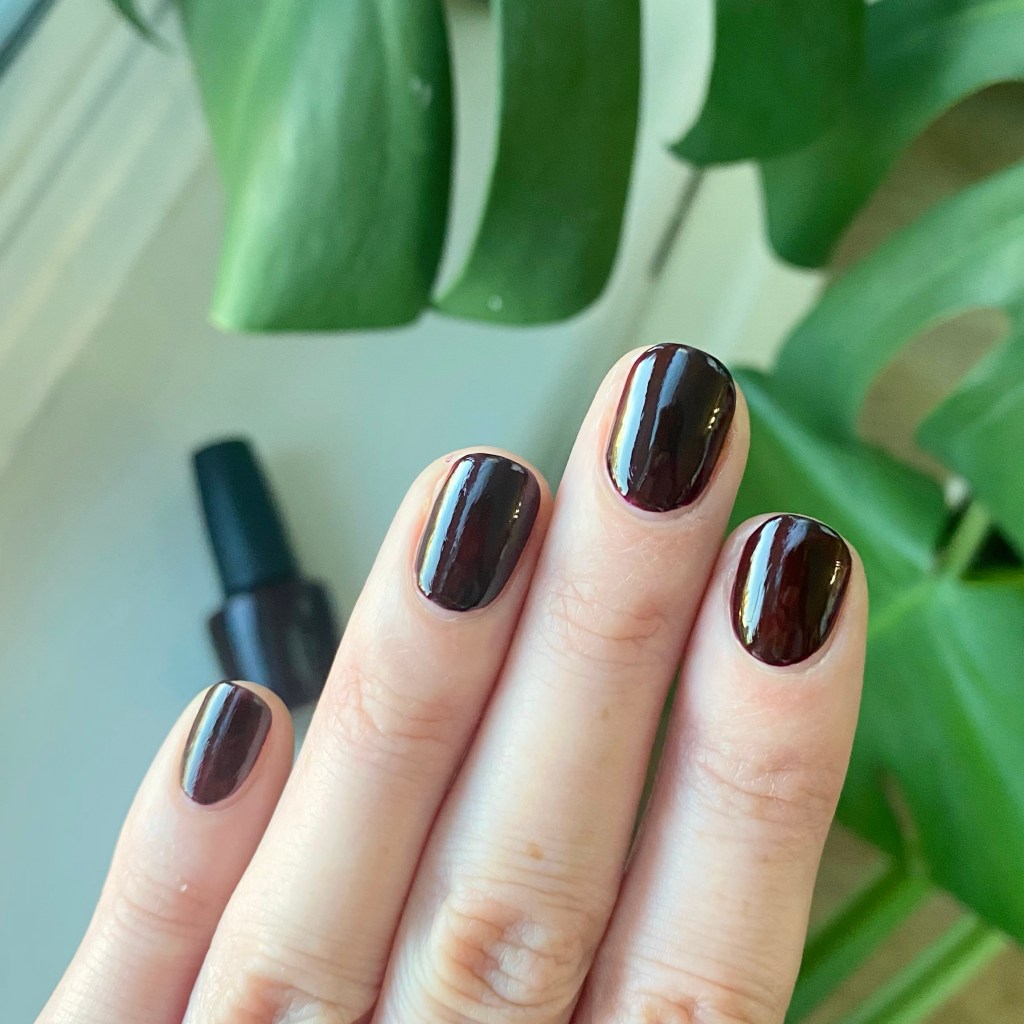
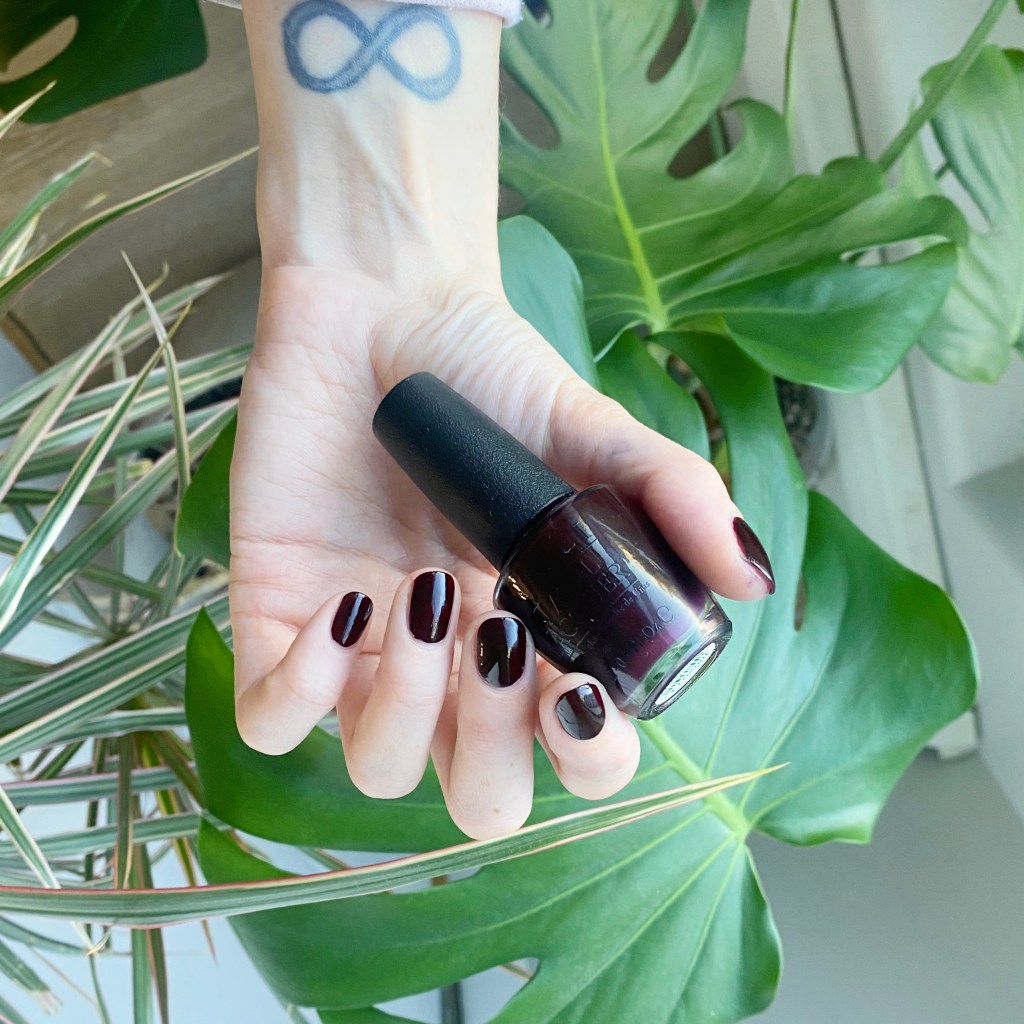
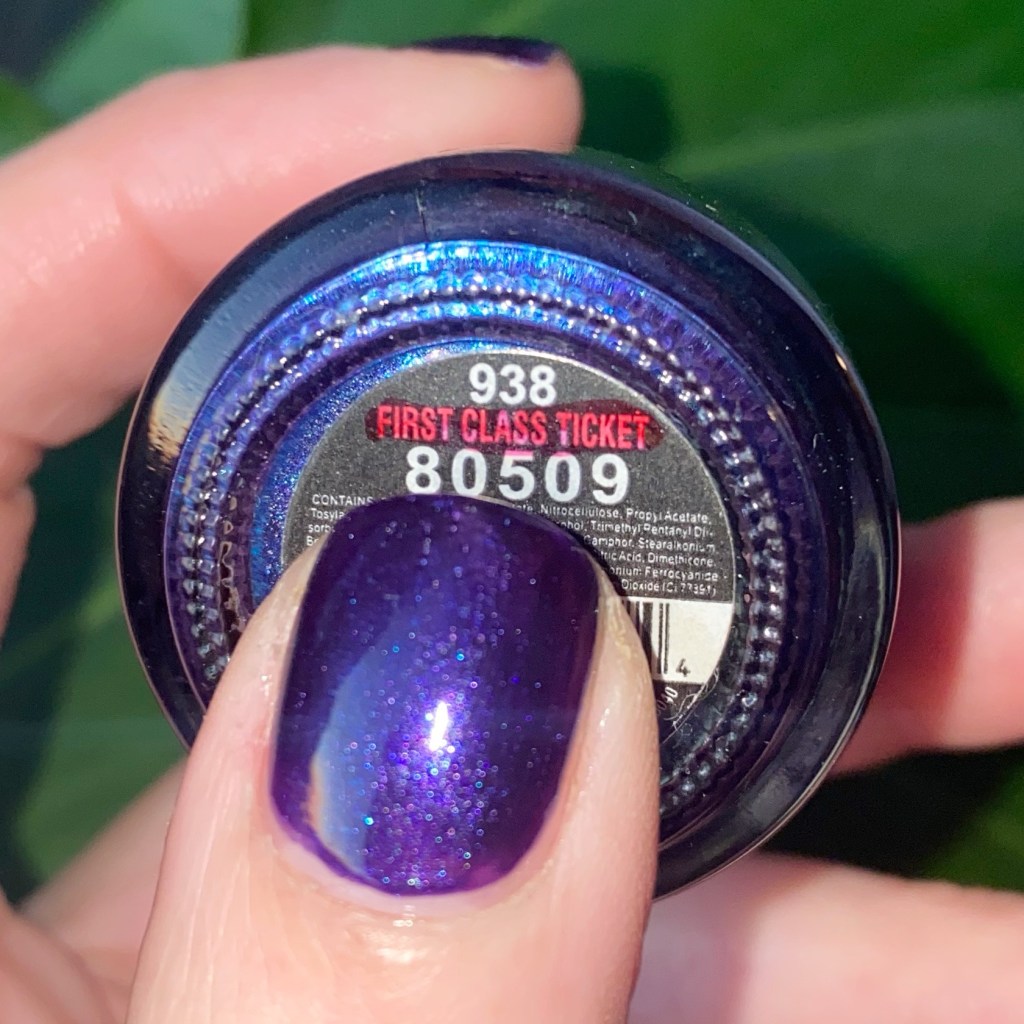
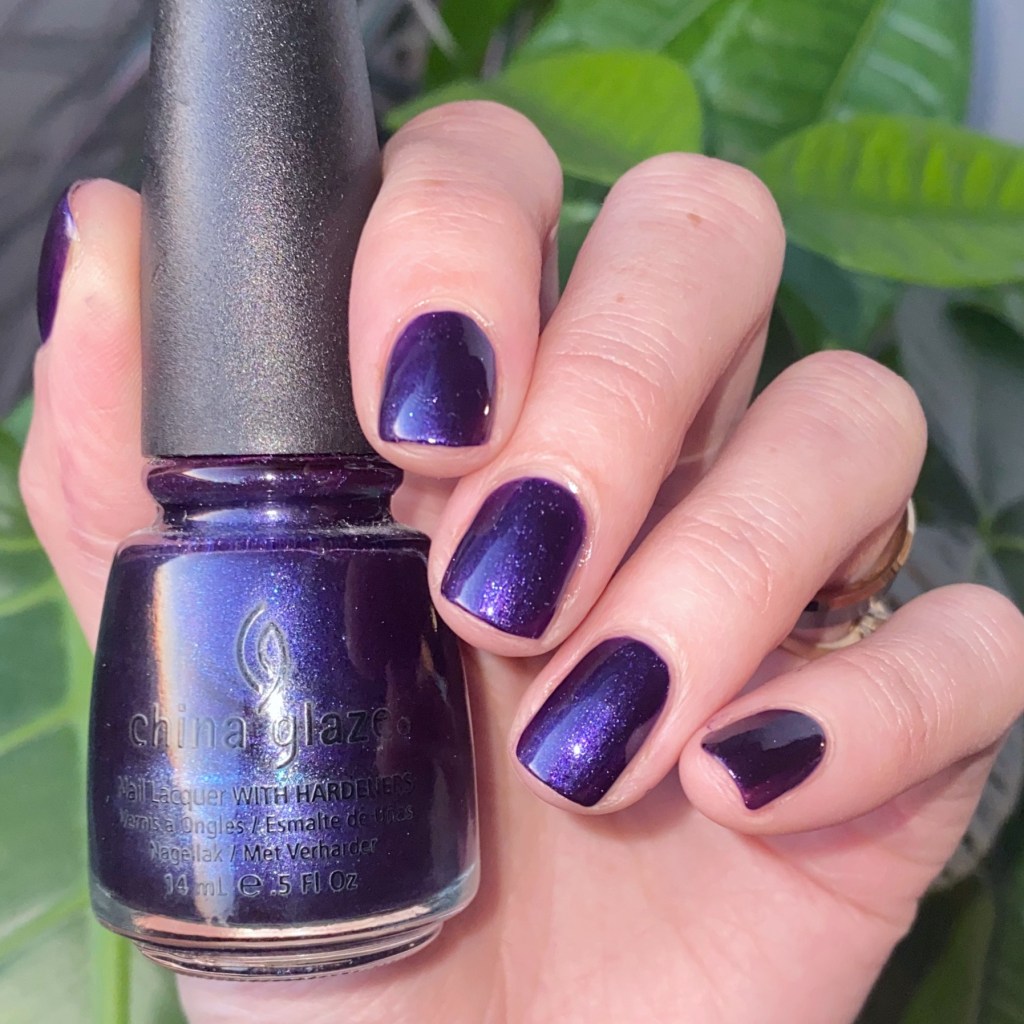
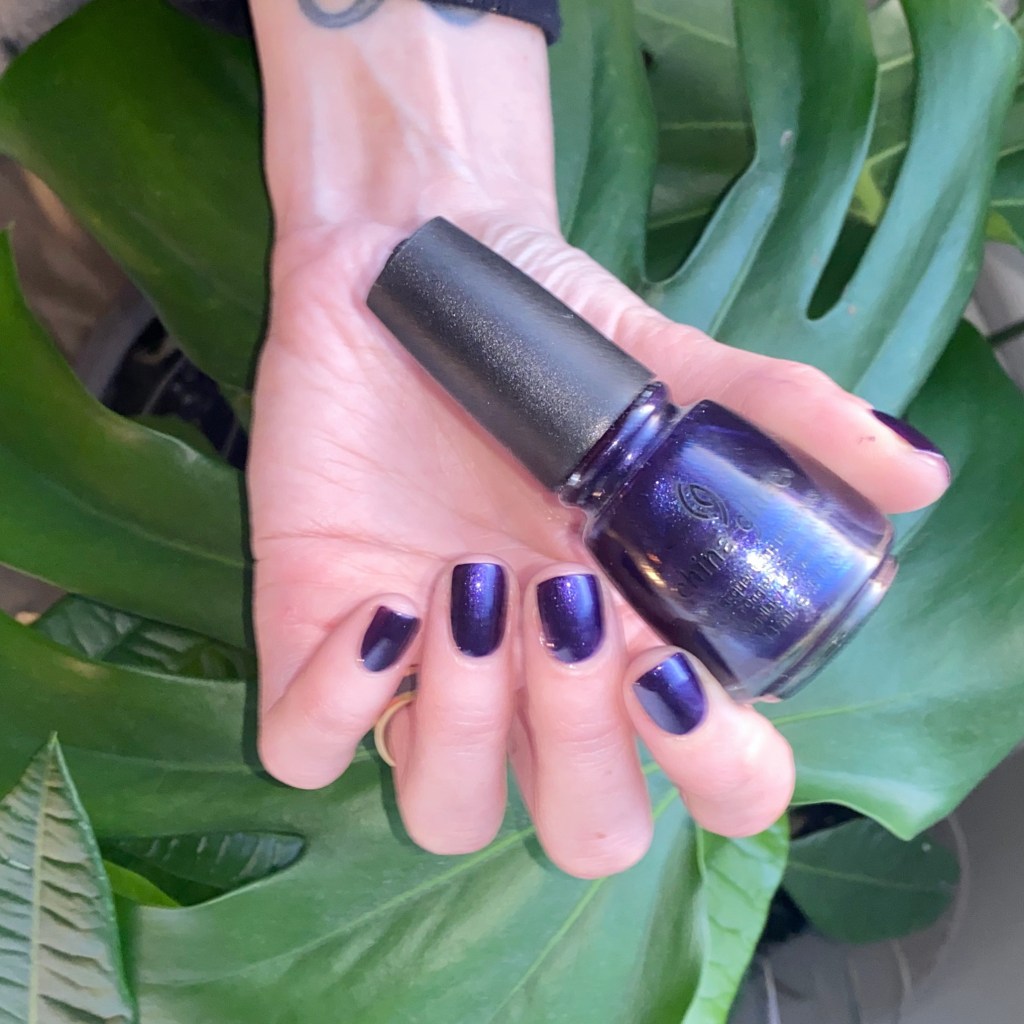
This is China Glaze First Class Ticket.

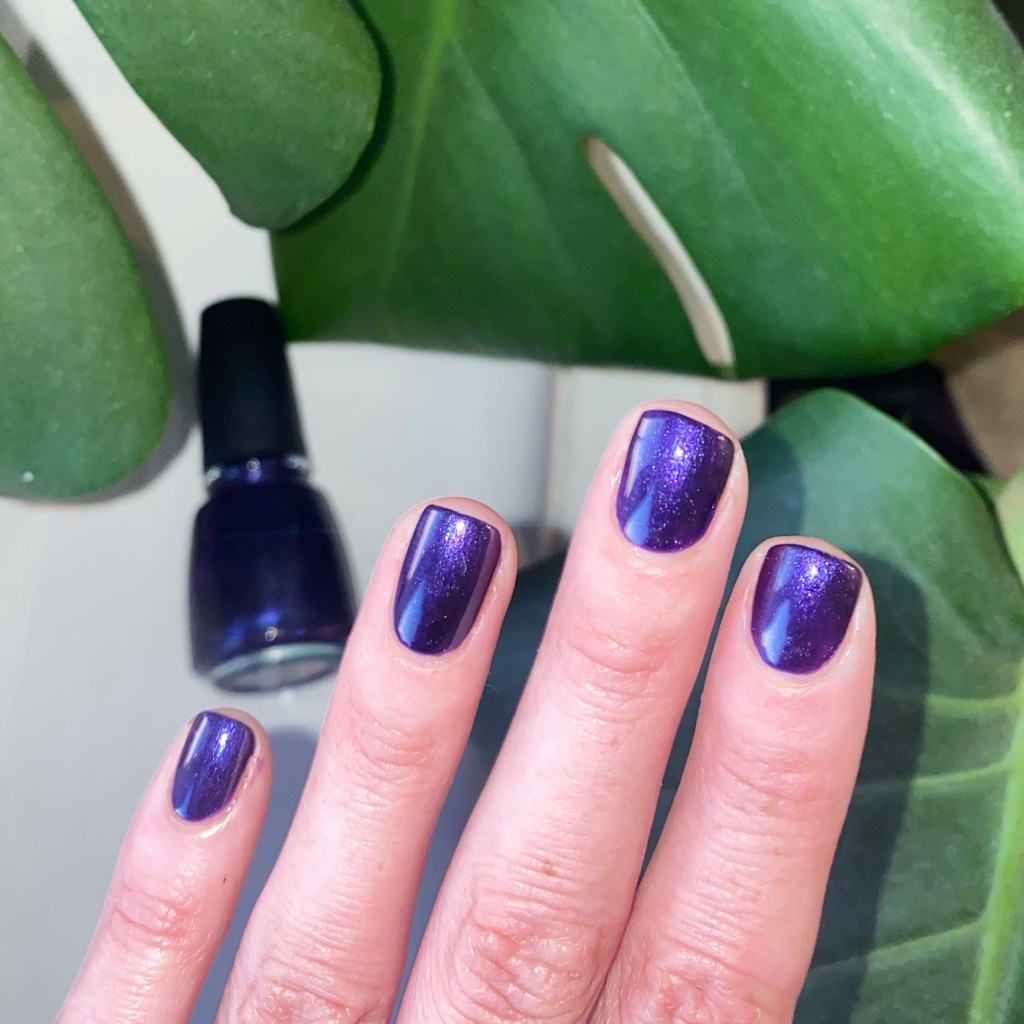
2 coats + top coat

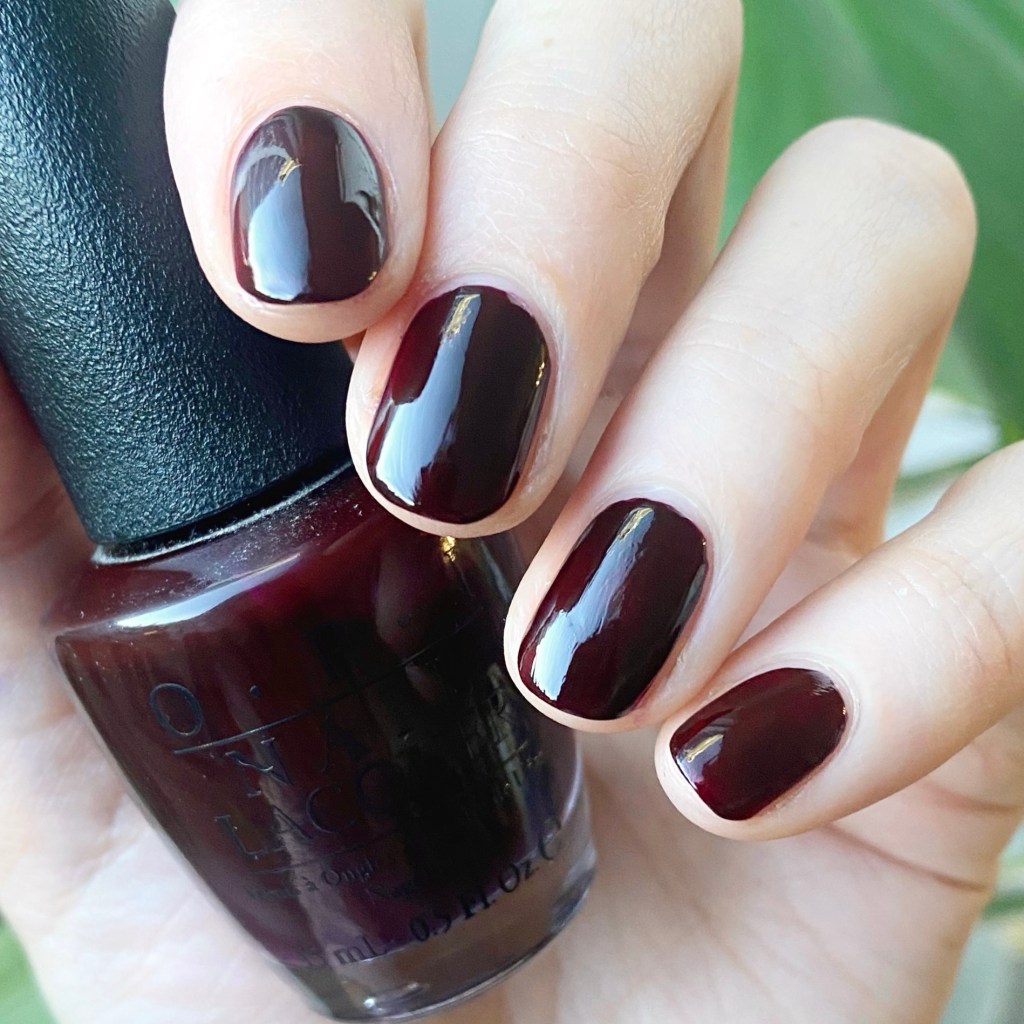
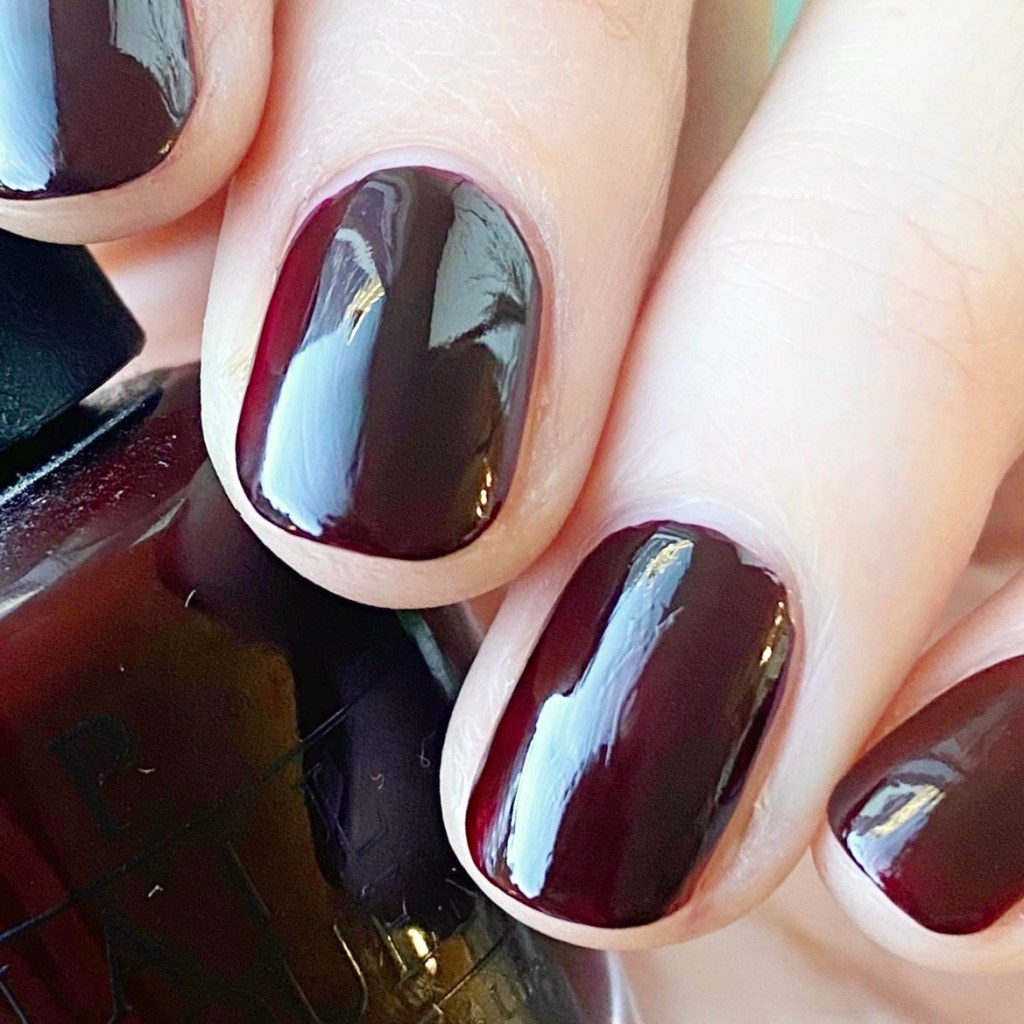
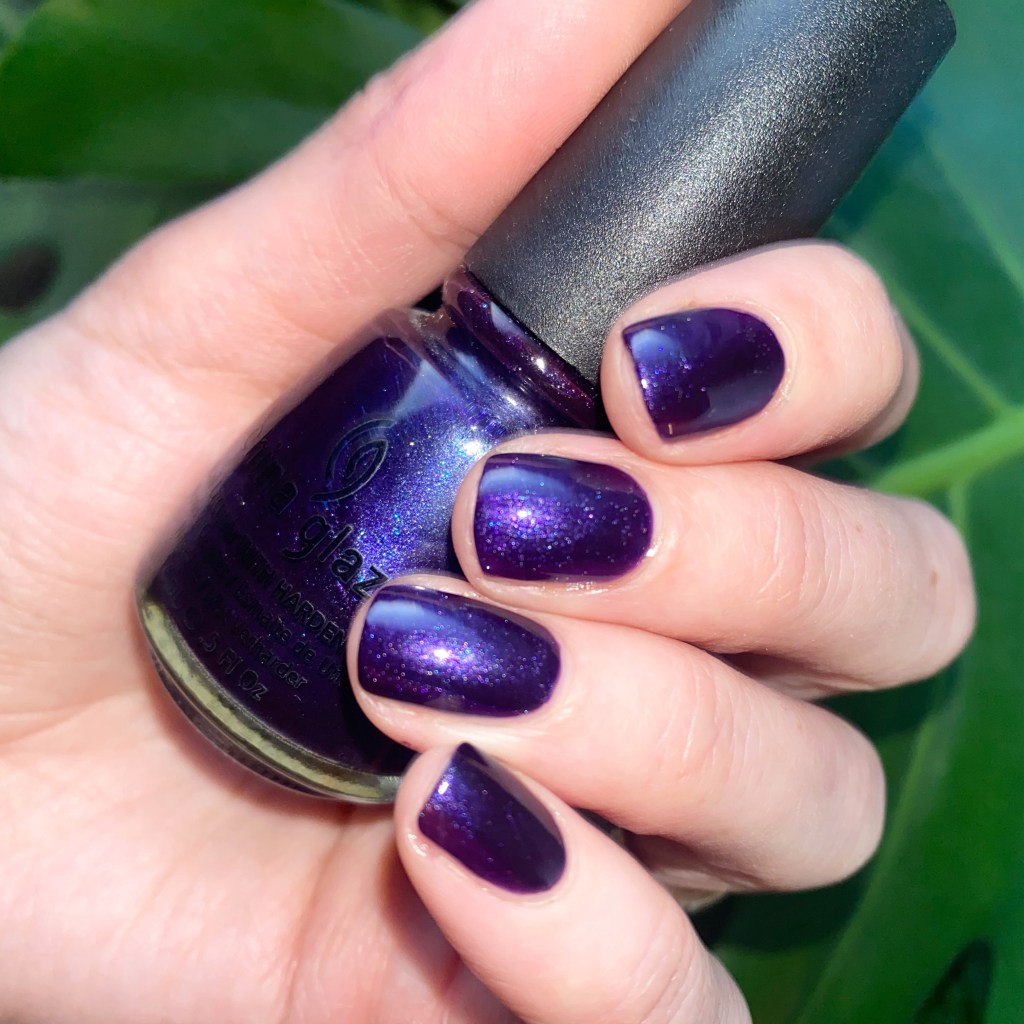
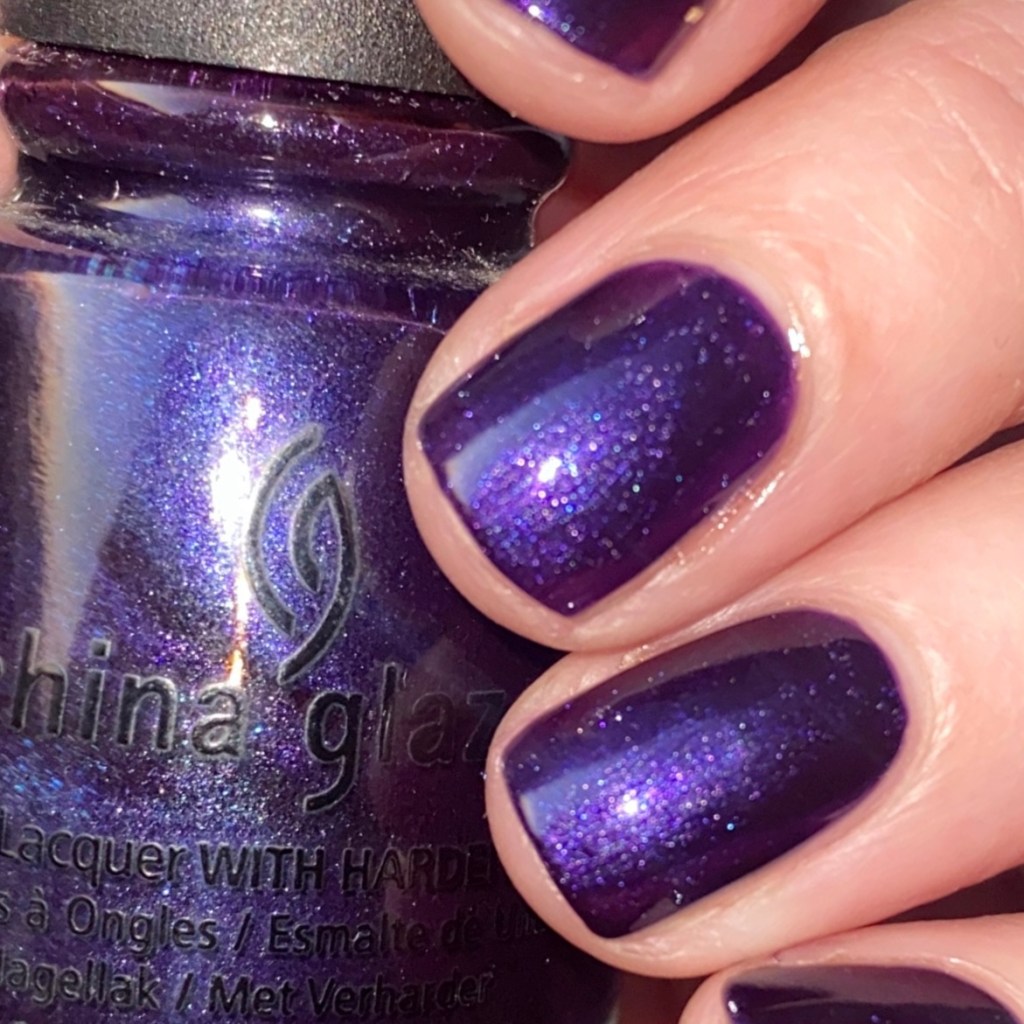
This beautiful deep metallic purple is filled with a stunning blue micro glitter which gives it the most stunning blurple effect. We all know I love a deep purple, & a jewel tone, & these are so perfect for this time of year. Formula was smooth & easy to apply — Obviously I still needed two coats for full opacity, but I had no problem with streakiness, or brushstrokes.

Close up really shows how that blue micro glitter gives a glow to the polish. I used flash for my photographs, but even without you can see that blurple effect.

I feel like this shade is very 2010s China Glaze — when to me, their polishes were at the peak. Obviously I still love the brand, but nothing compares to my shades from the early to mid 2010s. That was when China Glaze was the IT GIRL nail polish brand, & I truly adore all of my shades that I collected during those years. It was a beautiful time.

What do you think about China Glaze First Class Ticket? Do you love this shade as much as I do?

Let me know all your thoughts in the comments below! & have the best Sunday lovelies.

♥︎

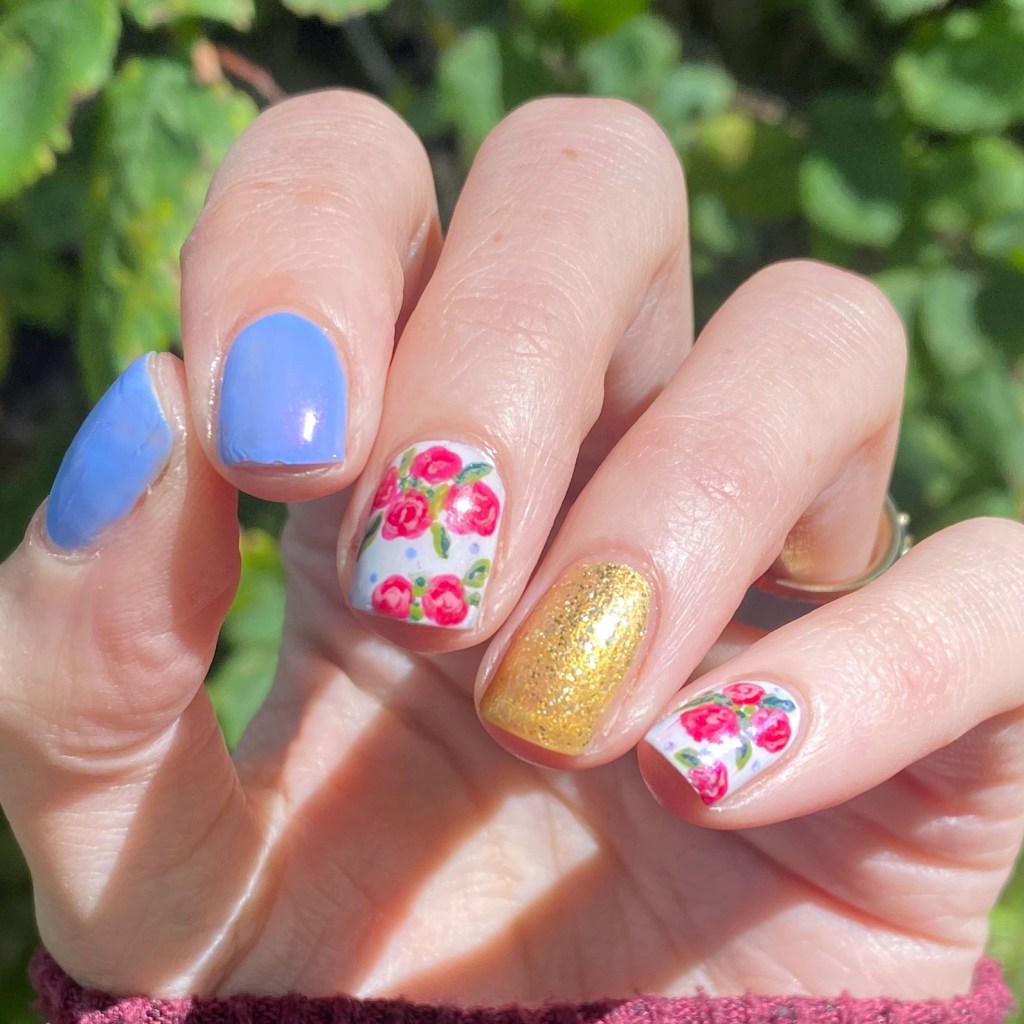
Recreating my Wedding Nails (on my shorties) 11 years later! ✨👰🏻‍♀️💅💍

Hello lovelies & Happy Saturday! I know I don’t often post on Saturday, but today was a special exception with a special nail design!

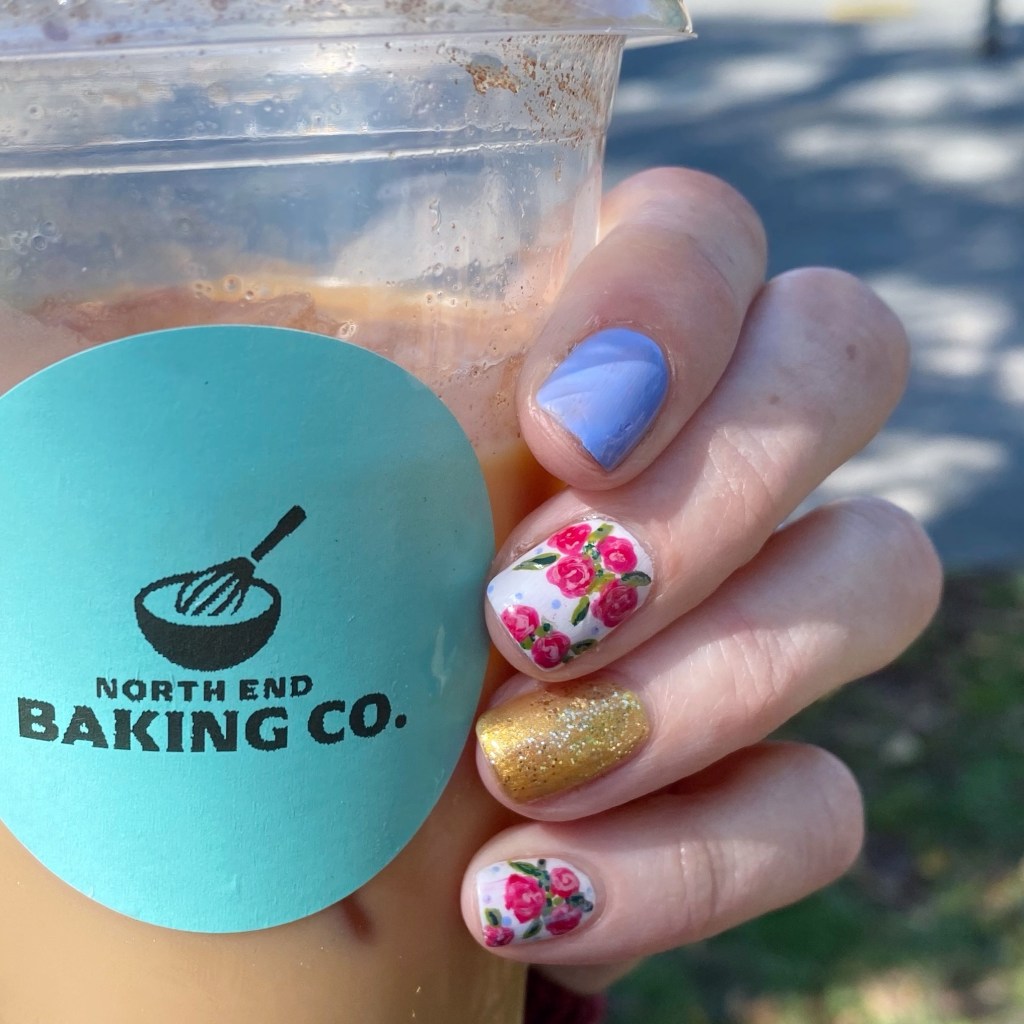
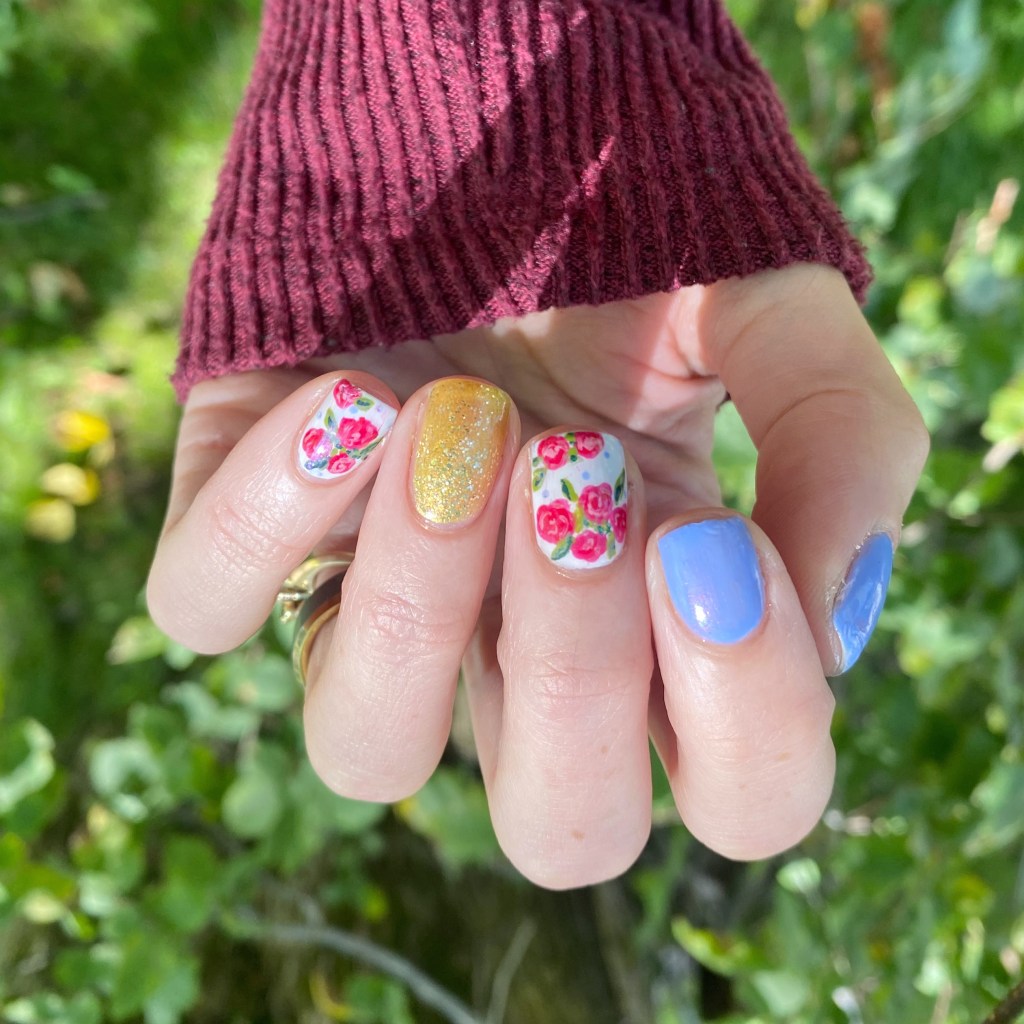
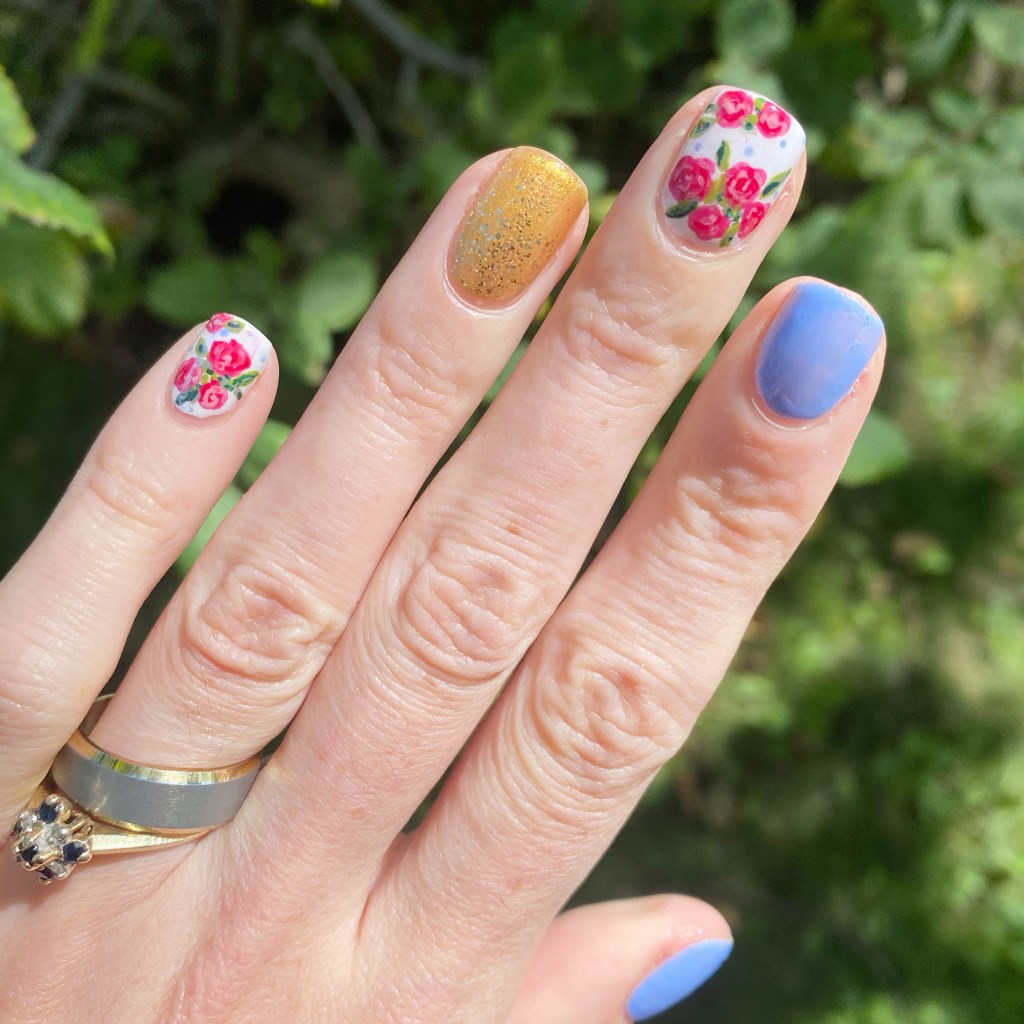
I really wanted to recreate my wedding nails in honour of my wedding anniversary, especially as I’m rocking some serious shorties right now. So in honour of the occasion, here’s a brand new version of a very special design.

The polishes I used for this manicure are: 

  • Base Coat: Essie Hard To Resist Strengthner
  • Top Coat: Sinful Colors Power Paint Top Coat + Essie Speed Setter
  • Essie You Do Blue!
  • OPI I Cannoli Wear OPI
  • China Glaze Champagne Bubbles
  • Sally Hansen Miracle Gel Good As Gold
  • Essie Brides No Grooms
  • Essie She’s Pampered
  • Essie Into the A-Bliss
  • Essie Willow in the Wind
  • Essie Sew Psyched
  • Essie Off Tropic
  • NailStuff dotting tool
  • NailStuff 7mm Liner Brush

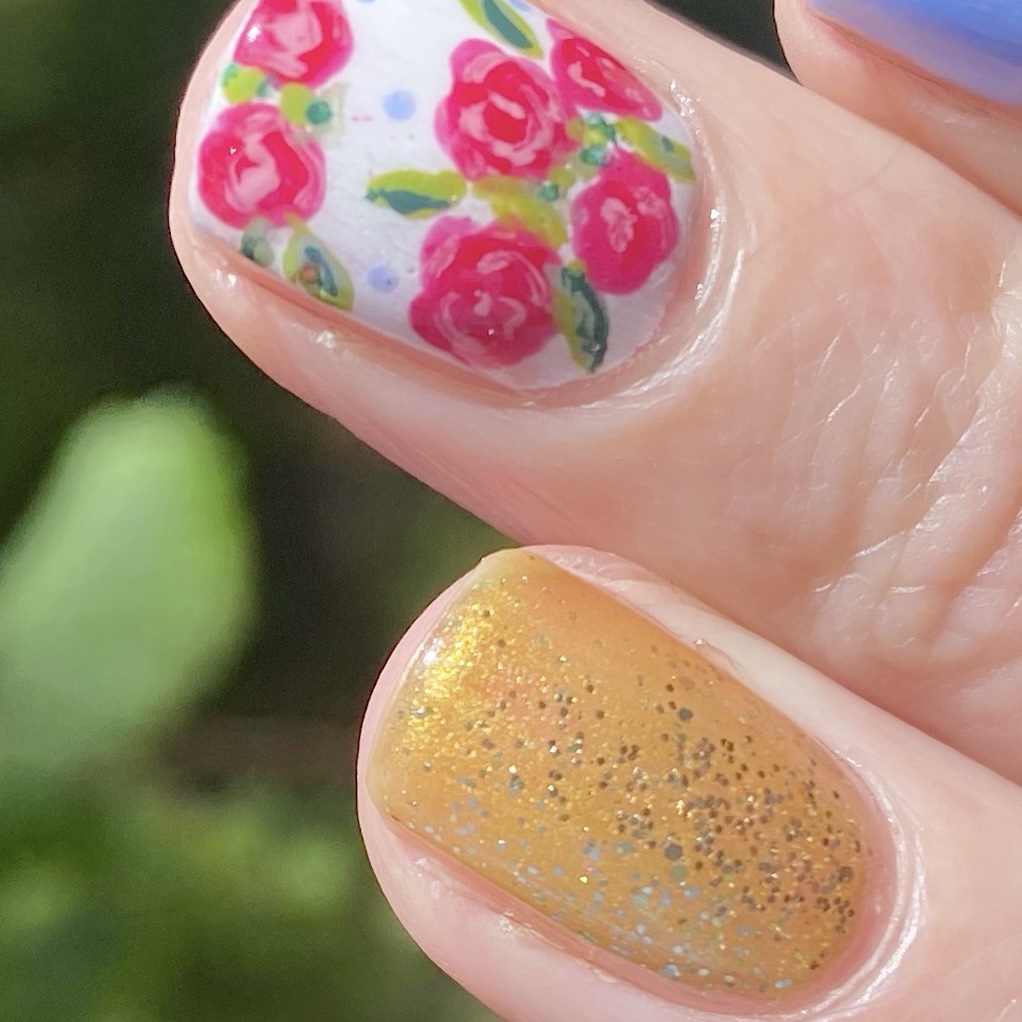
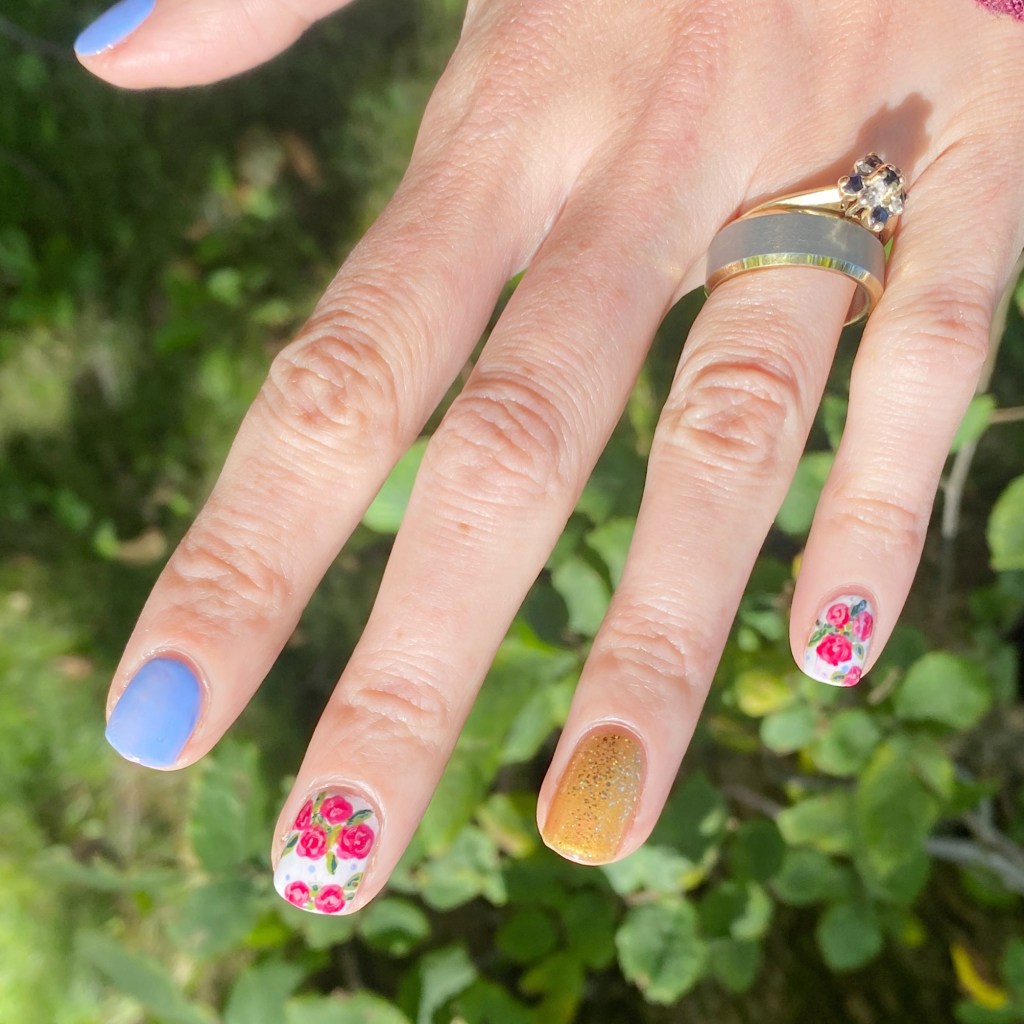
For those curious, here are my original nails I painted for my wedding day, & my recreation I did in 2018.

I was absolutely obsessed with my original nails that I painted back in 2015 for my wedding day — it was really important to me to create a beautiful design I would love for years, & years to come. & again, when I recreated them I equally loved the design!

But you know what? I think I love them the most on short nails! Long nails look beautiful no matter what, but trying to recreate the exact same look on nails 1/2 the size really makes them pop! The only thing from my recreation I’m not 100% sold on is the much more yellow gold, but it definitely gives it a more colourful vibe. (& the right amount of sparkle! ✨)

What do you think about this anniversary look? Do you love a floral look as much as I do? I’d love to know if this design holds up all these years later. I certainly adore them as much as I did all those years ago & wouldn’t change a thing about the nails I had on my wedding day.

Let me know all your thoughts down in the comments below!

🖤

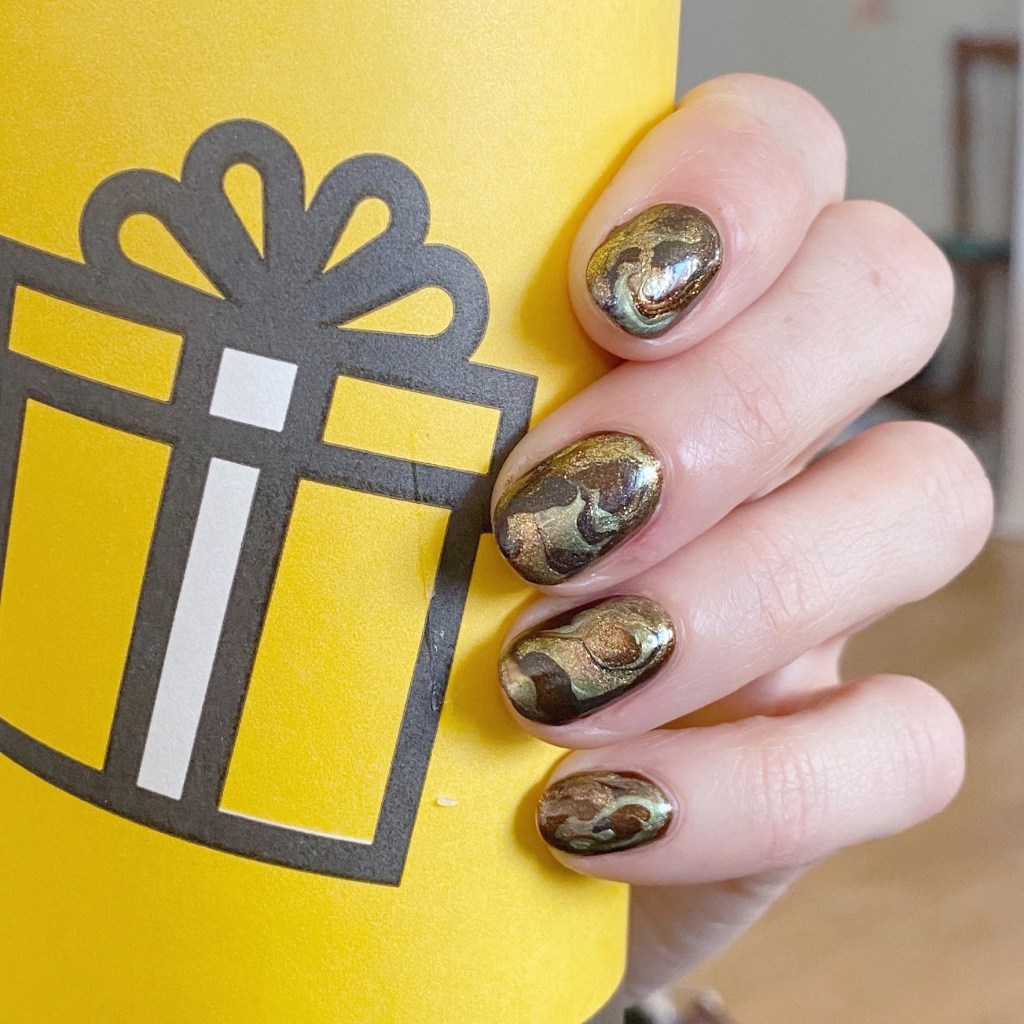
Golden Drag Marble

Hello lovelies & happy Monday. Well, as happy as a Monday can be in November. They’re calling for snow today on my side of the country, but not sure if it’s going to amount of anything. But… can it be Summer again? I miss Summer.

Today I have a really pretty nail art look to share with you, leaning into these late Autumn vibes. 🍁🍂 The colour scheme is pure Fall, & I really enjoy how it turned out!

The polishes I used for this manicure are: 

  • Base Coat: Sally Hansen Miracle Cure
  • Top Coat: Sally Hansen InstaDri Top Coat (red bottle) 
  • ORLY Buried Alive
  • Sally Hansen Miracle Gel Terra Coppa
  • Essie Frock ‘n Roll
  • Essie Nail Art Studio Cosmic Chrome
  • Wide Nail Art Brush

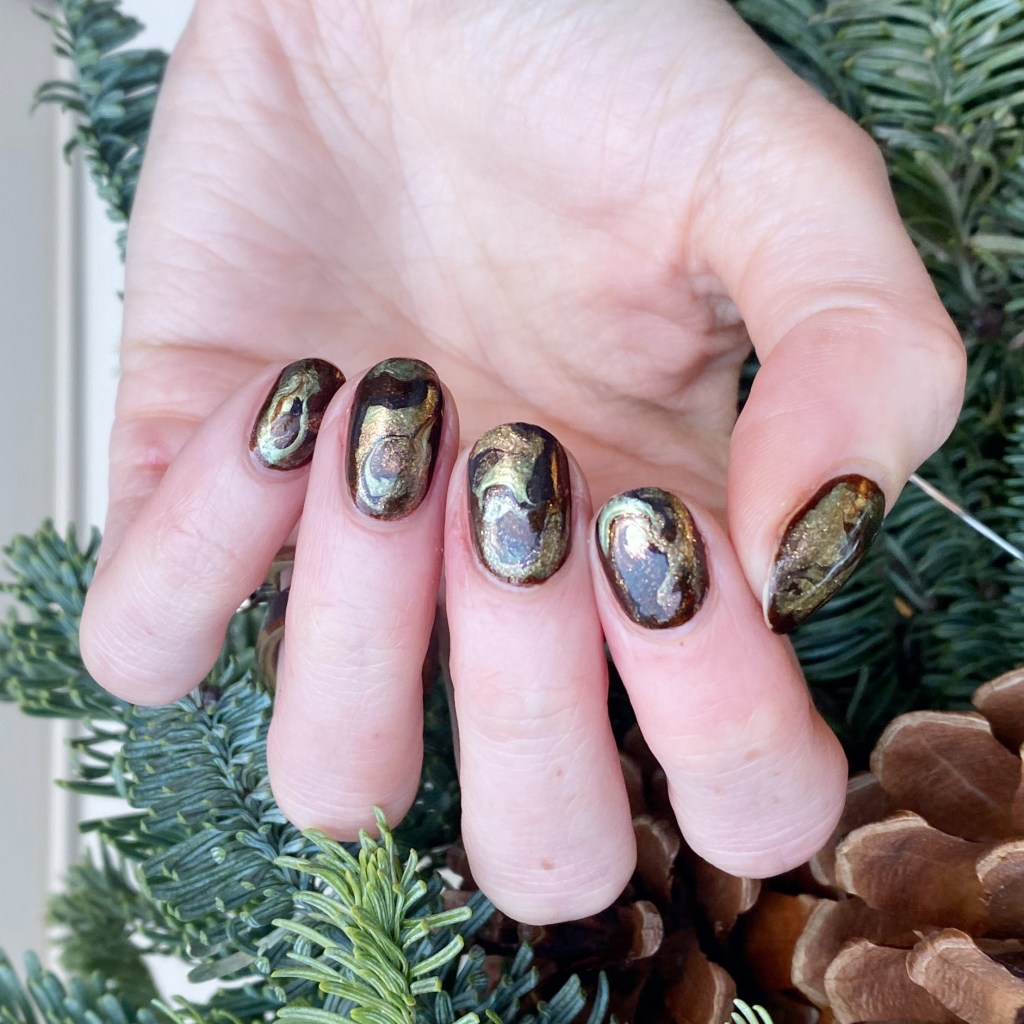
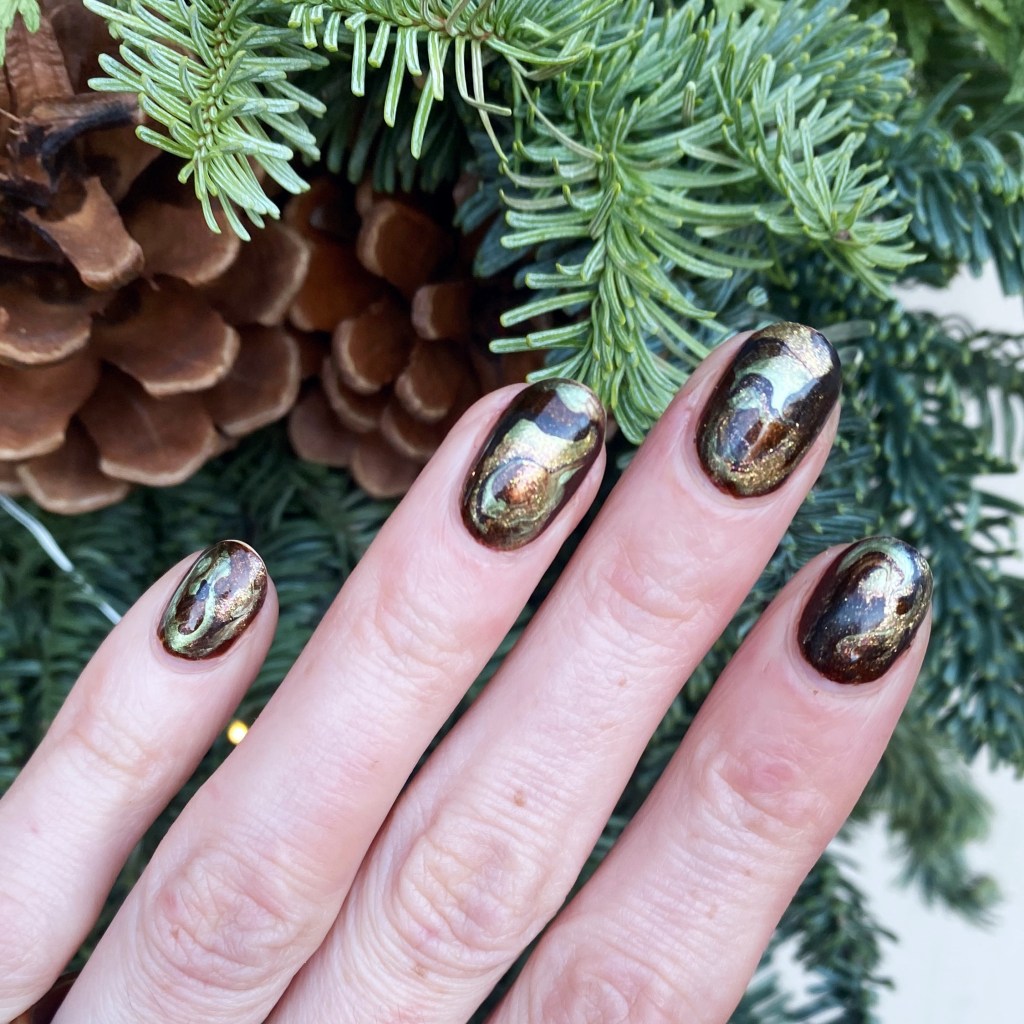
So I tried a bit of a different technique for this marbling, with a wider nail art brush (like the side of a clean up brush) versus the skinny dotting tool I usually use, & I like the effect it gave me. Kind of reminds me more of a real stone. Sometimes I find with a dotting tool I end up muddling my marble a bit, but this way didn’t do that which I really like!

& the colours compliment each other so well. I love the bronze-y golden look of it all together. It’s definitely giving Autumn vibes.

What do you think of this golden drag marble design? Do you like the kind of wider marble effect versus my usual drag marble designs?

Let me know all your thoughts in the comments below!

Happy Monday 🖤

Gold Swirlie Freehand

Hey lovelies!

I know you what you’re thinking — girlie where have you been this week?!

This has been a jam packed week full of blood work & regular work, so I haven’t had time to get super creative with my nails. I also had a couple breaks, so my nails are now considerably shorter. But I did do this pretty freehand swirly nail art look last week, before everything, so I’m excited to finally share them!

The polishes I used for this manicure are: 

  • Top Coat: Sally Hansen InstaDri Top Coat (red bottle) 
  • Base Coat: Sally Hansen Miracle Cure
  • Essence Good Girl Bad Girl Leather Effect Caught In The Middle (2015)
  • Sally Hansen Good As Good (Holiday 2019)
  • NailStuff 7mm Mermaid Tail liner brush

I used to do swirly looks like a lot circa 2015/2016, & I’m not sure why I stopped. I like how this looks like some fancy wallpaper or wrapping paper. & Good As Gold as some holographic glitters in it, which catch the light every so often & makes it look even prettier.

What do you think of my swirlie golden freehand nails? Do you like designs like this? Let me know all your thoughts down in the comments below. Personally these feel very glamourous to me!

Happy Friday & (almost) weekend!

🖤

Festive Berry Toned Colour Blocking

Hello lovelies & happy Thursday!

I hope everyone is having a lovely week so far. With the day off for Remembrance Day on Tuesday, I feel like my whole week is so askew! But I am trying to keep on my painting & posting schedule as best as possible, so here we go!

Today’s look is a simple one, but perfect for this time of year. The holiday vibes are really hitting hard now, so why not have nails to match! & I much prefer a pink Christmas vibe, myself.

The polishes I used for this manicure are: 

  • Top Coat: Sally Hansen InstaDri Top Coat (red bottle) 
  • Base Coat: Sally Hansen Miracle Cure
  • Sally Hansen InstaDri The Queens Velvet
  • Sally Hansen Miracle Gel Frosted Berries
  • OPI Infinite Shine Bring Out The Big Gems

I’m a huge fan of designs like this which feature similar tones all paired together. It looks so beautiful. & I’m very into this pinky red colour scheme right now! As a lady truly dedicated to a crimson nail polish, it’s a nice change from my usual go to shades.

& colour blocking like this is so easy to do! Obviously if you don’t feel comfortable free-handing, you can use nail tape/vinyls — but honestly, once you practice doing it without, you realize how quick & easy it is!

What do you think about my berry toned colour blocking? Do you like this combination of colours? Let me know all your thoughts in the comment below, & if you would wear this design!

Enjoy your Thursday!

🖤