Negative Space Stripes (Again!)

Hello Lovelies & happy Monday! I hope everyone had a fantastic week. I’m getting prepped for a busy week ahead–it’s March Break week which means that it’s going to be busy busy busy for me at work! I’m still getting used to being back to work but that’s why they invented espresso, am I right? I’m also getting used to fitting in doing my nails to my daily routine on top of working & being a Mom–it definitely takes practice! So I’ve been leaning more towards easy nail art looks.

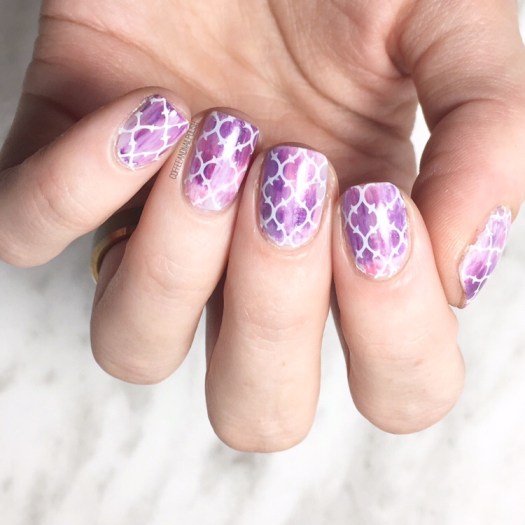
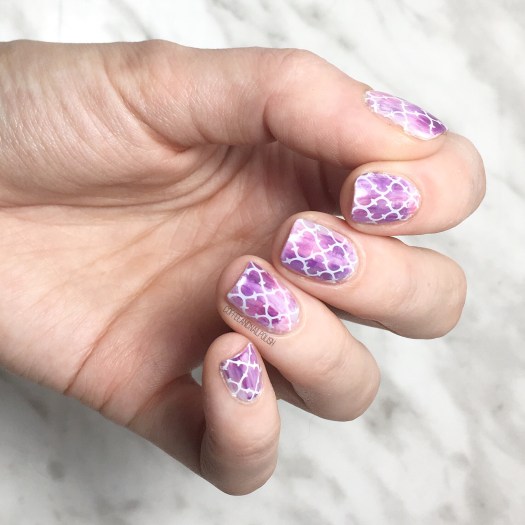
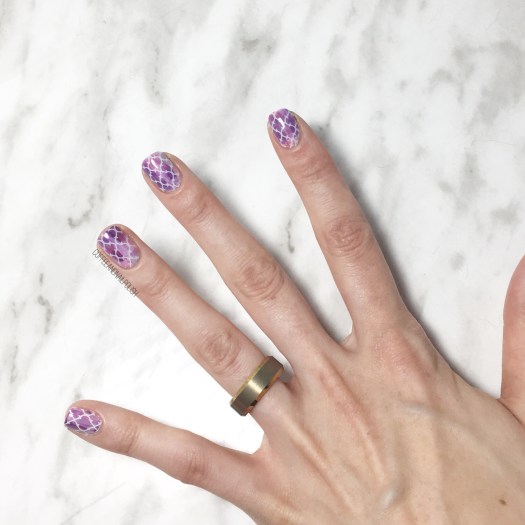
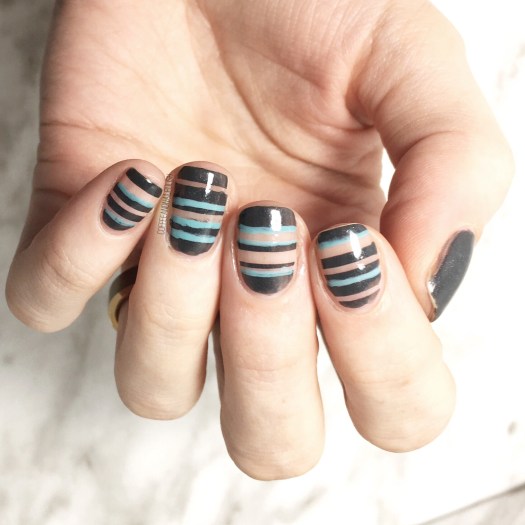
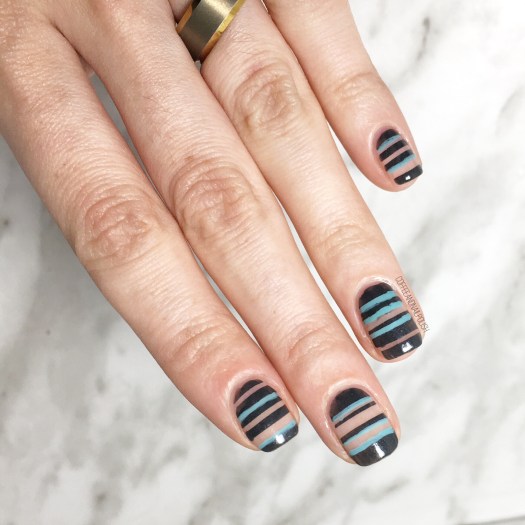
Today’s nails were done using some striping tape from Born Pretty Store (Item #40423) that I recently bought. I picked up a three pack of different sizes that I thought would be perfect for achieving different sized stripes. Plus it’s pretty & purple… & I love purple!

For this manicure, the polishes I used were:

  • Base Coat: Quo by ORLY Kiss Me, I’m Kind
  • Top Coat: Seche Vive
  • Essie Cashmere Bathrobe
  • Essie Where’s My Chauffeur?
  • Born Pretty Store Aurora Rainbow Nail Striping Tape (item #40423)
  • Small detail brush from Bundle Monster

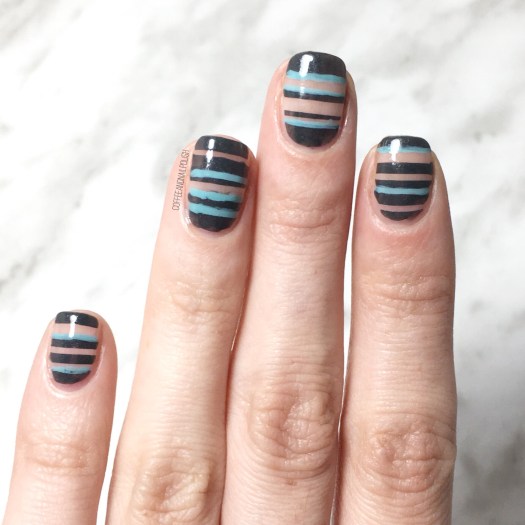
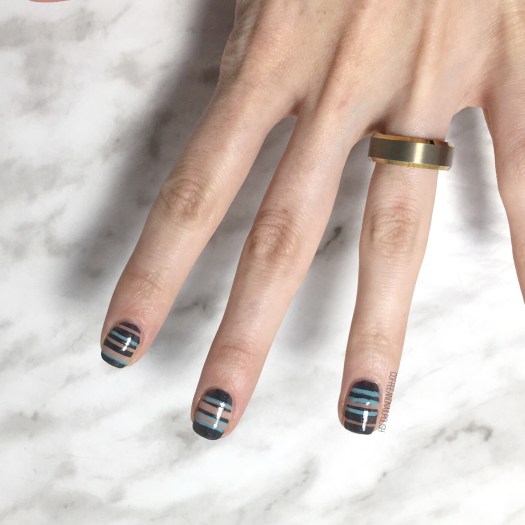
These were so simple to do & I love the pop of colour against the dark grey polish. All I did was apply my different sizes of striping tape over my completely dry base coat, & then painted over top with Cashmere Bathrobe. Then I took my small detail brush & added stripes of Where’s My Chauffeur? freehand. Definitely one of my favourite Spring polishes & it works so well with Cashmere Bathrobe because it stands out so much! You can never go wrong with a good turquoise nail polish.

Also negative space makes me so happy. Like–it’s such an easy way to make your nails look fancy without a lot of work. & I’m all about quick & easy while still looking fancy.

What nails are you rocking to start off your week? What do you think of this negative space look? Let me know your thoughts in the comments below!

Spring Splotches & Geometric Lines

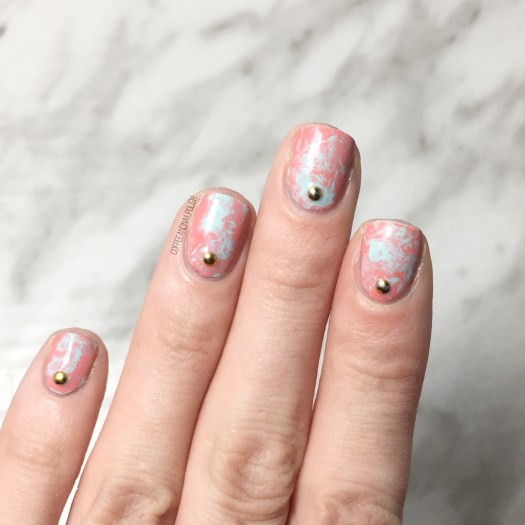
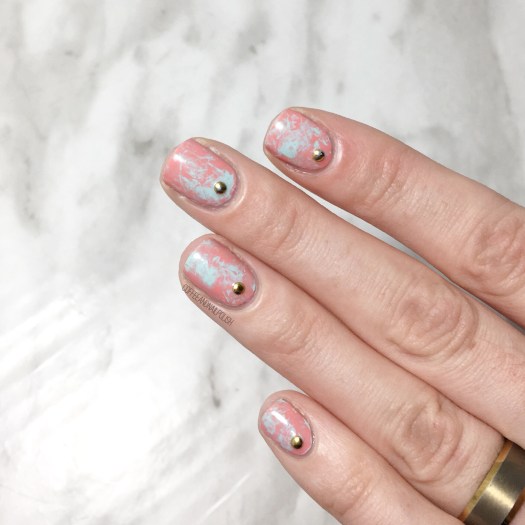
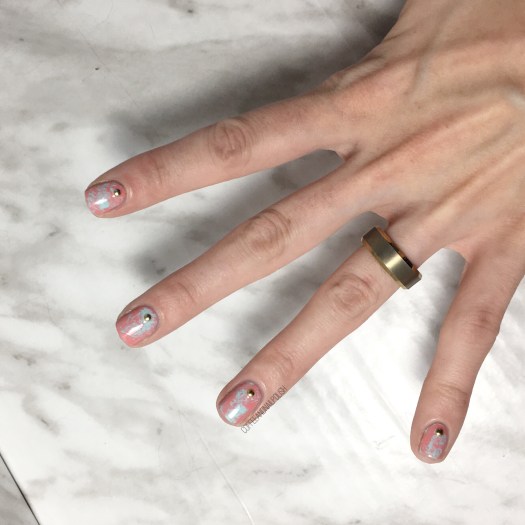
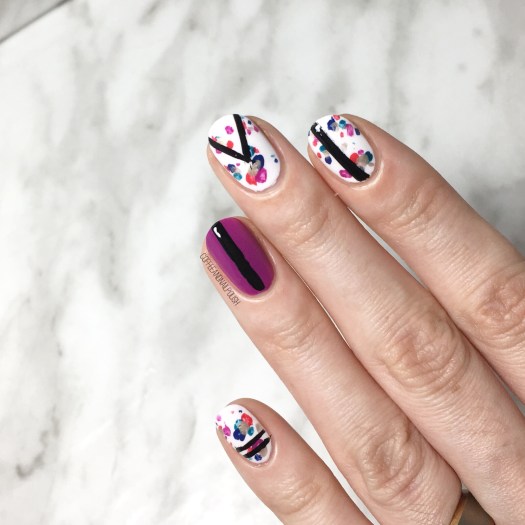
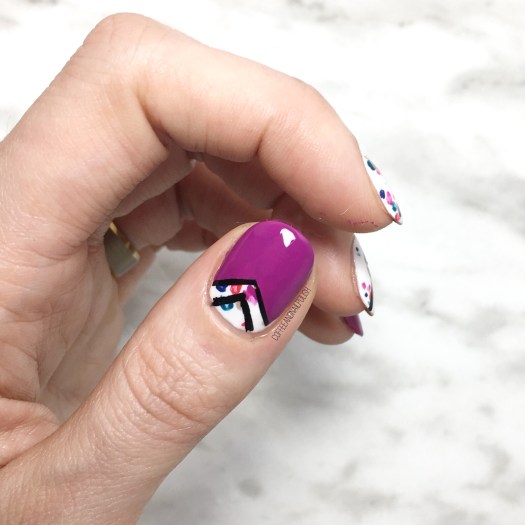
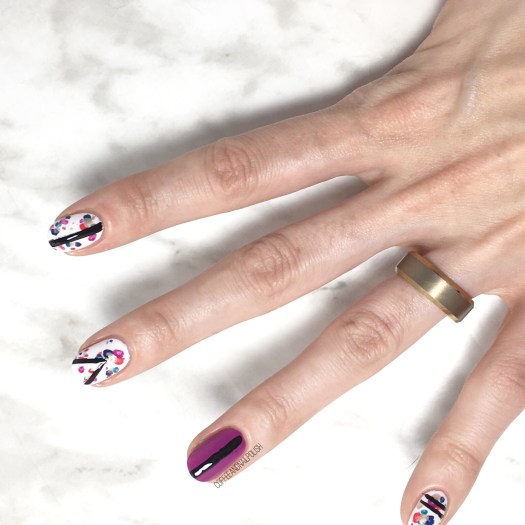
Happy Monday Lovelies! Today is a super exciting day for me because I’m officially starting at my new job after my week away training, which is both nerve wracking & a brand new adventure for me. Also exciting is today’s manicure which was inspired by a few make up cases I stumbled across at Superstore while grocery shopping.

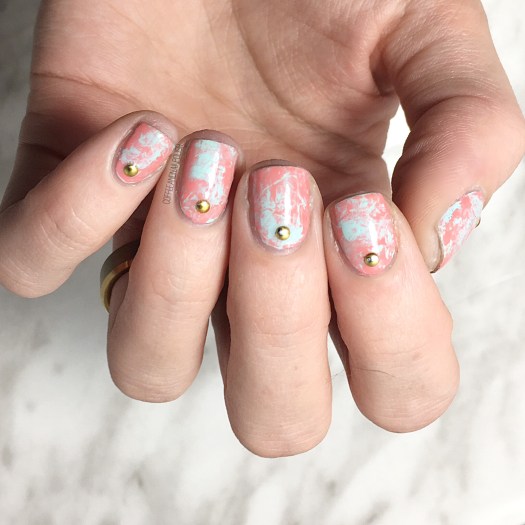
I love when I find inspiration when I’m not looking for it. This pattern just screams nail art, so obviously I had to snap a picture for future nail designs. I loved the imperfect splotches of colour against the white background & loved how well it paired with the other make up back.

For this manicure, the polishes I used were:

  • Base Coat: Quo by ORLYBreathable Kiss Me, I’m Kind
  • Top Coat: Seche Vive
  • Sally Hansen Hard As Nails Hard To Get
  • Essie Flowerista
  • Essie Too Too Hot
  • Essie Garden Party
  • Essie All the Waves
  • L’Oréal Feeling Kilty
  • Quo by ORLY Nail Art Striper in Black
  • Medium size nail art brush

I just love love love how these turned out! The pretty spring colours, the splotches of colour with the geometric lines. It just turned out as perfect on the nail as I pictured in my head. I feel like I don’t do my freehand lines as often as I used to, so I’ve been trying to practice more!

What do you think of this design… do you think I stuck close enough to my inspiration? Where do you get your nail art inspiration from? Let me know your favourite place to find inspiration (or who inspires you) down in the comments below!

Happy Monday everyone 🌸

Easy Nude & Gold Ruffian

Good morning lovelies! It’s currently 6:33am as I write this & I’m sitting here waiting for my bright & early flight to Ottawa–my first time on an airplane in 9 years & my first time being away from the little guy. I figured I would distract myself from reality by posting! I have quite a few manis saved up that I haven’t posted yet, so even though I won’t be doing my nails this week I’ll still have lots of content to share.

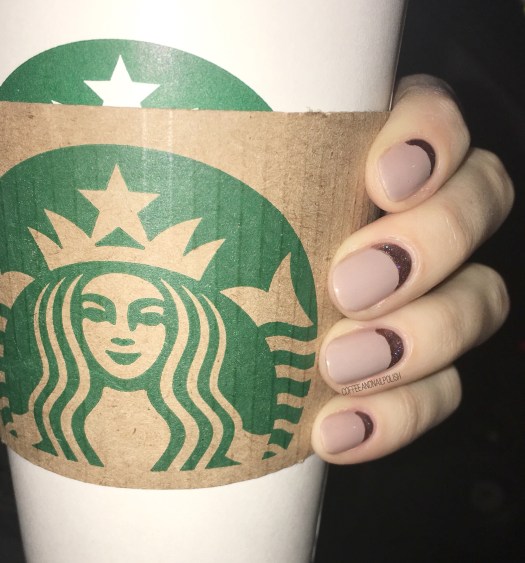
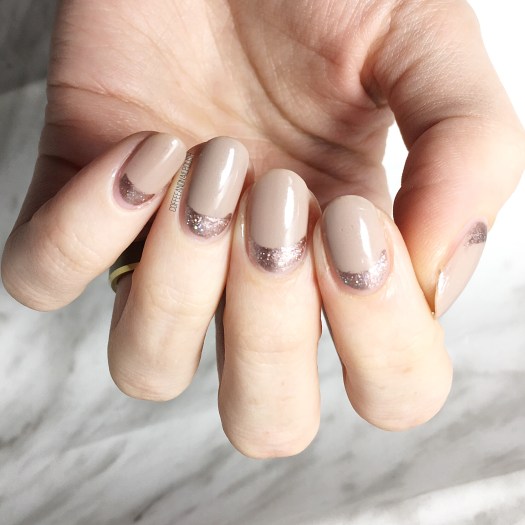
Today’s design is a design that I’ll be thinking about in my head for a while. I did them when I started out my job search & was trying to come up with interview/office appropriate designs. Sometimes you just want a little more than plain nude nails, but don’t want to push it too far.

For this manicure, the polishes I used were:

  • Base Coat: Quo by ORLY Breathable Kiss Me, I’m Kind
  • Top Coat: Seche Vive
  • Essie Topless & Barefoot
  • L’Oréal Feeling Kilty
  • Quo By ORLY Fallen Star
  • Paper Hole reinforcements

Oh man, I love ruffian designs but sometimes they can be tricky to get right. Using the paper hole reinforcements means you can create the look with barely any trouble. This was the first time I’ve tried it this way, & I’ll definitely be “cheating” & using them from now on. Just like my favourite half moons, it’s just so much easier. & I like easy.

What do you think of this design? Have you tried this technique for creating ruffian designs? Do you find freehand or nail vinyls/guides easier? share your thoughts in the comments below!

Now I’m off to Ottawa, so I will see you later! Have a great Monday!

Pink & Purple Spring Floral

img_9199

Happy Friday Lovelies! Today is my last dedicated post for floral week… at least for now! I’ve been so about Spring this week & the weather the last couple days has flipped to be somewhat agreeable & sunny & only slightly chilly. I’ve even been able to wear a few of my dresses! I mean, with tights & boots… but it still counts! It just means we’re that much closer to the days where I can wear nothing but my pretty Spring dresses.

Today’s design is another floral featuring pink & purple. This design also turned out a little tropical to me which I’m really loving. I’m still trying to practice creating other flowers than roses–I’ve been doing roses so long they’re kind of easy for me, but other flowers aren’t as easy. Hopefully with practice, it’ll be just as simple. I dream of creating florals as beautiful as my floral idols @just1nail & @polishpeach. They just make it look so easy.

For this manicure, the polishes that I used were:

  • Base Coat: Quo by ORLY Breathable Kiss Me, I’m Kind
  • Top Coat: Seche Vive
  • Essence As Long As You Love Me 
  • Icing Pink A Boo
  • Sinful Colours Amethyst
  • Essie Play Date
  • Sally Hansen I ♥ Nail Art Pen in Green
  • Essie Off Tropic
  • Sally Hansen I ♥ Nail Art Pen in Turquoise
  • Essie Strut You Stuff
  • Small & Large dotting tool from Bundle Monster
  • Small detail brush from Bundle Monster


This time of year is such a hard time for nail art inspiration which is why I think I love painting flowers. It gives me something to look forward to! Also it’s an excuse to pull out those Spring-y nail polish shades that have been sitting in my Melmer drawers all Winter, missing me. I’ve been dying over all the new Spring collections being released (especially China Glaze’s Chic Physique collection) so I can’t wait to treat myself with a few new shades… or you know, the whole collection if I happen to stumble across it at Winners.

So that’s it for floral week, although I already have a few more floral designs ready to show you in the next little while! Like I said, I just can’t get enough. I definitely had fun dedicating this whole week to my love for floral, & I can definitely see myself doing it again!


What do you think of this design? Have you enjoyed this entirely floral themed week? Would you like to see me do more of these themed posts? Let me know your thoughts below!

Day Planner Inspired Floral Nails

Hello Lovelies! Hope everyone had a wonderful weekend & is all ready for the week ahead. This week, I’ve decided for a fun mani theme: all floral! It’s no secret how much I love floral nail art, so I thought I would share a few of the floral designs I’ve been doing lately. Honestly, if it wouldn’t bore everyone else I’m pretty sure I could wear flowers on my nails non-stop. They’re just so perfect any time of the year.

Today’s design is actually inspired by my day planner! As soon as I bought it, I knew that I was going to need to do nail art inspired by it.  The combination of colours was just screaming to be painted on my nails!

The polishes I used for this manicure were:

  • Base Coat: Quo by ORLY Breathable Kiss Me, I’m Kind
  • Top Coat: Seche Vive
  • OPI Race Red
  • Essie Play Date
  • China Glaze Sun Upon my Skin
  • Sally Hansen Xtreme Wear Mellow Yellow
  • China Glaze Plur-ple
  • Sally Hansen Miracle Gel Pretty Piggy
  • Sally Hansen Xtreme Wear Lacey Lilac
  • Sally Hansen I ♥ Nail Art pen in Green
  • Essie Off Tropic
  • Sally Hansen Hard as Nails Black Heart
  • Small Detail Brush (Bundle Monster)
  • Dotting Tools (Bundle Monster)

At first I wasn’t sure if this colour combination was going to work for me, but once I had it on it looked so perfect. Obviously my flowers aren’t as abstract as my planner, but I feel like they match close enough for me to be happy. The colour combination also reminds me of a Hawaiian shirt, so I feel like this manicure would be perfect for a beach luau! Or, in my case, hanging out on the couch pinteresting Summer fashion looks because that’s about as close as I’m getting to the beach right now. Seriously, what I wouldn’t give to wear a summer dress & flats–I’m so over boots & jeans, so so so over them. & it snowed yesterday, so now Spring feels even farther away.

Floral always takes so many polishes to do, but honestly the end result is always worth it. I don’t think I’ve ever painted floral on my nails & regretted it. There are so many ways to do them, it just never gets old. & look how well this design twins with the day planner that inspired it! Like I said, mine isn’t as abstract as my planner but the colours are spot on so I’m very happy with how they turned out!

What do you think of this floral design? Are you excited for a whole week dedicated to nothing but floral nails? Let me know your thoughts below!