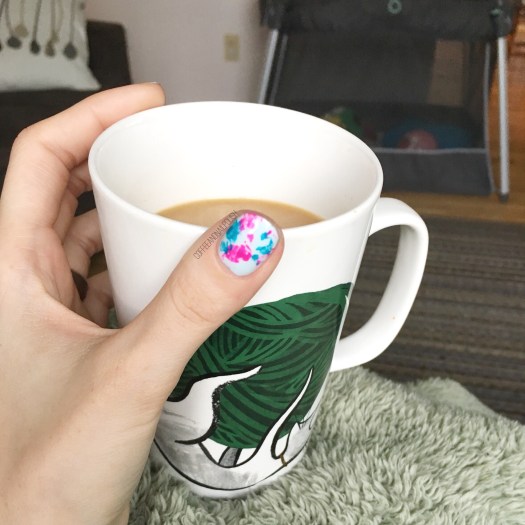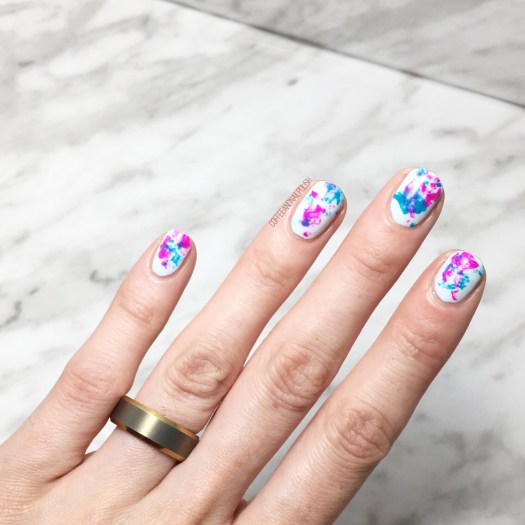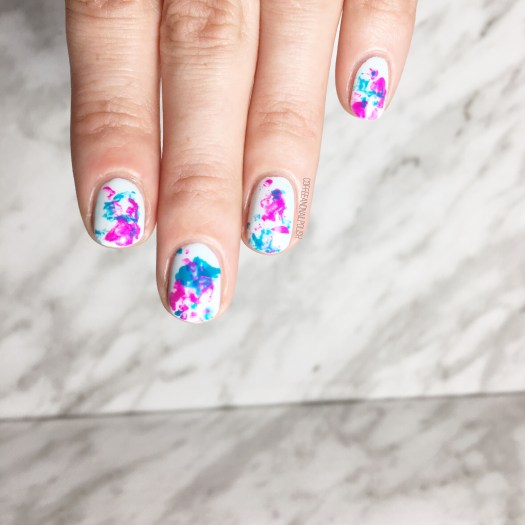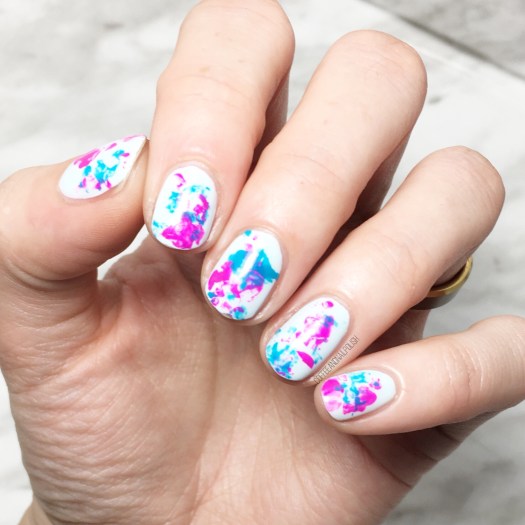
Neon Saran Wrap Splatter

Happy Tuesday lovely… a very rainy, gross Tuesday (again).

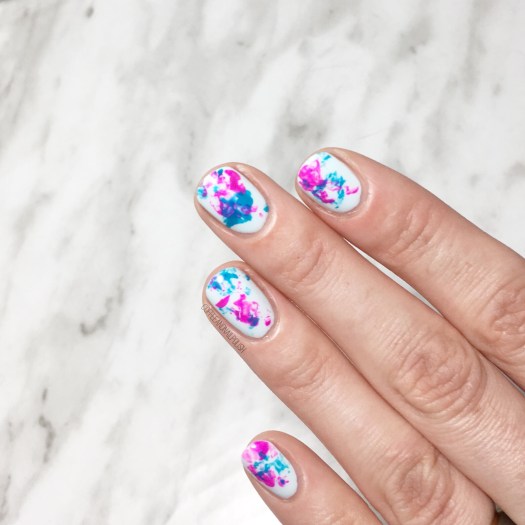
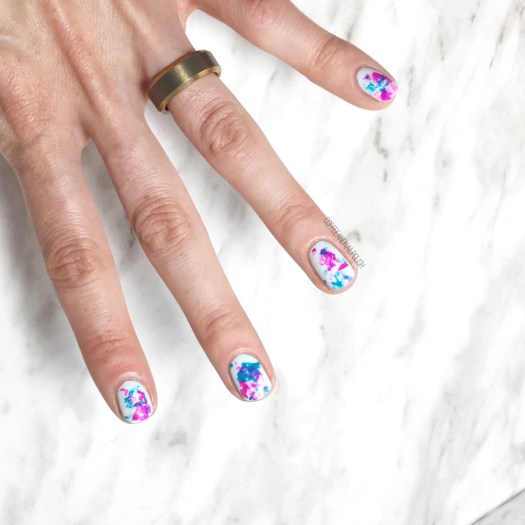
I thought it would be a good day for some more bright & colourful nails, featuring one of my favourite easy to do designs–Saran Wrap Splatter! This is a design I do a surprisingly amount–which you may have noticed–because it’s easy to do, doesn’t require any specific nail art tools & truthfully is not too messy to clean up. & the colour combinations are endless.

For this design, the polishes I used were:

  • Base Coat: Sally Hansen Green Tea + Bamboo Strength
  • Top Coat: Essie Gel Setter
  • Essie Find Me An Oasis
  • Essie Strut Your Stuff
  • China Glaze Purple Panic
  • Plastic Bag (I used a plastic grocery bag that I cup up into smaller pieces.)

Please ignore the chip on my middle finger above–I keep forgetting to take pictures of my nails until after work, which leads to the above situation. Thankfully the design is so busy you barely notice the little chip at the tip. Also I’m loving the combination of this fuchsia & blues–the colours go really well together over the pale blue.

What do you think of this nail art design? What colour combination would you like me to try in a Saran Wrap splatter next? Share your ideas down below!

SWATCH SUNDAY— Crafting a Layered Green Holo

Happy Swatch Sunday lovelies!

Today is a bit of a different post for me–instead of featuring single polishes on their own today, I’m showing off 3 polishes layered together to create one amazing look!

I’ve been really loving layering polishes together–it’s similar to creating franken shades only instead of mixing everything together, your layering one on top of another. Obviously this could only really work with layering more sheer shades over more opaque ones (which works well with a lot of the Layla Cosmetics hologram effect polishes I own.)

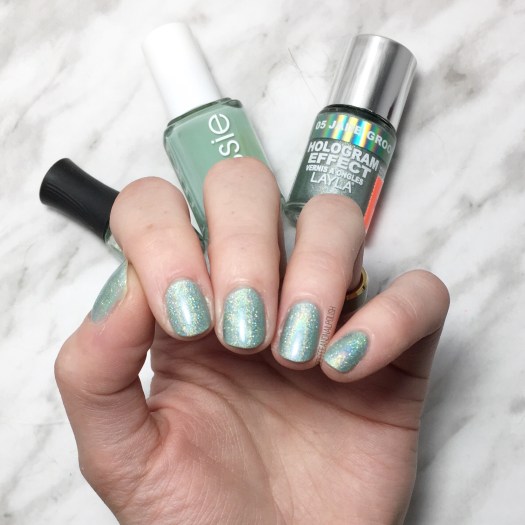
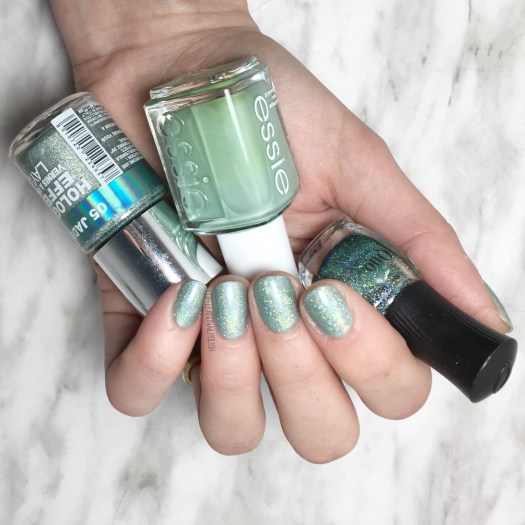
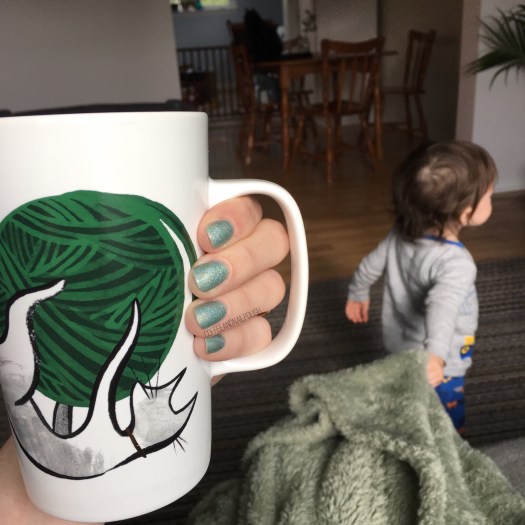
For this particular look I started with 2 base coats of Essie Turquoise & Caicos & then layered a coat of Layla Cosmetics Jade Groove over top. I’ve worn this Holo on its own but found it didn’t have enough of a green/mint pop to it on the nail. By adding some undies, it really showed off the colour I wanted. & then, because I’m absolutely Holo obsessed right now I finished off with a layer of Quo by ORLY Trash Glam (aka. ORLY Sparkling Garbage for my non-Canadian friends!) The end result is a whole lot of holo happening on the nail.

Seriously, this is a distracting amount of sparkle happening on the nail. In the sunshine, it was actually incredible how many rainbows you could see.

I love how you get the linear holo from Jade Groove but then the scattered holo from Trash Glam picks up the light too & it’s absolutely memorizing! I definitely need to find a linear holo top coat so I can transform every polish I own into a Holo Polish too! Let me know what your favourite ones are!

I hope everyone had an amazing Sunday. 💚✨

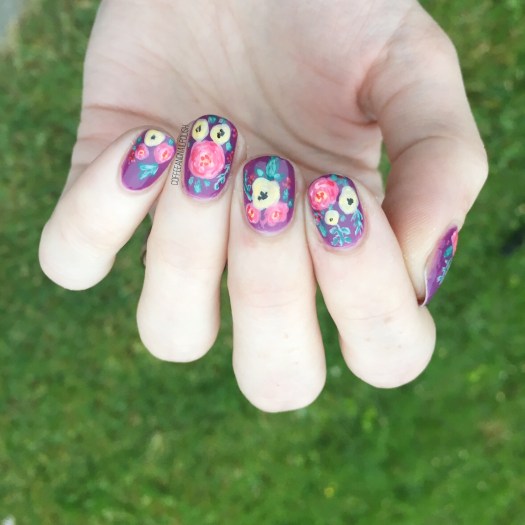
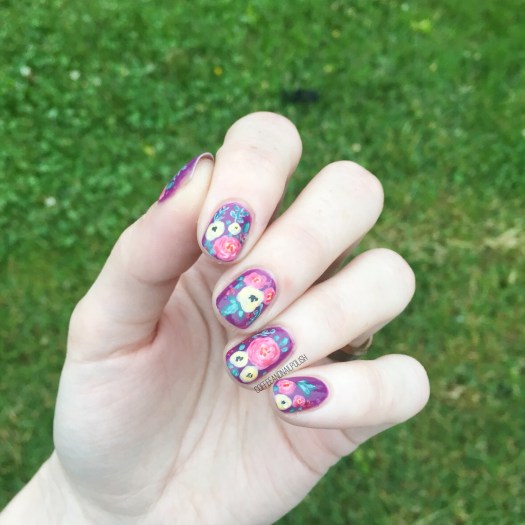
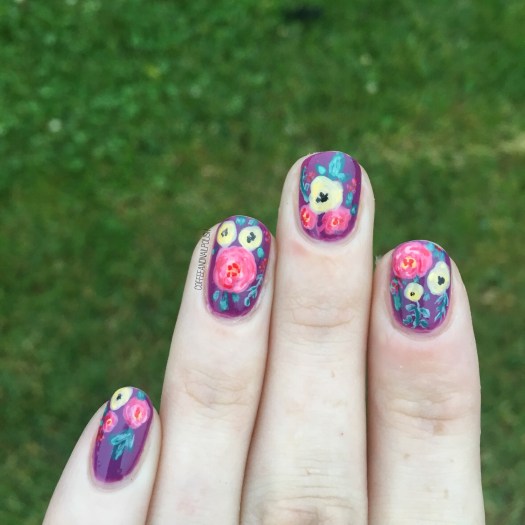
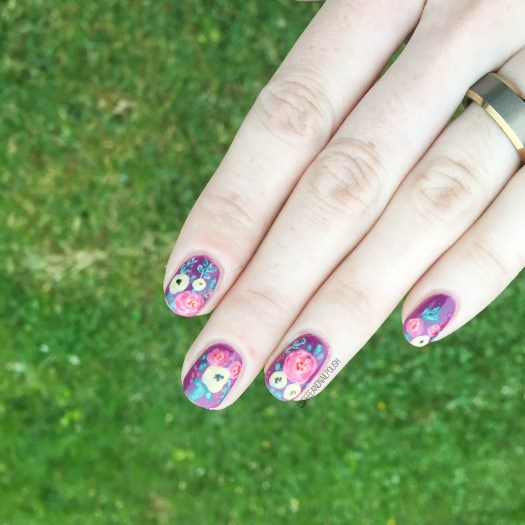
Floral Flash Nails

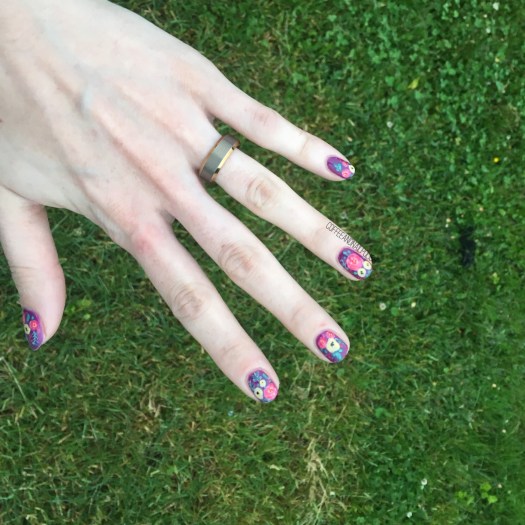
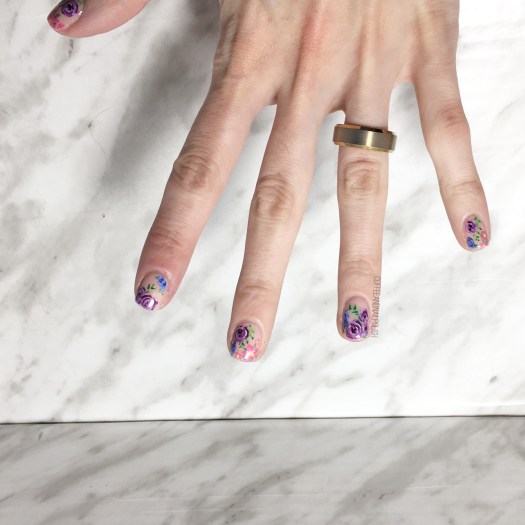
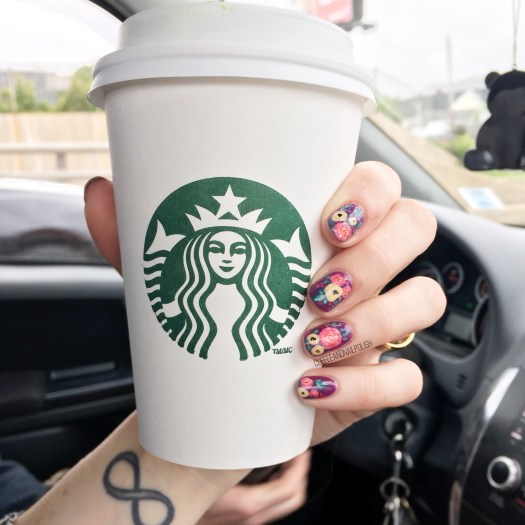
Happy Tuesday lovelies! I hope you’re enjoying the beginning of your week. Today I’m sharing some brand new nails with you–& yep, more floral! I truly believe you can never wear too much floral. Now if only I had taken more pictures of this design…. sadly I only snapped a few to share with you!

For this manicure, the polishes I used were:

  • Base Coat: Nailtek 2
  • Top Coat: Seche Vive
  • Sally Hansen Miracle Gel In the Sheer
  • Essie Play Date
  • Essie Go Ginza
  • Sally Hansen Complete Salon Manicure Trouble Maker
  • Sally Hansen Miracle Gel Super Charge
  • Essence The Green & The Grunge
  • Sally Hansen I ♥️ Nail Art pen in Pink
  • China Glaze Metro Pollen-tin
  • Sally Hansen I ♥️ Nail Art pen in Black
  • Sally Hansen Royal Hue
  • China Glaze I Sea the Point
  • Bundle Monster detail brush
  • Bundle Monster dotting tool

It always takes so many polishes to create my favourite florals, but when you see it all put together it’s so worth it. Gosh I love floral designs over almost bare or really sheer polishes. They’re is just something romantic about how they come together. Love love love. Also I felt like I needed some untraditional floral colours–like purple roses. Something just a little bit different from my more recent floral & rose designs. I’m a little bit floral obsessed right now–I just picked up a new floral phone case, & I keep buying floral shirts & dresses. There is just no such thing as too much floral! 🌸

What do you think of this design? Are you a fan of negative space florals? Share your thoughts down in the comments below!

Vibrant Colour Blocking

Good Morning lovelies & Happy Saturday!

I don’t know how the weather is where you are, but here in Halifax they’re calling for lots of sunshine over the next little while & I couldn’t be more exciting. I’ve worn dresses for the last few days, & I’m pretty dedicated to keeping my no pants streak going. Obviously, my cheery mood is translating to my nails because I’m all about bright & colourful nails! Today I’m showing off a colour block design done using a few vibrant polishes & nail vinyls.

For this manicure, the polishes I used were:

  • Base Coat: Nailtek 2
  • Top Coat: Seche Vive
  • Sally Hansen Miracle Gel In The Sheer
  • Essie Splash if Grenadine
  • Essie All the Wave
  • OPI I Eat Maine-ly Lobster
  • China Glaze Sun Upon My Skin
  • Xroma Polish & Vinyls Mosaic Stencils
  • Dotting Tool

Oooooh I love so much how these colours go together. This combo is feeling very 90s to me for some reason, & I love it! So blinding, which is perfect because I just bought brand new (giant) sunglasses. 🕶 To me, this is just the perfect bright design… the colours, the pattern. I’m seriously in love with everything about it! Plus I feel like these colours are perfect for making me look way more tanned than I actually am. & when you spend 10+ hours inside, you’ll take any hint of a tan you can get!

What do you think of this colour block design? Would you rock this pattern on your nails? What is your favourite nail polish shade combination? Share all your thoughts down in the comments below & let me know what you’re wearing on your nails for the weekend! 💅🏻☀️🌵

Negative Space Chevron Moons & Polka Dots

Happy Saturday my lovelies! Today I have a brand new design to share with you! Today’s inspiration comes from my obsession with Vanderpump Rules.

I was watching clips of Watch What Happens Live the other night while trying to come up with nail art inspiration, & stumbled across clips from a few months ago featuring an appearance from Stassi. I immediately noticed the gorgeous dress she was wearing & realized it would make for an amazing nail art design. I was absolutely in love with the neckline, the colour & the polka dots! It was the perfect combination for a not too difficult design, which was exactly what I needed at 11:30pm. So off I went to find my trusted dotting tools & nail vinyls.

For this manicure, the polishes I used were:

  • Base Coat: Nailtek2
  • Top Coat: Seche Vive
  • Essie Lounge Lover
  • Color Club Sidewalk Psychic
  • The Base Coat Stacked Chevrons (singles)
  • Bundle Monster small dotting tool

Sadly it was a little too cloudy yesterday to really appreciate the beauty of Sidewalk Psychic but it worked really well overtop Lounge Lover. Also can we talk about how beautifully vibrant Lounge Lover is? I forgot how beautiful it was! It almost looks neon on my nails, which on a grey & cloudy awful day is exactly what I needed to cheer myself up.

Oooooh, I need to do negative space chevron moons more often. Also I never thought to do polka dots with negative space! I think it came out pretty close to the dress that inspired it. Literally my two favourite nail art designs combined into one. 💗 Also adds in my current obsession (Vanderpump Rules) which is what makes my Monday’s the most exciting. Does anyone else watch the show? I went back & rematches the series from the beginning about 3 months ago & it’s such a fun mindless entertainment tv show. Also I totally want to visit LA just to go to Sur.

what do you think of this design? Do you think it was reminiscent of its inspiration? What’s your favourite reality TV show?

Share your thoughts in the comments below! 💗