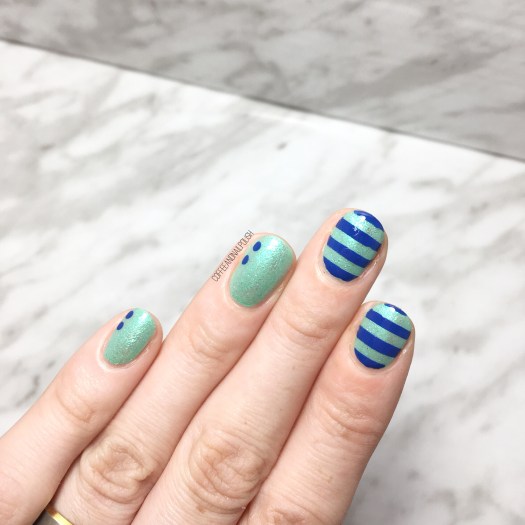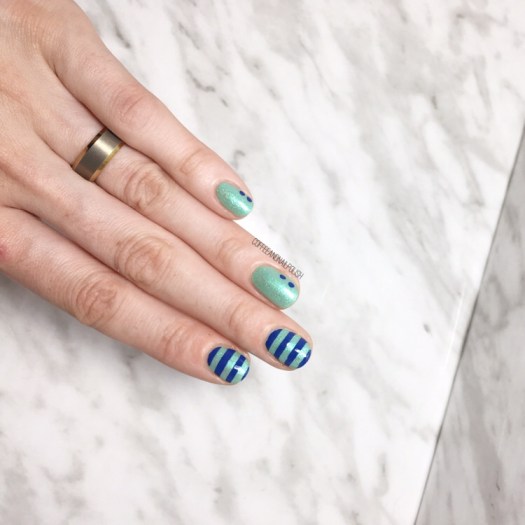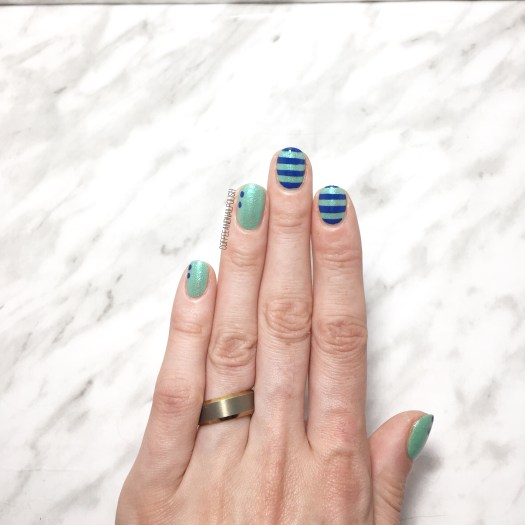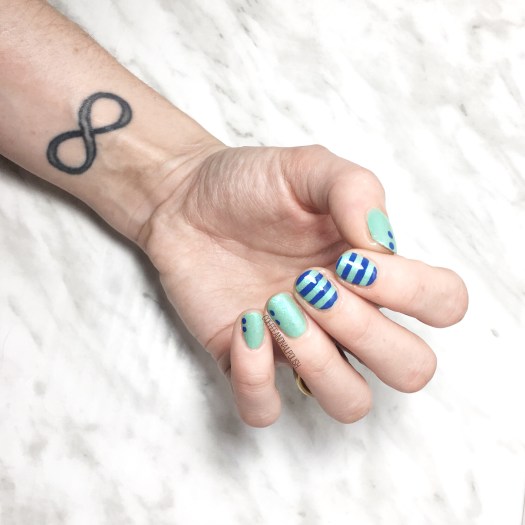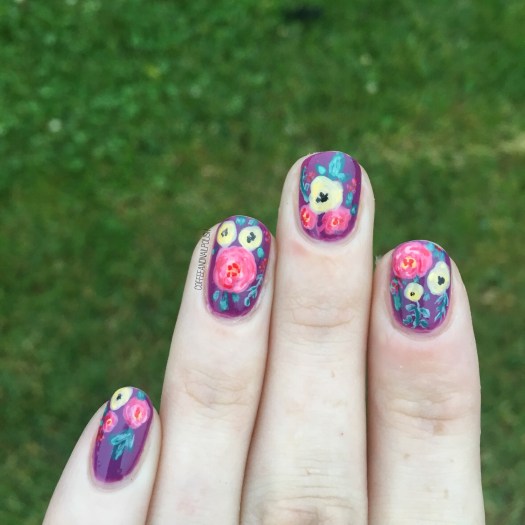
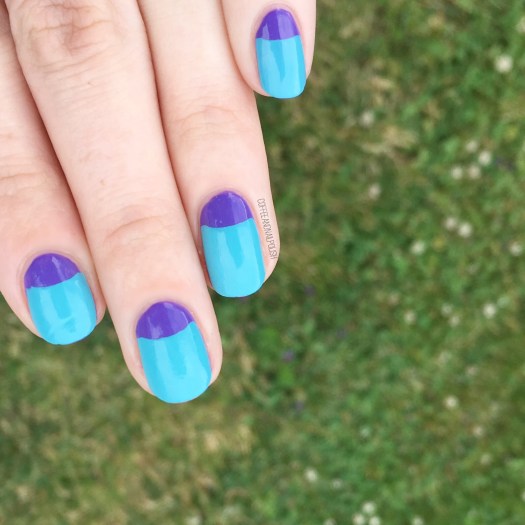
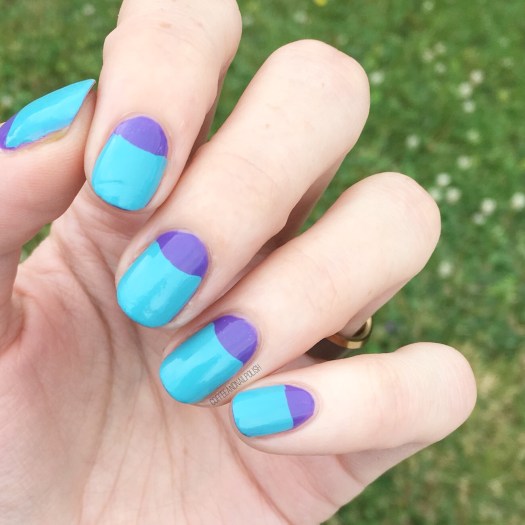
Happy Wednesday lovelies! Today I have another set of half moons to share with you, this time featuring a blurple & turquoise colour combination I’m kind of obsessed with! It’s been a while since I went with half moons, & colour combination was inspired by a t-shirt dress from Forever 21 that I own & love.
Colour blocking makes me happy. It’s a great way to test colour combinations out.

For this manicure, the polishes I used were:
- Base Coat: OPI Nail Envy
- Top Coat: Essie Speed Setter
- Quo by ORLY Venice
- Essie In the Cab-ana
- Paper Reinforcements (from the Dollar store)

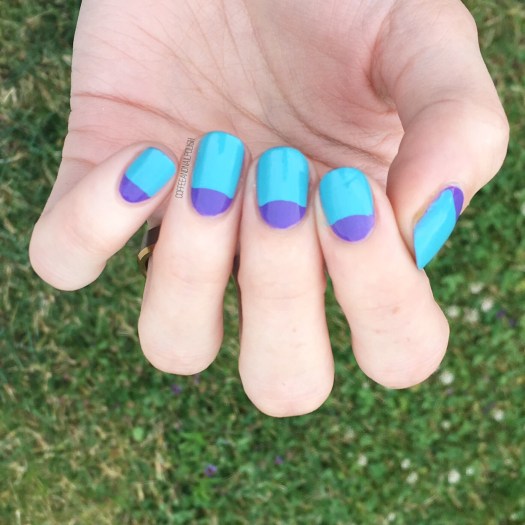
Was half moons with paper reinforcements anyone else’s first nail art technique they learned? I remembering doing them back in the day & feeling like I was a nail art expert. For those of you who are still getting into nail art looking for easy designs… half moons are a great option with endless colour combinations. You can go subtle for more work appropriate designs or go crazy neon! I also love adding polka dots on top of my design for a little extra design.
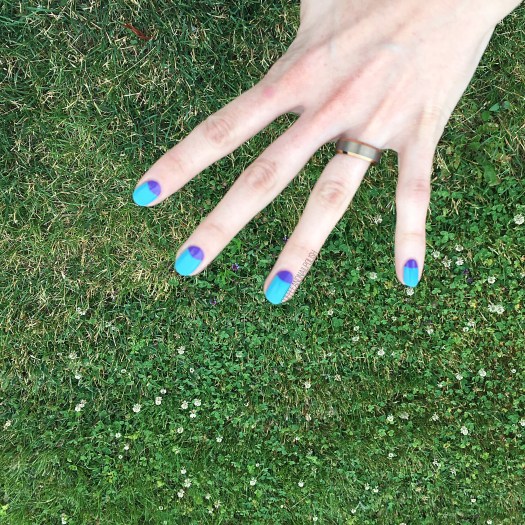
what do you think of these half moons? What colour combination would you pick? Let me know in the comments below!