Smooshy Marble Nails (inspired by @grapefizznails)

Hello lovelies & Happy Wednesday! I hope everyone is having a lovely week so far. Here on the East Coast you can feel that Winter is quickly approaching — it was downright cold this morning. & I am not a girl who enjoys the cold! Especially because it absolutely wreaks havoc on my nails if I get busy, & forget to keep up with my nail care routine!

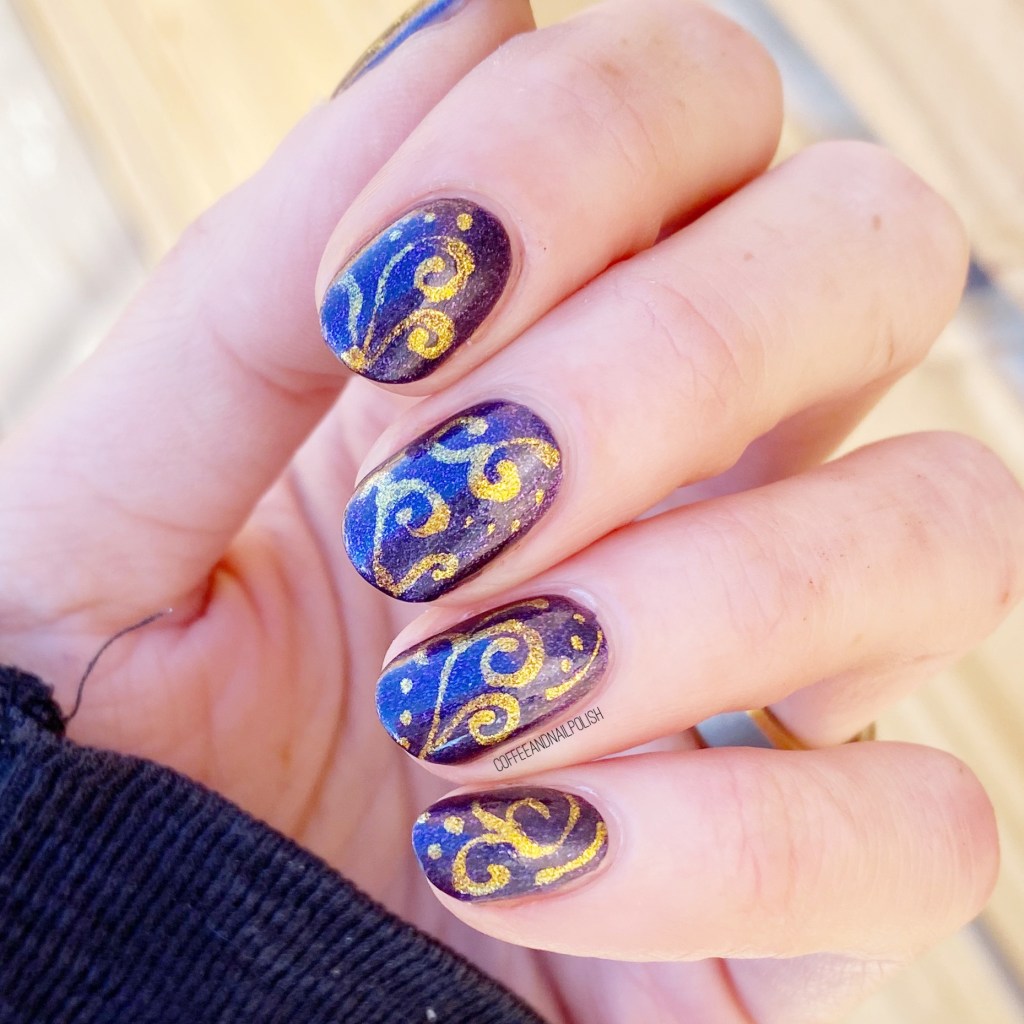
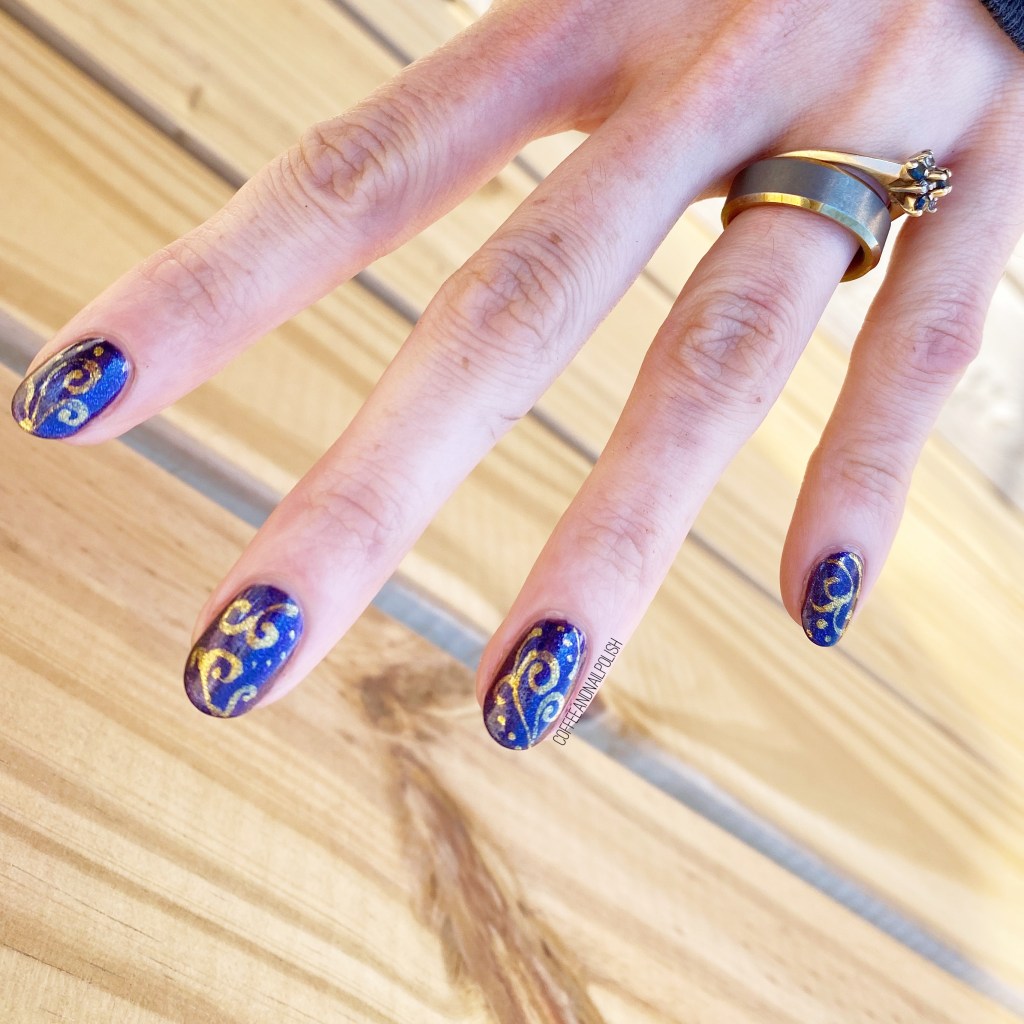
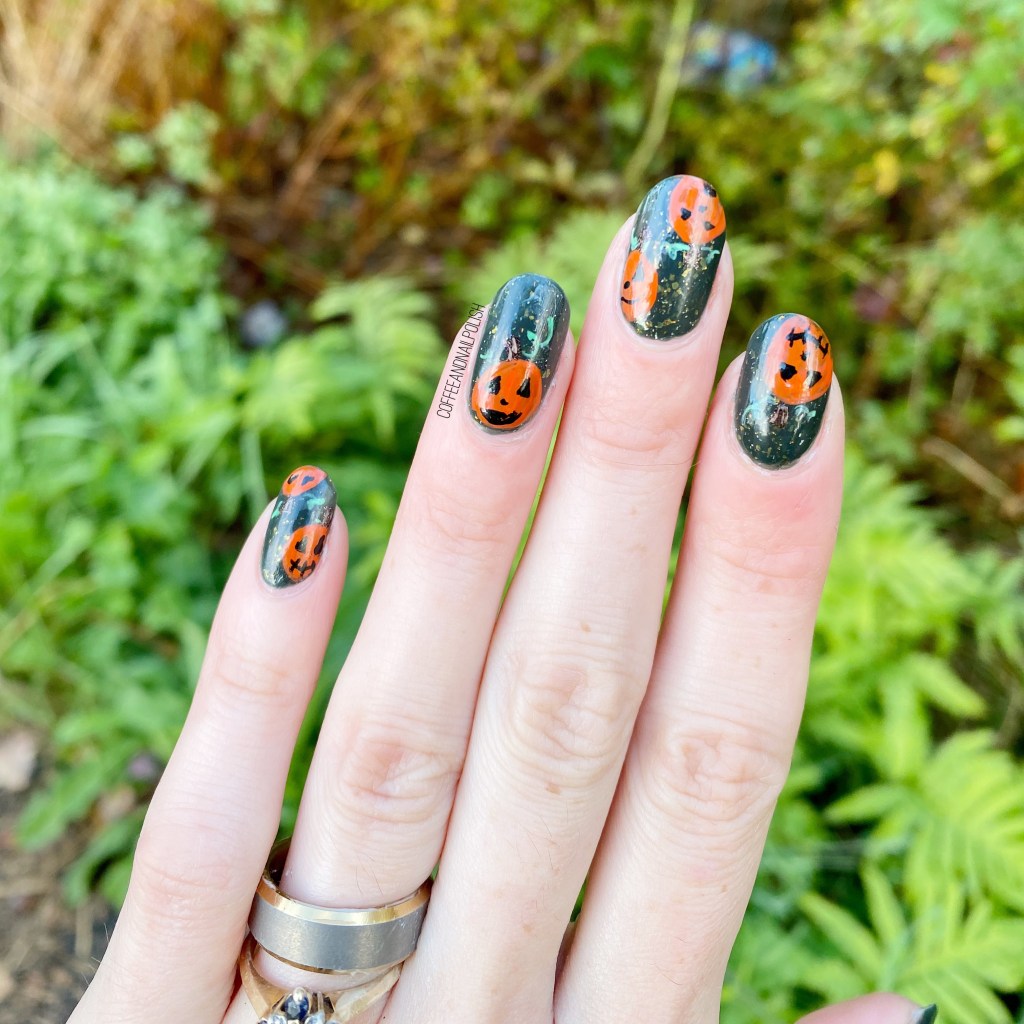
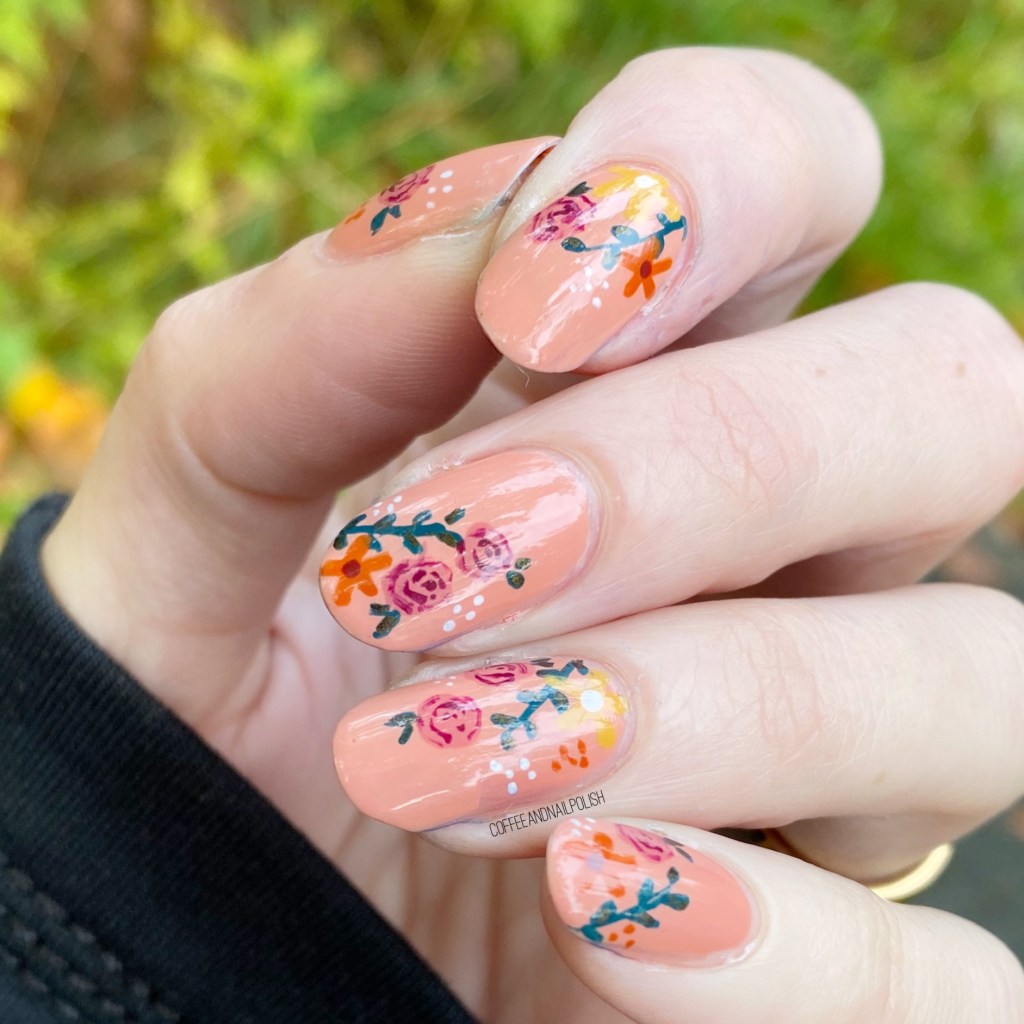
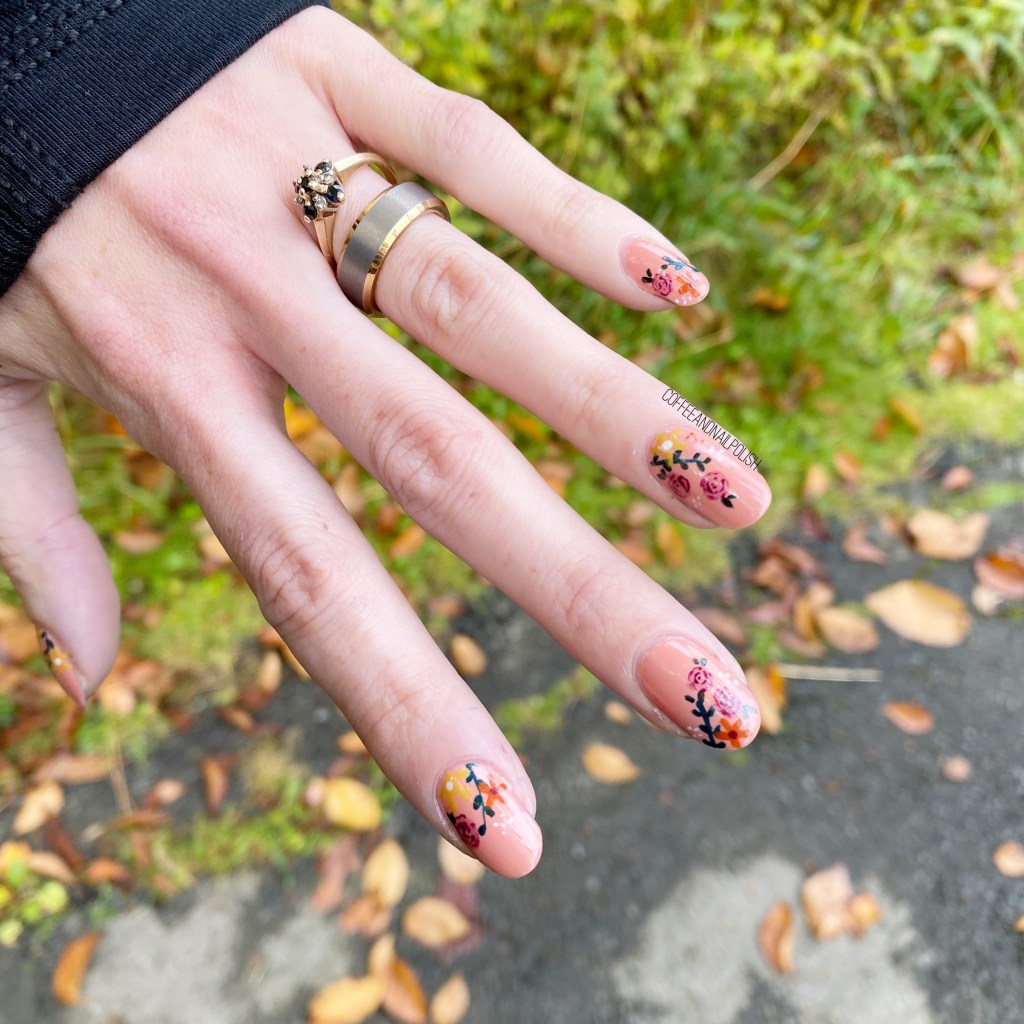
But enough about the cold, let’s concentrate on the good stuff: this icy smoosh design inspired by @grapefizznails! Anne is a fellow Canadian nail guru who creates the most stunning smoosh nails I’ve ever seen! Literally, it’s like witchcraft I swear. As soon as I saw her latest smoosh design I knew I needed to attempt a recreation ASAP.

The polishes I used for this manicure are: 

  • Base Coat: Essie First Base
  • Top Coat: Seche Vive
  • Essie Under The Twilight
  • Sally Hansen Miracle Gel Tutu Ballet
  • Sally Hansen MG Get Mod
  • Essie Getting Groovy
  • Sinful Colors Twilight Twinkles
  • NailStuff.ca Clear Stamper

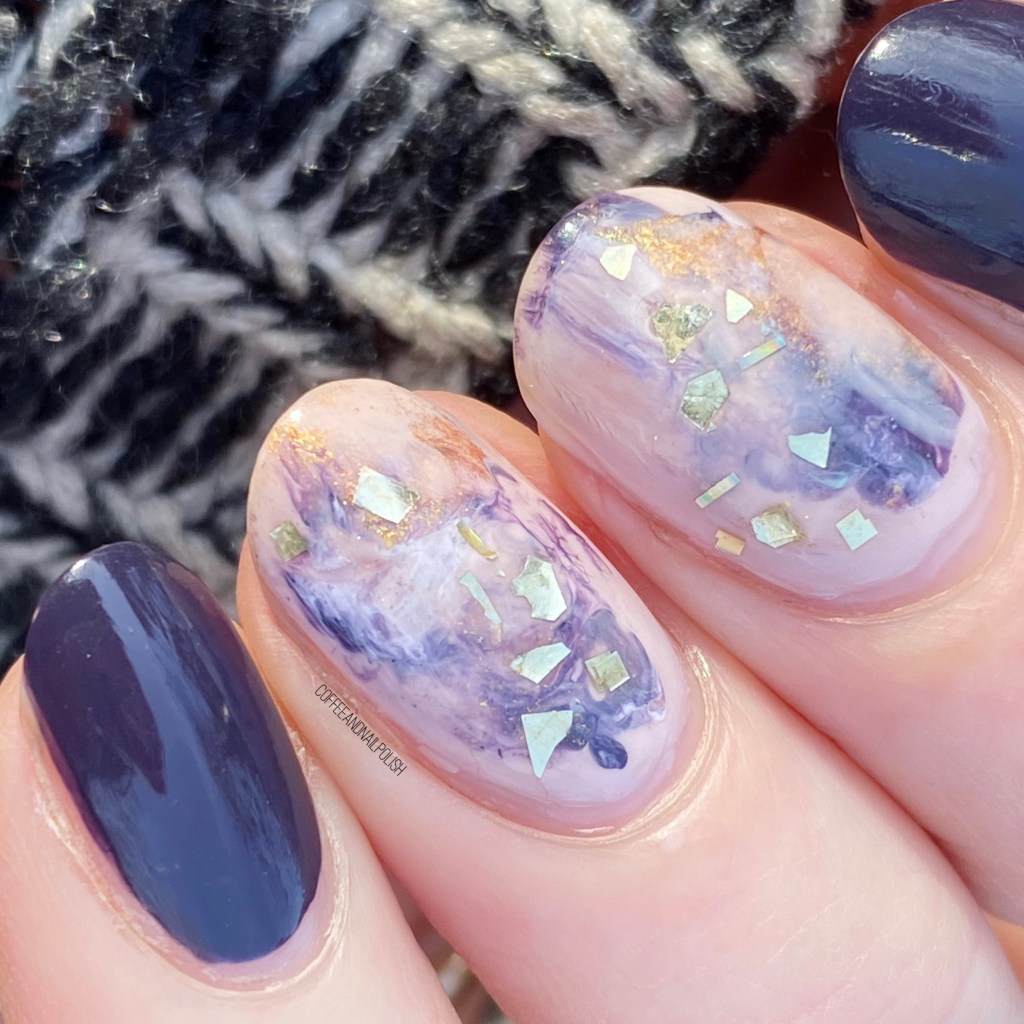
How absolutely gorgeous did this turn out? Obviously nothing compared to the original, but I think I channeled my inspiration very well. It gives me a nice Fall Icy feel, which works well with these chilly November days. It was also pretty easy to create as well. Anne has some pretty awesome tutorials on her instagram on how she creates her smoosh marbles, as well as drip marbles & other nail art! So definitely check them out, especially if you want to recreate this look as well.

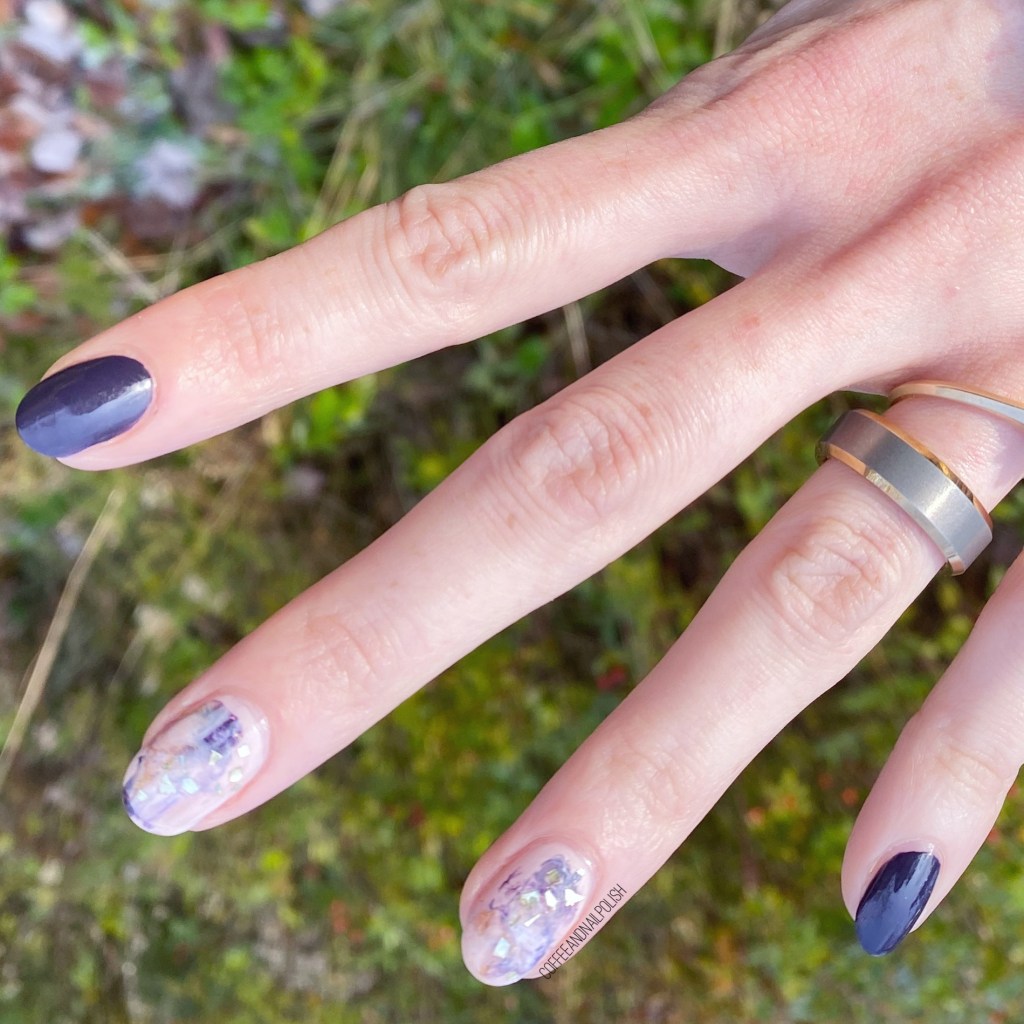
What do you think about this smooshy marble design? Do you think my recreation lived up to its inspiration? Would you wear this look on your nails as well? Let me know all your thoughts down in the comments below!

Purple & Gold Freehand Swirls

Hello lovelies & happy Wednesday!

Hope everyone is having a very lovely week so far! We’ve actually been having a beautiful weather here in Halifax — very un-November like weather! It’s been absolutely beautiful… which has kind of made being inspired for nail art a little difficult. So I decided for my latest mani to go with a look I used to do all the time — this freehand dainty swirl look.

The polishes I used for this manicure are: 

  • Base Coat: Essie First Base
  • Top Coat: Seche Vive
  • OPI Ink
  • Essie Getting Groovy
  • NailStuff.ca 7mm detail brush

Back in circa 2014-2015, I used to love freehanding these swirly looks, so I decided since I wasn’t feeling all that inspired, it was a great look to go with.

I really love the look of the gold over the shifty purple base of OPI Ink. I feel like this look is very regal — it also gives me slight wrapping paper vibes, but I’m not mad about it. I think it looks very beautiful. It was definitely a good nail art choice in this in between time when it doesn’t quite feel like Fall, but is too early (in my eyes, anyways) for Christmas.

What do you think about this nail art look? What designs are you wearing right now? Have you started thinking about Christmas nail art? Let me know in the comments below!

Glam Nails Challenge October— Mummy

Good morning lovelies & happy Thursday! Yes… it’s Thursday already! & Halloween is only 3 days away.

Is everyone ready?

I don’t know about where you are, but stores around here are almost cleared out for Halloween & it’s like Christmas exploded in every store. But I’m still here for Halloween & have a few more Halloween looks to share! First up, the next prompt for GlamNailsChallenge October: Mummy.

The polishes I used for this manicure are: 

  • Base Coat: Essie First Base
  • Top Coat: Seche Vive
  • Sally Hansen CSM Off The Shoulder
  • Sally Hansen Miracle Gel Get Mod
  • Essence Dare It Nude
  • China Glaze The Snuggle is Real
  • OPI Chiffon My Mind
  • NailStuff.ca 7mm detail brush

Please excuse the cruddy lighting — it was a rainy miserable day when I was attempting to take these pictures. The joys of late October in Nova Scotia, haha.

For my mummy look, I wanted to go with a more subtle mummy look — like if an Egyptian princess was being mummified & wanted her nails to be featured. Haha. My look definitely ended up a bit more subtle than I had originally wanted, but that was a lot to do with my base shade. I feel like I might have wanted a bit more of a contrasting colour. But I’m still really happy with how they turned out.

What do you think about this “mummy” look? Can you believe that Halloween is almost here (& over!) What is your favourite Halloween candy? L

et me know in the comments below!

Glam Nails Challenge October — Jack-O-Lantern 🎃

Good morning lovelies and happy Monday! I

’m so excited for today’s look for Glam Nails Challenge October! We’re getting closer to Halloween, & I’m enjoying these Halloween looks more & more. The next prompt for this month is Jack-o-Lantern, & I’m so happy with how this design turned out!

The polishes I used for this manicure are: 

  • Base Coat: Essie First Base
  • Top Coat: Seche Vive
  • Cadillaquer Enchanted Woodland (NailStuff.ca exclusive!)
  • China Glaze Spice To Meet You
  • Sally Hansen Complete Salon Manicure Fiery Island
  • Essence Wake Up
  • Starrily Vantablack
  • Sinful Colors Essen-chills Smoky Palo Santo
  • China Glaze The Snuggle Is Real
  • Sally Hansen I ❤️ Nail Art pen in green
  • NailStuff.ca 7mm detail brush

So originally I had planned on using some pumpkin Nail art stickers for this design. Unfortunately the stickers did not want to stick to my nails so I ended up going with a design. & honestly, I definitely think that was the right decision — it looks so much cuter!

I was actually nervous to attempt these little pumpkin faces, because smaller details can sometimes be hit or miss for me, but oh man I just love how they turned out! The little pumpkin faces are actually the cutest!

I also was super excited to wear Enchanted Woodland again! I haven’t worn it for over a year, & it’s a perfect base for this Halloween design. Gives off the right amount of spookiness.

What do you think of this Halloween design — do you like these not so spooky jack-o-lanterns? 🎃 would you wear this design? Let me know down in the comments below!

Fall Inspired Floral (birthday twin nails with @nailstuffca)

Hello lovelies & happy Saturday!

I usually never post on Saturday’s, but yesterday was such a busy day, I didn’t get to get this post together! These nails are twin nails I got together to do with my girl Victoria (@nailstuff.ca) — we are both October birthdays, 2 days apart, so these are some Fall floral birthday twin nails!

The polishes I used for this manicure are: 

  • Base Coat: Essie First Base
  • Top Coat: Seche Vive
  • OPI Barefoot in Barcelona
  • China Glaze Autumn’s Up!
  • China Glaze Spice To Meet You
  • China Glazes Loves Em & Leaves Em
  • Essie Satin Sister
  • Sally Hansen Miracle Gel Get Mod
  • Sally Hansen Complete Salon Manicure So Much Fawn
  • Sally Hansen Insta-Dri Zip Wine
  • NailStuff.ca Dotting Tool Trio
  • NailStuff.ca 7mm detail brush

This design is originally inspired by @rachelsbeauty_.

My base is a bit more pink that the nude she used, but I love how my version turned out! It’s been a while since I did a floral look, & even longer since I did a Fall floral, so I was excited to team up with Victoria for these twin nails. It’s been way too long since I got to do twin nails with anyone!

& this was an extra fun way to mark our birthdays.

What do you think of this floral design? Are they giving you the Fall vibes? Let me know what you think down in the comments below! & don’t forget to check our Victoria’s twin design over at @nailstuff.ca as well!