Negative Space & Pastel Abstract Stripes

Good morning loves! I hope everyone is having a great start to their Thursday so far. Mine is involving coffee, so that’s always a good start. Plus I have the whole day off to do my laundry & fold it, & put it away — so I’m pumped.

Today I’m sharing a recent manicure I did in the hopes of summoning Spring. Real Spring, not the fake “oops-just-kidding-it’s-still-Winter” Spring we get teased with around the end of March. I know, it’s January, & we’ve barely even had Winter…. but I’m over it. So how about some pastel?

The polishes I used for this manicure are: 

  • Base Coat: Essie Hard To Resist Glow & Shine 
  • Top Coat: Seche Vite Fast Dry Top Coat
  • Sally Hansen Xtreme Wear Royal Hue
  • Essie Mint Candy Apple
  • Color Club Art Club Striper Pink Pastel
  • Color Club Art Club Striper Passion Flower

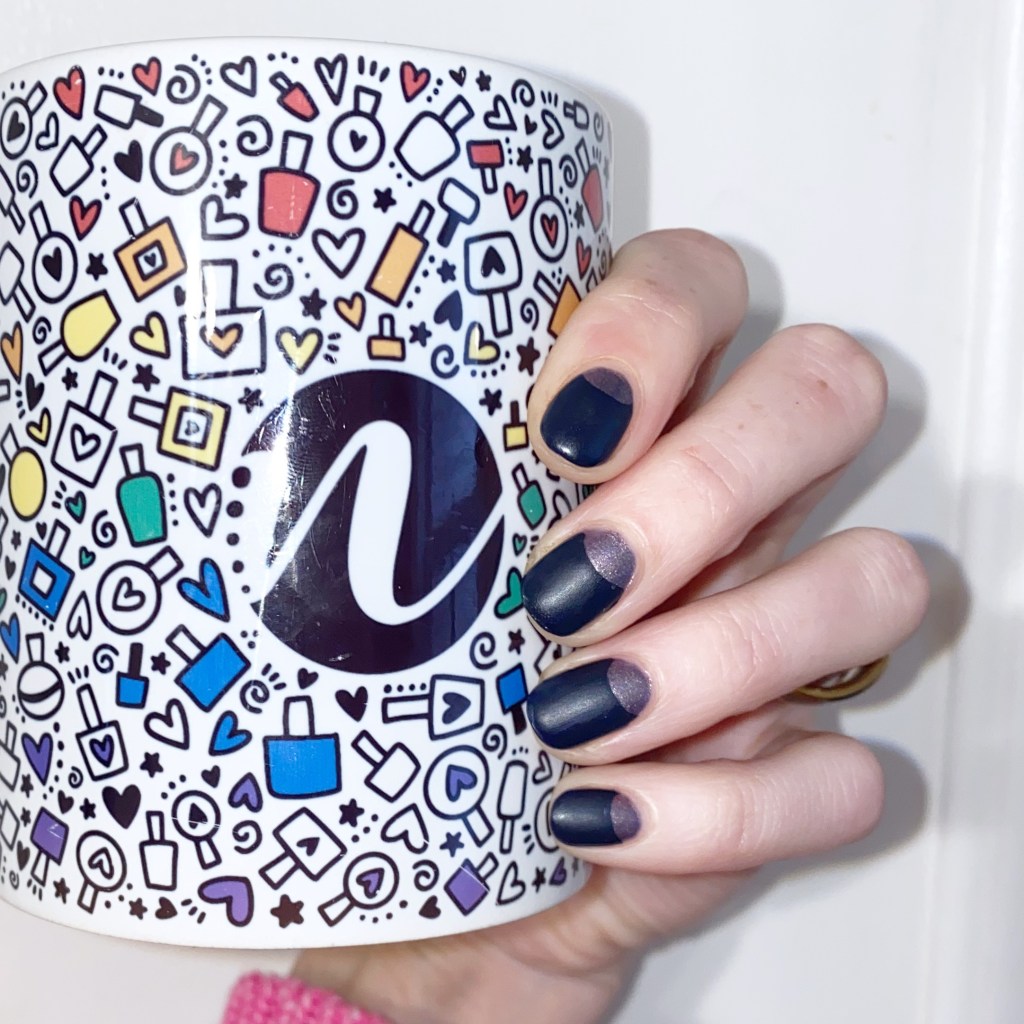
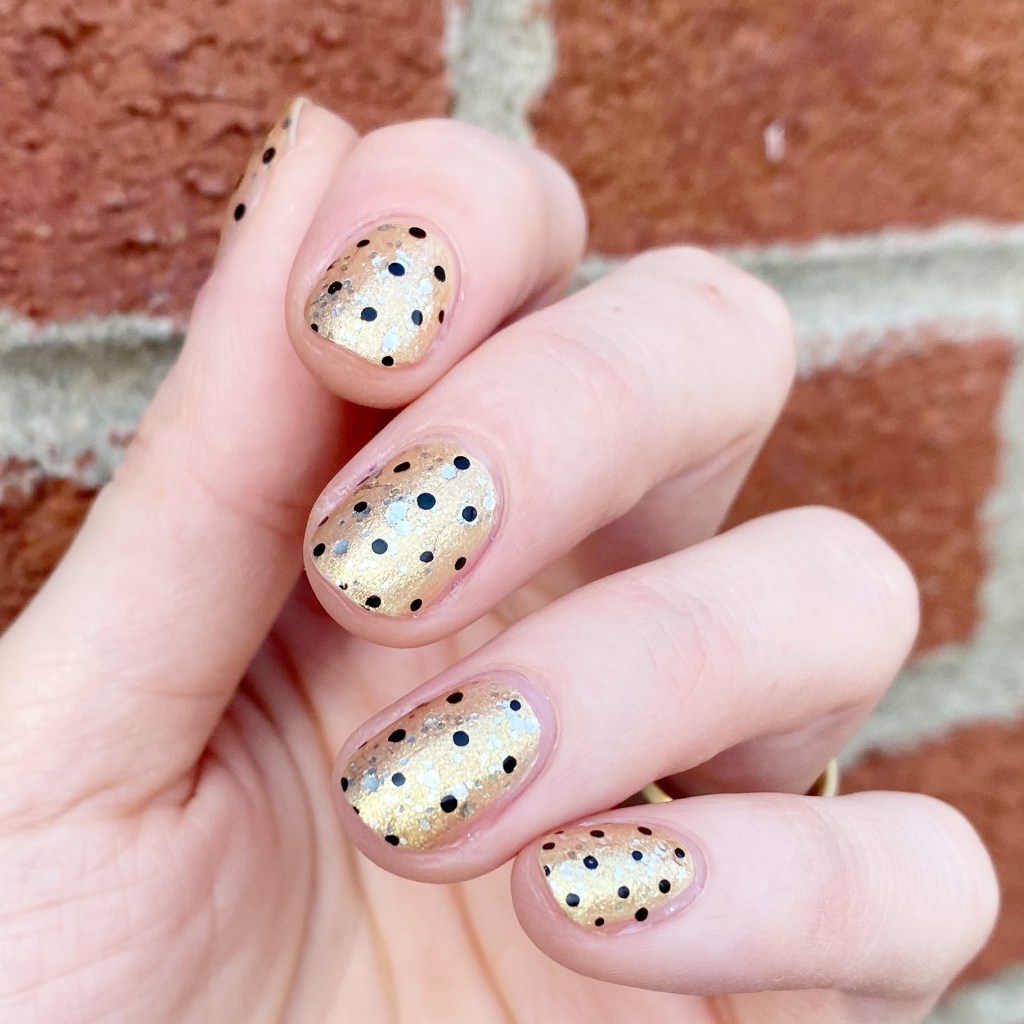
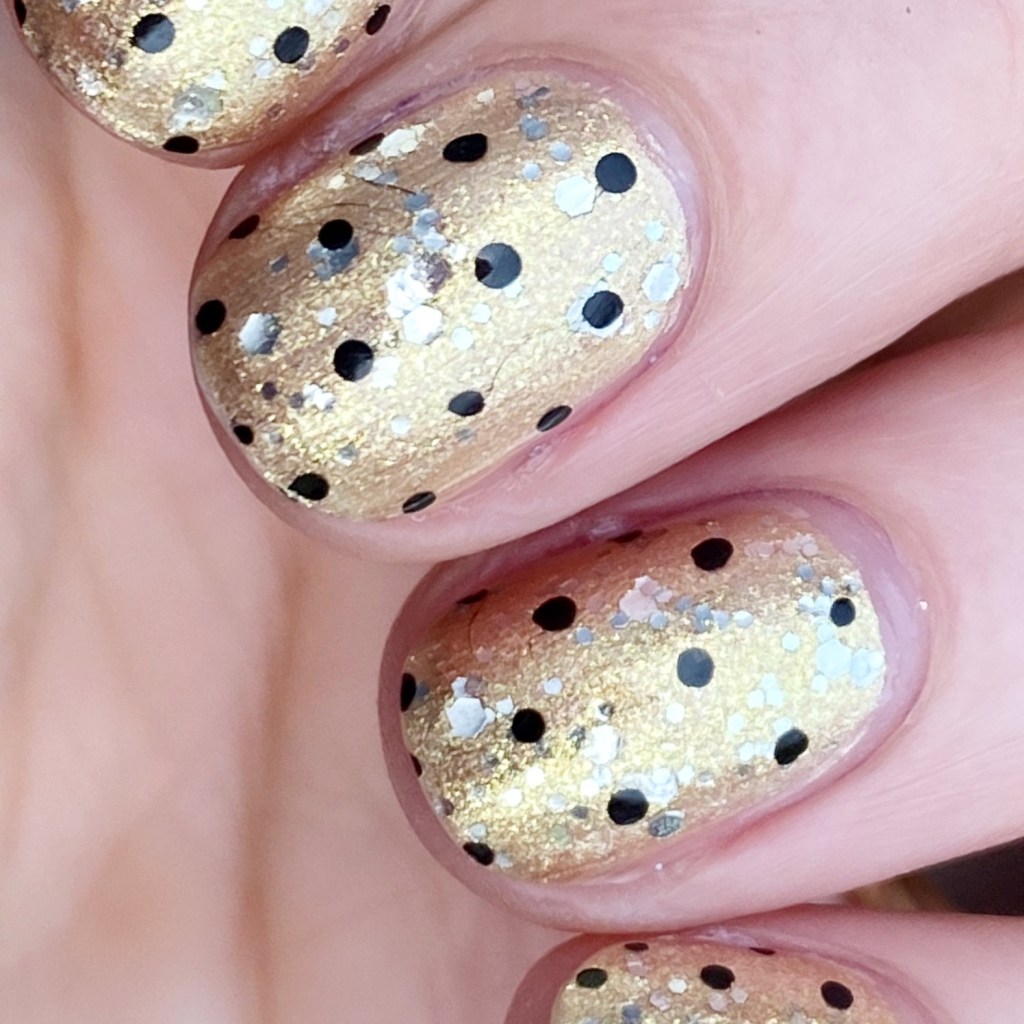
First off, let me acknowledge that my cuticles are looking rough. I’m trying my best to keep up with my nail art regime, but the last couple months have had some struggles, & the weather has been full of extremes, & it’s taking me a while to get my nail health back to where it was. But I’m going to save that for another post, because I know you’re all here for the nail art today!

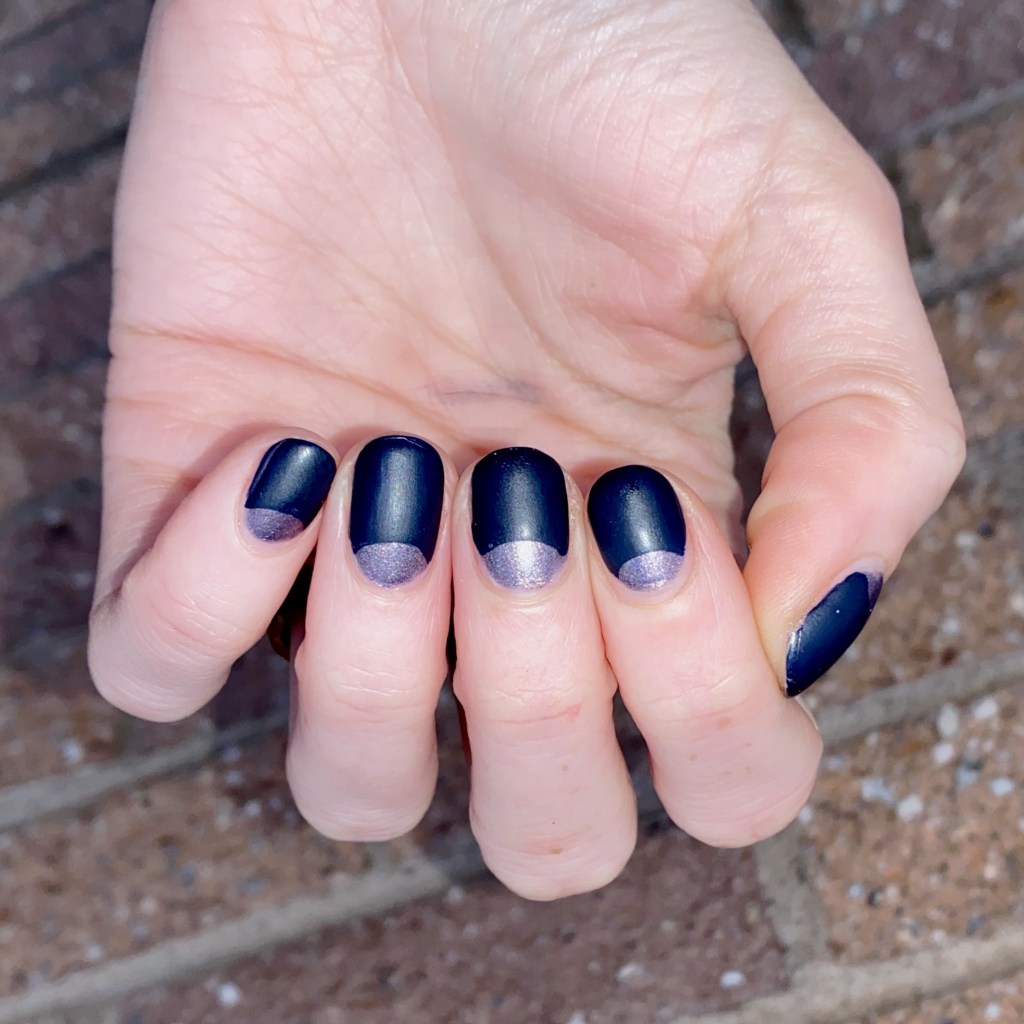
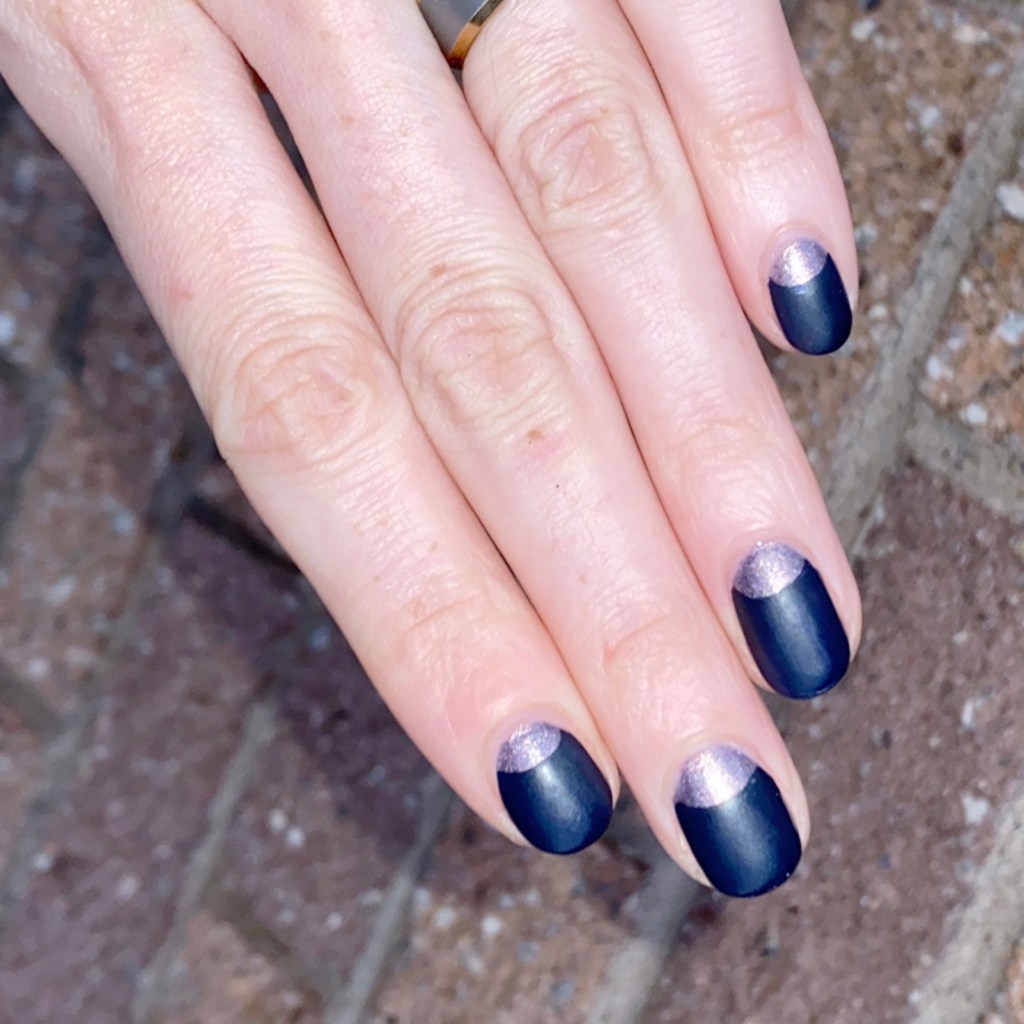
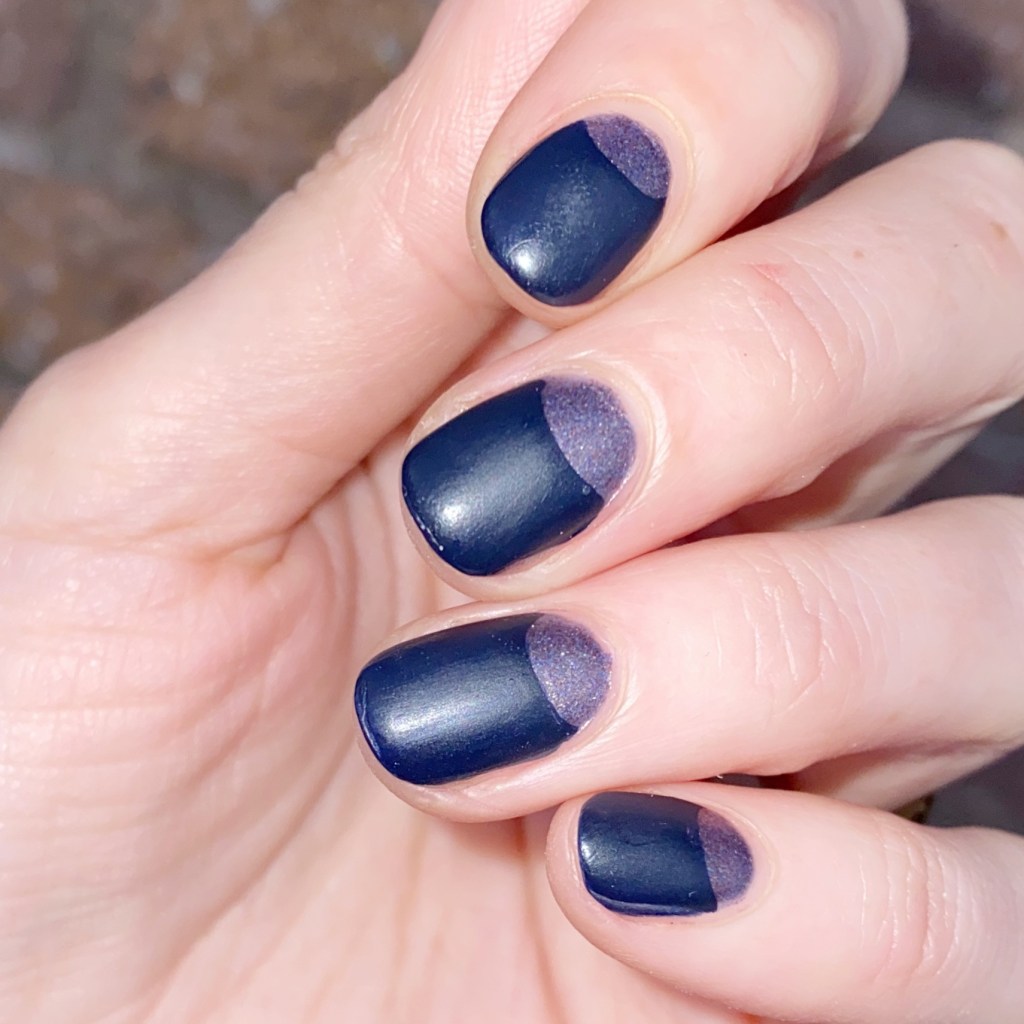
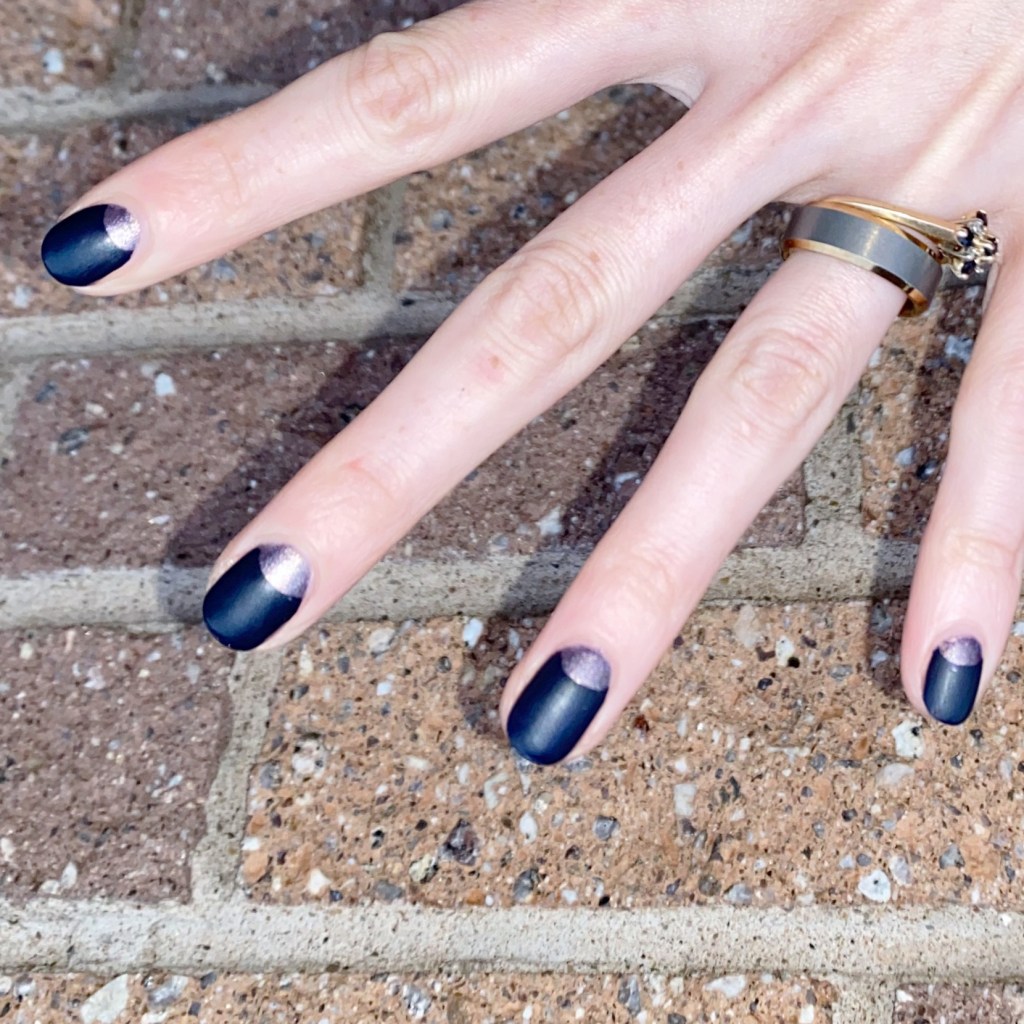
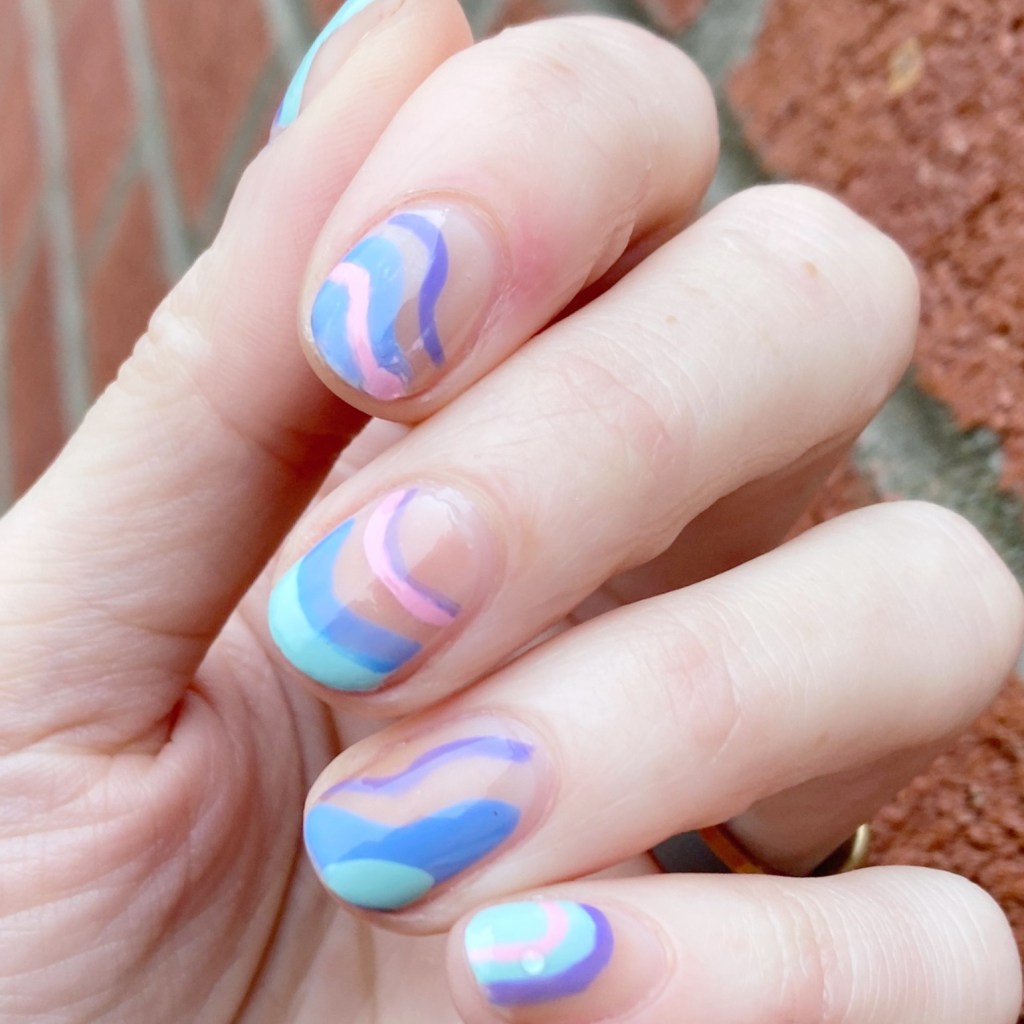
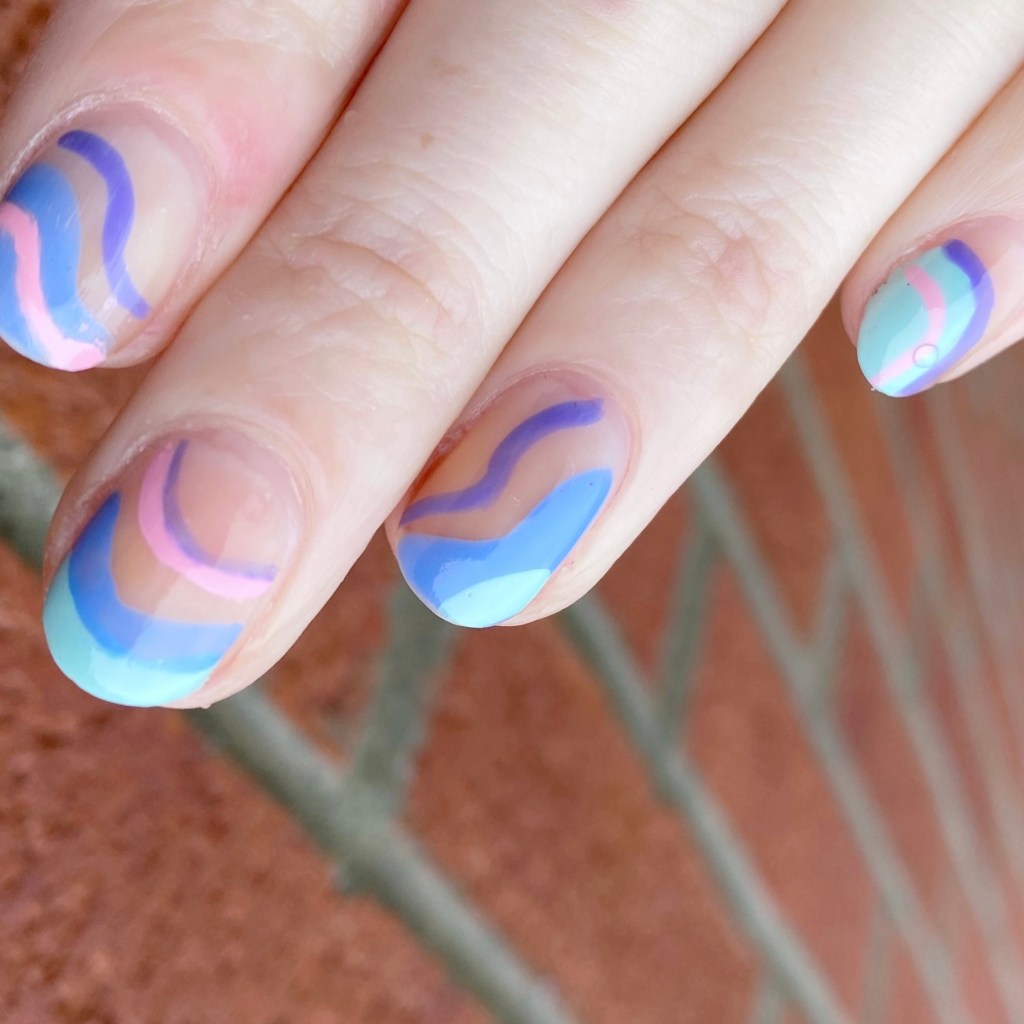
This look was really easy to do, mostly because it takes zero skill. You just need to draw the initial swoop, & then use your other colours to trace the same lines. It sounds more complicated than it is, but I swear it’s really easy. Which is why I love this kind of look so much. I decided to go with a negative space base, because I’ve been struggling with using my bottle of Seche Vita & I wanted to avoid the weird shrinkage at my cuticle line.

What do you think about this nail art look? I know it’s probably a smidge too early for Spring nails, but you know what? Yesterday it was like 11 degrees (Celsius) & that is Spring weather. I could have worn a dress with only one pair of tights it was so warm. So I guess these nails are kind of fitting.

What do you think about this manicure? Let me know down in the comments below!

♥︎

Soft Matte Half Moons

Hello lovelies & happy Tuesday! I hope everyone’s had a good start to the year so far. It’s been relaxing on my end, that’s for sure. But now it’s time to drive right back into all things nail polish, nail art & manicures in general. I was kind of trying to figure out what kind of vibe I wanted to start off 2023 with, & I decided to let my nostalgia win with not only a half moon manicure… but a matte half moon manicure.

Two of my favourite things combined into one.

The polishes I used for this manicure are: 

  • Base Coat: Essie Hard To Resist Glow & Shine 
  • Top Coat: Seche Vite Fast Dry Top Coat
  • Matte Top Coat: Sally Hansen Miracle Gel Matte Top Coat
  • Zoya Devin
  • Essence Into the Unknown
  • Paper Hole Reinforcements

I was on instagram early into Fall, & I saw someone post that half moon manicures were going to become popular again, & all I could think was “I never stopped doing them”.

These have always been a favourite nail art look of mine, & I just find it such an easy technique to do. But I really, really love this look with the matte top coat applied as the finishing touch. Matte nails are my absolute favourite in the Winter months, so expect lots of matte nails in the coming months.

What do you think of this nail art look? Are you a fan of the half moon design? Let me know what you think, & what nail art trends for 2023 you’re excited to try!

New Years Eve Golden Dotticure ✨

Hello Beauties & happy New Years Eve! I told you I would sneak in one more manicure before the year was over. Obviously, it being New Years Eve, I needed to give it my all, & decided to go with gold, silver & black for the full effect.

I also didn’t want to go too crazy because I am still exhausted from working through Christmas, & honestly by 10pm I’m just wrecked. So I decided to go with a classic dotticure… but with a NYE twist.

The polishes I used for this manicure are: 

  • Base Coat: Essie Hard To Resist Glow & Shine 
  • Top Coat: Seche Vite Fast Dry Top Coat
  • OPI Rolling in Cashmere
  • Essie Hors d’Oeuvres
  • Starrily Vantablack
  • Dotting tool (I always use mine from NailStuff.ca — Dotting Tool Trio)

I like how I flipped the colours I would usually do. Normally, I would go with black (or another darker colour) as my base, & use the lighter colours as my dots. But I thought I needed more gold & silver, so I decided to use it as my base instead, & use black as my accent… & I love how it turned out! Very glam, with a hint of glitter. Perfect for New Years Eve celebrations, both over the top, & simple.

I just wanted to say THANK YOU to everyone who has visited this blog, liked my designs, & especially commented this last year! You make it worth it to keep posting, & make me excited to keep posting — especially as other social media changes so much! 2022 was a fantastic year for me, albeit challenging & full of change, but this blog was my happy place to come to, & I’m very excited to see what 2023 has in store!

Have a happy New Year Lovelies! Wishing everyone peace, calm, & joy.

♥︎

New Years Eve Glitter Gradient

Hello lovelies & happy New Years Eve… Eve. Only 2 more days of this year left, & I can barely believe it. It really feels like the last few months, & especially the last few weeks, have absolutely flown by. With less than 48 hours left of this year, I figured why not sneak in one or two more manicures.

& naturally, with New Years Eve so close, I have to be all about the glitter. What better excuse than wearing all the glitter than counting down to a new year? I’m not much for getting dressed up, & going out on NYE… but you know I’m always going to have my nails ready for a night of snacks on the couch & sparkling kombucha.

The polishes I used for this manicure are: 

  • Base Coat: Essie Hard To Resist Glow & Shine 
  • Top Coat: Seche Vite Fast Dry Top Coat
  • Essie Kimono Over
  • Color Club On the List
  • Color Club Take Me to VIP
  • China Glaze Fairy Dust

Ooooooh look at the sparkle. I made sure to take pictures with my flash on, because I really wanted to be able to properly capture the sparkle. Like how much fun is this to wear for New Years Eve? I did this look completely without any tools, just layering of glitter, & it turned out so perfectly, & glittery. It almost makes me wish I had something exciting planned for New Years Eve.

This is super simple to do though! You just need to gently apply the glitter at the base of your nails, & brush up gently. It gives you a thicker glitter near your cuticle, & gives a lighter effect as you go up. I ended up using 3 different glitters because layering also gives it a beautiful effect. I just love glitter so much.

Do you have you plans for New Years Eve solidified yet? I think we’re going to do some sparklers & snacks with our kids, & neighbours, & then some snacks on the couch leading up to the end of the night.

I’m also going to see if I can sneak in one more New Years Eve manicure before the end of the year, so I will see you tomorrow for one more look.

♥︎

GLAM NAILS CHALLENGE DECEMBER — Christmas Plaid

Good morning lovelies & happy Wednesday! & happy Day two of Glam Nails Challenge December. Also… can you believe it’s December 7th? I mean… it’s raining here on the East Coast & above freezing so it certainly doesn’t feel anything close to December. At least I have Christmas nails to keep me in a somewhat festive mood.

But onto the nails — prompt #2 is Christmas Plaid. I do love a good plaid manicure, & for today’s look I decided to go with a sparkly plaid design.

The polishes I used for this manicure are: 

  • Base Coat: Essie Hard To Resist Glow & Shine 
  • Top Coat: Sally Hansen Insta-Dri Anti-chip Top Coat
  • Quo Beauty Green With Envy
  • ACO by Ardene Crystal Fog
  • Sally Hansen Miracle Gel Red It Twice
  • Sally Hansen Miracle Gel Get Mod
  • China Glaze New Year, New Boo
  • W7 Gold Dazzle
  • Mermaid Tail Nail Brush Trio (11mm Liner Brush)

Originally I thinking of a sparkly green plaid, but as soon as I put Crystal Fog over Green with Envy it gave it a teal/turquoise colour instead. But I decided to go with it, & I think all the sparkly lines still give it the Christmas Plaid look I was hoping for. & I do love all the sparkle & shimmer of the look. If there is any time to break out the glitter, it’s obviously Christmas.

What do you think about my Christmas plaid design? What colour combination would you wear for a Christmas plaid. I feel like usually I go for more a red look, but I’ve been wearing a lot of red nails lately (& I’m sure there will be more!) so it’s fun to change things up a bit.

Don’t forget to check out all the fun #glamnailschallengedec looks on Instagram, & stay tuned because we have a whole lot more Christmas-y looks coming in the next few weeks!