Dainty Negative Space Floral 🌿🌸

Hello lovelies & happy Monday!

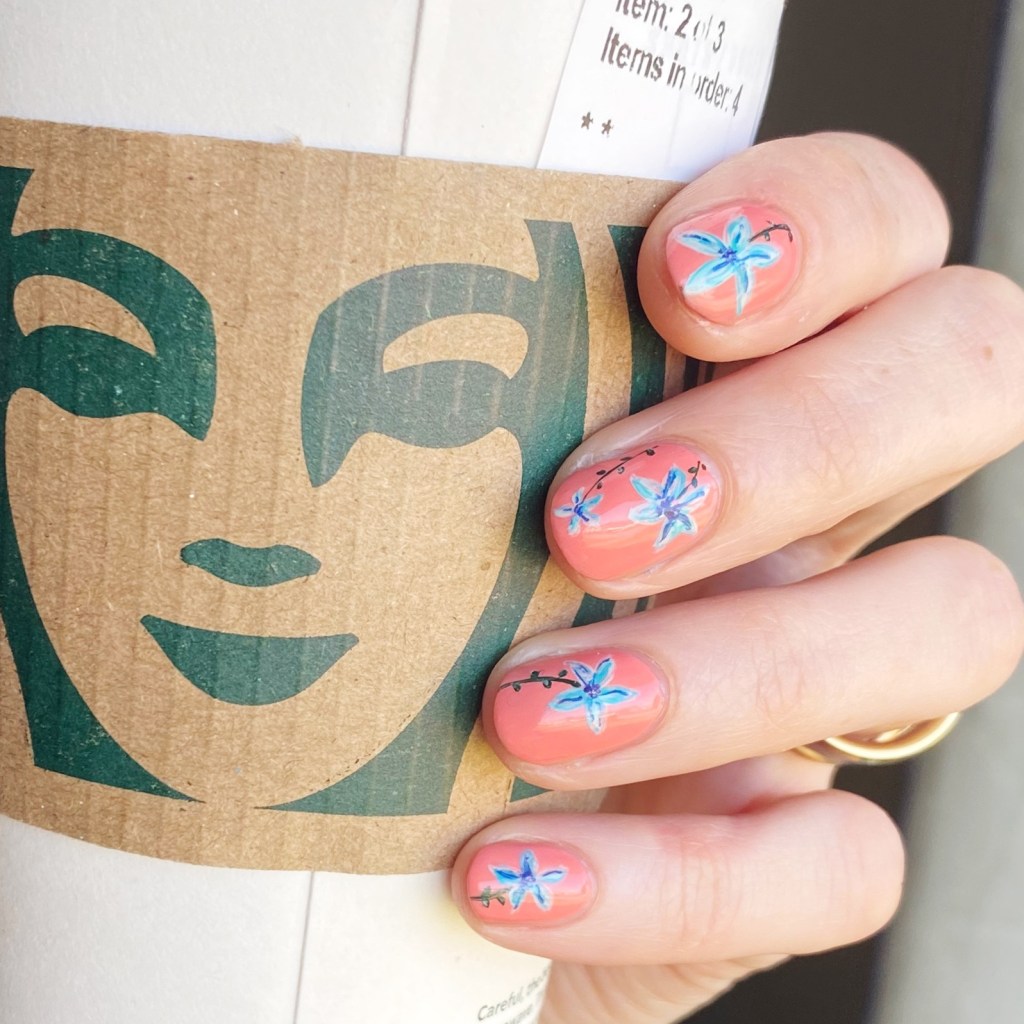
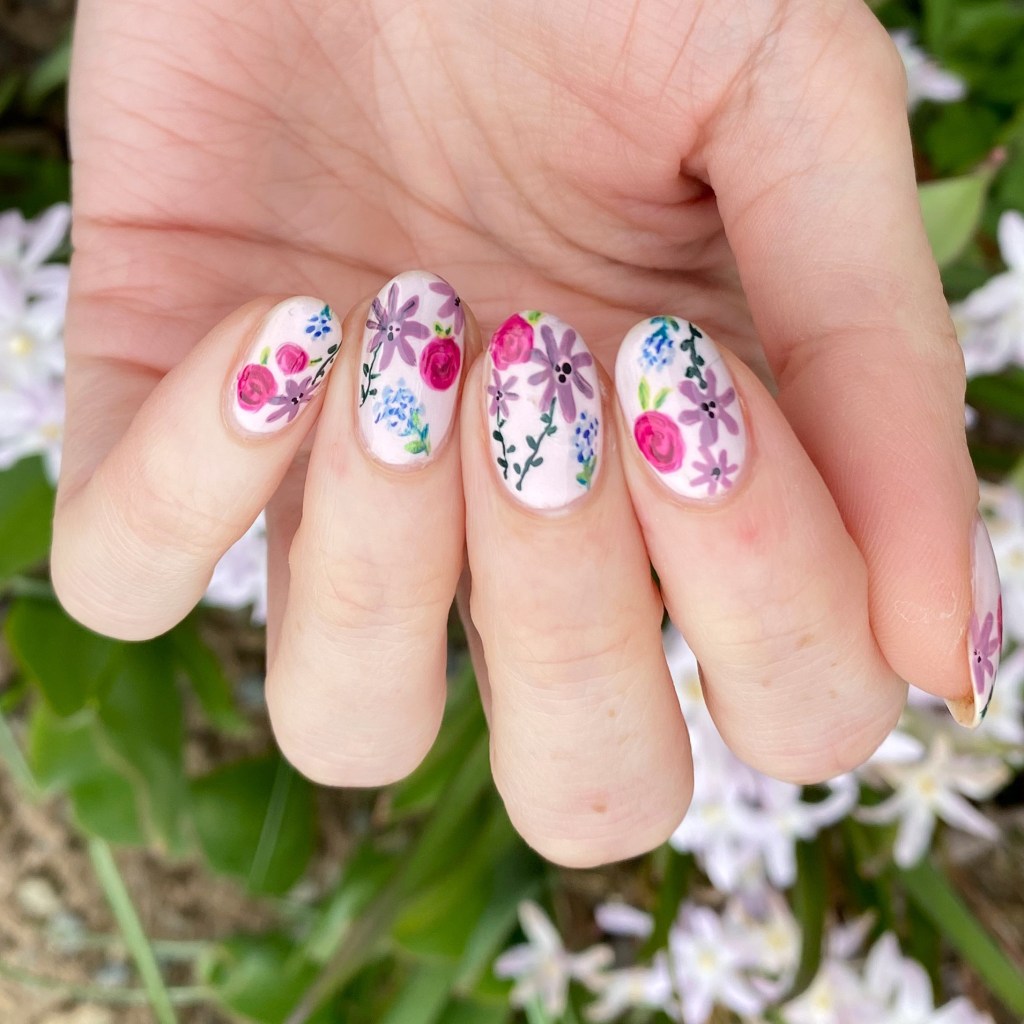
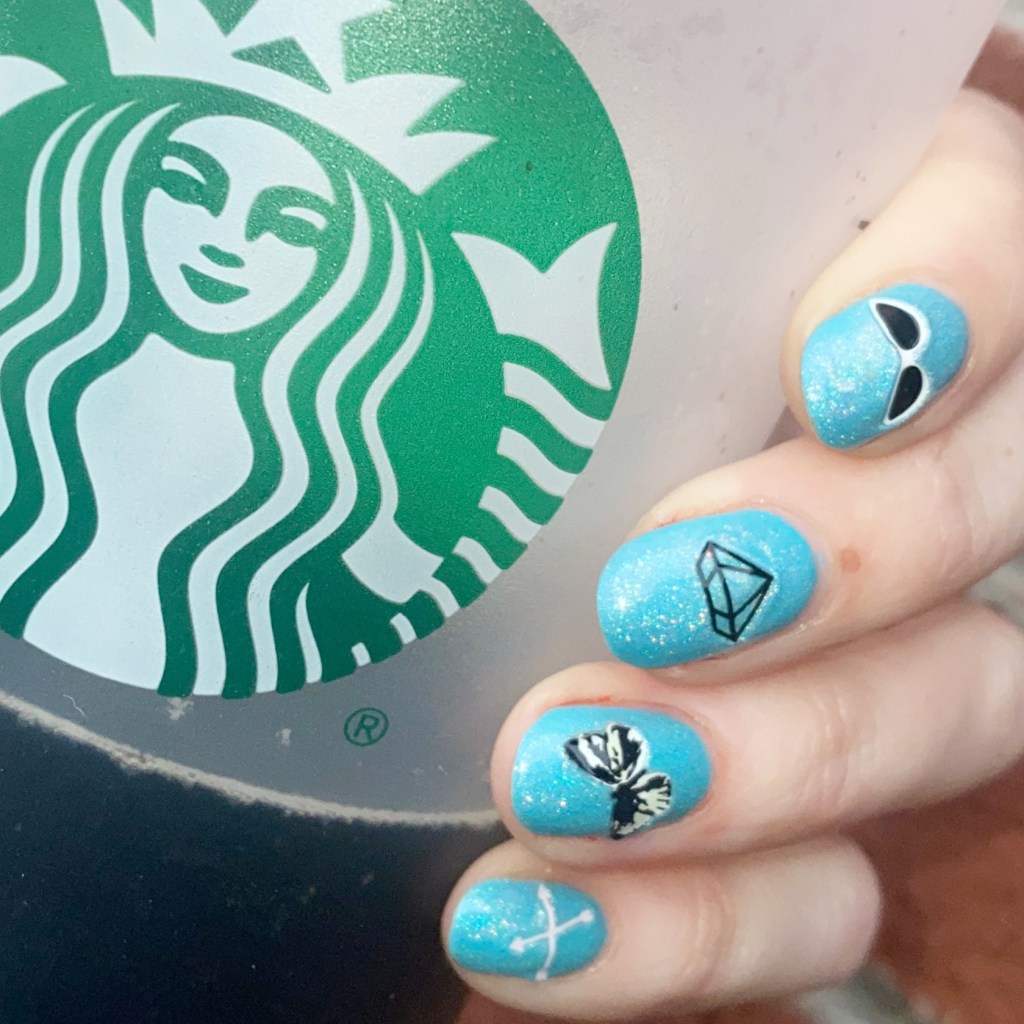
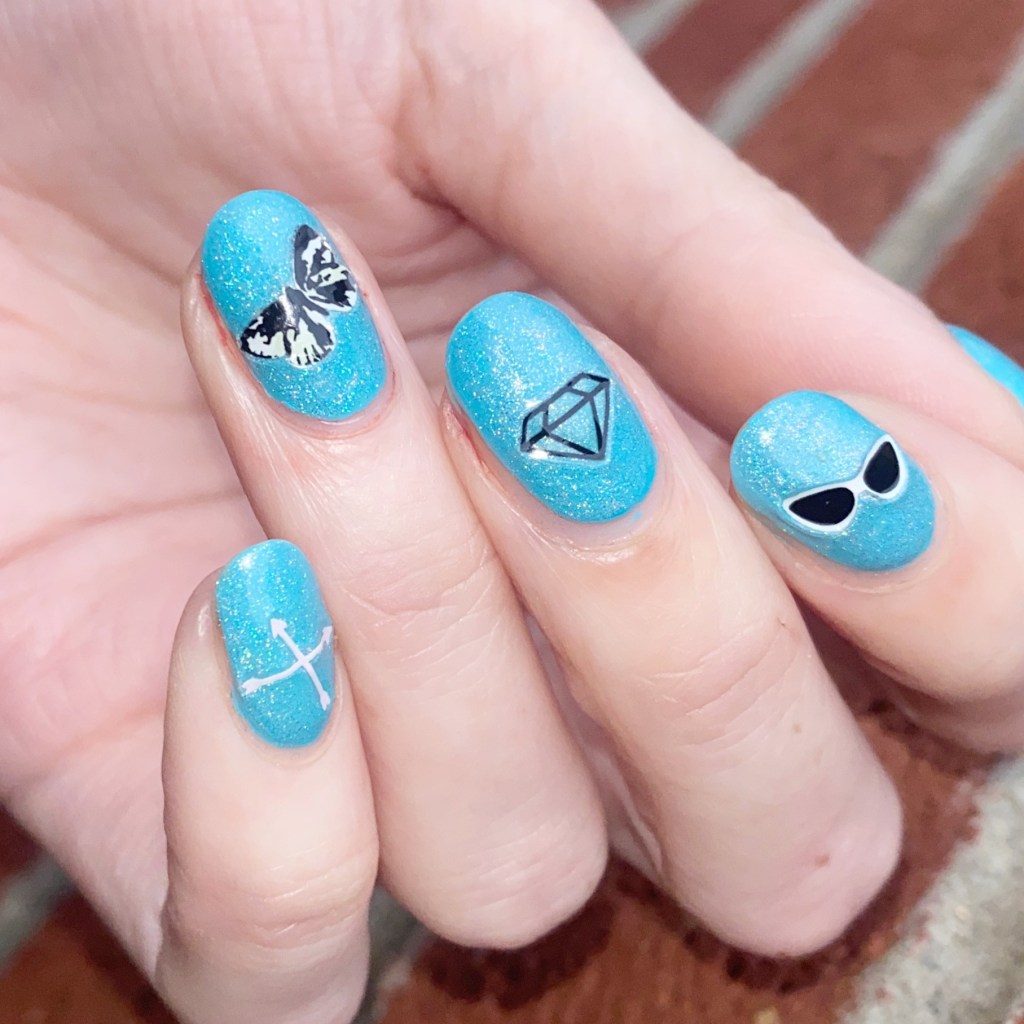
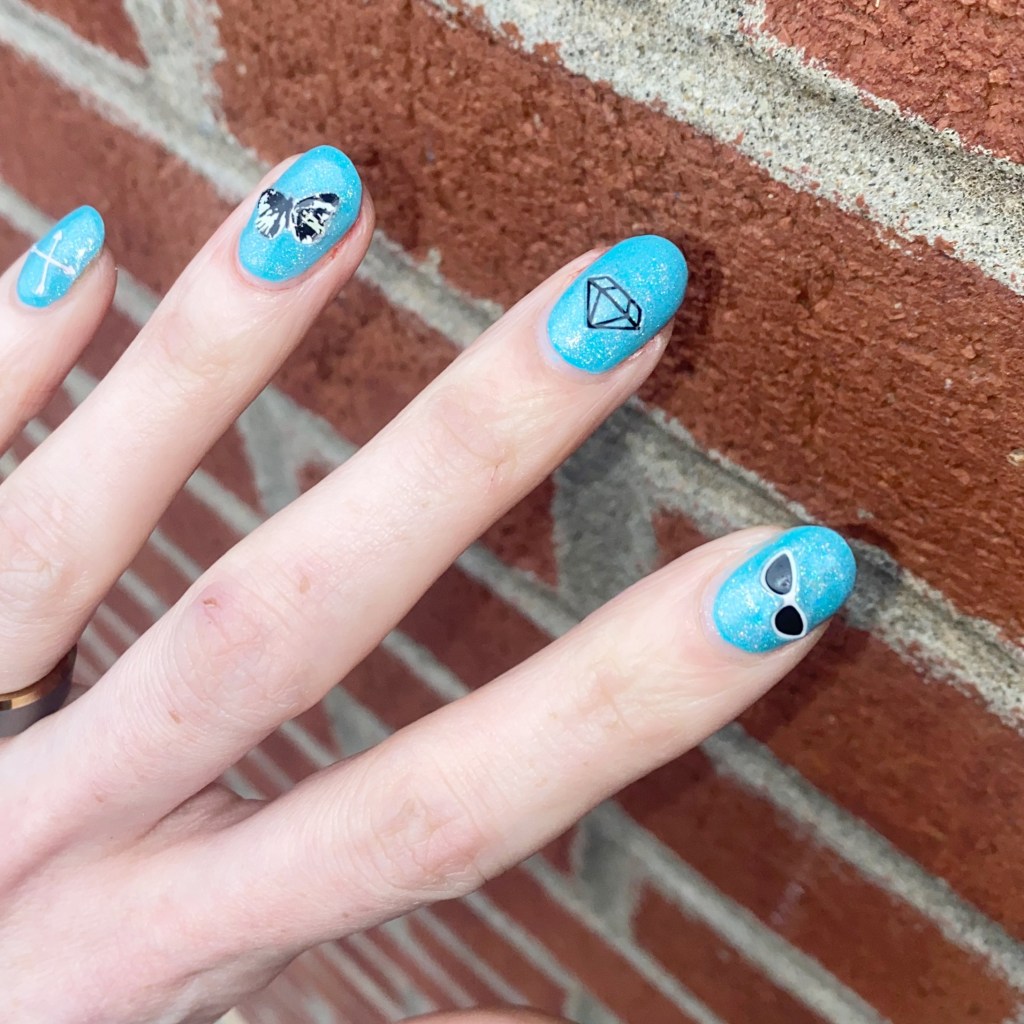
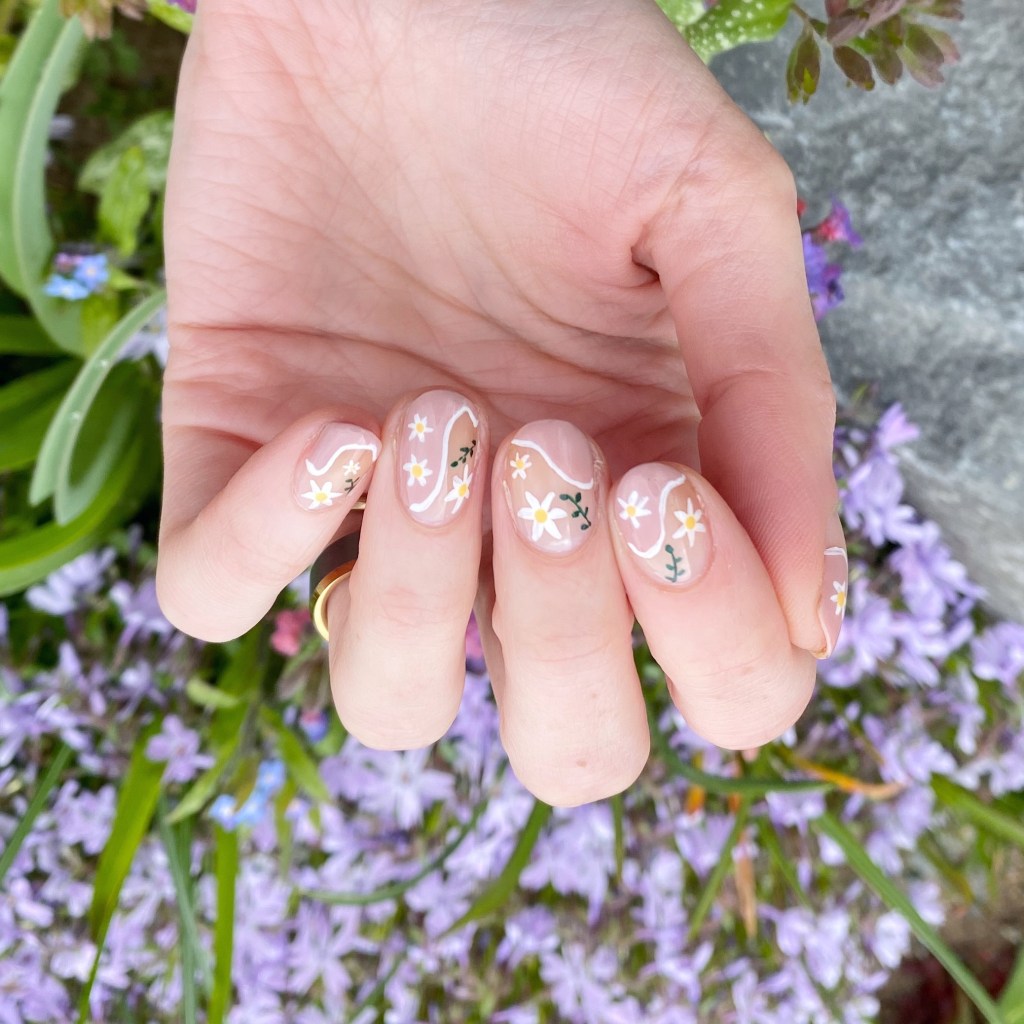
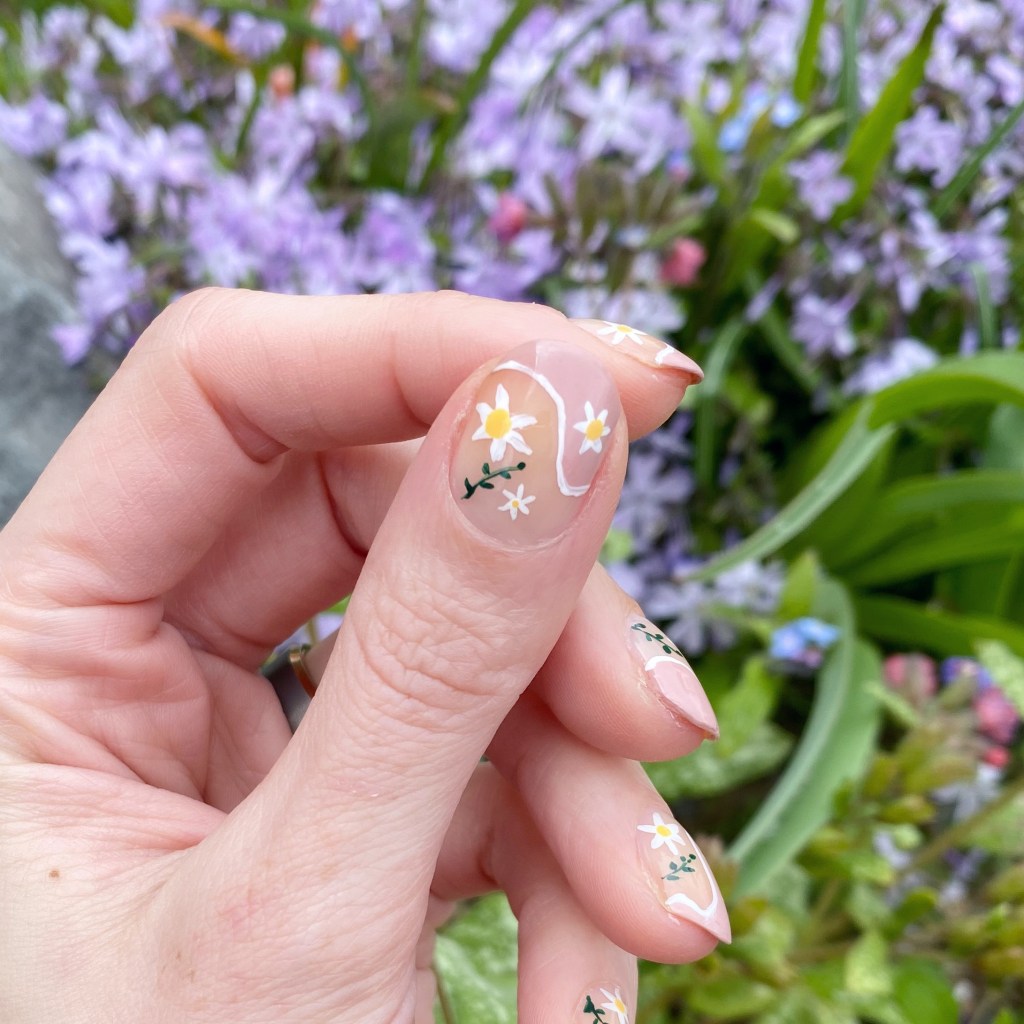
Today I’m starting off this week with another floral look. At this point, you can pretty much expect that I’ll be posting a floral design at least once a week for the foreseeable future. I’m kind of obsessed. Today’s look was another one of those random designs I kind of came up with in my head, & was beyond happy to bring to life on the nail. I really just wanted something dainty, & I think was successful in creating that.

The polishes I used for this manicure are: 

  • Base Coat: Londontown KUR Nail Hardener & Base Coat 
  • Top Coat: Seche Vive Fast Dry Top
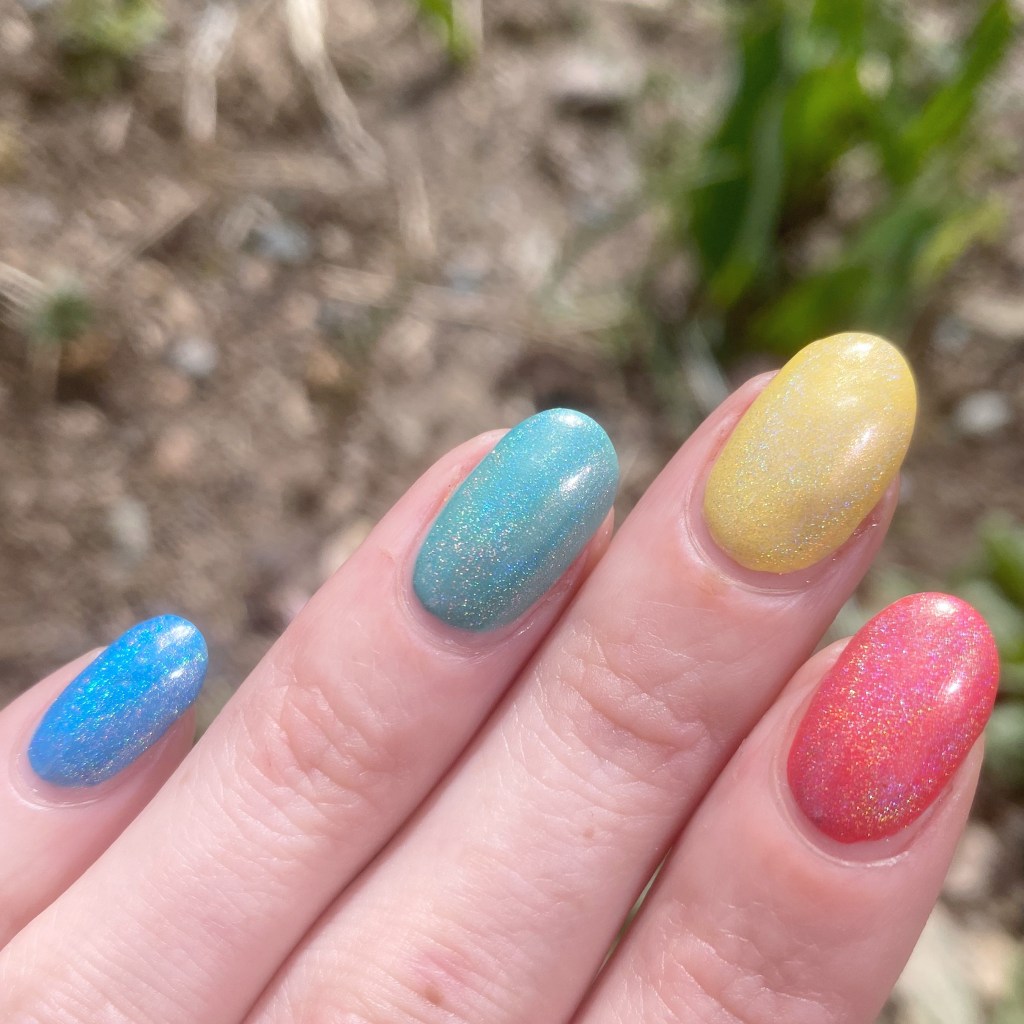
  • Essie Gel Couture Princess Charming
  • Essie Blanc
  • Essie Check Your Baggage
  • Essie Off Tropic
  • NailStuff.ca Mermaid Tail Brush Trio
  • NailStuff.ca Dotting Tool Trio

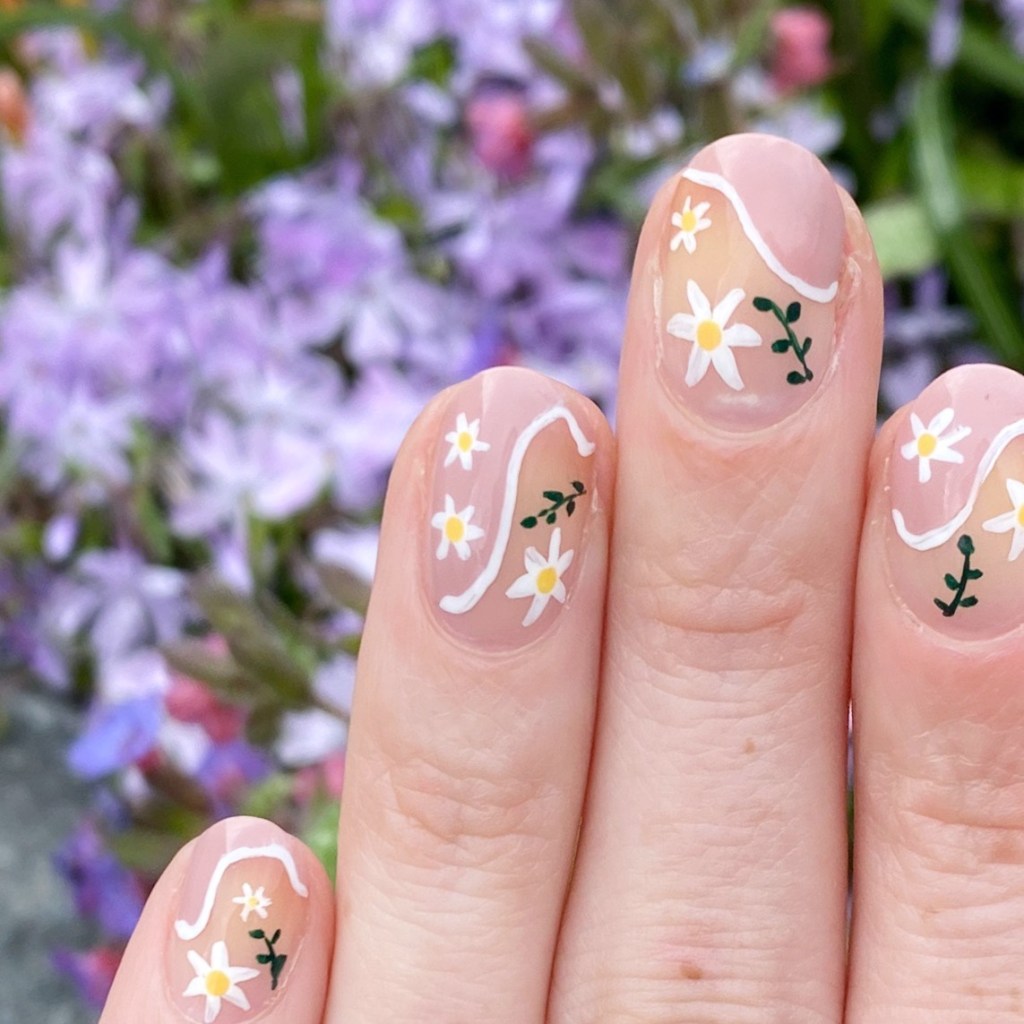
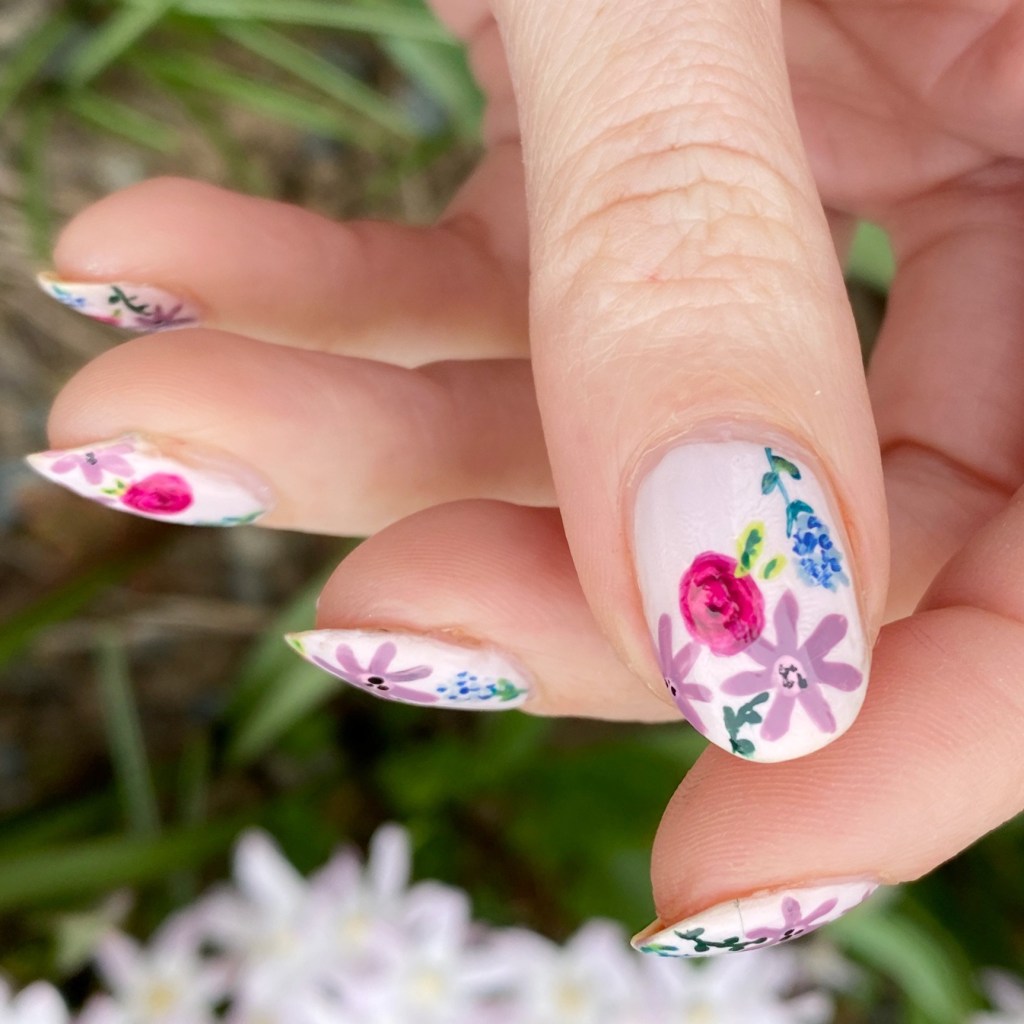
I’m kind of obsessed with how this turned out. I decided to go minimal on my floral — I usually use multiple polishes for each flower & my leaves — & I love how it looks. It’s clean & simple, which is exactly the look I was craving. A nice palate cleanser for the nail. I also really like that Princess Charming is quite neutral, so it doesn’t stand out too much on the nail & keeps that naked look I was going for.

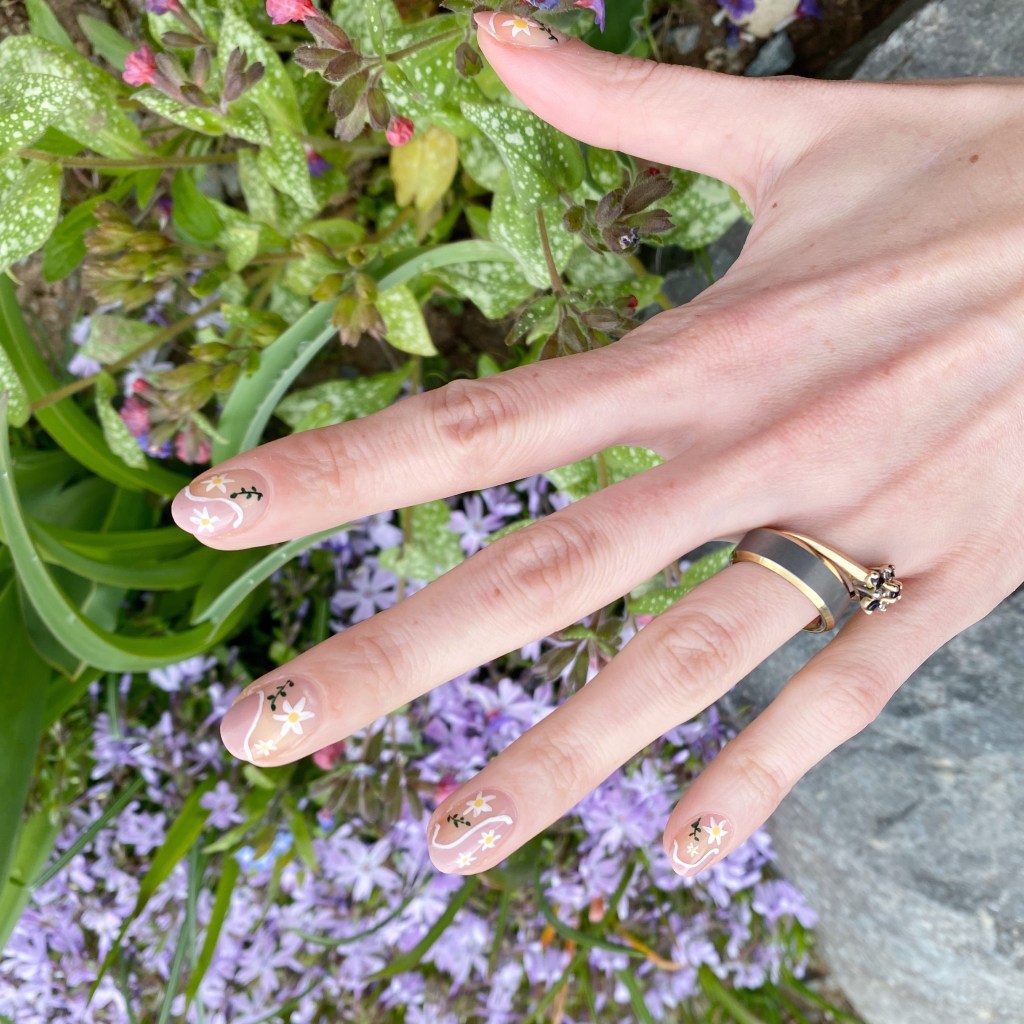
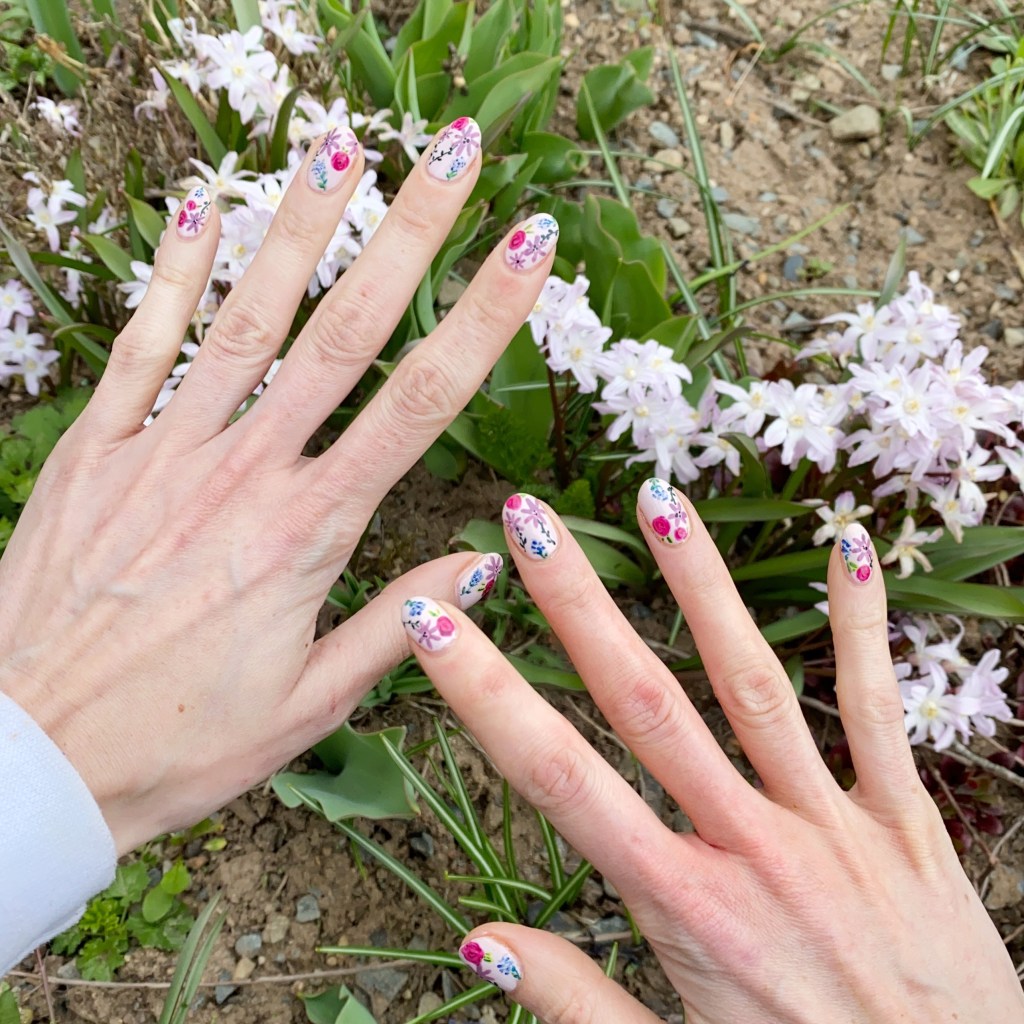
What do you think about this dainty negative space floral design? Do you like simpler cleaner looks like this, or more bright & colourful nail art designs? Let me know all your thoughts in the comments below!

You know you can count on me to do a nice mix of both.

Have a super amazing Monday. ♥︎

Blue Freehand Floral 🌿

Hello lovelies & happy Monday! I hope everyone had a beautiful weekend.

I’m starting off this week with a brand new floral design. I wasn’t joking when I said I was back in my floral era. Today’s look was me just playing around on the base shade I was wearing, but I’m really in love with how it turned out so I had to share!

The polishes I used for this manicure are: 

  • Base Coat: Londontown KUR Nail Hardener & Base Coat 
  • Top Coat: Seche Vive Fast Dry Top
  • Essie Peach Side Babe
  • Essie Mint Candy Apple
  • Essie In The Cabana
  • Essie All The Wave
  • Essie Under The Twilight
  • Essie Off Tropic
  • Essie Chillatto
  • NailStuff.ca Mermaid Tail Brush Trio

I love a contrasting nail art look. I thought blue would be so fun over this peachy base, & I was right! Also, trying to practice doing different styles of floral. Not sure what kind of flower I would call these, but they’re pretty!

What do you think about this floral look? Are you a fan of this contrasting nail art? Let me know what you think down in the comments below!

Instagram Floral Collab 🌸🌿

Hello lovelies & happy Friday!

I’m so super excited to share today’s manicure, because I was lucky enough to get to join in on a nail art collection via Instagram. You know me — I adore a good floral design, so I was excited to join in on this challenge.

These nails scream Spring, so I’m very excited to share this design!

The polishes I used for this manicure are: 

  • Base Coat: Essie Hard To Resist Glow & Shine 
  • Top Coat: Seche Vive Fast Dry Top
  • China Glaze Wanderlust
  • OPI One Heckla of A Color
  • OPI Gelato on my Mind
  • Essie All the Wave
  • Essie Off Tropic
  • Sally Hansen Good Kind Pure Peony Origins
  • Sally Hansen GKP Eco-Rose
  • Sally Hansen InstaDri Racing Rose
  • Aco by Ardene Sour Apple
  • Aco by Ardene Jungle Green
  • OPI My Geckos Does Tricks
  • Starrily Vantablack
  • NailStuff.ca Mermaid Tail Brush
  • Dotting tool (NailStuff.ca — Dotting Tool Trio)

This design took so many polishes to create, but it was absolutely worth it. & I think I remembered all the shades I used for this design. There was quite a few of them.

I was so excited to be a part of this collaboration & join so many talented nail artists. I really love challenging myself like this, because sometimes it’s hard to come up with designs all on my own.

Please don’t forget to check out #floralnailartmanicollab2023 on Instagram to see all the other stunning floral designs!

Happy Friday loves!

Easy Pop Art Nail Art with Stickers

Hello lovelies! I hope everyone is having a lovely week so far. Today I’m feeling Summer vibes, so I wanted to share a fun pop art inspired nail art I recently did that were super easy to do — especially since they basically involve no actual talent what-so-ever! & isn’t that the best kind of nail art?

The polishes I used for this manicure are: 

  • Base Coat: Essie Hard To Resist Glow & Shine 
  • Top Coat: Seche Vive Fast Dry Top
  • Holographic Top Coat: Starrily Eclipse
  • Essie In The Cabana
  • Olive & June Nail Art Stickers (discontinued sheet)

I recently picked up (well… last Summer) a new bottle of Essie In the Cab-ana which is one of my favourite Summer shades. But adding Starrily Eclipse over top brought it to a whole other level! & I’m definitely obsessed.

I also thought these Olive & June nail art stickers were so cute over top. The black & white stickers feel very pop art to me. This sticker line is long discontinued (I think it’s about 5 years ago I was gifted them) but they do have lots of other cute nail art stickers on their site. You can also find cute nail art stickers through my go to, NailStuff.ca, Deco Miami — although I’ve never tried them — & Amazon, obviously!

What do you think about these fun nail art looks? Do you like easy nail art looks like this?

Let me know all your thoughts down in the comments below.

GLAM NAILS CHALLENGE APRIL — Rainbow 🌈

Hello lovelies & happy Monday! I hope your day is starting off beautifully. Today I’m in a great mood because I’m sharing another beautiful manicure for Glam Nails Challenge April.

& what is the next prompt? Rainbow 🌈

The polishes I used for this manicure are: 

  • Base Coat: Essie Hard To Resist Glow & Shine 
  • Top Coat: Seche Vive Fast Dry Top
  • Holographic Top Coat: Starrily Eclipse
  • Sally Hansen InstaDri Cerulean (pinky)
  • Sinful Colours Fitspo
  • OPI Nature Strong Make my Daisy (middle)
  • Sally Hansen Complete Salon Manicure Fiery Island (pointer)
  • Essie Too Too Hot (thumb)

How pretty is this rainbow? I thought about hand painting a rainbow, but there is just something about a skittle design. I totally could have freehanded little white ‘s’ in the middle of each nails, & they would have been legit skittles! Simple, but effective.

Also the kiddos loved the look so much, they asked me to give them both rainbow nails! So here is a bonus shot of their fun rainbow nails. Even though I sometimes get a little on edge painting their nails — mostly because they hate sitting still — I do adore anytime they ask for me to paint their nails!

What do you think of these rainbow nails? Are you a fan of a rainbow skittle look? Let me know down in the comments below!

& just for fun: what is your favourite skittle flavour. I’m controversial because I will die on the hill that the green apple skittle was the best, especially in sour, but I know not everyone shares that opinion.

Have a lovely Monday!