Cozy Plaid Nails

Hello lovelies & happy Friday! I know, a post on a Friday… I’m feeling crazy. But I have a few cute Autumn nail art looks I haven’t yet posted, so I thought I would try to sneak a few in between Glam Nails Challenge looks.

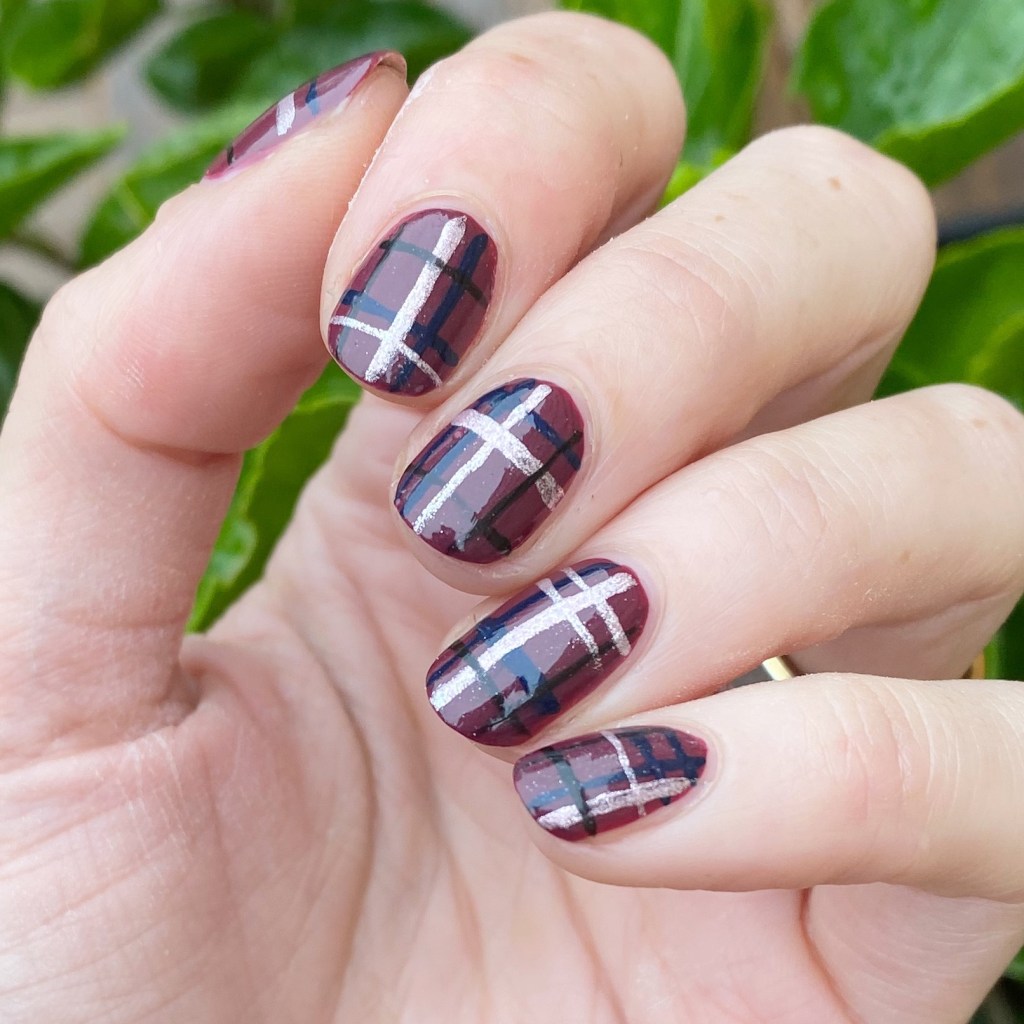
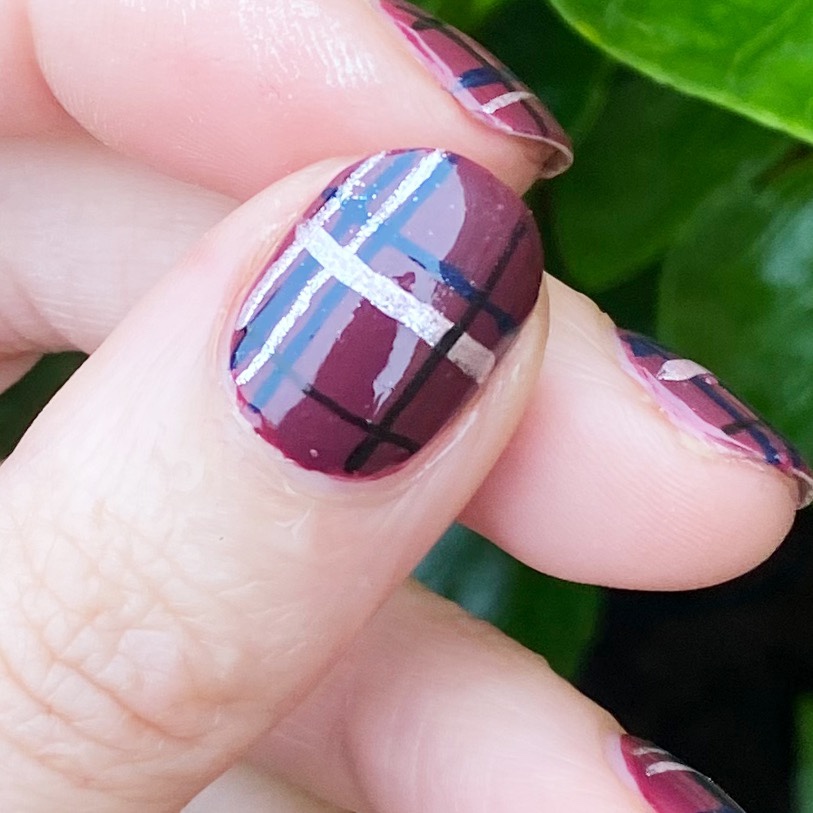
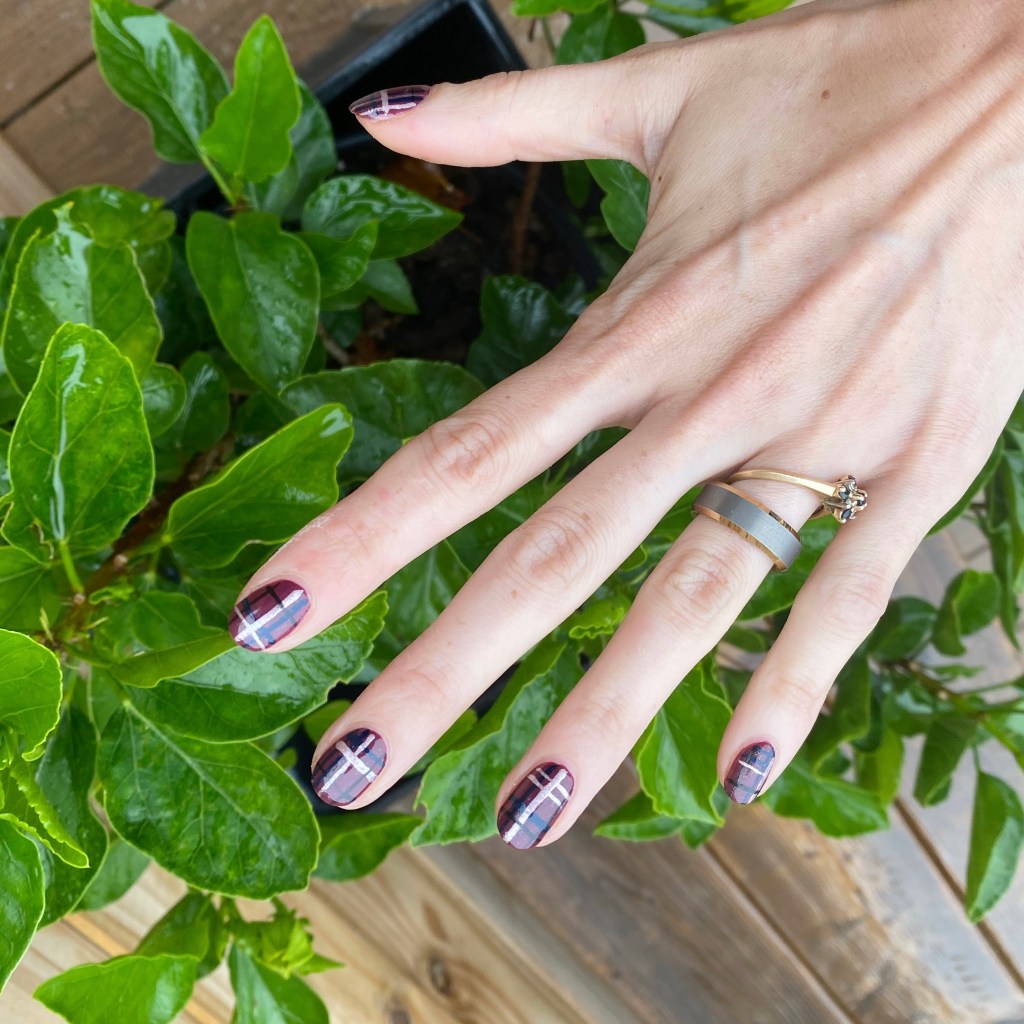
Today is a simple look, but a repeat favourite. Plaid nails! I’ve been doing this style of nail art a long time, & I never get tired of them. They just make a plain colour a little more fun. Plus, obviously plaid screams Fall as well.

The polishes I used for this manicure are: 

  • Base Coat: Essie Hard To Resist Glow & Shine 
  • Top Coat: Sally Hansen Complete Salon Manicure Fast Dry Top Coat
  • Sally Hansen Complete Salon Manicure Berry Fancy
  • Sally Hansen InstaDri Midnight Drive
  • Sally Hansen InstaDri Pedal to the Metal
  • Sally Hansen Miracle Gel Blacky-O
  • NailStuff.ca 16mm Striper Brush

This look was super easy to do. Nails painted a simple colour, & then just (carefully) paint some straight lines along the nail to create your plaid pattern. There are definitely a few different ways you can create a plaid pattern, but this is definitely my favourite way to do it. Plus, it’s probably the easiest way to create them as well.
What do you think about this nail art look? Do you like plaid nail art? Are my fellow Canadians excited about Thanksgiving this weekend? Let me know all your thoughts down in the comments below!

Subtle Red Colour Blocking

Hello lovelies & happy Tuesday! I hope everyone is having a fantastic start to their week. Can you believe we’re in August now? That’s just… this Summer is really speeding by!

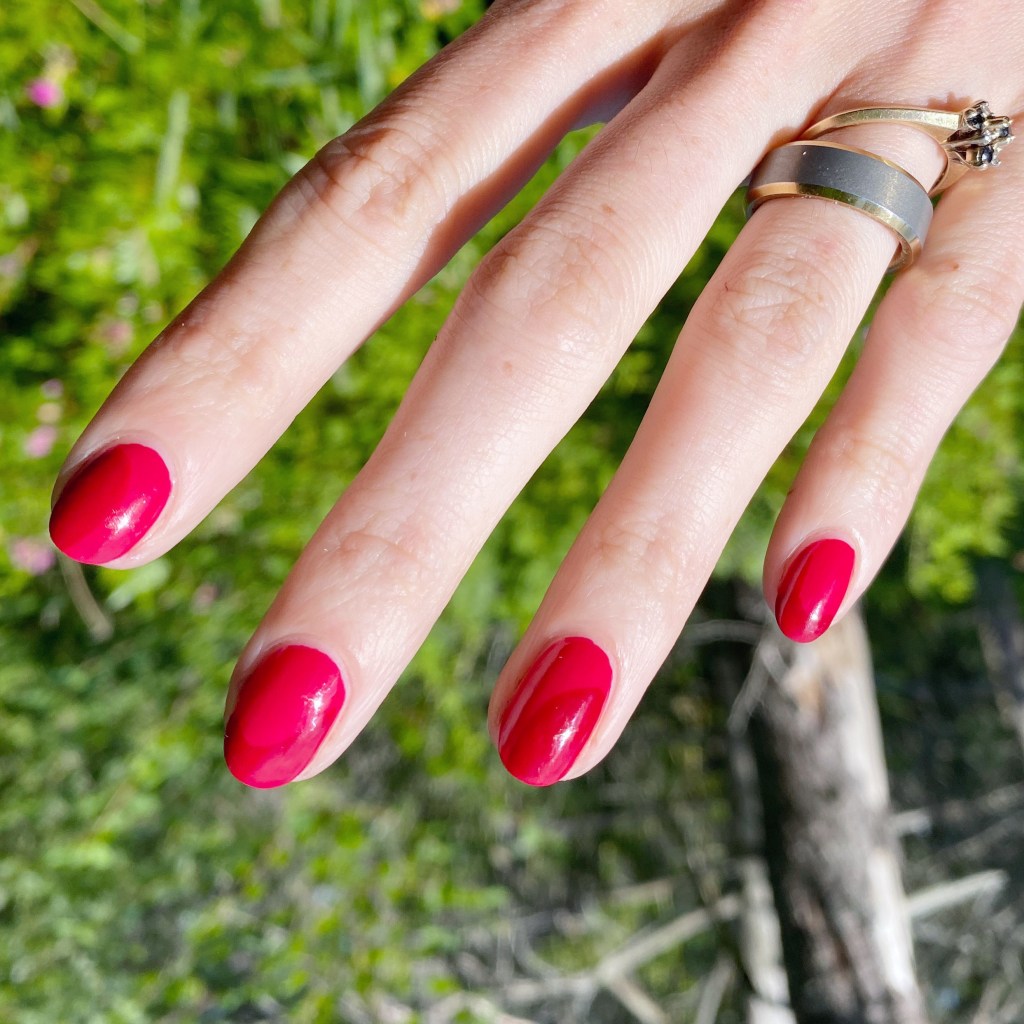
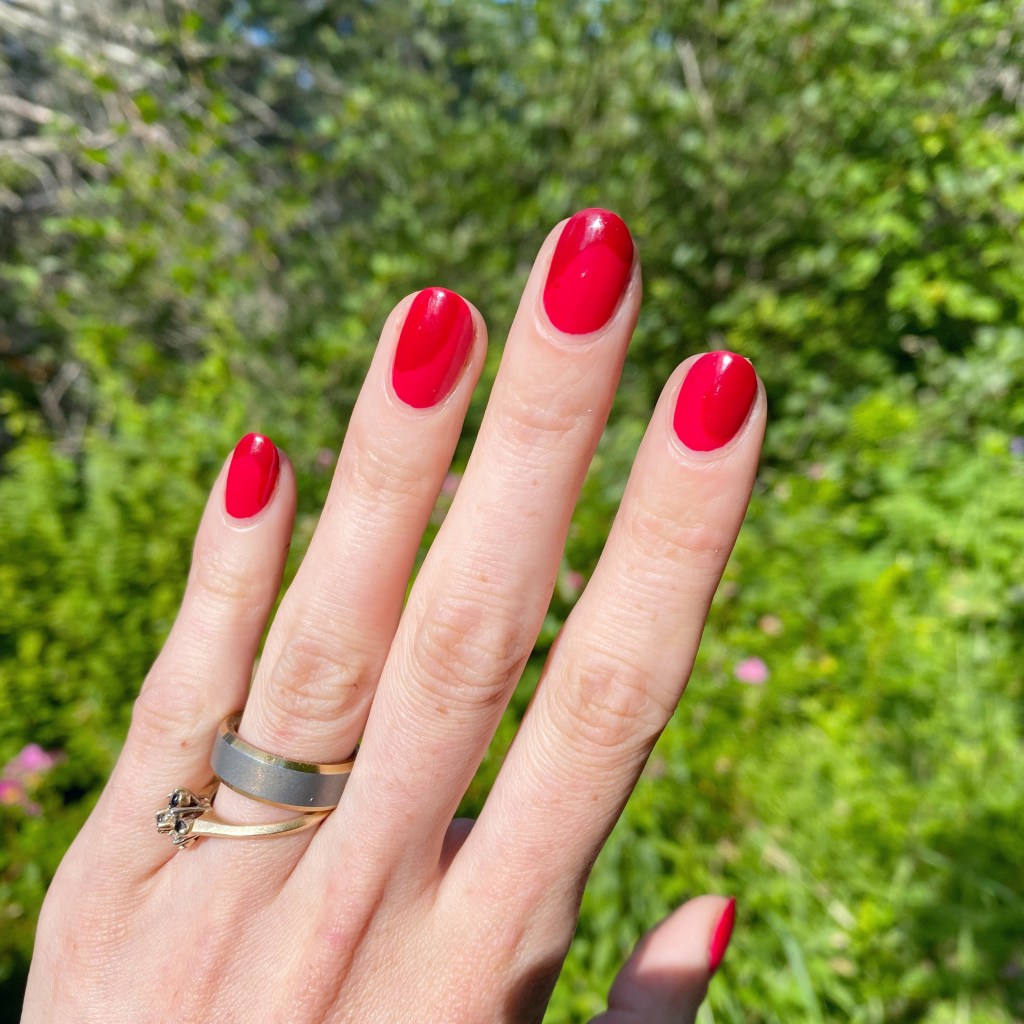
Today I’m sharing an easy nail art look I wore recently. We all know — I love red nail polishes. & I was feeling a red manicure. So I decided to pair a couple of red polishes together in a fun (& super simple) nail art look.

The polishes I used for this manicure are: 

  • Base Coat: Essie Hard To Resist Glow & Shine
  • Top Coat: Essence Colour Shine Top Coat
  • Sally Hansen Complete Salon Manicure Warm Regards
  • Sally Hansen CSM Red Handed

I really like the subtle red on red nail art. Like I said, I really wanted to wear red nails — I always want to wear red nails — but I wanted to spice it up a smidge, & this subtle colour blocking seemed like an easy, cute option! From far away you might not notice to two colour paired together, but up close you can see the fun pattern. Next time, I might do a similar look, but with all red abstract stripes.

Any excuse for red nails!

What do you think about this subtle colour blocking design? Is this a nail art design you would wear?

Let me know what you think down in comments below — & what colour you would wear this design in!

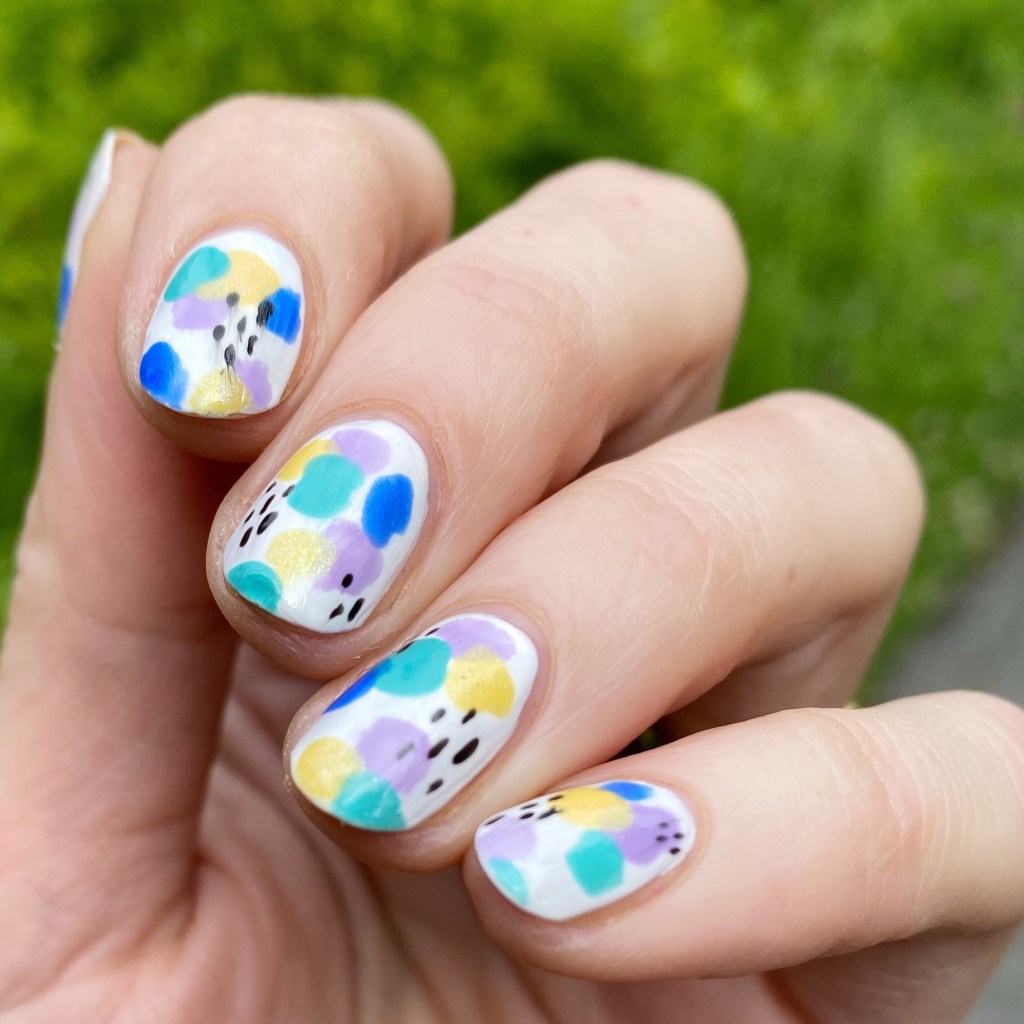
Summer Bright Abstract Dots

Features Gifted Product in Exchange for Content

Hello lovelies & happy Tuesday! I hope everyone’s week is off to a lovely start.

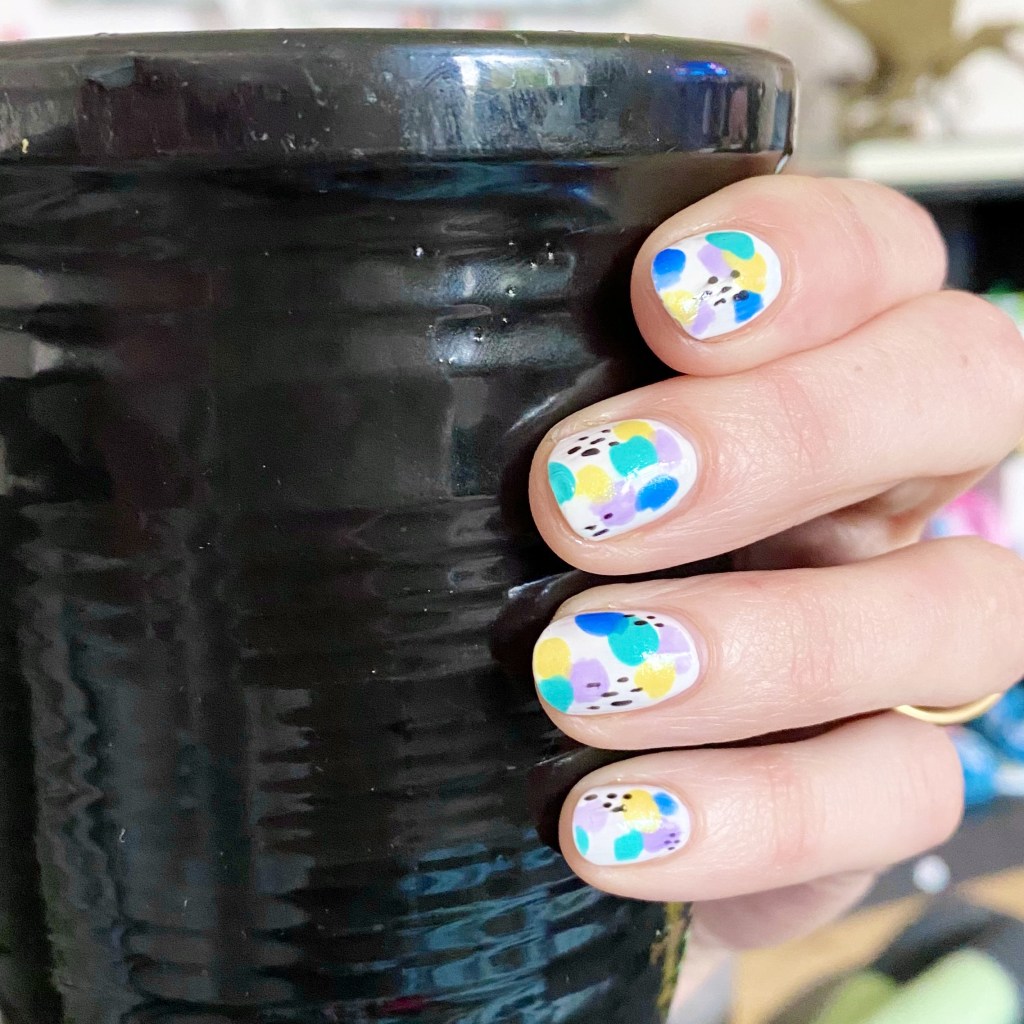
I’m actually excited because I’ve been creating some fun nail art lately. I’ve been inspired by my nail polish, & sunny days, & bright colours. So I’ve been creating a bunch of fun, & easy, nail art looks lately. There is something about painting my nails that just makes me feel a little less stressed, & right now I will take all the stress relief I can get.

The polishes I used for this manicure are: 

  • Base Coat: Essie Hard To Resist Glow & Shine 
  • Top Coat: Sally Hansen Miracle Gel Top Coat
  • Sally Hansen Miracle Gel x Friends A Moo Point 
  • Sally Hansen Miracle Gel x Friends Yellow Taxi 
  • Sally Hansen Miracle Gel x Friends Laven-door
  • Sally Hansen Miracle Gel x Friends How You Bluein’?
  • Sally Hansen Miracle Gel x Friends The One With the Teal
  • Sally Hansen Miracle Gel Black-O
  • NailStuff.ca Dotting Tool Trio
  • NailStuff.ca 4mm Micro Detail Brush

This look was partially inspired by this manicure I did a few Summers back, but decided to brighten up the colour scheme a bit.

Also my little girl decided she really wanted her nails painted like Mummy, so I decided to recreate this nail art on her tiny little nails, & I’m quite impressed with how they turned out! It was surprisingly easy, even on her tiny little nails. I always get really excited when she asks me to paint her nails, especially when she wants her nails painted like me.

What do you think about this abstract dot looks? I’m still really loving these bright & fun Sally Hansen x Friends Miracle Gel collection. They’re just so much fun for Summer.

Products featured in this post were provided in exchanged for content.

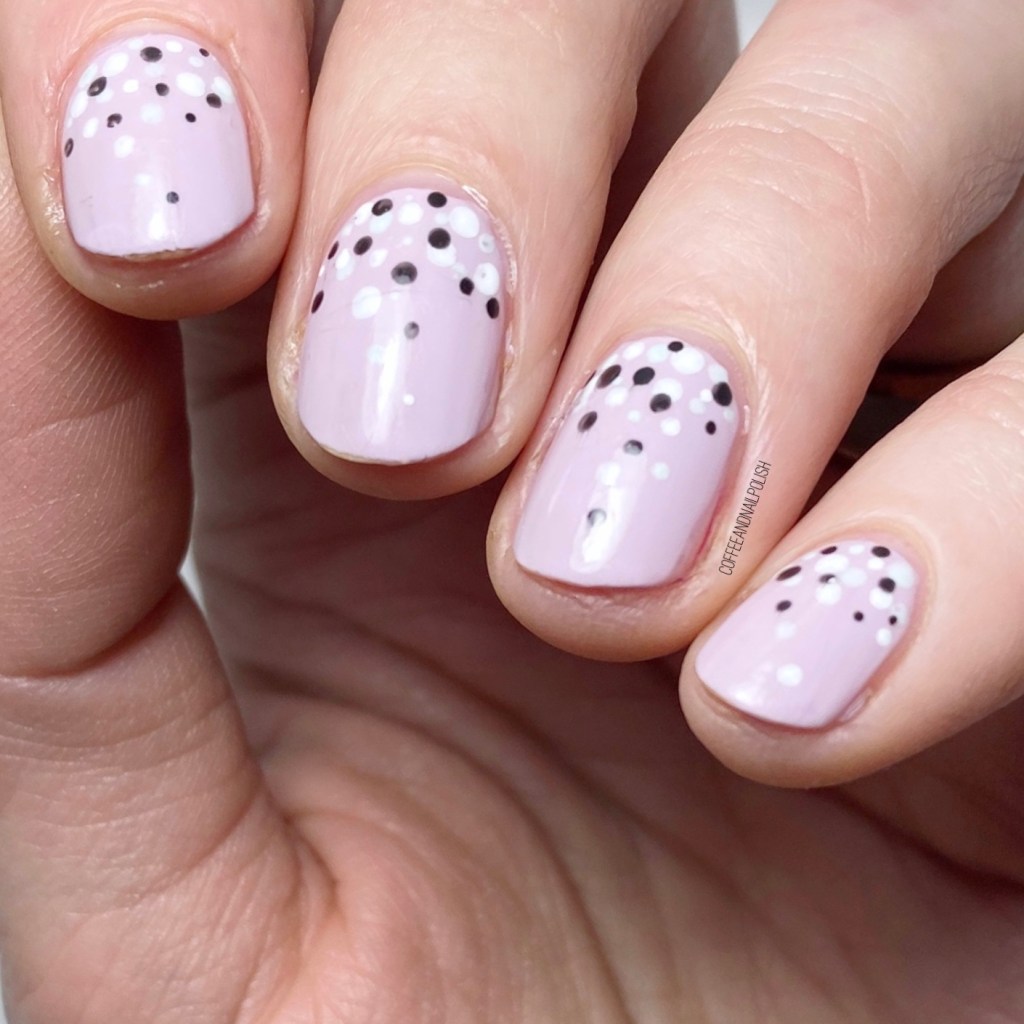
Glam Nails Challenge March — Dots

Hello lovlies & happy Wednesday! I hope everyone is having a lovely week so far. It’s been hit or miss with the weather here, but I’m really hoping as we say goodbye to March, we’ll have a lovely April to look forward to! A girl can dream, right?

In the meantime, we have the last prompt for Glam Nails Challenge March today! This month has definitely sped by. I always love doing these challenges, not just to connect with the nail polish community & see everyone else’s interpretations of the same idea, but also because it challenges me when I might sometimes be struggling with ideas.

The polishes I used for this manicure are: 

  • Base Coat: Sally Hansen Good. Kind. Pure Hardener 
  • Top Coat: Essie Speed Setter
  • Londontown Lakur Briolette
  • Starrily Vantablack
  • Sally Hansen Miracle Gel Get Mod
  • Londontown Lakur Mint No Chip
  • NailStuff.ca Dotting Tool Trio

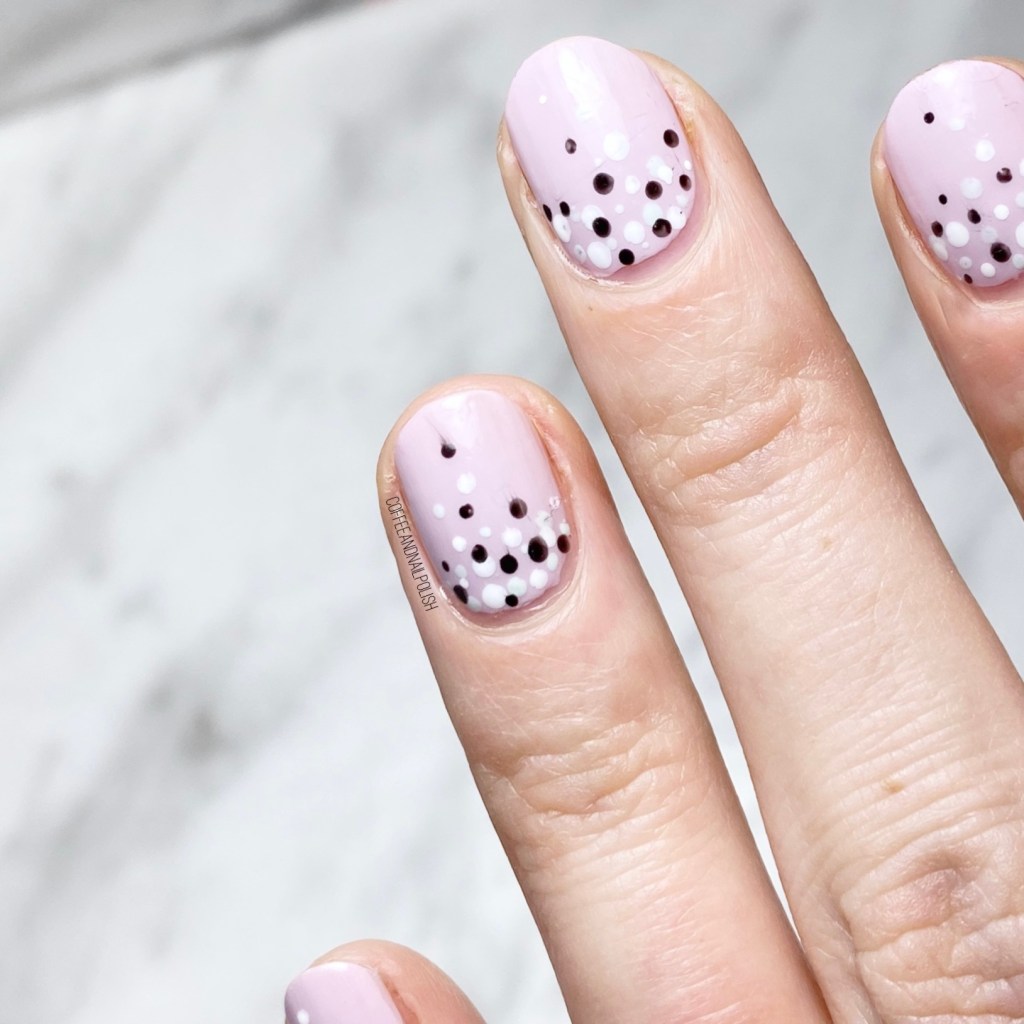
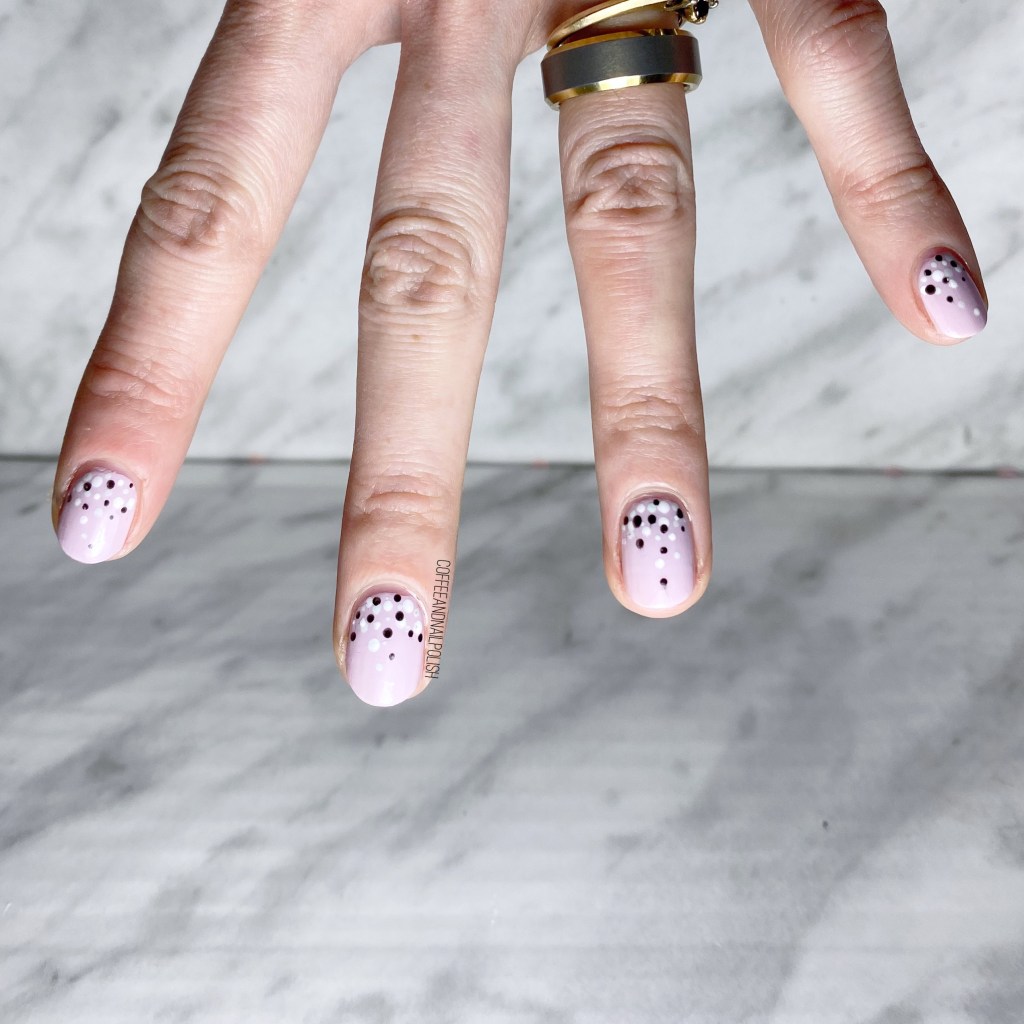
How cute is this nail art look? Now that I’m rocking my serious shorties, I like dainty nail art looks like this — they used to be one of my favourite go to nail art looks. & they’re very very easy to do.

Can you believe Glam Nails Challenge March is already over, & April is almost here? Have you enjoyed all these manicures from this last month?

I haven’t quite decided whether or not I’ll be participating in next Month’s challenge, but stay tune to see what next month brings!

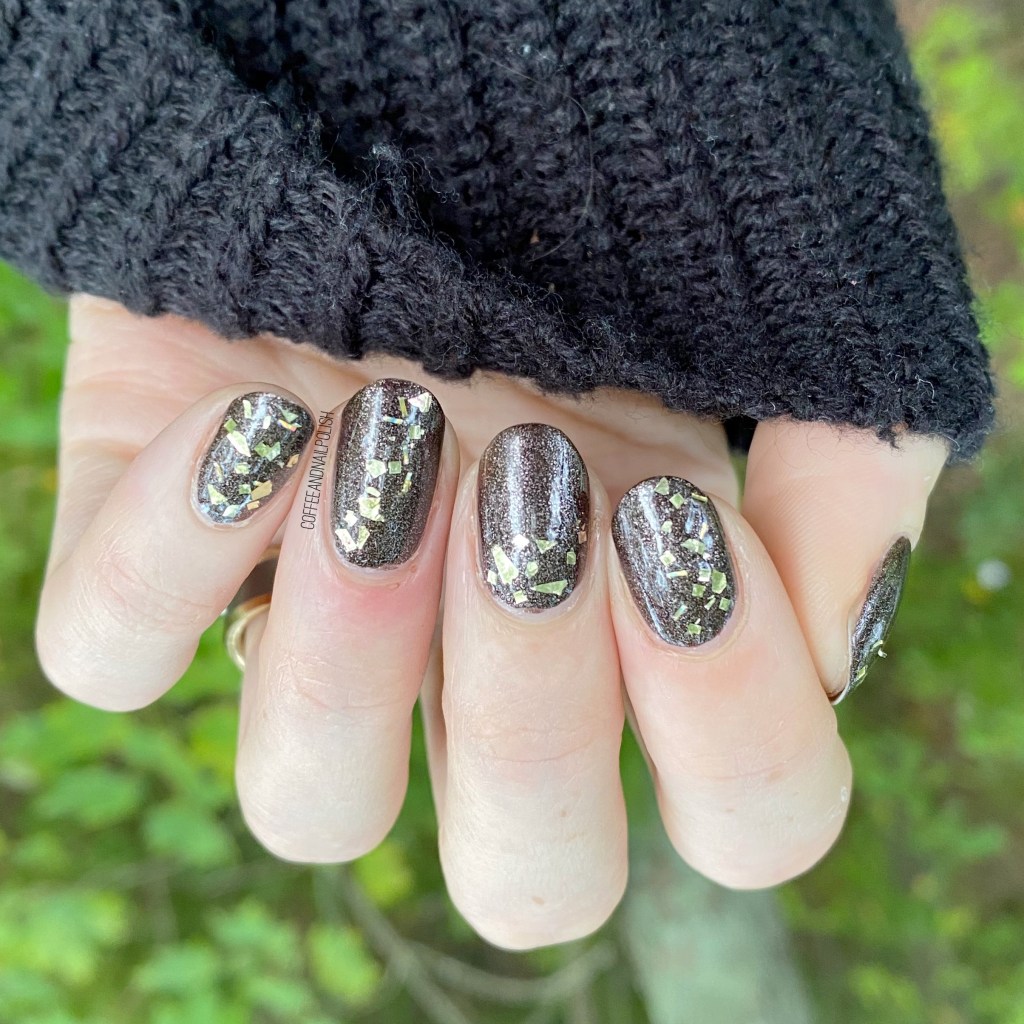
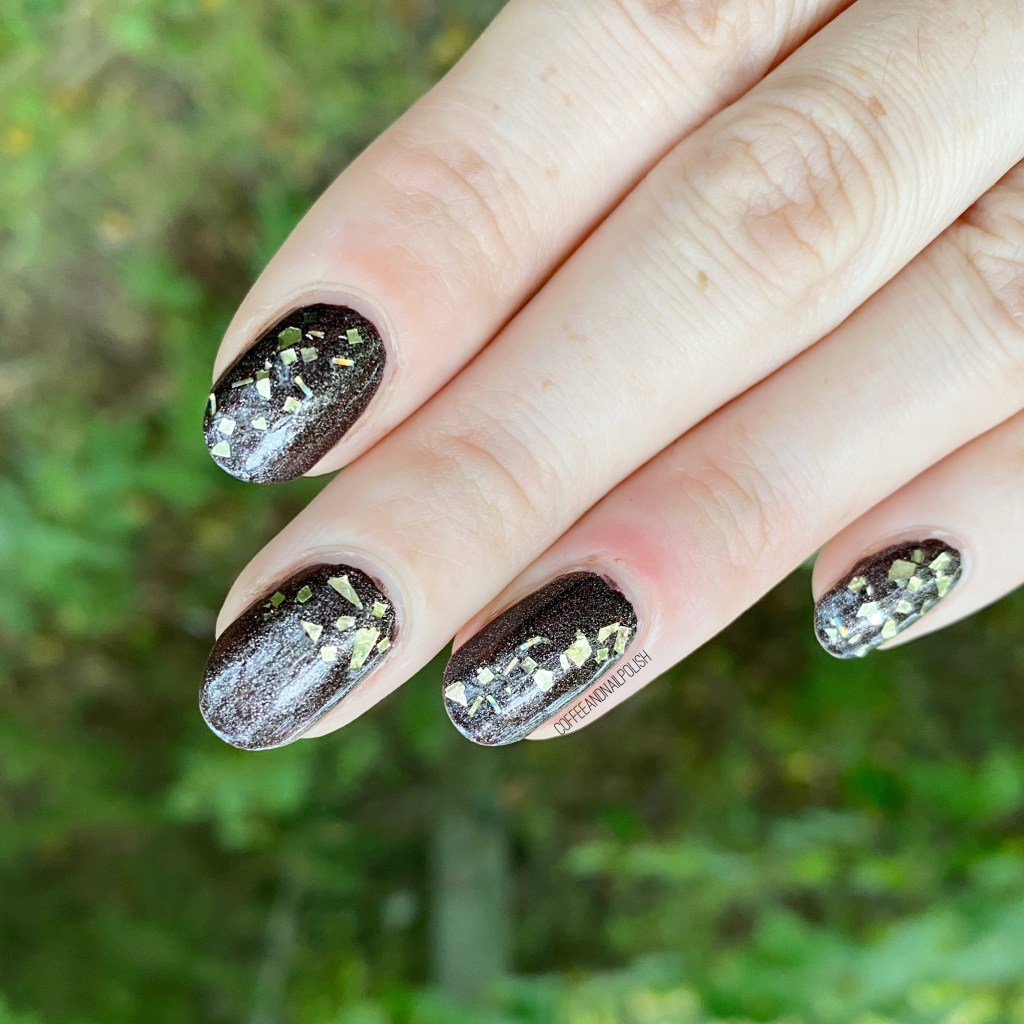
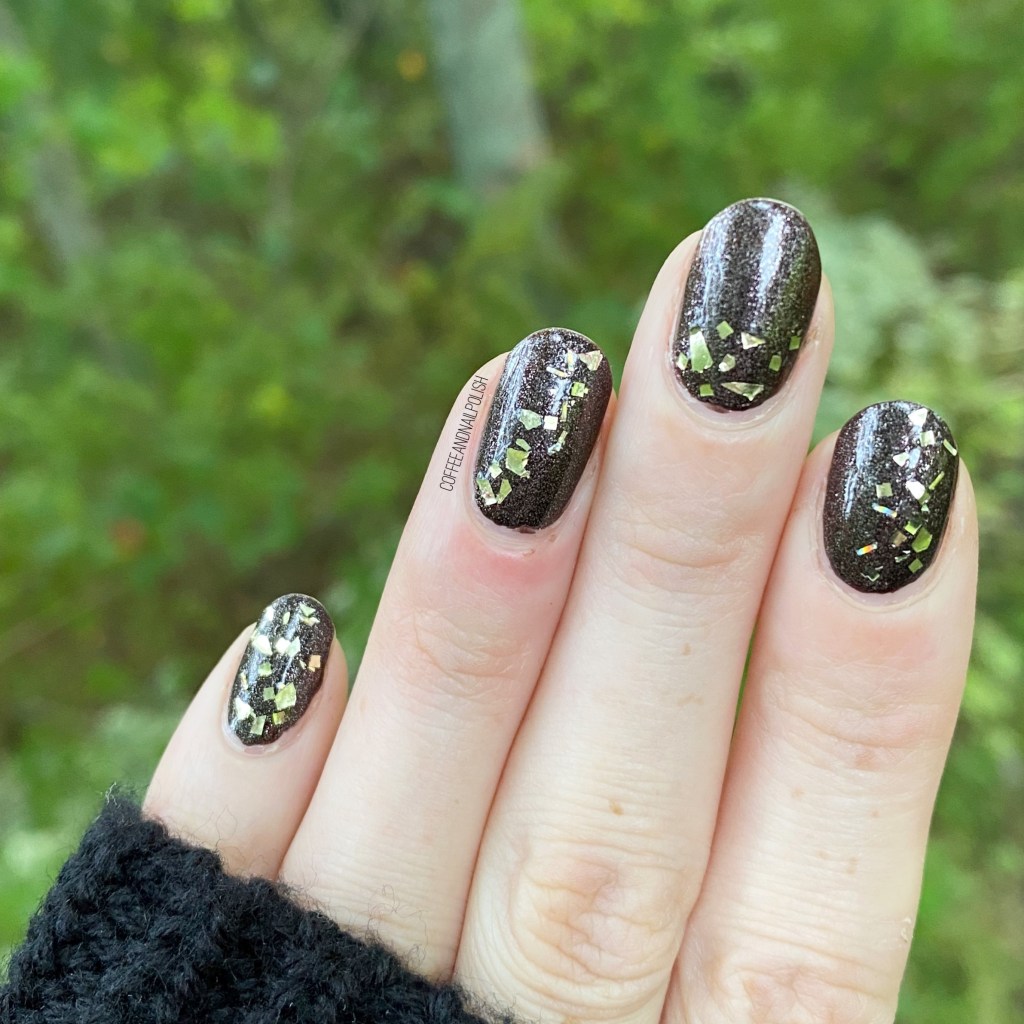
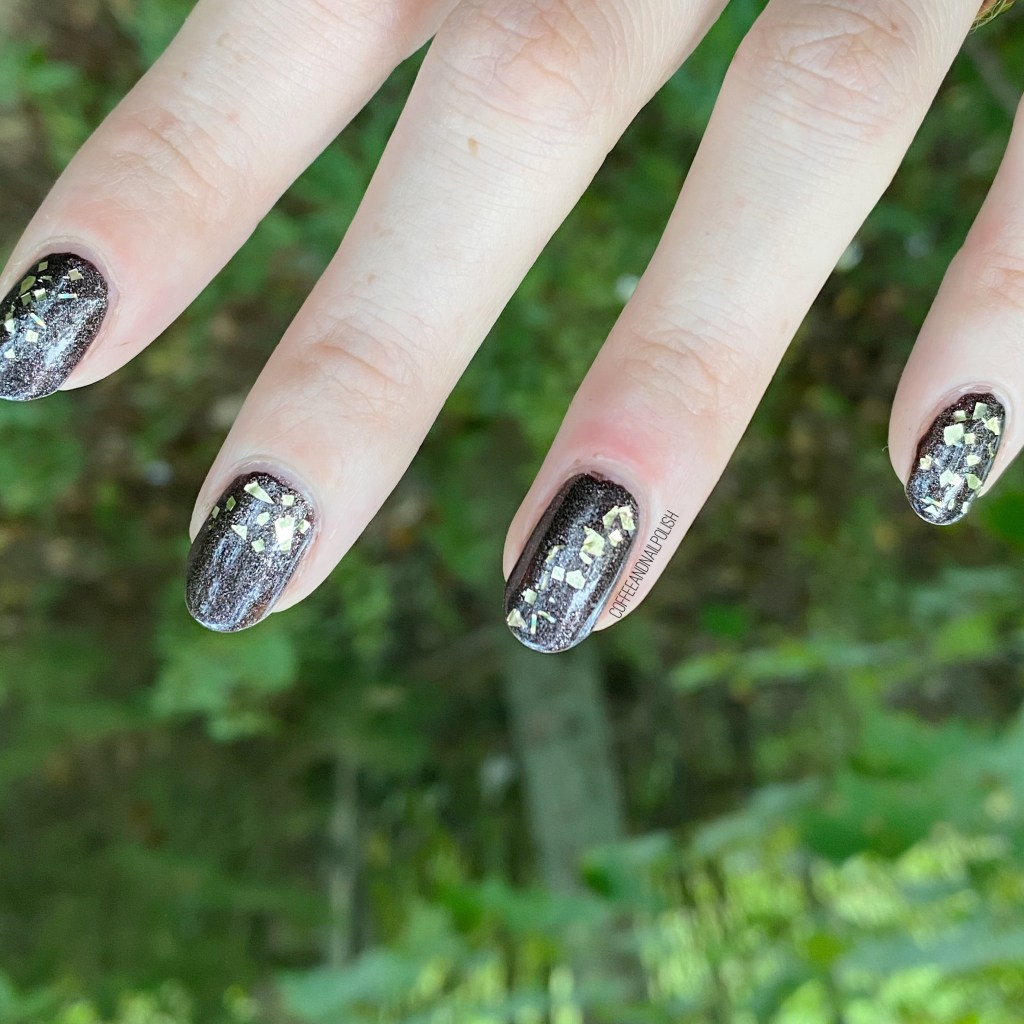
Brown & Gold Shattered Glass Glitter Placement

Hello lovelies & happy Tuesday!

Can you believe we’re in the final days of September? It’s kind of crazy. Where has this month gone already? It’s certainly been a busy month at our house with school starting. I can’t believe that we’re already a month in… & Summer is already feeling like a distant memory. Although, I cannot lie — I’m super pumped for my favourite month: October!

Now that we’re officially deep into Autumn, & the late September weather is in full force, I’m really feeling the Fall nail art. I realized the other day I haven’t done a shattered glass nail art design in way, way too long. I was wearing this beautiful brown shade, & realized it would be the perfect base for some gold shatter glitters, so I decided that was just the nail art look I needed in my life.

The polishes I used for this manicure are: 

  • Base Coat: Essie First Base
  • Top Coat: Seche Vive
  • Sinful Colors Essen-chills Smoky Palo Santo
  • Sinful Colors Twilight Twinkles
  • NailStuff.ca Dotting Tool Trio

First of all, how absolutely beautiful is this brown shade? This is another one of the Sinful Colors Essen-chills scented shades that I picked up at Walmart earlier in the month. I really love the dense silver shimmer with the dark, dark brown base. & I know I keep saying this, but I’m just absolutely obsessed with brown nail polish, which is such a weird thing for me because I was not expecting to be a brown nail polish girl. But I totally am!

Second, this gold shard glitter goes so well over top. I used to be absolutely obsessed with these style of manicures a few years ago, & I think I need to bring them back again. It’s such an easy look to achieve, because it requires minimal tools. Sure, it does take a bit of time to do… but not nearly as much as you would expect! I think I’ll have to keep my eyes out for more of these style of glitter polishes

What do you think about this nail art look? Are you feeling these shattered glass nails? Have you ever tried a glitter placement look like this? Let me know all your thoughts down in the comments below — & get excited because Halloween designs are coming very soon!