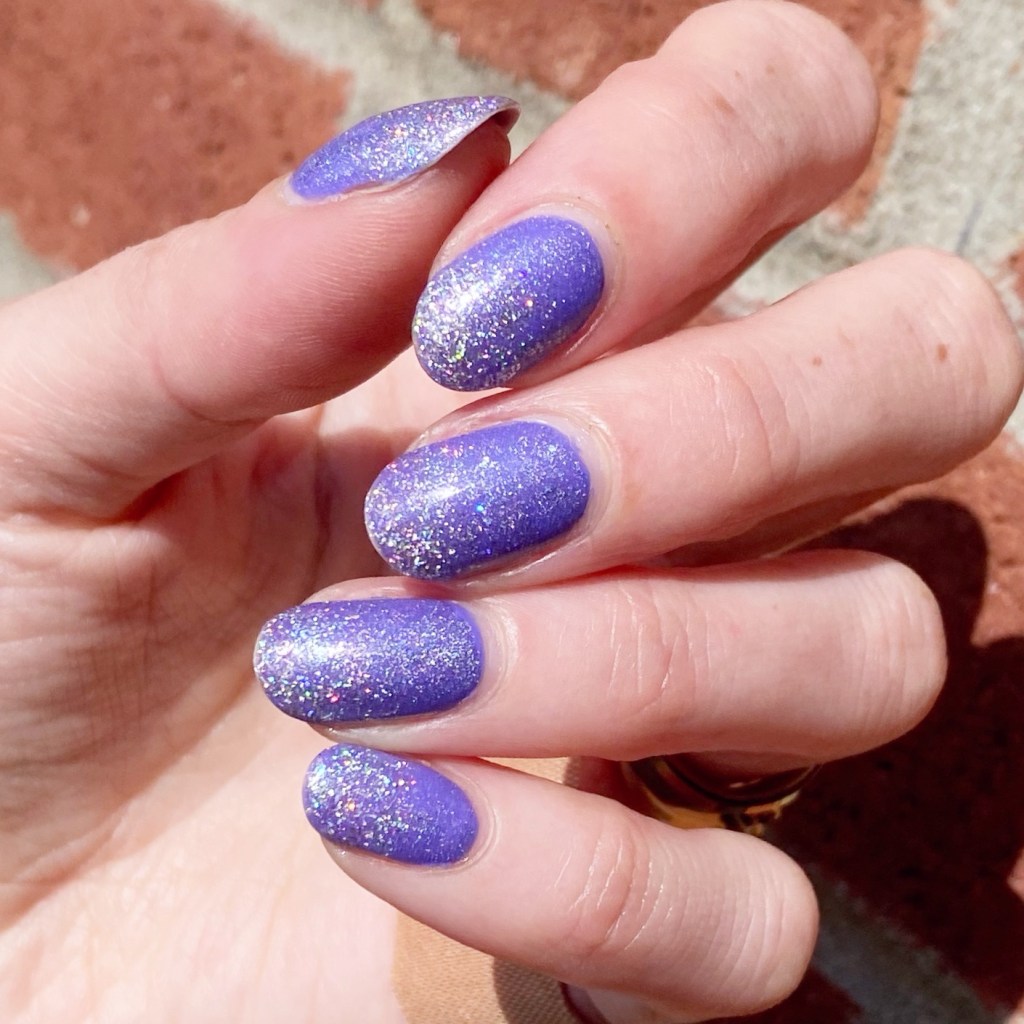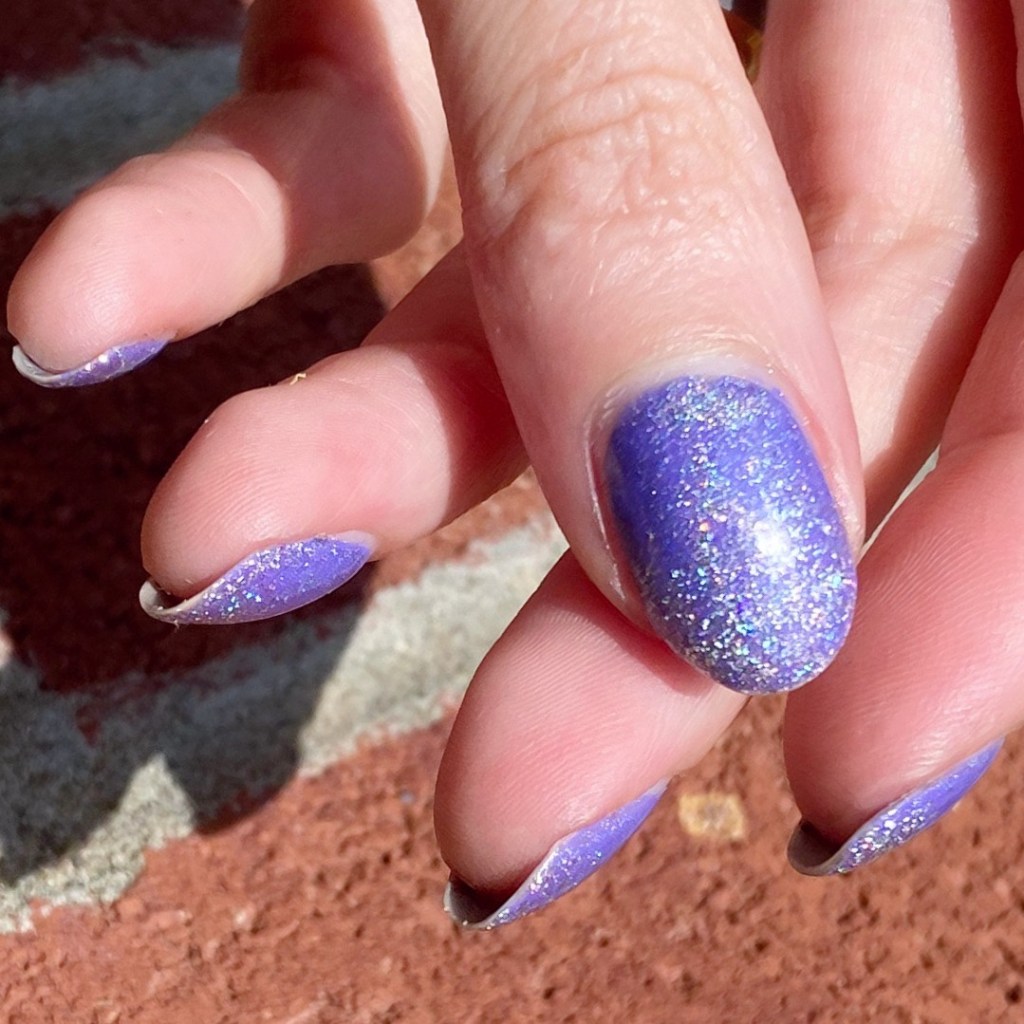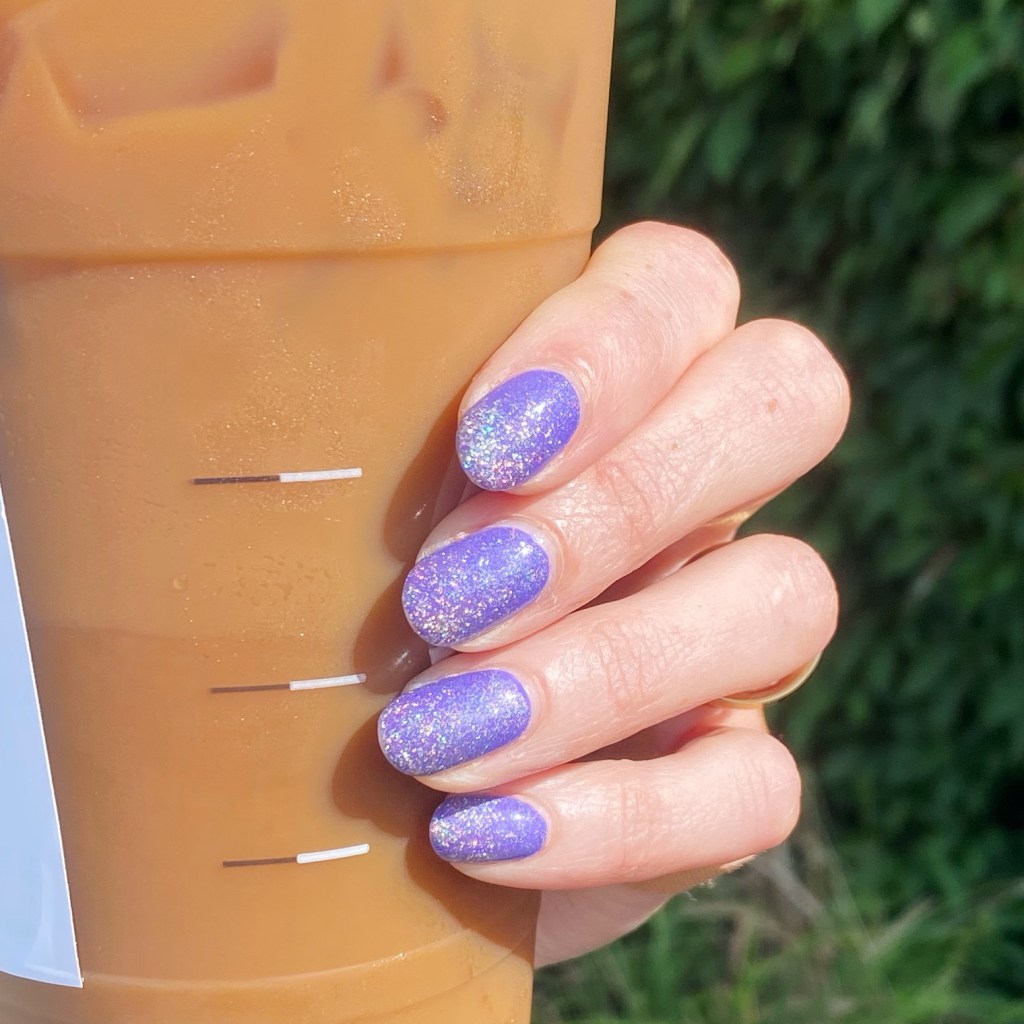
Purple Holographic Glitter Gradient 💜✨

Happy Wednesday lovelies.

The sun is shining, & that is more than enough reason for some holographic nails! I was feeling some serious glitter, & I think this manicure achieved that.

The polishes I used for this manicure are: 

  • Base Coat: Essie Here to Stay
  • Top Coat: Essie Gel Setter
  • Color Club Pucci-Licios
  • Nubar Treasure
  • Color Club Top Shelf
  • Starrily Space Debris

Look at that sparkle! ✨ yes, I have quite a few polishes layered to achieve this look, but it’s totally worth it. It’s been a rough week & a half, so a little extra sparkle is totally what the universe ordered. It makes me smile, & feel extra pretty.

What I love is I didn’t even need any tools to achieve this — just a little patience to apply the glitter to my tips! Definitely obsessed with the over all sparkle, especially when I’m in the sunshine.
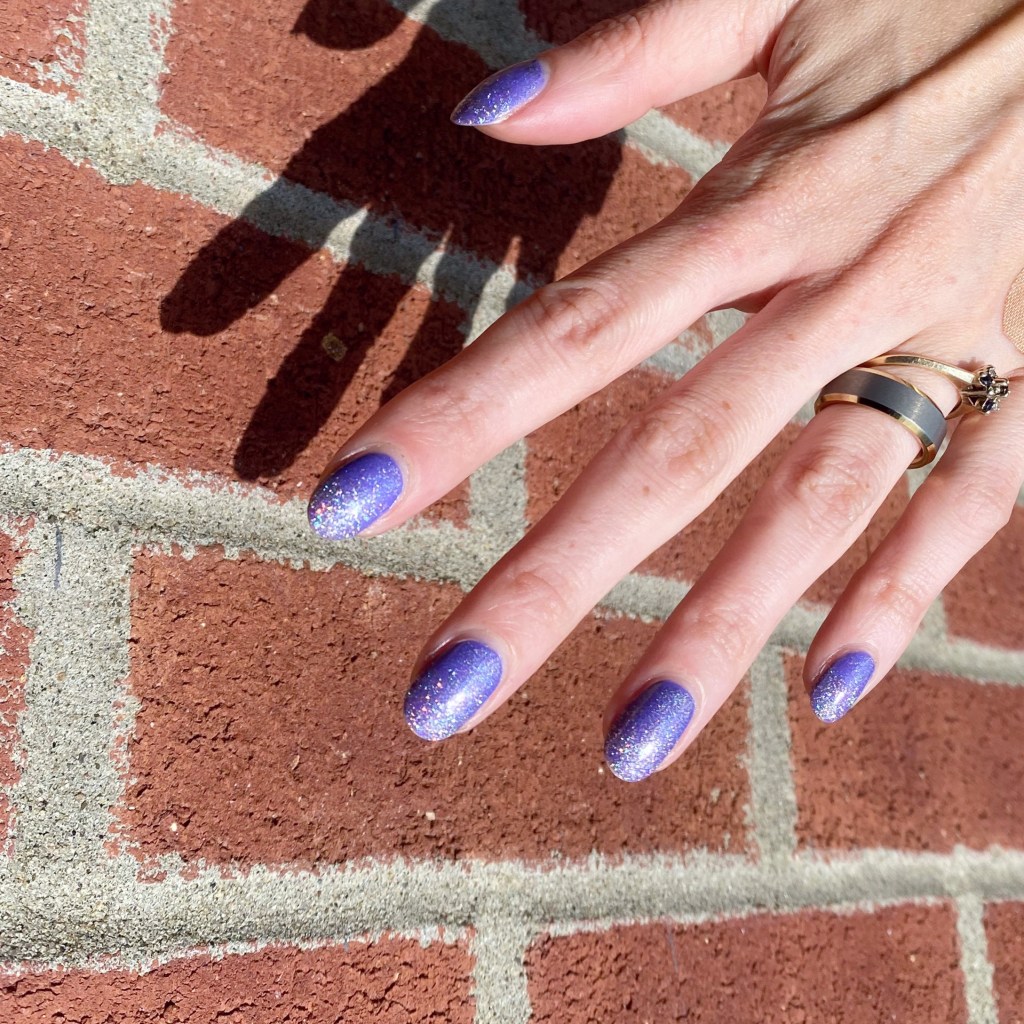
How do we feel about these extra sparkly gradient nails? Are we a fan? Let me know all your thoughts down in the comments below!

Have a lovely day!

💜
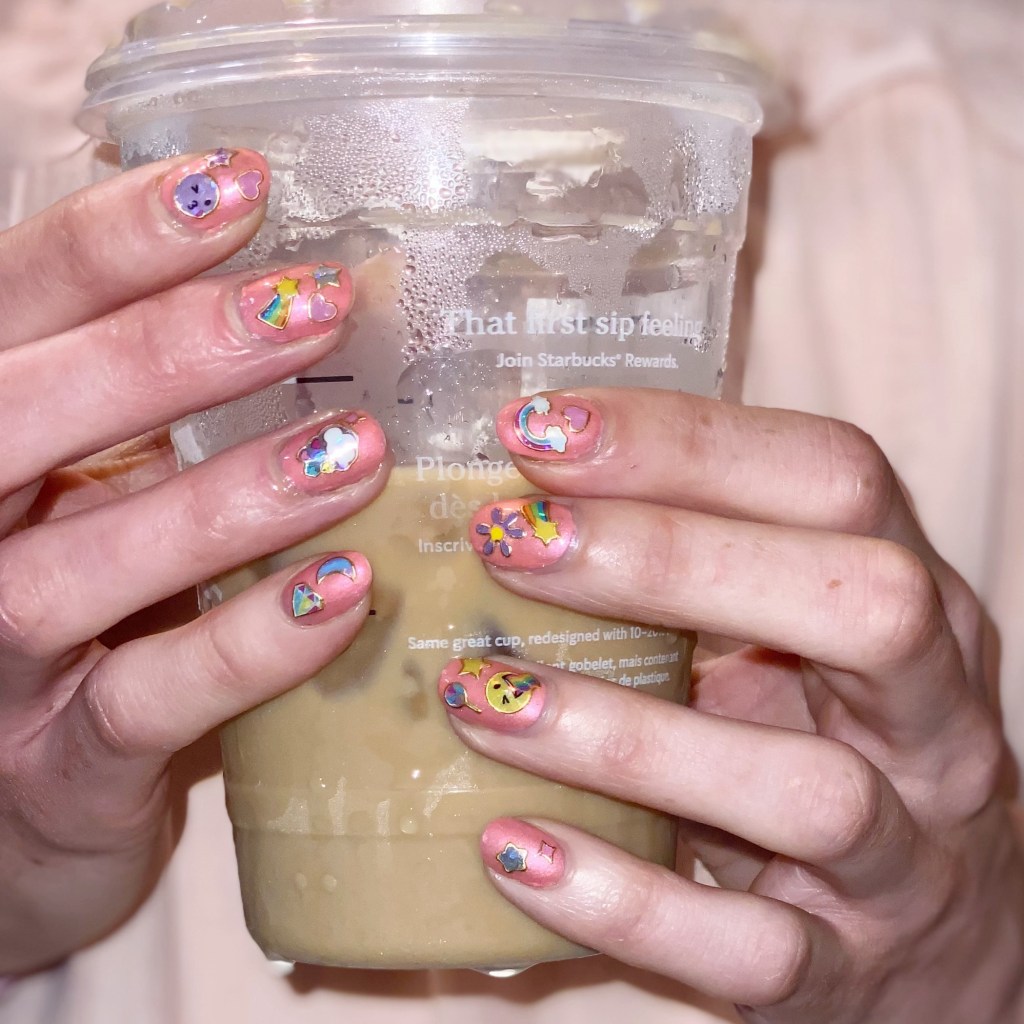
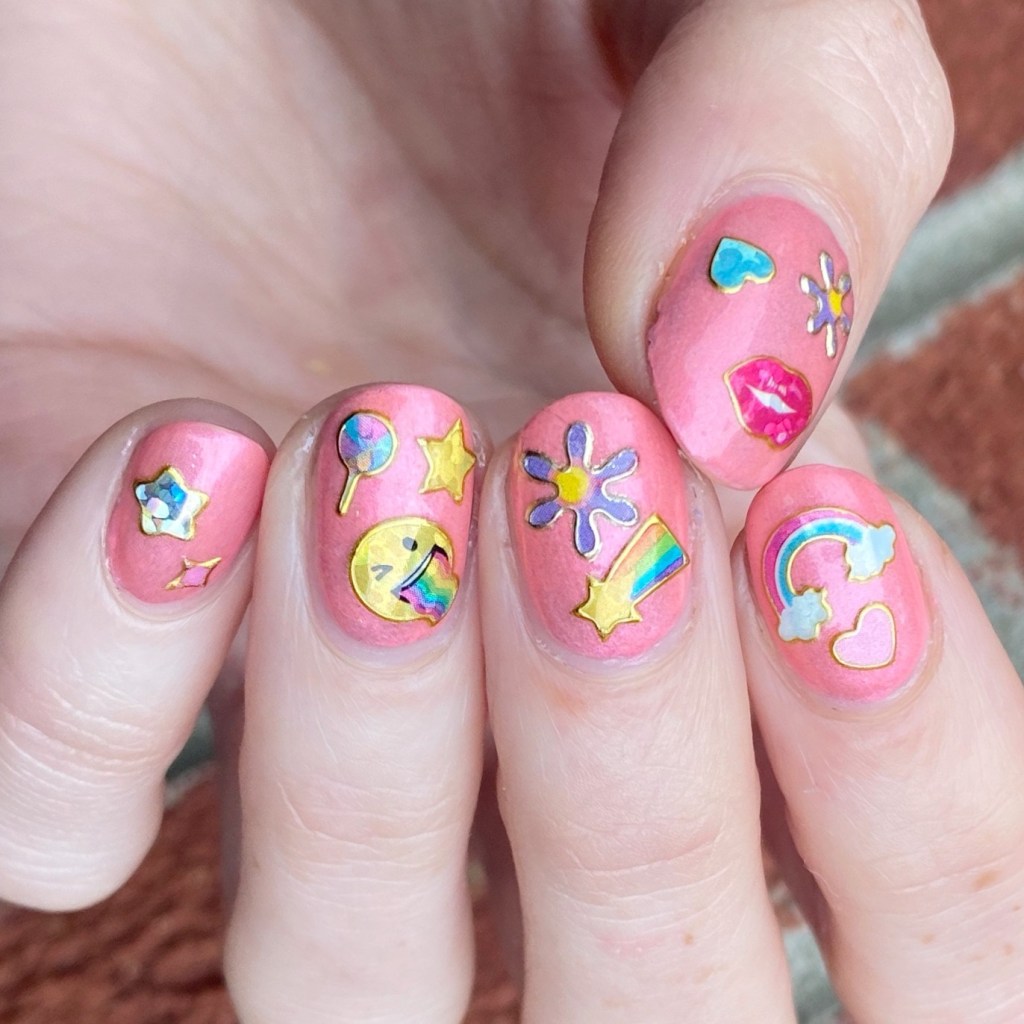
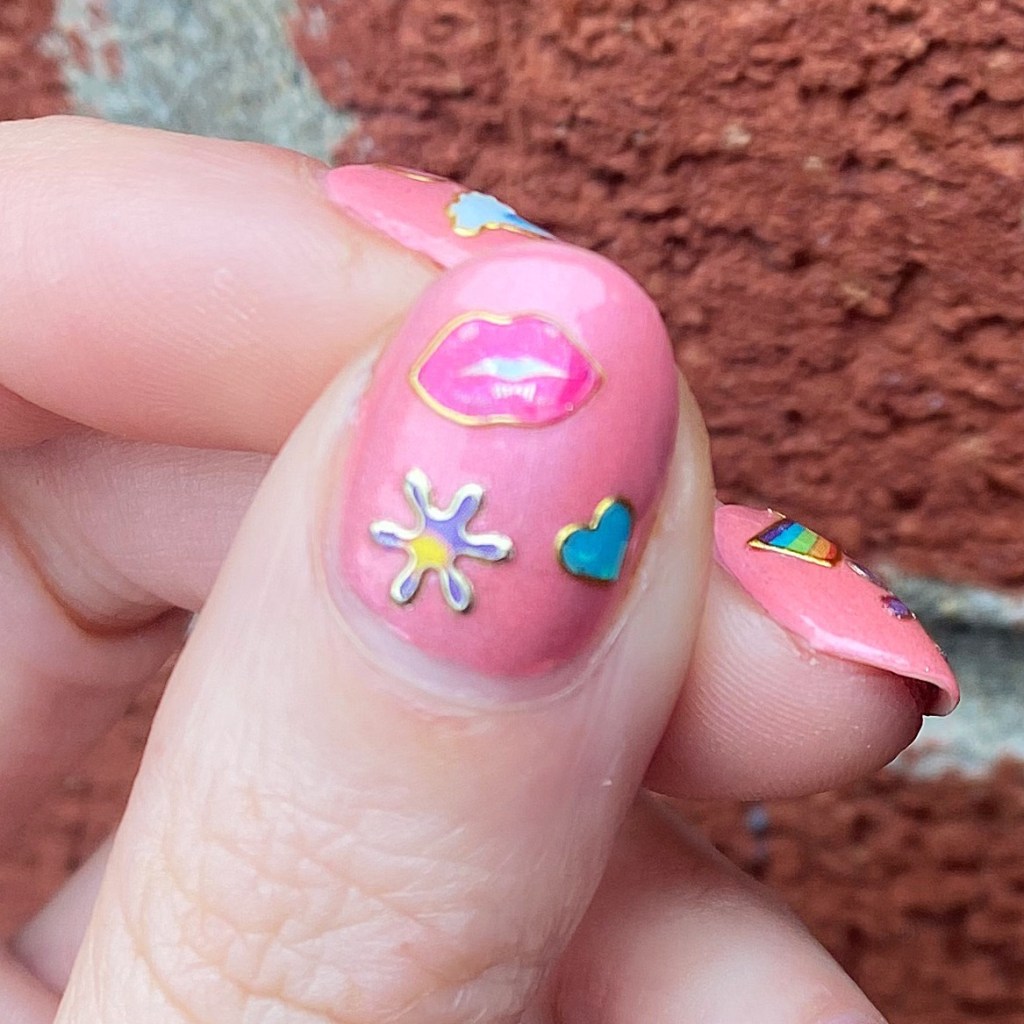
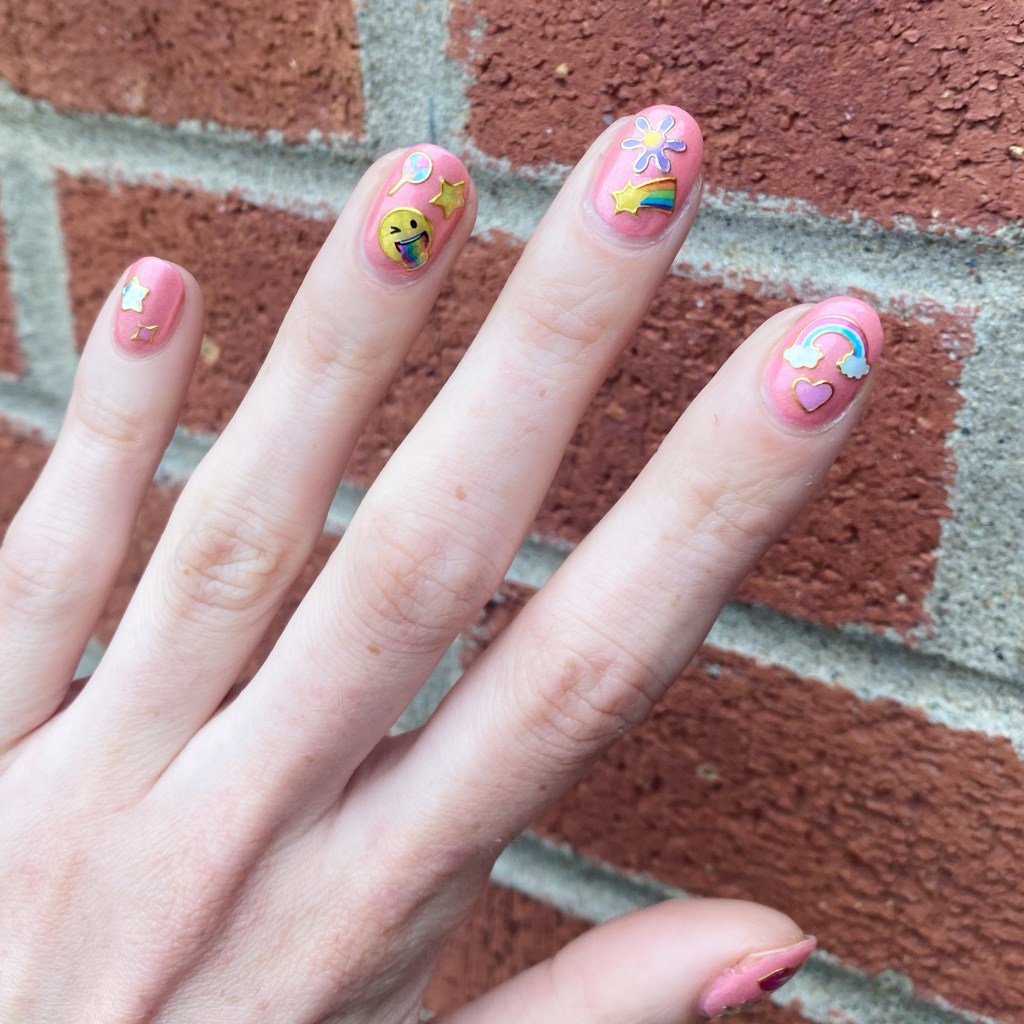
Emoji Inspired Nails 💋💗🌈🌸 (Easy Nail Art)

Hello lovelies & happy Thursday! It’s hot, sunny & beautiful lately & feels just like the kind of Summer days I like.

Today I’m sharing a new manicure & a bit of a nail art hack. I’ve posted before about my absolute love of nail art stickers.

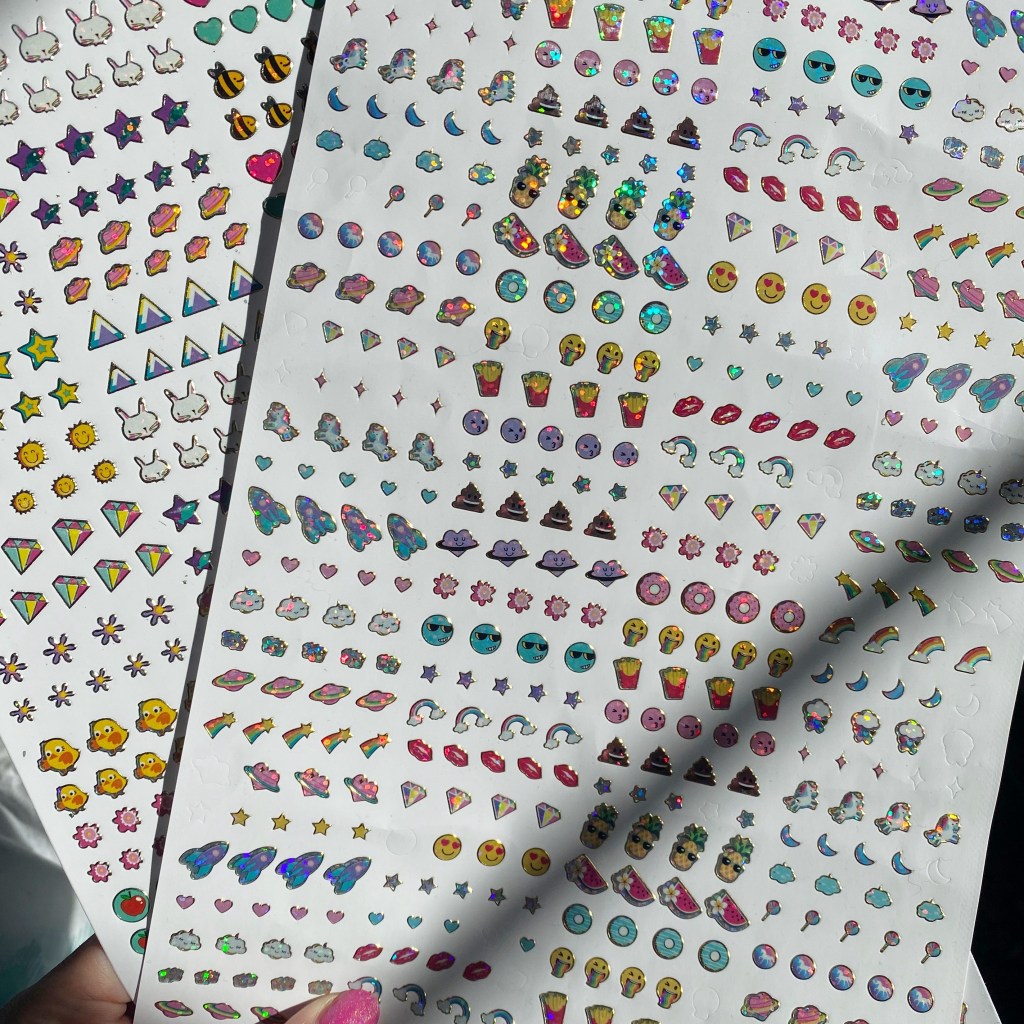
Recently I was in my local Dollarama & found these massive sheets of small foil emoji inspired stickers for $1.25 & thought they would be perfect for stick on earrings for my daughter. But then I realized they were the perfect size to potentially work for nail art stickers & so naturally I bought 2.

The polishes I used for this manicure are: 

  • Base Coat: Essie Here to Stay
  • Top Coat: Essie Gel Setter
  • China Glaze Thistle Do Nicely
  • China Glaze Everglaze Optimal Opal
  • Dollarama Small Foil Emoji Stickers

Okay I’m really really impressed with how easily these stuck to my nails, & adhered to my already dry base. They were fairly flexible & easy to stick on the nail, or adjust slightly if needed. I used tweezers to pull them from my sheet, & attach them to my nails, & most of the stickers I picked were easy to apply.

For removal, it was just as easy to take off. I did have a few stickers which were lifting by the end of the day, but that could be avoided with a thicker top coat.

Over all, I think these stickers were perfect for easy nail art at a great low price. Obviously, I want to support small businesses that sell nail art stickers, but times are tough right now, & I think everyone deserves to have beautiful nails so if you can find cute stickers to use on your nails at an affordable price — you should totally take advantage of it!

Would you want me to do a post featuring other Dollar Store items I’ve found for doing your nails? Let me know down in the comments below!

Happy Thursday!

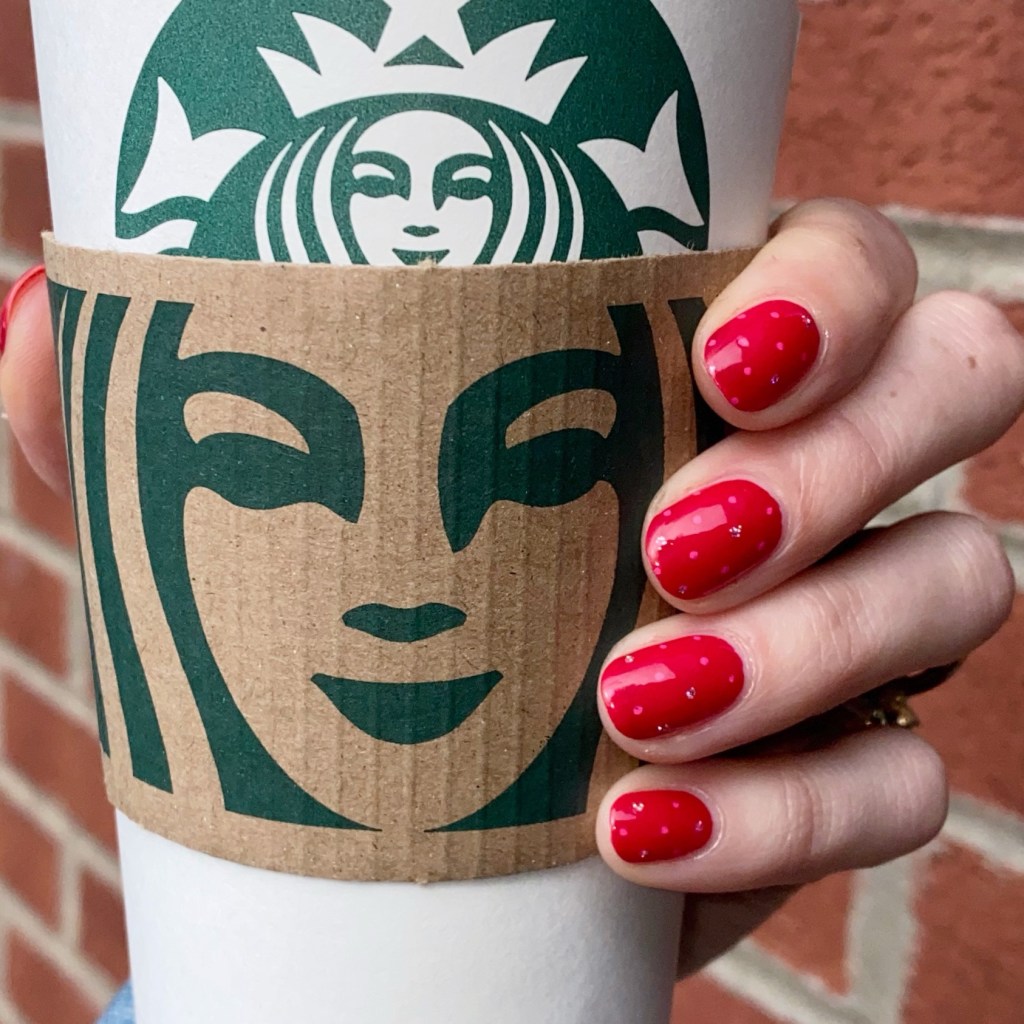
Dainty Red Dotticure ♥️

Good morning lovelies, happy Tuesday & happy July! We’re officially 1/2 way through the year, & that just seems insane to me. It’s officially Summer vacation for my kids, which means the free time to myself I have (when they’re not asleep) becomes much more limited!

So simple nail art becomes a bit more necessary. But simple does not need to mean boring, & I feel like today’s look is anything but boring!

The polishes I used for this manicure are: 

  • Base Coat: Essie Here to Stay
  • Top Coat: Essie Gel Setter
  • Essie She’s Pampered
  • Sally Hansen I ♥️ Nail Art pen in pink
  • Color Club Top Shelf
  • NailStuff.ca Dotting Tool Trio (tiniest size)

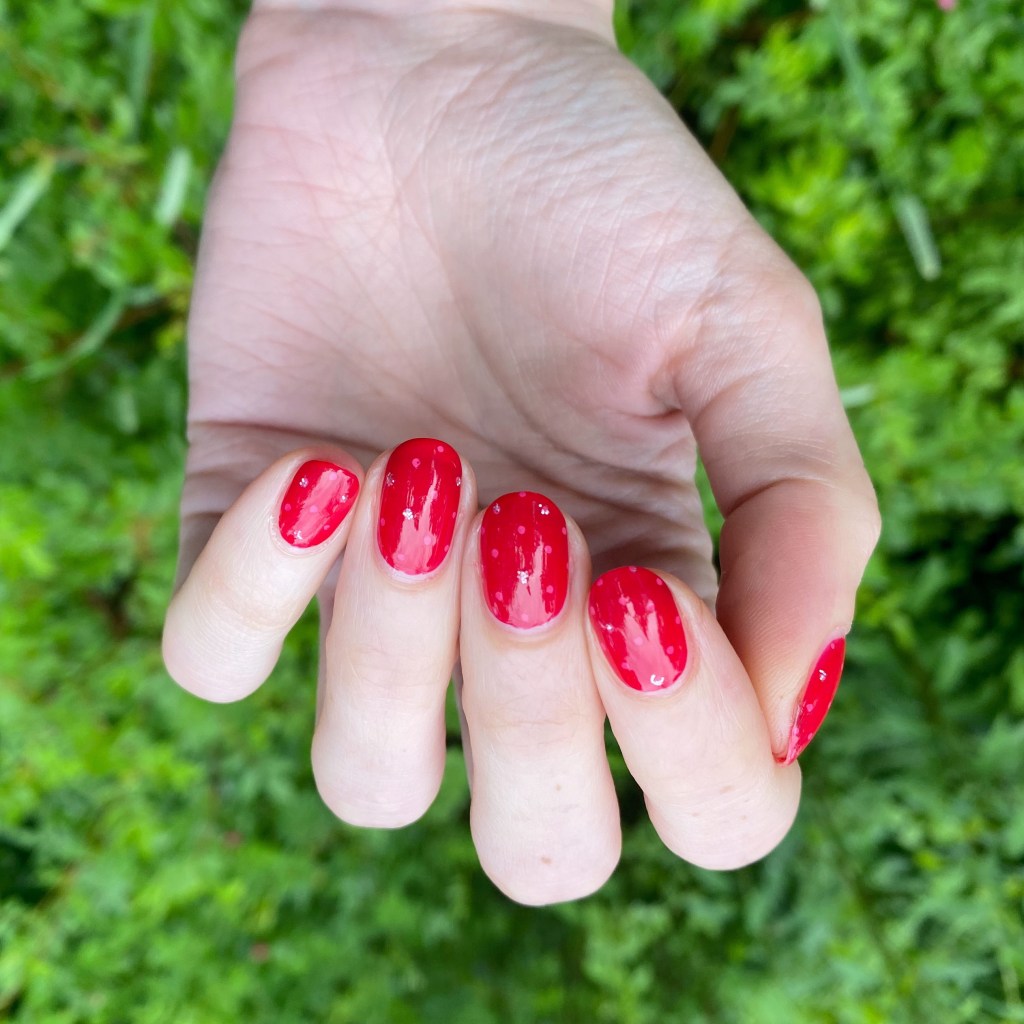
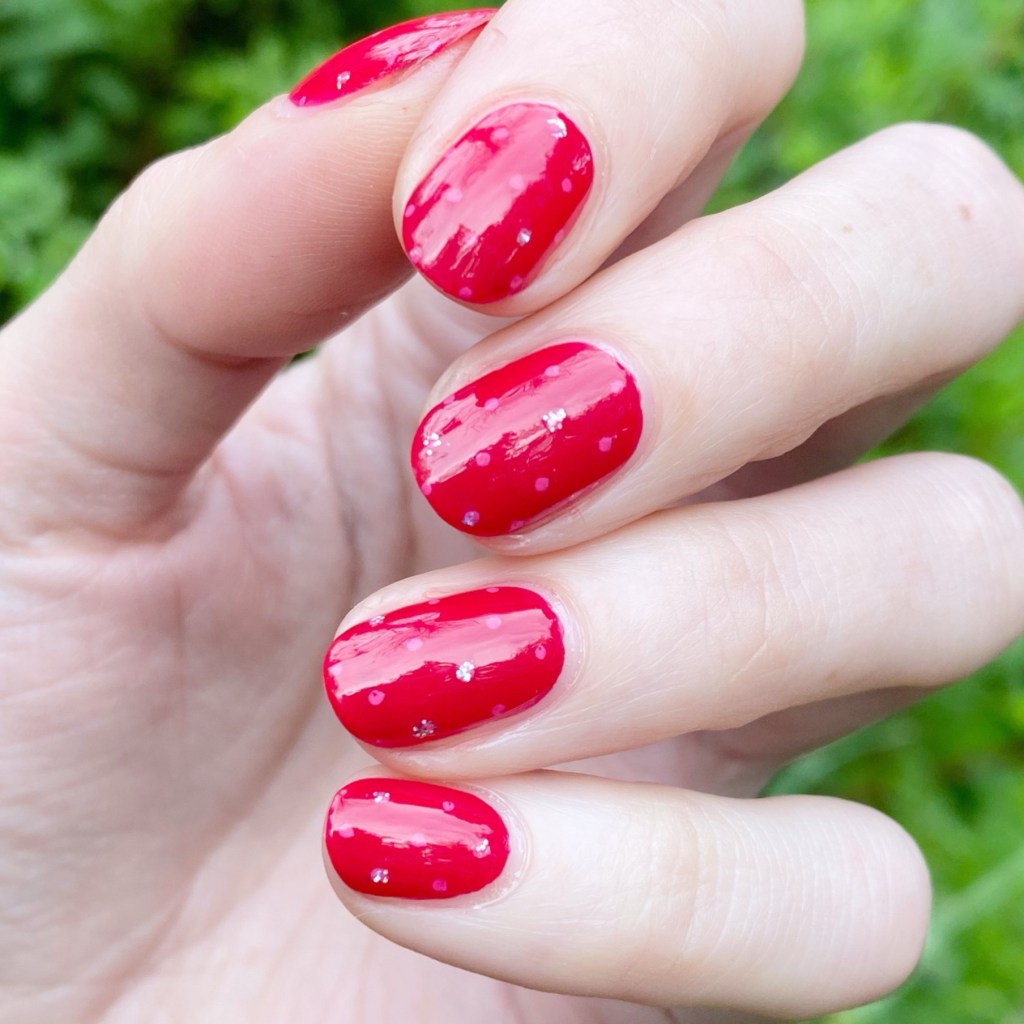
This beautiful polish is another thrift store score that I was not expecting, but I quite love. It looks much more pink in the bottle, but on my nail it’s giving all the way red. But I’ll never say no to a red nail polish — that is well established by now.

I added some pink polka dots over my base shade, with a colour sparkly ones just for fun! I think this look turned out chic & classic, but it’s also fun. From far away you get red nails, but up close you get the full fun look. & I love a nail art design like that! Polka dots were one of the first designs I ever taught myself, & they remain one of my favourites.

What do you think about this chic dainty dotticure? Are you a fan of a subtle look like this? Let me know what you think in the comments below & please — PLEASE — let me know any nail art looks you’d like to see me attempt!

🖤

Rainbow Paint Splatter (Using Acrylic Paint 🎨)

Good morning lovelies & happy Thursday! How is everyone’s week going so far? I hope it’s been filled with beautiful days.

Today I’m sharing a super easy design that was totally inspired by my daughter. I asked her how I should paint my nails, & she told me rainbow 🌈. I haven’t played with my acrylic paints in a while so I decided to use them for a splatter-y effect, & I think it turned out pretty cool!

The polishes I used for this manicure are: 

  • Base Coat: China Glaze Calcium Gel Fortifer
  • Top Coat: Seche Vive
  • OPI I Cannoli Wear OPI
  • Acrylic Paint
  • Paint brush
  • Water

These nails were kind of an experiment because I wasn’t sure initially what I was going to create. I ended up applying drops of acrylic paint on my nails, then using the water to make it spread out a bit. My ring & pinky finger probably turned out my favourite of the 5 on this hand, but I definitely know what I’ll do next time to get the look I want.

These were super easy though, & because I was using acrylic paint vs nail polish I could easy erase any mistakes & start over. My only tip is make sure the acrylic paint is dry before applying top coat, otherwise you’ll end up with some smearing & transferring which kind of mucks up the final look a bit (like on my middle finger). Over all though, such a fun quick look to do.

What do you think of this rainbow paint splatter design? Do you love this quick & easy look? Let me know all your thoughts down in the comments below.

Purple Drag Marble 💜✨

Hello beauties & happy Monday! I hope you’re having the most wonderful start to your week. It’s a beautiful sunny Monday here, with potential to get warm-ish, which has me feeling quite happy.

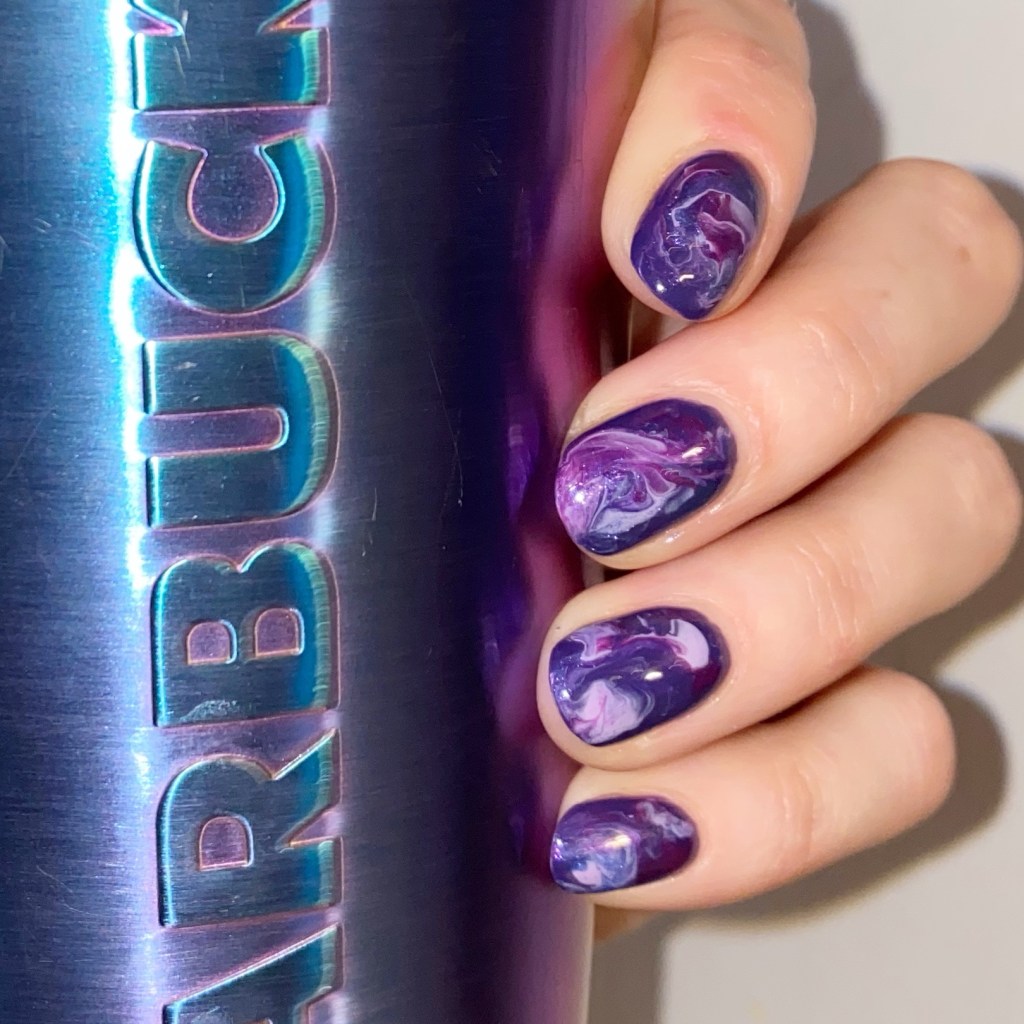
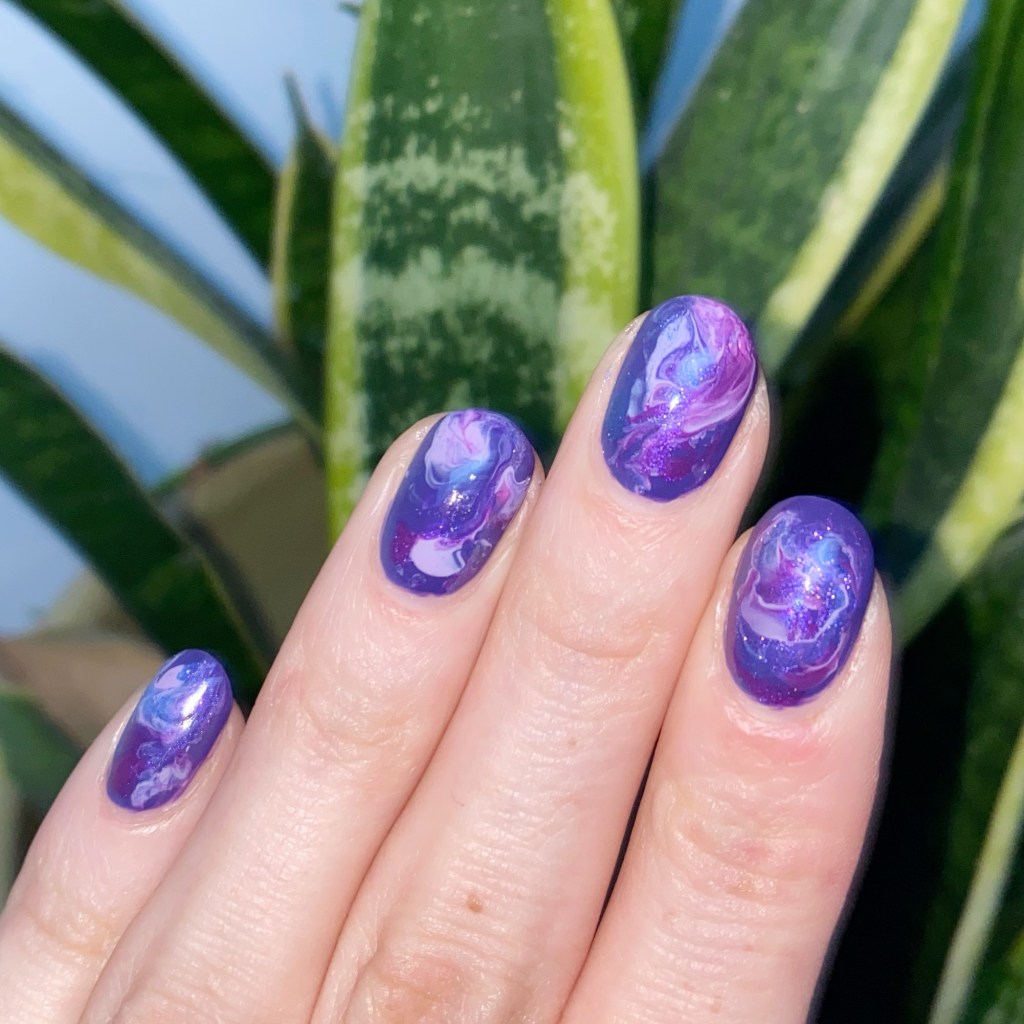
Today I’m showing off a pretty purple drag marble I did recently. I’ve been really into my purple polishes lately, so I’ve found myself reaching for them quite frequently. All the shades in today look are also OPI purples from my stash.

The polishes I used for this manicure are: 

  • Base Coat: China Glaze Calcium Gel Fortifer
  • Top Coat: Seche Vive
  • OPI Infinite Shine Mariachi Makes My Day
  • OPI Infinite Shine Sickeningly Sweet
  • OPI Infinite Shine Sound of Vibrance
  • Small dotting tool — NailStuff.ca Dotting Tool Trio

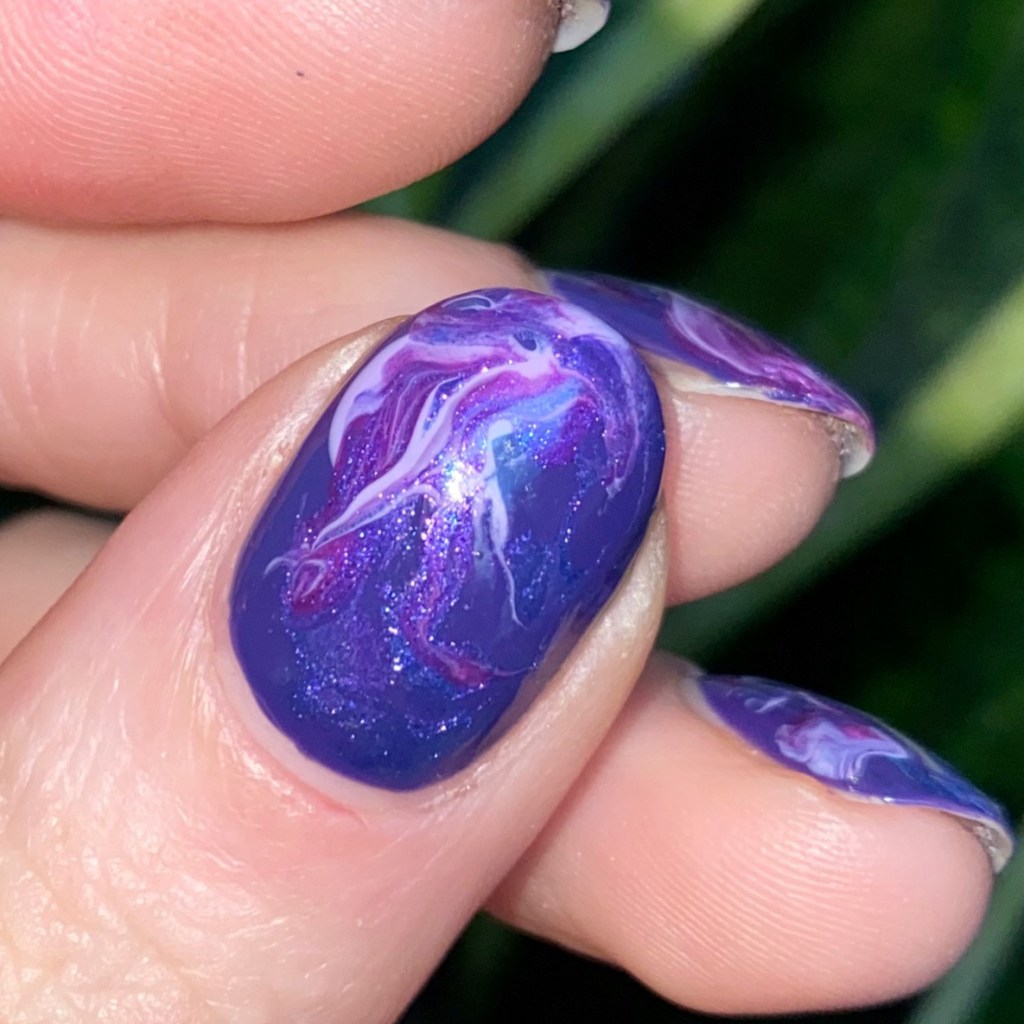
Oh man, the thing I love most about a drag marble design is that not only is every manicure unique, every nail ends up being unique! & I always have a favourite. For this design, I think my ring finger & thumb turned out my most favourite on this hand. But I just really love the combination of these 3 colours — it turned out so beautiful.

What do you think about this pretty purple drag marble? Have you ever dried a drag marble before? I definitely find using a quick dry top coat helps make it easier to do, because sometimes I can end up with pretty thick polish.

Happy Monday 🖤