SWATCH SUNDAY — Quo by ORLY Sailor’s Blue

Happy Sunday lovelies! Welcome to my favourite day of the week–Swatch Sunday! 💙 Today I’m sharing a polish that OG readers will remember as one of my early swatches on this blog: Quo by ORLY Sailor’s Blue. (Seriously check out that original post, because the picture quality alone is worth the laugh! 😹)

This shade originally came into my life as part of the Quo by ORLY 2013 Holiday Minis set (it was gifted to me by the Hubby) & was my first real foray into the whole Quo by ORLY Polish line.

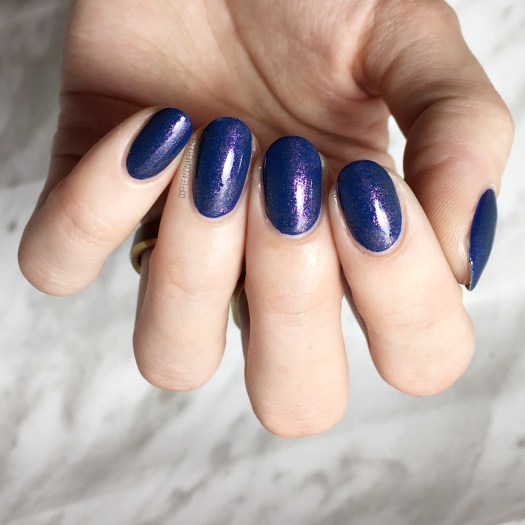
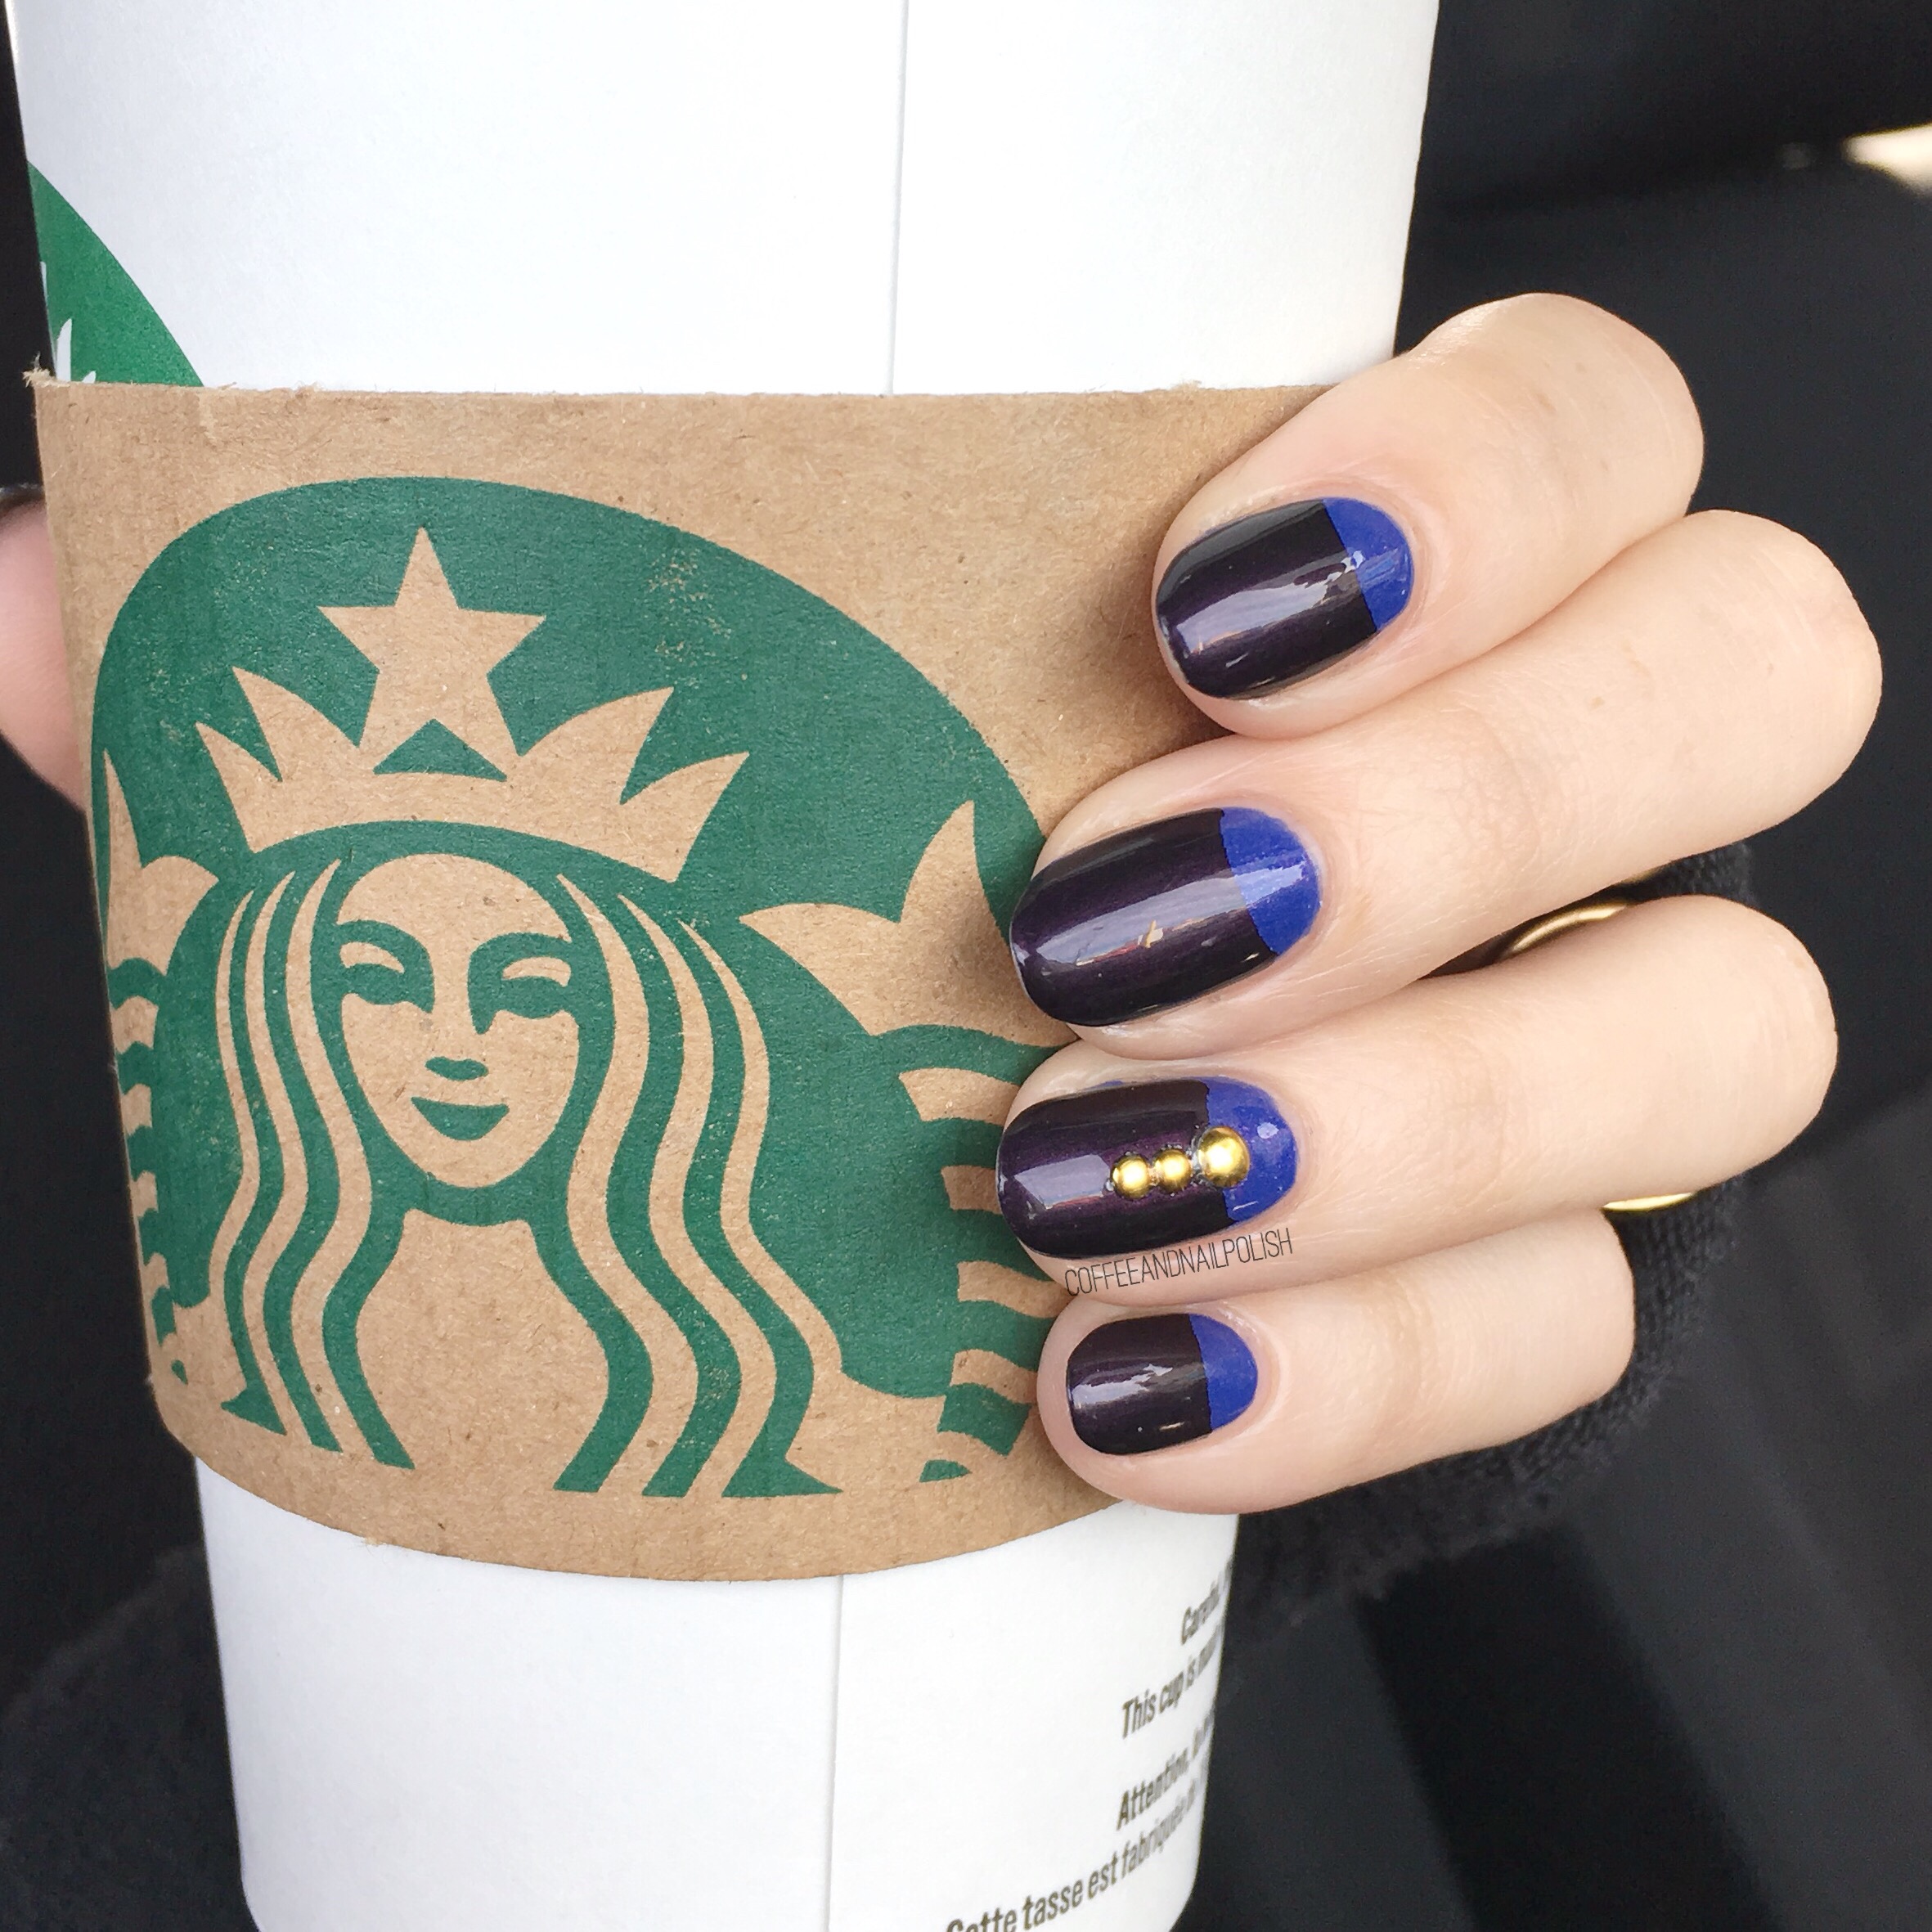
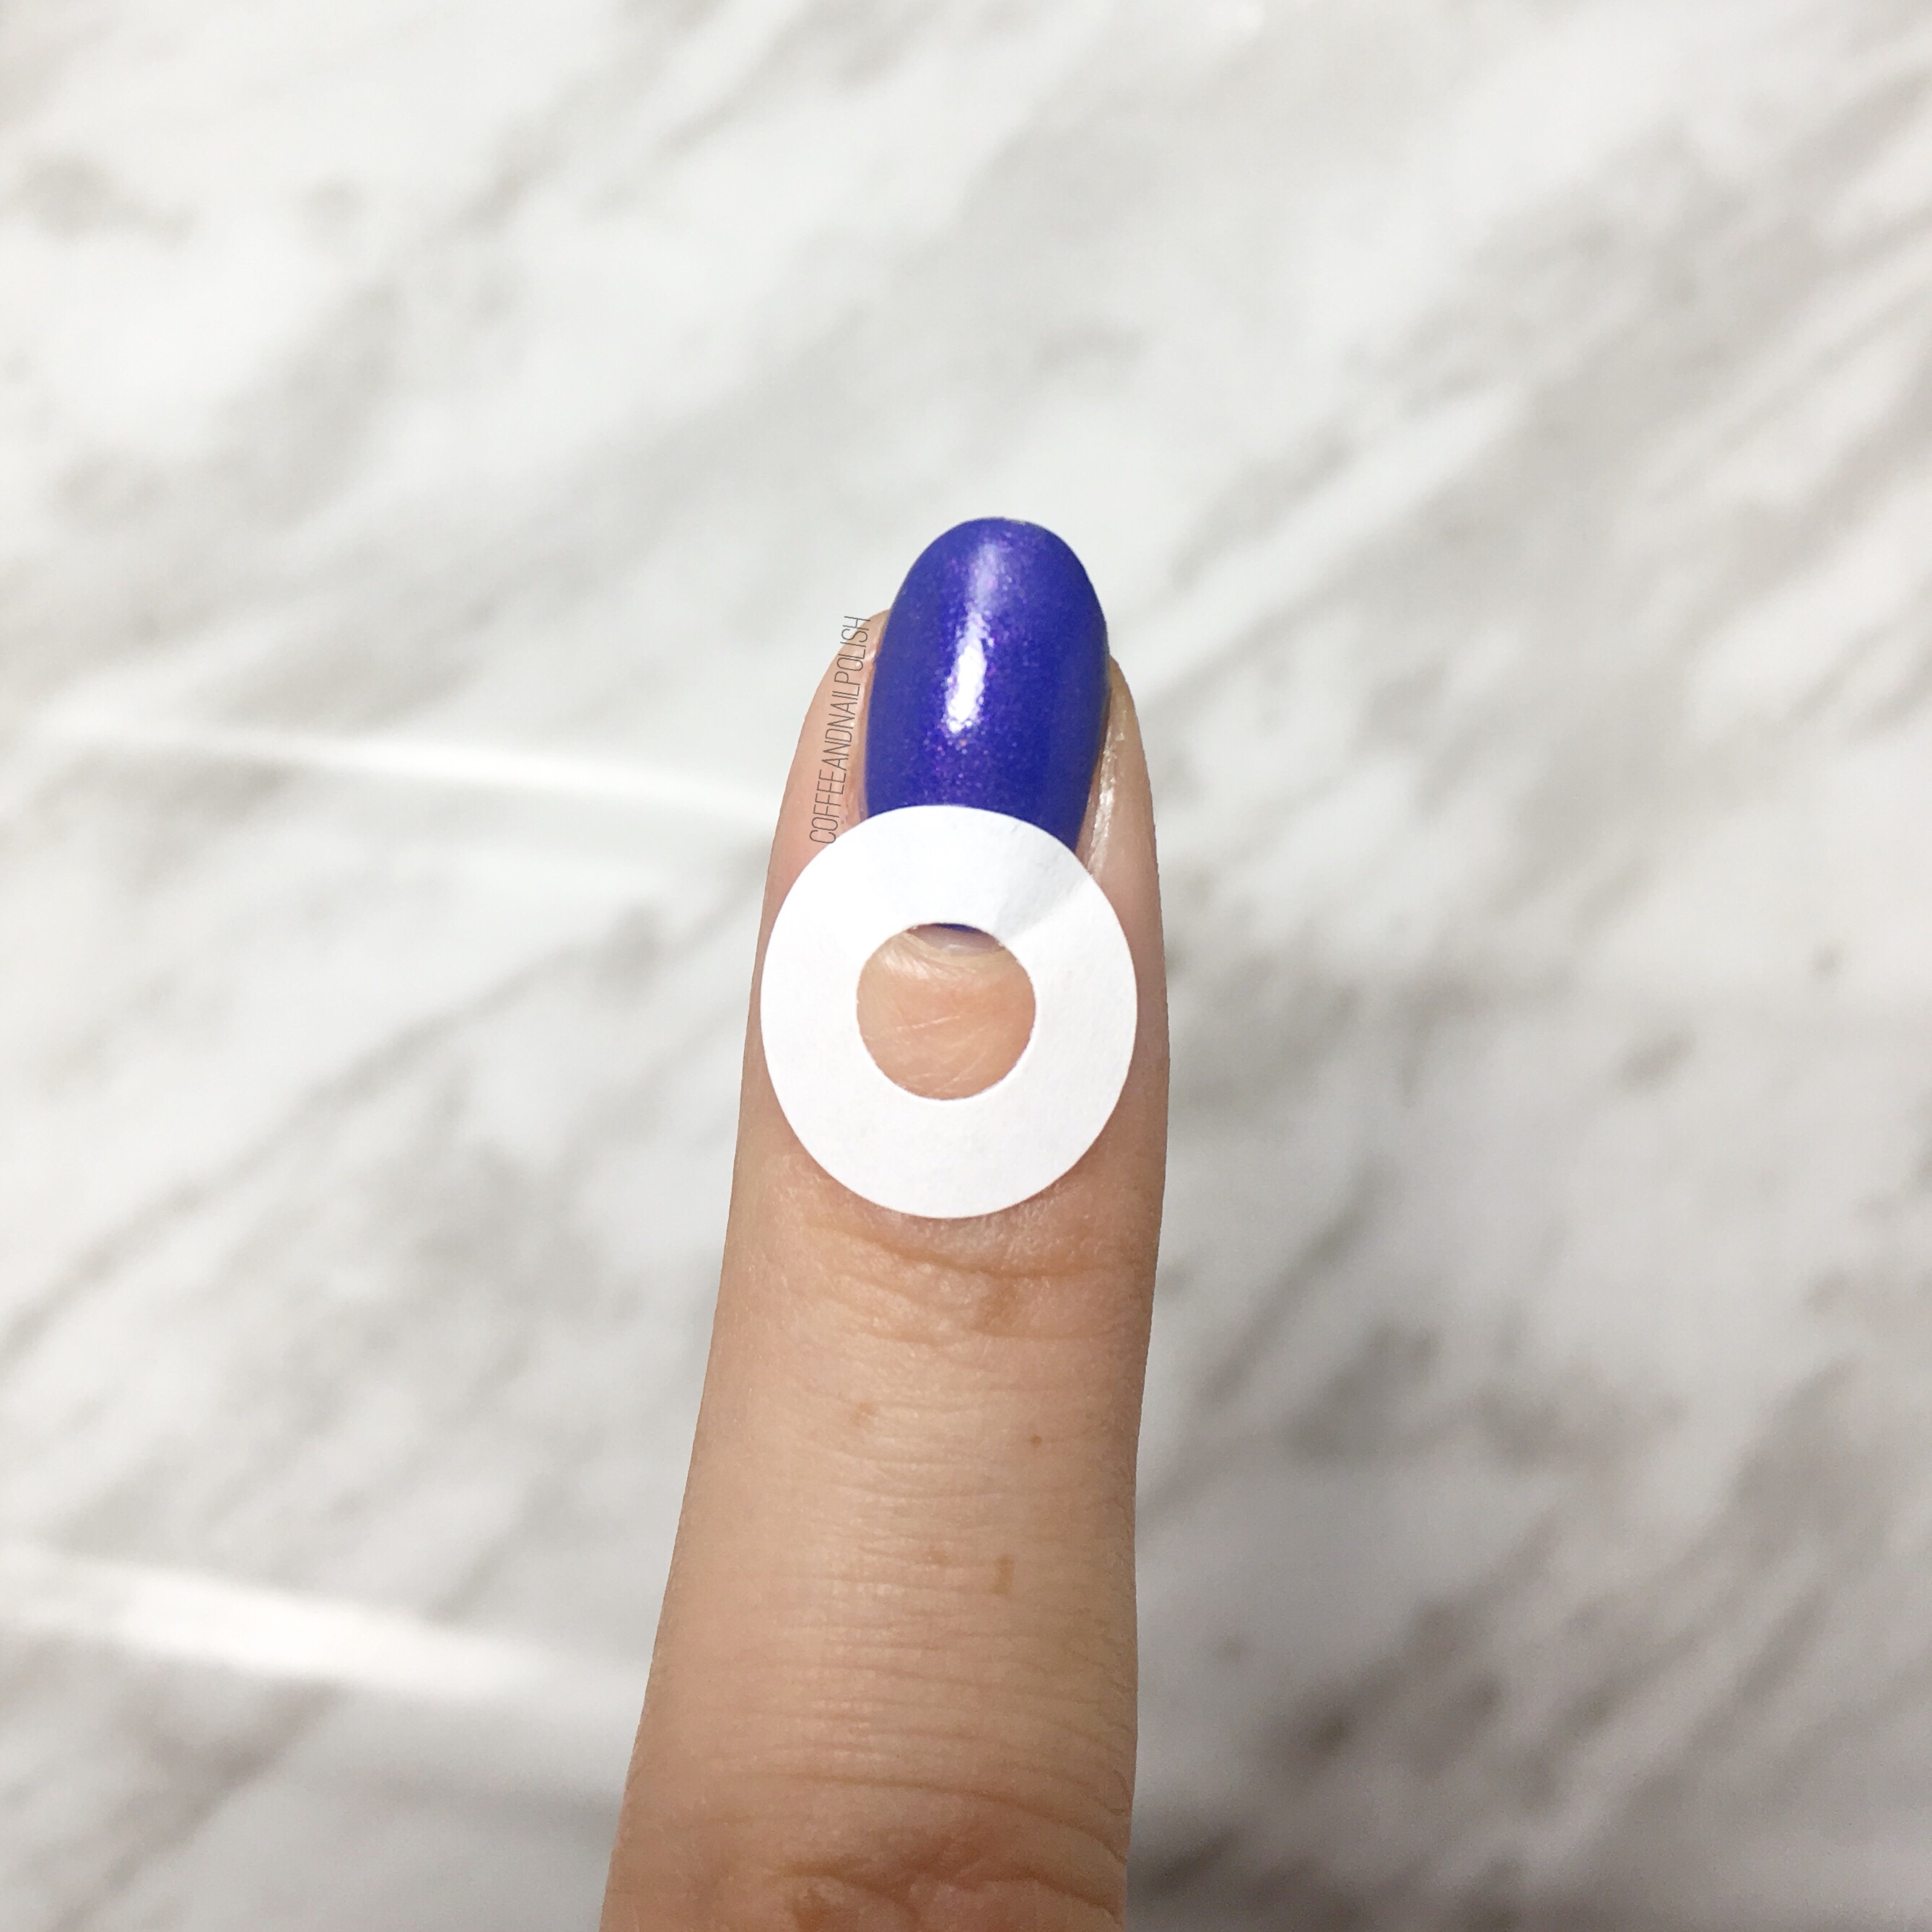
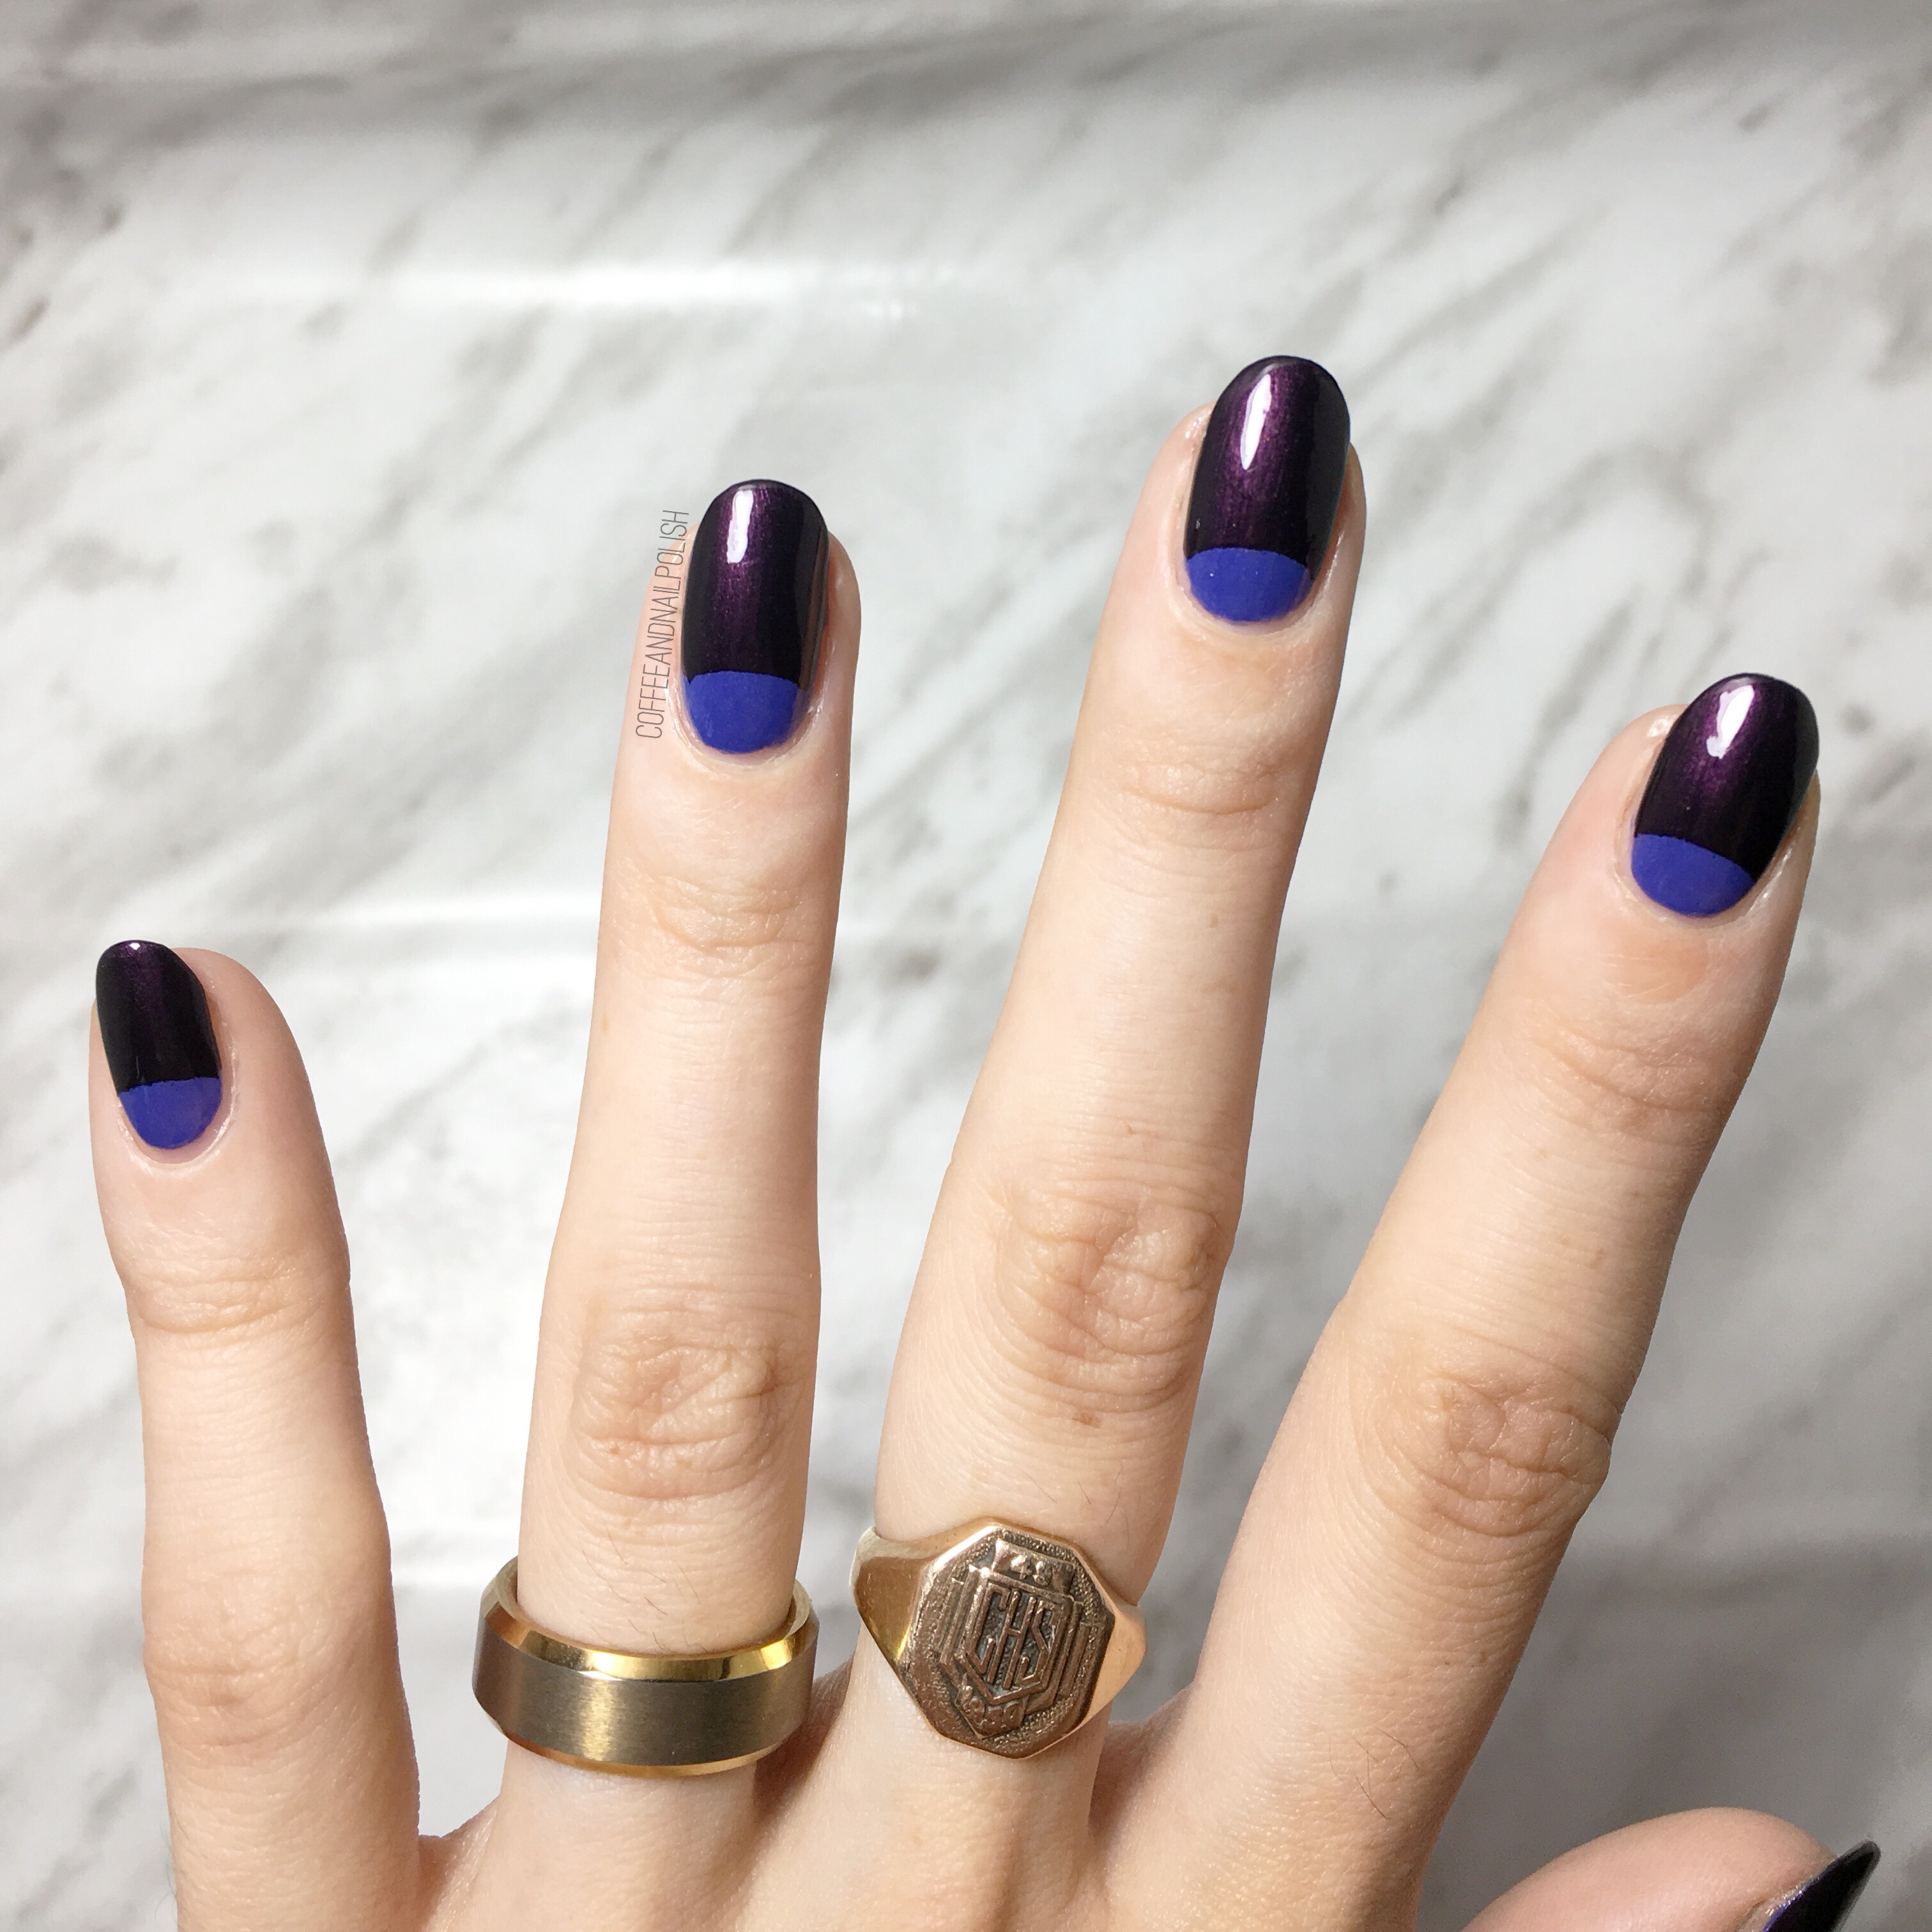
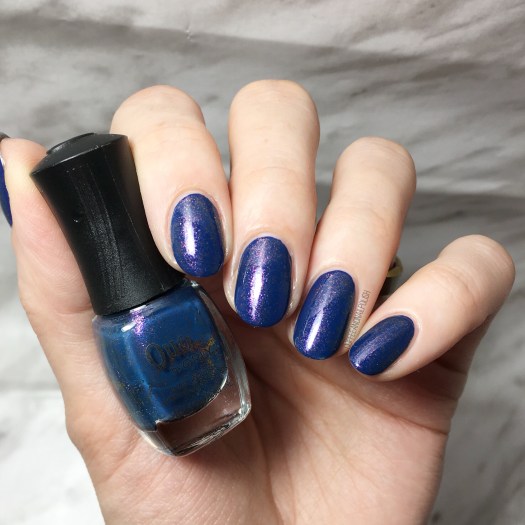
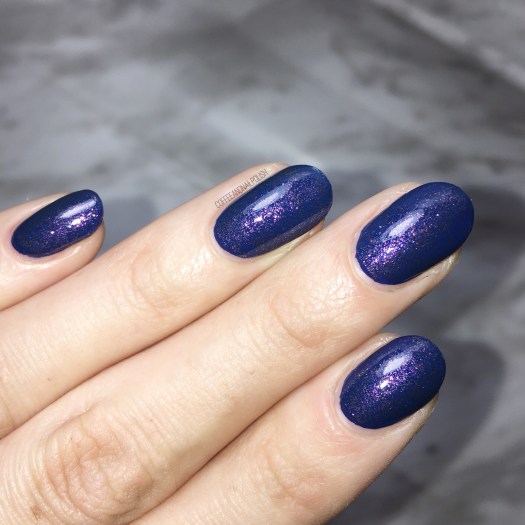
Sailor’s Blue is a sheer deep blue polish with a duochrome shimmer that flashes between gold & pink. It’s sheer enough that I wear it with undies (China Glaze First Mate) to avoid having to build coats. I also feel like using it over top of another blue shade keeps it from looking muddy. For this look, I did one coat of undies & one coat of Sailor’s Blue, plus top coat.

Sadly, I don’t think this shade is available anymore for purchase which definitely makes me wish I had more than just a mini bottle in my collection. I know it was also released by ORLY as High On Hope as part of the Spring 2013 collection, but unless you find it buried in clearance bins, I don’t think it’s an easy shade to track down. Which is seriously a shame, because it’s so pretty!

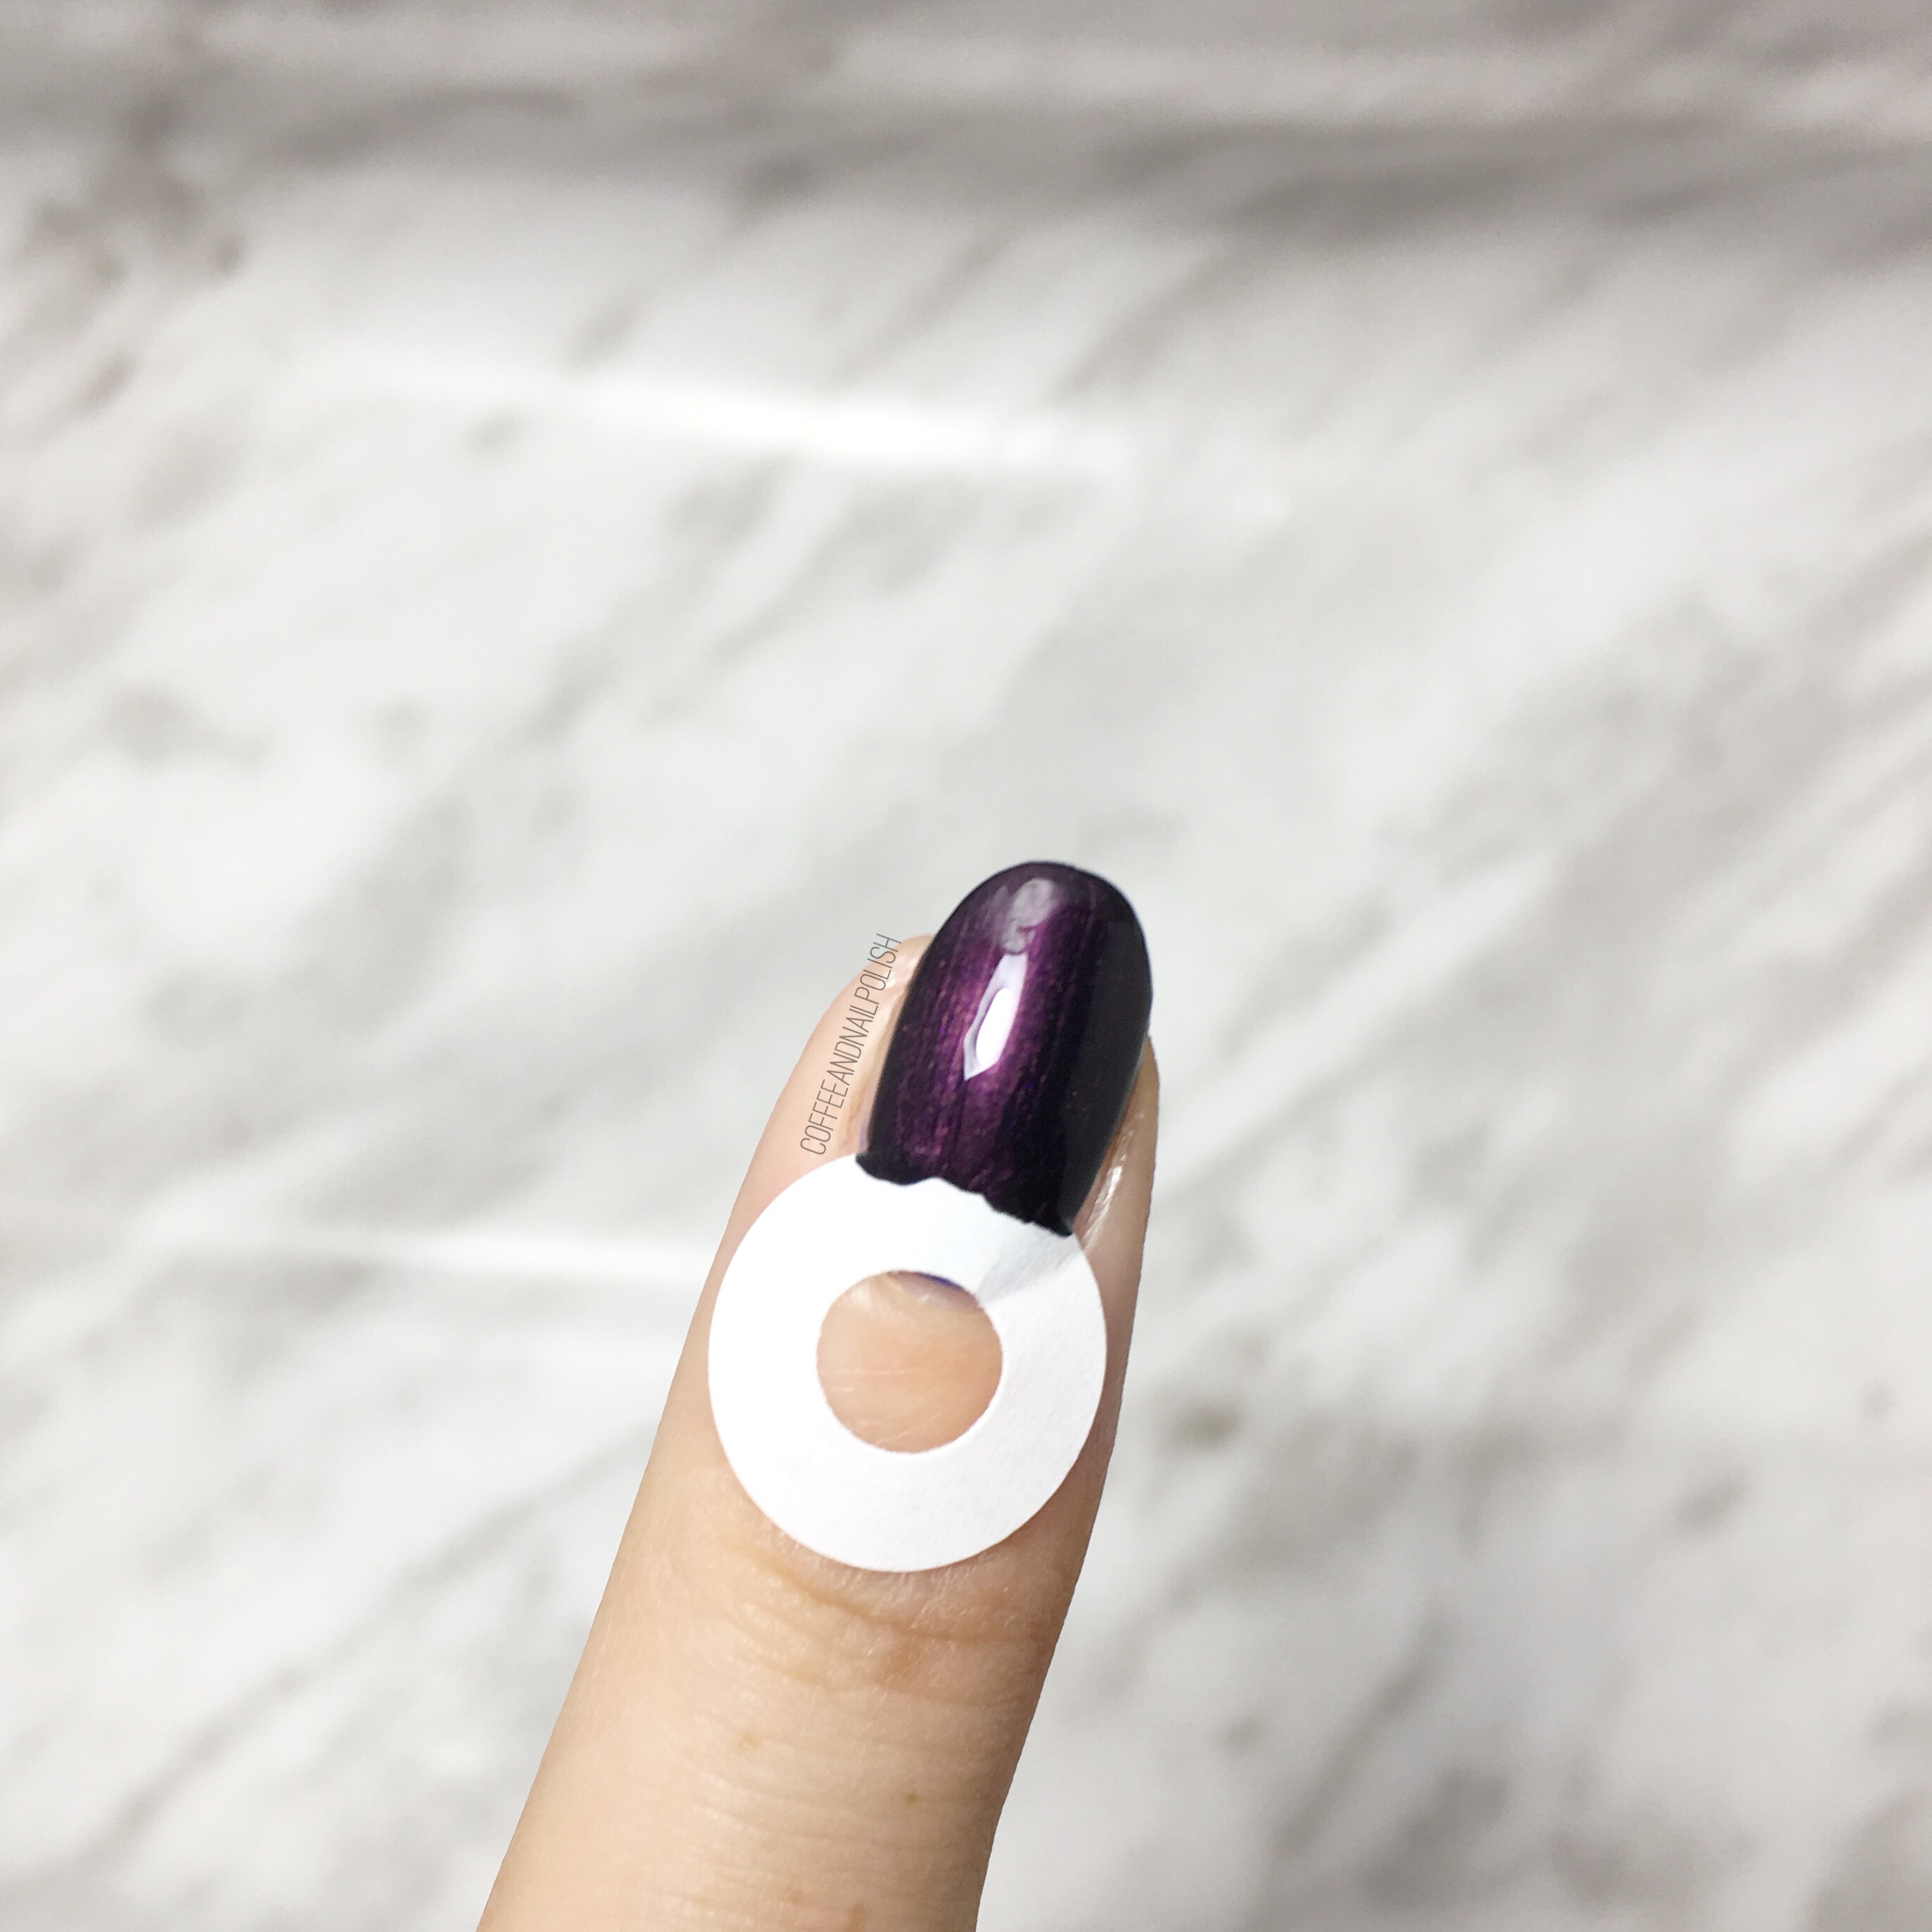
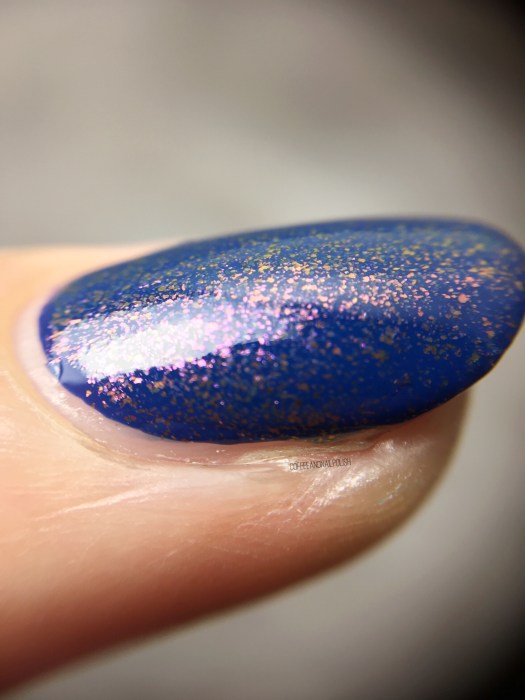
& for fun, a macro shot so you can really see that duochrome shift. ⤵️

What do you think of Quo by ORLY Sailor’s Blue? Do you own this shade (or it’s twin ORLY High On Hope in your stash? Let me know your thoughts in the comments below!

More Christmas Tree Nails!

Okay, so I think I’m obsessed with Christmas tree nail art. 🎄 I seriously can’t get enough of them. This time I created some Christmas tree stamped nails using a design I didn’t even know I had! I was trying to create something new, & discovered on this plate I reviewed from the Summer that there was this cute tree pattern–perfect for Christmas nails! So obviously it meant I needed to try it out.

<<<<<
is manicure, the polishes used were:

  • Base Coat: Nailtek 2
  • Top Coat: Seche Vive
  • China Glaze Emerald Fitzgerald
  • Essie Tuck It In My Tux
  • Morgan Taylor Dreaming of Gleaming
  • Morgan Taylor Silver in my Stocking
  • Born Pretty Store Stamping Plate BPL015
  • Clear Jelly Stamper (also from Born Pretty)
  • NailStuff.ca reindeer studs

<

I really, really love how these turned out. i think they’re just so pretty. I tried out my hand at double stamping using silver under the green, but it’s very subtle. However it did make Emerald Fitzgerald pop a lot more, since it’s a little thin for stamping. Also, can we talk about these ADORABLE reindeer studs from NailStuff.ca? I used a whole lot of top coat to attach them to my nail & they lasted a whole day easily. Also they’re the cutest studs I’ve ever seen.

what do you think of this Christmasy design? Let me know your thoughts in the comments below!

Christmas Tree Branch Nails 🎄

December is speeding by & I’m seriously attempting to fully embrace everything about the Christmas season.Have you put up your tree yet? We’ve been meaning to the last couple days, but still haven’t managed to… sadly I’m allergic to pretty much all trees so we have to stick to an artificial tree. But I did go out & buy a Christmas tree scented candle so the house would smell somewhat seasonal. 🎄 I also decided to create some Christmas tree inspired nails & oh my I’m so in love with how they turned out!

<<<<<<<<<<<>
For this manicure, the polishes I used were:

  • Base Coat: Nailtek Foundation 2
  • Top Coat: Seche Vive
  • Essence Give Me Nude, Baby!
  • Sally Hansen I ♥️ Nail Art Pen in Green
  • Essence The Green & The Grunge
  • Essie Stylenomics
  • Essie Butler Please
  • L’Oréal Carmin Parisien
  • China Glaze Metro Pollen-tin
  • Sally Hansen Hard As Nails Hard To Get
  • Sally Hansen Hard As Nails Black Heart
  • Bundle Monster Detail Nail Art Brush

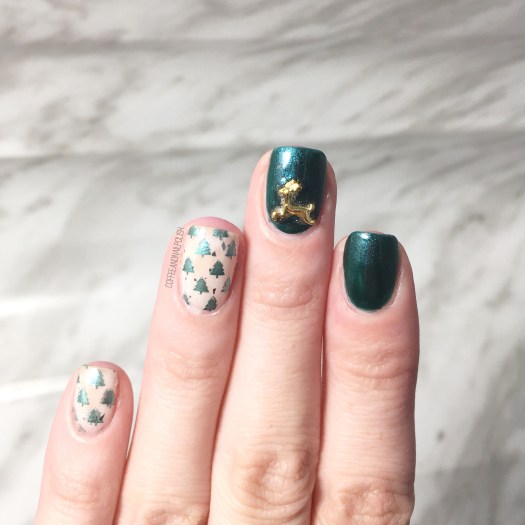
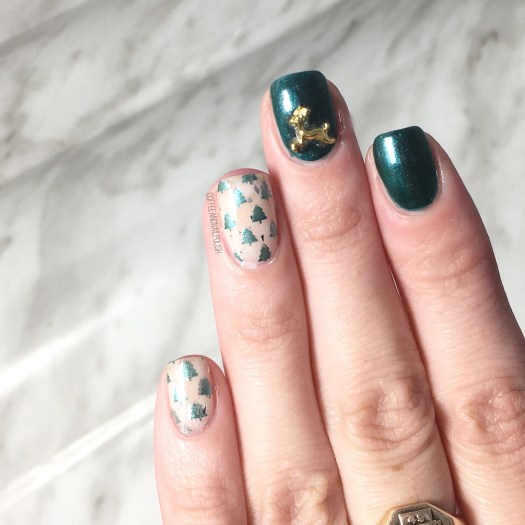
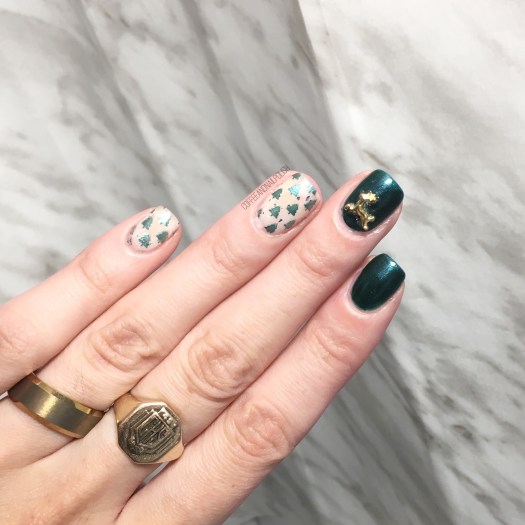
Sometimes I get really excited about how a manicure turns out & this is one of those times. This isn’t the first Christmas Tree/Tree Branch manicure I’ve attempted, but it’s definitely the best I’ve ever done. I’m just so beyond in love with how it turned out.

I love that you can see the individual needles on my “branches”. It reminds me of our own sparse little artificial Christmas tree. True story: it’s the same tree my parents used when I was a kid, & the box still has the K-mart sticker on it from when it was purchased. & K-mart left Canada in 1998 I believe, so this tree is at least 20 years old. Haha. But it’s okay because it’s well loved, full of memories & is still going strong all these years later.

What do you think of this Christmas tree design? Do you have your tree up yet? Let me know your thoughts in the comments below!

More Sweater Nails

If you follow me on Instagram, you might have watched my Instagram story & saw I broke my middle nail super short earlier this week. Like–beyond baby nails. But I do have some unposted manicures I was saving up for after we moved & I’m unpacking, so I’ll have a few long nails designs to share in the meantime.

Like these sweater nails! Who doesn’t love rocking sweater nails? With the dropping temperatures outside, I know I’ve been wearing nothing but my thickest sweaters (I don’t do well with the cold). So why not paint my nails to match?

For this manicure, the polishes I used were:

  • Base Coat: Essie Grow Stronger
  • Top Coat: Seche Vive
  • Sally Hansen Complete Salon Manicure Pat On The Black
  • Essie Topless & Barefoot
  • China Glaze Life is Rosy
  • URSugar Nail Stencil item AUB39877 — click to buy
  • MyNailsDid Nail Vinyl sweater pattern vinyl (they’re back up on her site!) & straight nail vinyls
  • NailStuff.ca small circle studs–Gold Mixed Decoration Nail wheel 
  • Small dotting tool

I just love how these turned out. I feel like the differing colours & patterns just bring the whole look together. I could honestly probably do this manicure in every colour combination possible, & never get tired of it! A little green & red & bam! You have perfect ugly Christmas sweater nails for your holiday party. (& now I must remember that because that is so happening now!)

Just looking at this design is making me really miss my long nails already. 😢 But rocking baby nubs just gives me the opportunity to come up with awesome & Pretty nail art for short nails. I’ve already got a few manicures I’m working on, so you’ll have to stay tuned! & if you have any requests, let me know.

<<<<<
o you think of these sweater nails? Would you match your nails to your favourite sweater? Let me know in the comments below!

Half Moons & Gold Studs 

Happy Monday! How was everyone else’s weekend? We’ve been starting to pack for moving which is about as much fun as it sounds… I hate packing & I hate moving. (& I haven’t even starting thinking about moving my 1000+ nail polishes yet.) 

So what am I sharing to cheer myself up after a packing haze? One of my favourite go-to designs—the half moon. & thought I’d share a quick pictorial on how easy these actually are to create! & no special vinyls are needed!

The products used for this manicure were:

  • Base Coat: OPI Natural Nail Base Coat
  • Top Coat: Seche Vive
  • China Glaze Fancy Pants
  • China Glaze Glamcore
  • NailStuff.ca gold Mixed Decoration Nail Wheel

Paint your base colour & apply quick dry top coat. Let dry completely, roughly about 20 minutes depending on the top coat you use. 

Once your nails are completely dry, pull out your pack of paper hole reinforcements & apply at the base of your nail. Make sure to press down at each end. 

Repeat on all 5 nails. I always do one hand at a time. 

Press down each side of hole reinforcement (to make sure polish won’t bleed under) & then quickly paint second colour over top. A one coat polish works best, but she make sure base colour is covered. 

Immediately remove your reinforcement. 

Repeat steps on all fingers & then seal in design with top coat. Bam! Almost instant half moons (with a few steps in between). I loved the blue with purple but I wanted to add a little more of a snazzy finish to my nails. I’ve been obsessing about this wheel of nail studs lately adding it to a lot of my manicures lately so I figured it would be the perfect addition to this design. 

For my accent nail, I applied some blobs of coat, then picked up my studs with a wet nail art brush & arranged them. I always make sure to pull my studs out of the wheel ahead of applying them, as it takes less time trying to find them. Also, sometimes you will have to dab on more clear polish/top coat to make sure the studs stick. Also I always seal my studs in with top coat so no edges catch & get pulled off. 

What do you think of this half moon? How do you create your half moon designs? Let me know in the comments below! 🌙