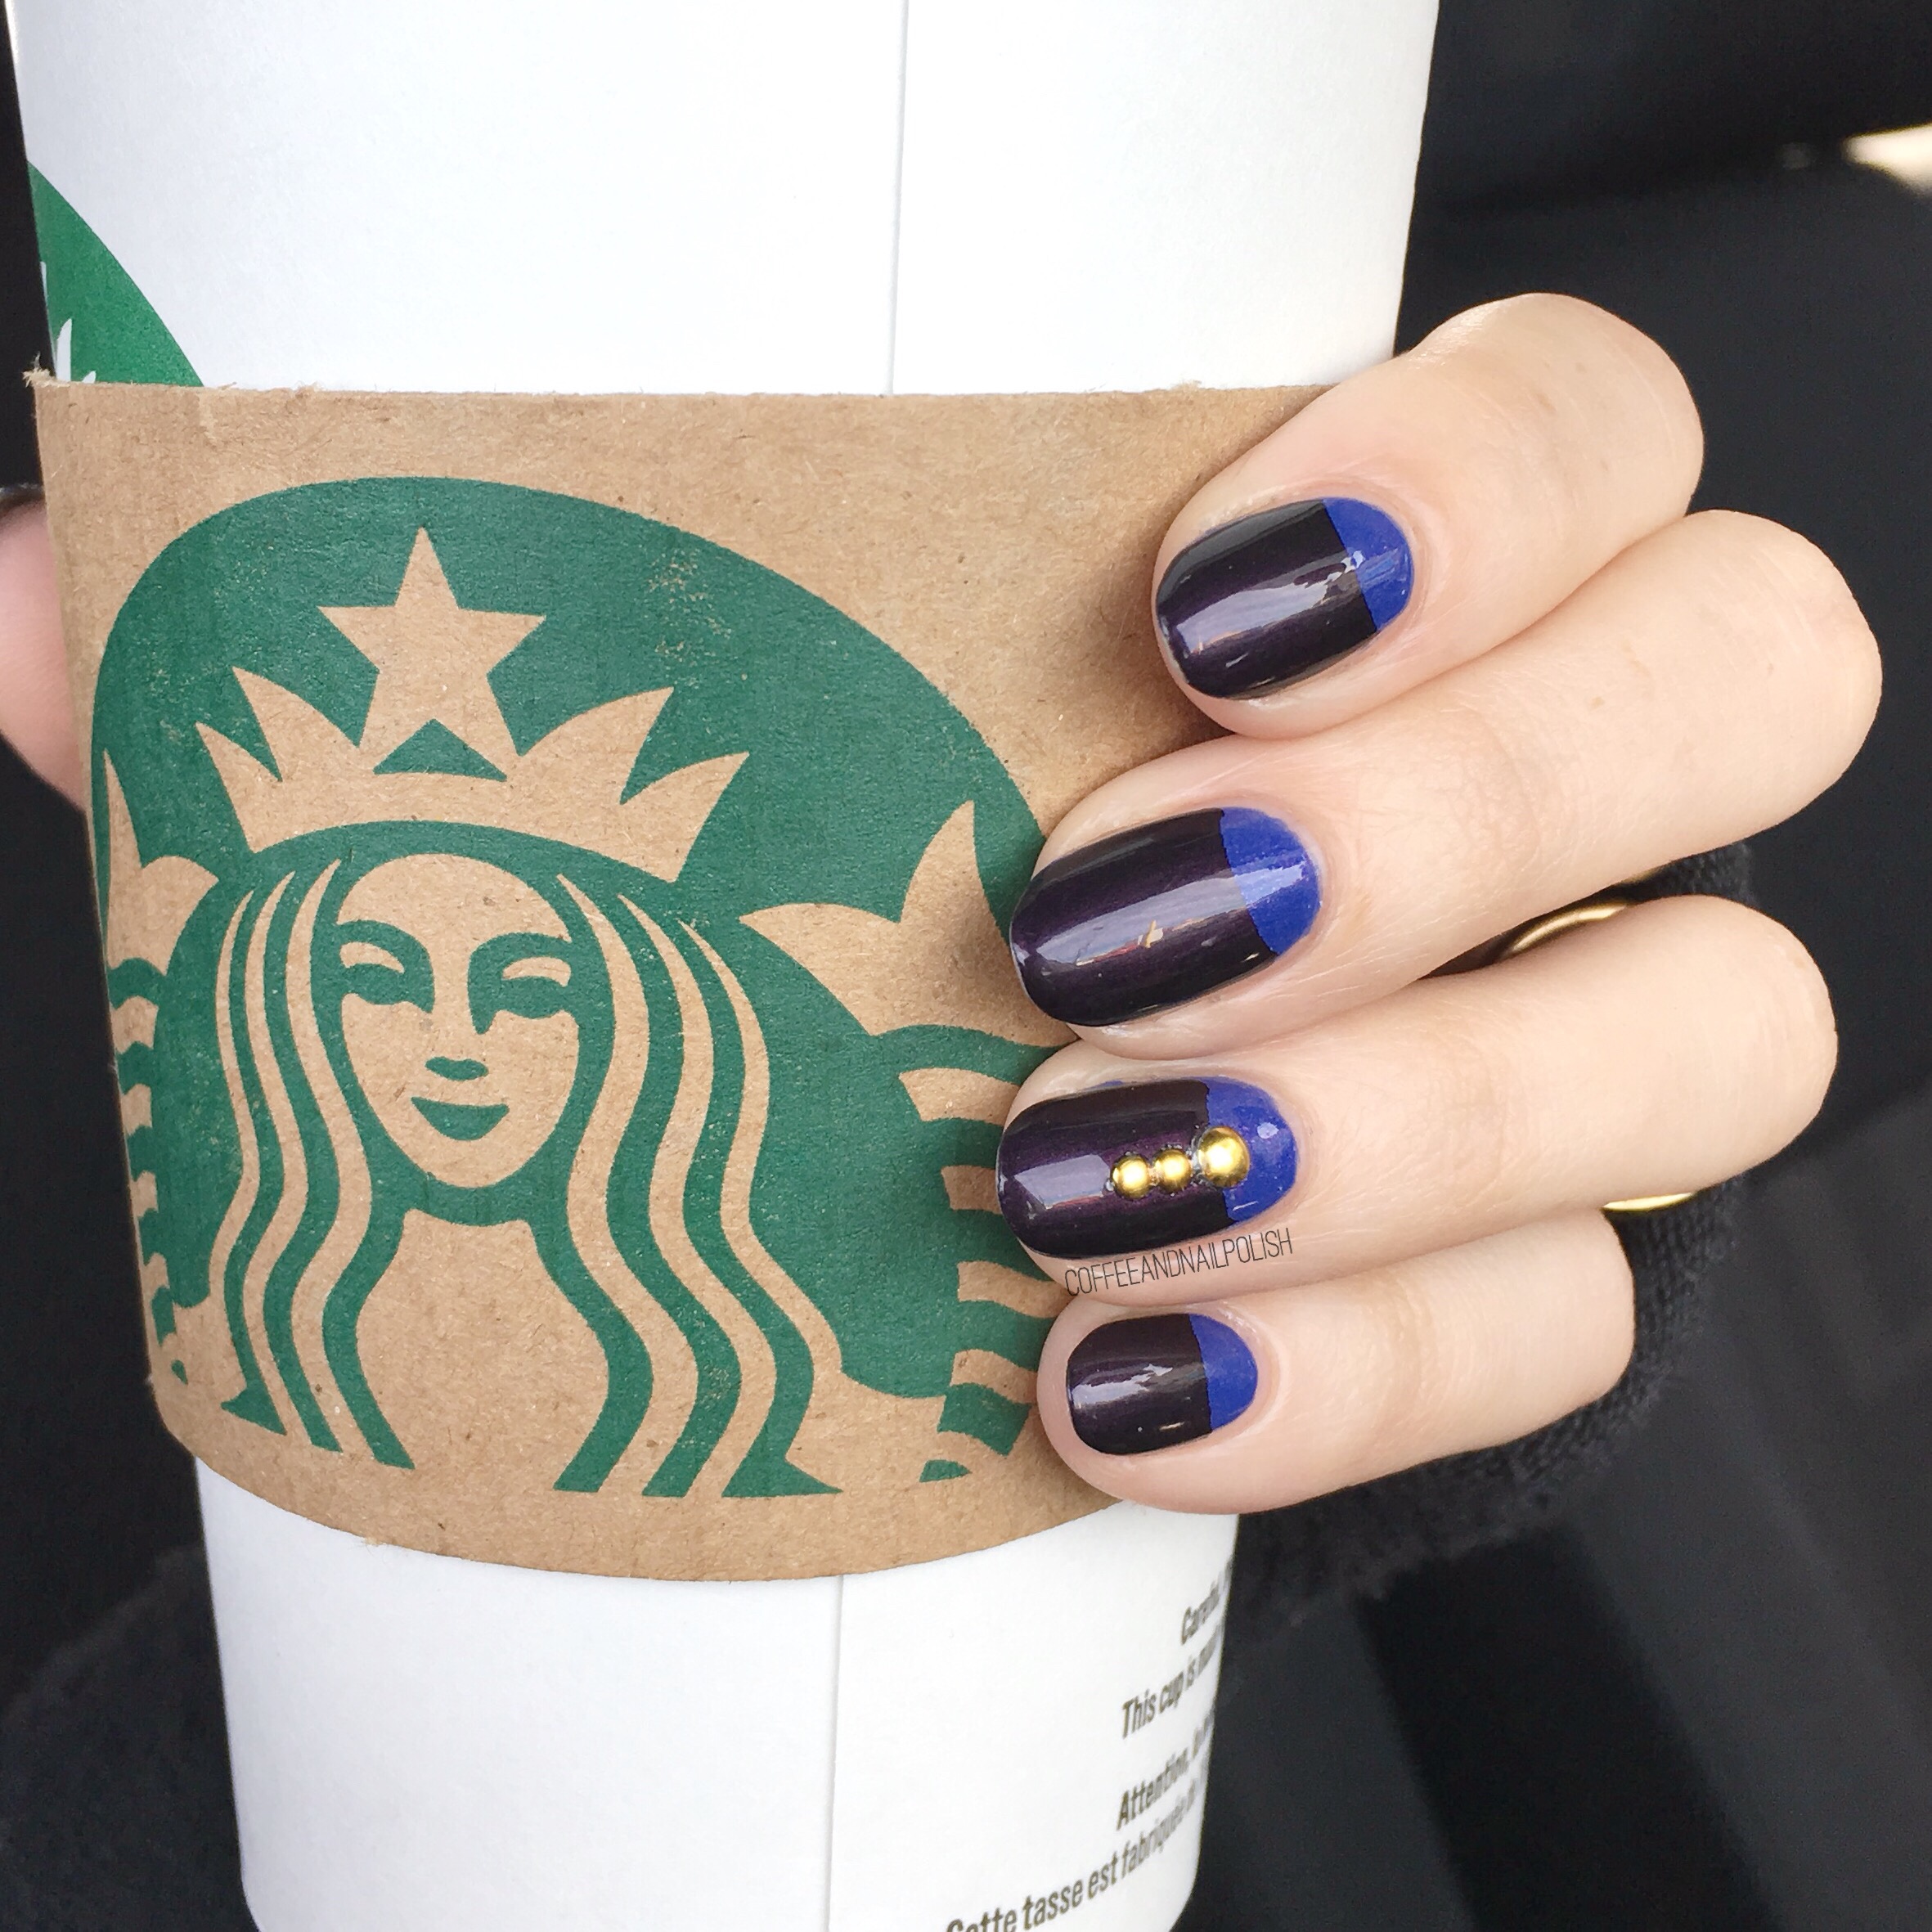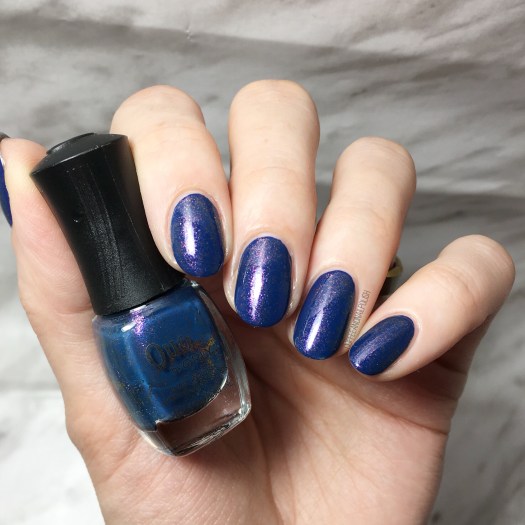
Happy Sunday lovelies! Welcome to my favourite day of the week–Swatch Sunday! 💙 Today I’m sharing a polish that OG readers will remember as one of my early swatches on this blog: Quo by ORLY Sailor’s Blue. (Seriously check out that original post, because the picture quality alone is worth the laugh! 😹)
This shade originally came into my life as part of the Quo by ORLY 2013 Holiday Minis set (it was gifted to me by the Hubby) & was my first real foray into the whole Quo by ORLY Polish line.
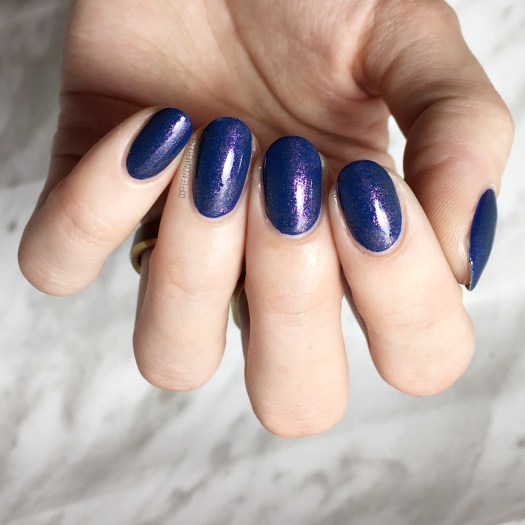
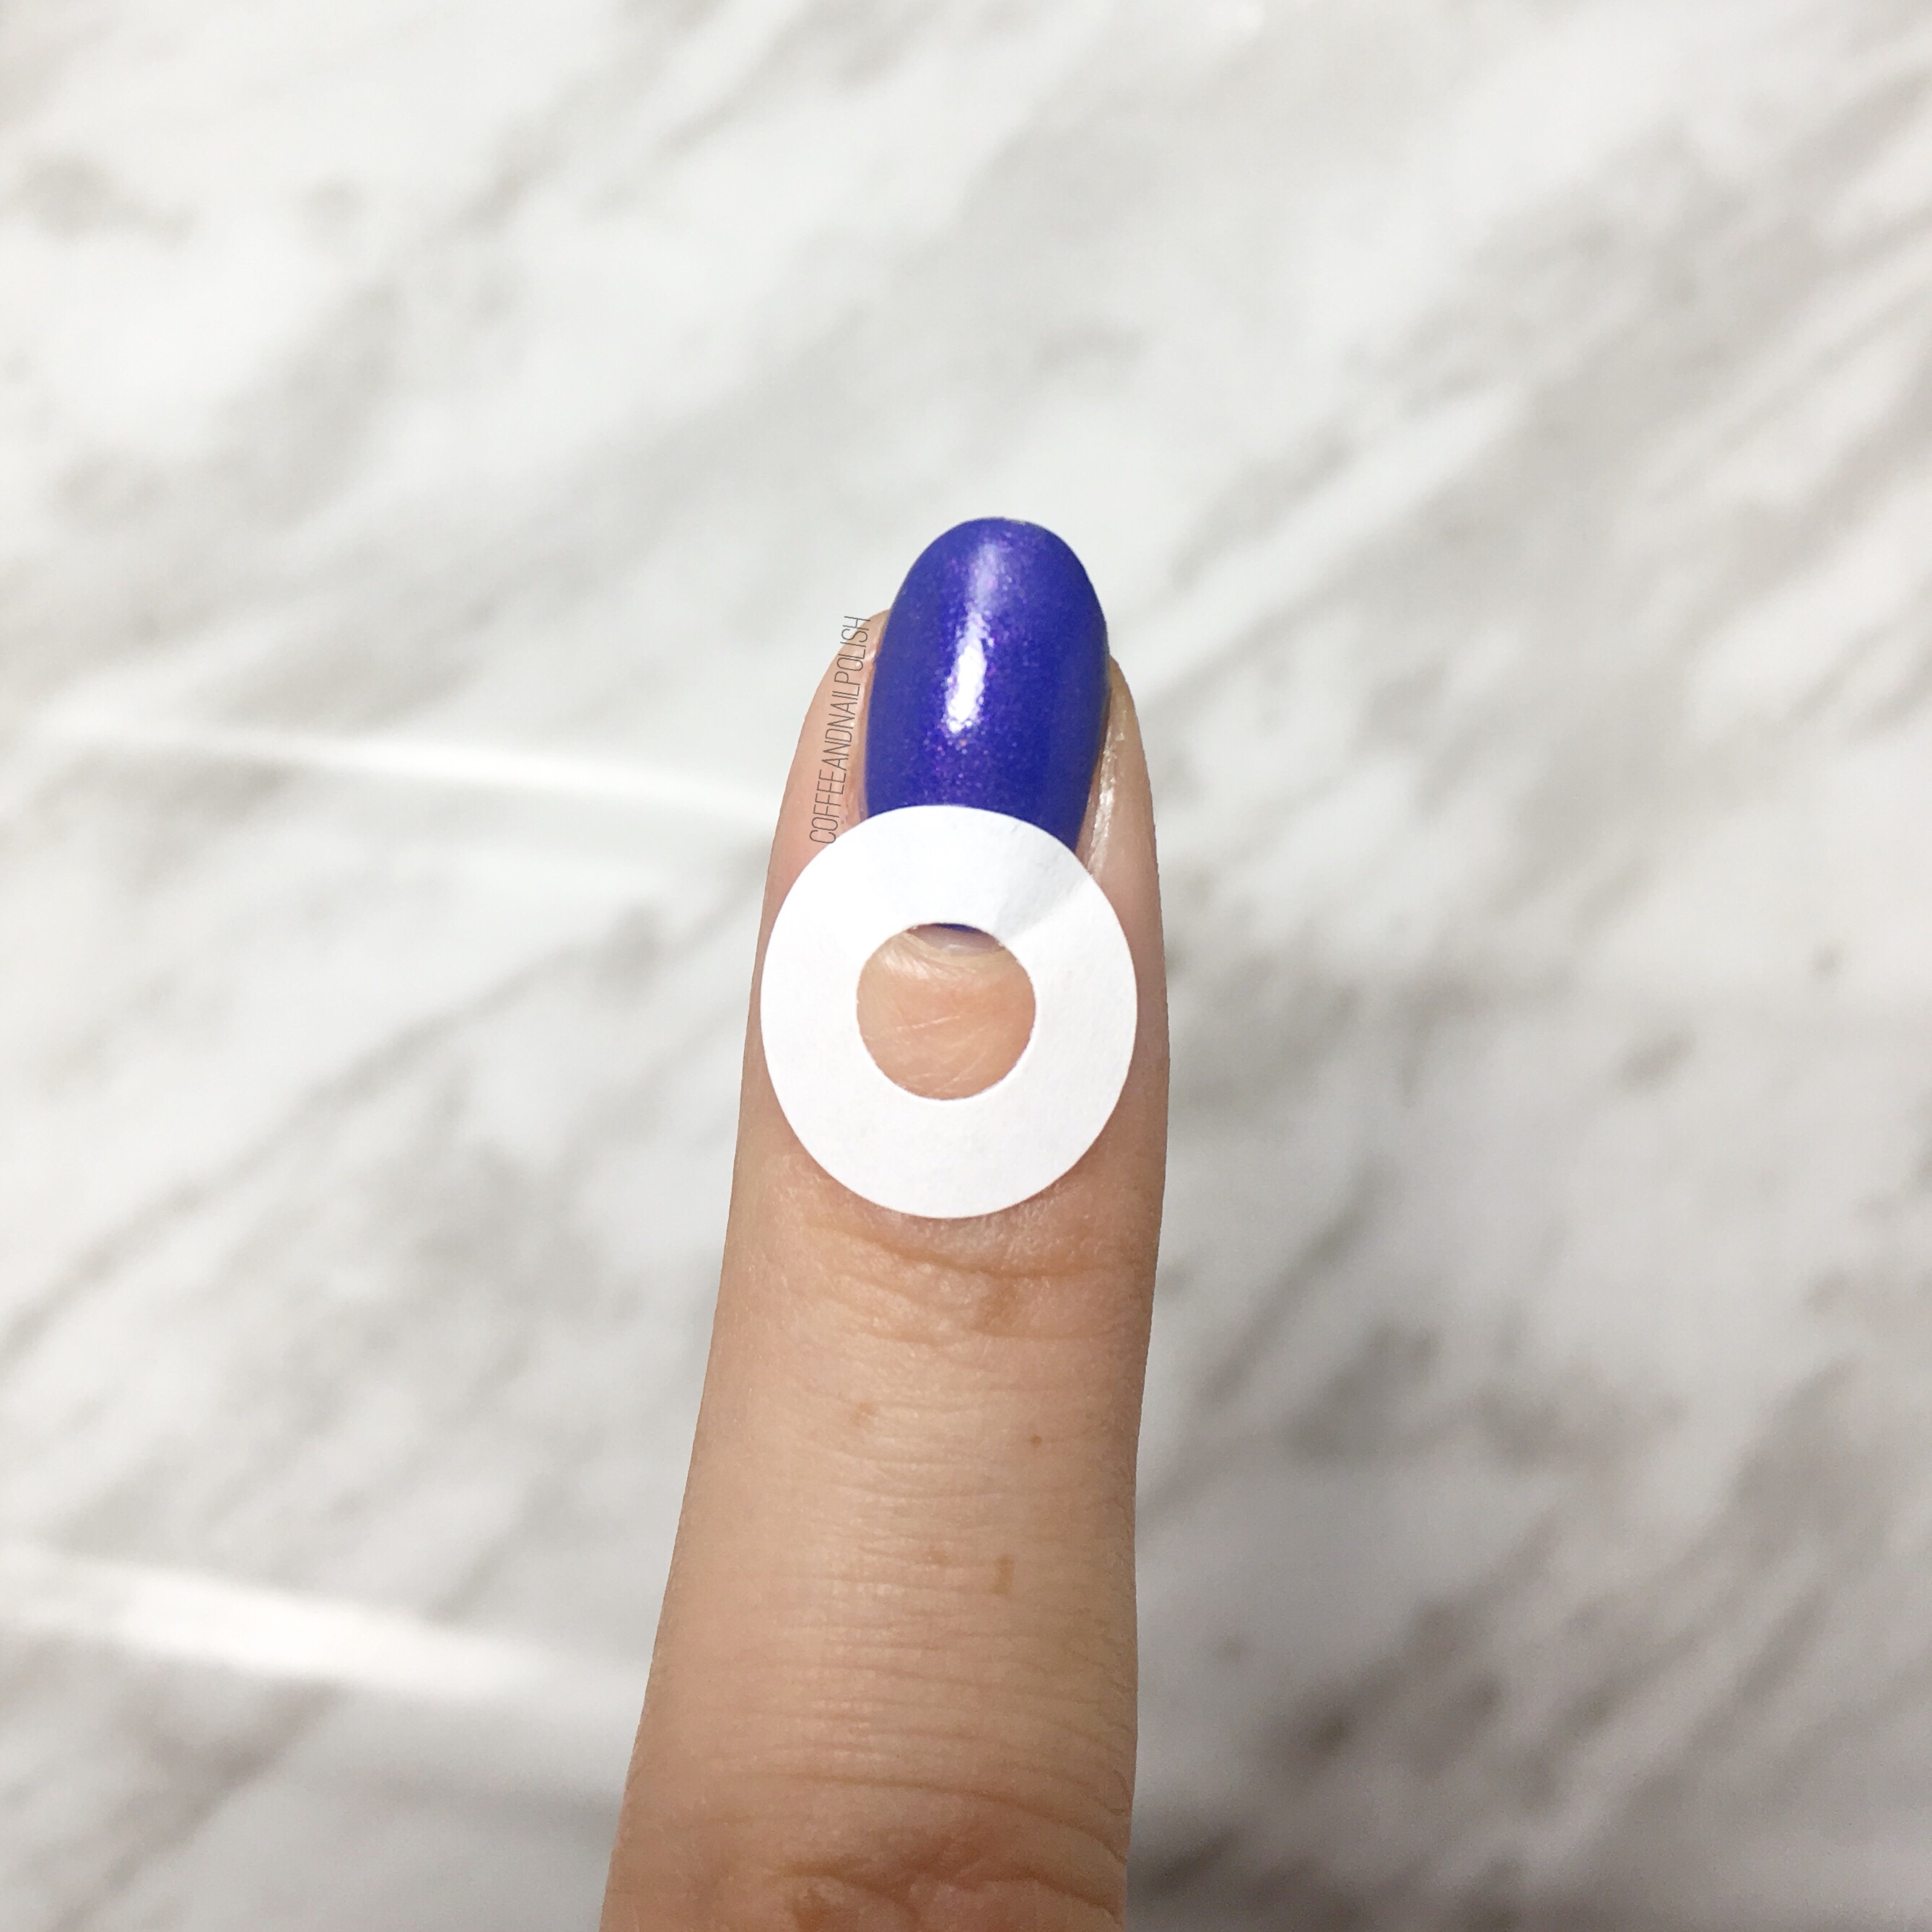
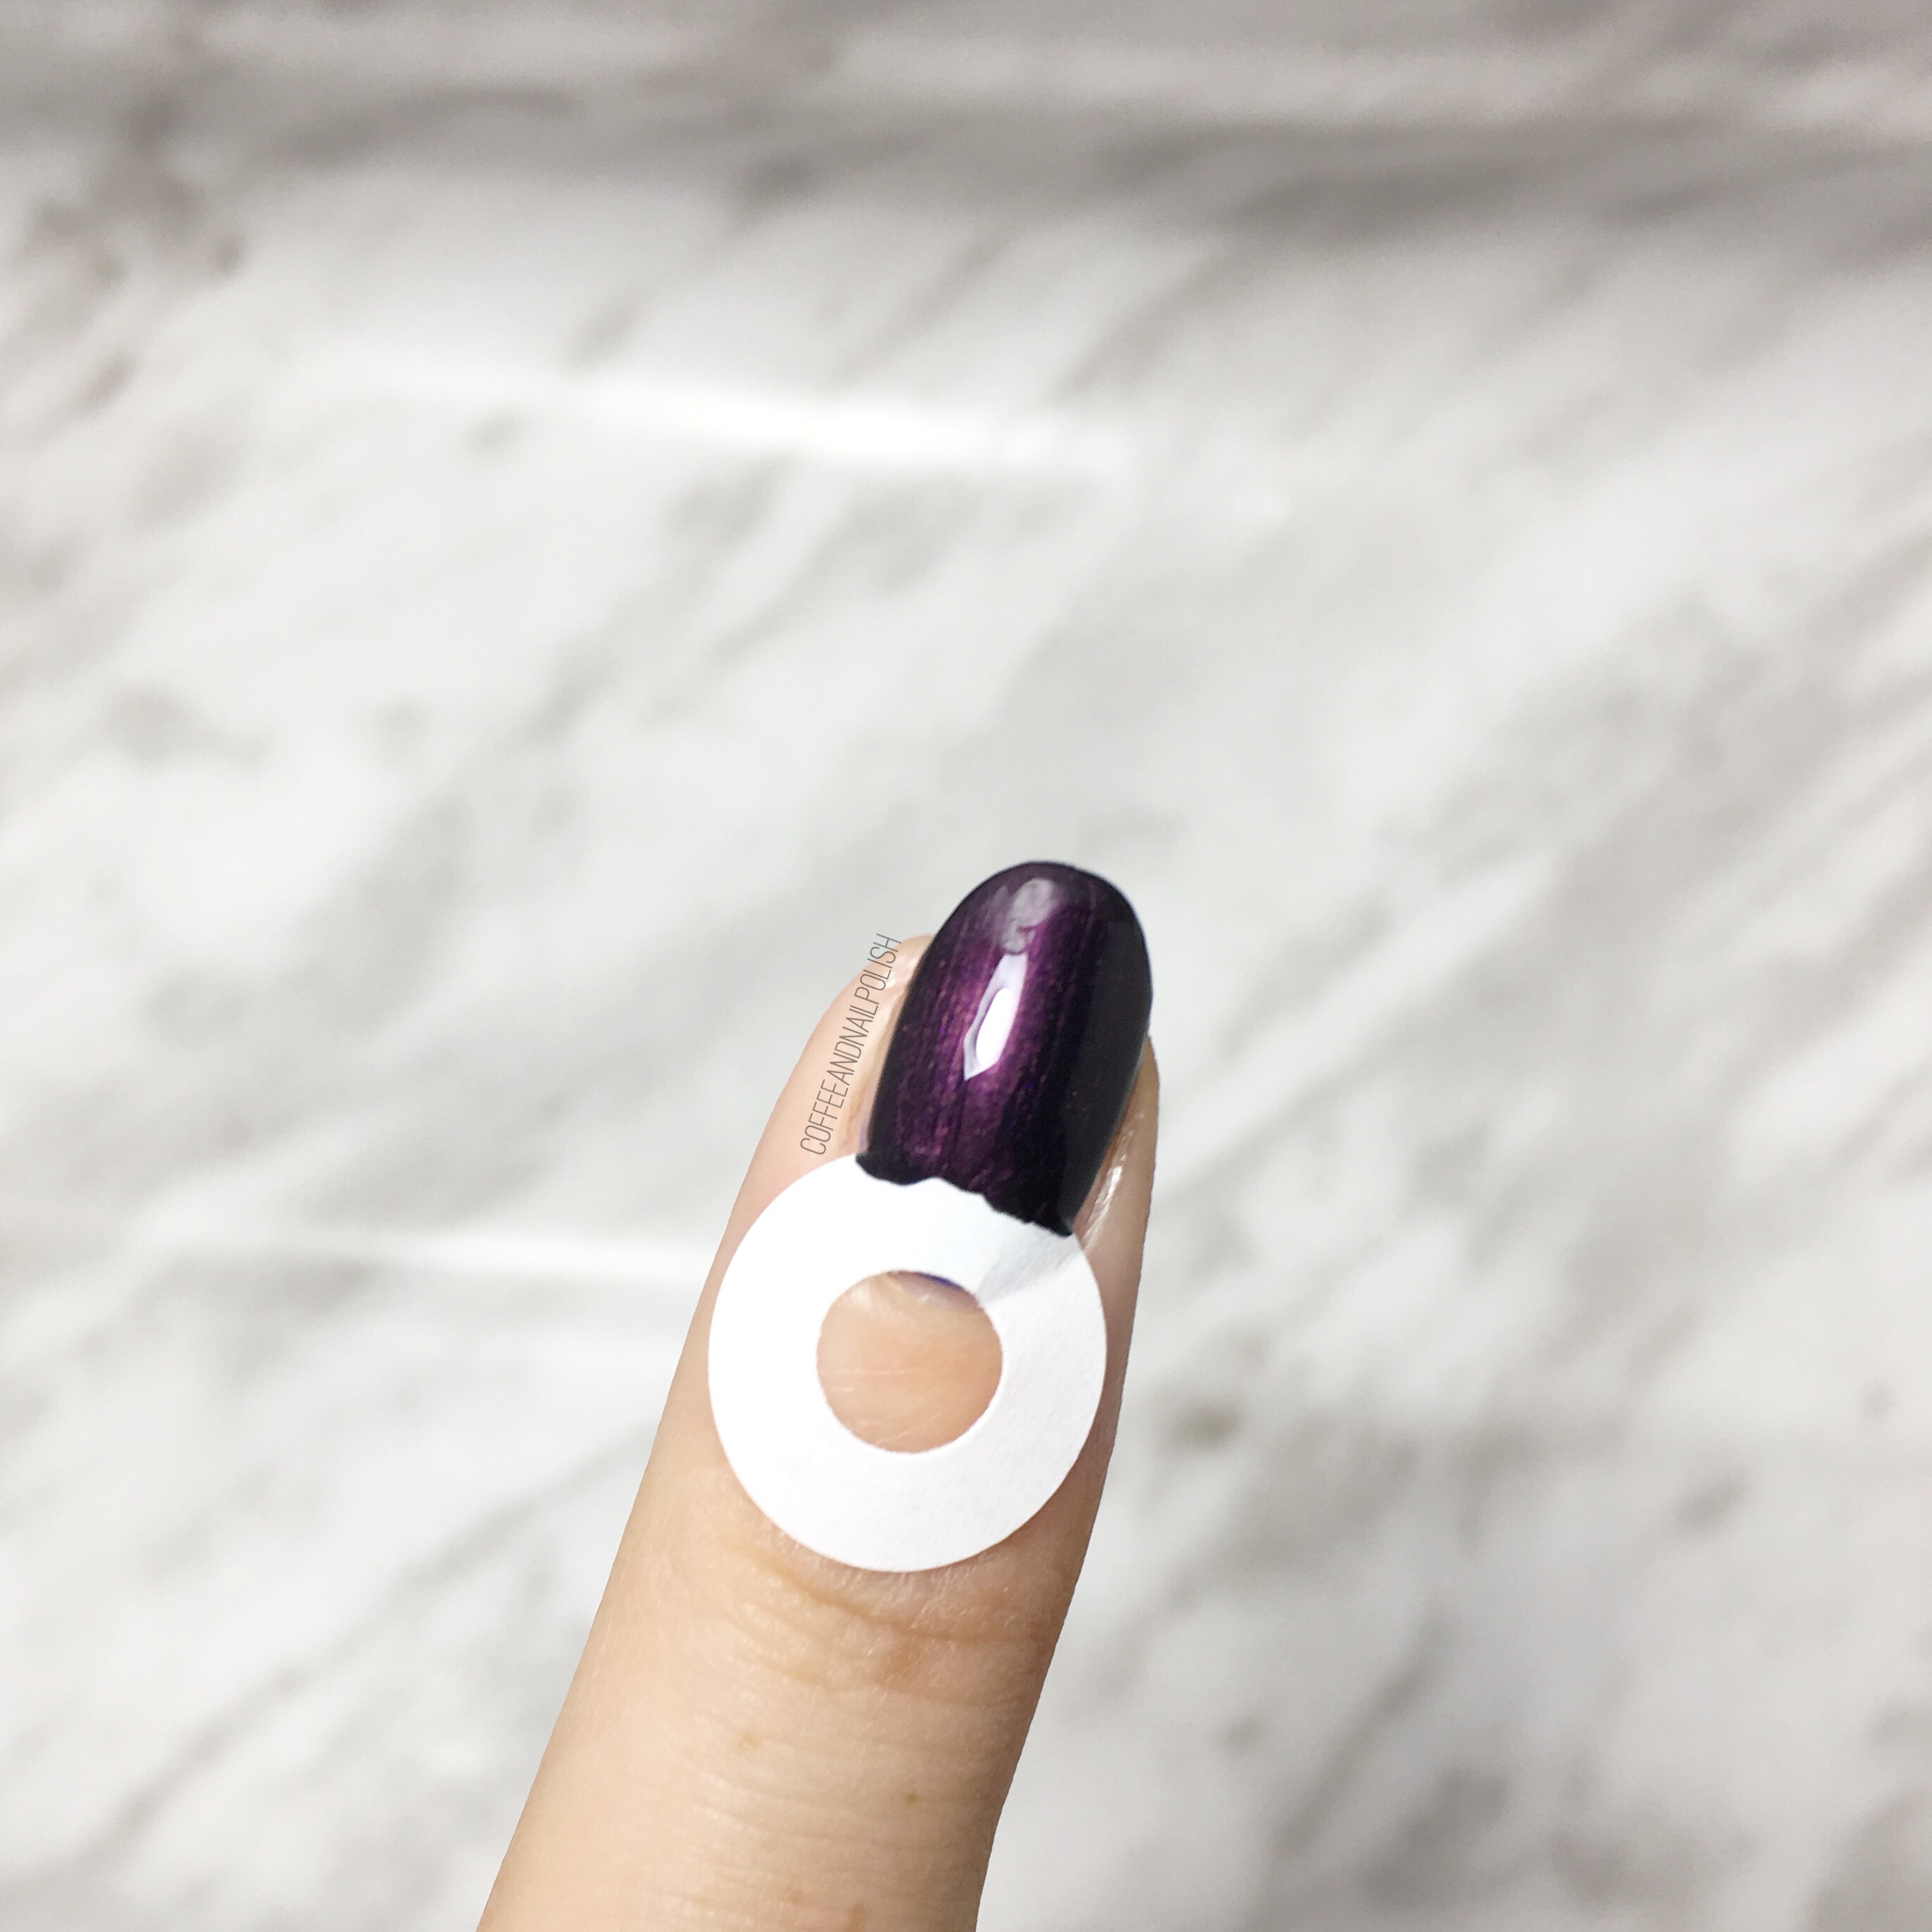
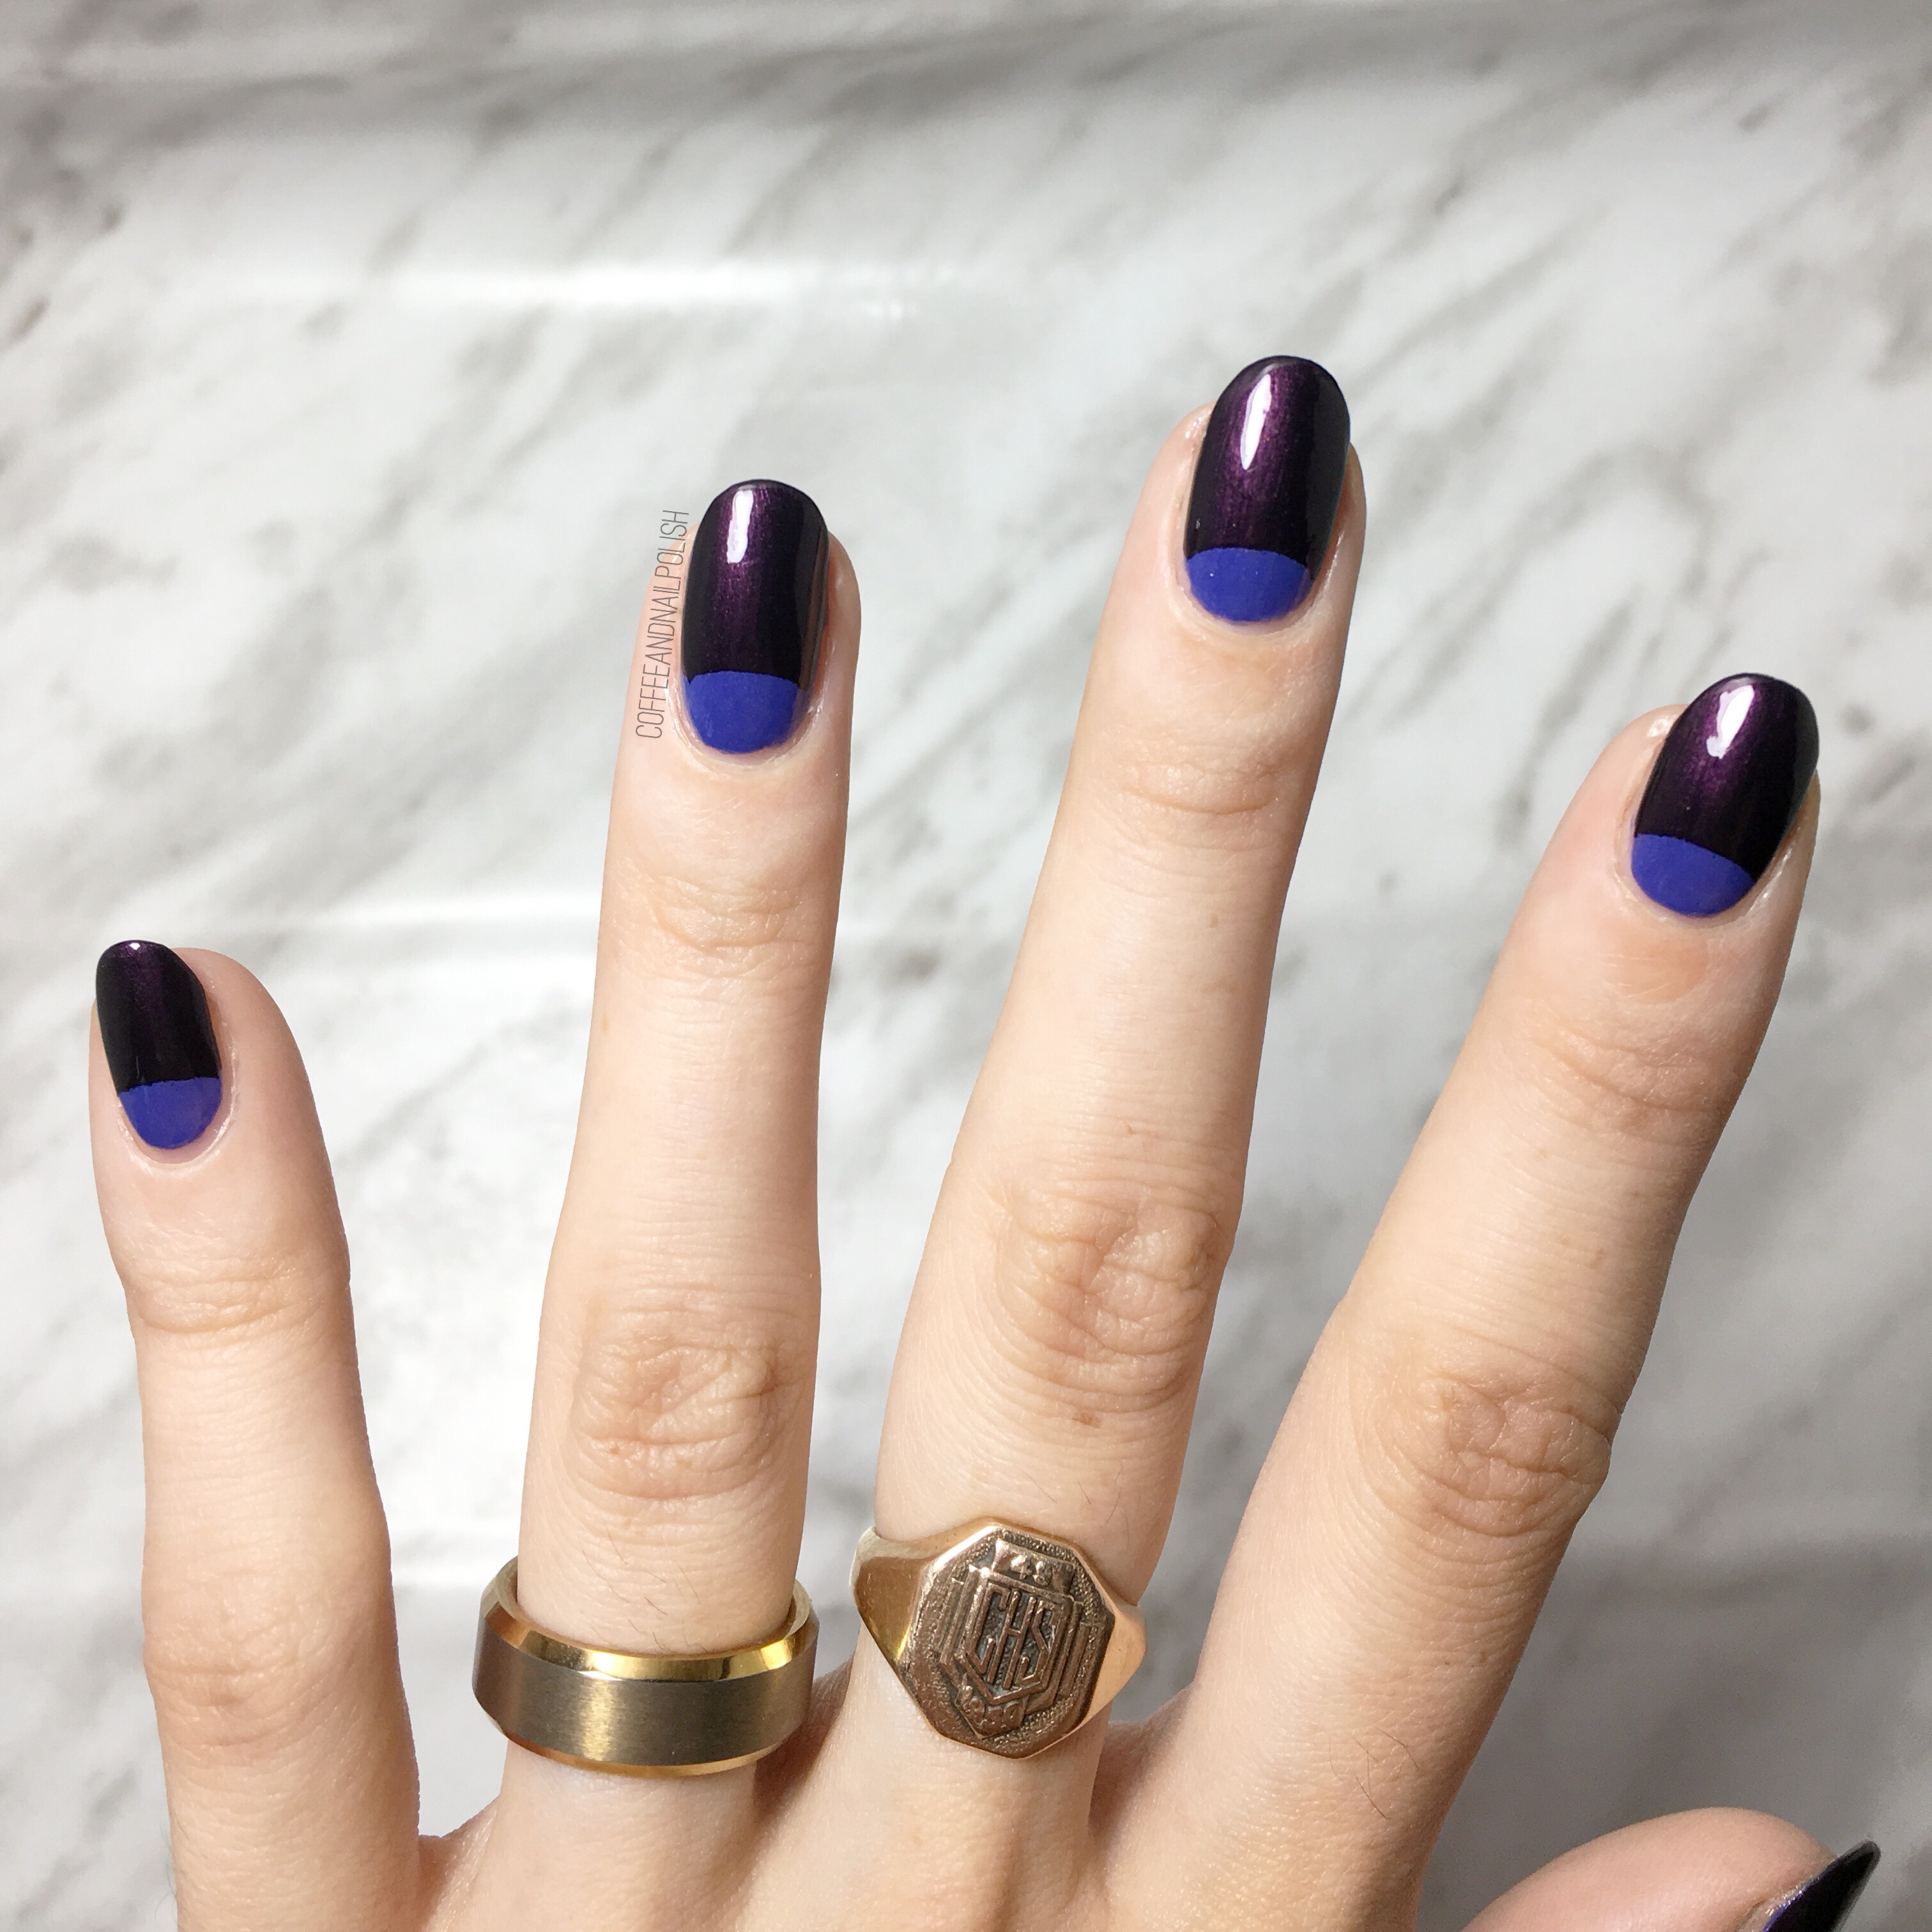
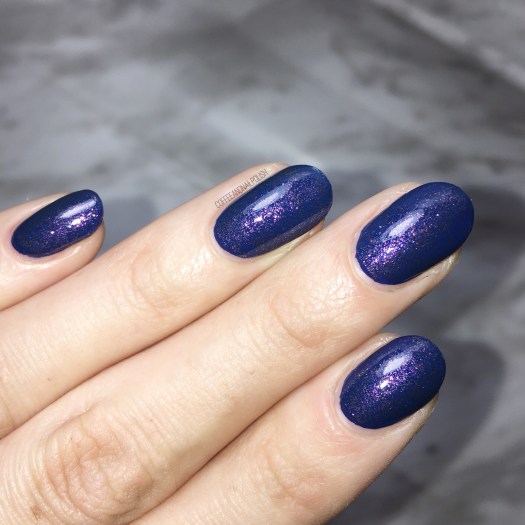 Sailor’s Blue is a sheer deep blue polish with a duochrome shimmer that flashes between gold & pink. It’s sheer enough that I wear it with undies (China Glaze First Mate) to avoid having to build coats. I also feel like using it over top of another blue shade keeps it from looking muddy. For this look, I did one coat of undies & one coat of Sailor’s Blue, plus top coat.

 Sadly, I don’t think this shade is available anymore for purchase which definitely makes me wish I had more than just a mini bottle in my collection. I know it was also released by ORLY as High On Hope as part of the Spring 2013 collection, but unless you find it buried in clearance bins, I don’t think it’s an easy shade to track down. Which is seriously a shame, because it’s so pretty!

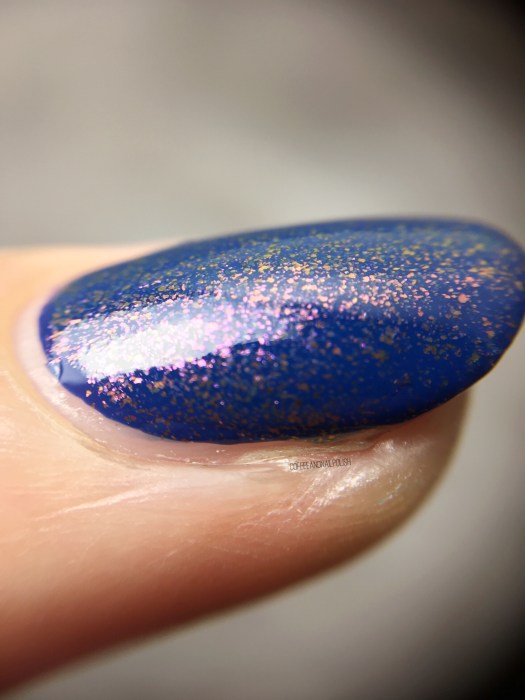
 & for fun, a macro shot so you can really see that duochrome shift. ⤵️
 What do you think of Quo by ORLY Sailor’s Blue? Do you own this shade (or it’s twin ORLY High On Hope in your stash? Let me know your thoughts in the comments below!

 <<<<<
<<<<<
 <
<
 <<<<<<<<<<<>
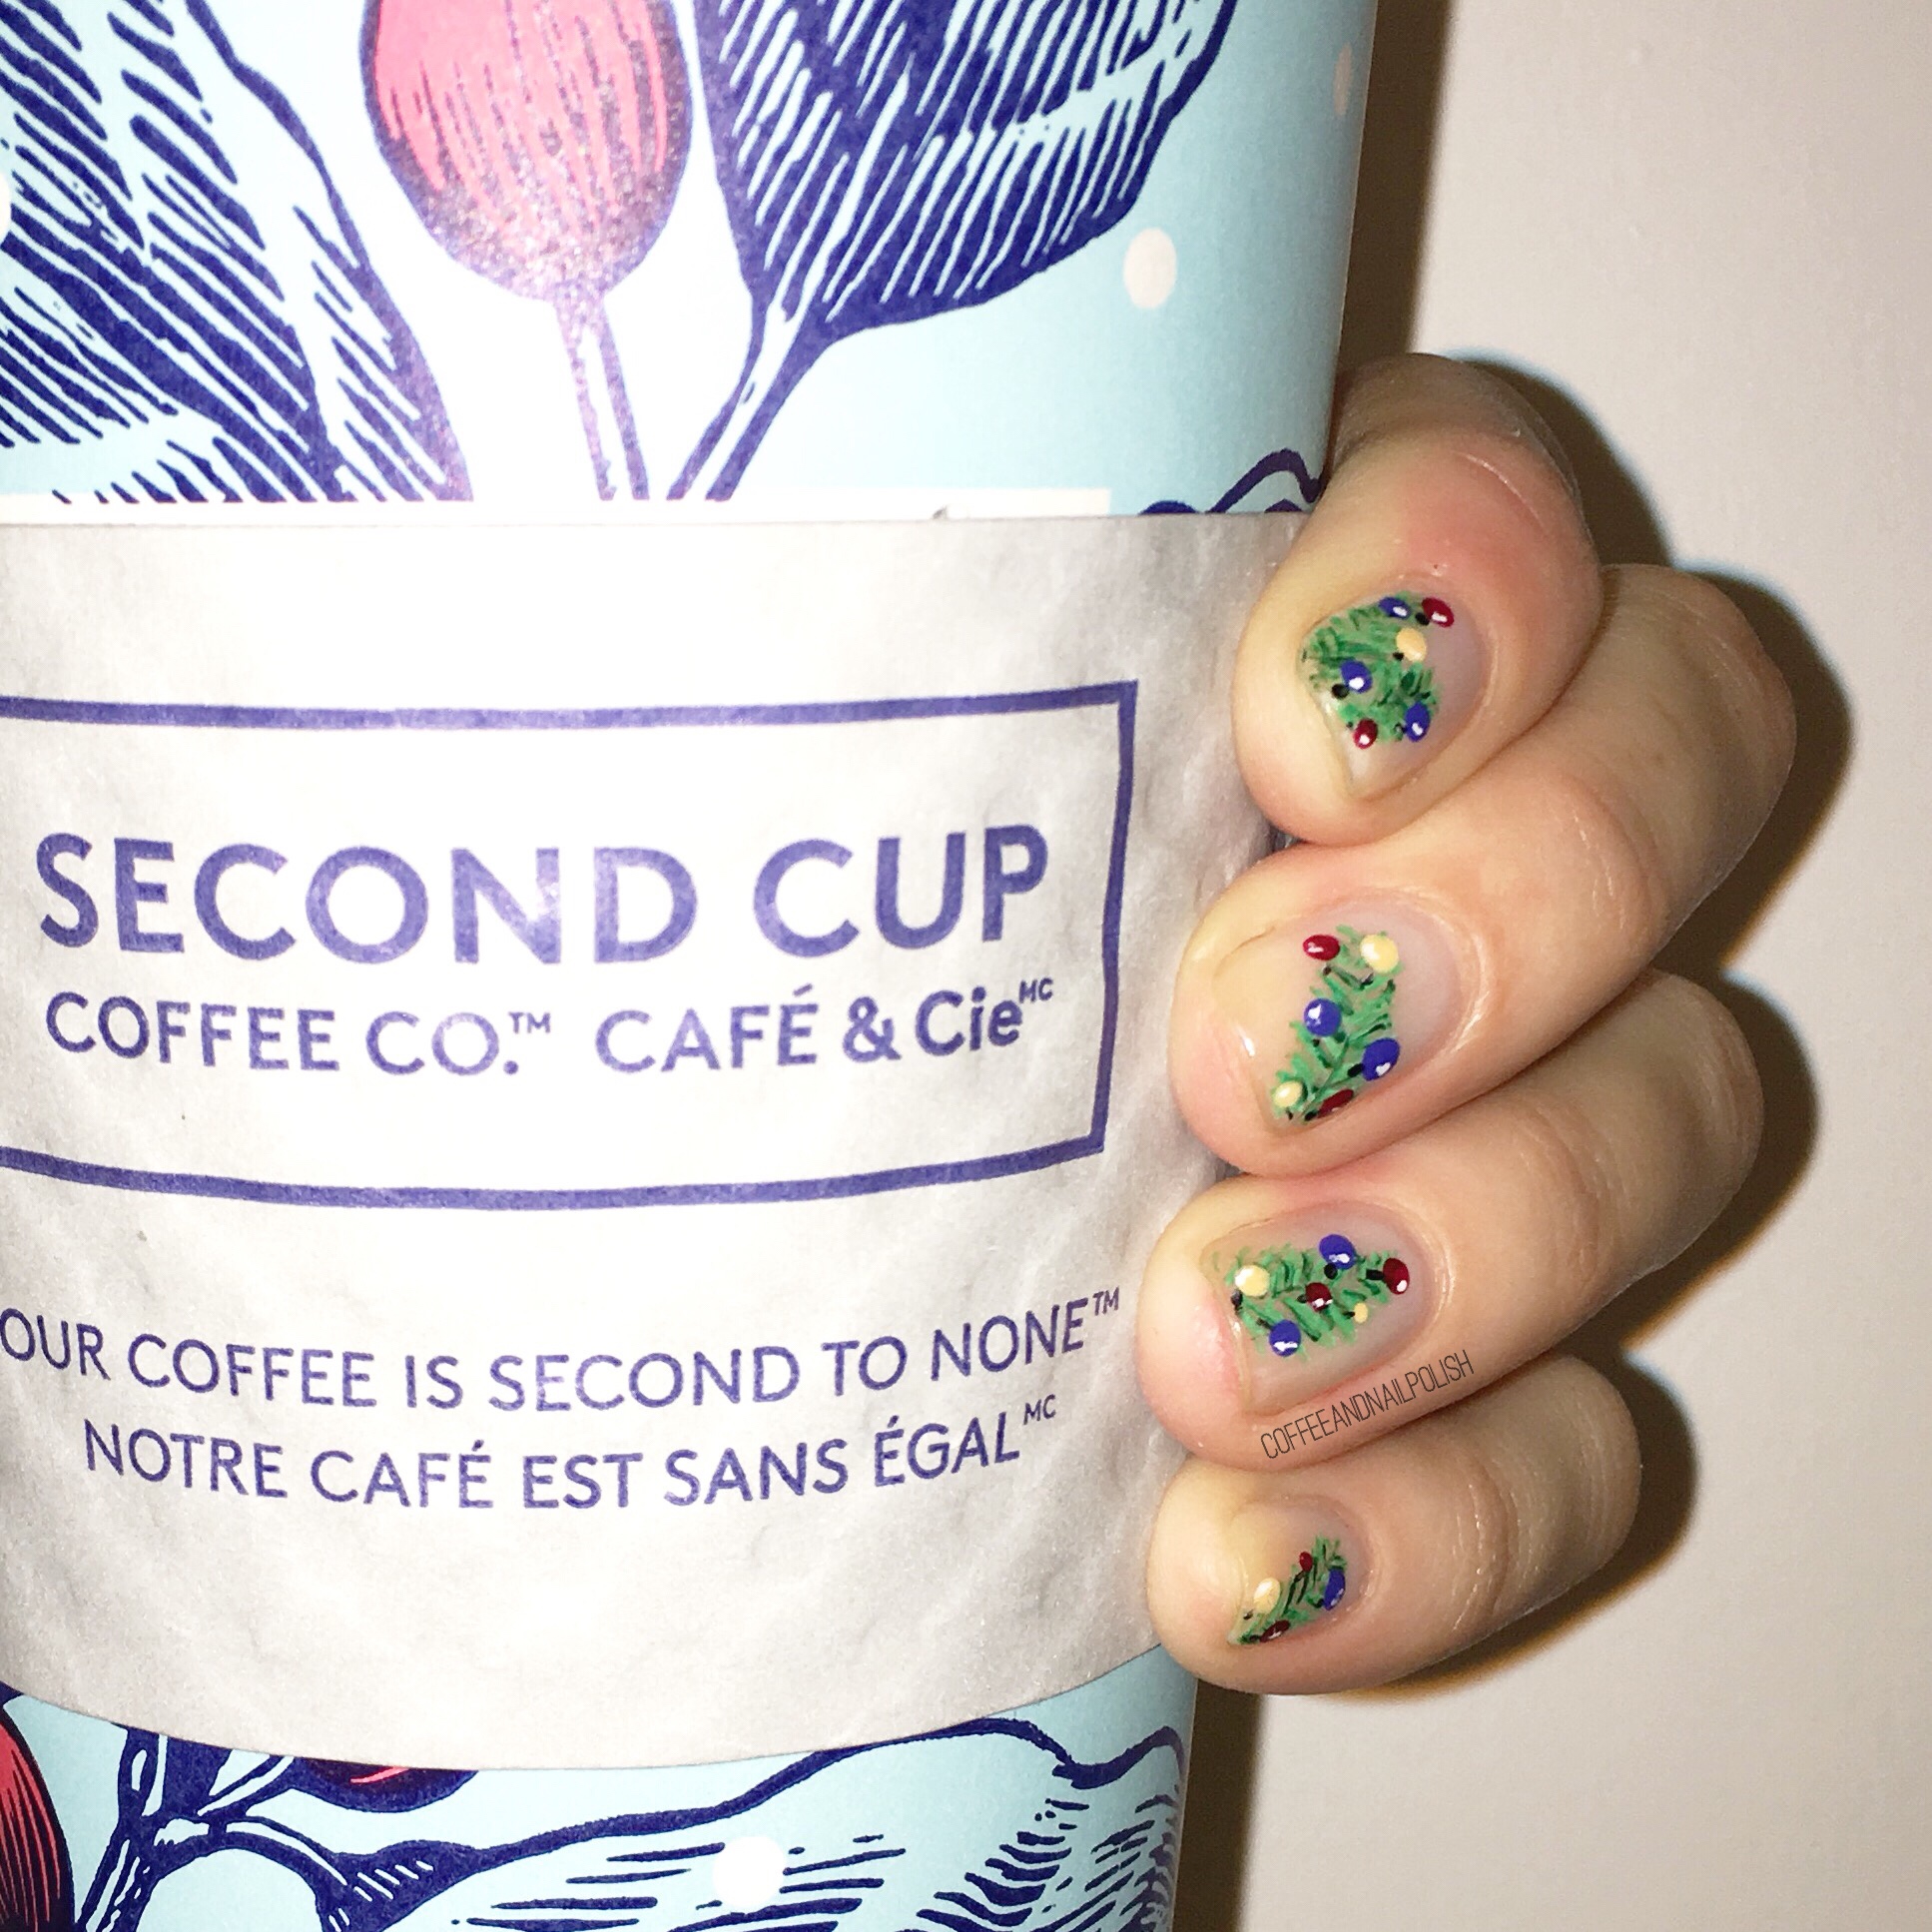
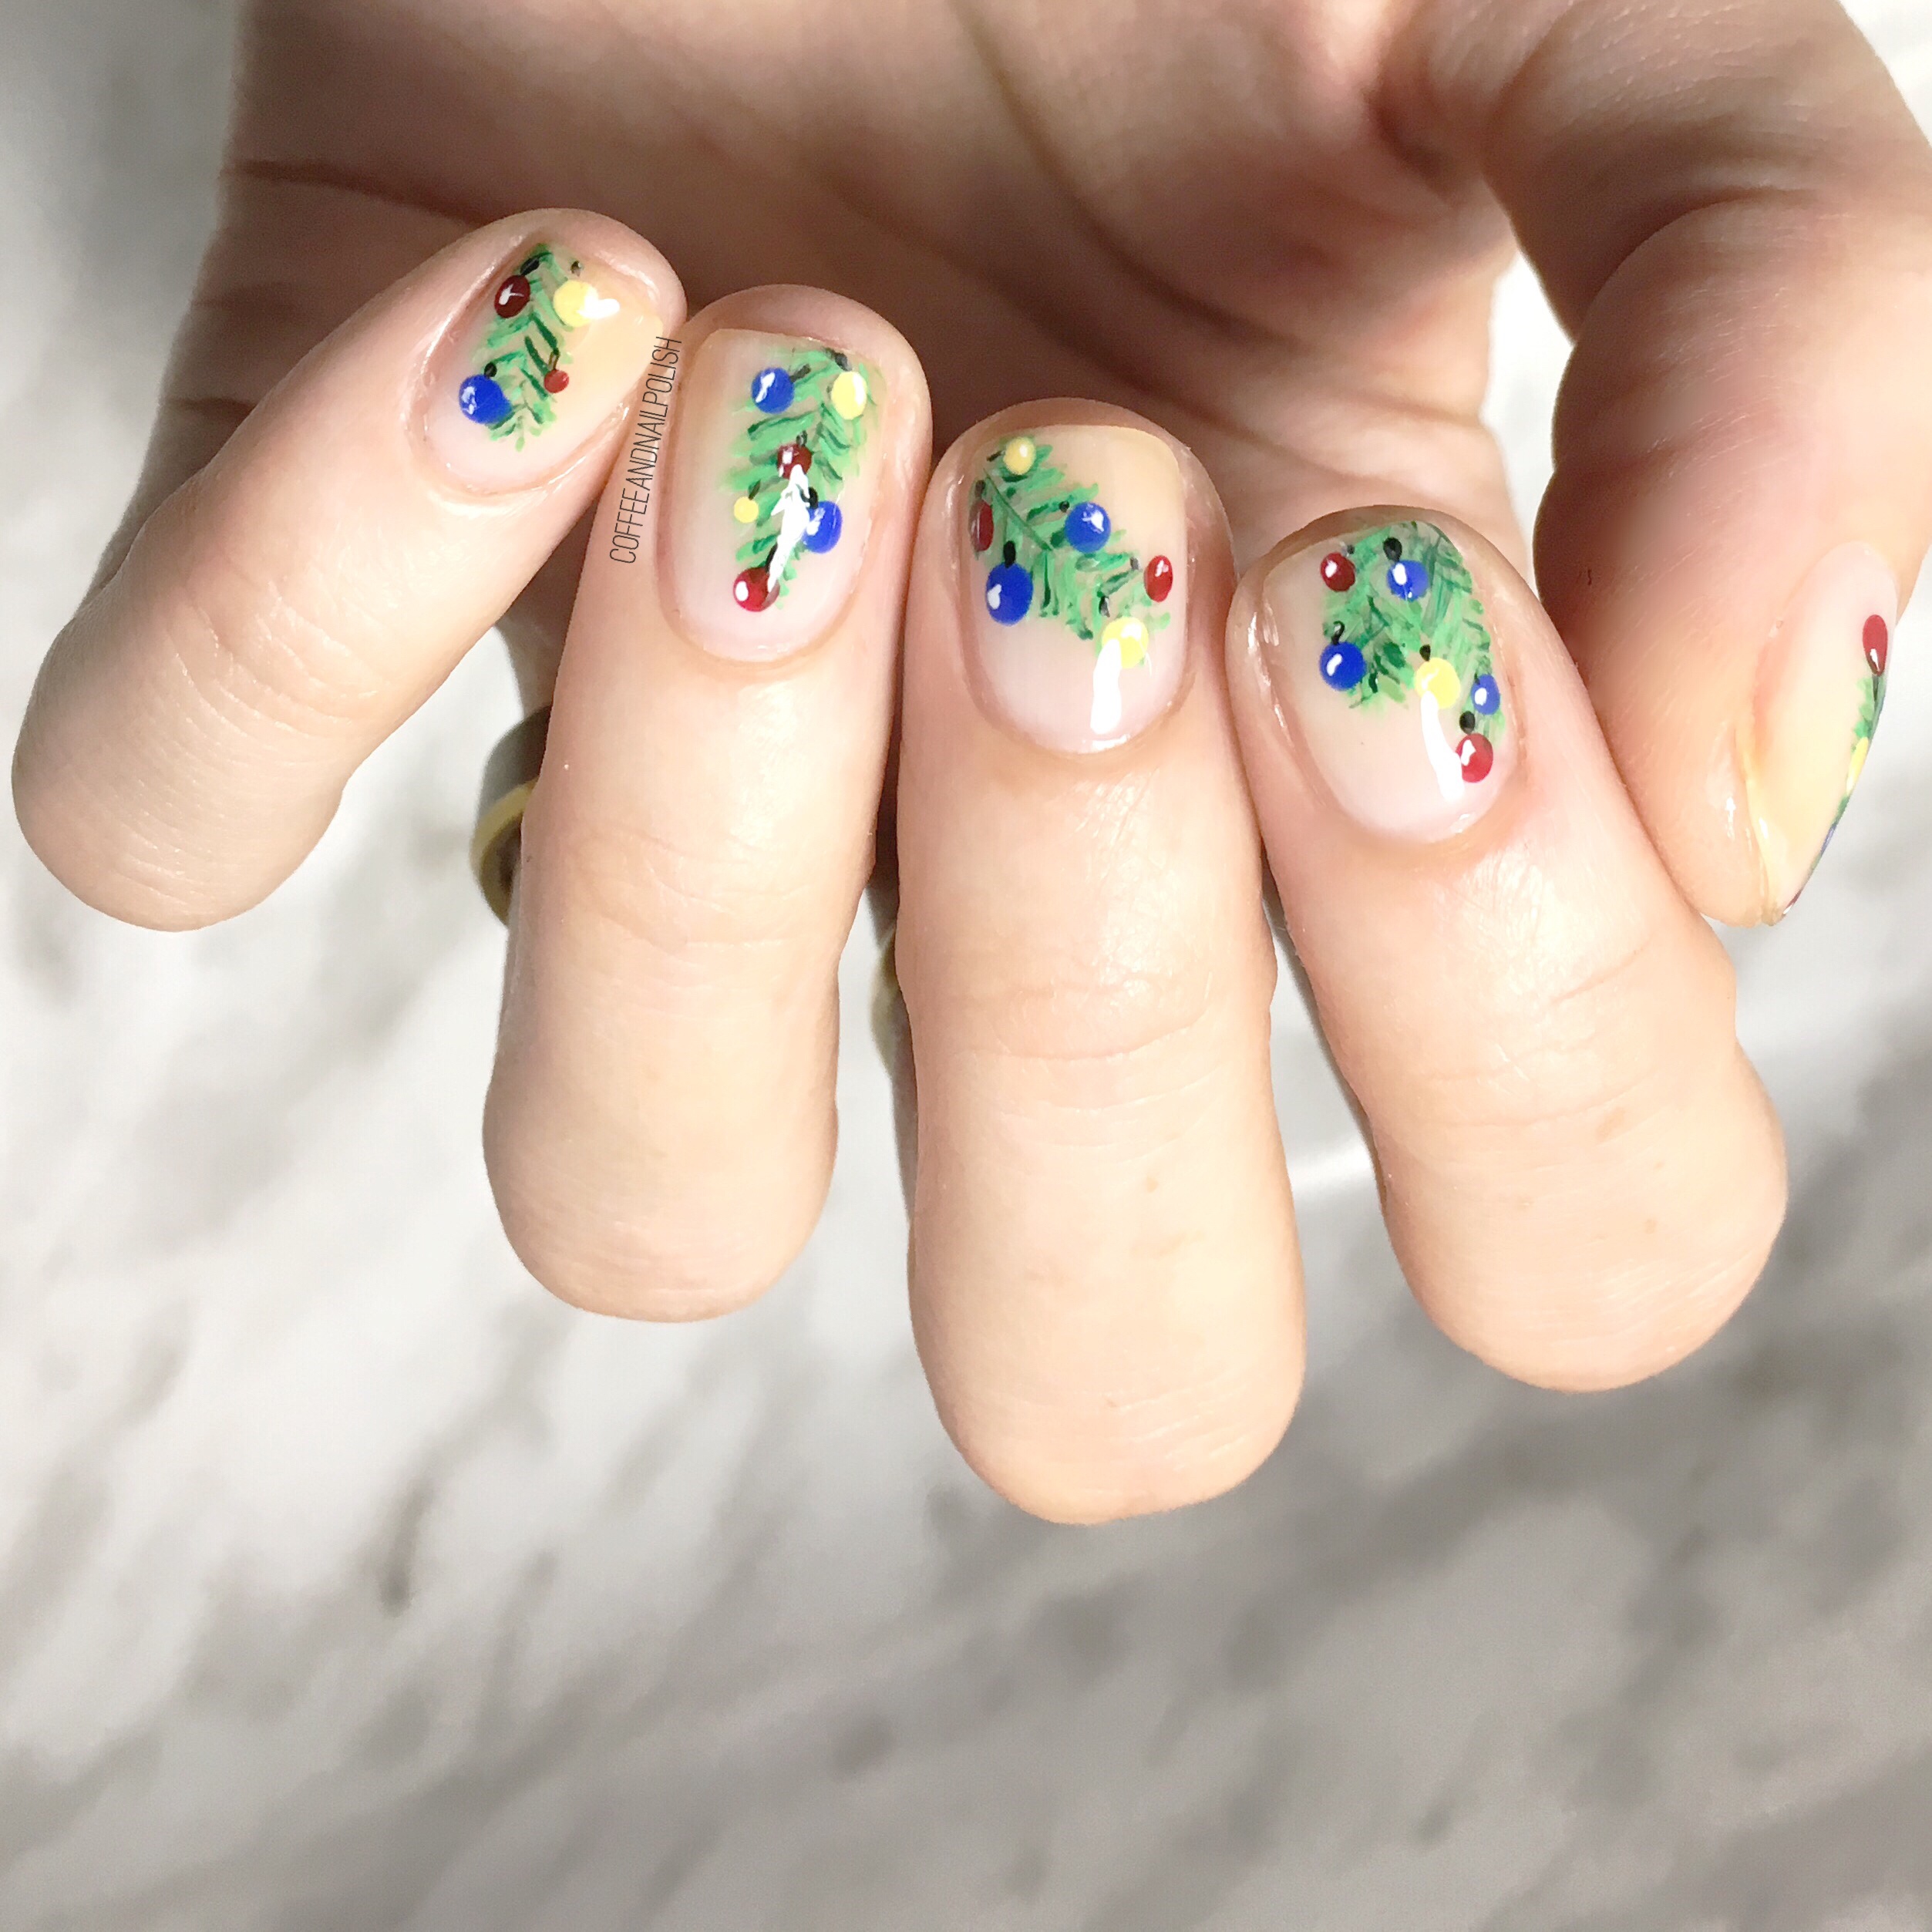
 Sometimes I get really excited about how a manicure turns out & this is one of those times. This isn’t the first Christmas Tree/Tree Branch manicure I’ve attempted, but it’s definitely the best I’ve ever done. I’m just so beyond in love with how it turned out.
 I love that you can see the individual needles on my “branches”. It reminds me of our own sparse little artificial Christmas tree. True story: it’s the same tree my parents used when I was a kid, & the box still has the K-mart sticker on it from when it was purchased. & K-mart left Canada in 1998 I believe, so this tree is at least 20 years old. Haha. But it’s okay because it’s well loved, full of memories & is still going strong all these years later.
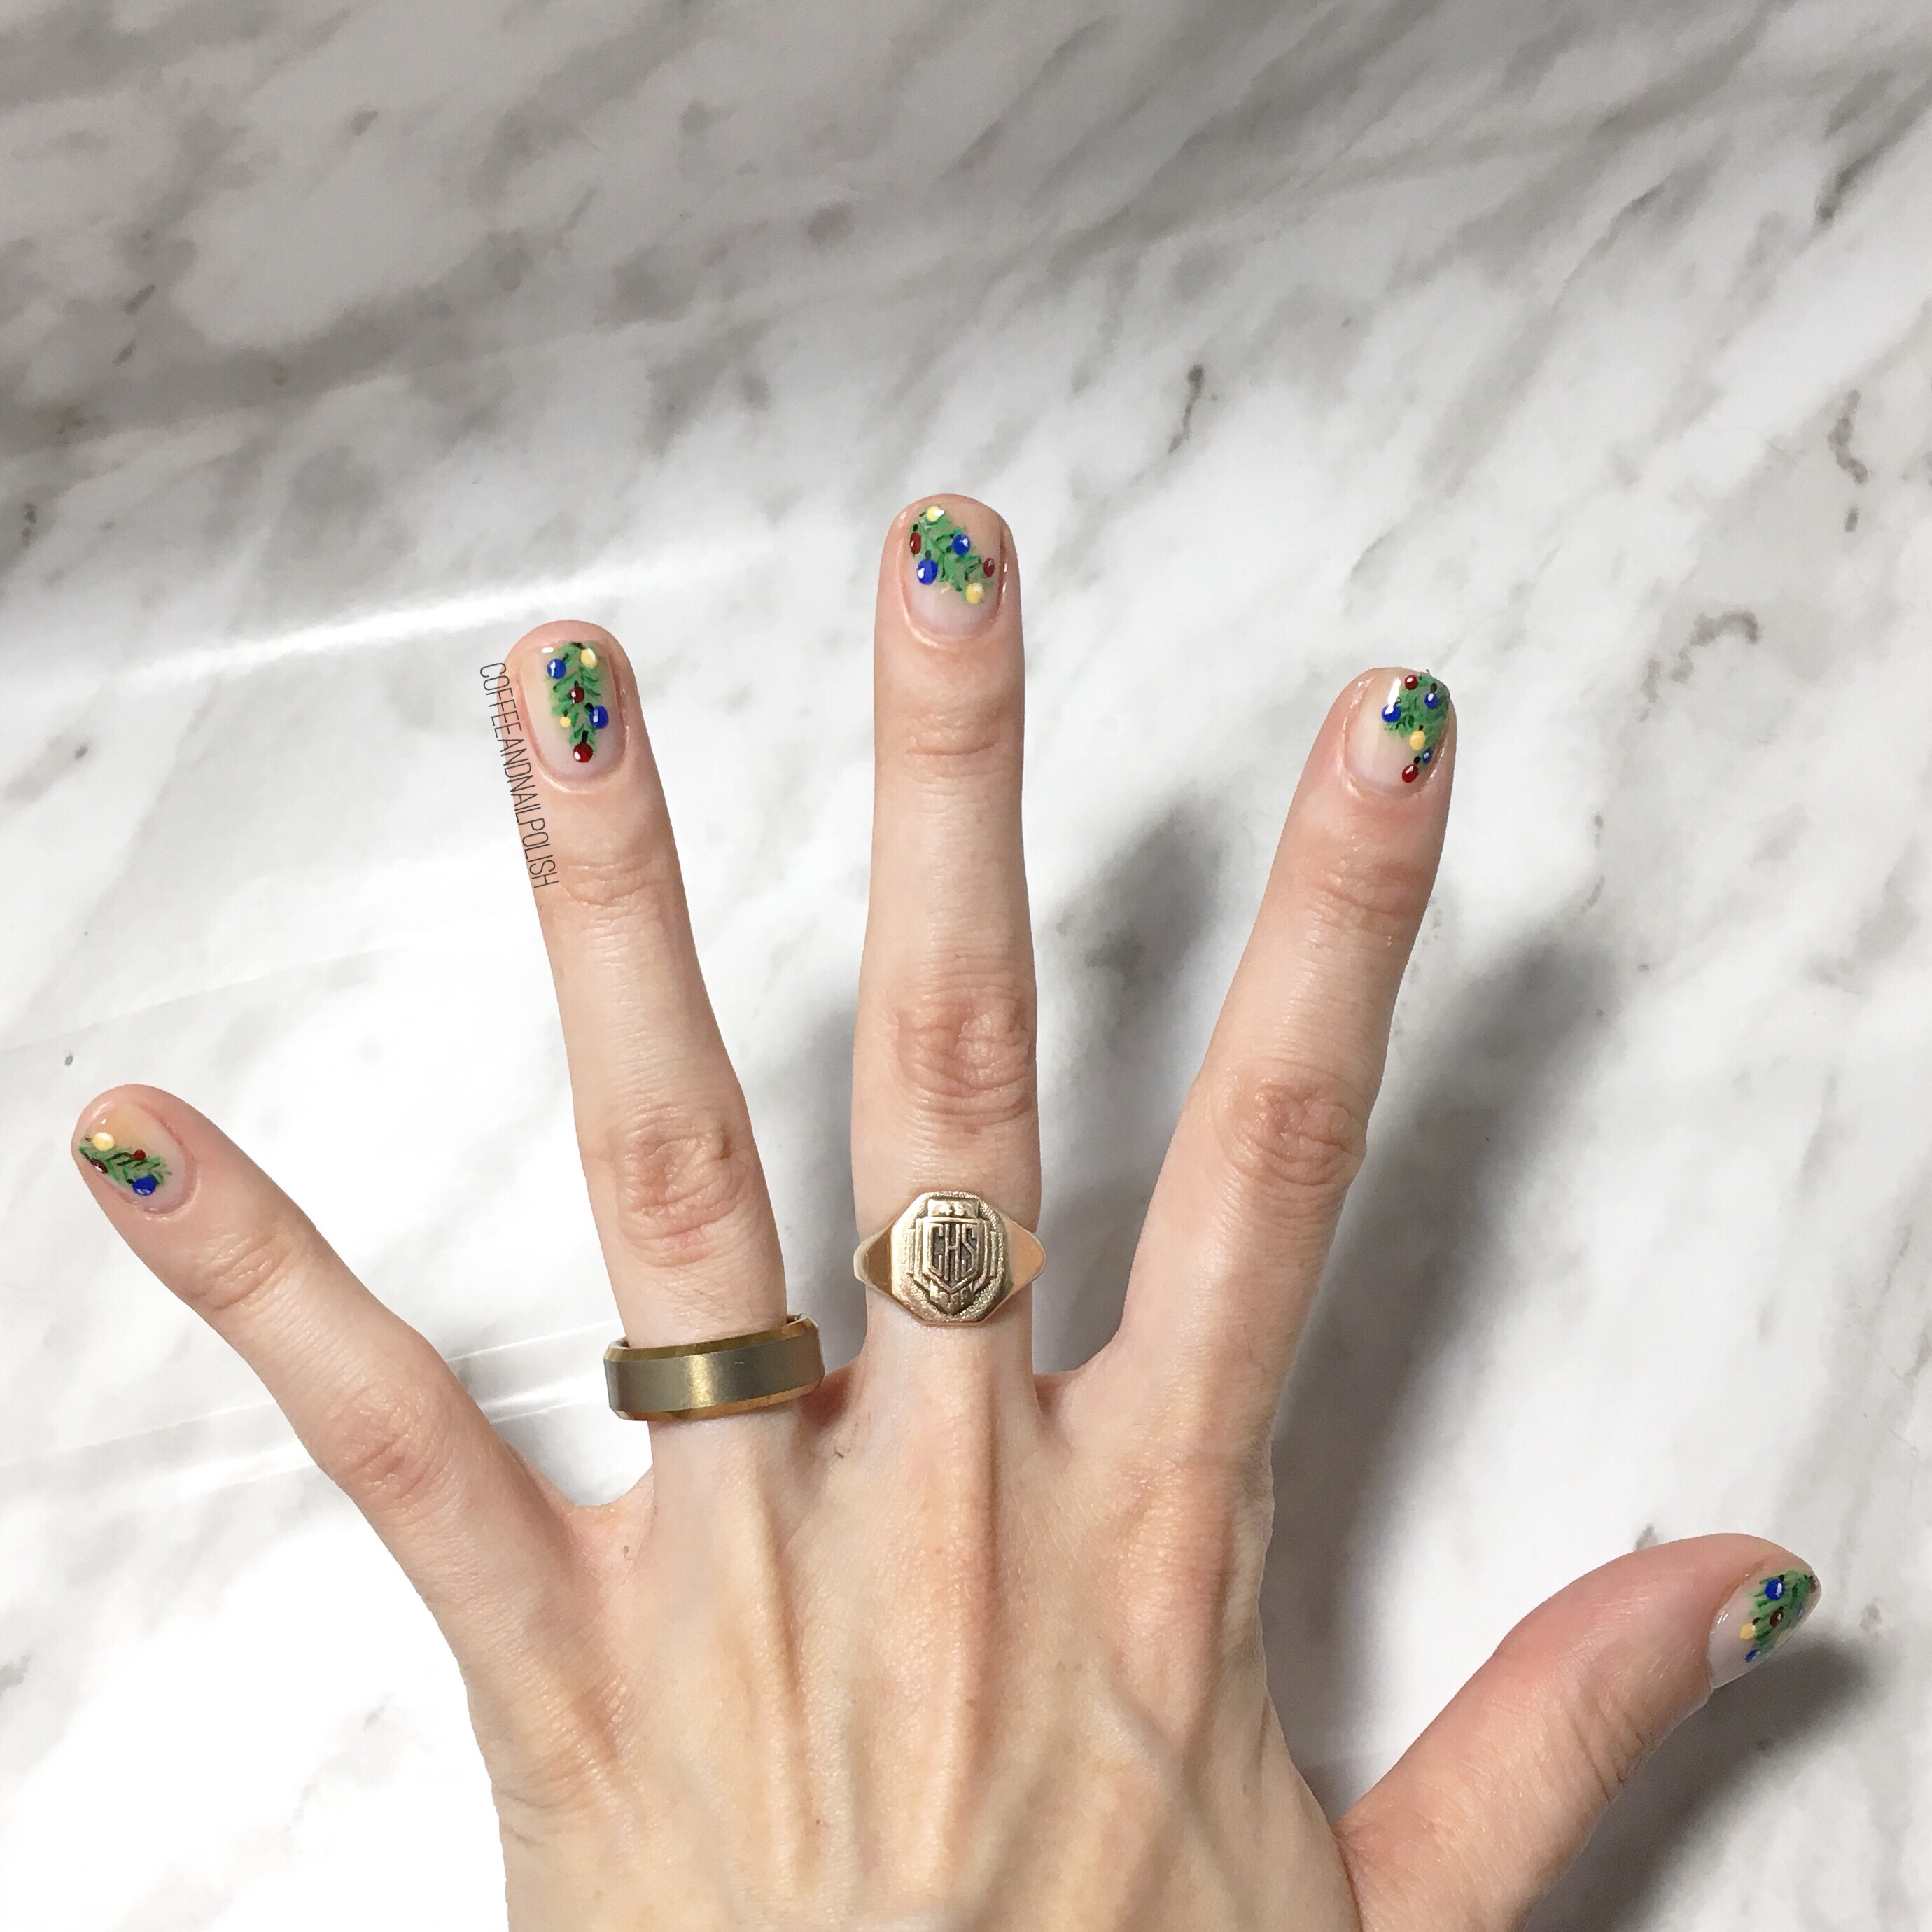 What do you think of this Christmas tree design? Do you have your tree up yet? Let me know your thoughts in the comments below!

 <<<<<
<<<<<