This week has been a rough one for painting my nails & getting them posted. I’ve had a never ending headache/migraine. Plus my holiday vibes are nonexistent this year. I don’t know if it’s just me, but it doesn’t feel like almost Christmas to me.
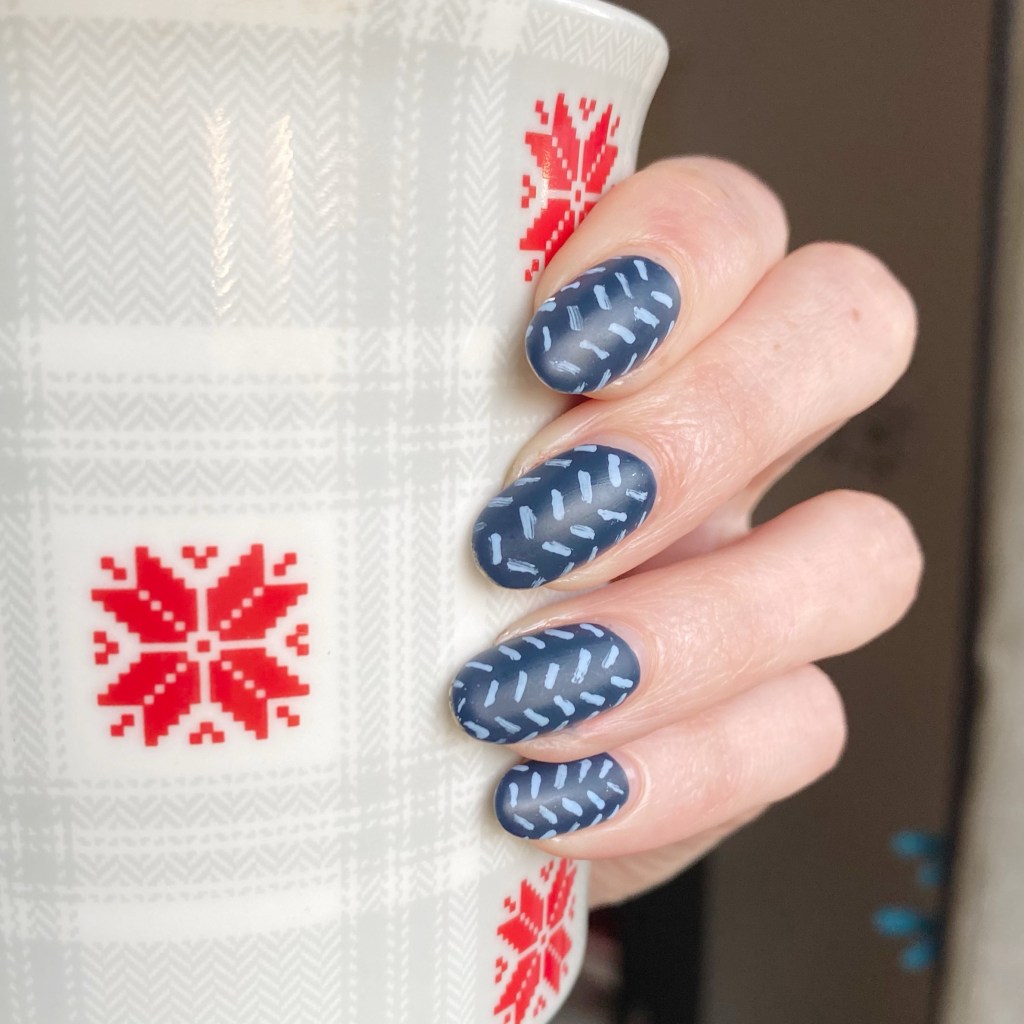
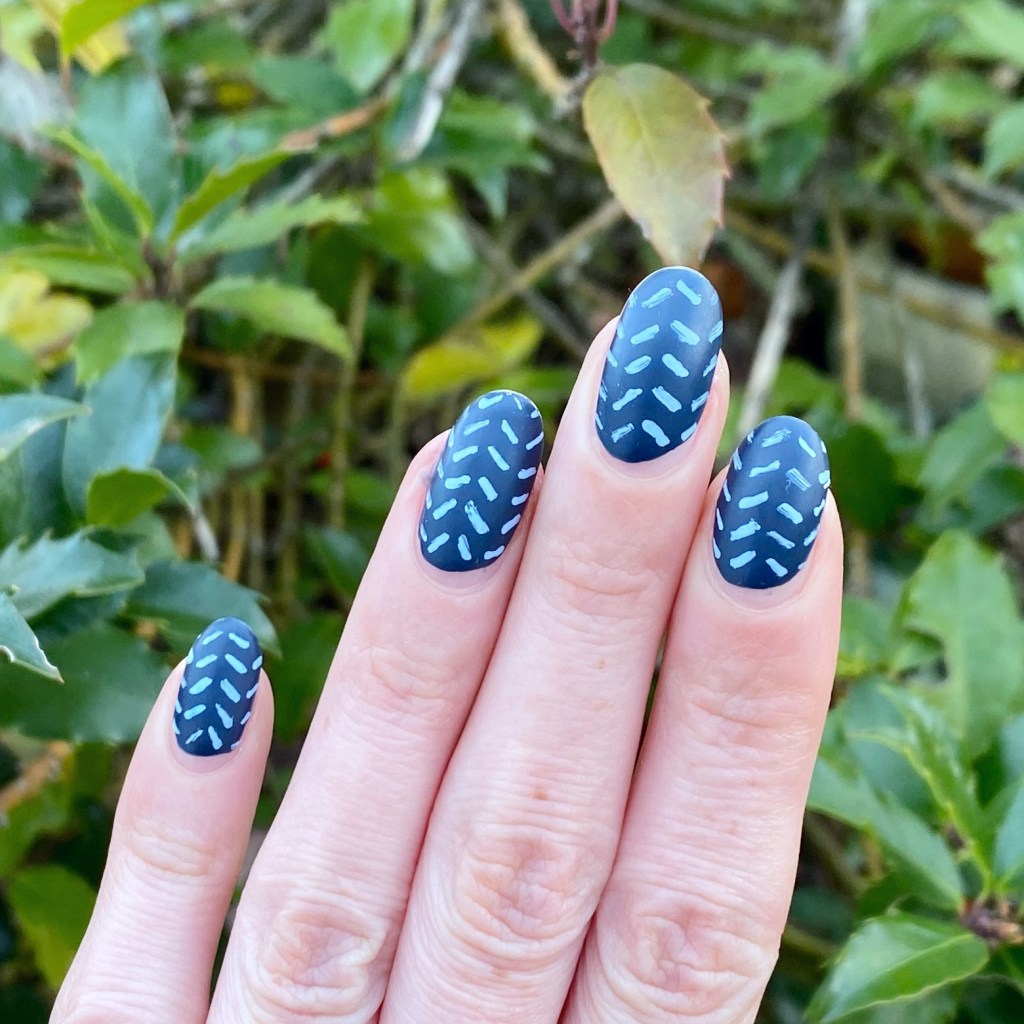
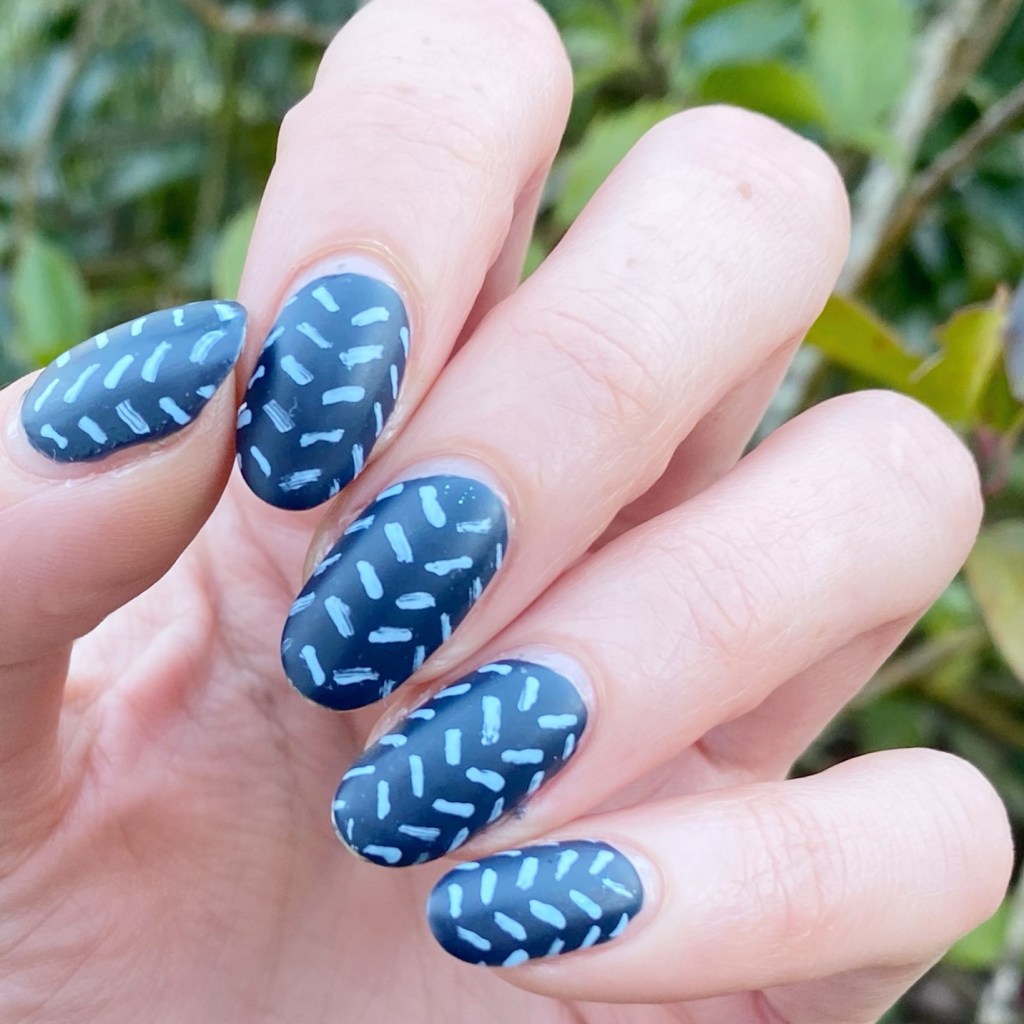
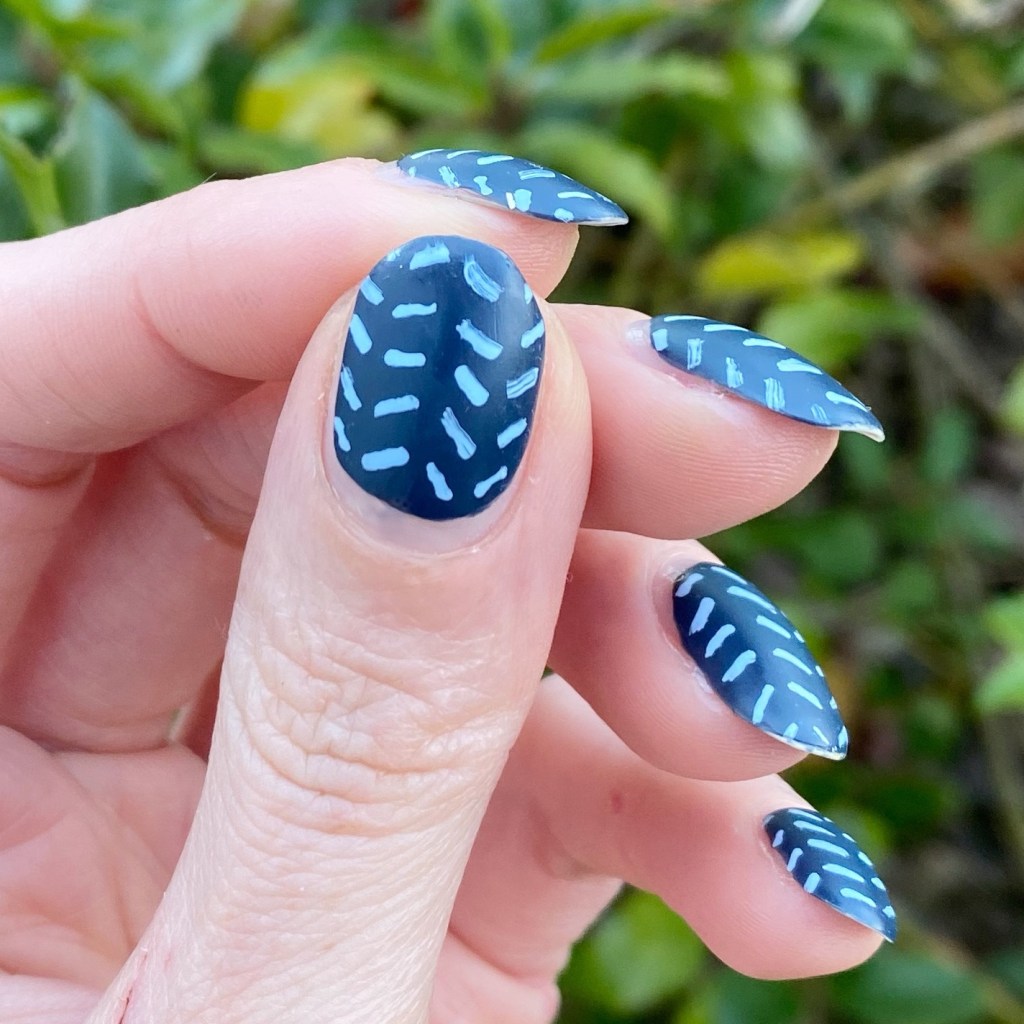
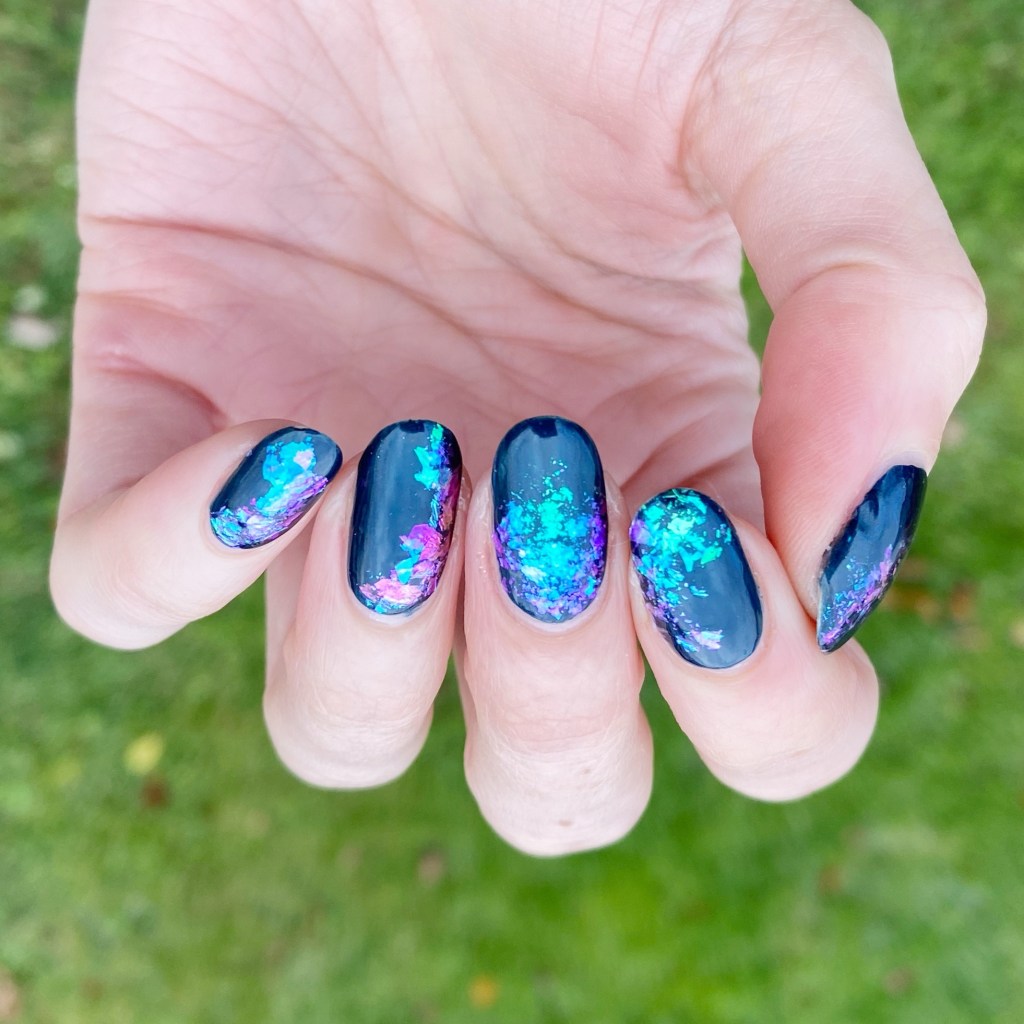
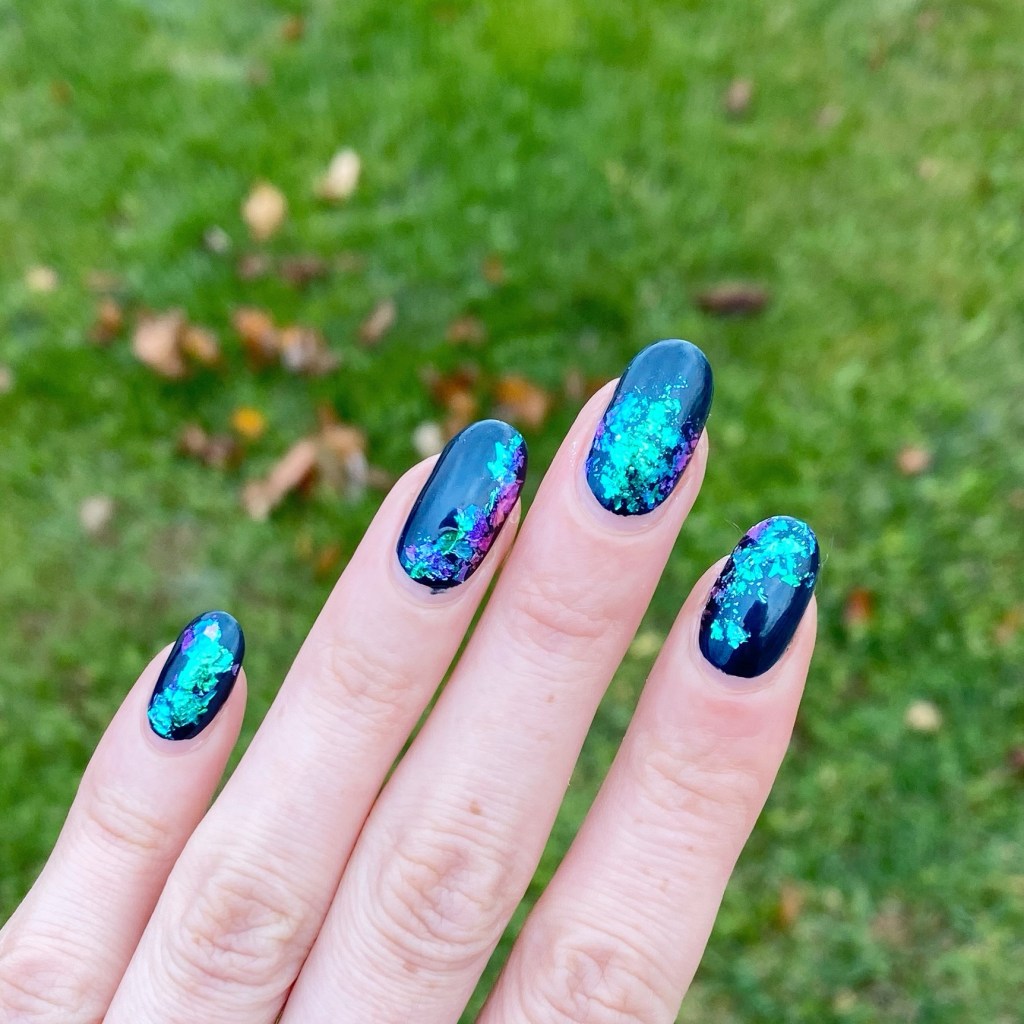
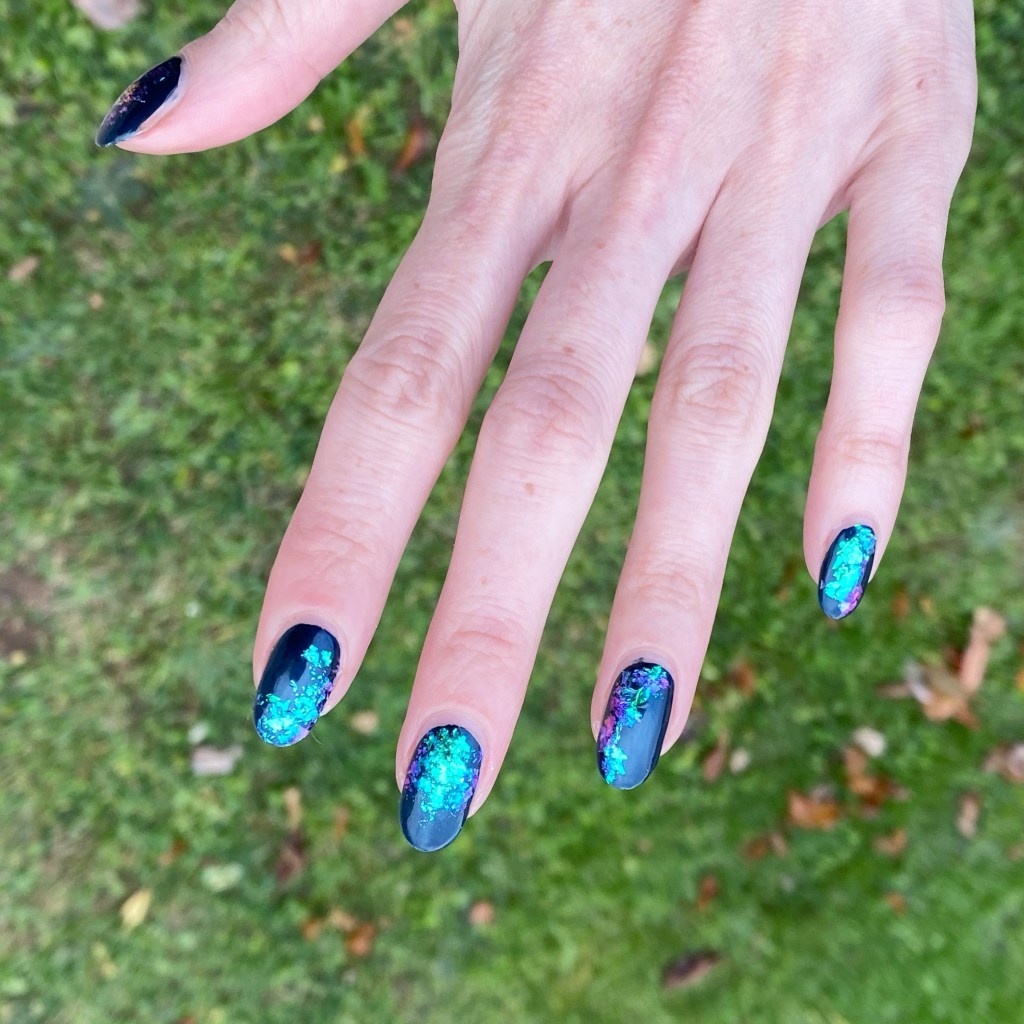
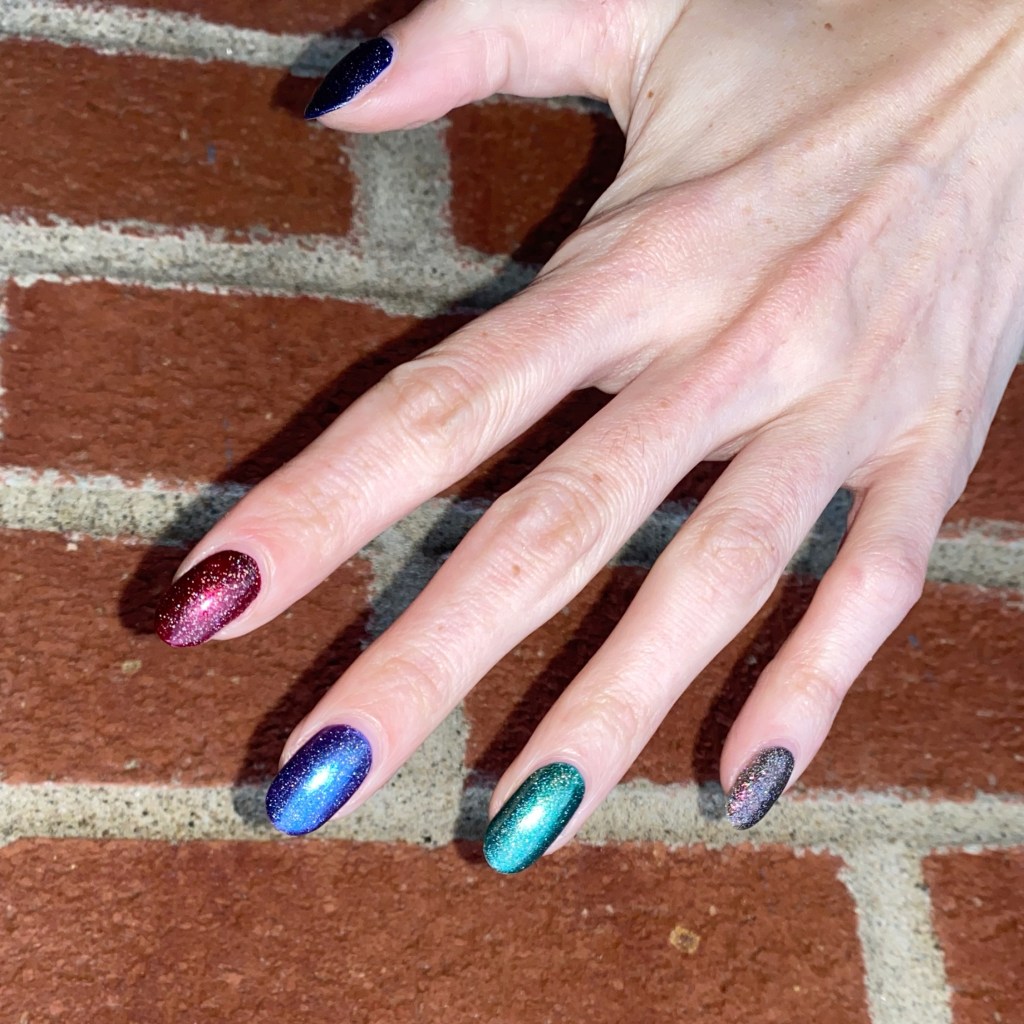
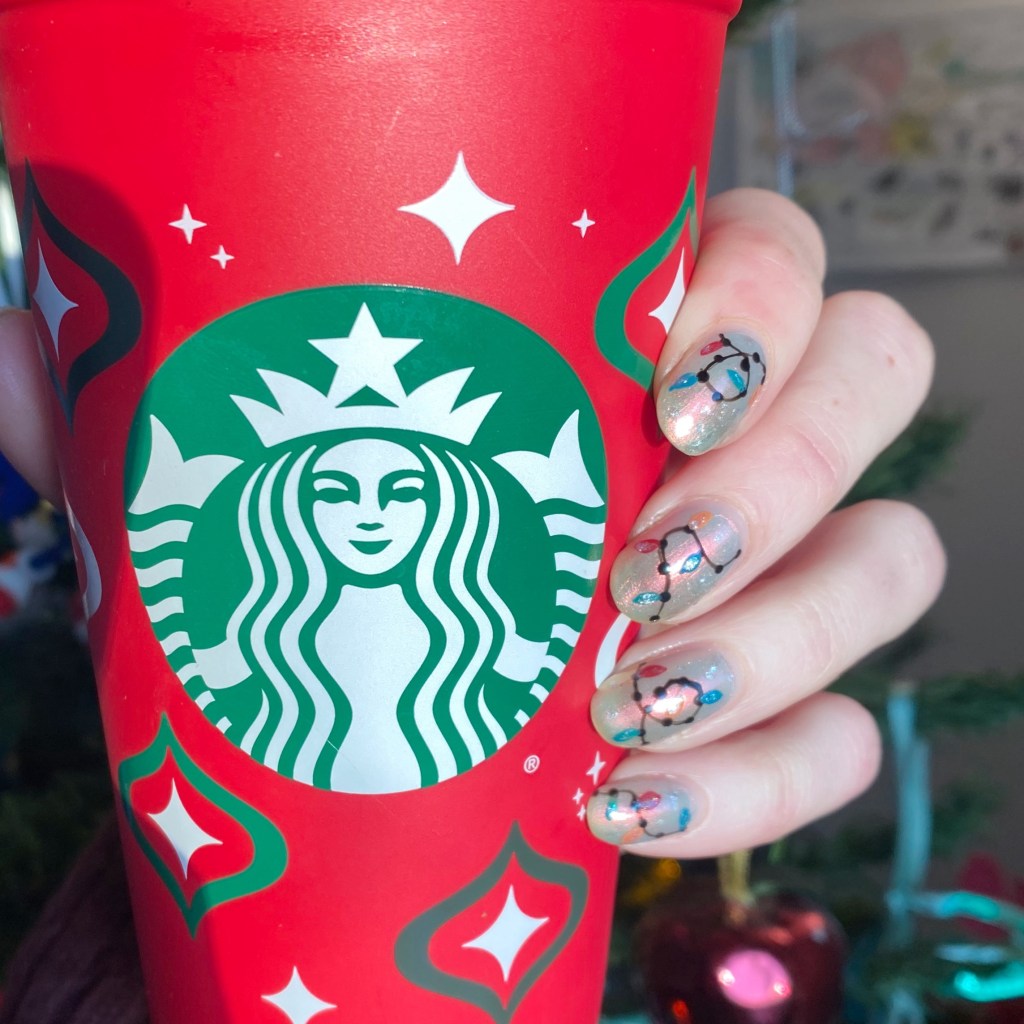
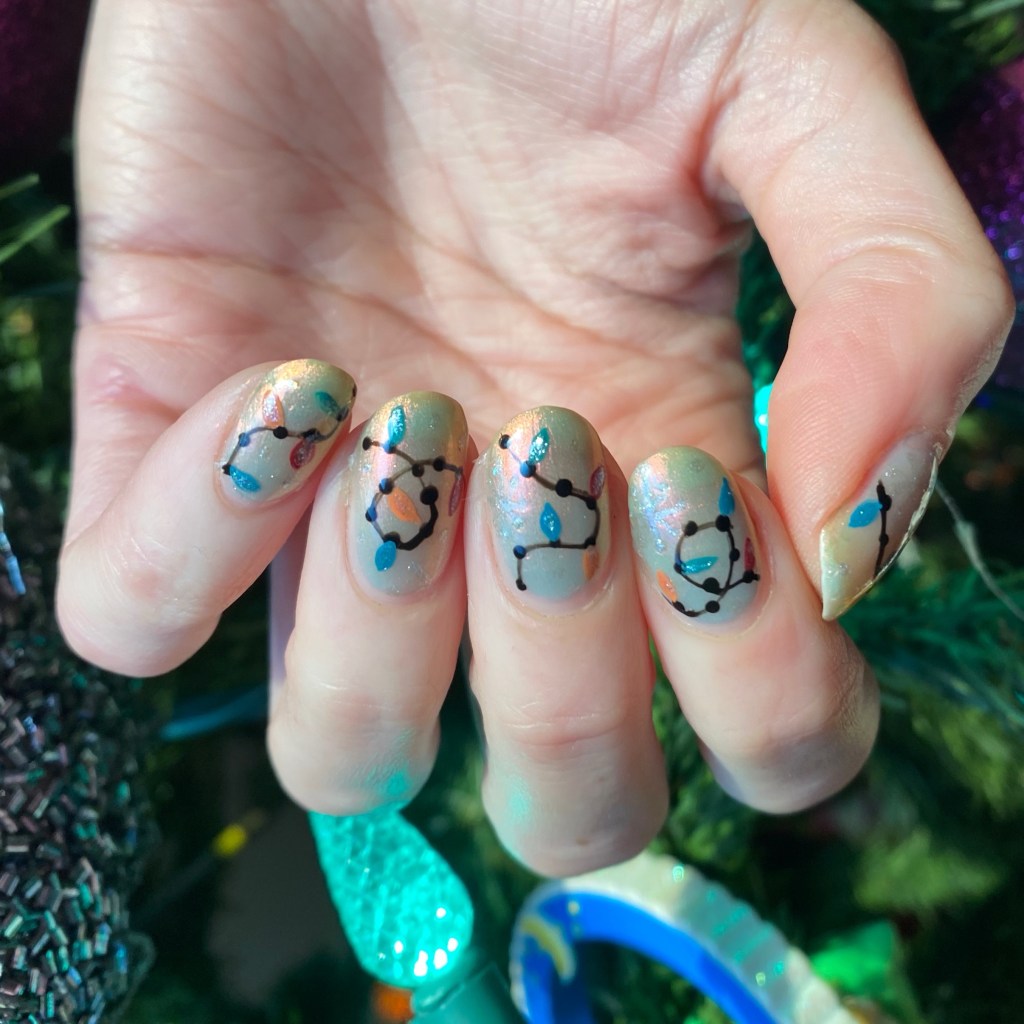
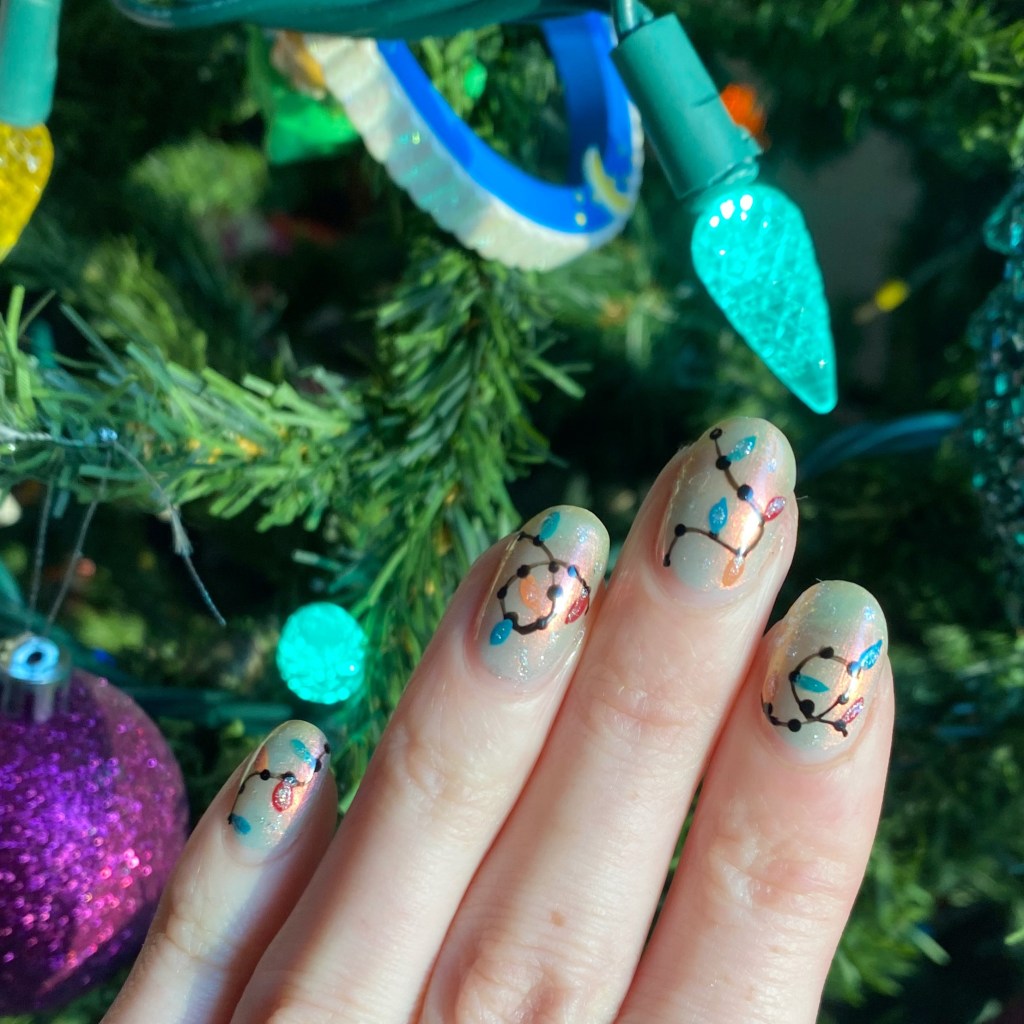
But! I did get the next prompt for Glam Nails Challenge December created which was Christmas Lights. This was inspired by a look I saw on Pinterest & thought was neat. So I decided to do my own twist on it.
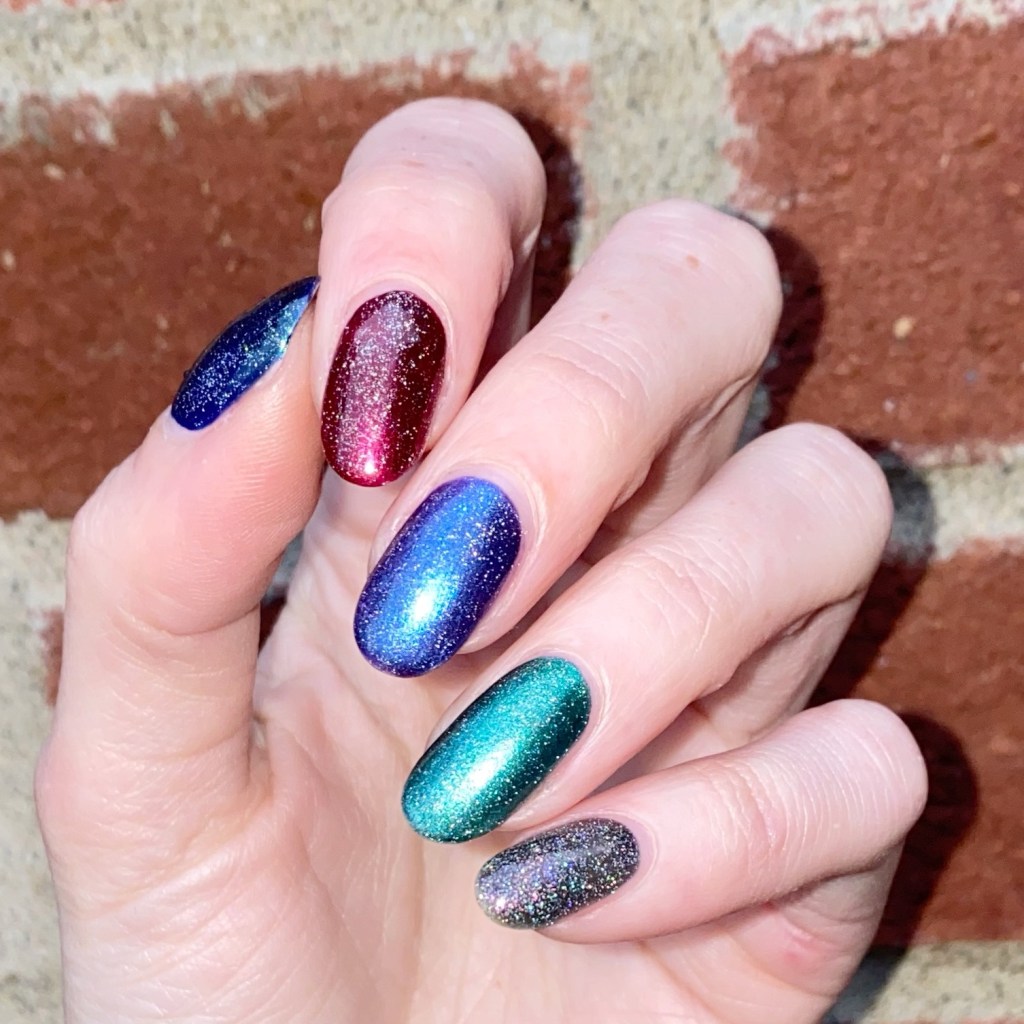
The polishes I used for this manicure are:
- Base Coat: NailStuff Essentials Base Coat *
- Top Coat: Nail Stuff Essentials Quick Dry Top Coat *
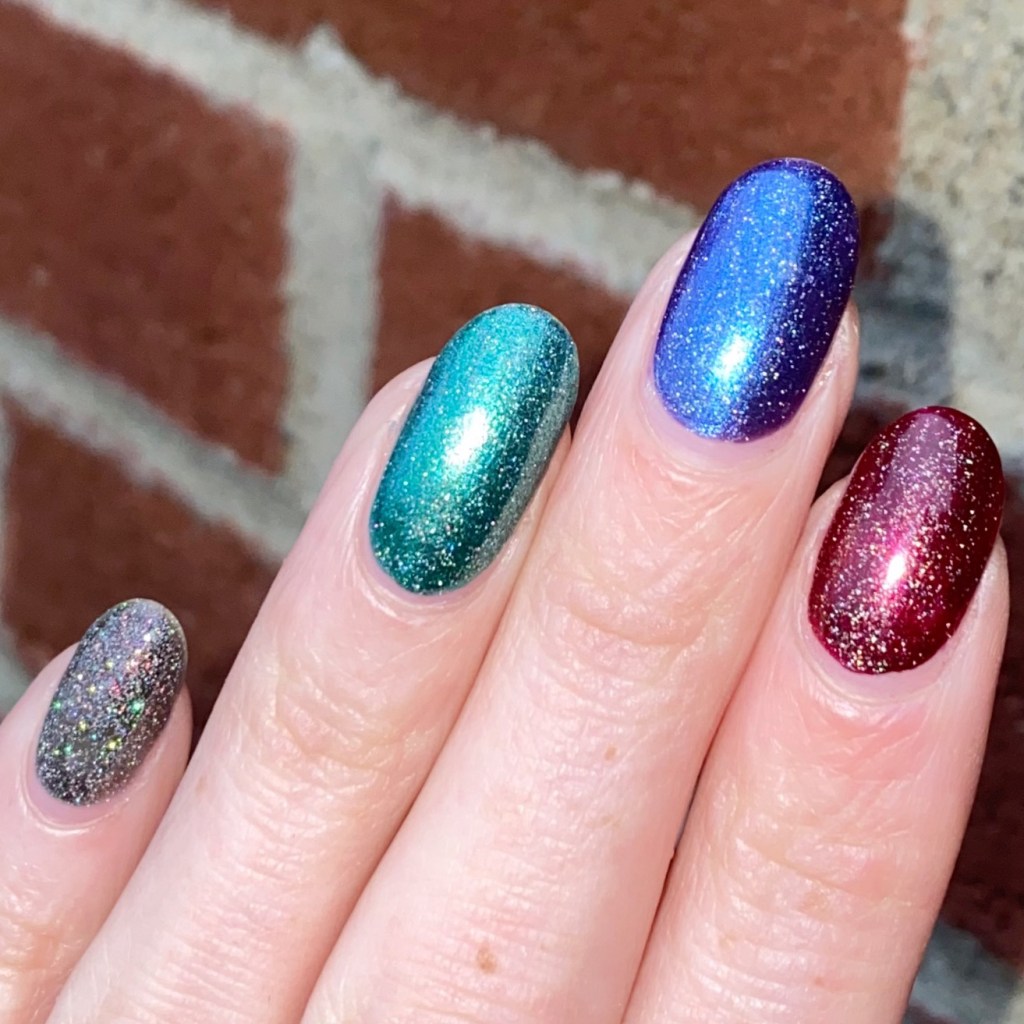
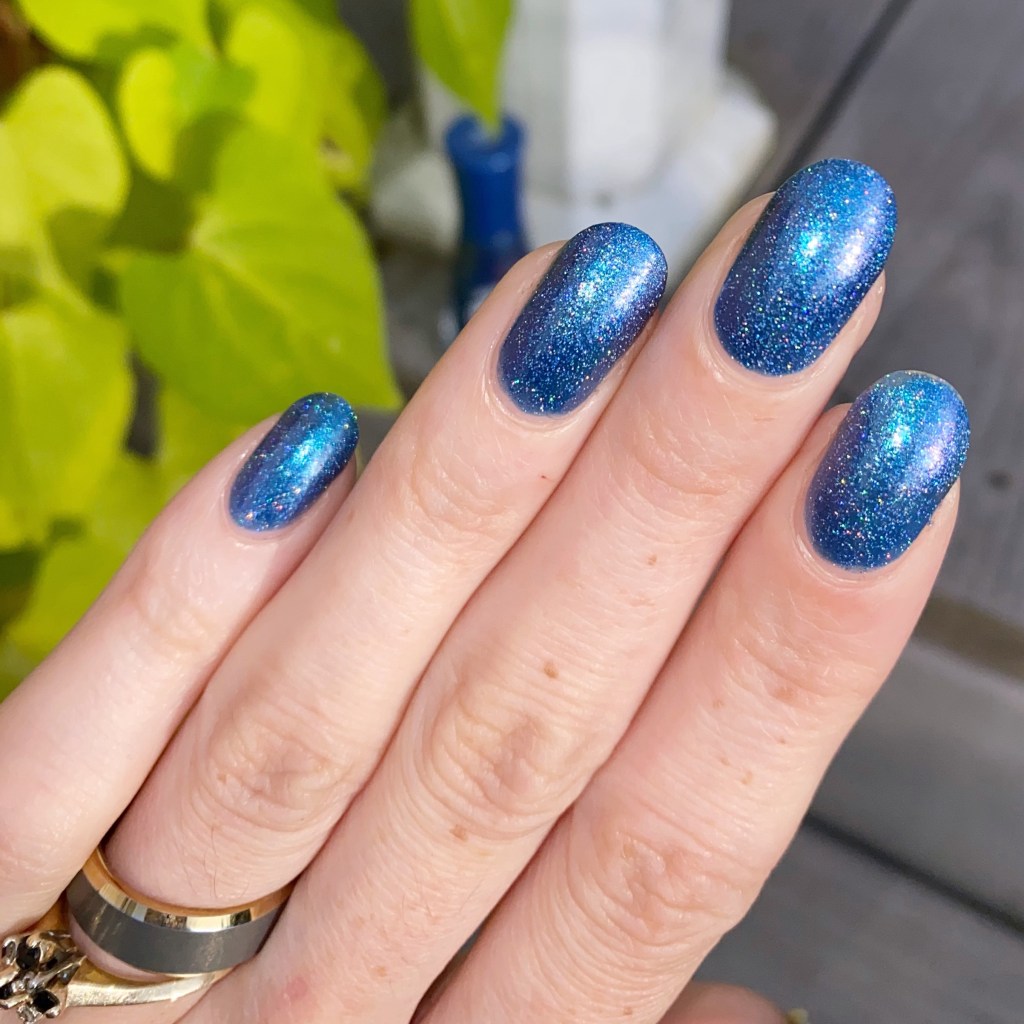
- Essie Nail Art Studio Mystic Marine*
- Essie Frilly Lillies*
- Essie Life’s A Beach
- Essie Offbeat Chic *
- Essie Making Spirits Bright
- Quo by Orly Black Striper
- NailStuff 4mm Micro Detail Brush
*PR/gifted


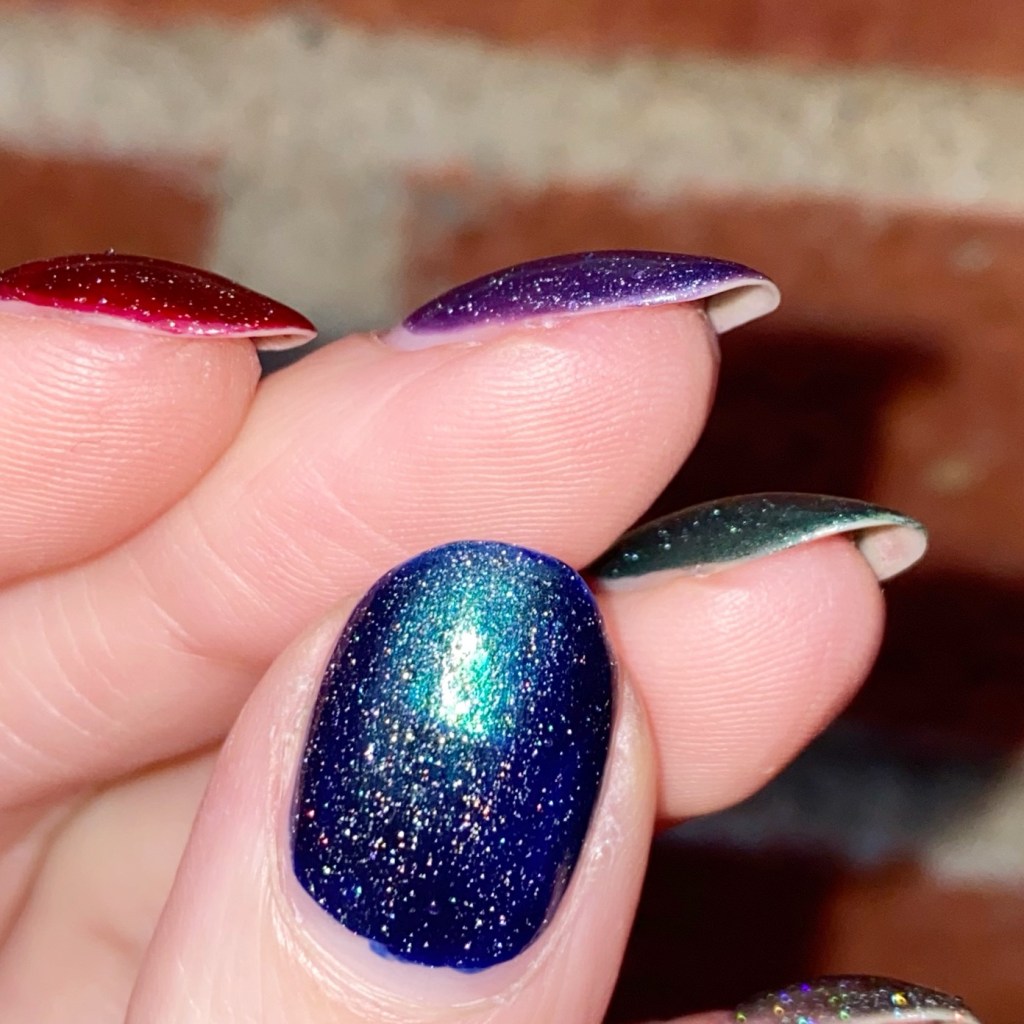
I really tried to do some kind of peakaboo snowflakes with Making Spirits Bright but they’re more hidden than I was planning on. The sparkle does look really pretty in person though.
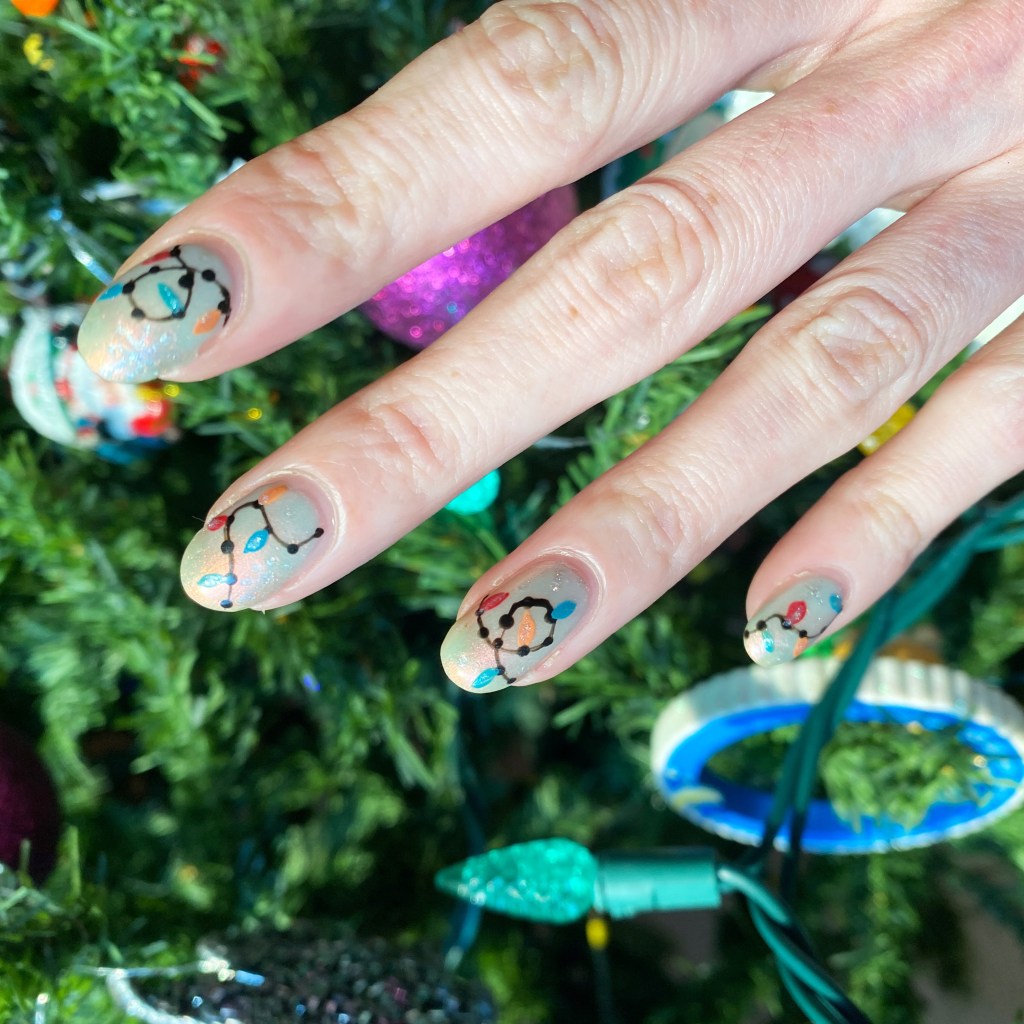
What do you think about these Christmas light nails? Did I honour the inspiration well?
Let me know all your thoughts down in the comments below. & don’t forget to pop on over to Instagram & follow all the amazing designs using #glamnailschallengedec24.
🖤