Constellations for #GlamnailschallengeAug

E6977ACF-5A94-4F59-8A9C-D551E98E0379

770EA117-F39E-4804-8605-8A97DA8C6271

Hello lovelies & happy Monday! Today I’m sharing another design for #glamnailschallengeaug!

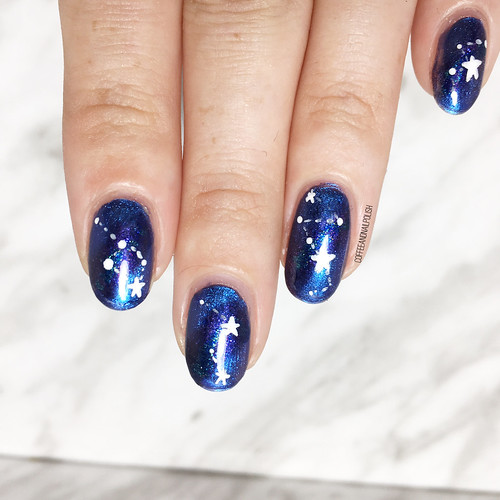
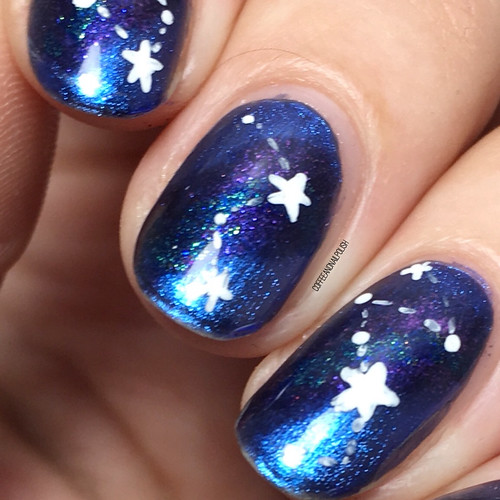
Today’s prompt is Constellations. 🌌 I did galaxy nails just a few weeks ago, so I wanted to do something different enough from that design & try my best to recreate the prompt on my nails. Usually I am such a perfectionist it can cause me to get frustrated when things aren’t “perfect”. This whole prompt has been about painting my nails, stepping out of my comfort zone, & creating nails that are “perfect enough”.
DE58EC5F-3B2D-496F-8C30-399A110F8D08

EC2A6733-F331-47EC-BFFE-C27B73468DF3

For this manicure, the polishes I used were:

  • Base Coat: Sally Hansen Complete Salon Manicure Strengthening Base Coat
  • Base Coat: Quo by ORLY Bonder
  • Top Coat: Essie Gel Couture
  • OPI Miss Piggy’s Big Number
  • OPI Ink
  • OPI The Sky’s My Limit
  • White Acrylic Paint
  • NailStuff.ca 7mm Liner Brush
  • NailStuff.ca Dotting Tool Trio
  • Latex Free Make Up Sponge

78593710-7BD2-4194-AEB0-65BE45AACAF5

FFC0E01D-CB49-41F0-A272-DADBFECAA2CB

I’ve been experimenting a bit with acrylic paints for nail art lately, mostly when creating nail art in bit unsure about, like his design. I wasn’t sure how I wanted to “attach” my stars to show off the constellations, so I drew my dots & stars first, applied my top coat, & then drew my lines. By putting top coat in between the dots/stars & the lines, I could easily wash off the lines & redraw them without acetone ruining my look.

I probably wouldn’t switch to using acrylic paint for all designs, like my florals, but it certainly works really well for designs like this, & I have a feeling it would also be really useful for more different or advanced patterns. I’ve been going through some older designs & really obsessing over the swirly designs I used to do, so I feel like I’m definitely going to be trying out more of those looks coming up! I’m feeling very inspired.
A2D03432-7656-41DA-AFED-034AFCC7C7C5

E82CCCBD-A26A-4F49-89A7-F18229DBD5A4

I am really really loving how this look turned out, especially in keeping the background not too busy as I normally would in a galaxy/space design. I wanted to kind of create a background that looked like those magnetic polishes I see all over Instagram, but have yet to own. Subtle, definitely there. & I feel like I managed to achieve that, especially using the polishes I picked.

480C91D3-83F3-4480-BDA7-D7DCAC2E4759

What do you think about this look? Are you loving the manicures I’ve been creating this month? Like this post & leave a comment if you’d like to see me do more of these nail art challenges!

& don’t forget to check out the hashtag #glamnailschallengeaug on Instagram to see the other pretty nails posted for the challenge! I just love seeing all the beautiful & different interpretations that we’re coming up for the same idea!

SWATCH SUNDAY— OPI Gelato on My Mind

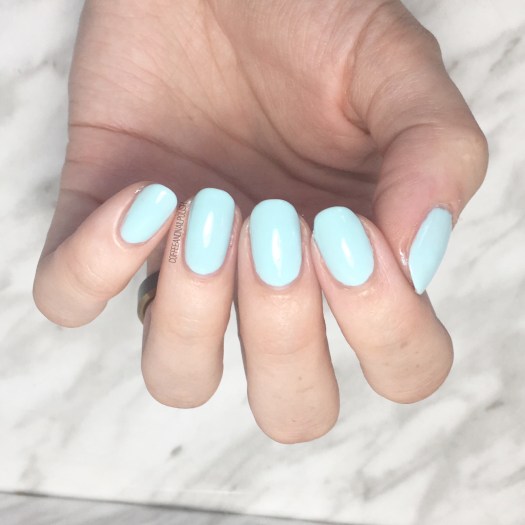
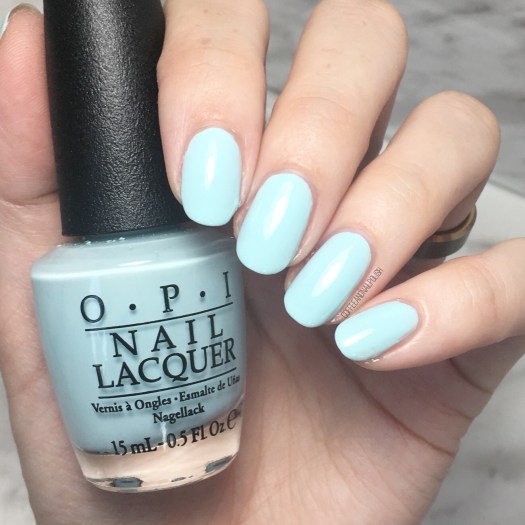
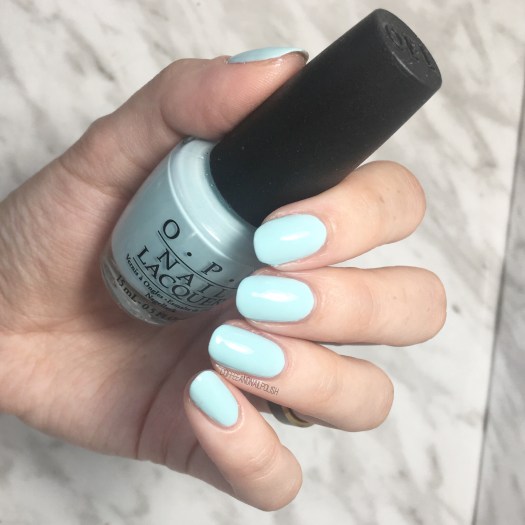
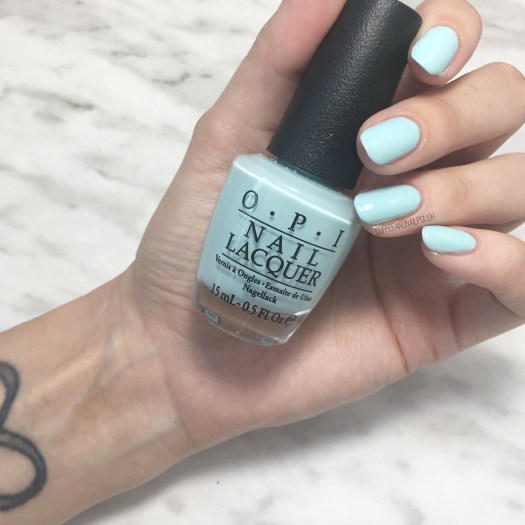
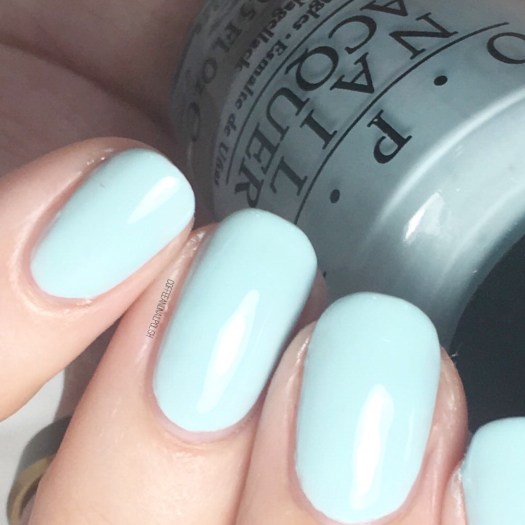
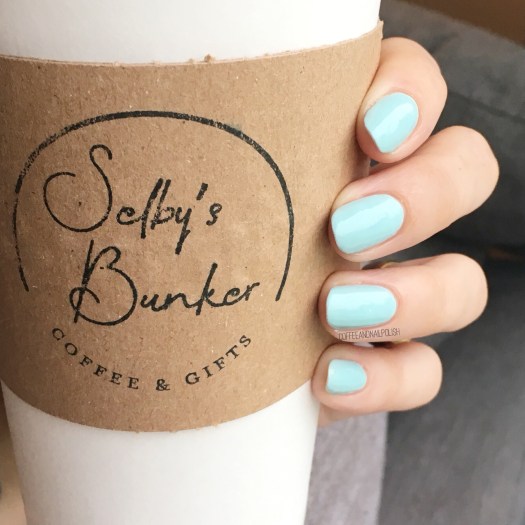
Good morning loves! Hope everyone is enjoying their Sunday & well caffeinated! ☕️ Today I have another oldie but goodie swatch to share with you: OPI Gelato on My Mind.

This minty shade was originally released as part of the OPI Venice collection for Fall/Winter 2015 & was the first shade I bought from that collection as you know I’m a sucker for any shade of blue. Also I remember that the name was just too cute, which was part of the reason I NEEDED to own this shade. (It’s also the reason I had to own OPI Pineapples Have Peelings Too.)

For my swatches I did two coats over my base, followed by top coat (Essie Gel Setter). You have great coverage in two coats, but like a lot of light/pastel shades the levelling on this shade wasn’t great, so I needed that top coat to give you a nice glossy finish & eliminate any potential streakiness. Maybe if you’re more careful you can get it to level out, but I couldn’t & needed my nails to dry quickly so a glossy top coat always works for me.

As I mentioned, this shade was originally released as part of the OPI Venice collection, which was for Fall/Winter 2015. Personally, to me this is more of a shade I lean towards for Spring but I can also see pairing this with a few darker/vampy colours for a fun Fall design as well. I definitely can see myself doing another fun tribal design (similar to this look) but with much darker, vampier colours.

What colour are you currently rocking on your nails? Which polish do you think I should pick for next week’s Swatch Sunday feature–something Summer-y or Fall-esque? Share your thoughts down in the comments below!

COMPARISON POST — My Favourite Cobalt Blues (Pacific Blue Dupes)

Hello lovelies & happy Wednesday! Today I have a special post I swear I’ve been meaning to do FOREVER but just never got around to doing — a comparison post featuring a few of my favourite cobalt blue shades!

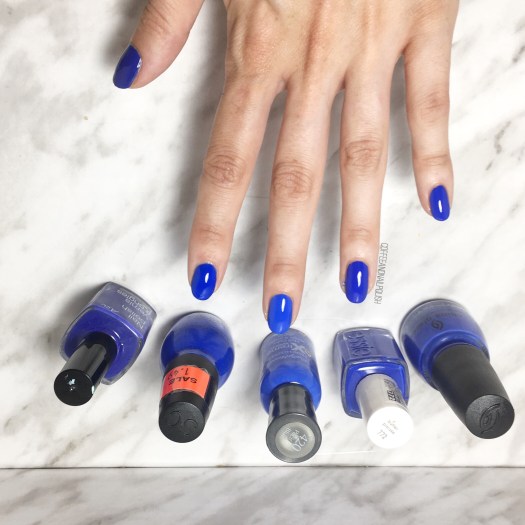
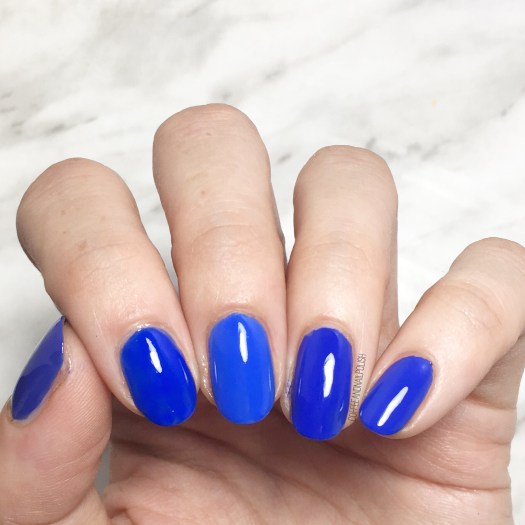
I have done a couple of these comparison posts in the past, & they always prove to be popular, so I thought that it would be fun to do another. All the shades you’re about to see are inspired by my love of one polish: the original formula Sally Hansen Xtreme Wear Pacific Blue. If you don’t know, Pacific Blue was the most perfect cobalt blue polish that ever existed, which sadly saw a formula change in 2014… a formula change which led to serious uproar in the nail polish community. This led to mainly nail bloggers searching for dupes, & stocking up on any old formula bottles they could find… myself included. As a result, I have quite a few cobalt blues in my nail polish collection… & I wanted to compare a few of my favourites to see how they lived up to the original.

As you can see, I’ve selected 5 of my many blues for comparison… can you tell which ones are which from the above swatches? All polishes were applied over my base & finished with top coat (Essie Gel Setter).

Continue reading “COMPARISON POST — My Favourite Cobalt Blues (Pacific Blue Dupes)”

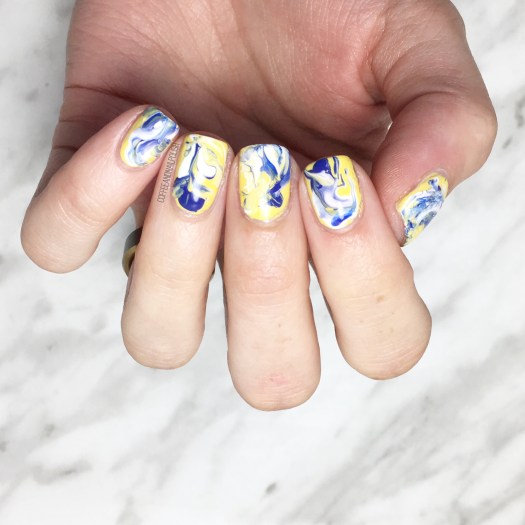
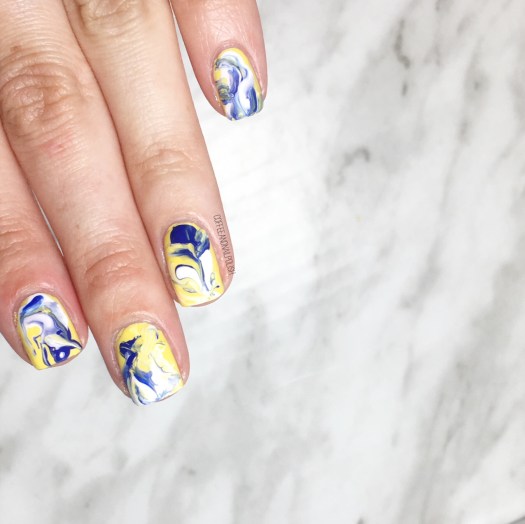
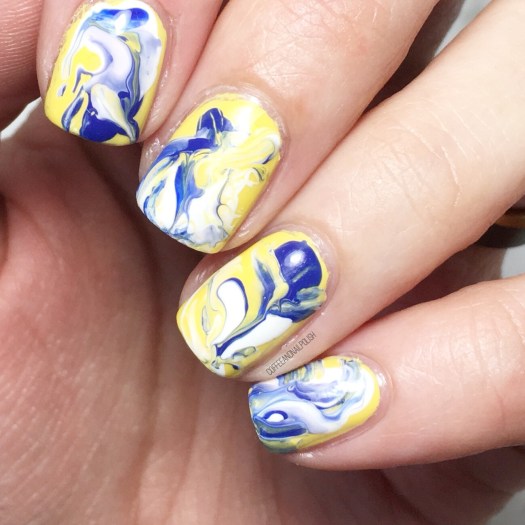
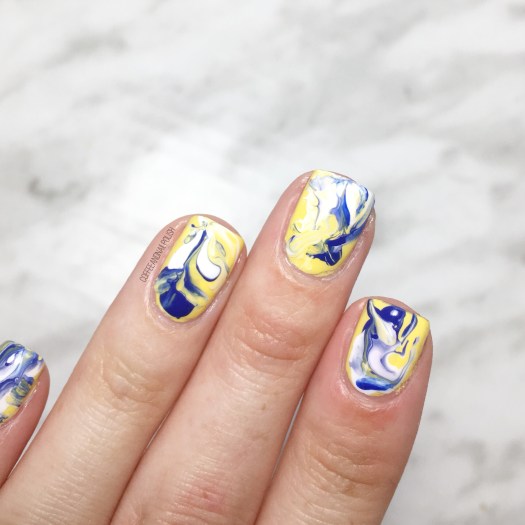
Blue & Yellow Drag Marble Nails

Good morning lovelies & happy Tuesday! Hope everyone is having a lovely start to the week… & if not, the weekend is really only a couple days away.

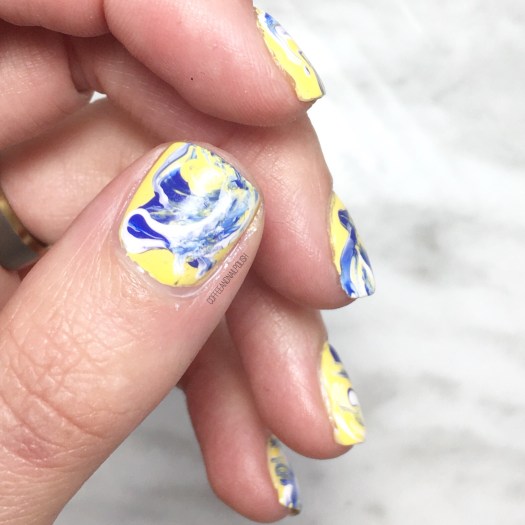
Today I’m showing off some more marble nails since my obsession as be reignited! I’ve been having a lot of fun trying out different techniques for creating these looks.

For today’s look, my marble was done using a fan brush.

For this manicure, the polishes I used were:

  • Base Coat: Sally Hansen Bamboo & Green Tea Strengthener
  • Top Coat: Essie Speed Setter
  • OPI I Just Can’t Cope-acabana
  • ACO by Ardene Lagoon
  • Sally Hansen Miracle Gel Get Mod
  • Fan Brush (mine is from Bundle Monster)

This was actually a surprisingly easy & not messy way to create marble–all I did was apply blob of polish directly to my base colour (yellow) then brushed around on the nail using my fan brush to create the marble effect. If a nail wasn’t quite turning out how I wanted, I’d add a bit more polish of choice to give it the look I was going for.

The trick is you definitely don’t want to combine the polish too much as it can create a bit of a muddy effect– like my thumb. But when it turned out, oh boy does it look amazing! My ring finger was definitely one of my top favourites! I think it marbled the absolute best!

What do you think about these marble nails? What colour combination would you like to see me try next? Do you have a favourite marble technique?

Share your thoughts down in the comments below!

Pink Purple Blue Holo Gradient

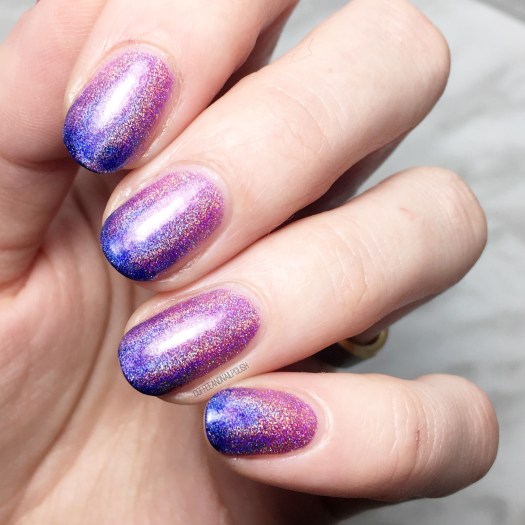
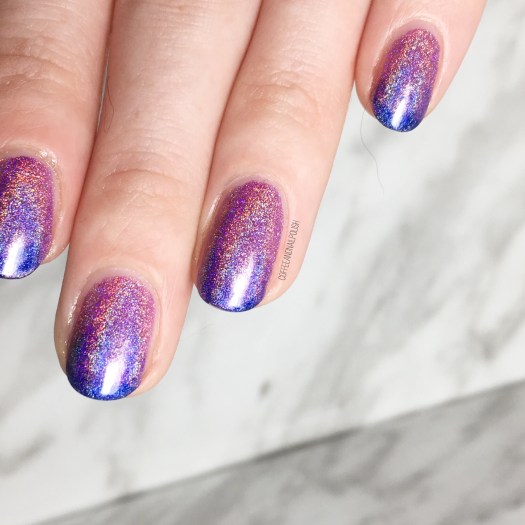
Good morning everyone & happy Wednesday! Today I’m showing off some holo nails with this pinky purple blue holo gradient. Sometimes you just need to do something a little fun on your nails to jazz up your Wednesday!

This gradient was a spur of the moment decision & because of that I couldn’t find my usual sponges so I decided to try using a make up applicator. It didn’t turn out exactly like I wanted (or how I’ve seen other nail artists do it) but that’s okay because the holo kind of hides that fact! ✨Another reason everything is better with holo.

The polishes I used for this manicure:

  • Essie Grow Stronger
  • Essie Speed Setter Top Coat
  • Wrenn Polish Mesmerizing
  • Color Club Eternal Beauty
  • OPI Give Me Space
  • Small Sponge make-up applicator

Look. At. That. Holo. Also please ignore the cat hair on my finger haha. Even though my sponging if the gradient was kind of a fail, the holo really hides that fact which I love. Next time I would probably try this colour combo the old fashioned way, but for a quick spur of the moment design, I still think these turned out great. Plus it was super easy, & when you’re tired & doing your nails at 11:30 at night, sometimes that’s the only thing that really matters.

what do you think of this gradient. What is your favourite holo polish? Let me know down below in the comments!

💕