Good morning lovelies & happy Monday! It’s a chilly morning here on the East Coast — I actually broke out my winter jacket. Brrrrrrr.
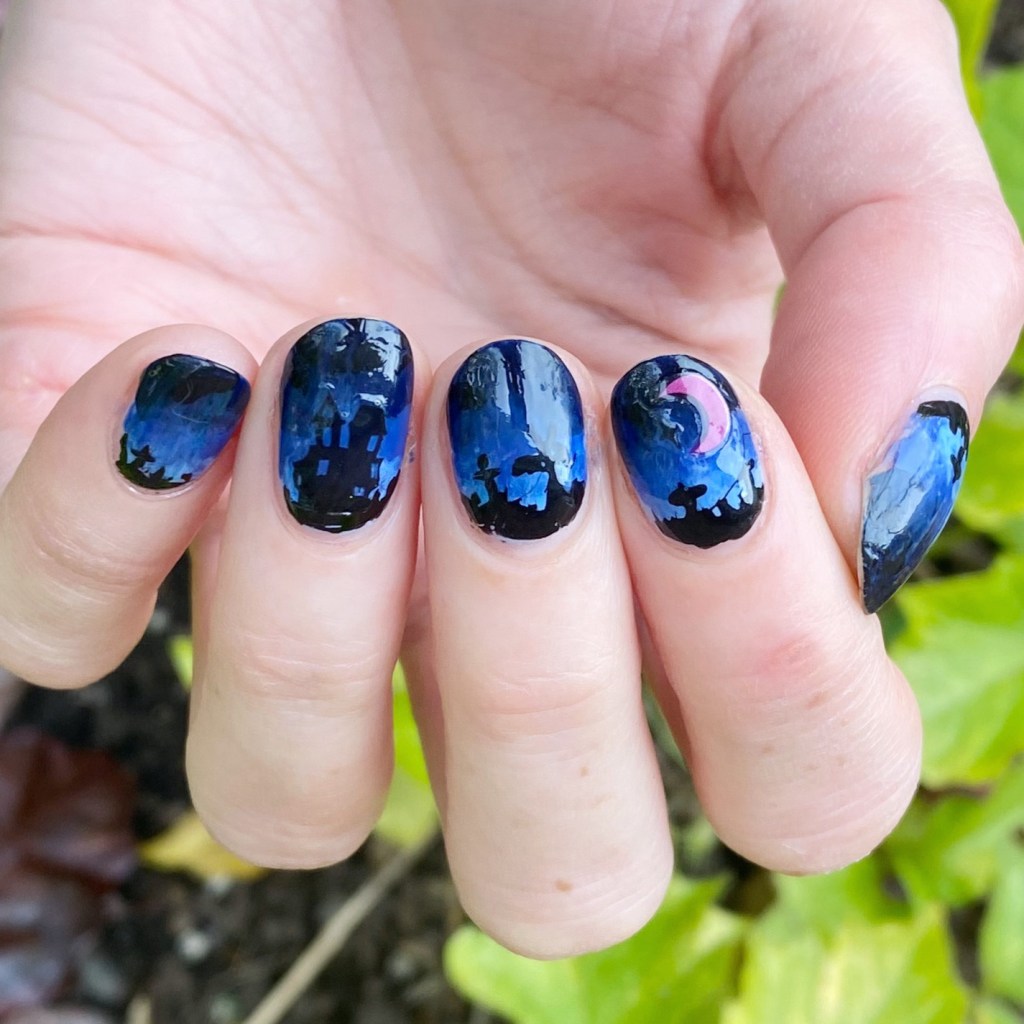
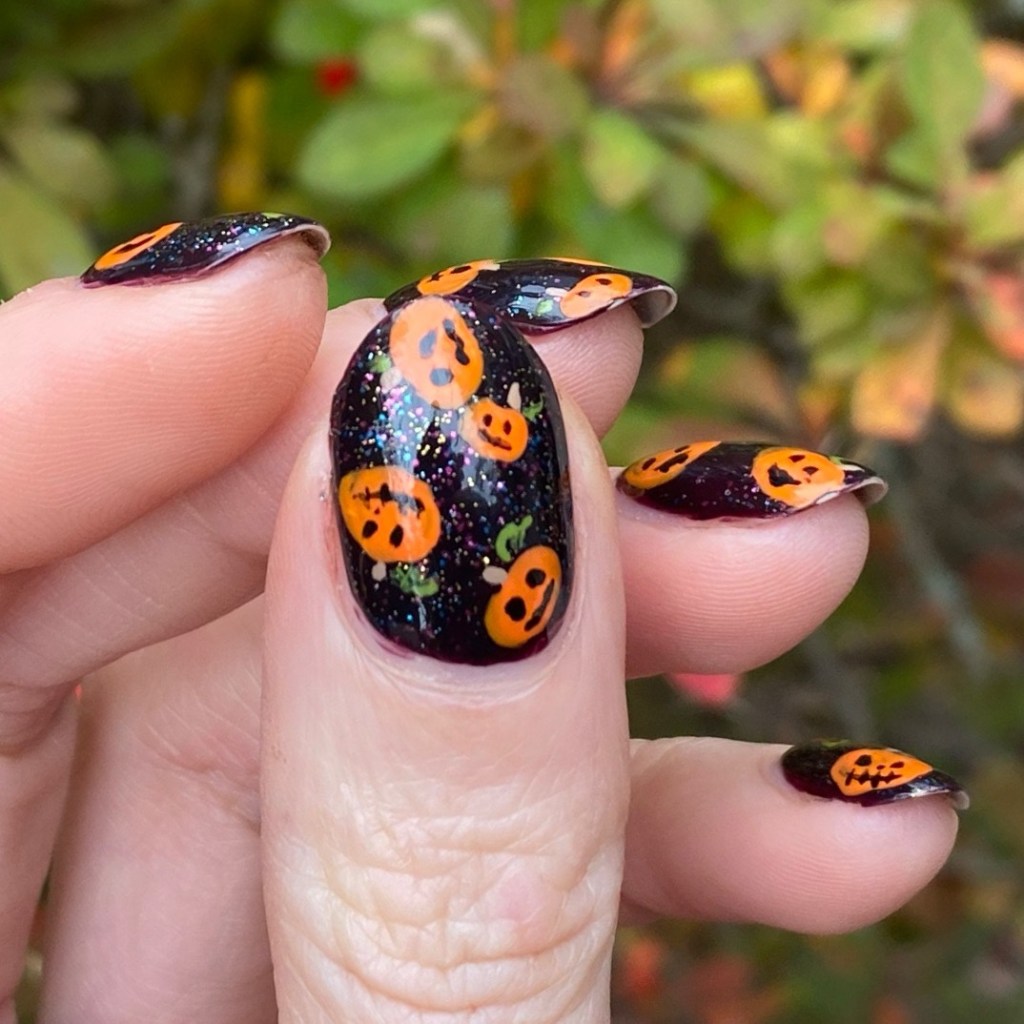
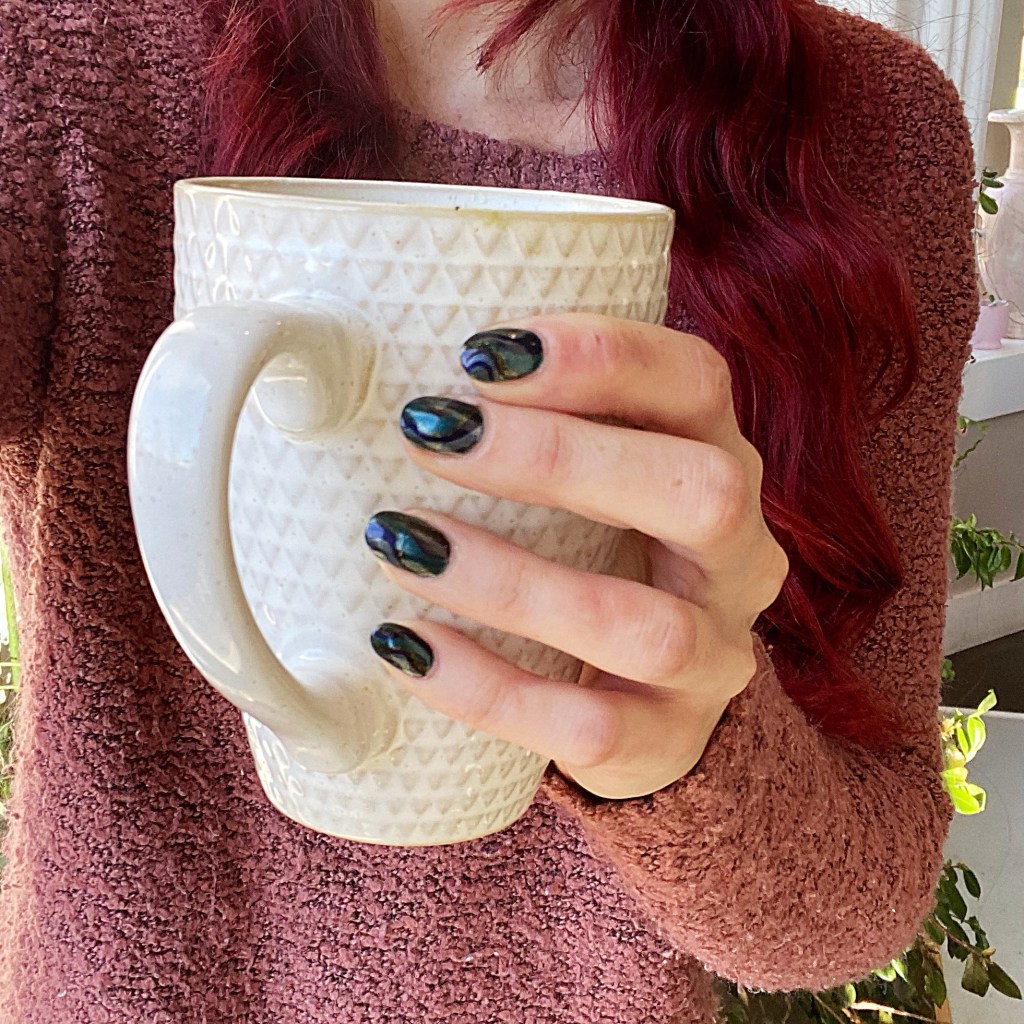
With Halloween now over, we’re in that inbetween nail art stage where I’m never quite sure what to paint on my nails. But I was inspired by yesterday’s Swatch Sunday post to create a beautiful jewel toned design & I’m absolutely infatuated with how they turned out.

The polishes I used for this manicure are:
- Top Coat: Sally Hansen InstaDri Top Coat (red bottle)
- Base Coat: Sally Hansen Miracle Cure
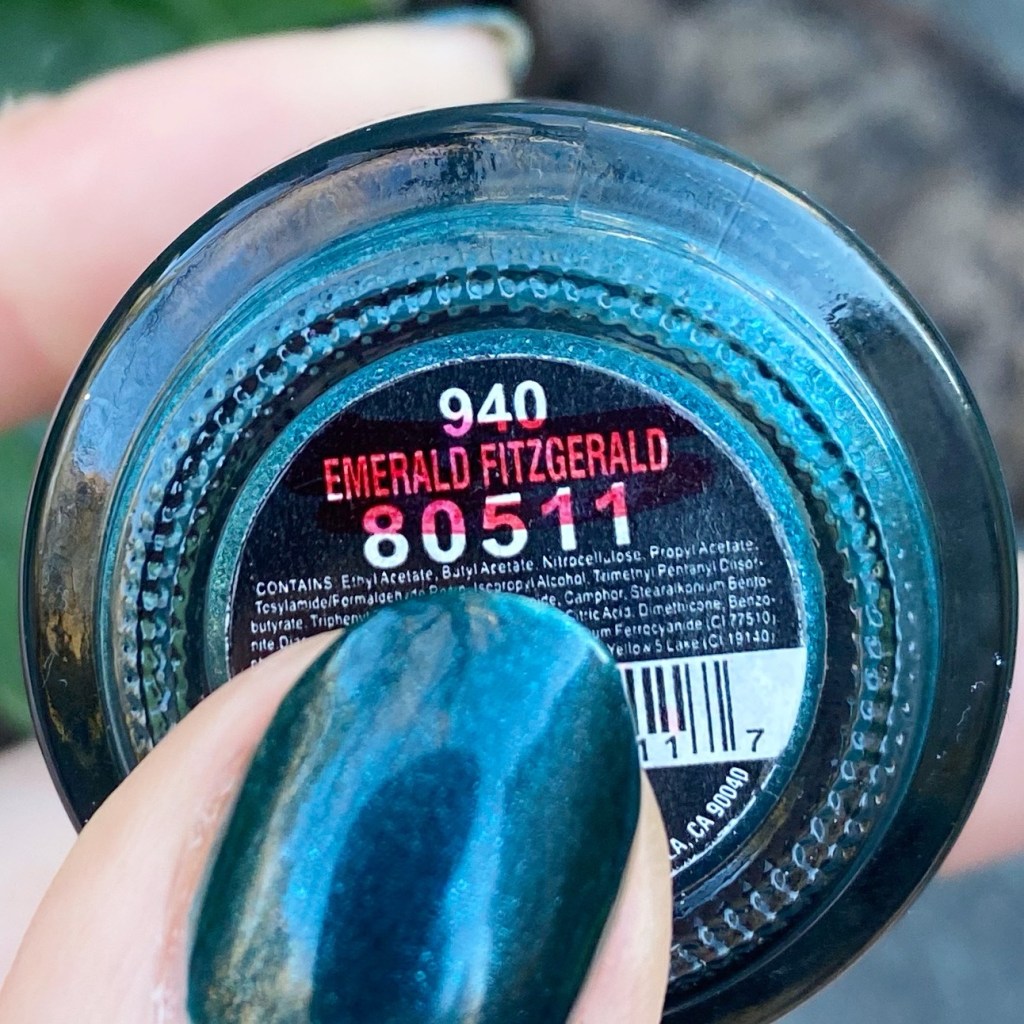
- China Glaze Emerald Fitzgerald
- China Glaze December to Remember
- China Glaze Up All Night
- China Glaze Glamcore
- China Glaze Cast A Spell
- NailStuff 11mm Mermaid Tail brush
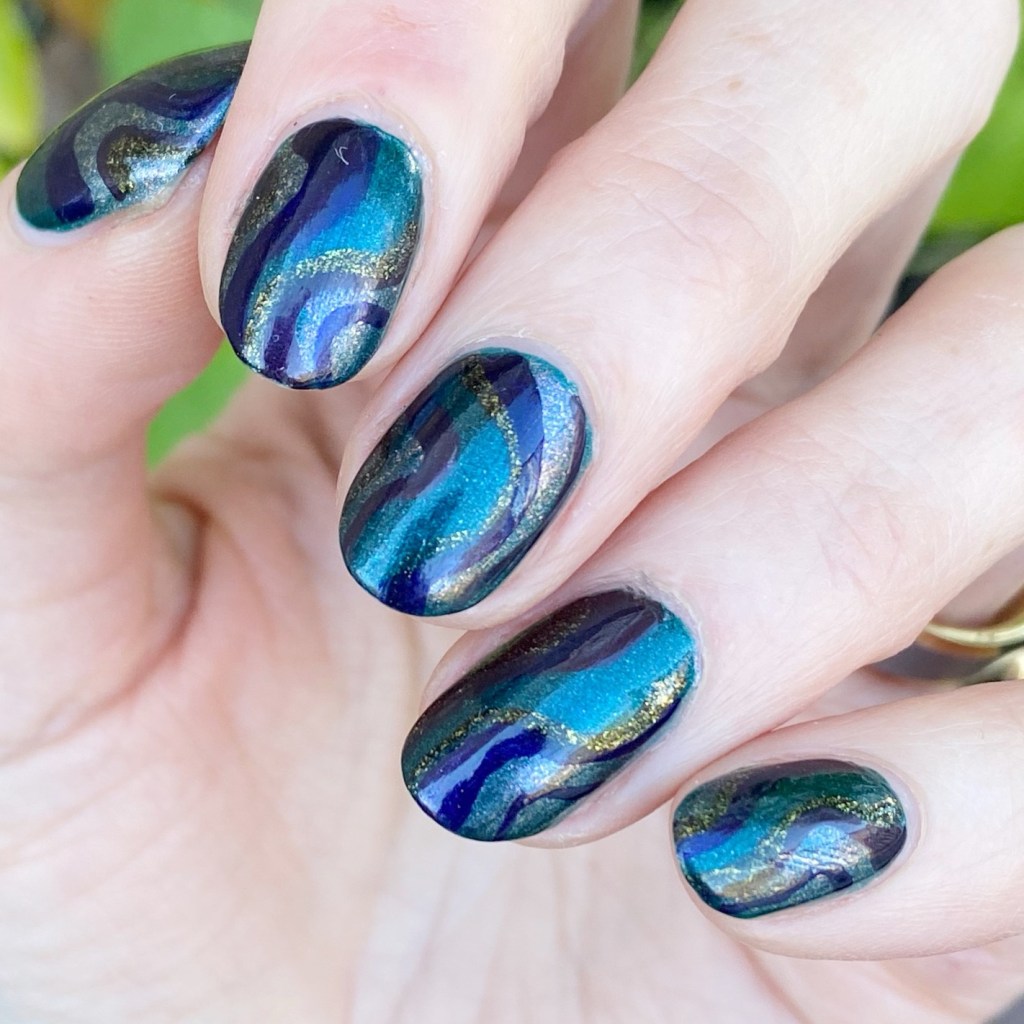

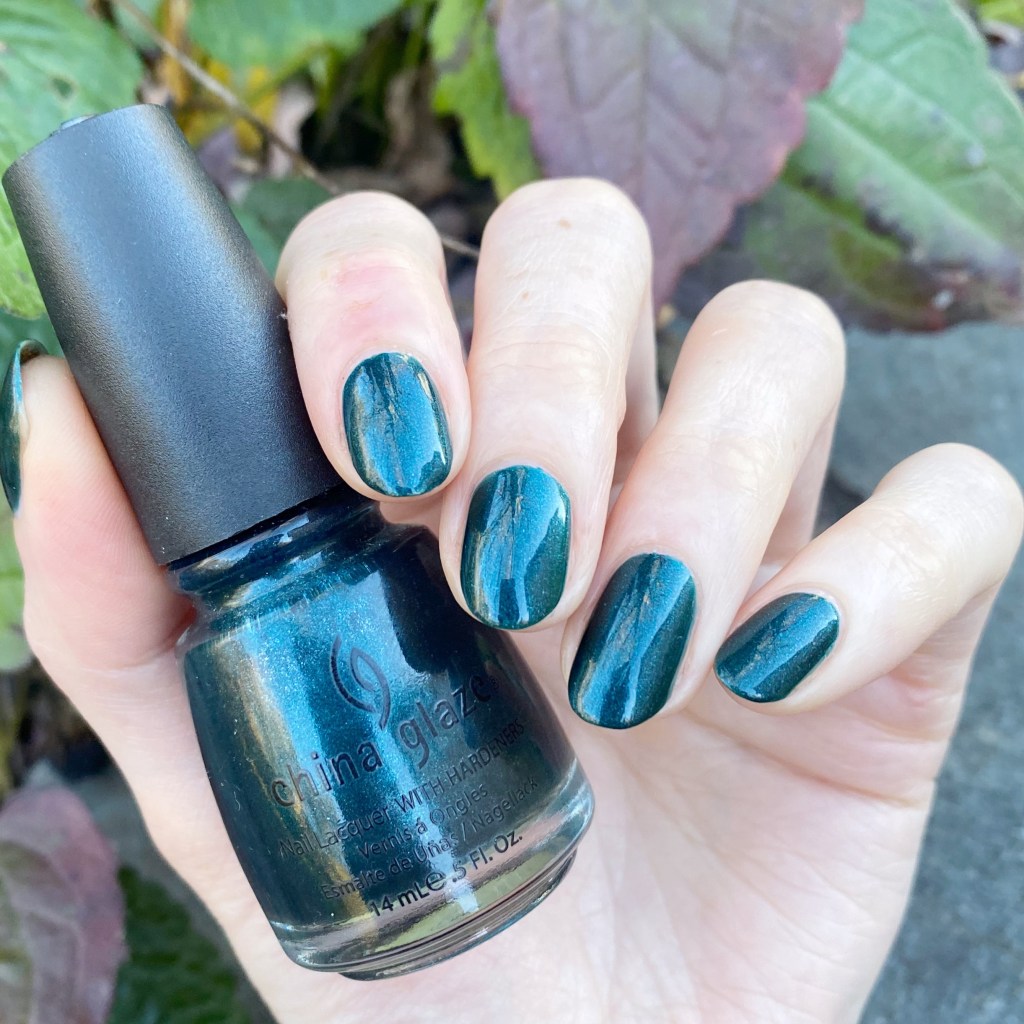
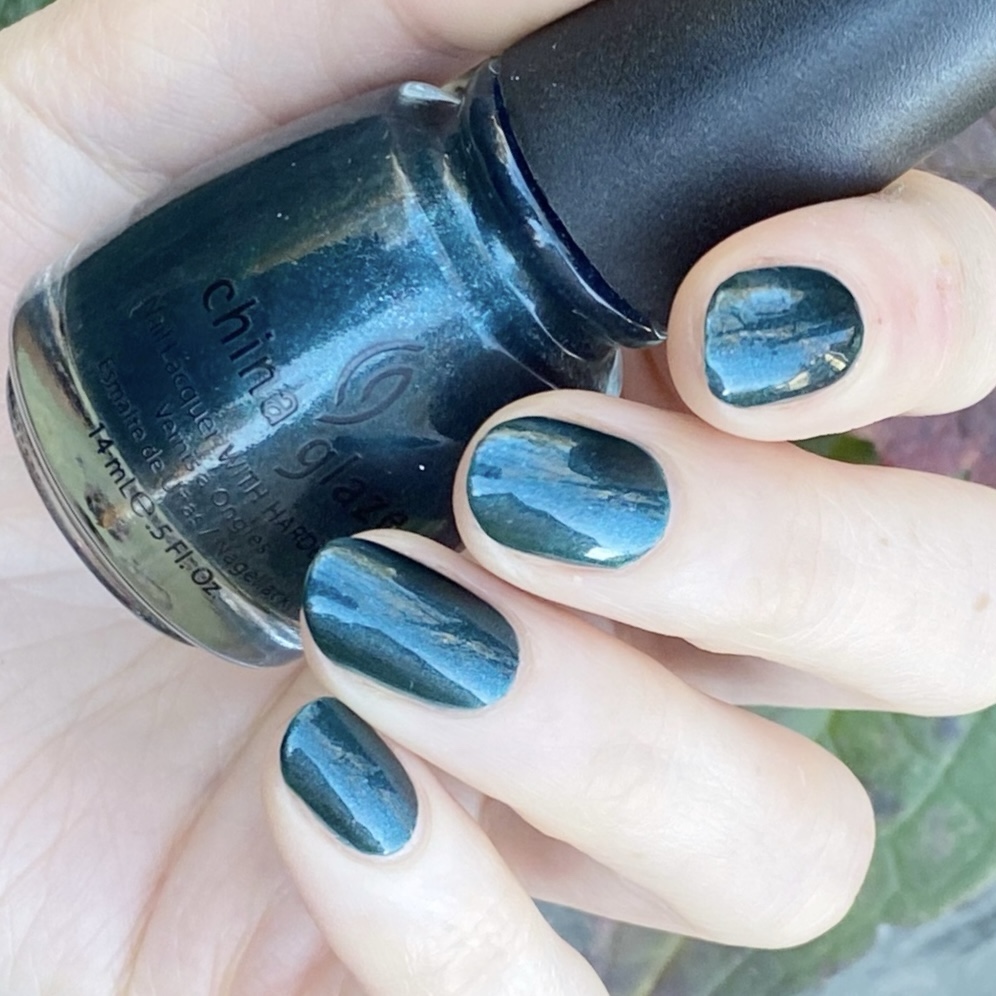
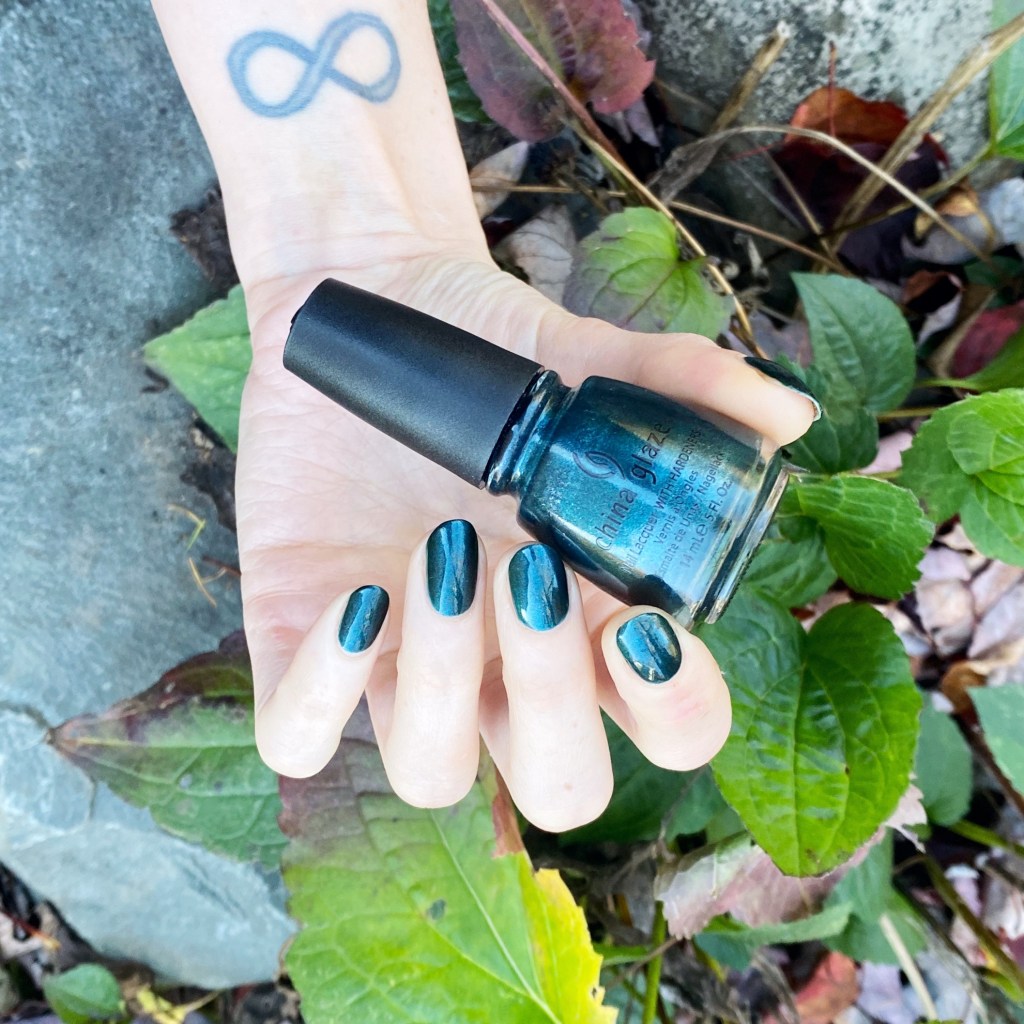
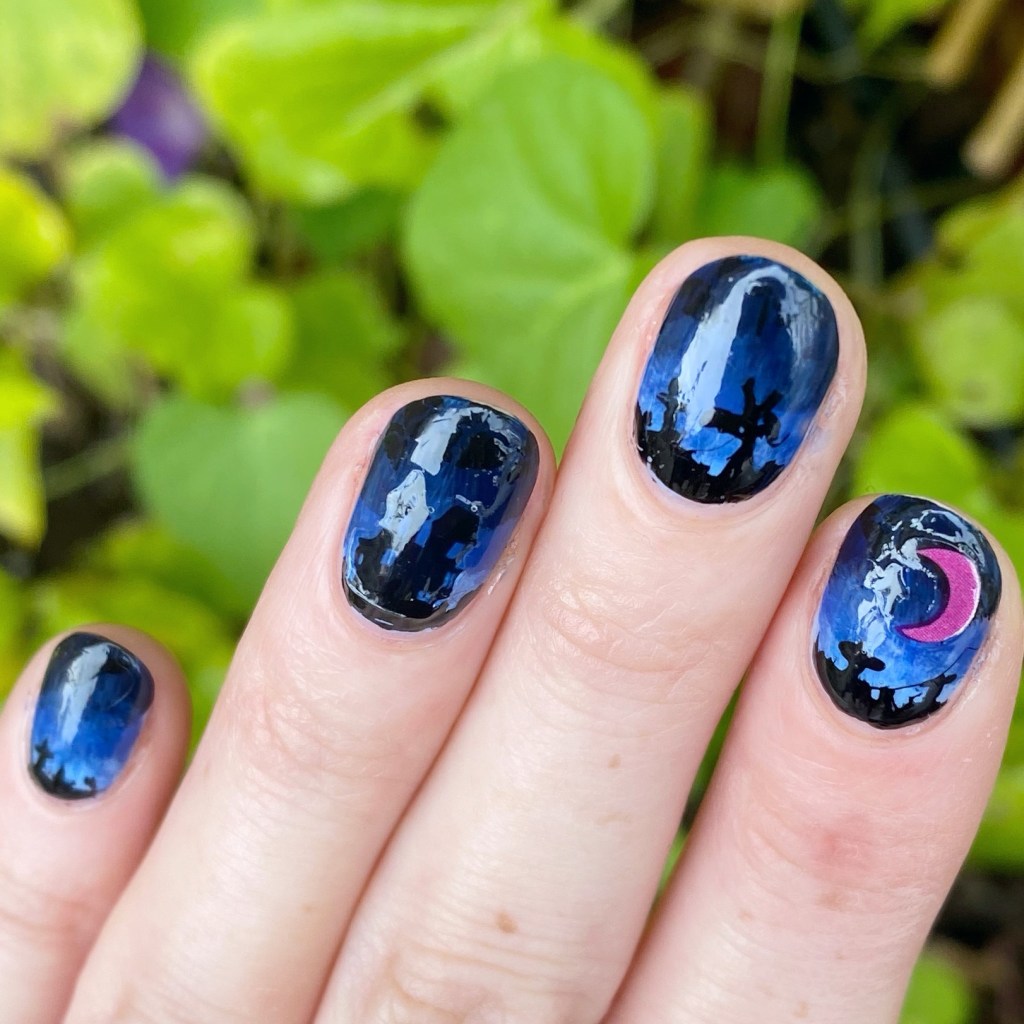
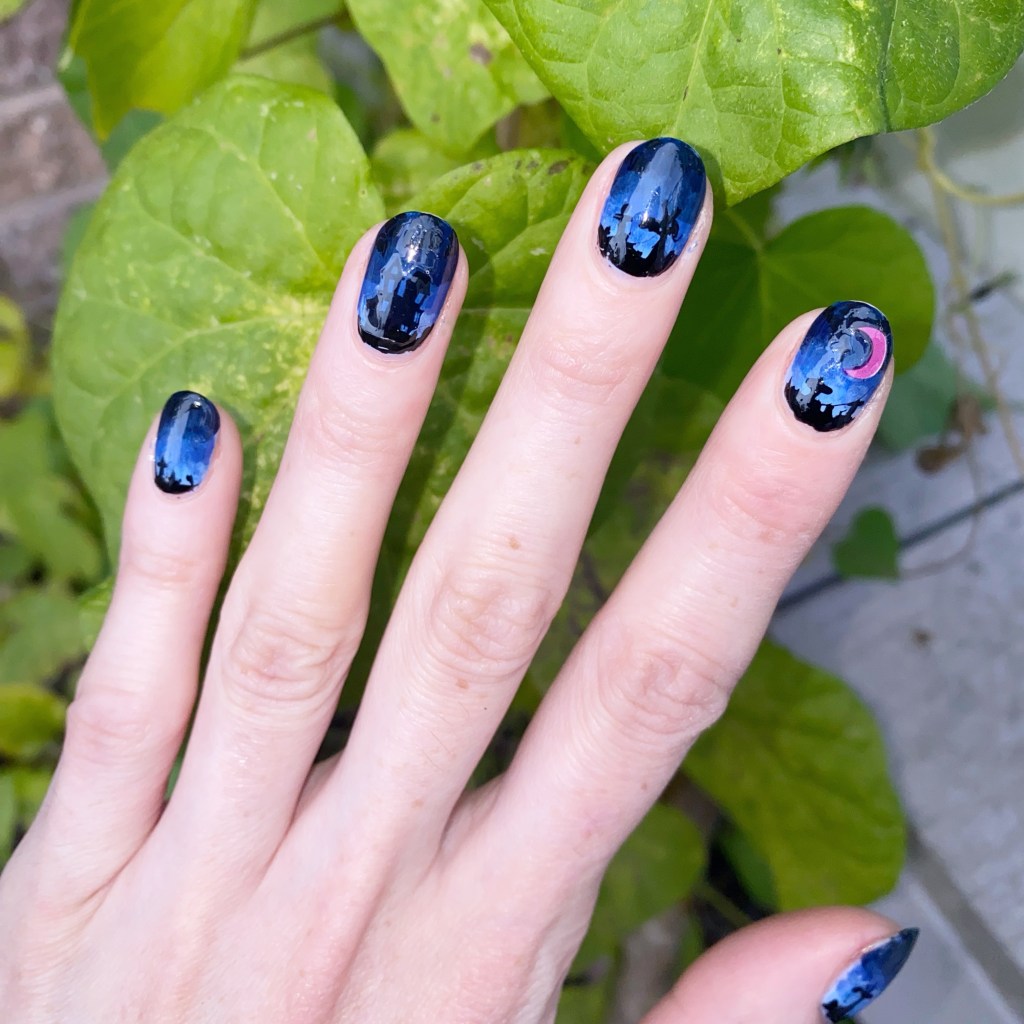
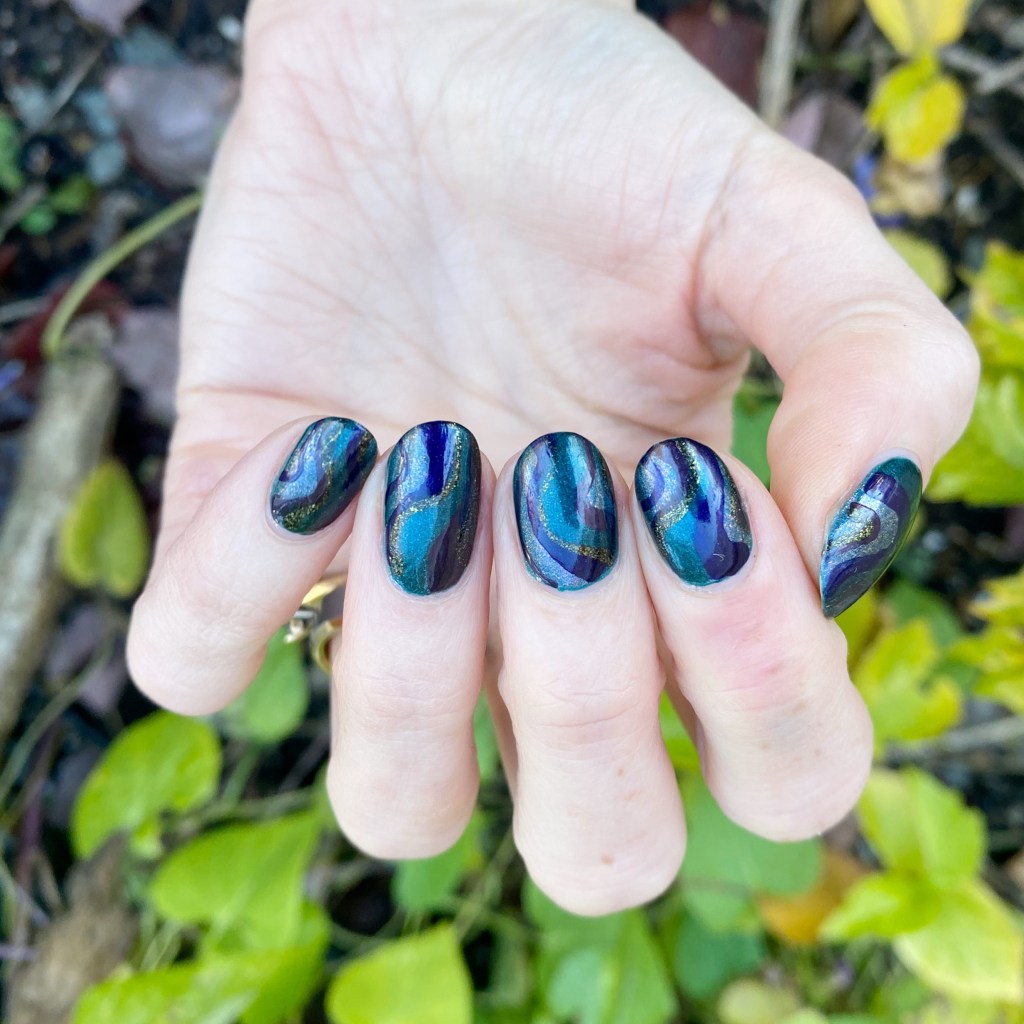
I won’t lie — this design was kind of time consuming. But when you look at the end result, it was totally worth it! From far away, the whole design is kind of dark, but when you look at them up close you see the details of the abstract stripes & it’s such a beautiful combination.
The colours all compliment each other really nicely, & the whole design—to me—just screams November vibes.
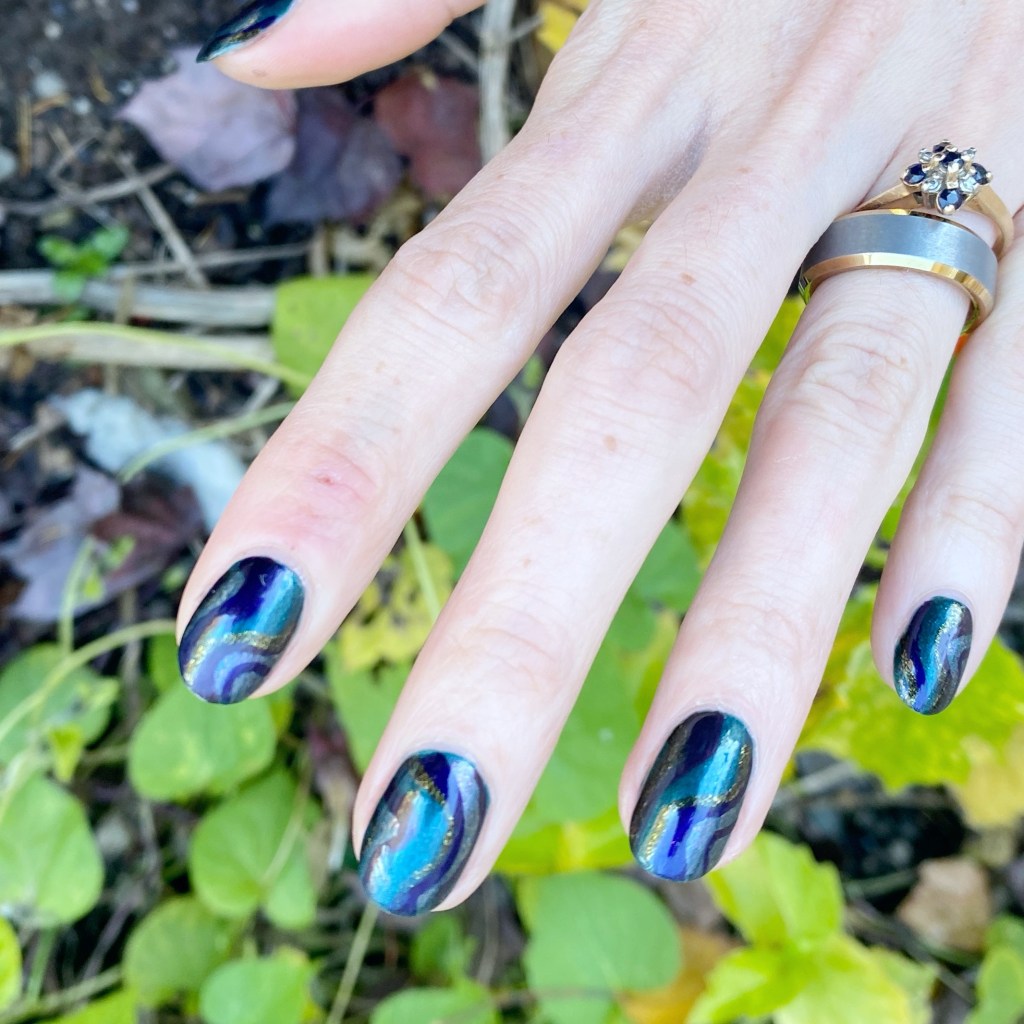
What do you think about this jewel toned abstract stripe design? Do you love the complexity of it, & the beautiful colours? What designs call to you during the month of November?
Let me know all your thoughts down in the comments below!
🖤