Hello lovelies! Still on vacation, but even though I’m on vacation that doesn’t mean I’m not painting my nails! Like I wrote in my last Swatch Sunday post, visiting my parents means I get to take advantage of my Mom’s massive nail polish collection she uses for her jewelry. So I decided to take a few of her polishes to create an ocean inspired design perfect for an East Coast vacation!


For this manicure, the polishes I used were:
- Base Coat: Duri Rejuvacote
- Base Coat: Quo by ORLY Bonder
- Top Coat: Essie Speed Setter
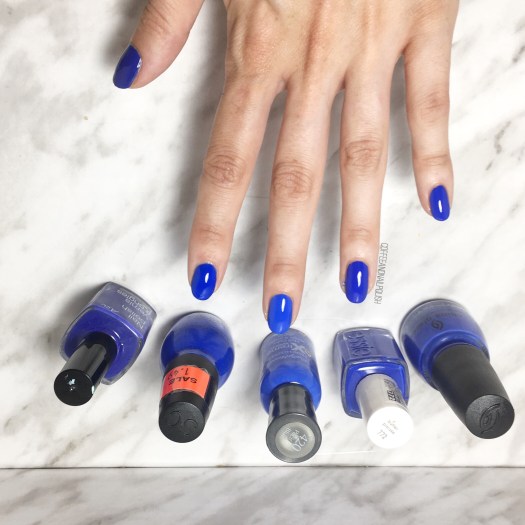
- Sally Hansen CSM A Bleu Attitude
- Quo by ORLY April Showers
- Santee ACO6433
- China Glaze Cattle Drive Me Crazy
- Crinkled up Plastic Wrap
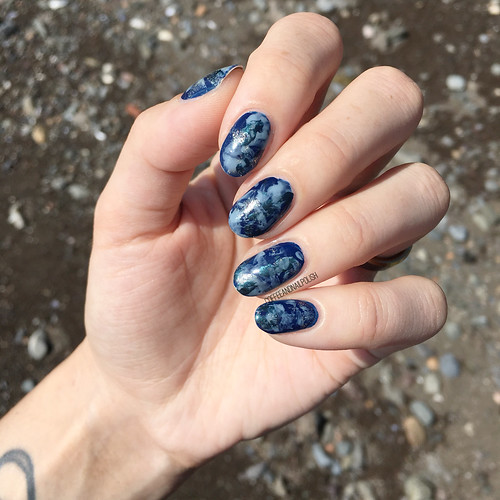

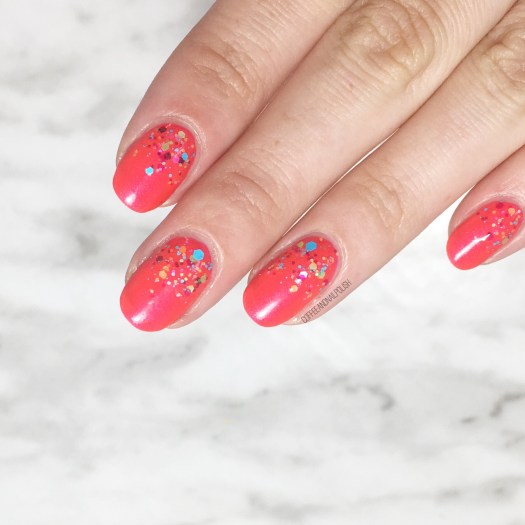
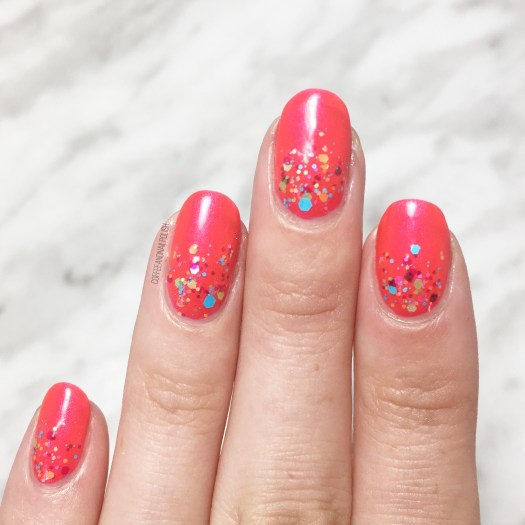
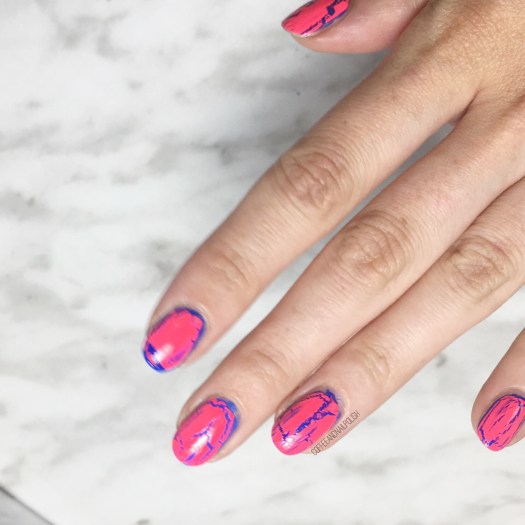
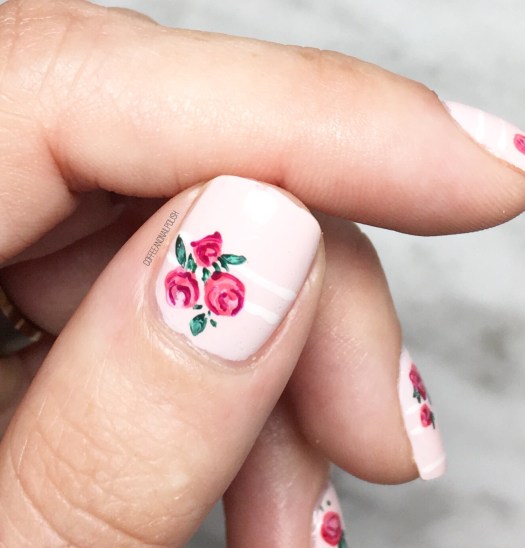
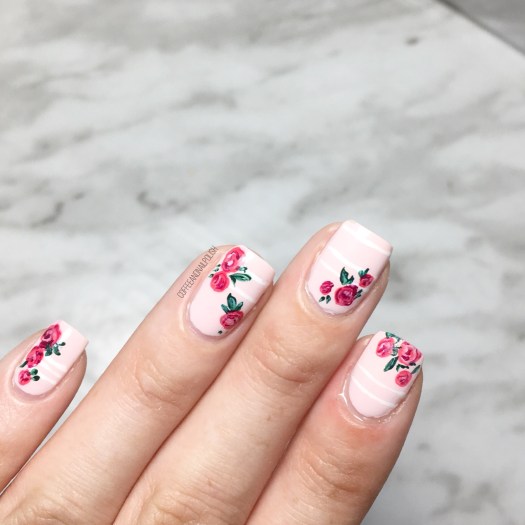
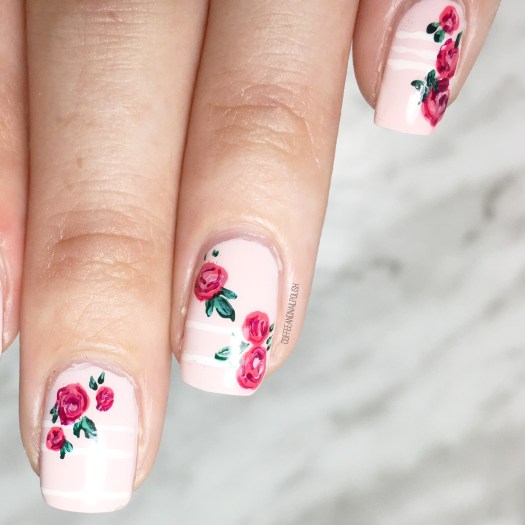
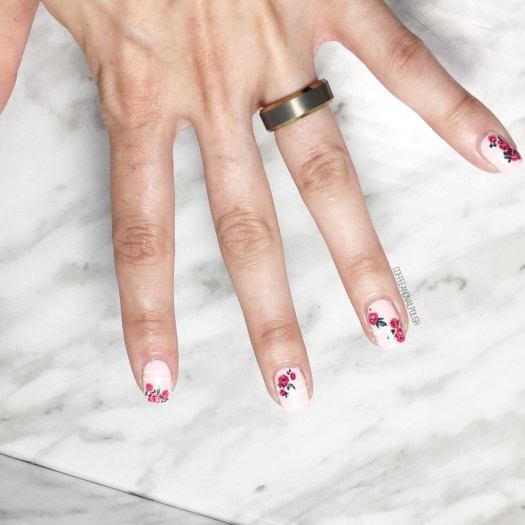
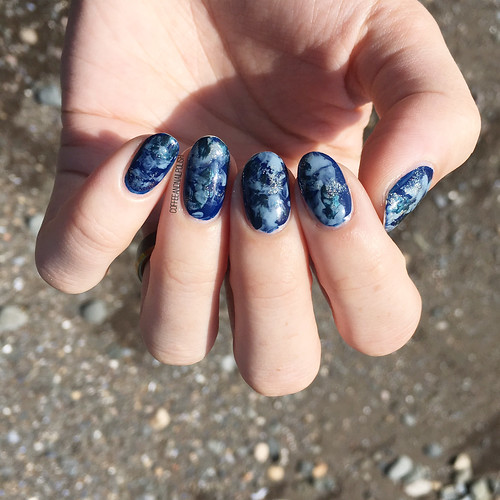
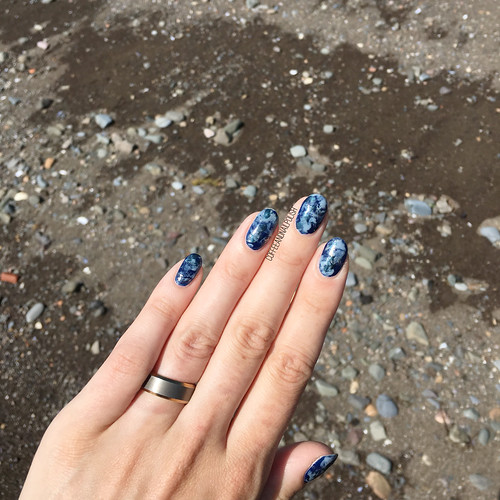
Obviously, being away from my own nail polish stash & supply, I’m not going to attempt to crate one of my more complicated designs–like floral– which is why something like a Saran Wrap splatter is such a perfect design! Easy to do, minimal clean up, but still looks fancy & fun! & obviously because my nails were inspired by the ocean I had to take pictures of this look right on the beach! 🌊
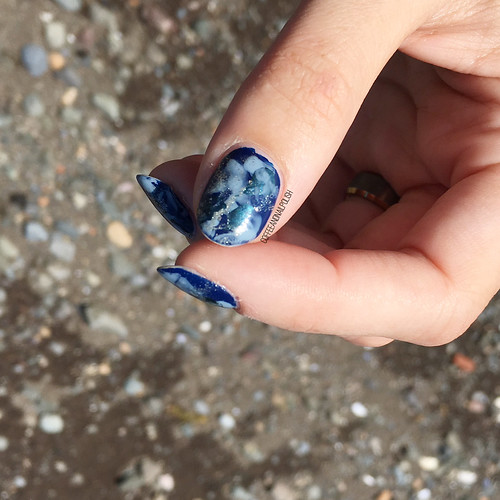
Looking at these close up, I realized how much these look like the mussel shells we used to collect off the beach as kids! This colour combination is definitely one of the best versions of this design I’ve done, but I find that happens whenever I do anything in shades of blue! They always just turn out so beautiful!

What do you think of this look? What do you do about your nails when you’re on vacation–do you still paint them, or go with something like soak off gel that lasts 2+ weeks!
Let me know your vacation nail routine down in the comments below!