More Spring Floral

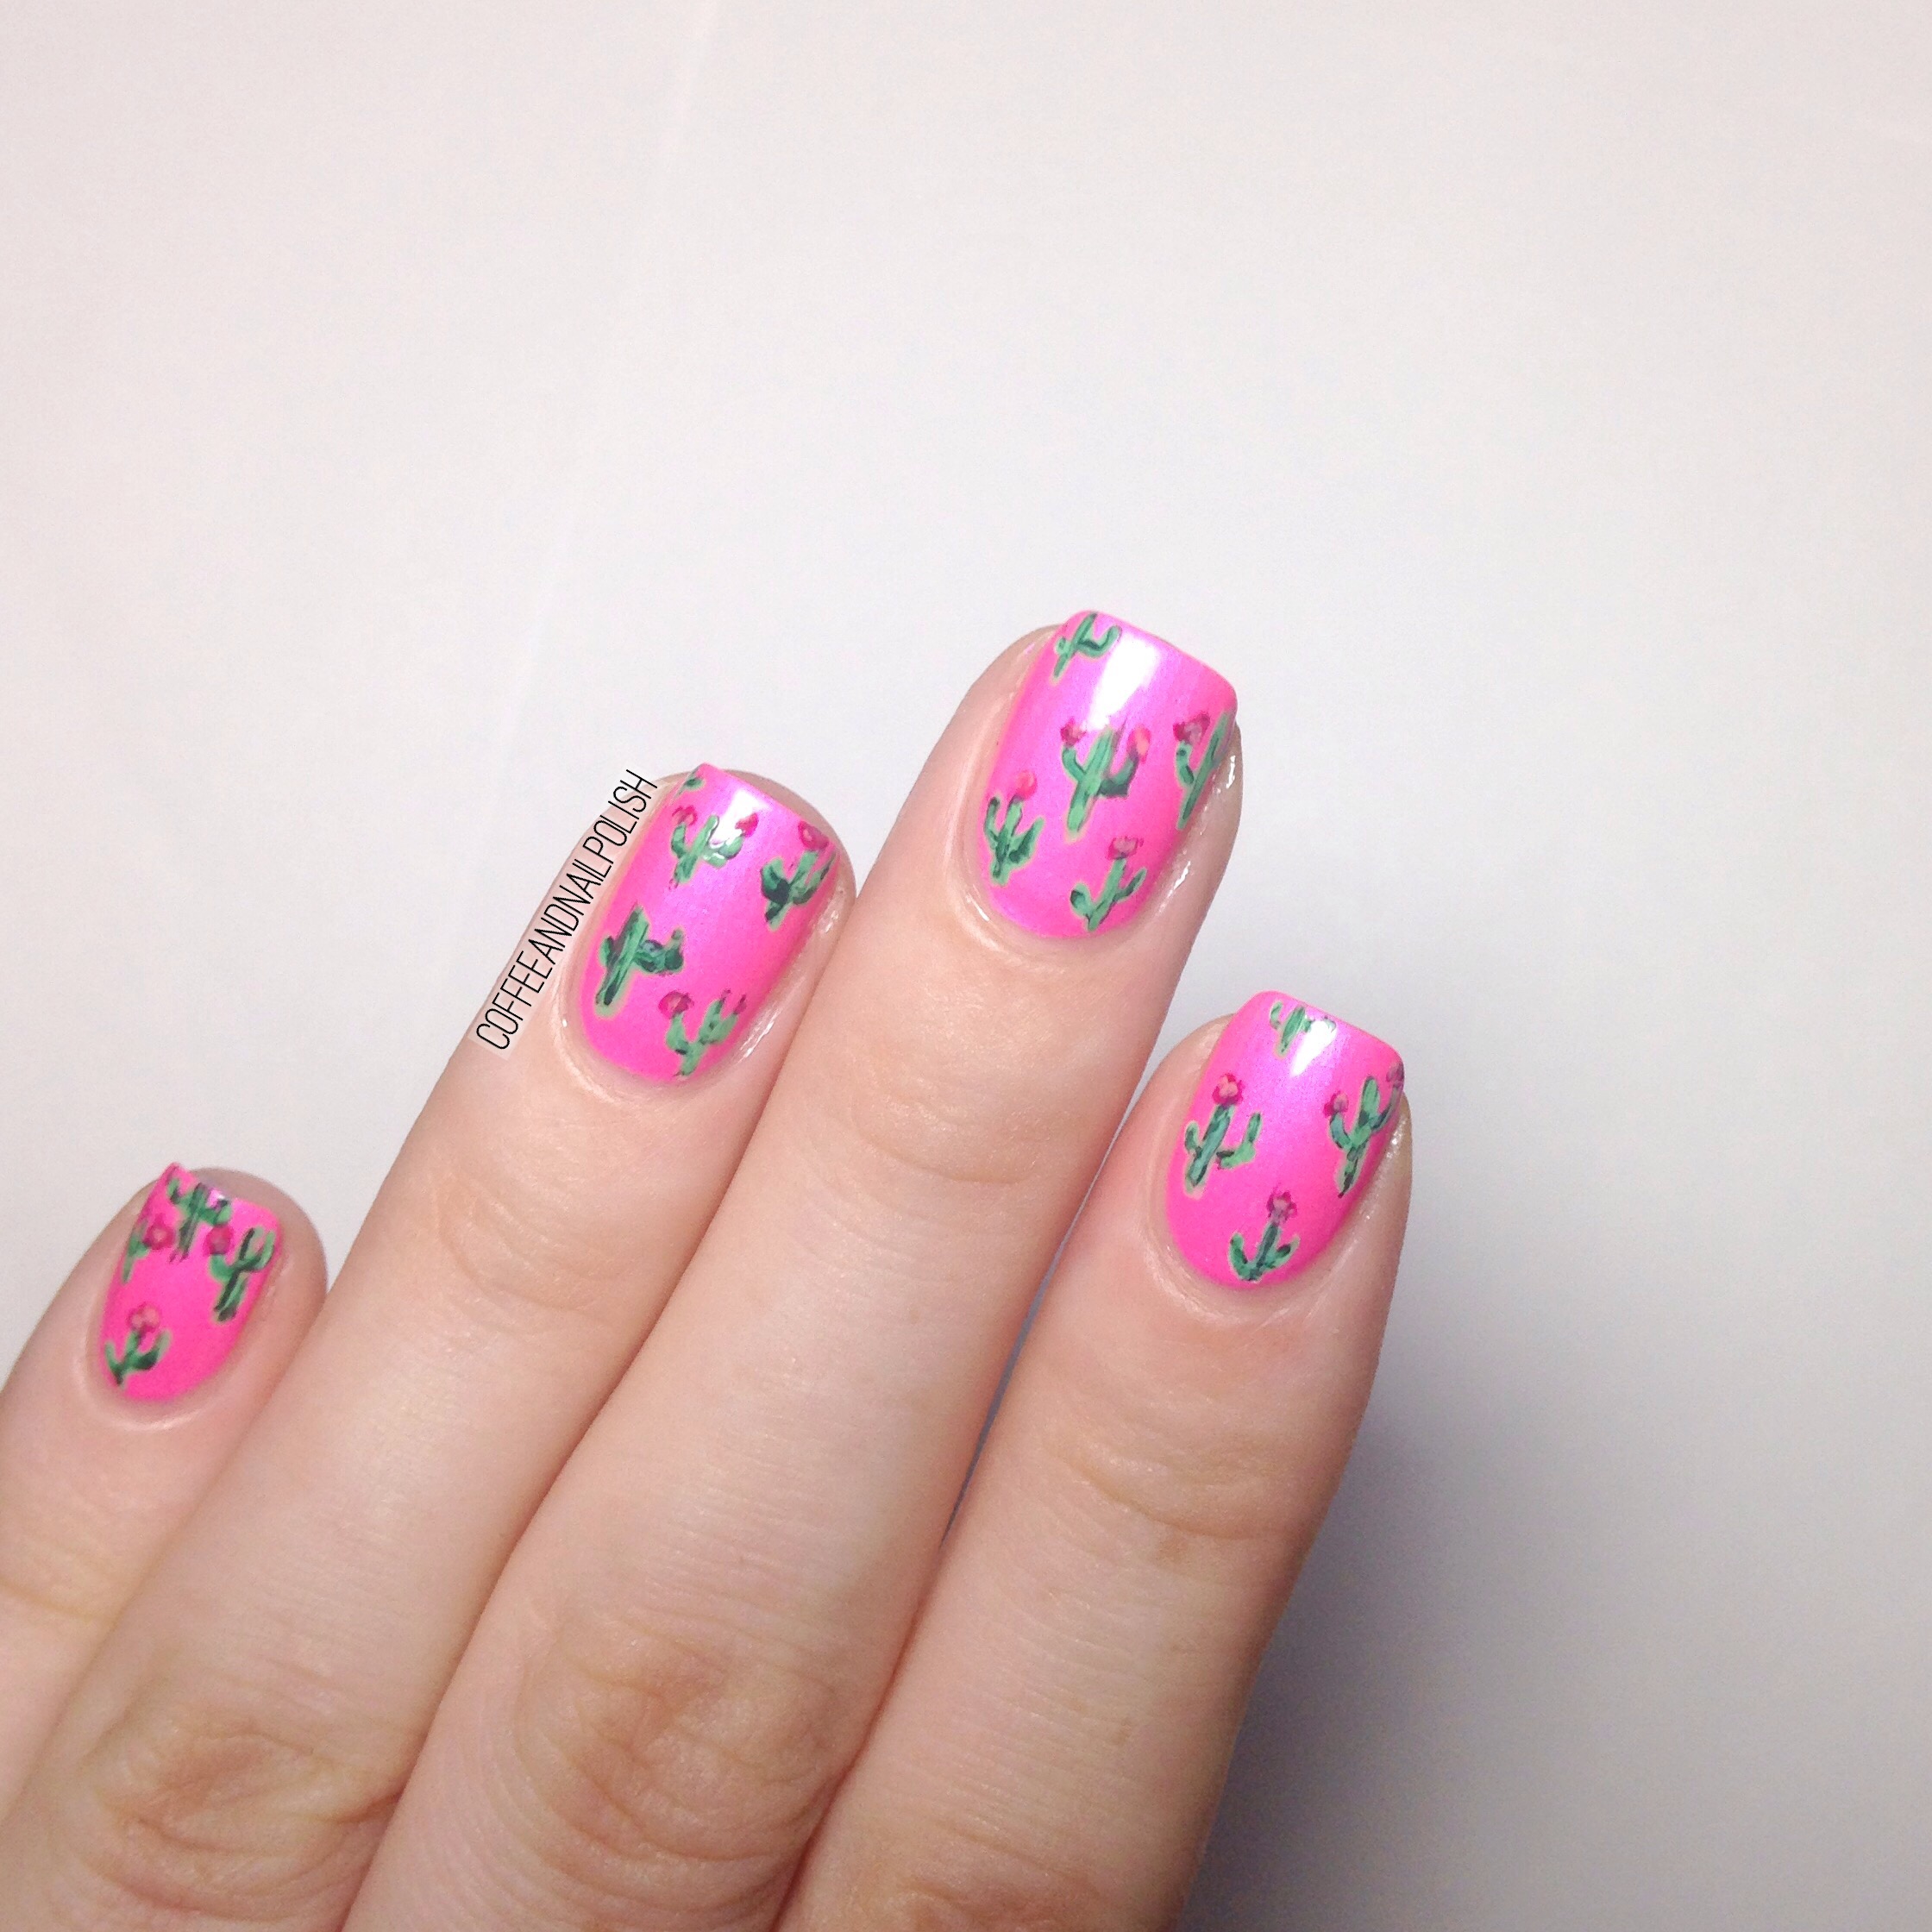
Is there anything that says Spring more than floral? Since today marks the first day of Spring, I thought I should try and summon some warmer temps with a pretty floral design on my nails. I may not be able to pull out my sun dresses quite yet, but I can make my nails feel like it didn’t just snow last night. Haha. 

For this design, I used all Sally Hansen polishes including the ones I received from the Spring 2017 collection. 

The polishes I used for this design were:

  • Sally Hansen Miracle Gel Montley Hue
  • Sally Hansen Miracle Gel Pretty Peony 
  • Sally Hansen Miracle Gel Bourbon Belle
  • Sally Hansen Miracle Gel Terra-Coppa
  • Sally Hansen Miracle Gel Pretty Piggy
  • Sally Hansen X-treme Wear Mellow Yellow
  • Sally Hansen X-treme Wear Tickled Pink
  • Sally Hansen X-treme Wear Kiwi Bikini
  • Sally Hansen I ❤ Nail Art pen in Green
  • Sally Hansen I ❤ Nail Art pen in Black. 
  • Sally Hansen Miracle Gel top coat. 

I’m so in love with how this design turned out I don’t even want to think about having to take it off! My floral has definitely improved over the years, and I’m feeling really good about how wicked these look. 🌼🌿🌸 Just so girly, and romantic. And the perfect way to welcome Spring (and encourage Mother Nature to make it feel more like Spring!)

What do you think of this floral? Let me know in the comments below! 

St Patrick’s Day nails with #thenailartsquad

Happy St Patrick’s Day! 🍀

Today I’ve joined with the rest of the girls in #thenailartsquad for some St Patrick’s Day themed nails in honour of today. 

The fellow #thenailartsquad members that I joined for this collab are (clockwise from the top):

For my nails, I freehanded clovers on my accent nail using a fitting tool and small nail art brush. Thankfully, baby was sleeping so I had the chance for some real nail art! I was very excited. 

The polishes I used for this manicure were:

  • Essie First Timer (light green)
  • YSL  vert d’orient (dark green)
  • Icing Icing on Top (off white) 
  • ORLY Bling (holo gold) 
  • Butter London Rock Hard top coat. 
  • Dotting tool (Bundle Monster) and small nail art brush (Born Pretty Store). 

There are few occasions where I pull out green polish, but I always look forward to St Patrick’s Day for some festive green nails. I’m also really happy with my little clovers–I wasn’t quite sure I could pull them off freehand, but I think they turned out pretty cute! 

Hope everyone is having a festive day whether it’s with green beer, or–like me–a very green stir fry! 

Sally Hansen Spring 2017 


Hello Spring!

Okay, well Spring doesn’t technically doesn’t arrive until Monday but that isn’t going to stop me from sharing a few Spring polishes with you. Back in December, I entered a contest on Instagram that Sally Hansen Canada was hosting and ended up winning! Not only was I excited because I  literally never win anything, but it meant I would receive some of the Spring 2017 colours from the line of Miracle Gel polishes. I received my prize last week, and although it took me a week to get them swatched, I finally have them to share!

All polishes have been swatches using a base coat, coats of colour, and the Miracle Gel top coat (which I also received as part of my prize pack.)

Continue reading “Sally Hansen Spring 2017 “

Pink dry brush featuring Jay Godfrey cosmetics polishes. 

I was recently gifted some polishes (and lipsticks) from a new to me brand: Jay Godfrey. Since I love trying out new polishes, I couldn’t wait to put these on my fingers! The 5 polishes come in a collection paired with 5 complimentary lipsticks ranging from a soft mauve-y pink to a deep Raspberry.


To try out these polishes, I decided to pair them together in a fun sideways dry brush (one of my favourite designs). ❤ this also would have been a great manicure and polish set for Valentine’s Day! 

The polishes I used for this manicure were:

  • Jay Godfrey Cosmetics Nude 256
  • Jay Godfrey Cosmetics Orchid Violet 185
  • Jay Godfrey Cosmetics Nior 421
  • Jay Godfrey Cosmetics Rouge 132
  • Jay Godfrey Cosmetics Bordeaux Lust 326
  • Butter London Hardwear Quick Dry Top Coat 

To achieve this look, I started with a base of 2 coats of Nude, and then applied top coat and let it dry for about 5 minutes. I then went with each colour, removing as much polish from the brush as I could before brushing it diagonally against my base colour. I tried to alternate darker polishes with lighter colours to create a nice texture to the look. When I was happy with the design, I sealed everything in with two coats of top coat. 

So what do you think of these colours and design? I always have fun when I discover new polishes, and really quite like the formula on these, not to mention the colours. 

I’m also really excited to test out the complimentary lipsticks! So far I’ve only worn one of the lipsticks, a fuchsia pink named Casablanca, and I really liked how it looked and applied. I can’t wait to try out all the colours! I think I’ll do a whole post dedicated to the lipsticks since I’m really quite in love with them. ❤

Joe Fresh Gel Look in Key Lime Pie 7 day test. 

As I teased in my last post, I wanted to test out the durability of the new Joe Fresh Gel Look polishes. They boast up to 14 day durability, so I wanted to see how long I could get the polish to last on my nails. I used to never wear my polish more than a day or two, but now that life has gotten busier I need a polish in my life that lasts between mommy mani time! 

Day one:

From my original post, Key Lime Pie on the first day. For those who don’t remember from my previous post, I used three coats for application, with no base or top coat required. 
Day two:

After a day of wear, (and many diaper changes on top of other Mummy duties!) polish still looked  the same as the day before. 
Day Four:

After four days of wear, there was minimal tip wear, most notably on my thumb and pointer finger. Also you can really notice the growth at my cuticles after four days. 
Day Seven:

After 7 days of wear there is noticeable chipping on my pointer, as well as serious tip wear on my other fingers. You can also see how much growth is at the cuticle after a week of wear. My other (dominate) hand saw similar chipping, although more. 

The chipping was enough for me that I wouldn’t want to go longer than I did (not to mention the growth at the cuticles). That’s not to say it couldn’t last longer, but for this experiment 7 days was my cut off. And for a polish that requires no base or top coat, I thought that was pretty impressive!

As mentioned in my previous post, these Joe Fresh Gel Look polishes can be found at your local Loblaws or Superstore for $5.