Happy Saturday my lovelies! Today I have a brand new design to share with you! Today’s inspiration comes from my obsession with Vanderpump Rules.
I was watching clips of Watch What Happens Live the other night while trying to come up with nail art inspiration, & stumbled across clips from a few months ago featuring an appearance from Stassi. I immediately noticed the gorgeous dress she was wearing & realized it would make for an amazing nail art design. I was absolutely in love with the neckline, the colour & the polka dots! It was the perfect combination for a not too difficult design, which was exactly what I needed at 11:30pm. So off I went to find my trusted dotting tools & nail vinyls.

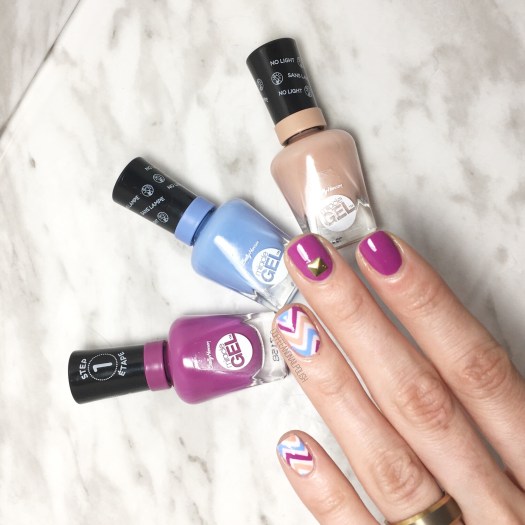
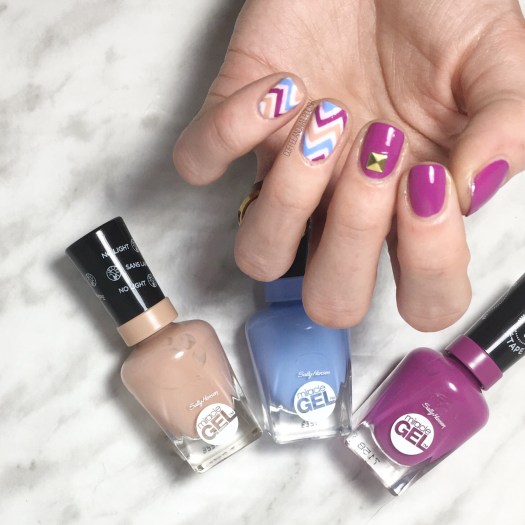
For this manicure, the polishes I used were:
- Base Coat: Nailtek2
- Top Coat: Seche Vive
- Essie Lounge Lover
- Color Club Sidewalk Psychic
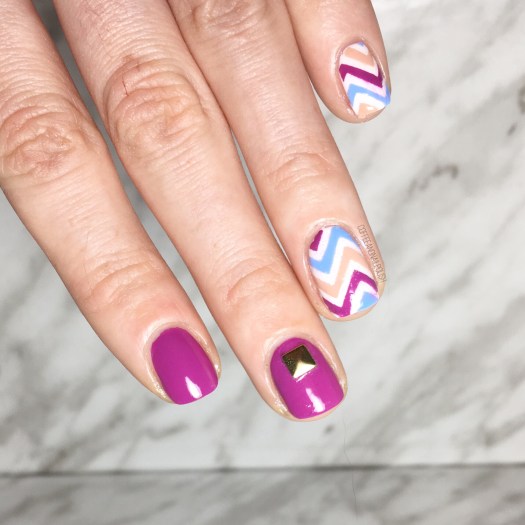
- The Base Coat Stacked Chevrons (singles)
- Bundle Monster small dotting tool


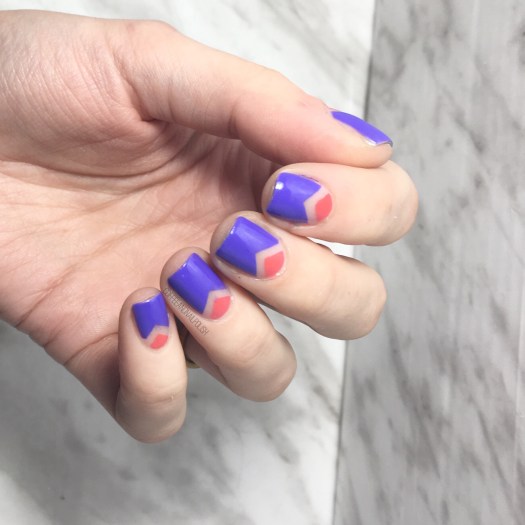
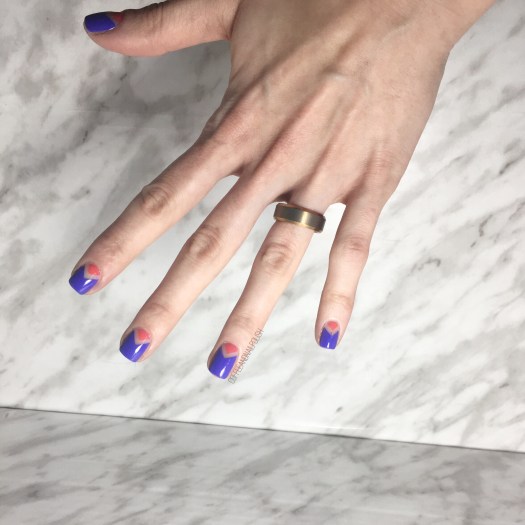
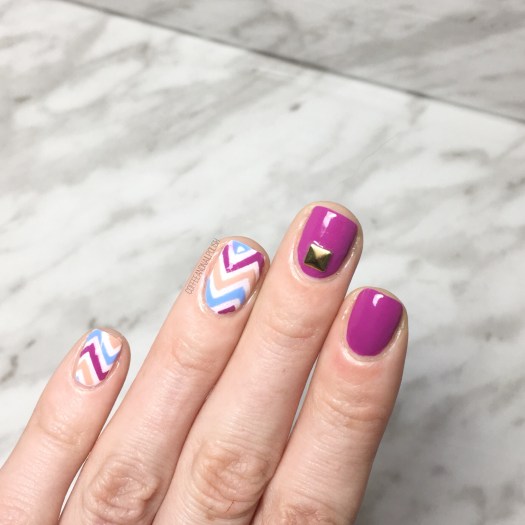
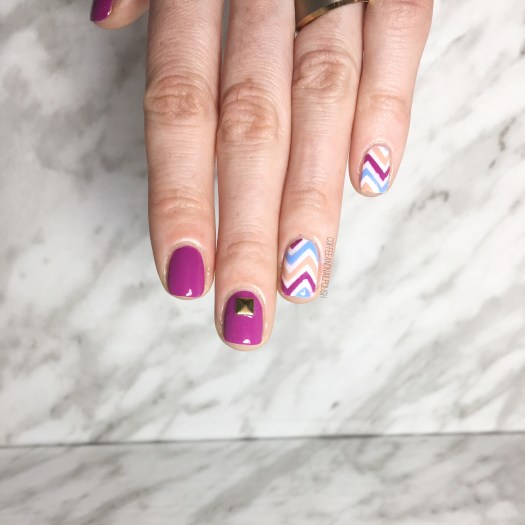
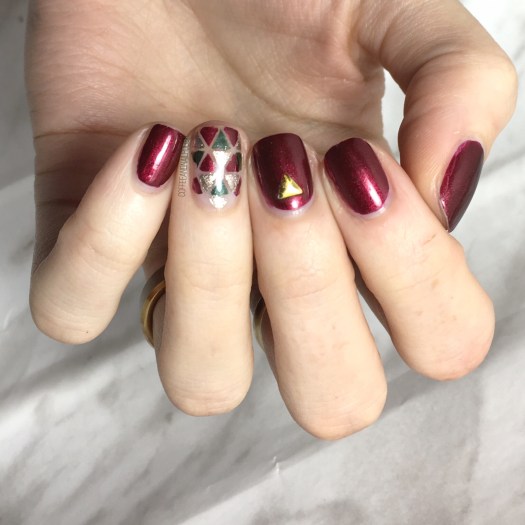
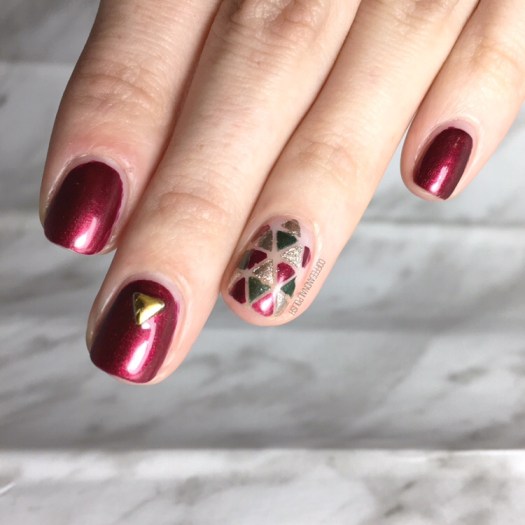
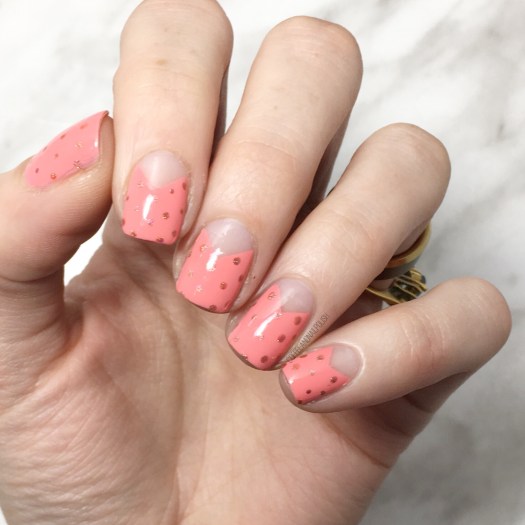
Sadly it was a little too cloudy yesterday to really appreciate the beauty of Sidewalk Psychic but it worked really well overtop Lounge Lover. Also can we talk about how beautifully vibrant Lounge Lover is? I forgot how beautiful it was! It almost looks neon on my nails, which on a grey & cloudy awful day is exactly what I needed to cheer myself up.
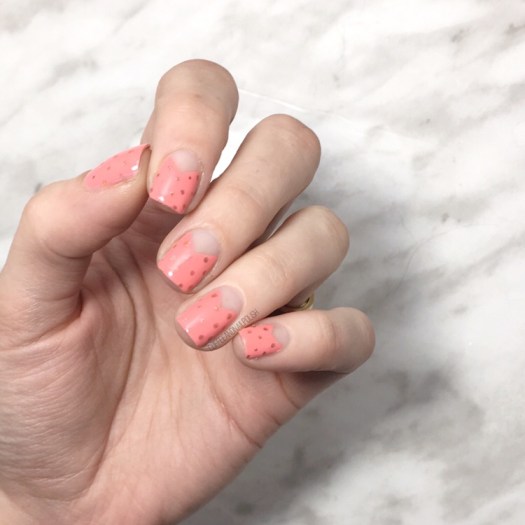
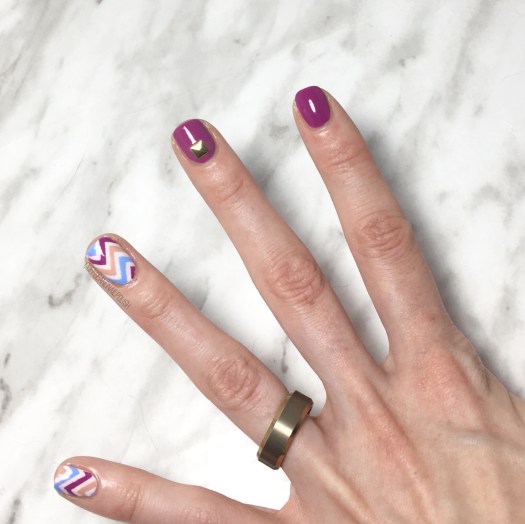
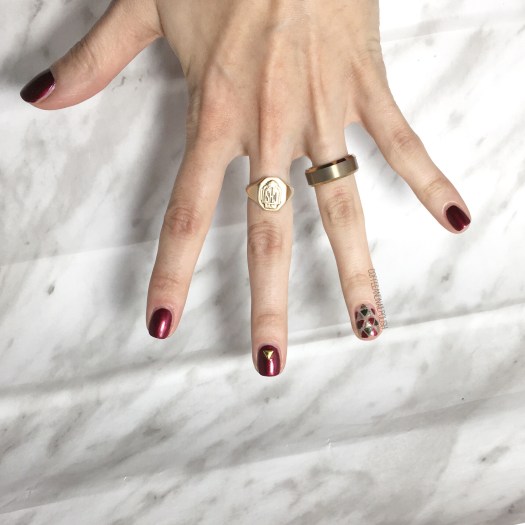
Oooooh, I need to do negative space chevron moons more often. Also I never thought to do polka dots with negative space! I think it came out pretty close to the dress that inspired it. Literally my two favourite nail art designs combined into one. 💗 Also adds in my current obsession (Vanderpump Rules) which is what makes my Monday’s the most exciting. Does anyone else watch the show? I went back & rematches the series from the beginning about 3 months ago & it’s such a fun mindless entertainment tv show. Also I totally want to visit LA just to go to Sur.

what do you think of this design? Do you think it was reminiscent of its inspiration? What’s your favourite reality TV show?
Share your thoughts in the comments below! 💗