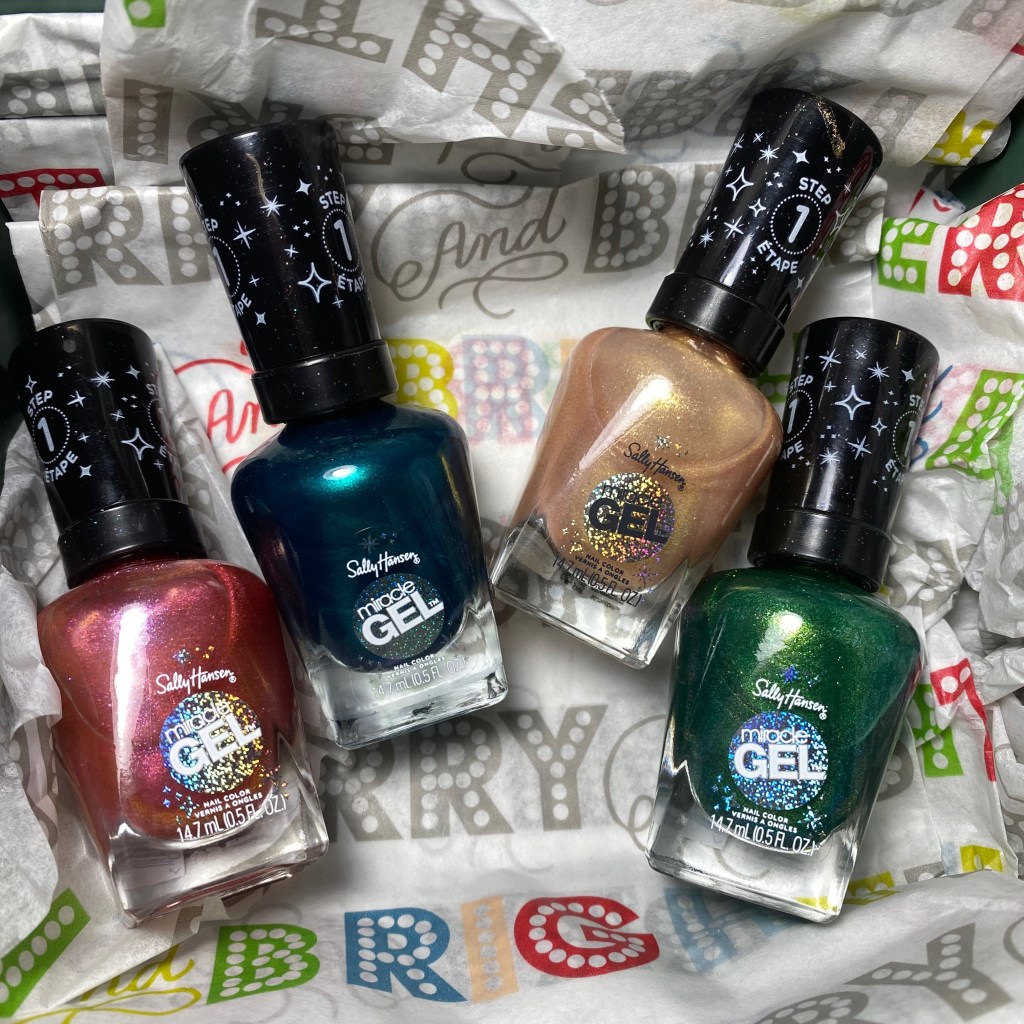
Can you believe it’s already the 20th of November? Like… it’s almost December! This year is almost over. Which means it’s my favourite time of year — Holiday nail polish collection time! & I was super excited, & grateful, because my besties over at Sally Hansen were kind enough to send me 4 of the beautiful shades from the new Sally Hansen Miracle Gel Merry & Bright Collection for Holiday 2022. They also sent me a gorgeous gold & green stone happy face bracelet which I’m absolutely loving.
Hello beauties & happy Thursday. Hope everyone is having a good week so far. I had a very exciting week because I received the most amazing PR package from Sally Hansen Canada featuring 4 shades from their Miracle Gel Holiday 2022 collection. I’m sure I’ve said it before, but Sally probably makes my favourite Holiday collections, & I always feel so lucky when I receive any PR from them this time of year.
I have a fun unboxing Reel on my Instagram if anyone wants a sneak peak. Swatches are coming this Sunday!
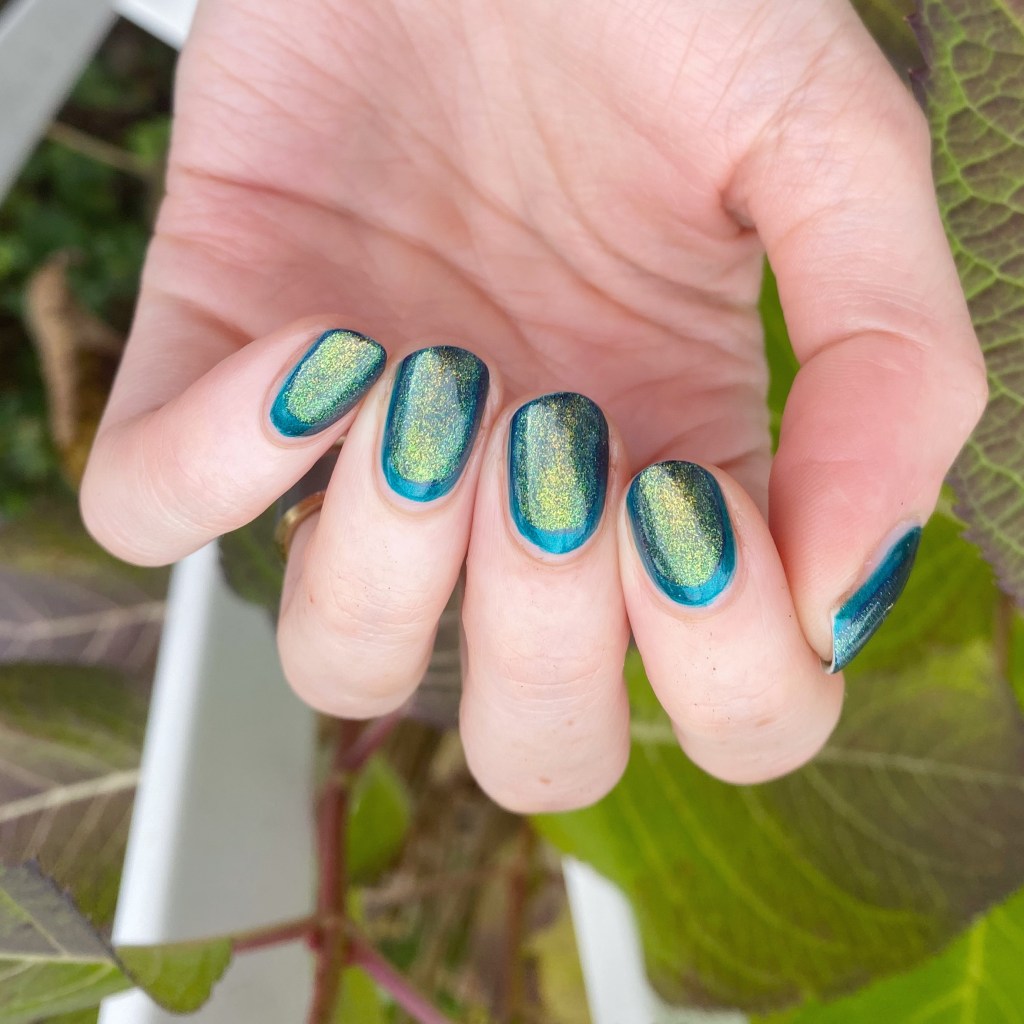
In the meantime, I had to try out one of the shades I received, & decided to use as the base for this shimmery, & subtle, ruffian nails.
The polishes I used for this manicure are:
Base Coat: Essie Hard To Resist Glow & Shine
Top Coat: Sally Hansen Insta-Dri Anti-chip Top Coat
Sally Hansen Miracle Gel Shine Bright Like a Menorah (Merry & Bright Holiday 2022 collection) •pr sample•
Sally Hansen Miracle Gel Garnish Attention
Sally Hansen Miracle Gel Unicorn Top Coat
Another super simple look that has a very striking effect — that would be perfect holiday party nails. Listen, I don’t have a holiday party to go to, but that doesn’t mean my nails can’t look like I do! & I know lots of people do, & will be looking for nail polish/art ideas.
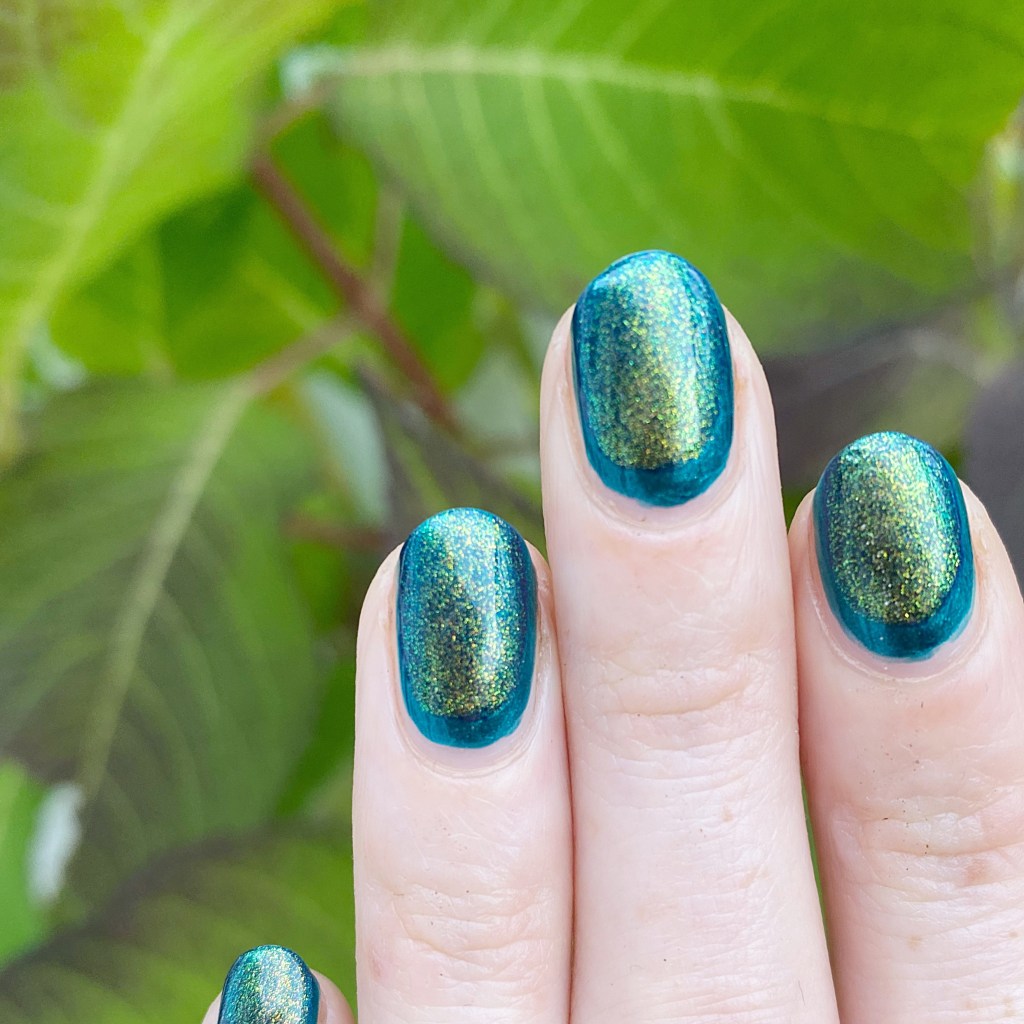
The most difficult part of these is getting that second rounded swipe. I find the Miracle Gel brushes can be a bit trickier for that, but only because my nails are pretty thin & small, & they are very wide so they almost cover too much of the nail! Just takes a bit of practice, but if you get it right… well, it looks pretty beautiful. & the subtle ruffian effect is a perfect touch of nail art. You could also do the opposite, & put the glitter as the base, which would also have a similar peek-a-boo subtle look.
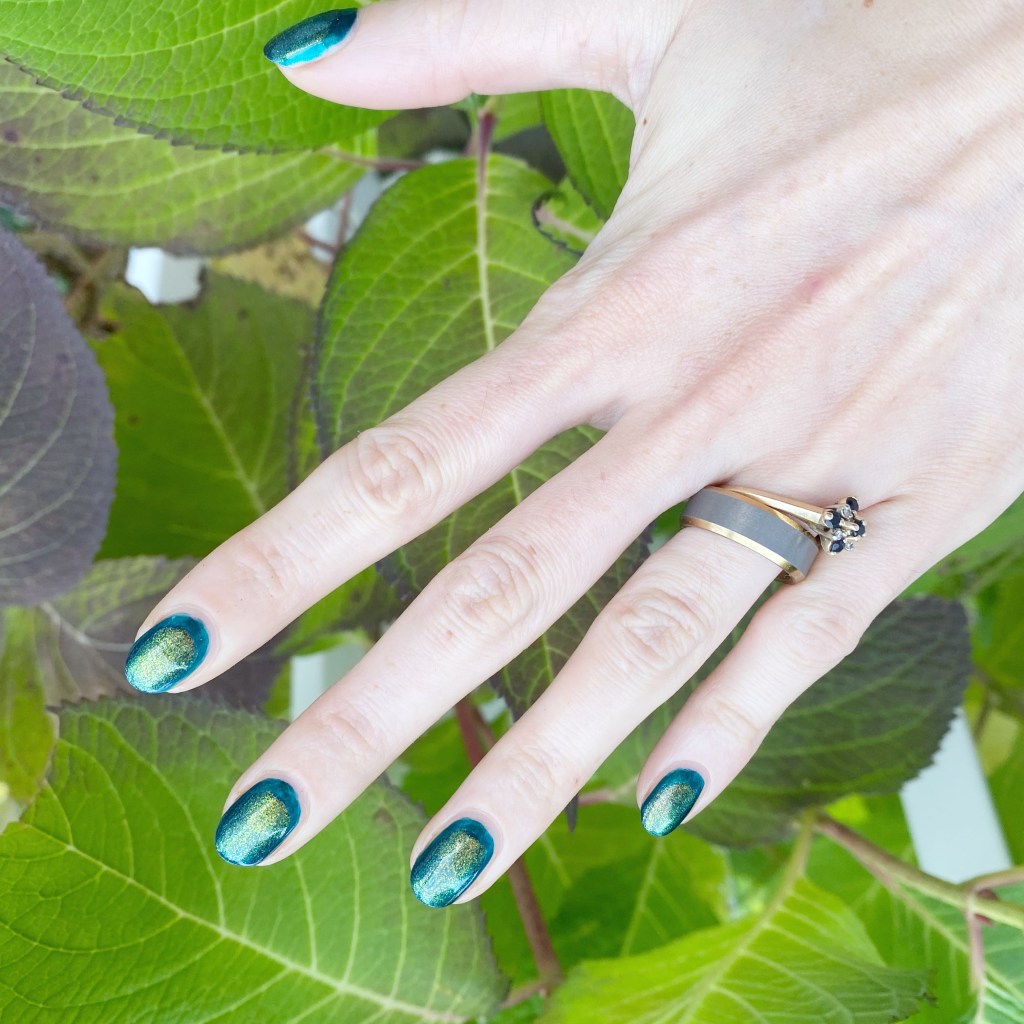
What do you think about this subtle shimmery ruffian look? I really like how the combination turned out, & it’s a fun look to wear! If there is one thing about the cold, dark months of late-Autumn/Winter I enjoy, it’s that there is no better time to pull out all the pretty dark sparkly shades that have been hiding in my stash untouched for months! So expect a lot more shimmer & sparkle on this blog!
Good morning lovelies & happy Tuesday! I hope everyone’s week is off to a not too stressful start. Today I’m excited because I’m sharing a stunning nail art look that I’m really, really excited about using the beautiful shades from Sunday’s Swatch Sunday post.
The polishes I used for this manicure are:
Base Coat: Essie Hard To Resist Glow & Shine
Top Coat: Essie Gel Setter
Black Dahlia Lacquer Frozen Twilight (NailStuff.ca exclusive)
Black Dahlia Lacquer Winter Dusk (NailStuff.ca exclusive)
NailStuff.ca Dotting Tool Trio — I used the thinnest one to make it easiest to create my drag marble
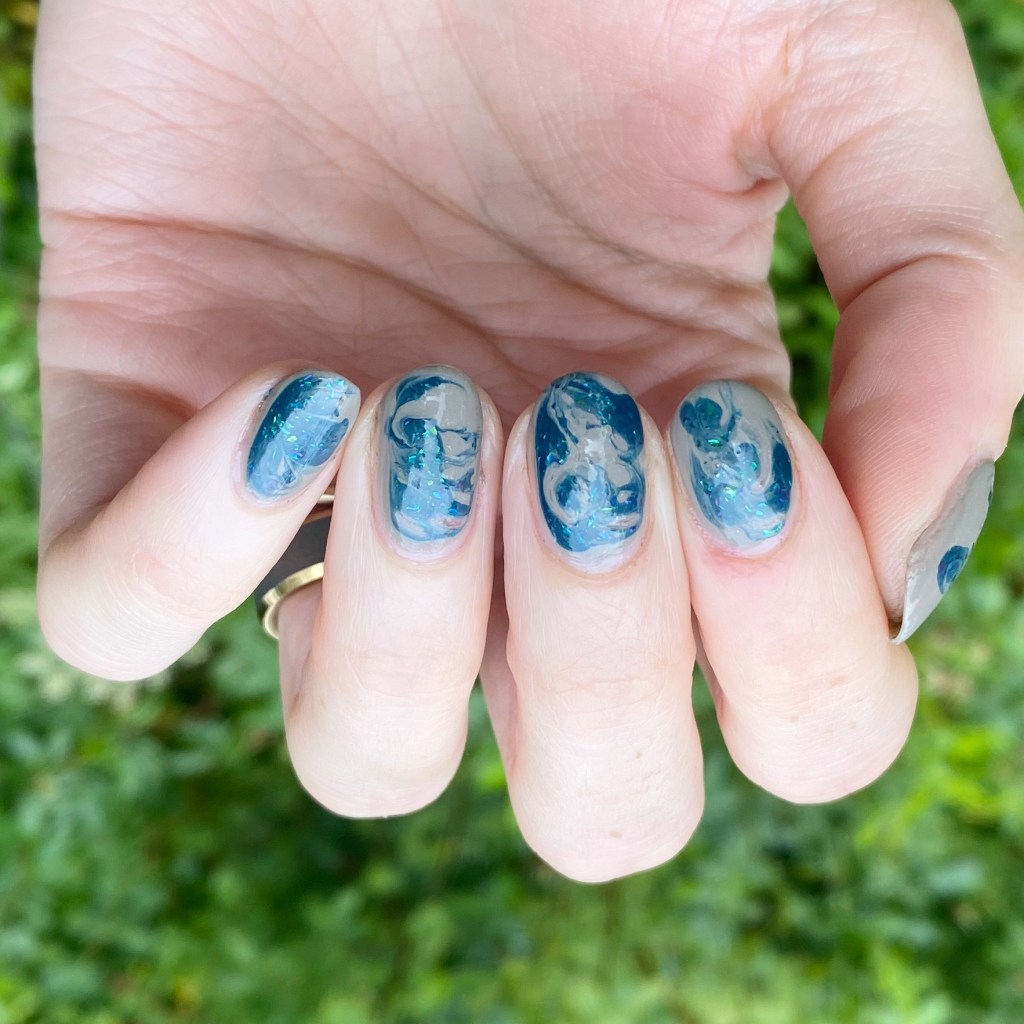
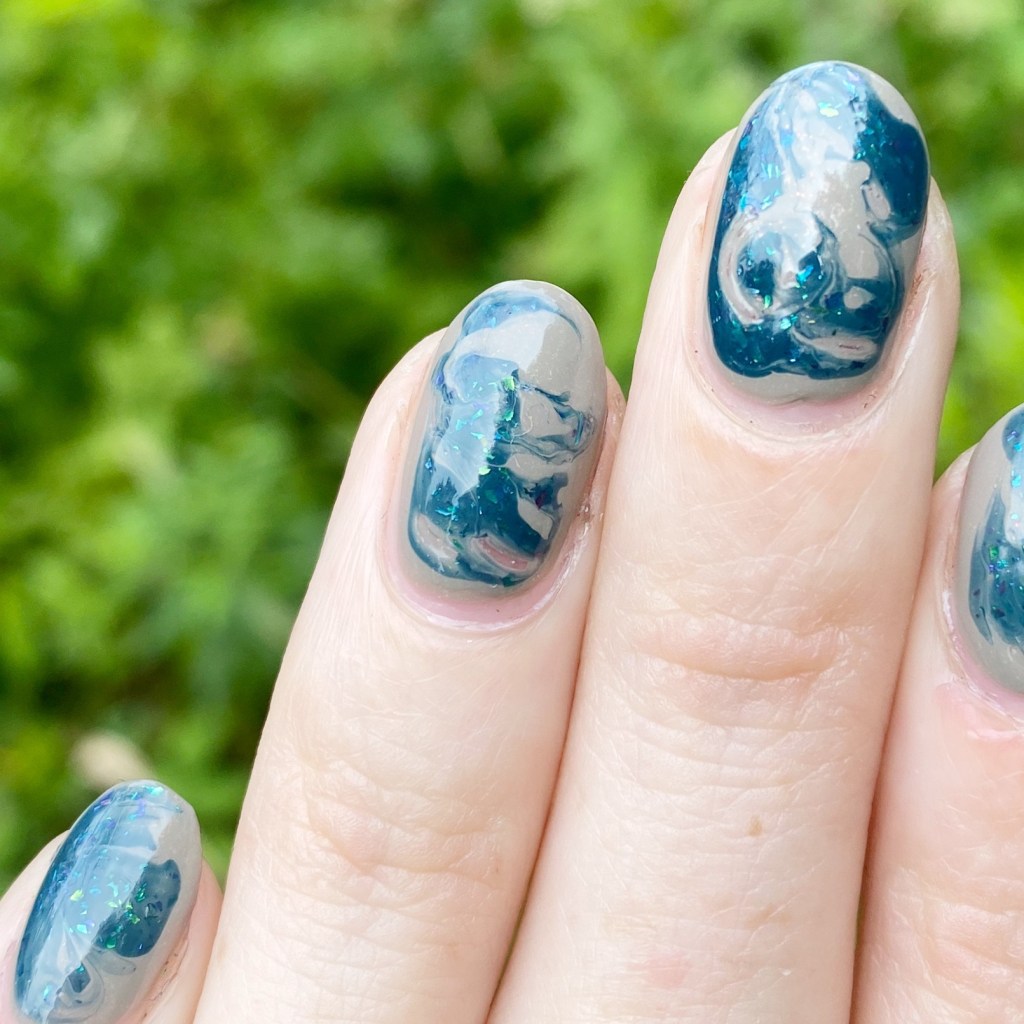
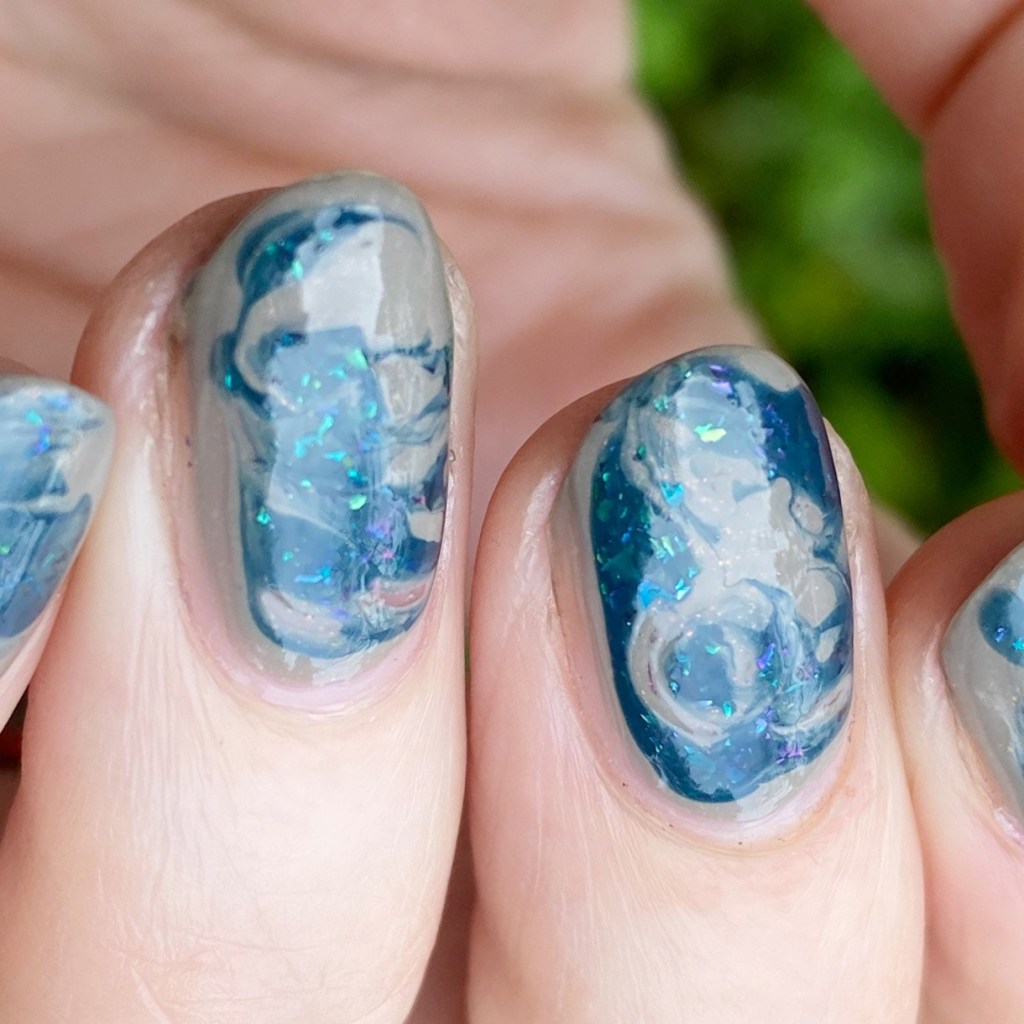
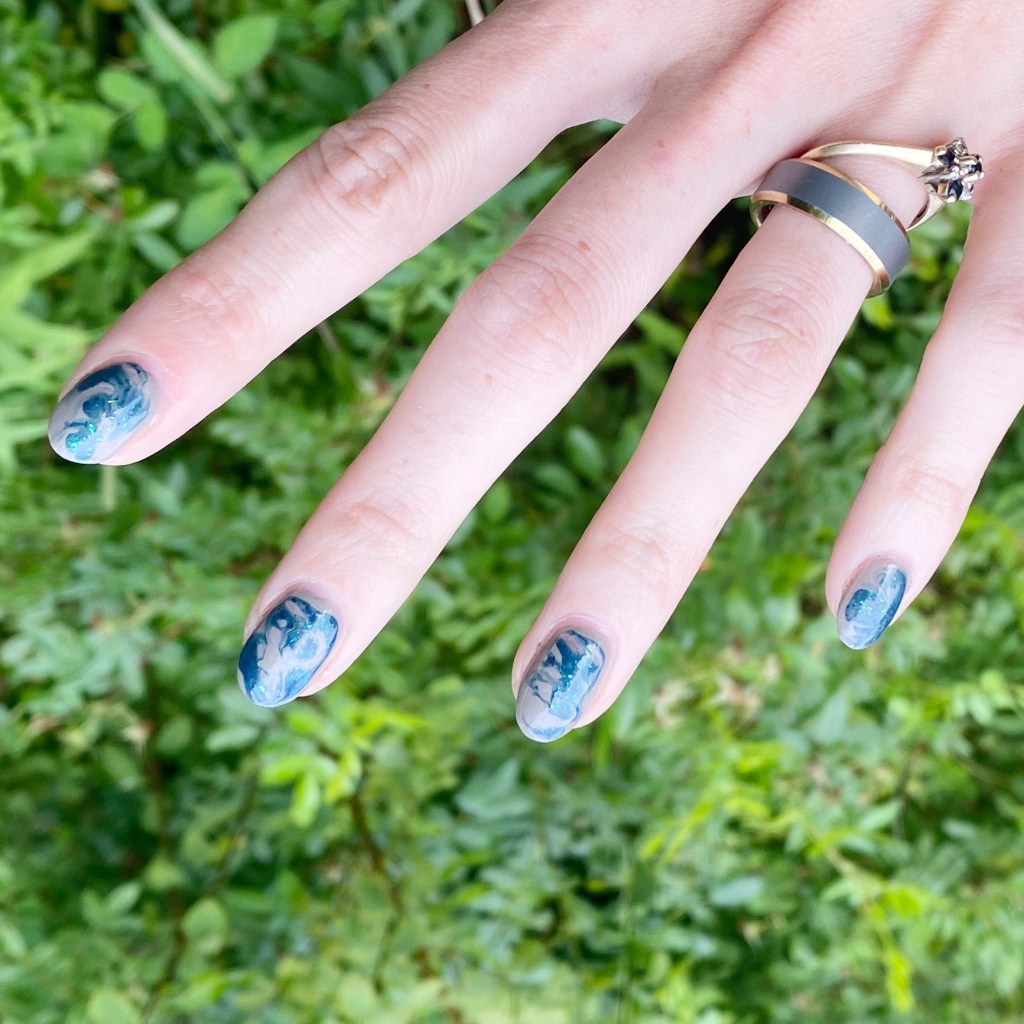
Look at the close up! I adore the look of Frozen Twilight against Winter Dusk.
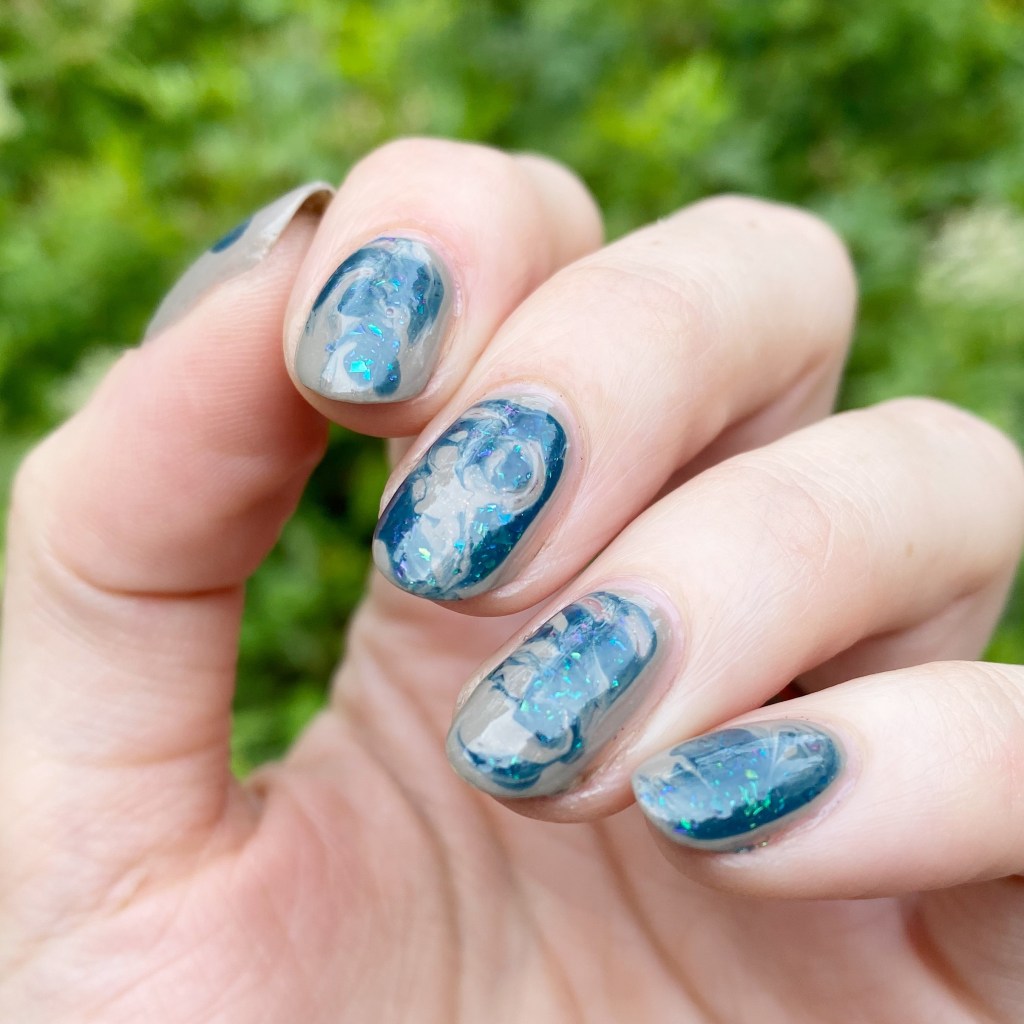
I’m not going to lie — I was a bit nervous about how well these two shades were going to marble together. & quite honestly, this might be the most successful (& beautiful!) drag marble I’ve done in longer than I can remember. It sort of reminds me of when you find rocks that have geodes & crystals running through them.
It just turned out so pretty!
The jelly formula on Frozen Twilight being a bit on the thinner side meant it was also a lot easier to get the polishes swirling without things starting to dry too quickly. Nothing worse than trying to do a drag marble, & your polishes are drying as your trying to marble them! Then you get weird bald patches & have to start over. Ugh, the worst! But these two shades marbled together like a dream & I’m super happy with the end result.
What do you think about this drag marble featuring Frozen Twilight & Winter Dusk? Do you like how I paired these two shades together? Do you love the Autumn vibes that these shades are giving off? Let me know all your thoughts down in the comments below!
Products featured in this post were provided in exchanged for content. All thoughts are honest & my own.
Hello lovelies & happy Sunday! Can you believe that we’re already halfway through the month? That much closer to Fall. I even saw (& bought) some pumpkin spice Silk creamer for my coffee the other day. That’s how you know Autumn is quickly approaching — it’s pumpkin spice everywhere.
So obviously that means I’ve been reaching for my more Autumn-y shades more & more often. & that’s when I realized I had some beautiful PR shades in my stash from NailStuff.ca that I had totally blanked on sharing! & since they are some amazing shades perfect for Fall, I thought there was no time like the present to finally share them!
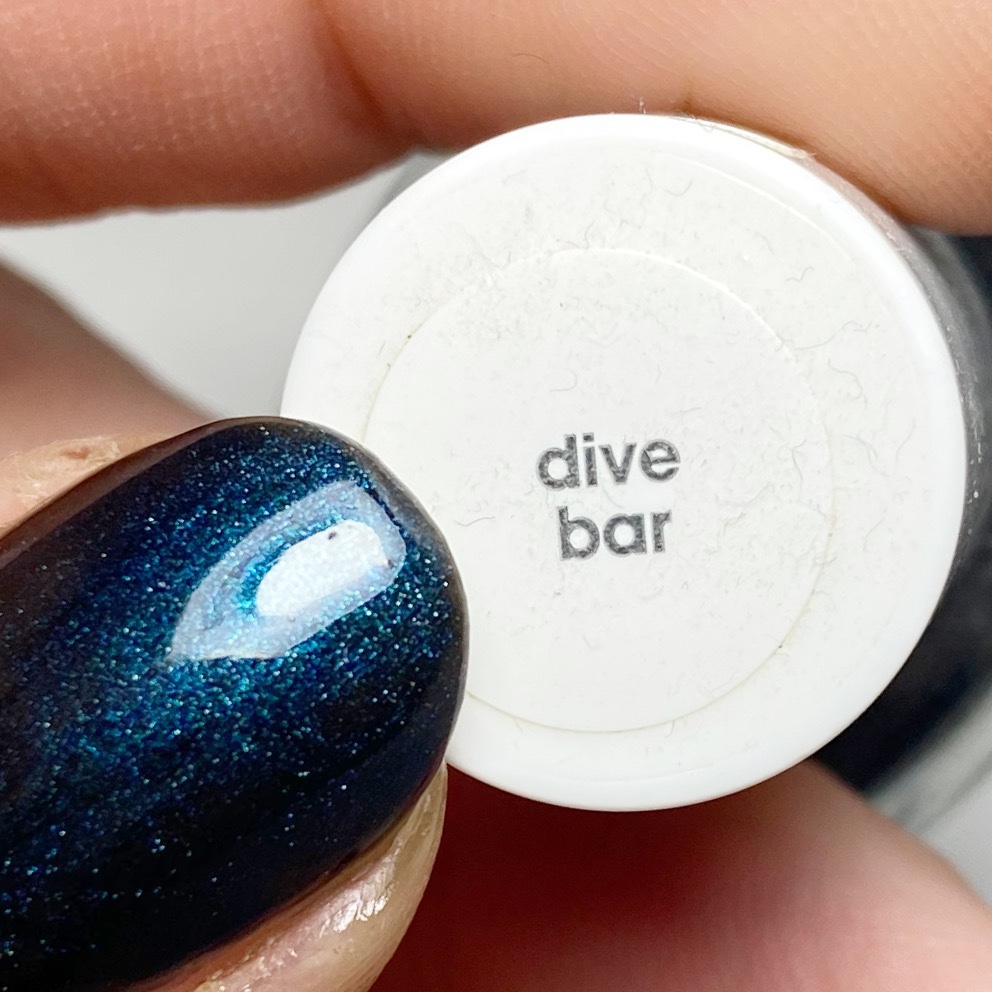
Hello lovelies & happy Sunday! I hope everyone is having a lovely weekend. I’ve been enjoying a lovely, although a tad rainy, weekend off from work. Today, though, I’m all about Swatch Sunday, & this classic Essie shade from my stash: Dive Bar.
This shade has been in my stash a long time — I’m pretty sure I found it on a good deal at Winners, as I do a lot of my shades. Dive Bar was originally released as part of the 2012 Spring collection, also named Dive Bar.
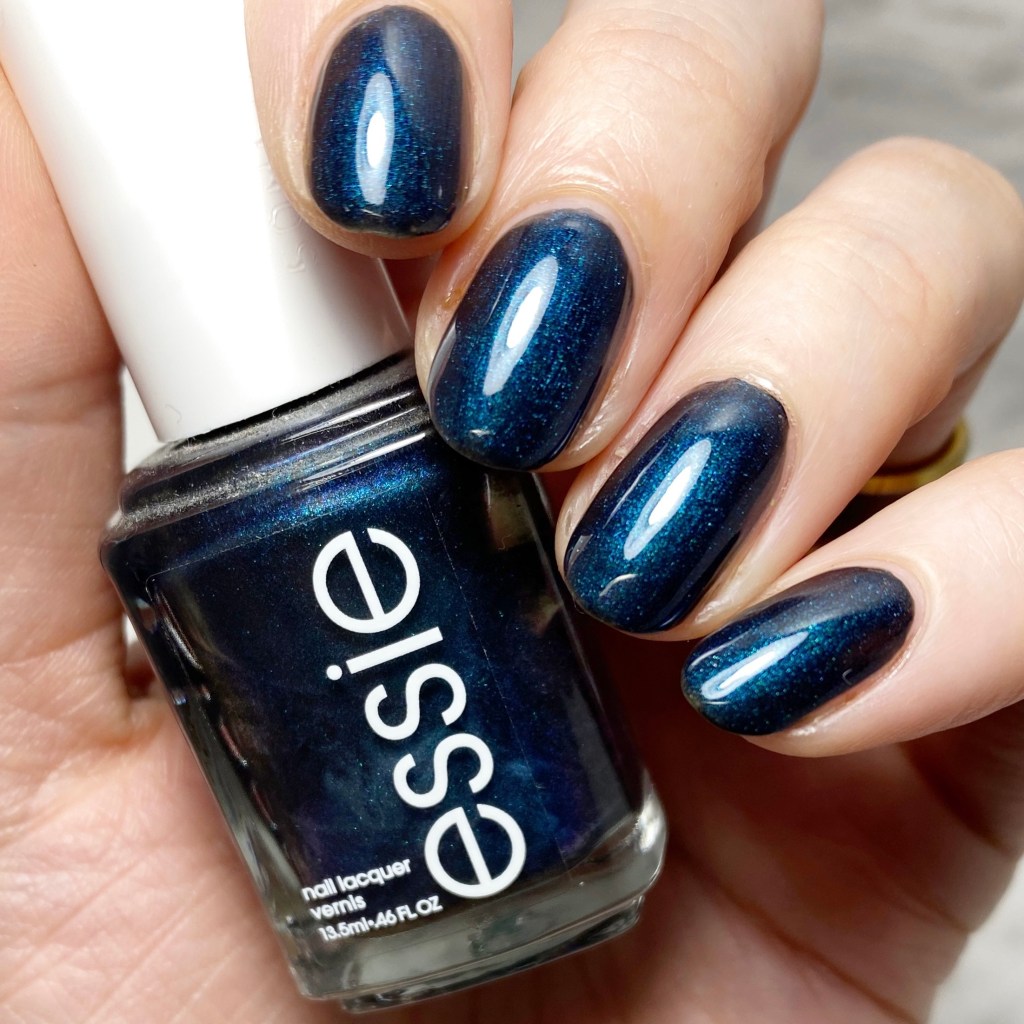
2 coats + Essie Speed Setter
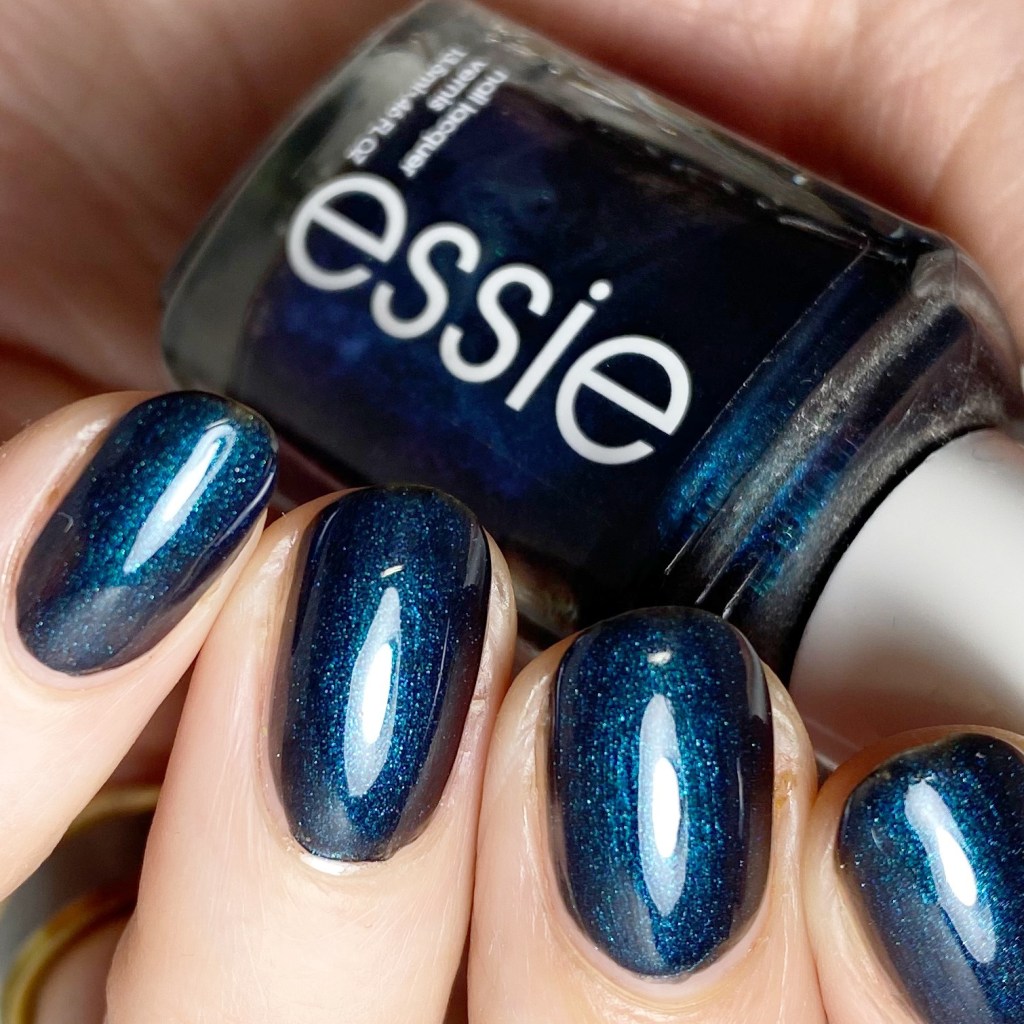
This colour is so gorgeous! It’s a deep navy blue base, with a striking teal shimmer. It just screams Fall to me — so I was surprised when I learned it was released as part of a Spring collection. It also reminds me of Space, so I feel like it would be an incredible base for galaxy nails because it has a great depth to it!
The formula is also still really awesome, which is good after all these years. I’ve own this bottle since at least 2015, so it’s going on 7 years old. It does have the original skinny Essie brush, which means you do have to be careful with application. I managed to get opacity in 2 thicker coats, but you could definitely do one coat over a black as well — it probably wouldn’t be as shimmery, but it would save on coats.
What do you think about this Essie oldie? Do you have Dive Bar in your stash? Do you love these deep shimmery blues as much as I do? Let me know all your thoughts down in the comments below.