Spring Splotches & Geometric Lines

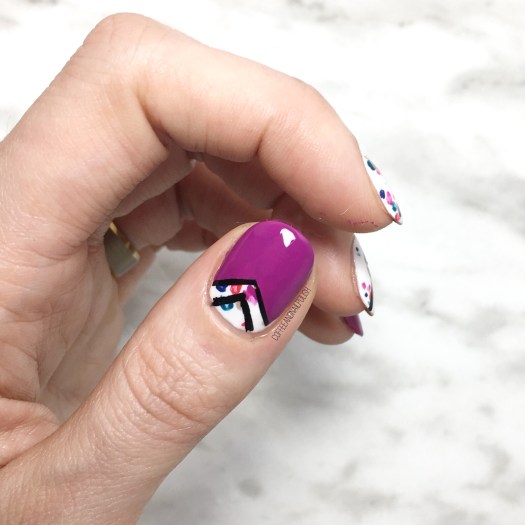
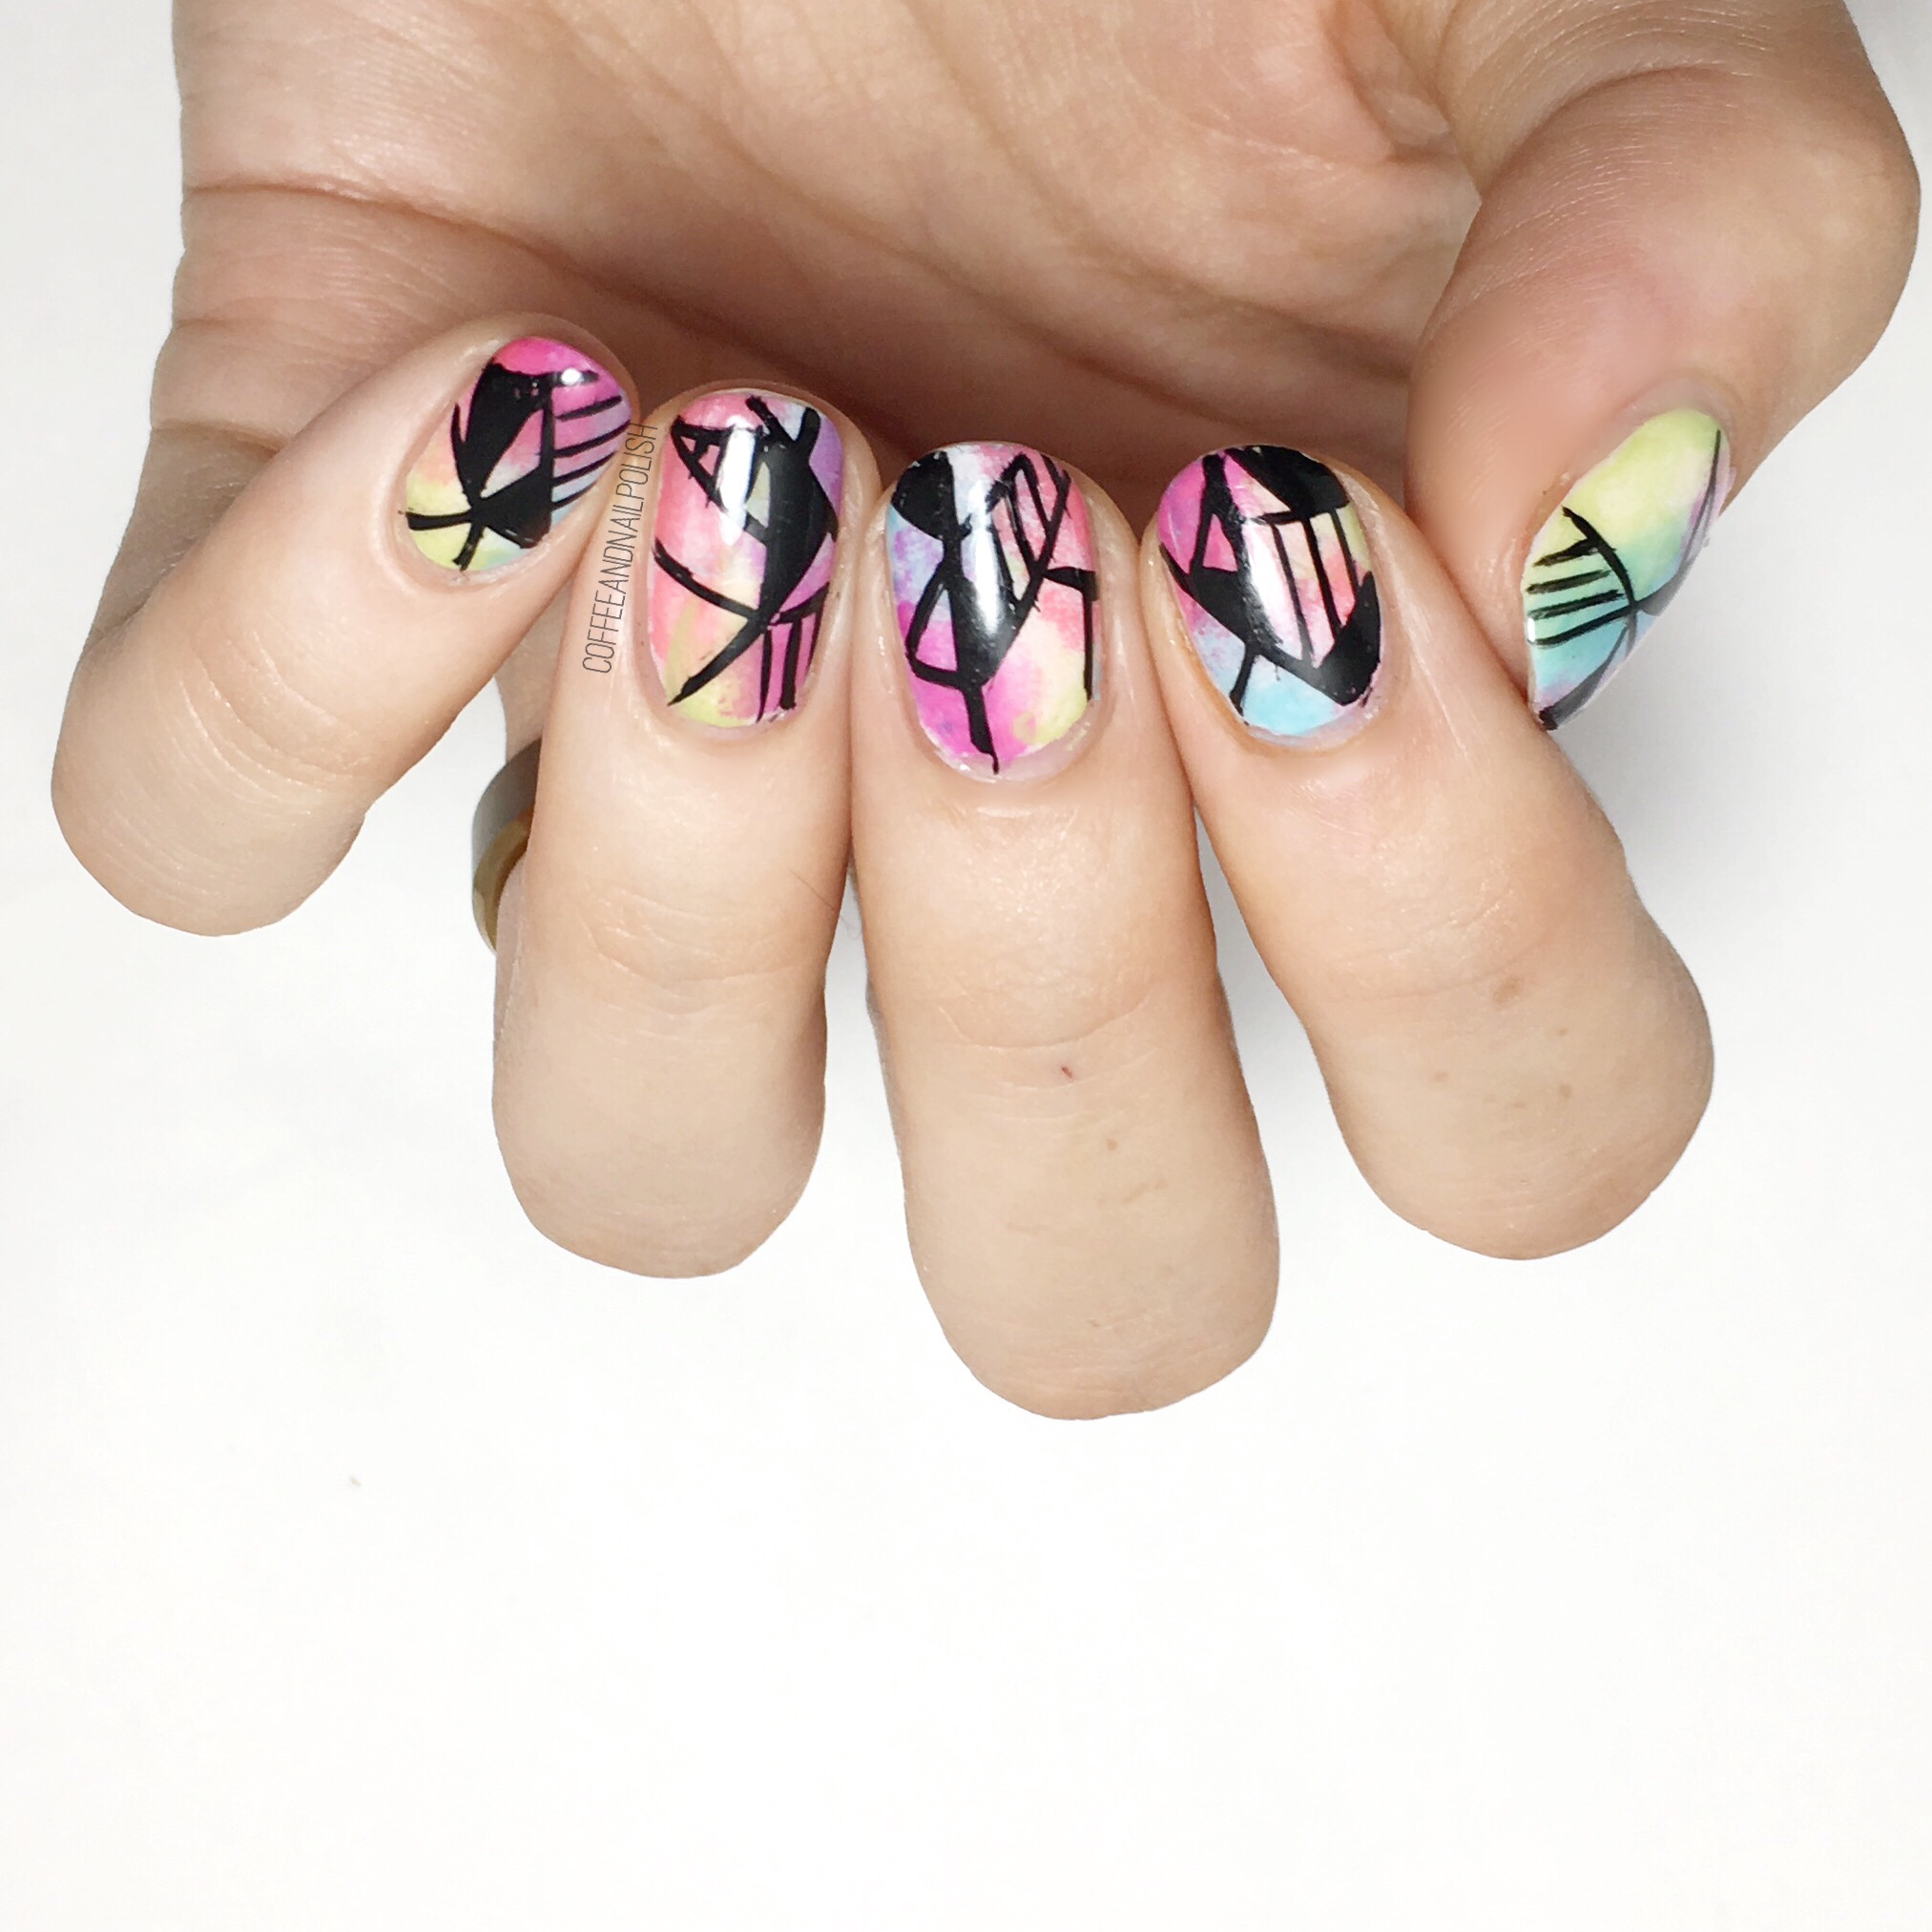
Happy Monday Lovelies! Today is a super exciting day for me because I’m officially starting at my new job after my week away training, which is both nerve wracking & a brand new adventure for me. Also exciting is today’s manicure which was inspired by a few make up cases I stumbled across at Superstore while grocery shopping.

I love when I find inspiration when I’m not looking for it. This pattern just screams nail art, so obviously I had to snap a picture for future nail designs. I loved the imperfect splotches of colour against the white background & loved how well it paired with the other make up back.

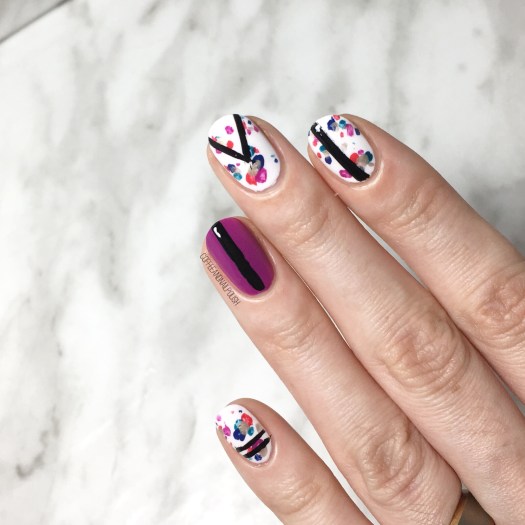
For this manicure, the polishes I used were:

  • Base Coat: Quo by ORLYBreathable Kiss Me, I’m Kind
  • Top Coat: Seche Vive
  • Sally Hansen Hard As Nails Hard To Get
  • Essie Flowerista
  • Essie Too Too Hot
  • Essie Garden Party
  • Essie All the Waves
  • L’Oréal Feeling Kilty
  • Quo by ORLY Nail Art Striper in Black
  • Medium size nail art brush

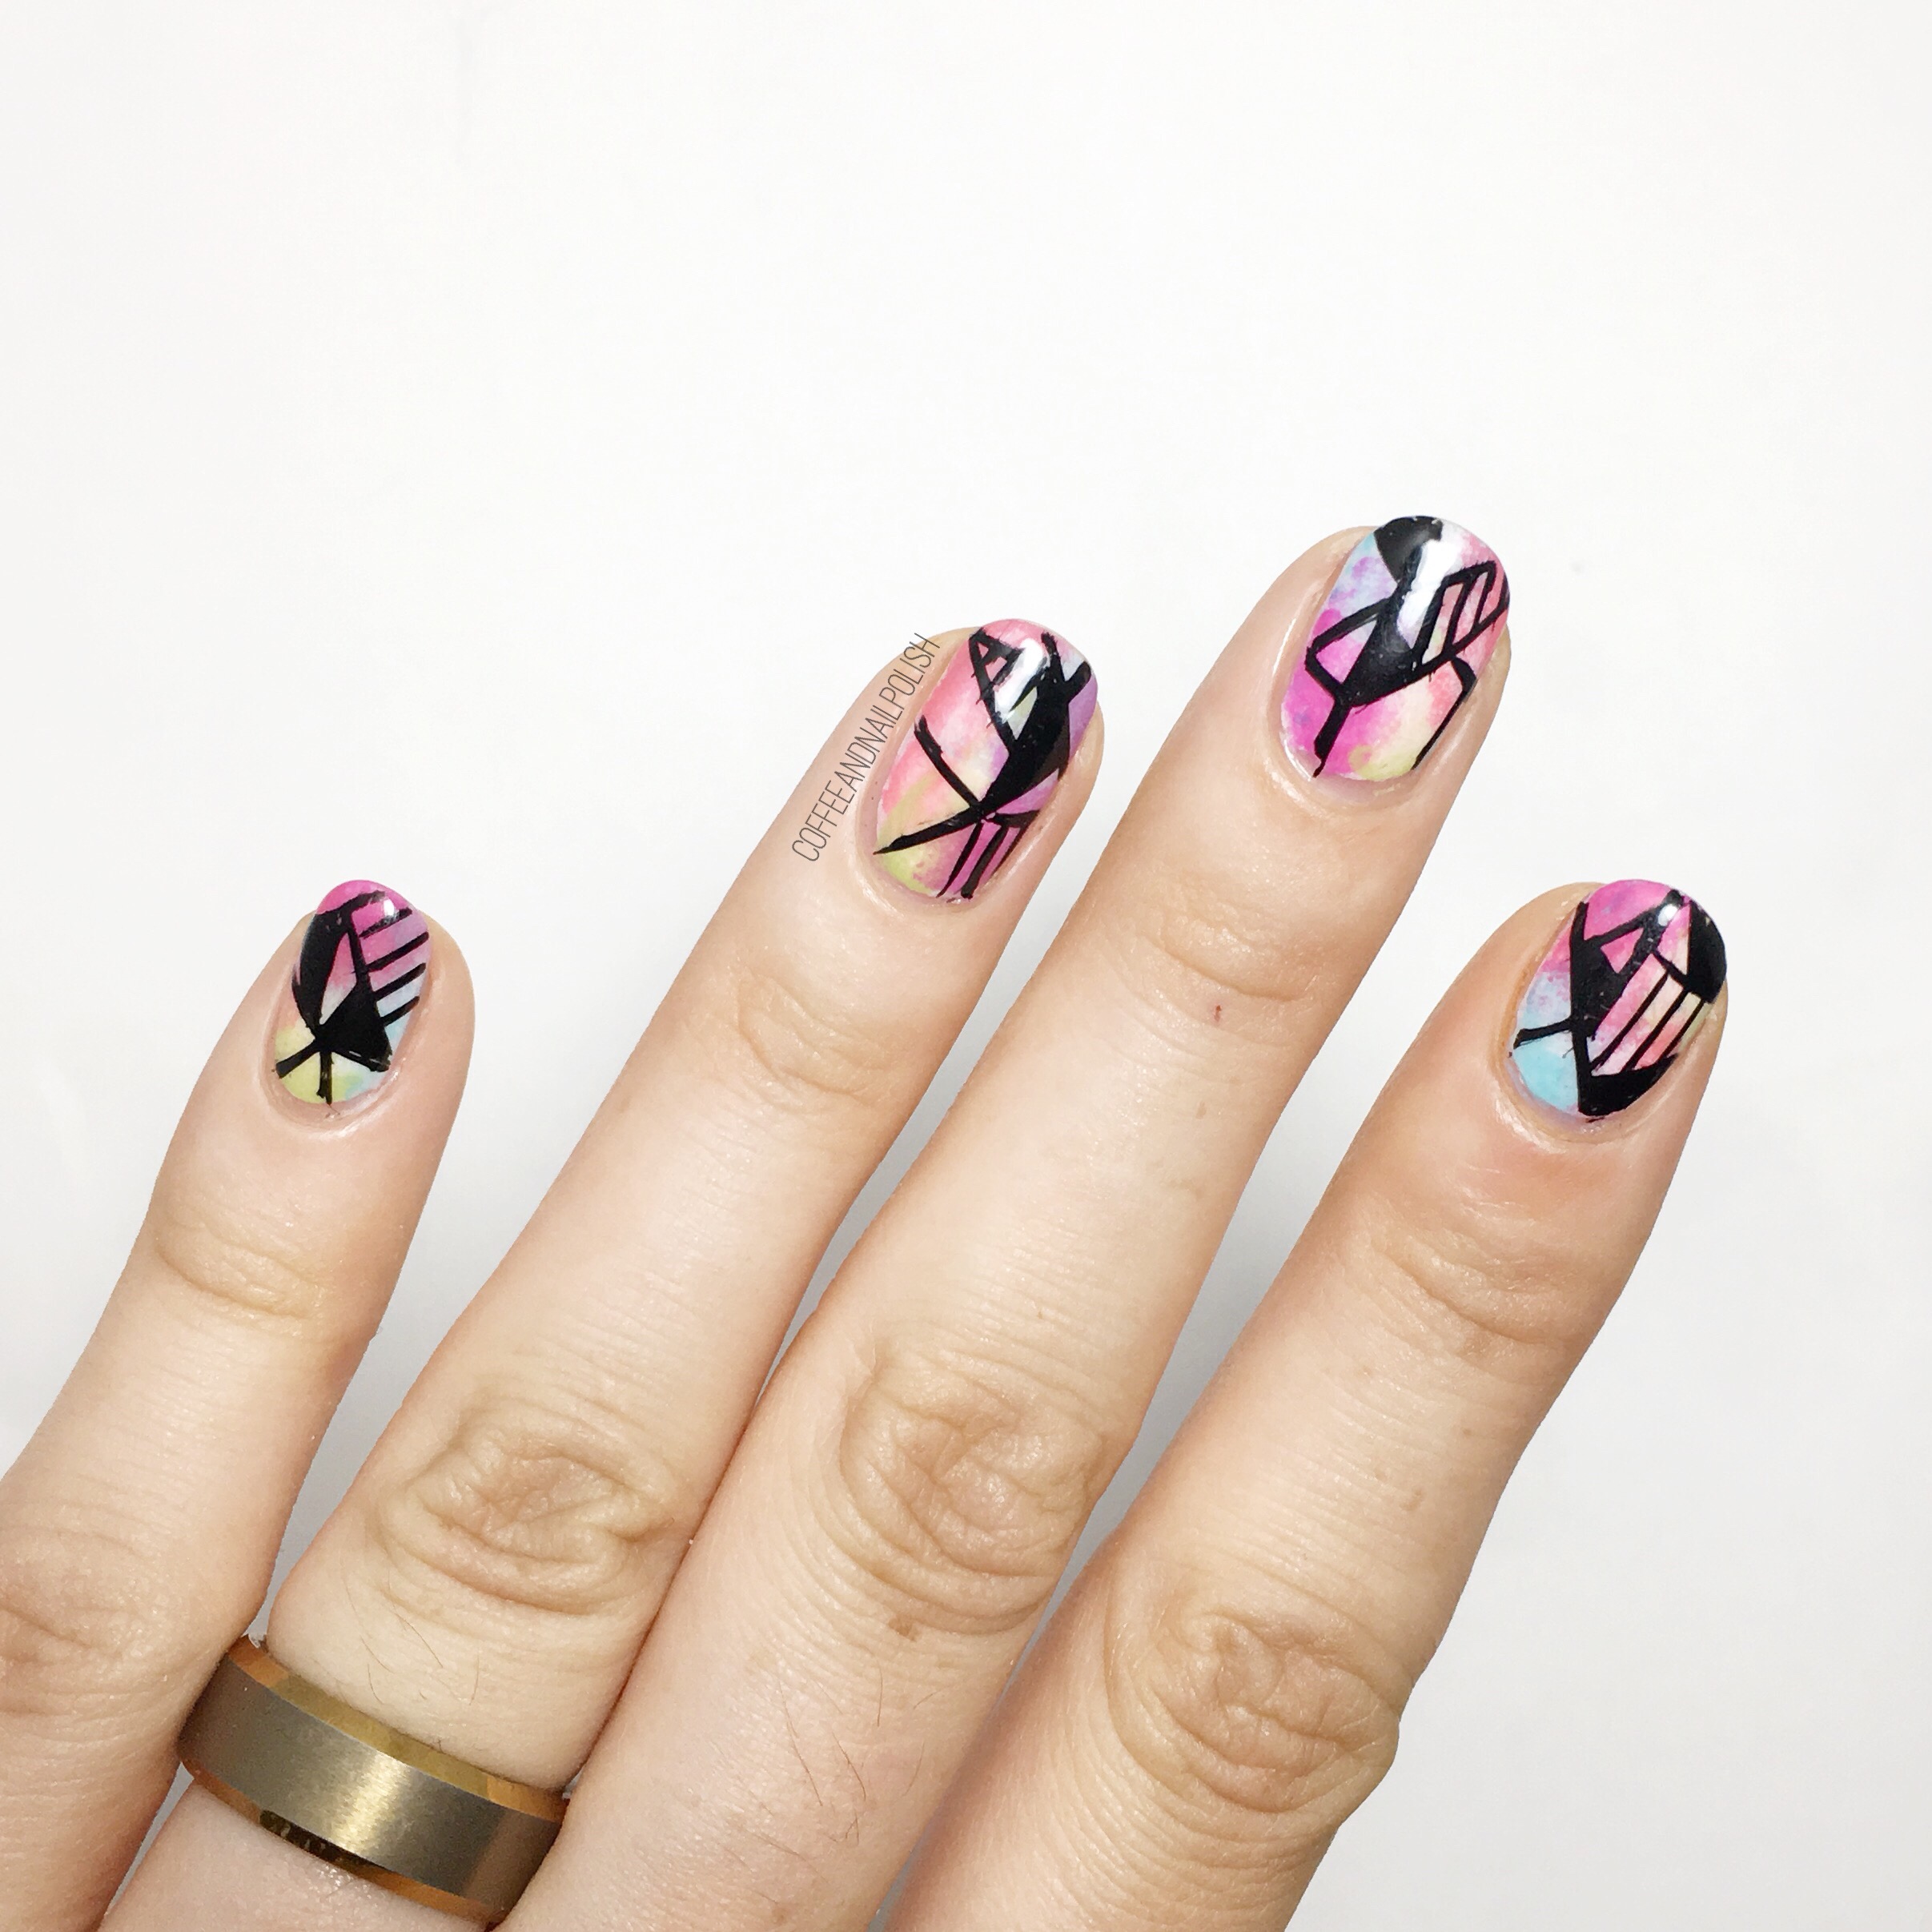
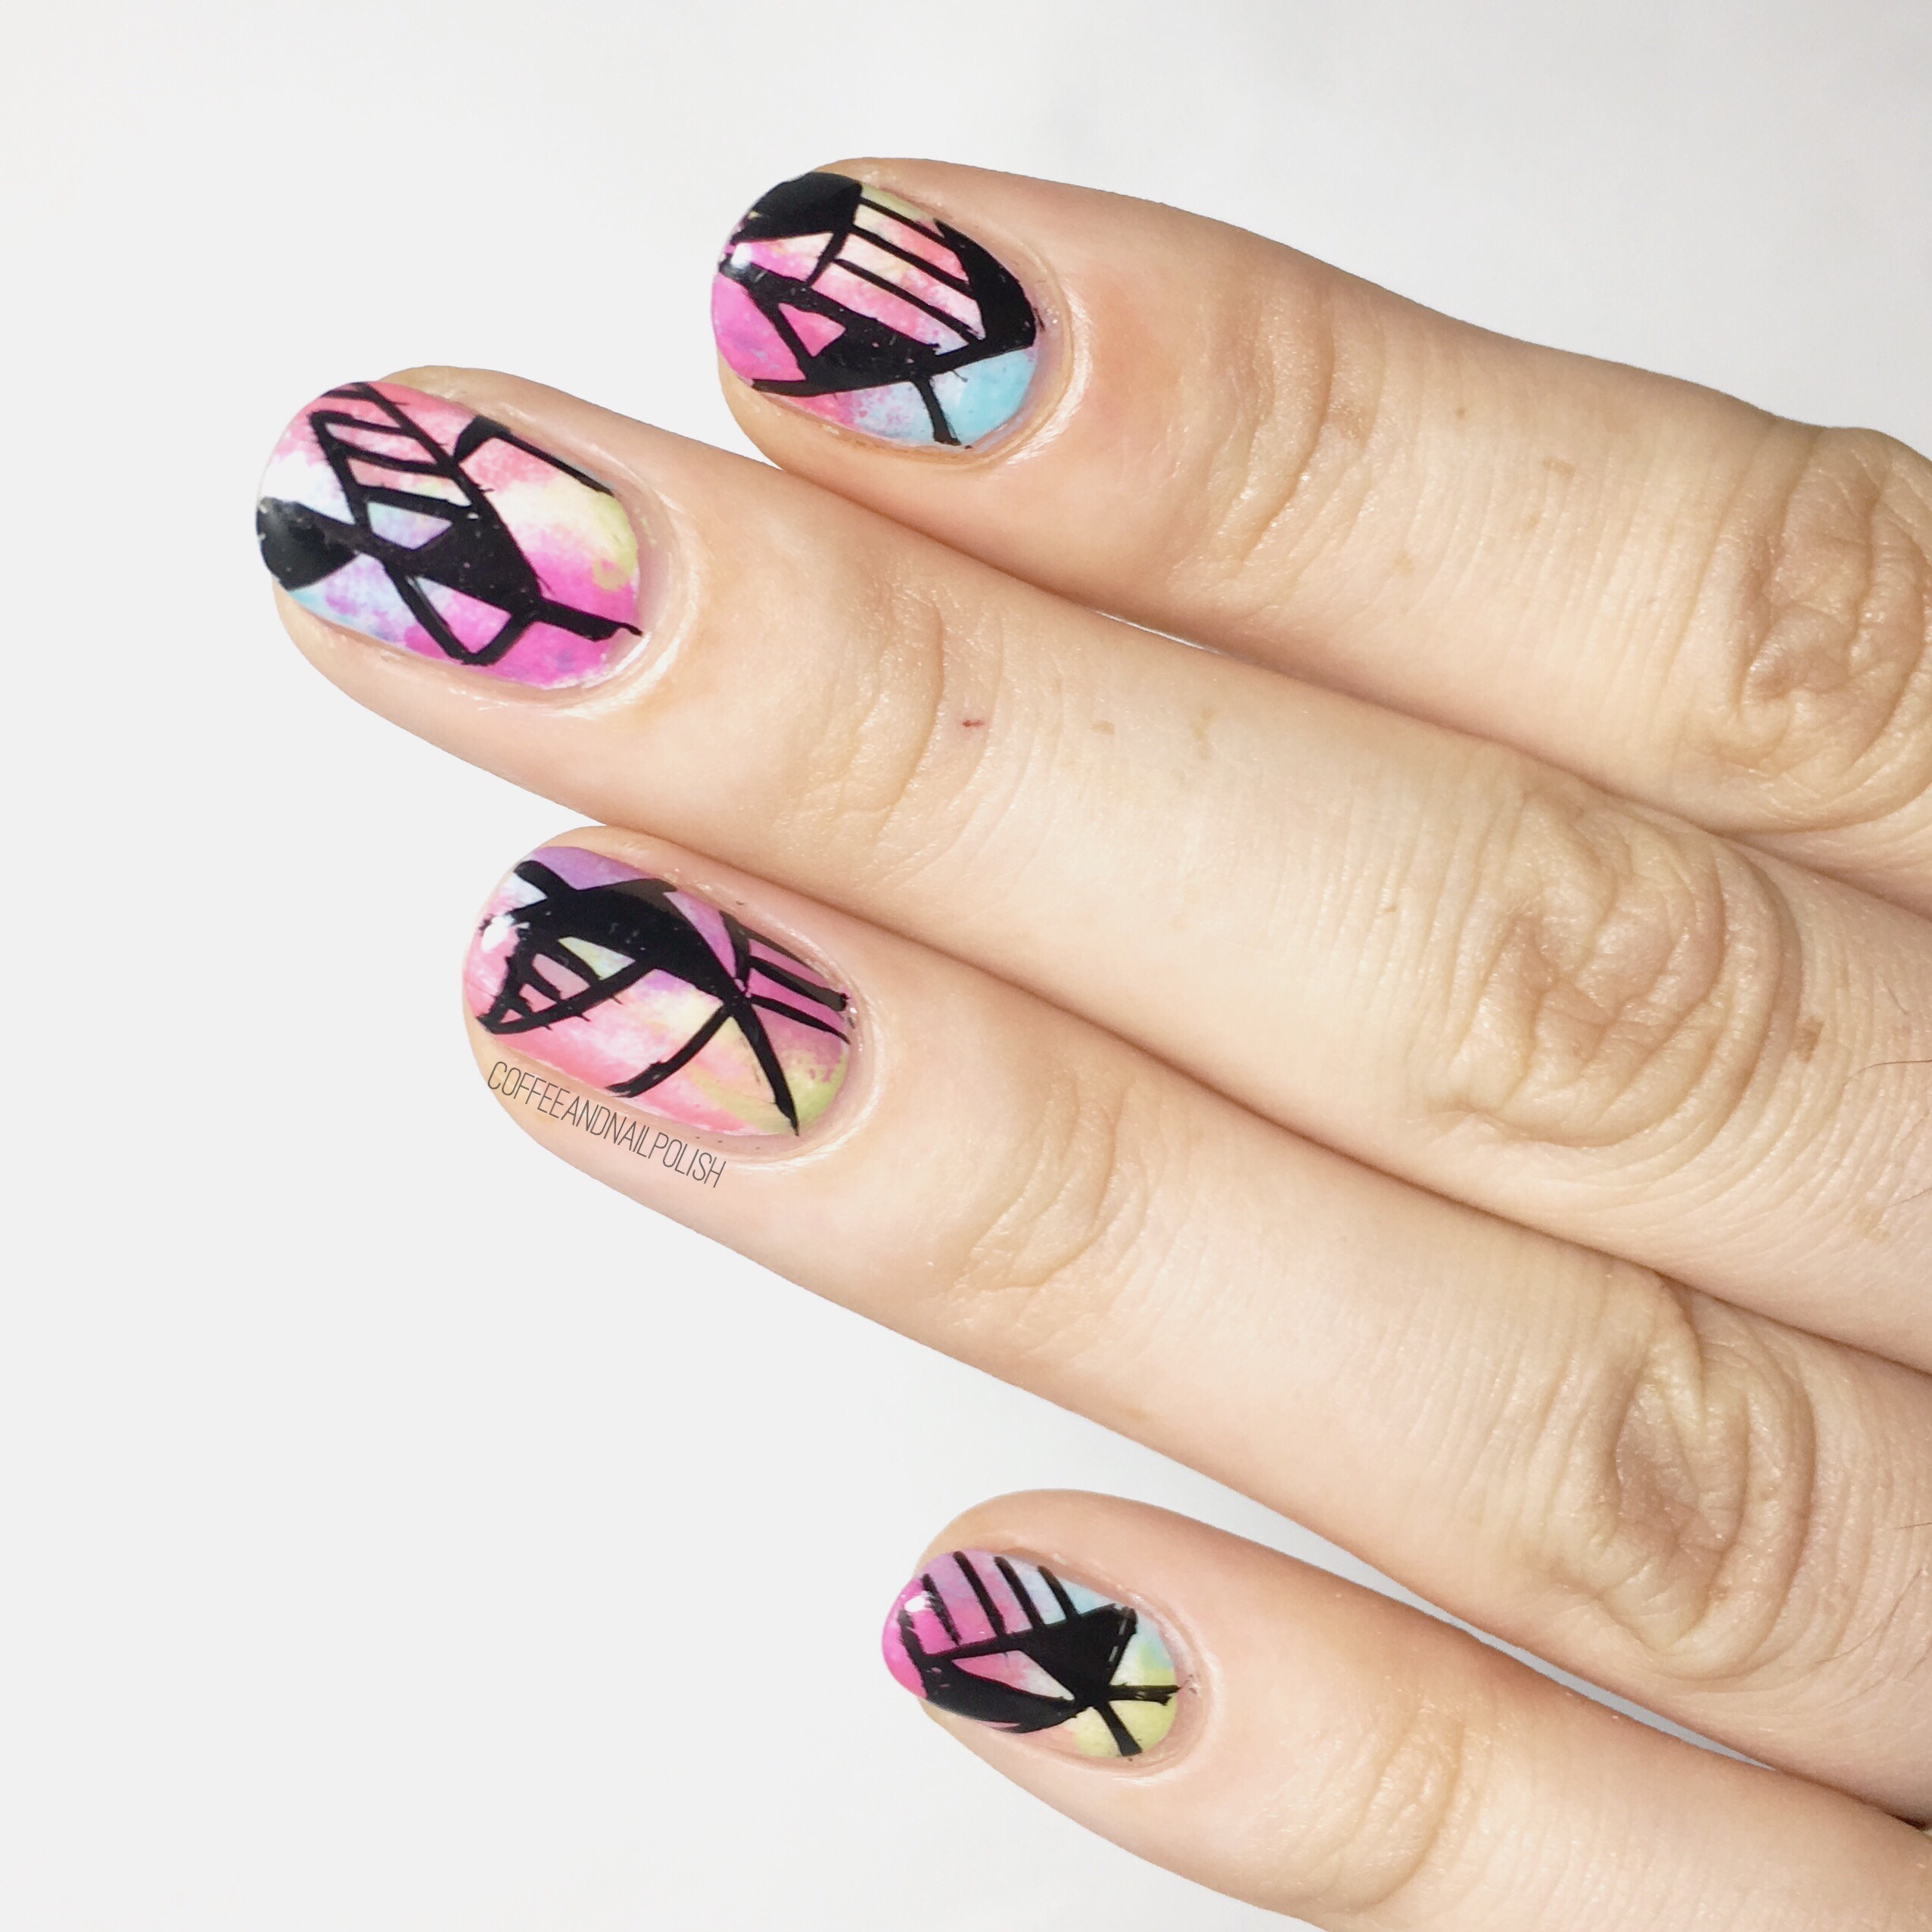
I just love love love how these turned out! The pretty spring colours, the splotches of colour with the geometric lines. It just turned out as perfect on the nail as I pictured in my head. I feel like I don’t do my freehand lines as often as I used to, so I’ve been trying to practice more!
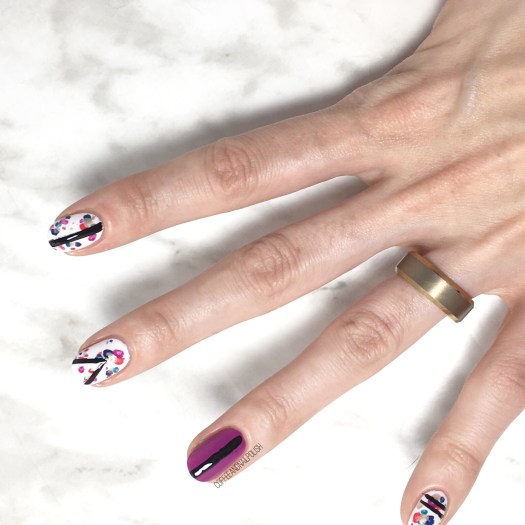
What do you think of this design… do you think I stuck close enough to my inspiration? Where do you get your nail art inspiration from? Let me know your favourite place to find inspiration (or who inspires you) down in the comments below!

Happy Monday everyone 🌸

Valentine’s Day Chevron Accent Nails

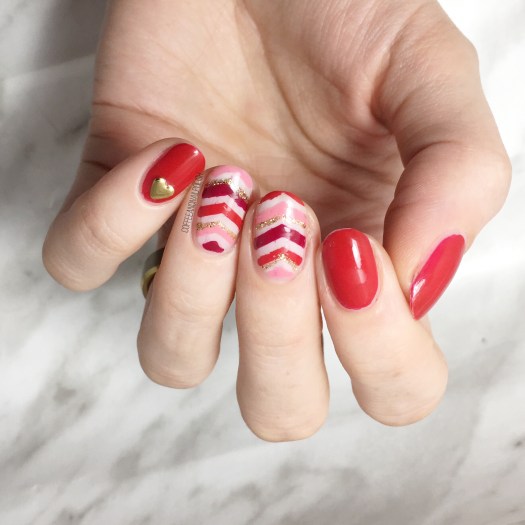
Another day, another fun Valentine’s Day appropriate design to share with you! The day is quickly approaching, so I’ve been trying to get creative while I have time. Last year with having a newborn (& spending extra days in the hospital) I wasn’t able to do anything Valentine’s Day related on my nails, so I’m definitely making up for it this year!

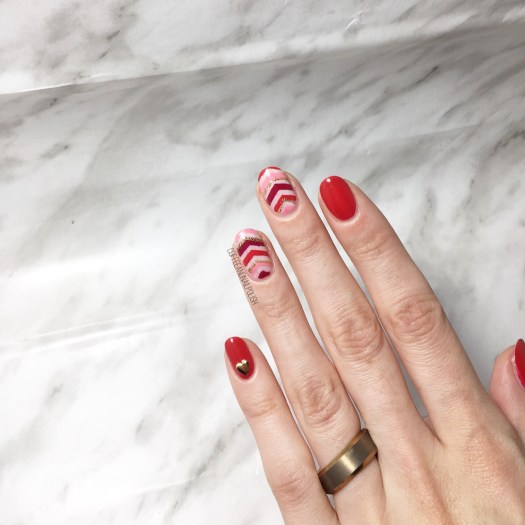
For this design, I decided to grab a few of the colours I picked from my “6 Polishes I’m Loving for Valentine’s Day” post on Sunday. To pair all these shades together, I decided on son stacked chevrons to show off all these pretty shades! This is definitely a design that is all about Valentine’s Day–it might be too flashy of a design to wear, for example, to the office (depending on where you work) but would be awesome for date night, or a Valentine’s Day themed party!

For this design, the polishes I used were:

  • Base Coat: Quo by ORLY Kiss Me, I’m Kind
  • Top Coat: Seche Vive
  • Christian Louboutin Beauty Rouge Louboutin
  • China Glaze Seduce Me
  • L’Oreal Jardin Des Roses
  • ACO by Ardene Ice Mist
  • Quo by ORLY Nail Art Striper in Gold
  • NailStuff.ca Heart Stud — Gold Mixed Decoration Nail wheel
  • UR SUGAR Stacked Chevron Nail Stencils item #AUB39877 — click to buy
  • Dotting Tool

I think these turned out so cute with the mix of colours together!  Next time I might use the stacked chevron vinyls upside down so it matches the V-shade of the heart. But I’m really happy with how these turned out, & the addition of the little heart stud just makes it even more perfect! ♥

Do you like these Valentine’s Day themed nails? Have you figured out what you’re doing on the day yet? My hubby & I usually stay in–because trying to make reservations is hell on Earth–& make heart shaped gluten free pizza or something else delicious. & of course, cupcakes! It’s become holiday tradition for me to make him cupcakes for special occasions.


Let me know your thoughts on this design in the comments below!

 Silver Chevron Claws 

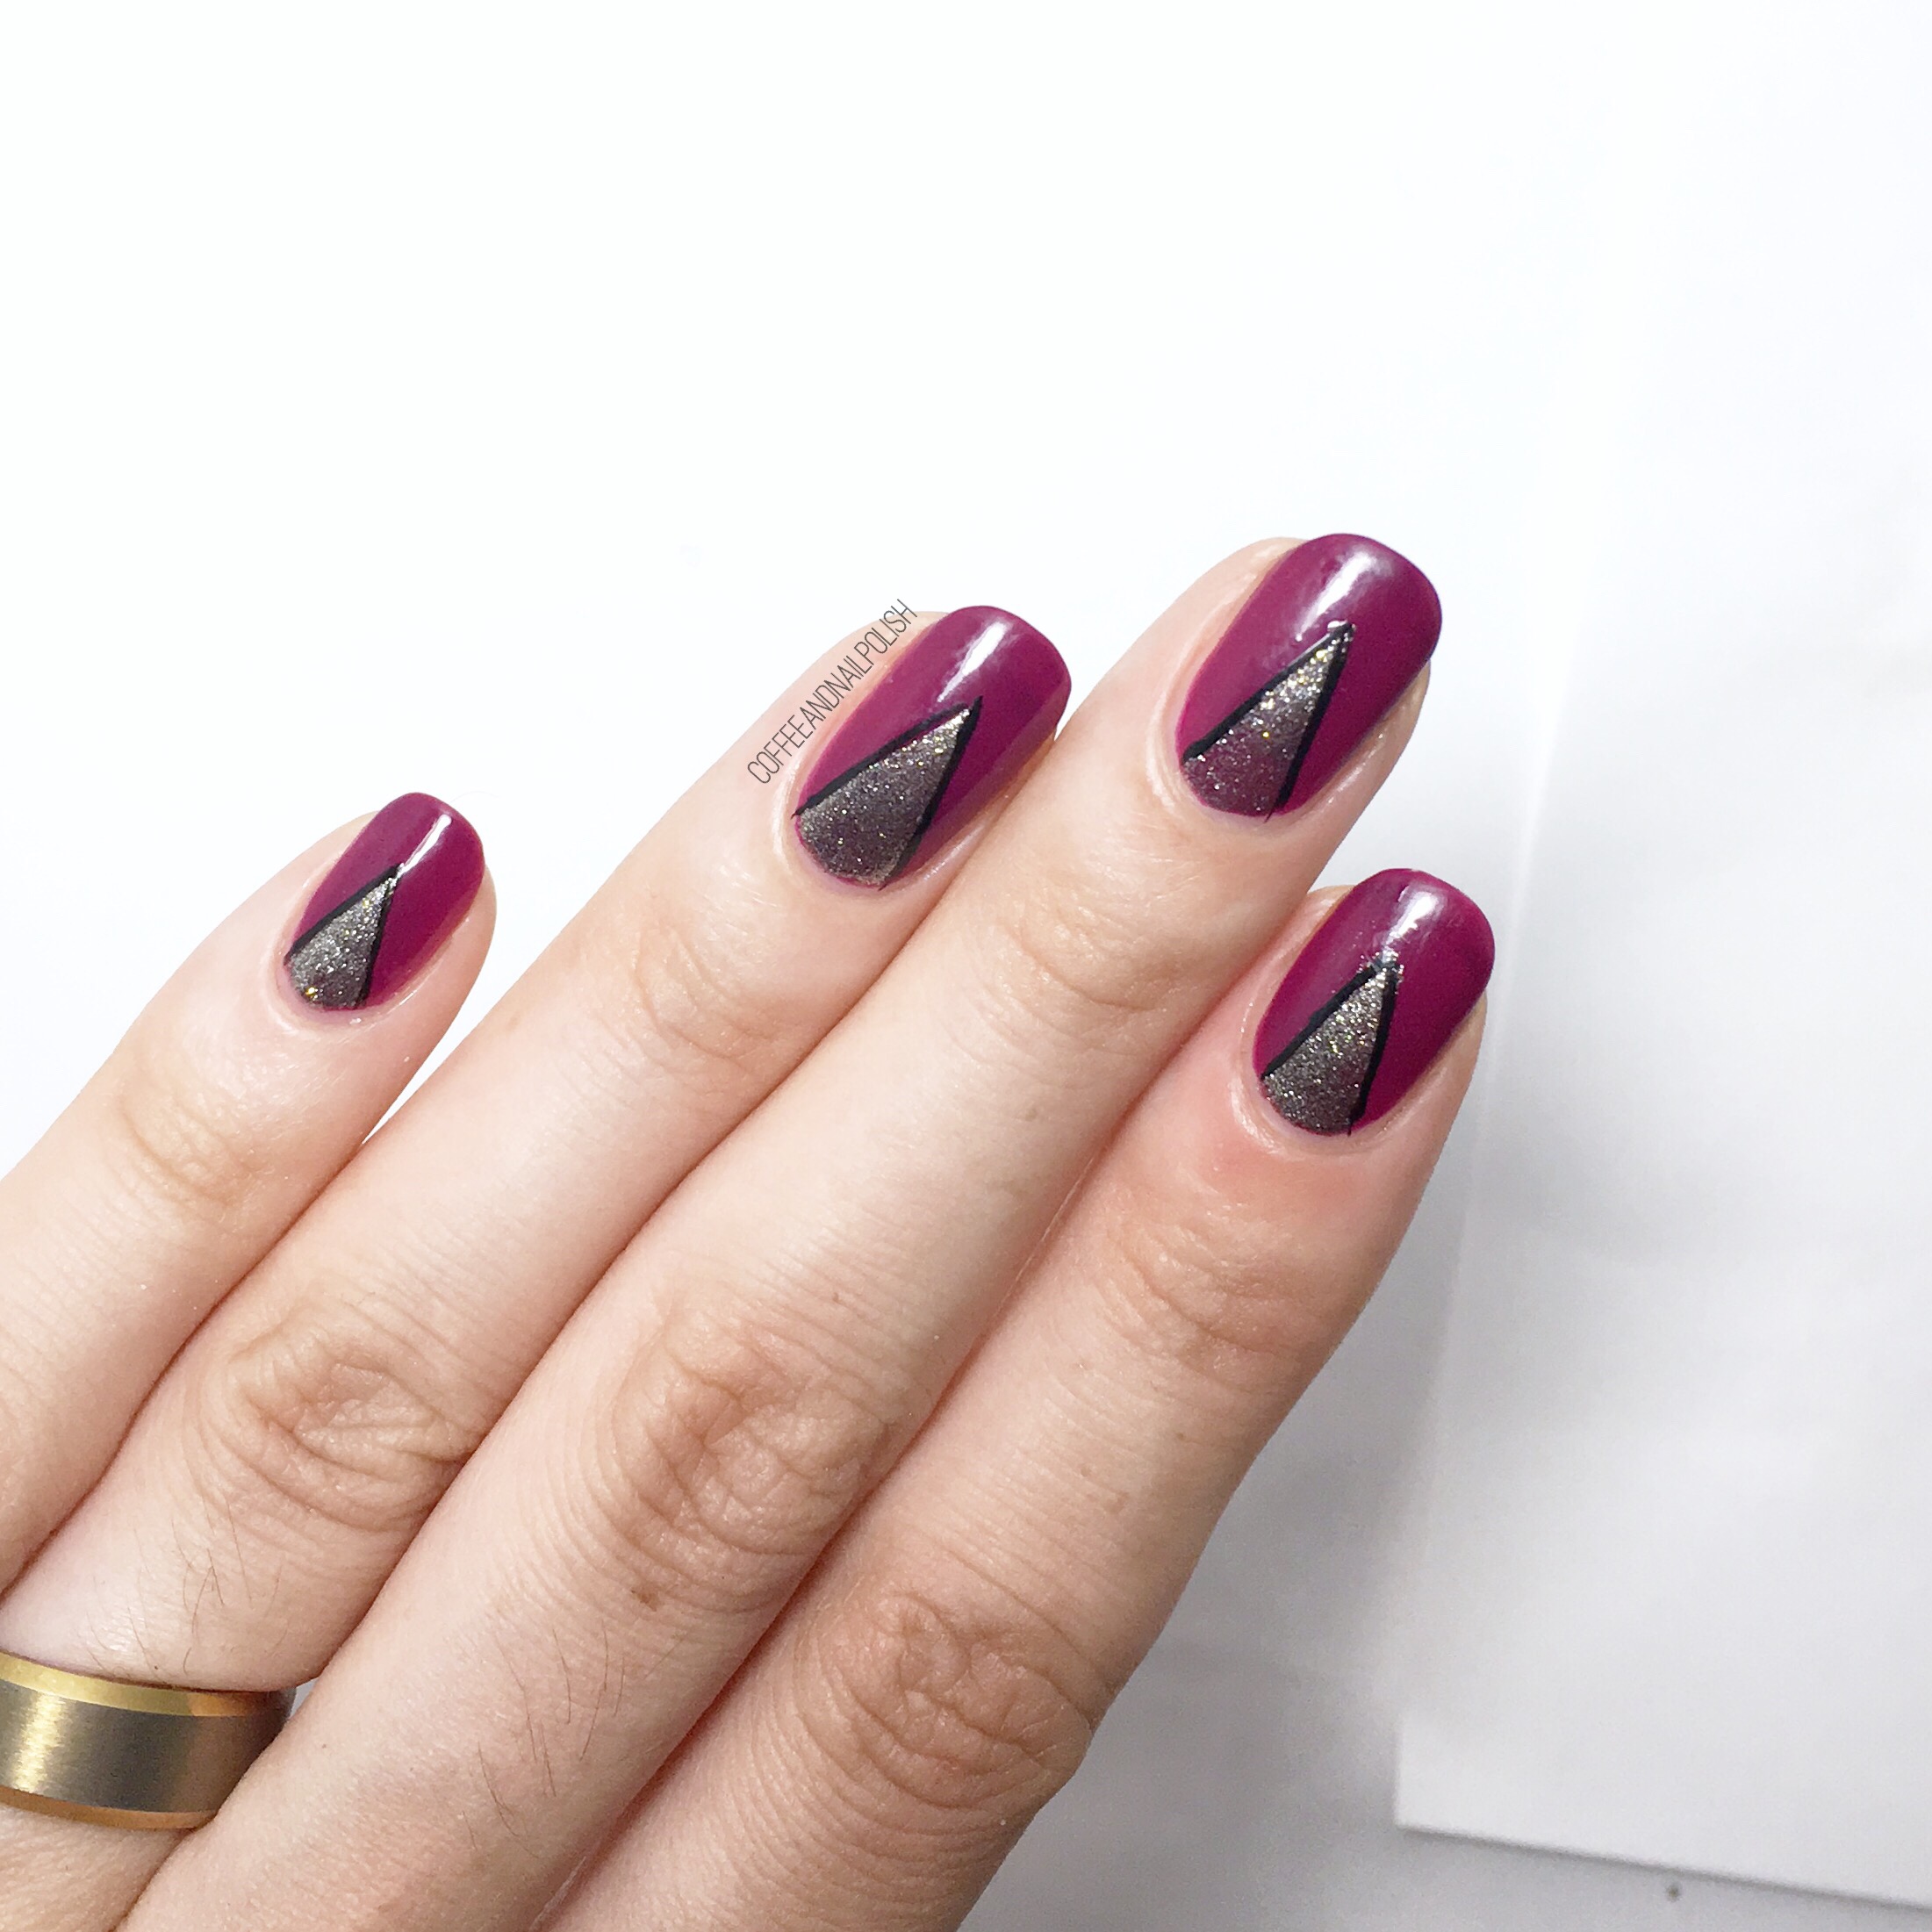
I did not fall off the face of the planet, I swear. This weekend was busy with family Thanksgiving, trying to get our apartment ready for showing (we’re moving soon!) & dealing with a super upset stomach that left me with no energy for blogging. I decided to take a little break to recoup, wear some glitter on my nails. I’m finally feeling a little bit better, so I wanted to get a blog post up! & what’s better to blog about than chevron claws! 

For this manicure, the polishes used were:

  • Base Coat: OPI Natural Nail Base Coat 
  • Top Coat: Cutex Quick Dry Top Coat
  • Nails INC St Martian’s Lane
  • Nicole by OPI Phil’s Paradise 
  • Kiss Products Nail Art Striper in Black
  • Snail Vinyls Deep Single Chevron Nail Vinyls

This design is very reminiscent of my very first chevron moon design, colour wise. Comparing the two, I’ve definitely come a long way since those early days! Thank goodness for nail vinyls—I no longer have to create my own triangles in order to get the design right! But hey… it worked. & those first chevron moons are what started my all out obsession with the design, which has obviously lasted all this time! 

I’m feeling like I’m in a bit of a nail art lull right now. Even with Halloween approaching, I’m just struggling to be in the mood to paint my nails anything other than a solid colour (&, even then, I can barely make up my mind on what to wear.) My birthday is coming up on Sunday, so I’m dedicated to doing a fun design in celebration—maybe birthday cupcakes? Good thing I have 5 days to make up my mind! Off to Pinterest I go. 


What do you think of these chevron claws? Let me know your thoughts in the comments below! & if you have any birthday nail suggestions for me, please share! 💜

Graphic Lines Over Watercolour 

I teased these geometric freehand nails this weekend, which you may have seen on Instagram, so I’m excited to finally share the whole look! I just needed to do some really poppy Summer nails to counter act the fact I’m craving Fall colours so bad. I also feel like I haven’t been practicing my freehand lines enough, so I wanted to play around with my black striper. This design isn’t perfect but I do quite enjoy how they turned out. 

The polishes used for this design are:

  • Base Coat: Cutex Brittle Nail Fix
  • Top Coat: Cutex Quick Dry Top Coat
  • Sally Hansen Hard As Nails Hard to Get
  • Color Club Evolution 
  • Sally Hansen Miracle Gel Wet My Thistle
  • ACO by Ardene Road to No Where 
  • Essie Cute As A Button
  • China Glaze Sun Upon my Skin
  • Art Club Nail Art Striper in Black
  • Latex Free Make Up sponge 

Bright & colourful & fun was what I was going through with these nails & I feel like I was pretty successful. Of all my nails, my thumb was my absolutely favourite (& I feel like it turned out the best of all 10 nails). I think it had something to do with my striper polish. The more I use it though, the more I’m realizing I need to try out aryclic paint. I know I keep saying that, but the more I use my stripers, the more frustrated I get with how easily they thicken up. So hopefully the next time I show off a freehand line design, I’ll be sharing my expirences with acrylic paint! 


What do you think of this design? Have you ever used acrylic paint for nail designs? Let me know your thoughts in the comments below! 

Feeling Blue… Stripes 💙

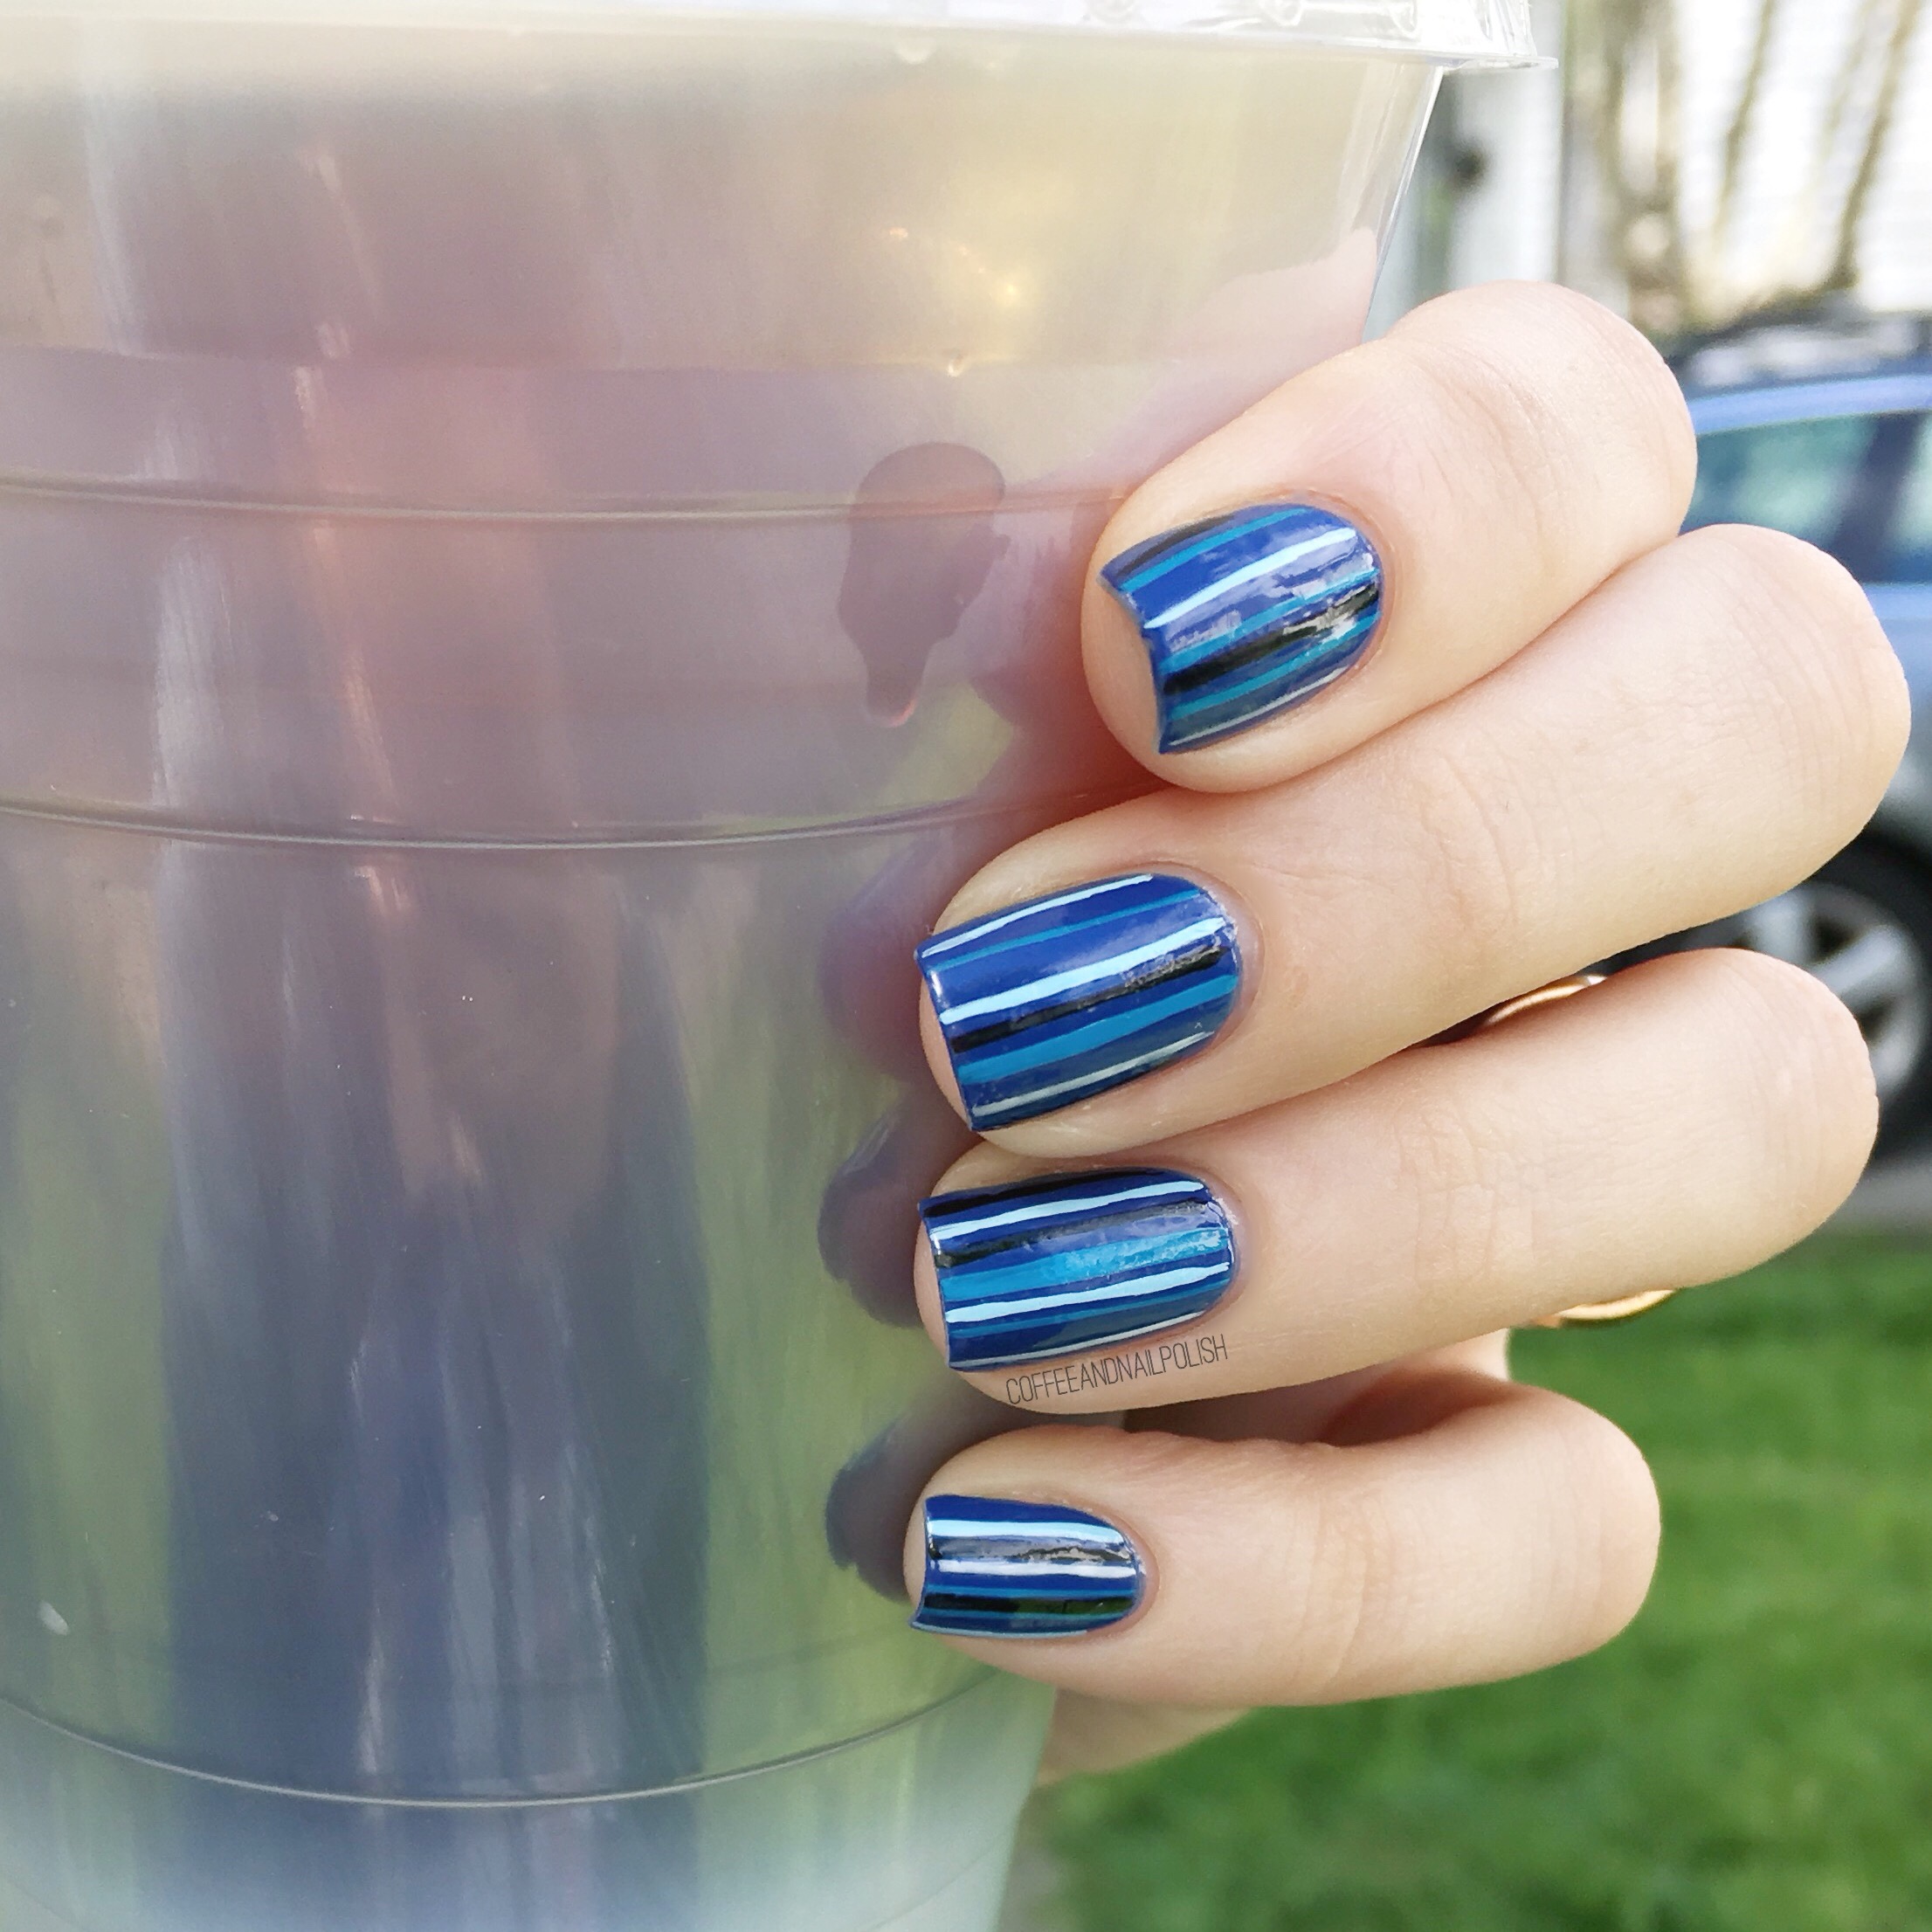
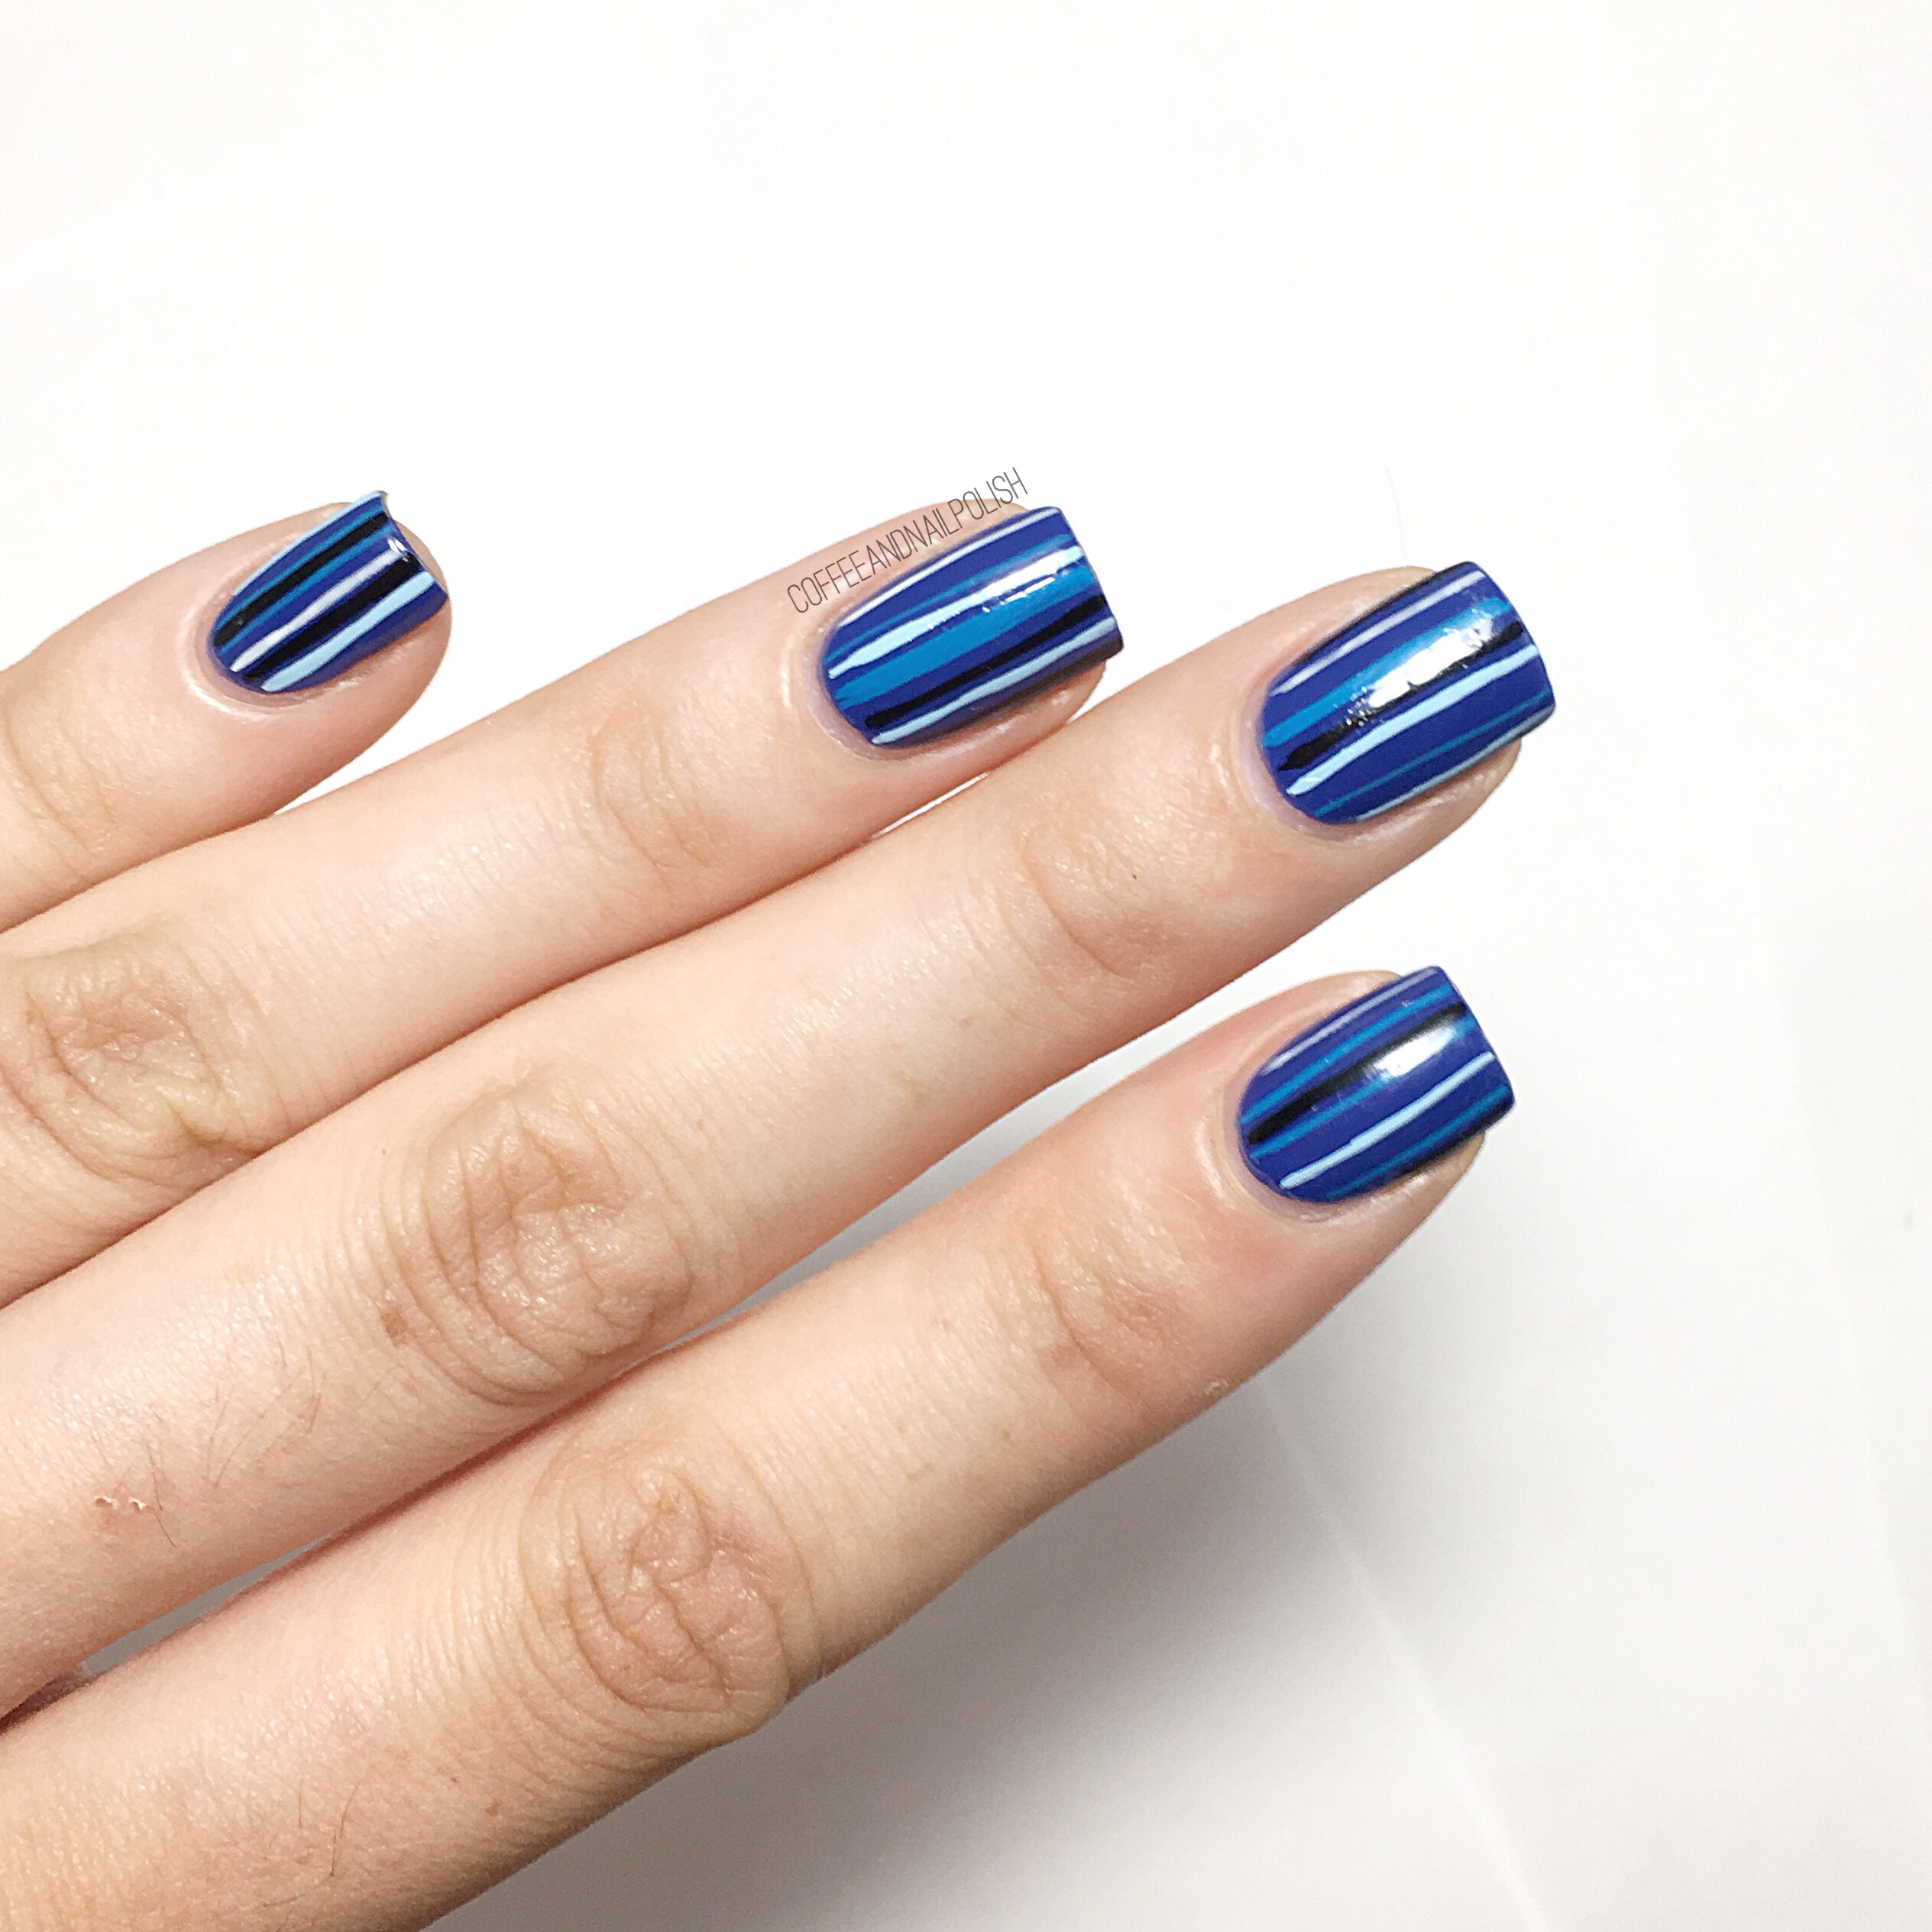
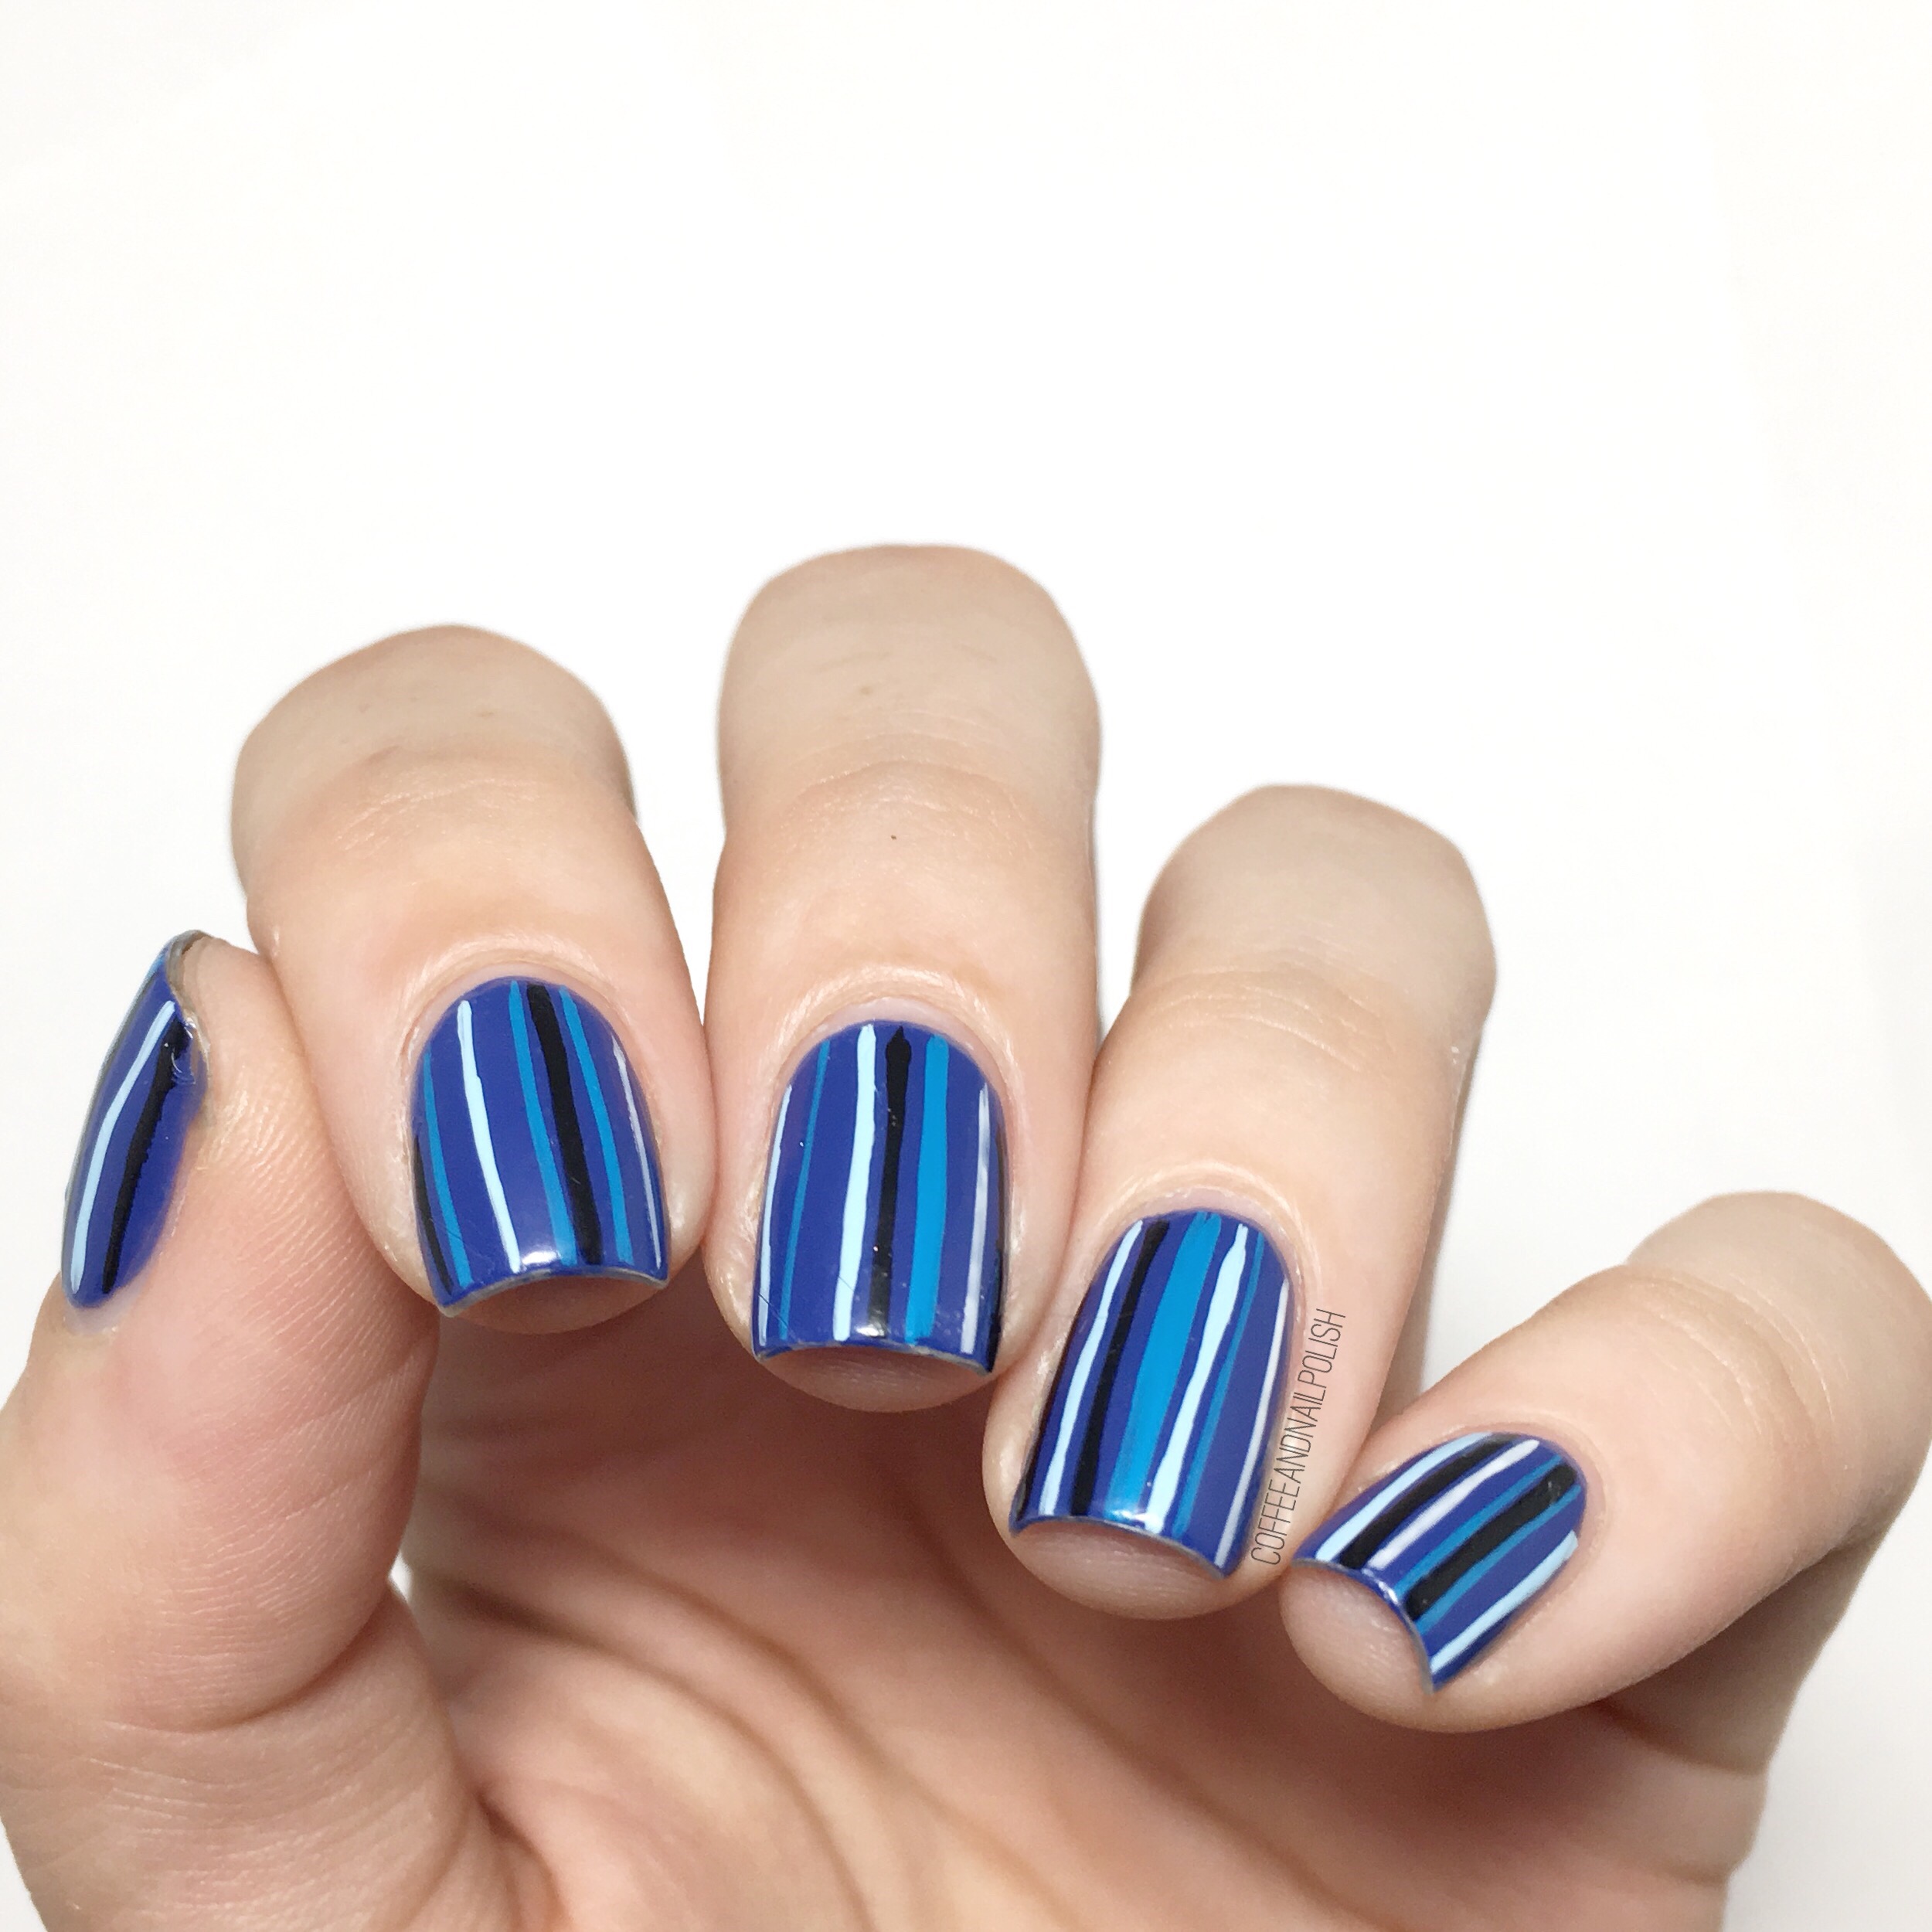
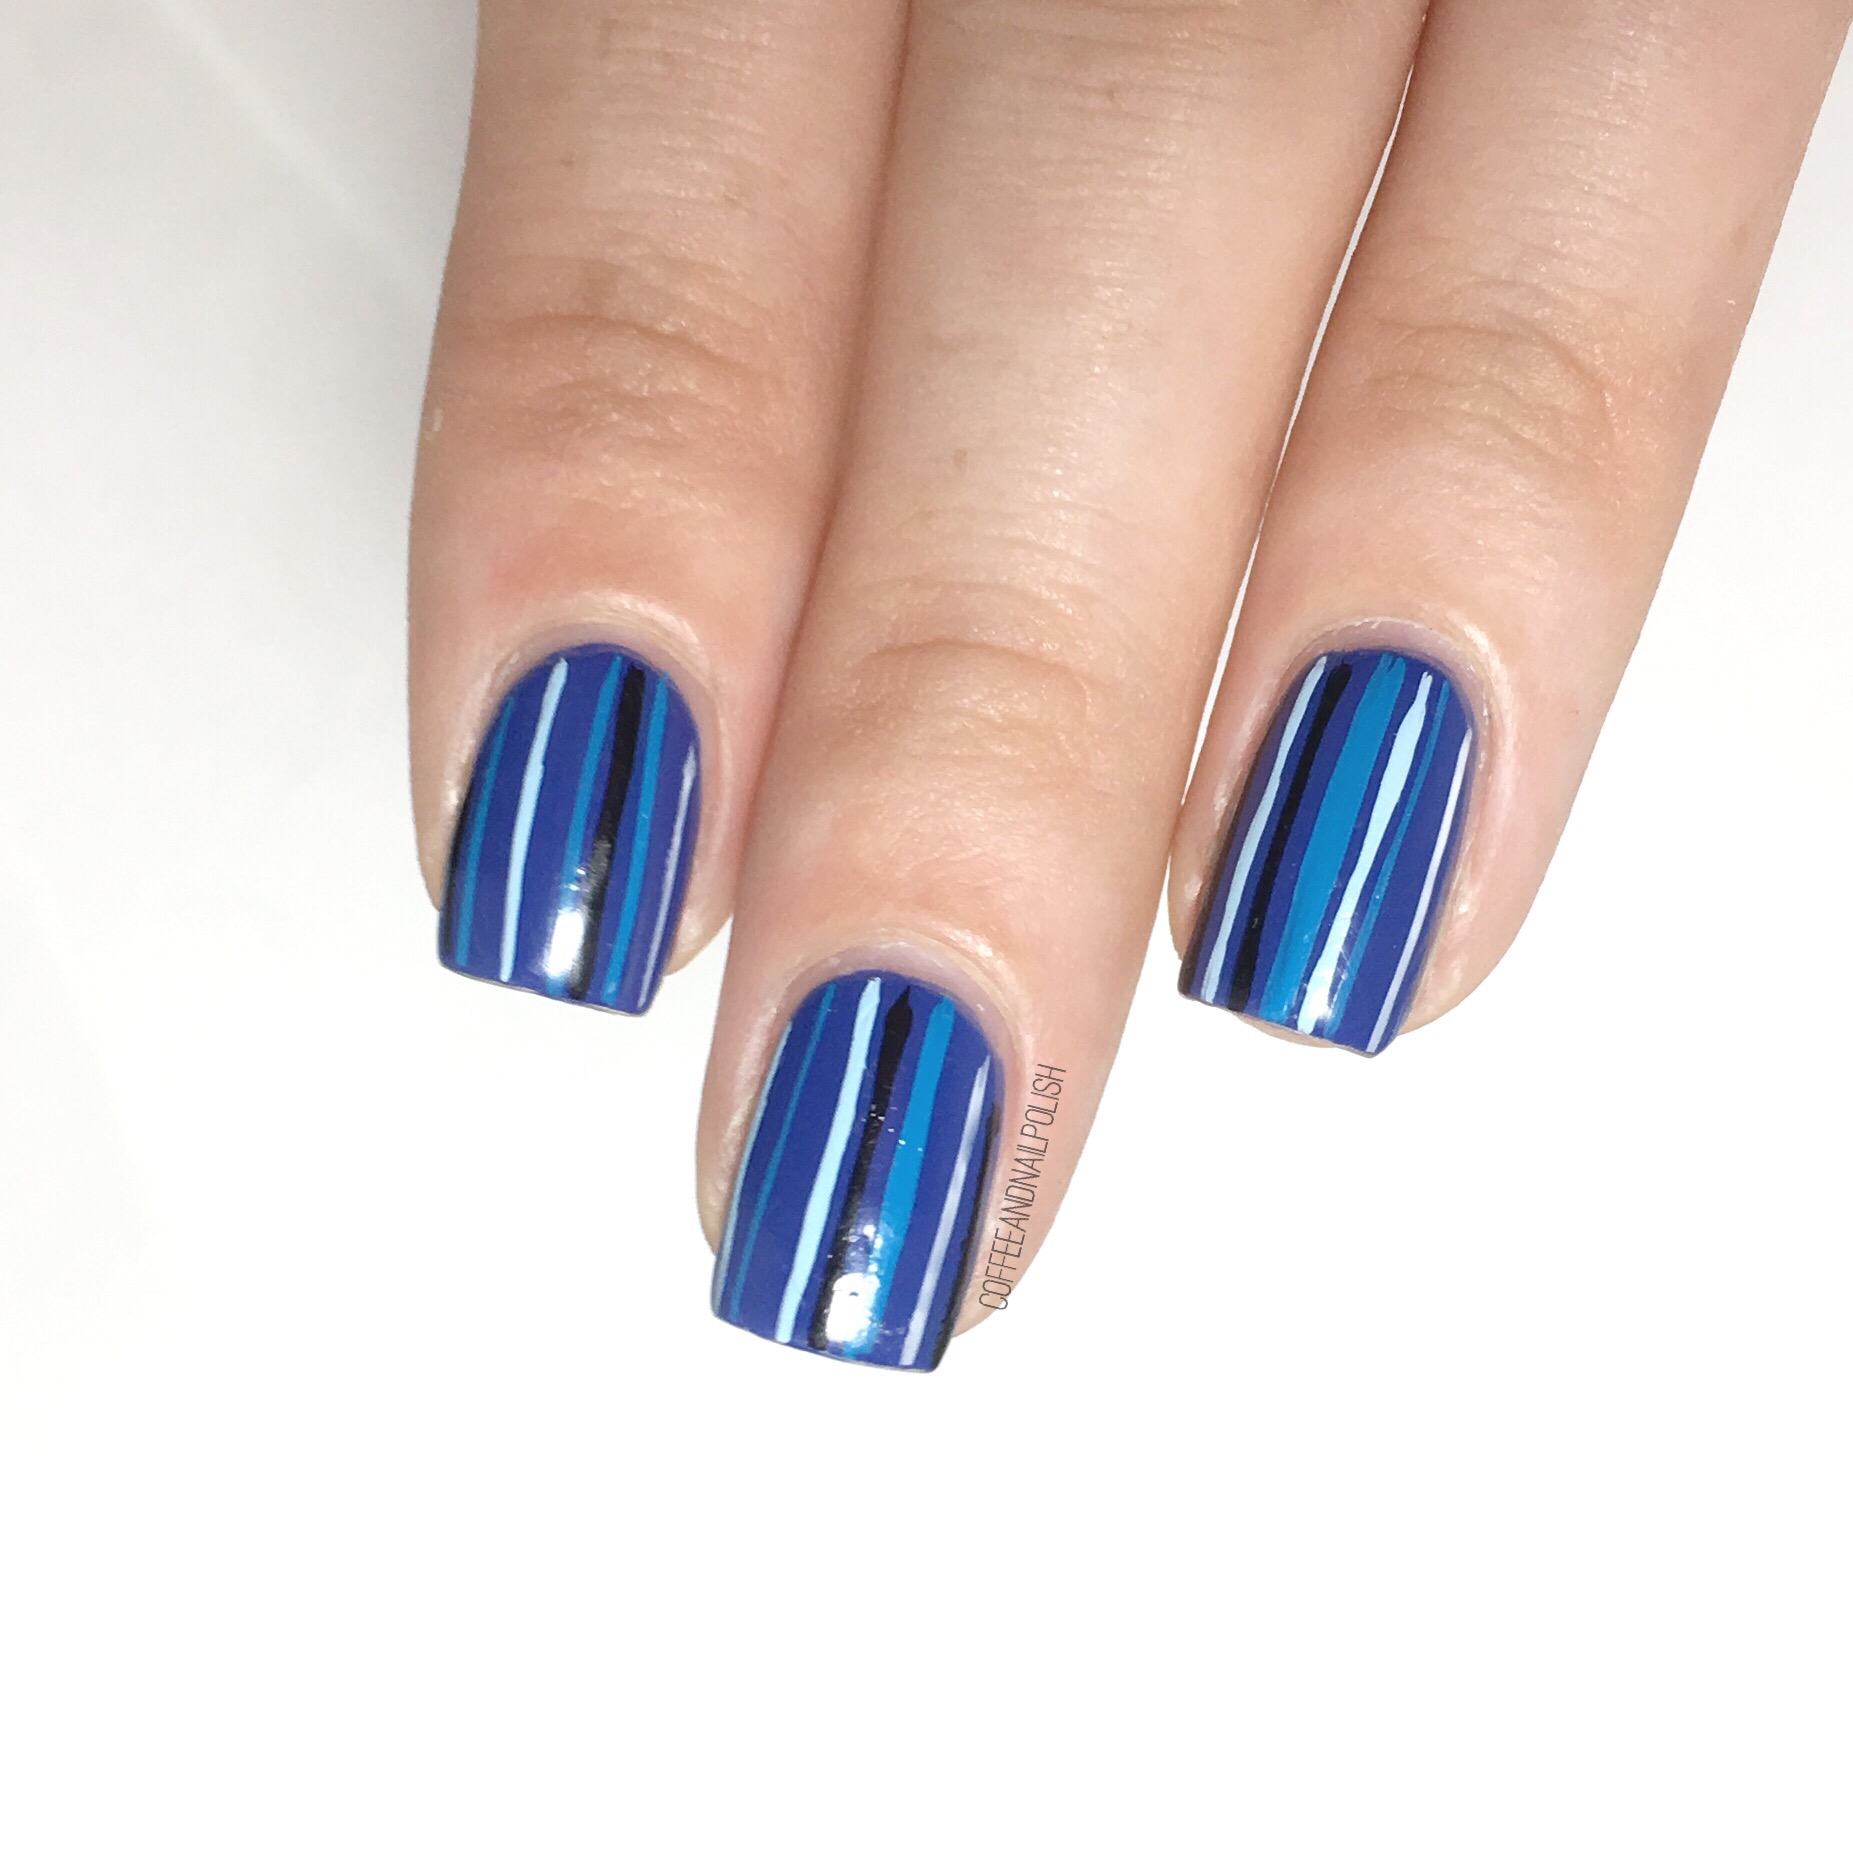
Happy Friday! It’s been so long since I played around with my stripers, which used to be one of my favourite nail art tools, so I figured why not pull them out for some fun stripes. This used to be my go-to design whenever I had nubbins, & it makes somewhat medium  length nails look even longer! (& who doesn’t want their nails to look longer?)

For this manicure I used:

  • Base Coat: L’Oréal All in One
  • Top Coat: Essie Speed Setter
  • Sally Hansen Miracle Gel Beatnik 
  • Kiss Products Nail Art Striper in Black
  • Kiss Products Nails Art Striper in White
  • Jordana Cosmetics Pop Art Nail Design in Blue Abstract

After spending the majority of June not wearing any blue nails, I must say it was nice to pull out again. I purchased Sally Hansen Beatnik on clearance at Shoppers while on my no-blue-nails crusade (I know, I have a sickness), so I was excited to finally get it wear it. & it really is such a pretty colour. That’s why I thought just some simple striping would really compliment the colour & I was right! 

What are you wearing on your nails right now? Let me know in the comments below!