Negative Space Red Chevron Moons

Good Morning & Happy Wednesday! We’re already half way through our week–how crazy is that. We’re also one week away from August… even crazier. This Summer is certainly rocketing by! I’m already feeling that familiar draw towards dark polish, pumpkin spice & cosy knits that starts happening around this time of year.

But not yet… we still have a bit of Summer left so bring on the bright polishes!
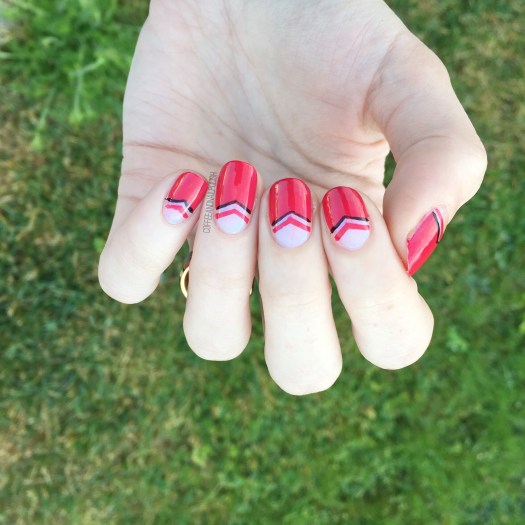
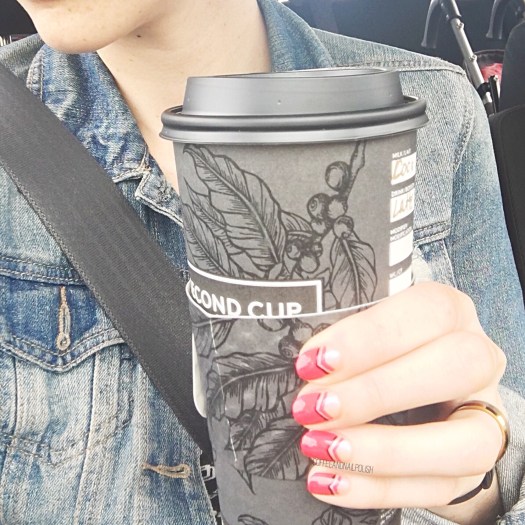
Today’s design was brought on by wanting to wear red nails, but more than just a solid colour. It wasn’t intentional, but these totally ended up reminding me of Bring It On! Does anyone else remember that movie. I was so obsessed with it when it first came out… & now I totally need to rewatch it again.
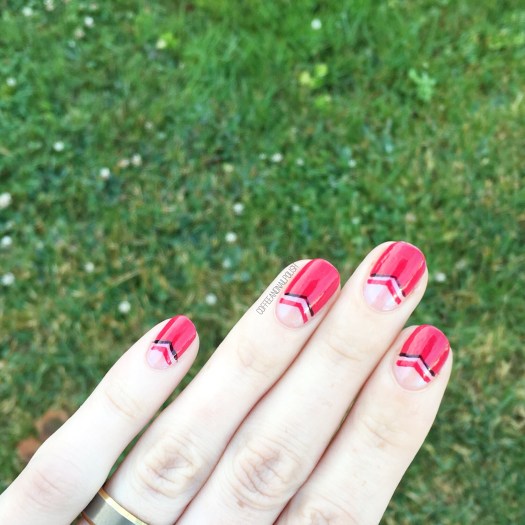
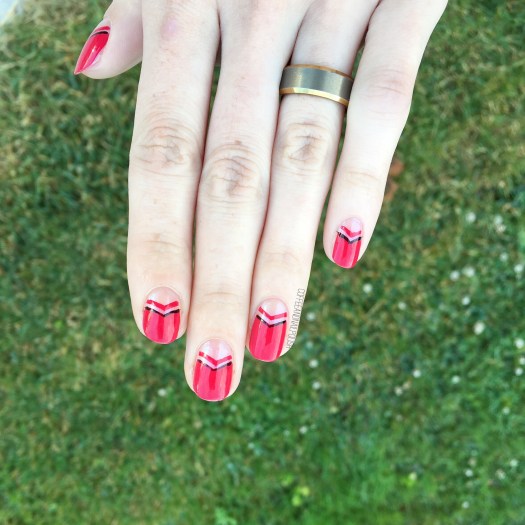
For this manicure, the polishes I used were:

  • Base Coat: OPI Nail Envy
  • Top Coat: Essie Speed Setter
  • L’Oréal Magic Top Coats —The Shift Me
  • Essie 5th Avenue
  • Kiss Products Nail Art Striper in Black
  • Snail Vinyls small single chevrons (so sad the shop is closing!)

I love red nail polish, but I find it the hardest colour to do nail art over simply because it seems to be a colour I turn to during holidays (Christmas, Canada Day, ect) but it is by far one of my all time favourite polish colours. I seriously love how these turned out, even if they totally remind me of cheerleader uniforms. Also I’m pretty sure this red is my new favourite red polish — I’ve been wearing it a lot lately, especially as a pedicure.
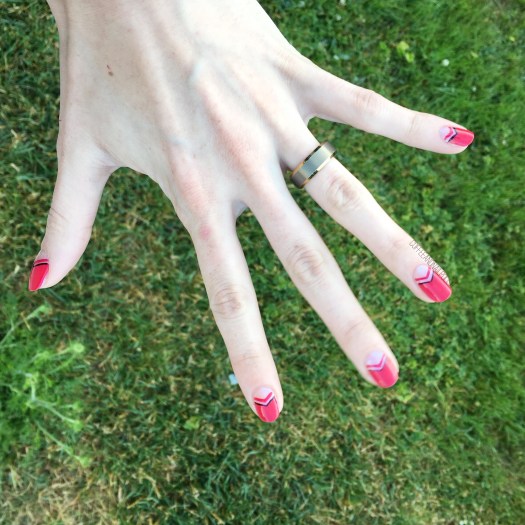
What do you think of this design? Let me know in the comments below! & let me know what your favourite 2000s teen movie is!

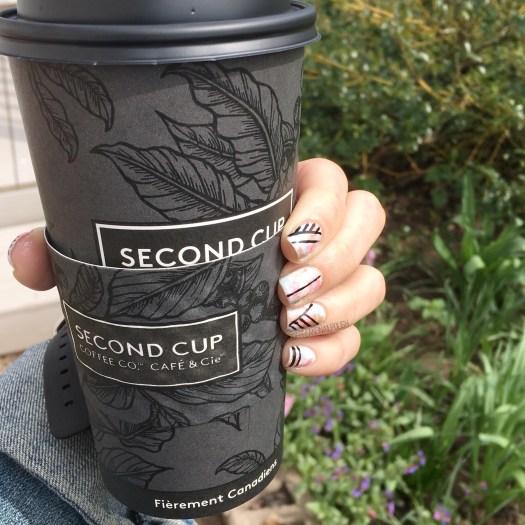
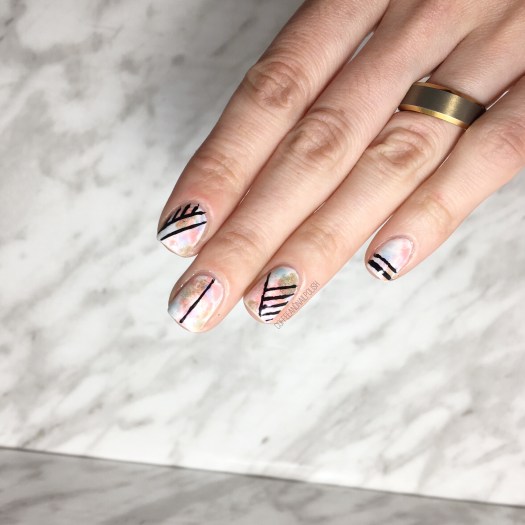
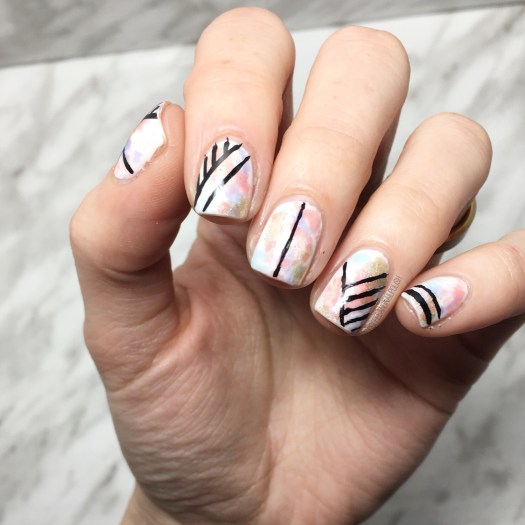
Pastel Sponging & Freehand Geometric Lines

Happy Friday lovelies! Yesterday was spent surviving the craziness of the mall with the big Build-A-Bear event! Our store was insane, mostly from the people who gave up on waiting in the 8+ hour line. Props to anyone who stood in that line & waited it out… you’re the real brave people!

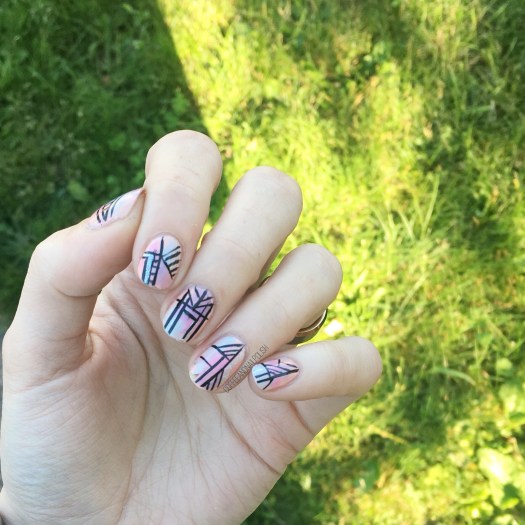
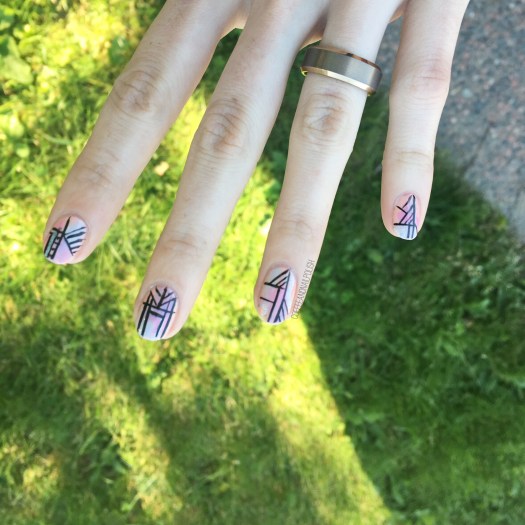
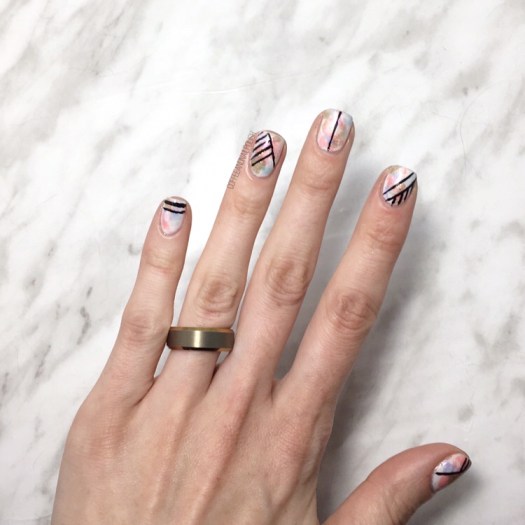
Today’s look was accomplished thanks to some brand new stripers from Kiss! I was in the need of some new ones, & found them on clearance so I knew I had to pick them up. A brand new striper is one of my favourite things for creating crisp lines. & since it had been so long since I’d done a geometric design, I decided to play around a little bit!

For this manicure, the polishes I used were:

  • Base Coat: OPI Nail Envy
  • Top Coat: Essie Speed Setter
  • Essie High Class Affair
  • L’Oréal Royalty Reinvented
  • Sally Hansen Miracle Gel Sweet Tea
  • Sally Hansen Miracle Gel Ocean Daze
  • Essie Splash of Grenadine
  • Kiss Products Striper in Black
  • Kiss Products Striper in White
  • Kiss Products Striper in Silver Glitter

Please excuse the tip wear & chip on my ring finger — I wore these nails for over 2 days before I thought to take a picture of them. I was just to enthralled with how they looked, I completely forgot about photographing them!

If I had to pick a favourite nail, I think it would probably be my middle finger. The design feels very Art Deco. Definitely going to need to try this design again over a gold or bronze. It was be very Gatsby, which is a style I haven’t tried a whole design over. I definitely think it looks really cool over my pastel sponging though.

what do you think about this geometric design? Which nail is your favourite? Let me know your thoughts in the comments below!

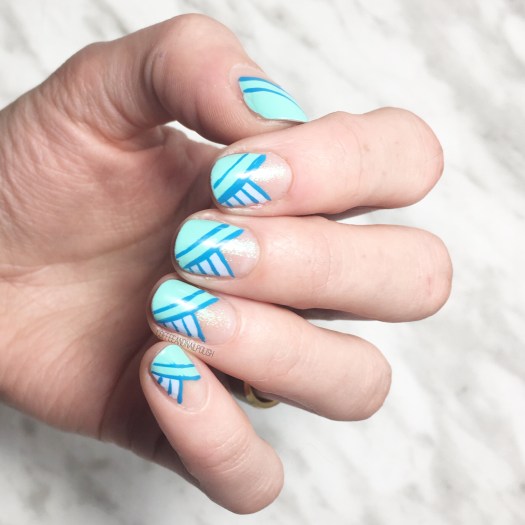
Even More Negative Space Half Moons!

Happy Wednesday lovelies! Who else can’t even believe it’s already Wednesday. It feels like this week is speeding by like crazy. Dreaming of the weekend already… it feels like it’s almost here. Which means spending all weekend (hopefully) barbecuing!

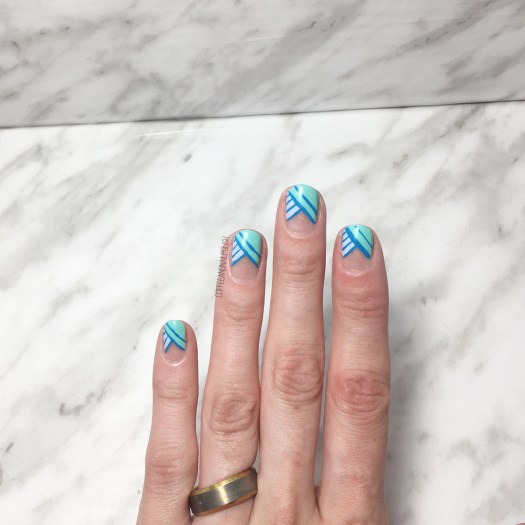
Today’s design is one I actually did back in June, during my super crazy two weeks at work, & never got a chance to share with you! This design was actually what I wore when I had my first Head Office visit at work. I was super nervous as this was the first time I was meeting one of my big bosses, so I wanted to make sure I was representing the brand as best as I could…. right now to the nails!

The polishes I used for this design were:

  • Base Coat: Essie Grow Stronger
  • Top Coat: Essie Gel Setter
  • Icing Mermaid Mint
  • Claire’s Matte Pastel Nail Polish Sorbet Mint
  • Claire’s Matte Pastel Nail Polish Sorbet Blue
  • Jordana Cosmetics Pop Art Nail Design in Blue Abstract

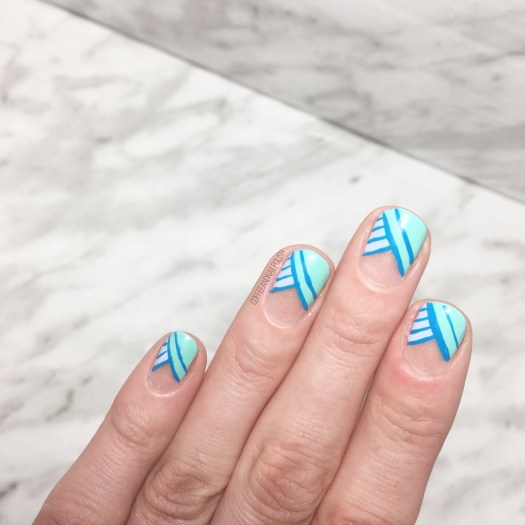
You know what’s awesome about working for a company which is geared towards a tween audience—you always have an excuse to do something fun with your nails! We sell a lot Nail goodies, so I’m always getting inspiration from them! This design was kind of a recreation of an old design that I had done, but with a few different polish picks.

You can seriously never go wrong with a good negative space chevron look. & the colour combinations are endless!

What do you think of this design? Are you as obsessed with negative space chevron looks as I am (I don’t think anyone is!)

Share down below all your thoughts!

Saran Wrap Splatter & Geometric Lines featuring Sally Hansen Canada’s Miracle Gel Pastel Punk Collection 💀🌸

Hello lovelies & Happy Tuesday. I hope whenever you are, the weather is beautiful & Spring like. Today I’m featuring a design using the brand new Sally Hansen Canada Miracle Gel Pastel Punk collection. I saw this collection in stores & was super excited by all the beautiful colours… & then I was just lucky enough to receive the WHOLE collection courtesy of Sally Hansen Canada themselves. I have a full swatch post coming up (this weekend… stay tuned!) which will show you the awesomeness of the colours on their own, but in the mean time I have the first of many designs featuring these awesome shades!

First up…. some dry brushing & geometric lines!

For this manicure, the polishes I used were:

  • Base Coat: Nailtek 2
  • Top Coat: Sally Hansen Miracle Gel Top Coat
  • Sally Hansen Miracle Gel After Altar
  • Sally Hansen MG Just Maui’d
  • Sally Hansen MG Ocean Daze
  • Sally Hansen MG I Lava You
  • Sally Hansen MG Shell-ebration
  • Sally Hansen MG Golden Glow
  • Sally Hansen Hard As Nails Black Heart
  • Bundle Monster striping brush.

This whole collection is full beautiful spring shades & they go together so well. The first design I had to do with them just had to be a dry brush & I love how well these colours compliment each other. & then I love the black lines over top the softness of the dry brush because of how well it pops. It feels like I don’t do my free hand lines nearly enough so I wanted to practice a little. I bought acrylic paint forever ago, but I have zero clue where it is. It probably would have made my design a lot easier to do. I did it using polish & it turned out slightly wonky. Never less, I do love how this pattern turned out.

I know I said that the Sally Hansen Miracle Gel Travel in Colour collection was my favourite for Spring, but this collection made have beat it. It’s that blue & the shimmers & everything. It’s just so pretty. Even though I don’t wear it nearly as often as I should, I just love a good pink polish. & there are TWO in this collection. & I love, love, love them. 💗 When I get my swatches posted this weekend, you’ll see all the reasons why this collection is amazing. I can foresee a lot of designs coming up featuring these lovely shades.

have you sought out the Sally Hansen Pastel Punk collection yet? Which shade is your favourite? What do you think of this dry brush & graphic line design?

Let me know your thoughts in the comments below!

Quick & Easy Abstract Stripes

Hello lovelies… it’s been a moment!

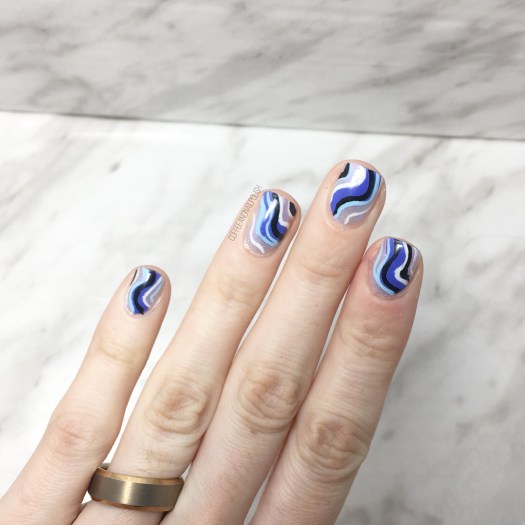
Today I’ve got some fun abstract stripes to share with you. This is one of my favourite easy designs to do when I’m struggling with inspiration. I recently picked up a few new polishes from Icing so I decided to grab them as the main polishes of choice. If you’ve been around this blog a while, you know that while I adore my big brands, there is something wonderful about polishes from non-cosmetic brands–stores like Ardene, Claires, Icing & H&M have some serious awesome polishes with awesome formulas! & even more awesome — they’re super affordable! So now that I’m back to work, I’ve been adding a lot more shades to my collection.

So I thought why not create a design using them as my feature shades!

For this manicure, the polishes I used were:

  • Base Coat: Nailtek 2
  • Top Coat: Essie Speed Setter
  • Icing 60858 Light Blue Shimmer
  • Icing Matte Effect 85900
  • Art Club Nail Art Striper in Blue Paisley
  • Quo by Orly Nail Art Striper in white
  • Quo by Orly Nail Art Striper in black

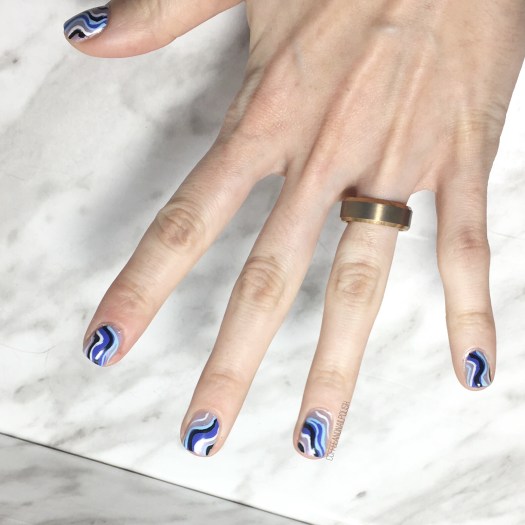
I just love how this design turned out. I wore these to work & got quite a few compliments on them! I feel like I know a design turned out well if random strangers are complimenting them (&asking if I did them myself!) That’s always a huge compliment to me!

Also this blue shade is definitely fitting in with the rainy weather outside. Blue abstract stripes always give me water vibes.

What do you think of these abstract stripes? Share you favourite quick & easy nail art design down below!