Good evening loves.
I know, I know. This post is coming to you way late today, but it’s been a rough couple of days. However, I wanted to make sure I had a design for this prompt to share!
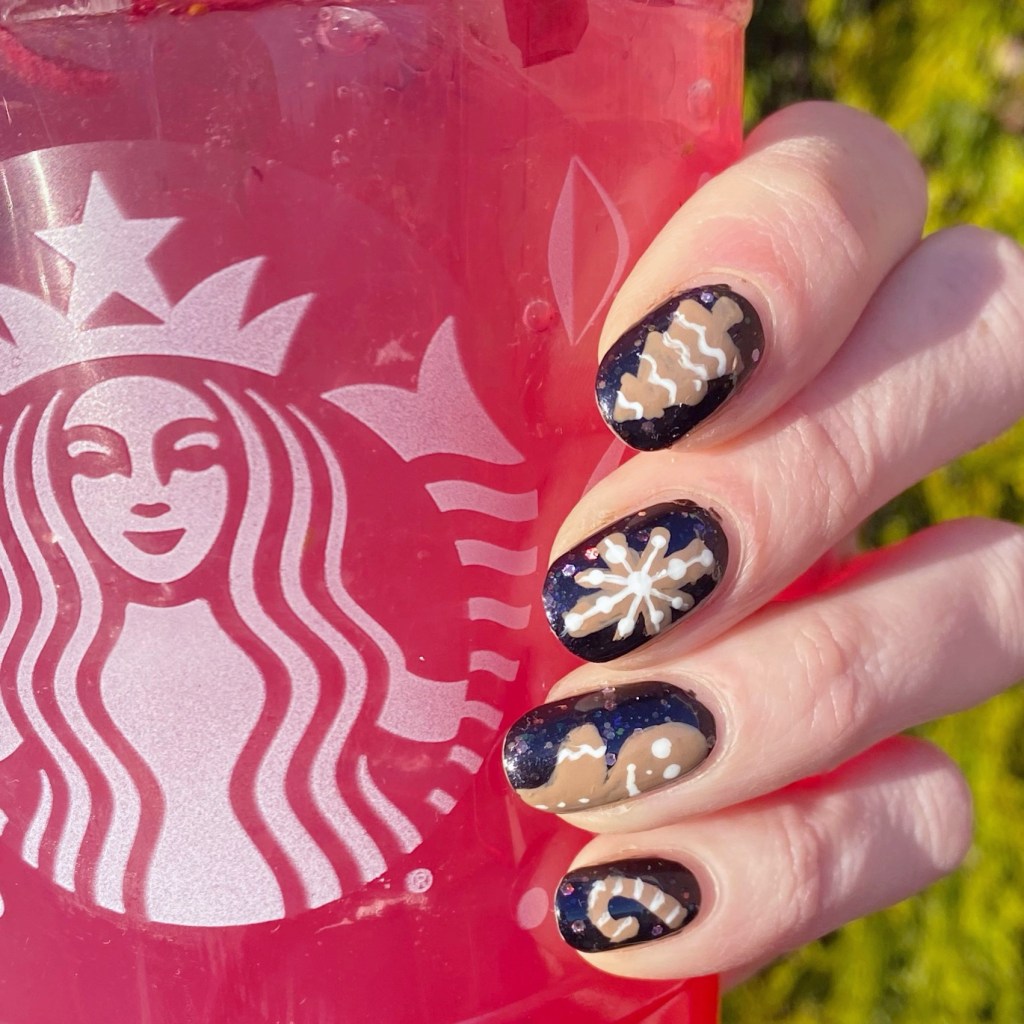
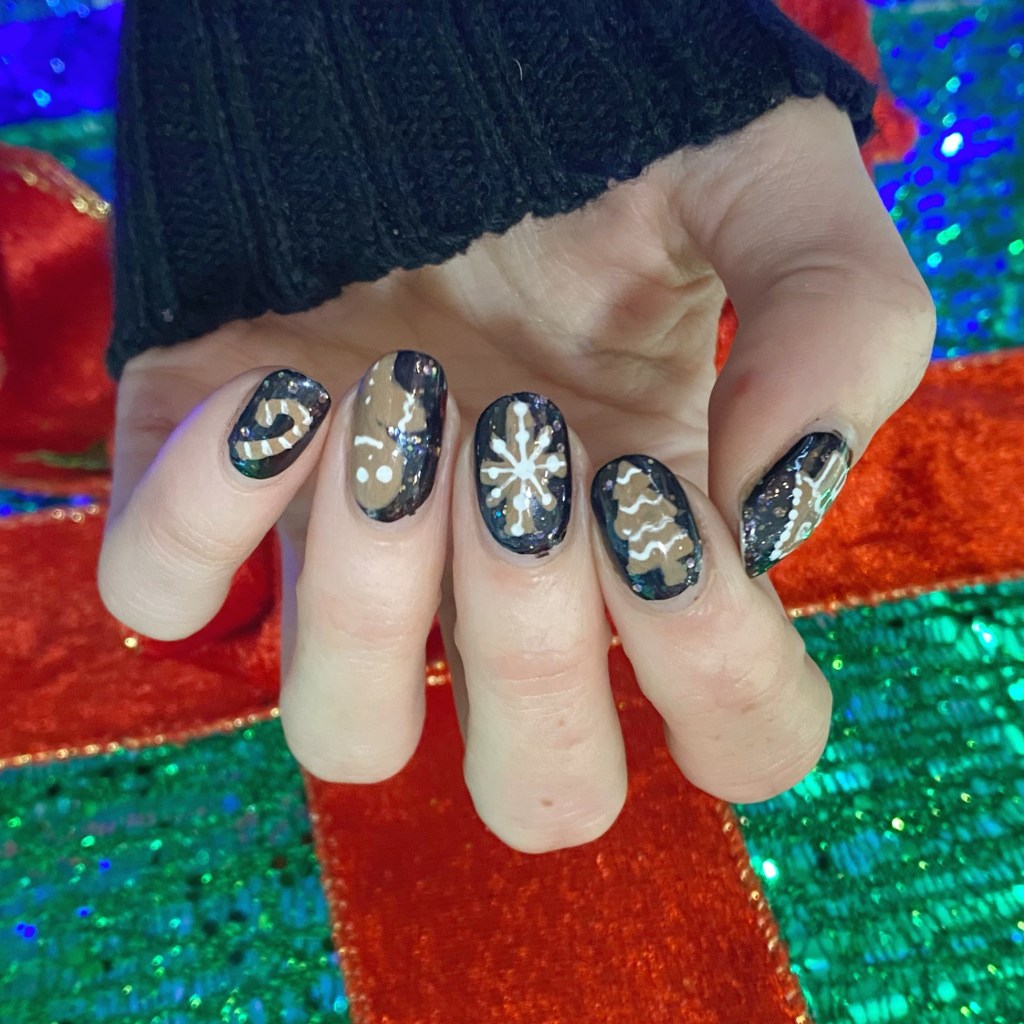
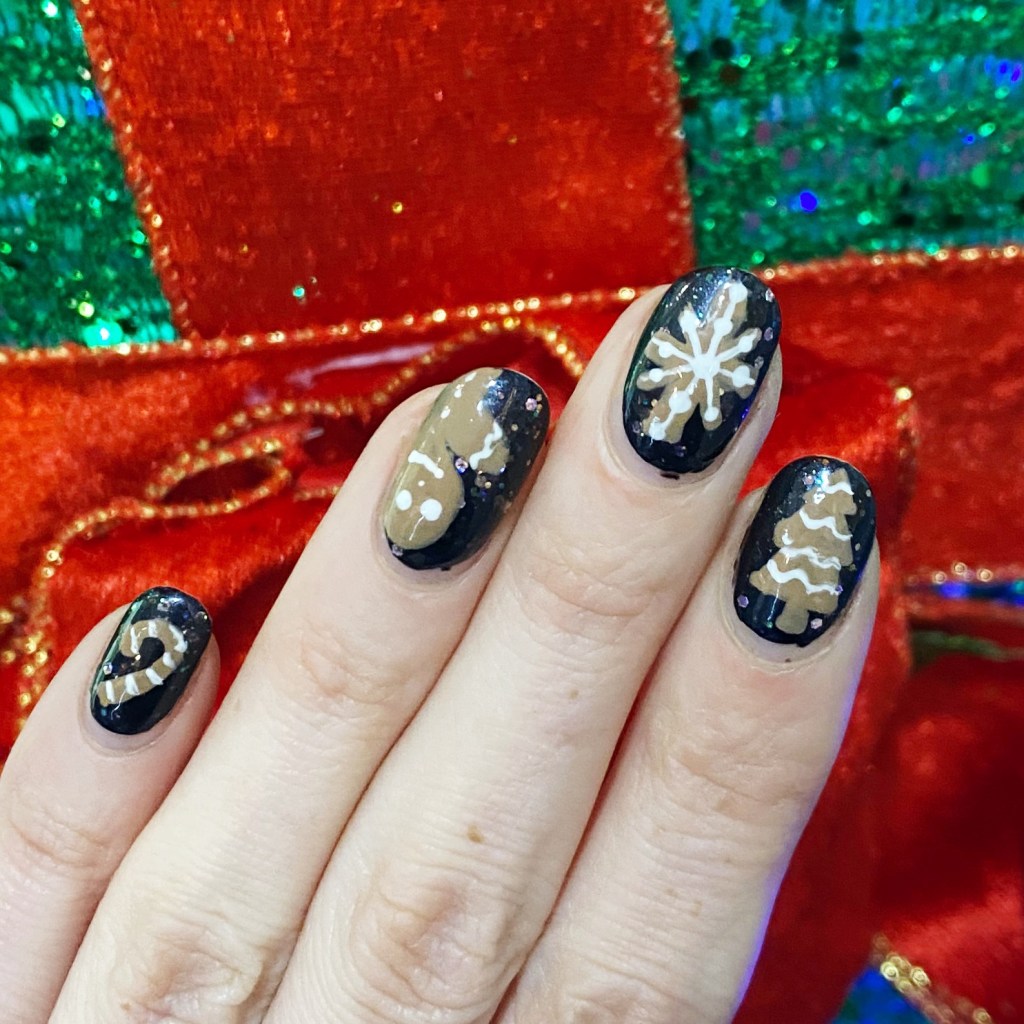
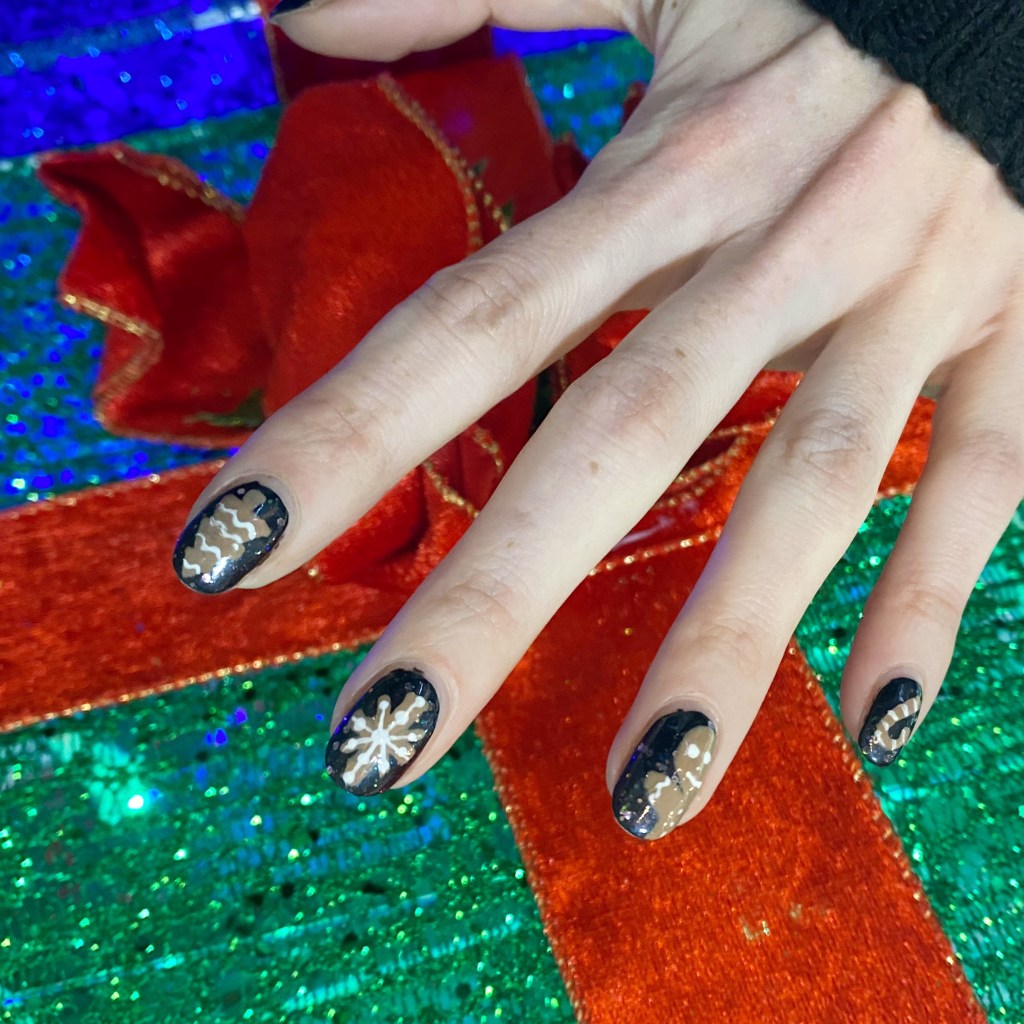
Today’s prompt is Gingerbread & so I thought gingerbread cookies would be appropriate.
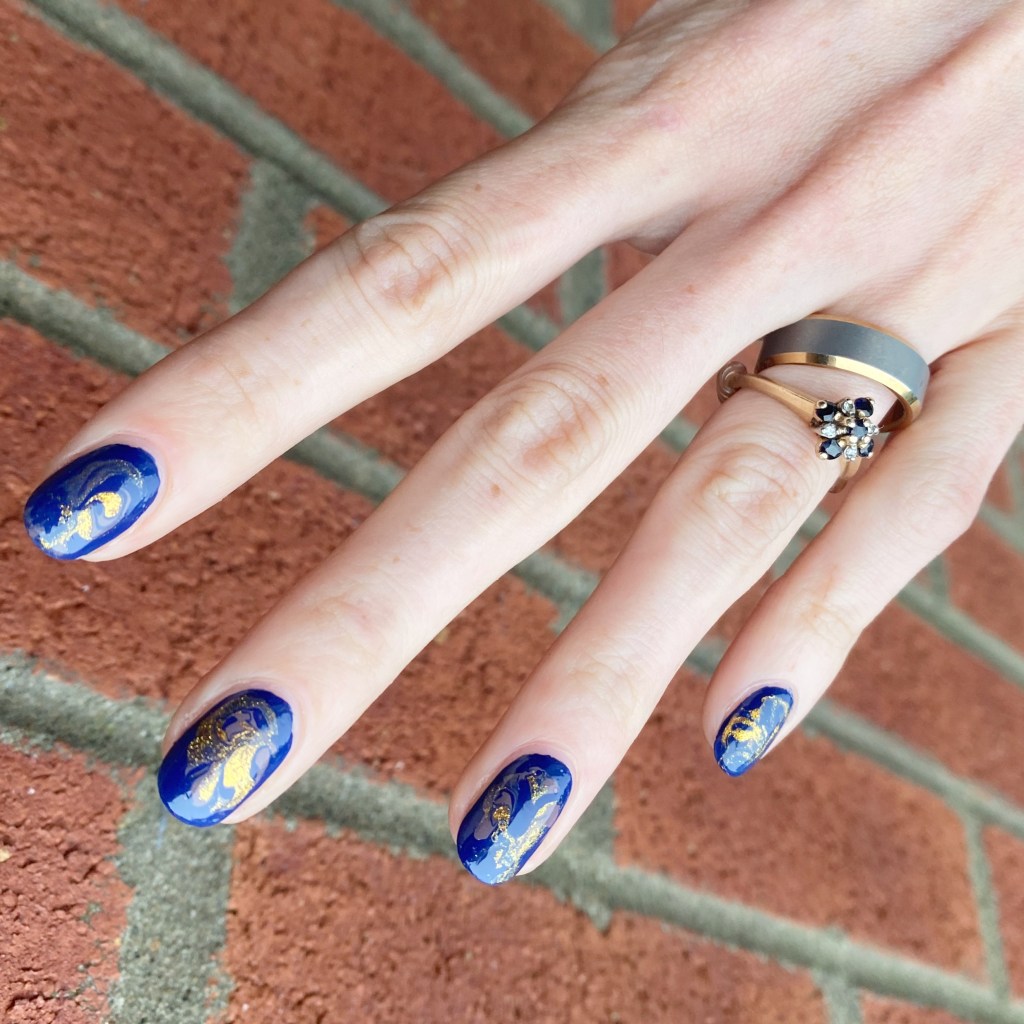
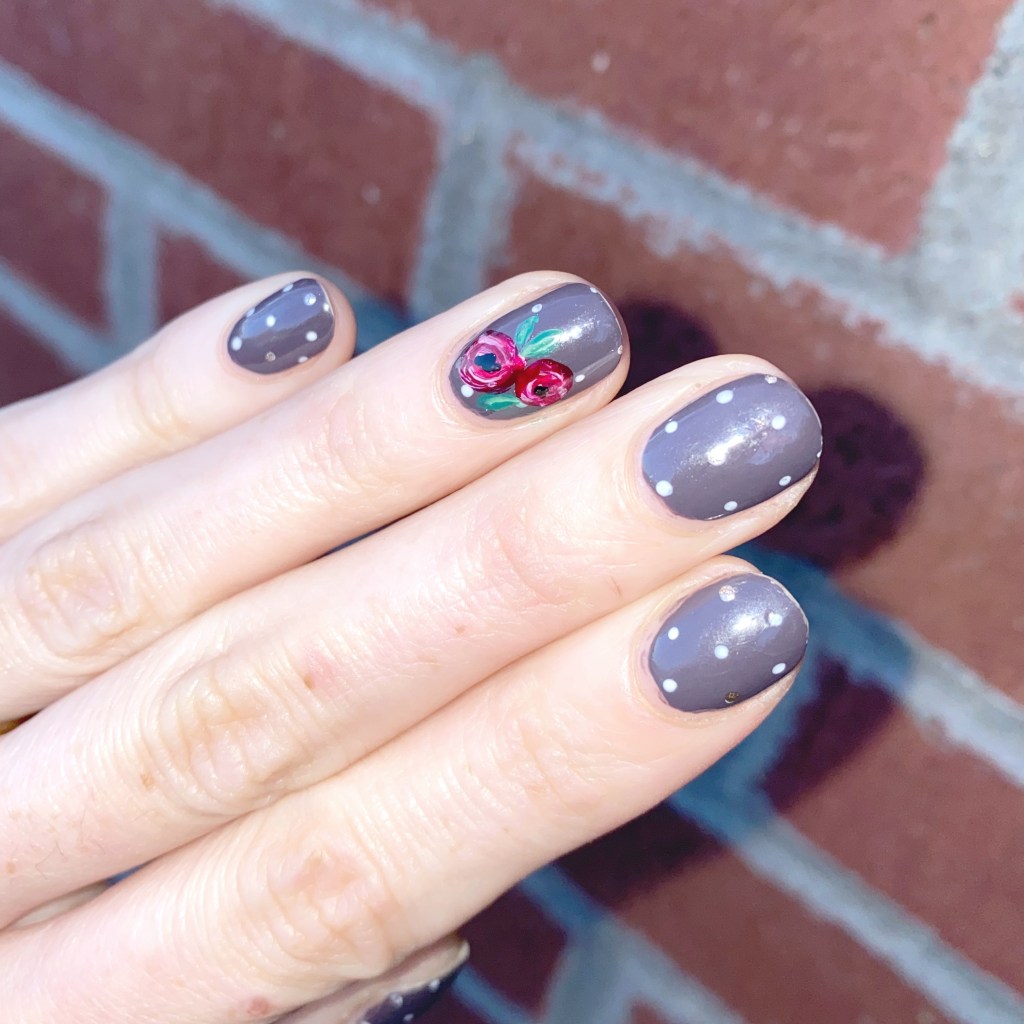
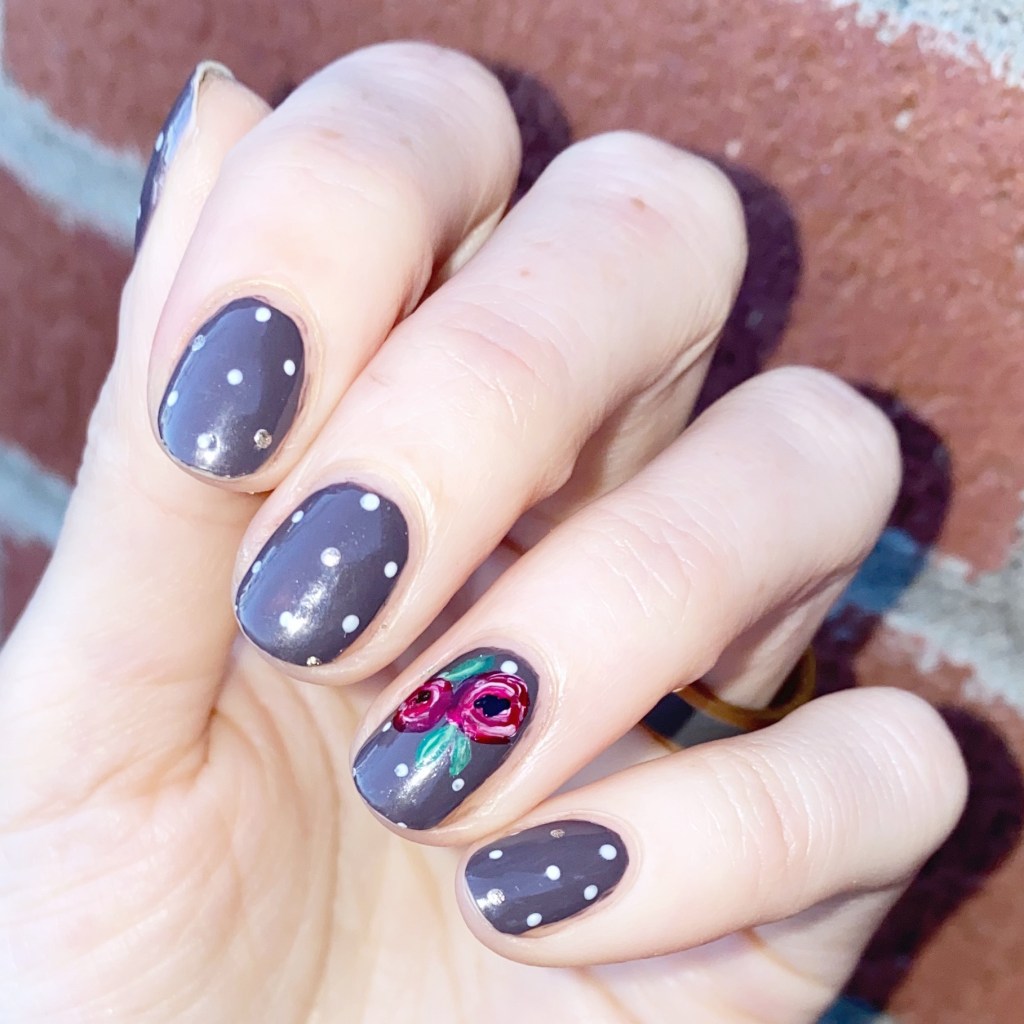
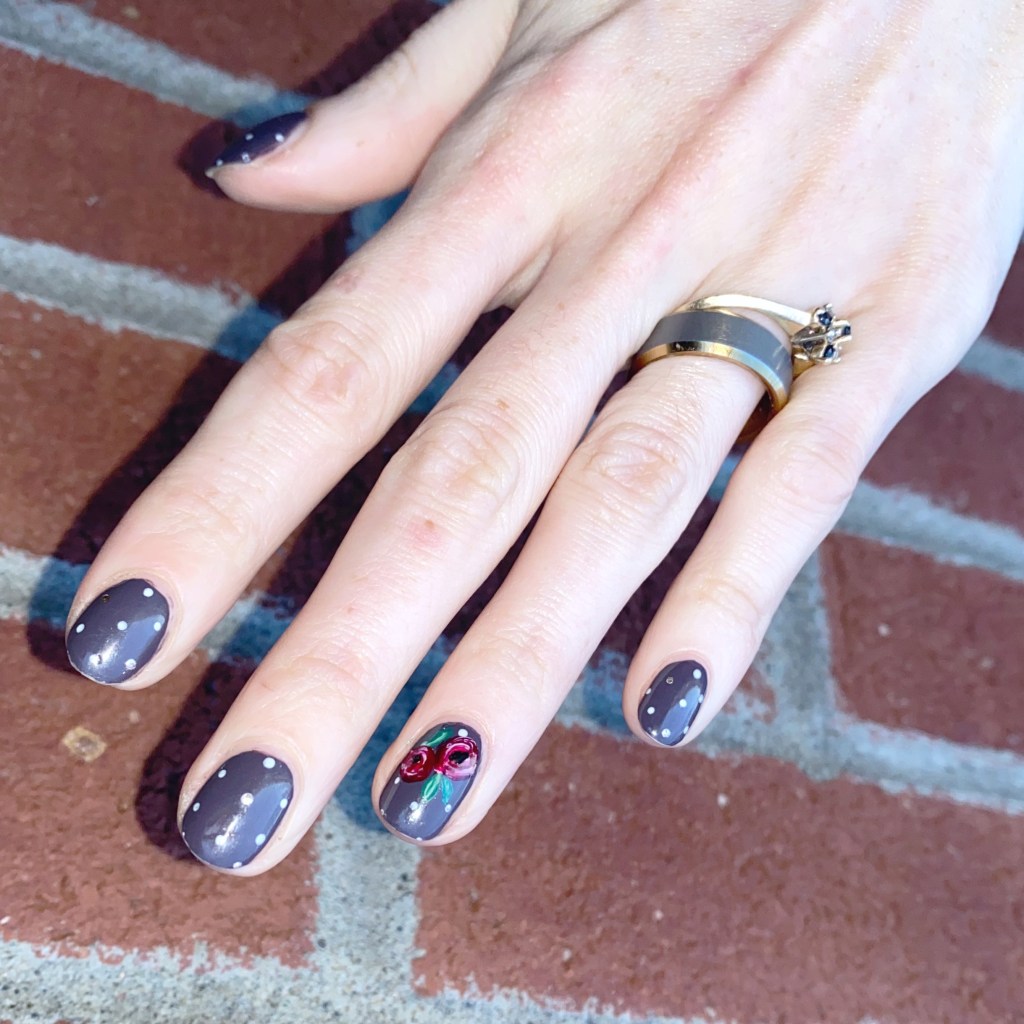
The polishes I used for this manicure are:
- Base Coat: NailStuff Essentials Base Coat *
- Top Coat: Nail Stuff Essentials Quick Dry Top Coat *
- OPI Hot & Coaled (over NailStuff Essentials Raven*)
- Essie Expressie Never Skip A Beat *
- NailStuff Essentials White Dove *
- Nailstuff.ca Mermaid Tail 7mm liner brush
- NailStuff 4mm Micro Detail Brush
*PR/gifted


I do some version of this look every year, but with a different twist. It’s just such a go to easy look for this prompt, & looks way cuter than when I try to make gingerbread cookies in real life. Mine end up being a bit more… abstract. So I’m glad I can have cute, aesthetically pleasing gingerbread cookies, if only just on my nails.
What do you think about my gingerbread nails? What is your favourite holiday treat or cookie? While I do love gingerbread men, my granny’s scotch cookies always come in #1 for me — & I even figured out how to make them gluten & dairy free.
Don’t forget that you can follow along with all the designs this month with the hashtag #glamnailschallengedec24.
🖤