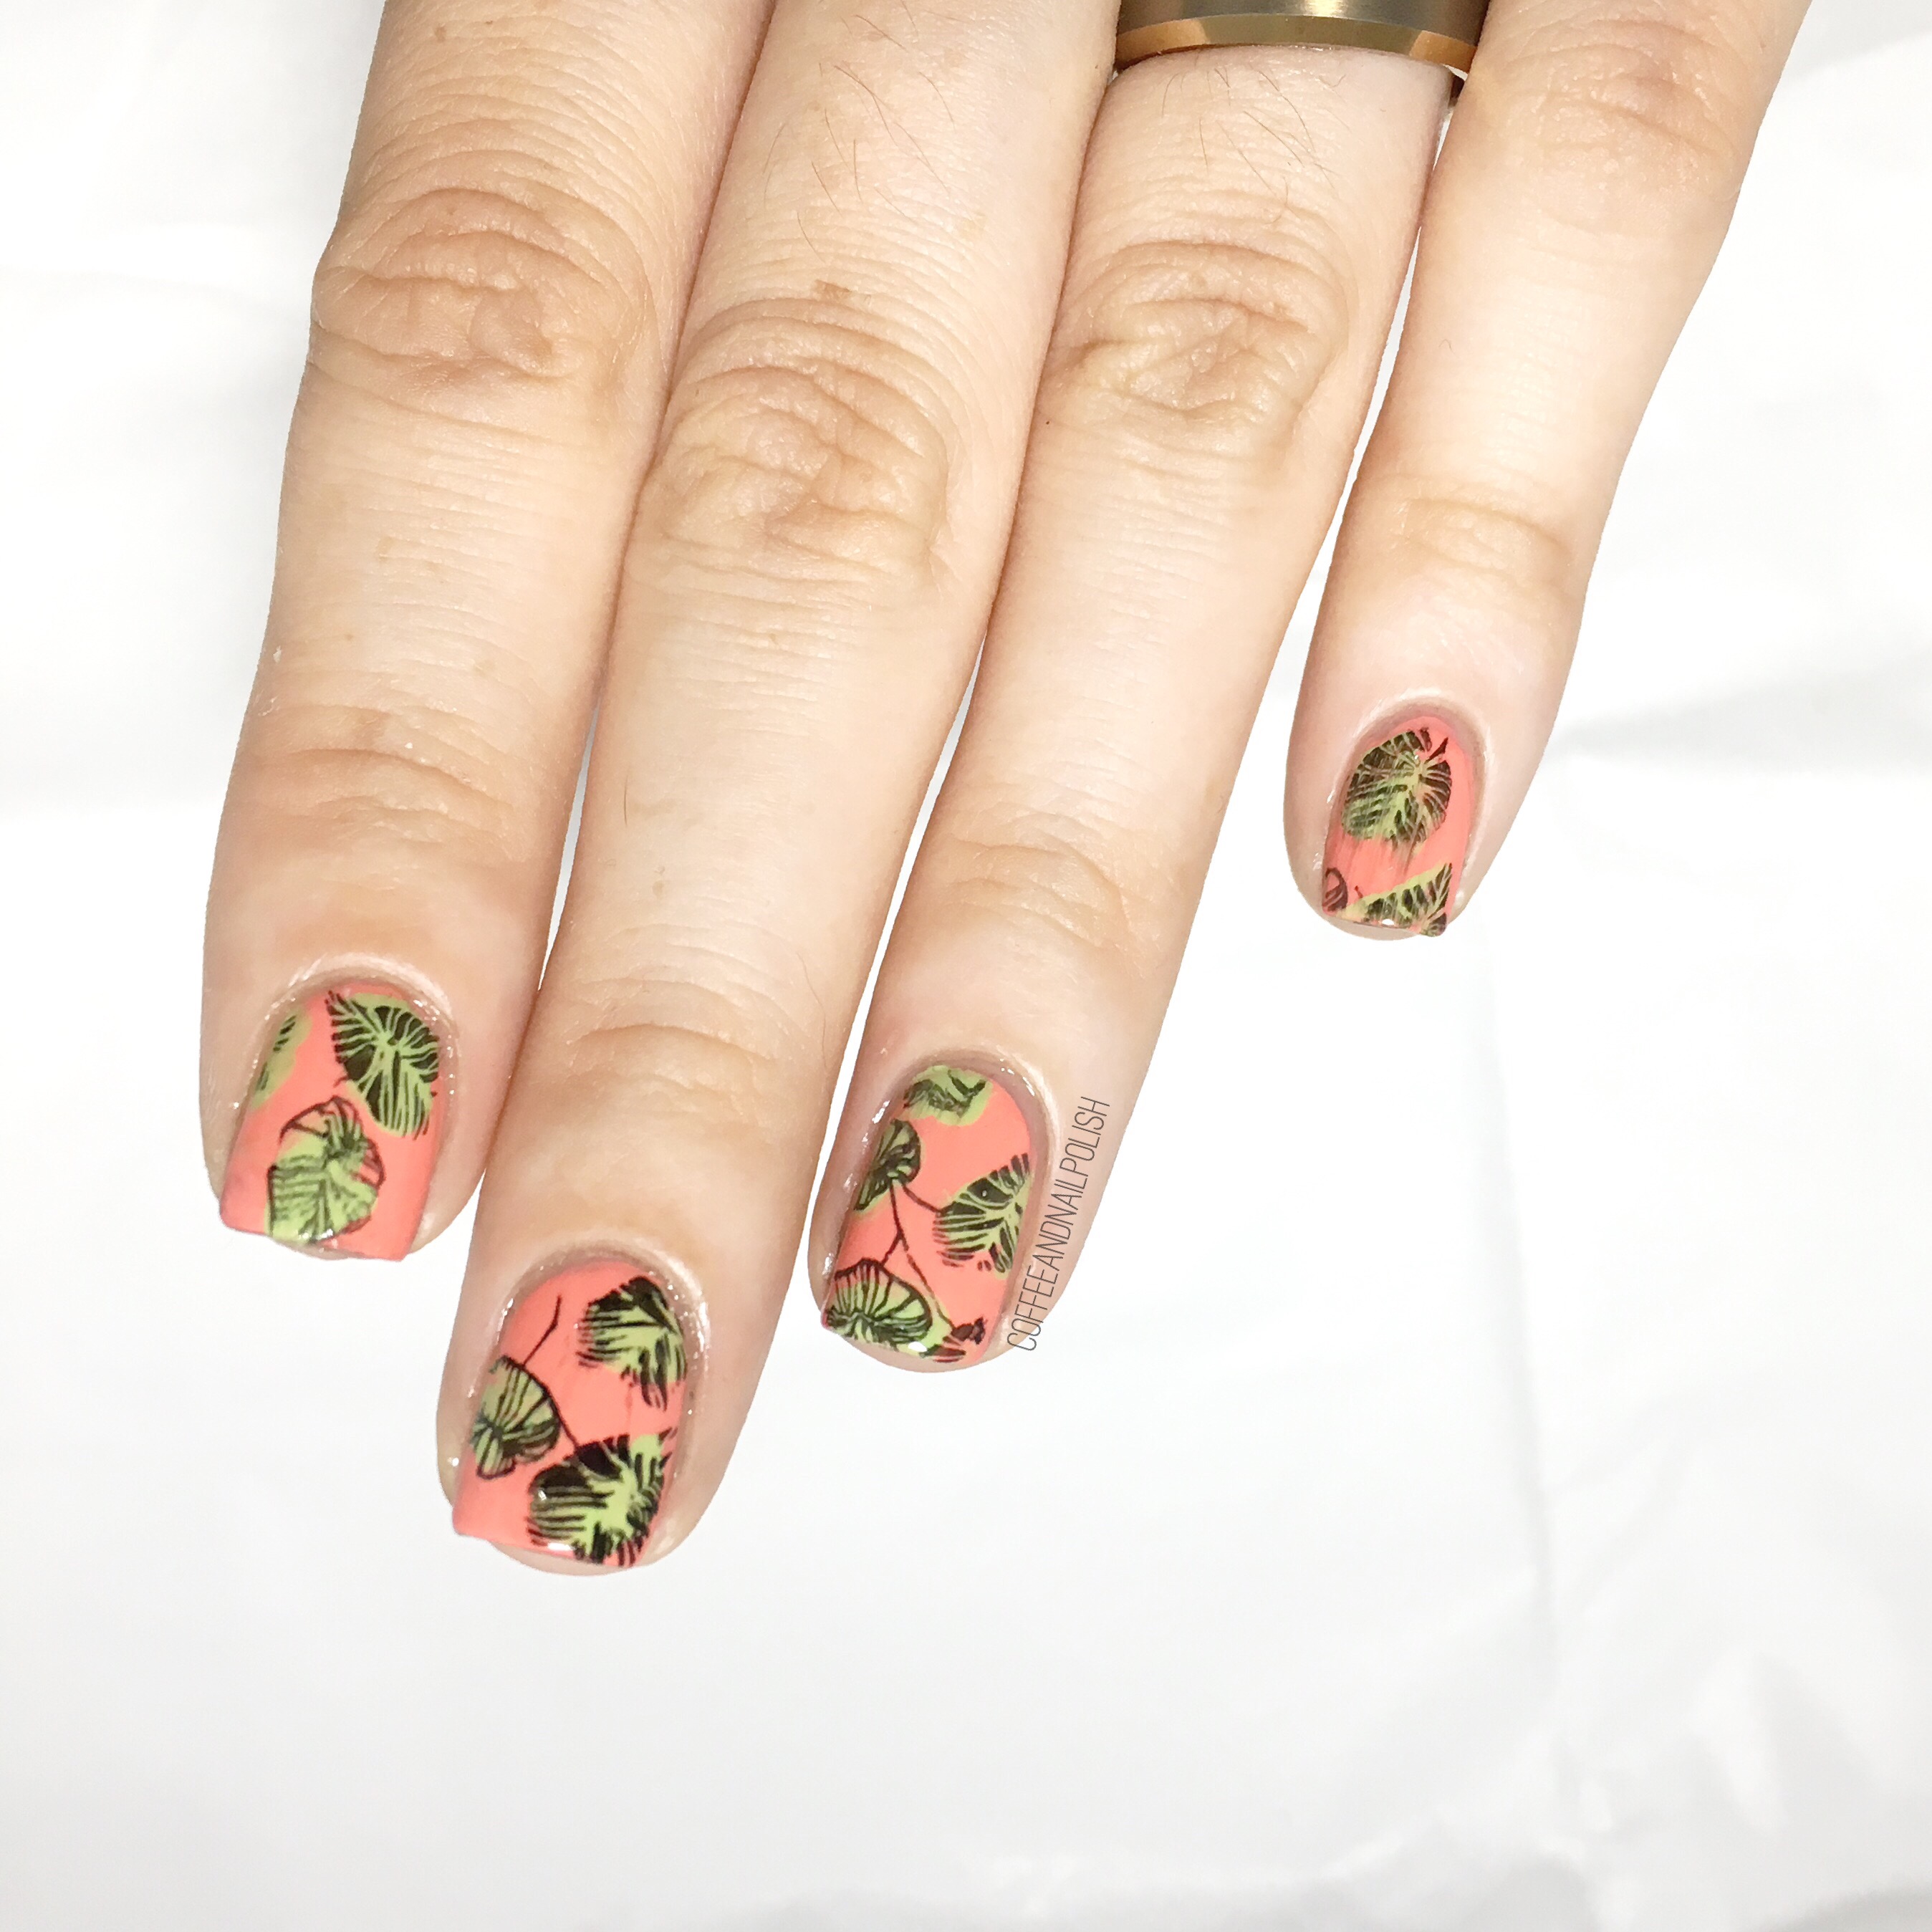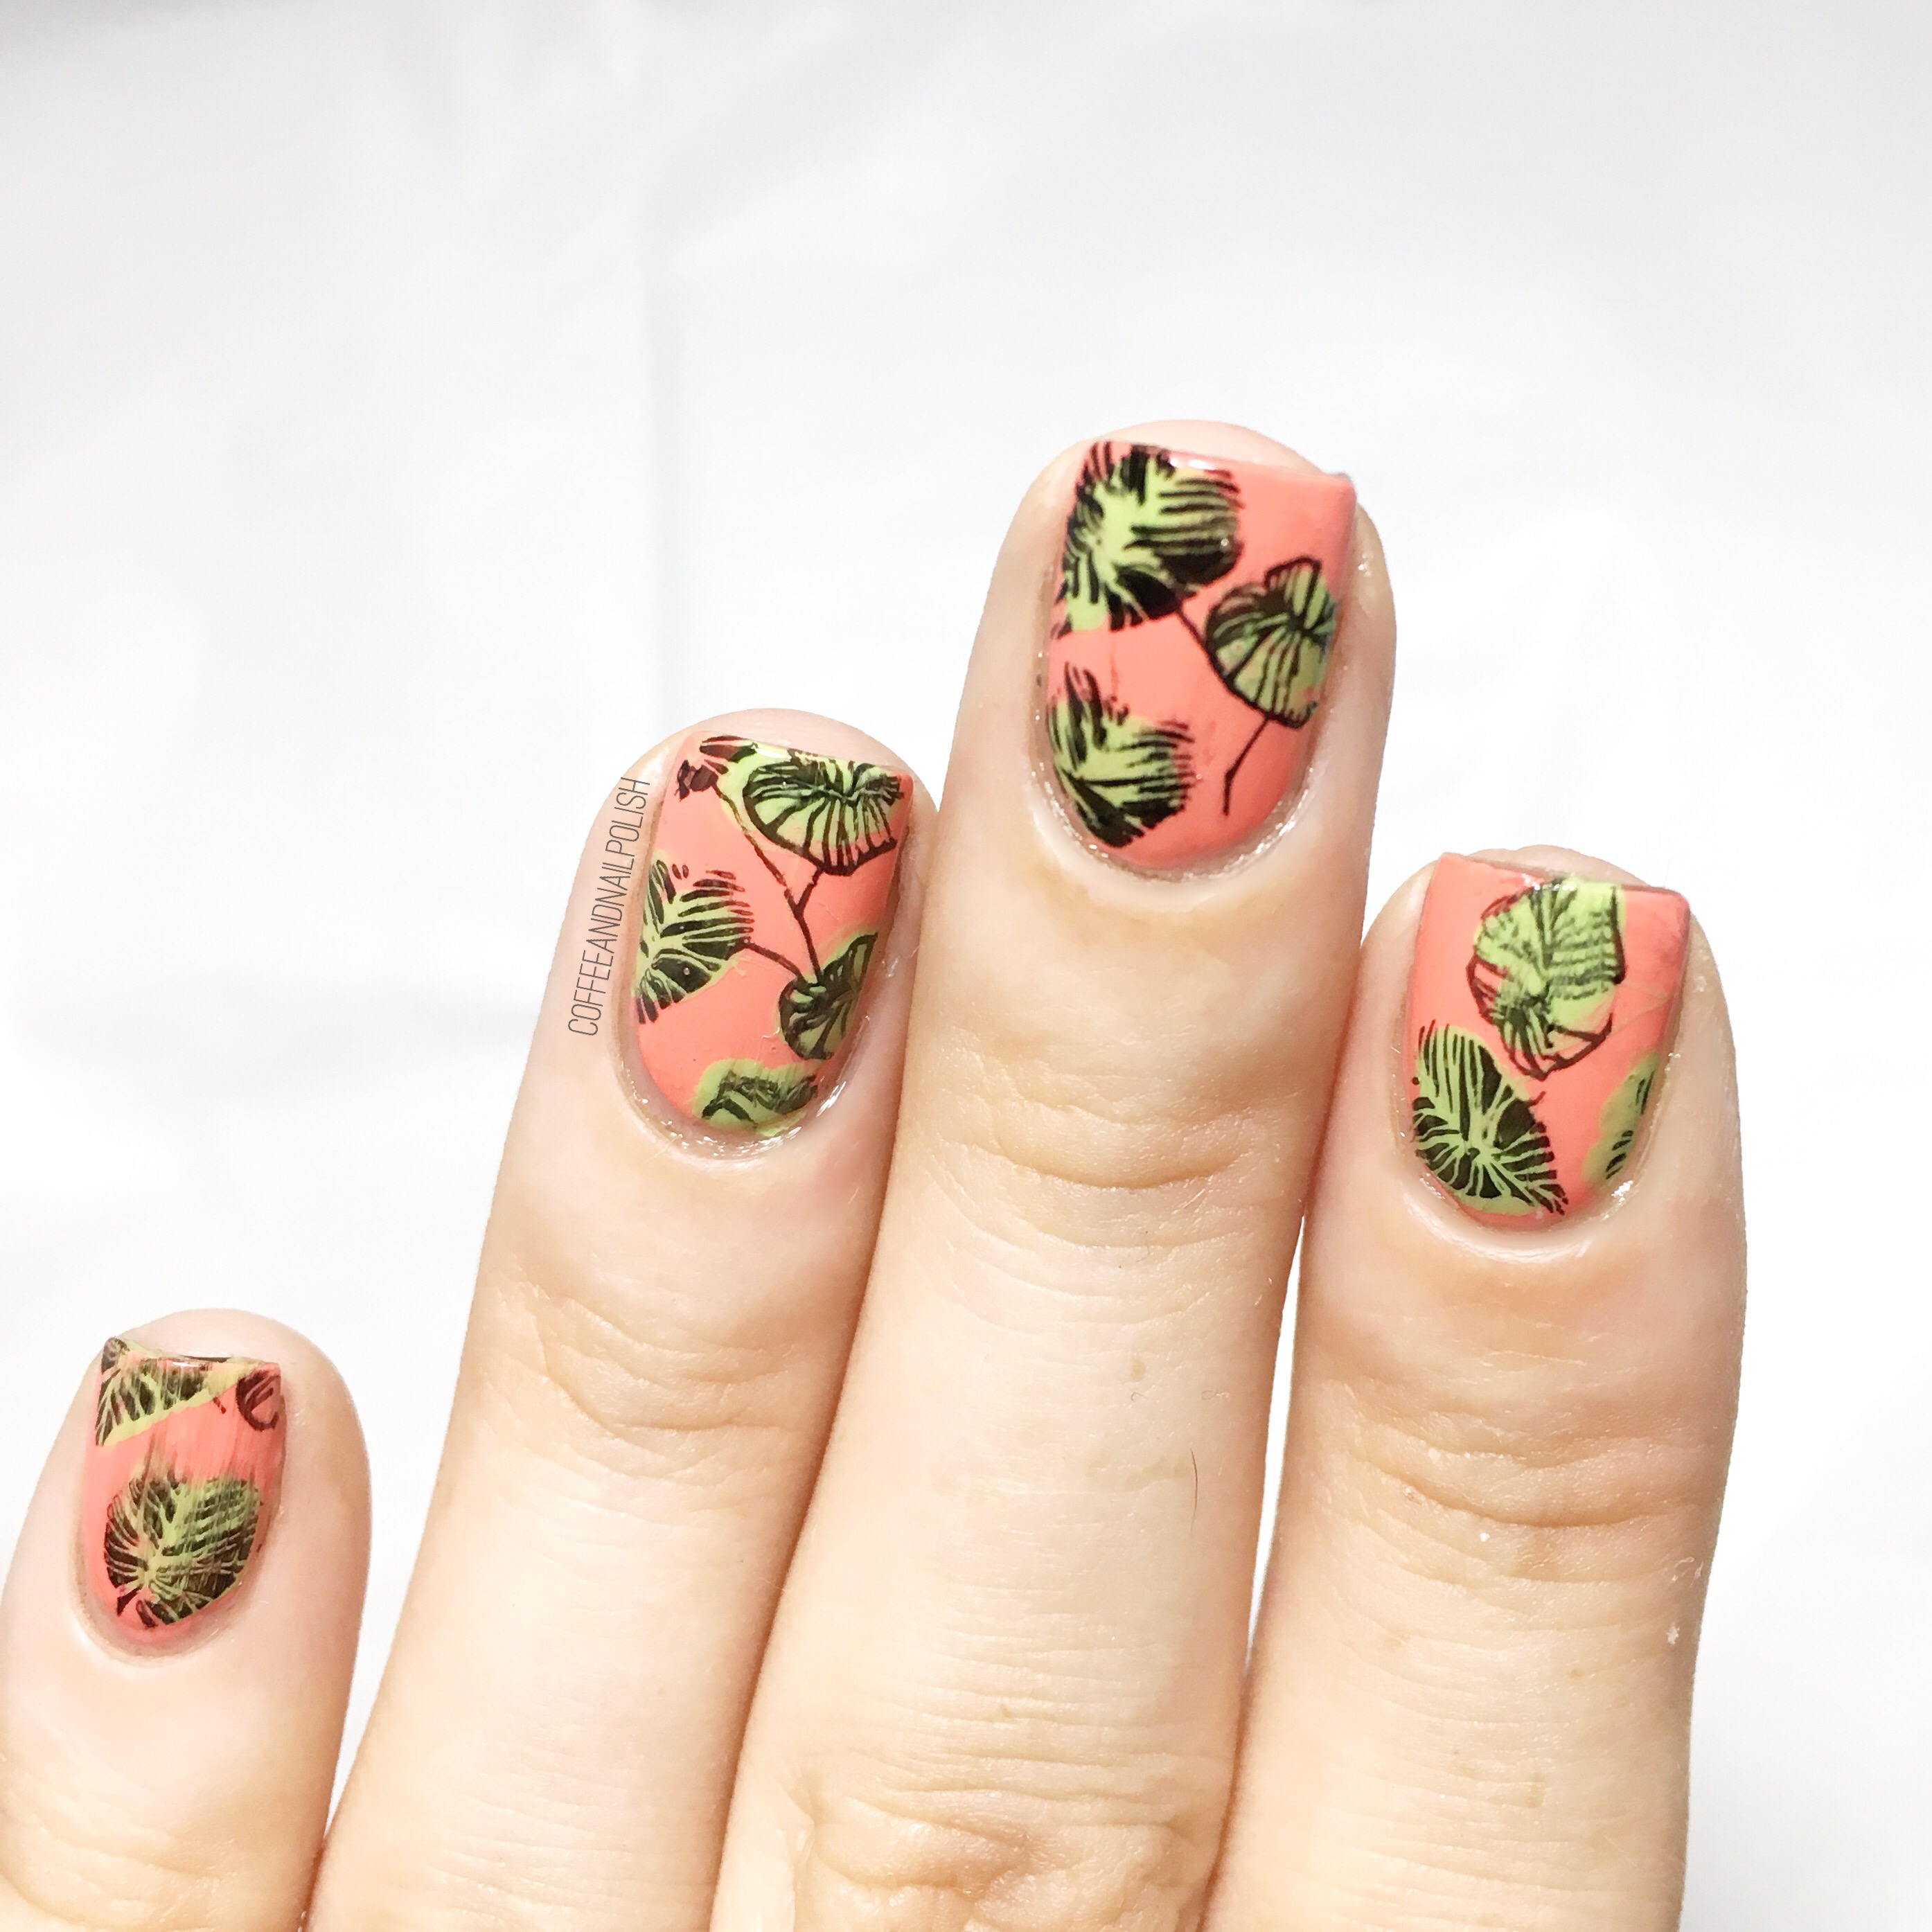
Fall Leaf Stamping 🍁

Sorry for my lack of posting this week. If you follow me on Instagram you would have saw that I was struck down by the gluten gods this past weekend & I’ve been recovering from a particularly bad attack the last couple days. I spent Monday & Tuesday in bed sleeping but I finally had a bit of a burst of energy, enough at least that I could post this mani. 

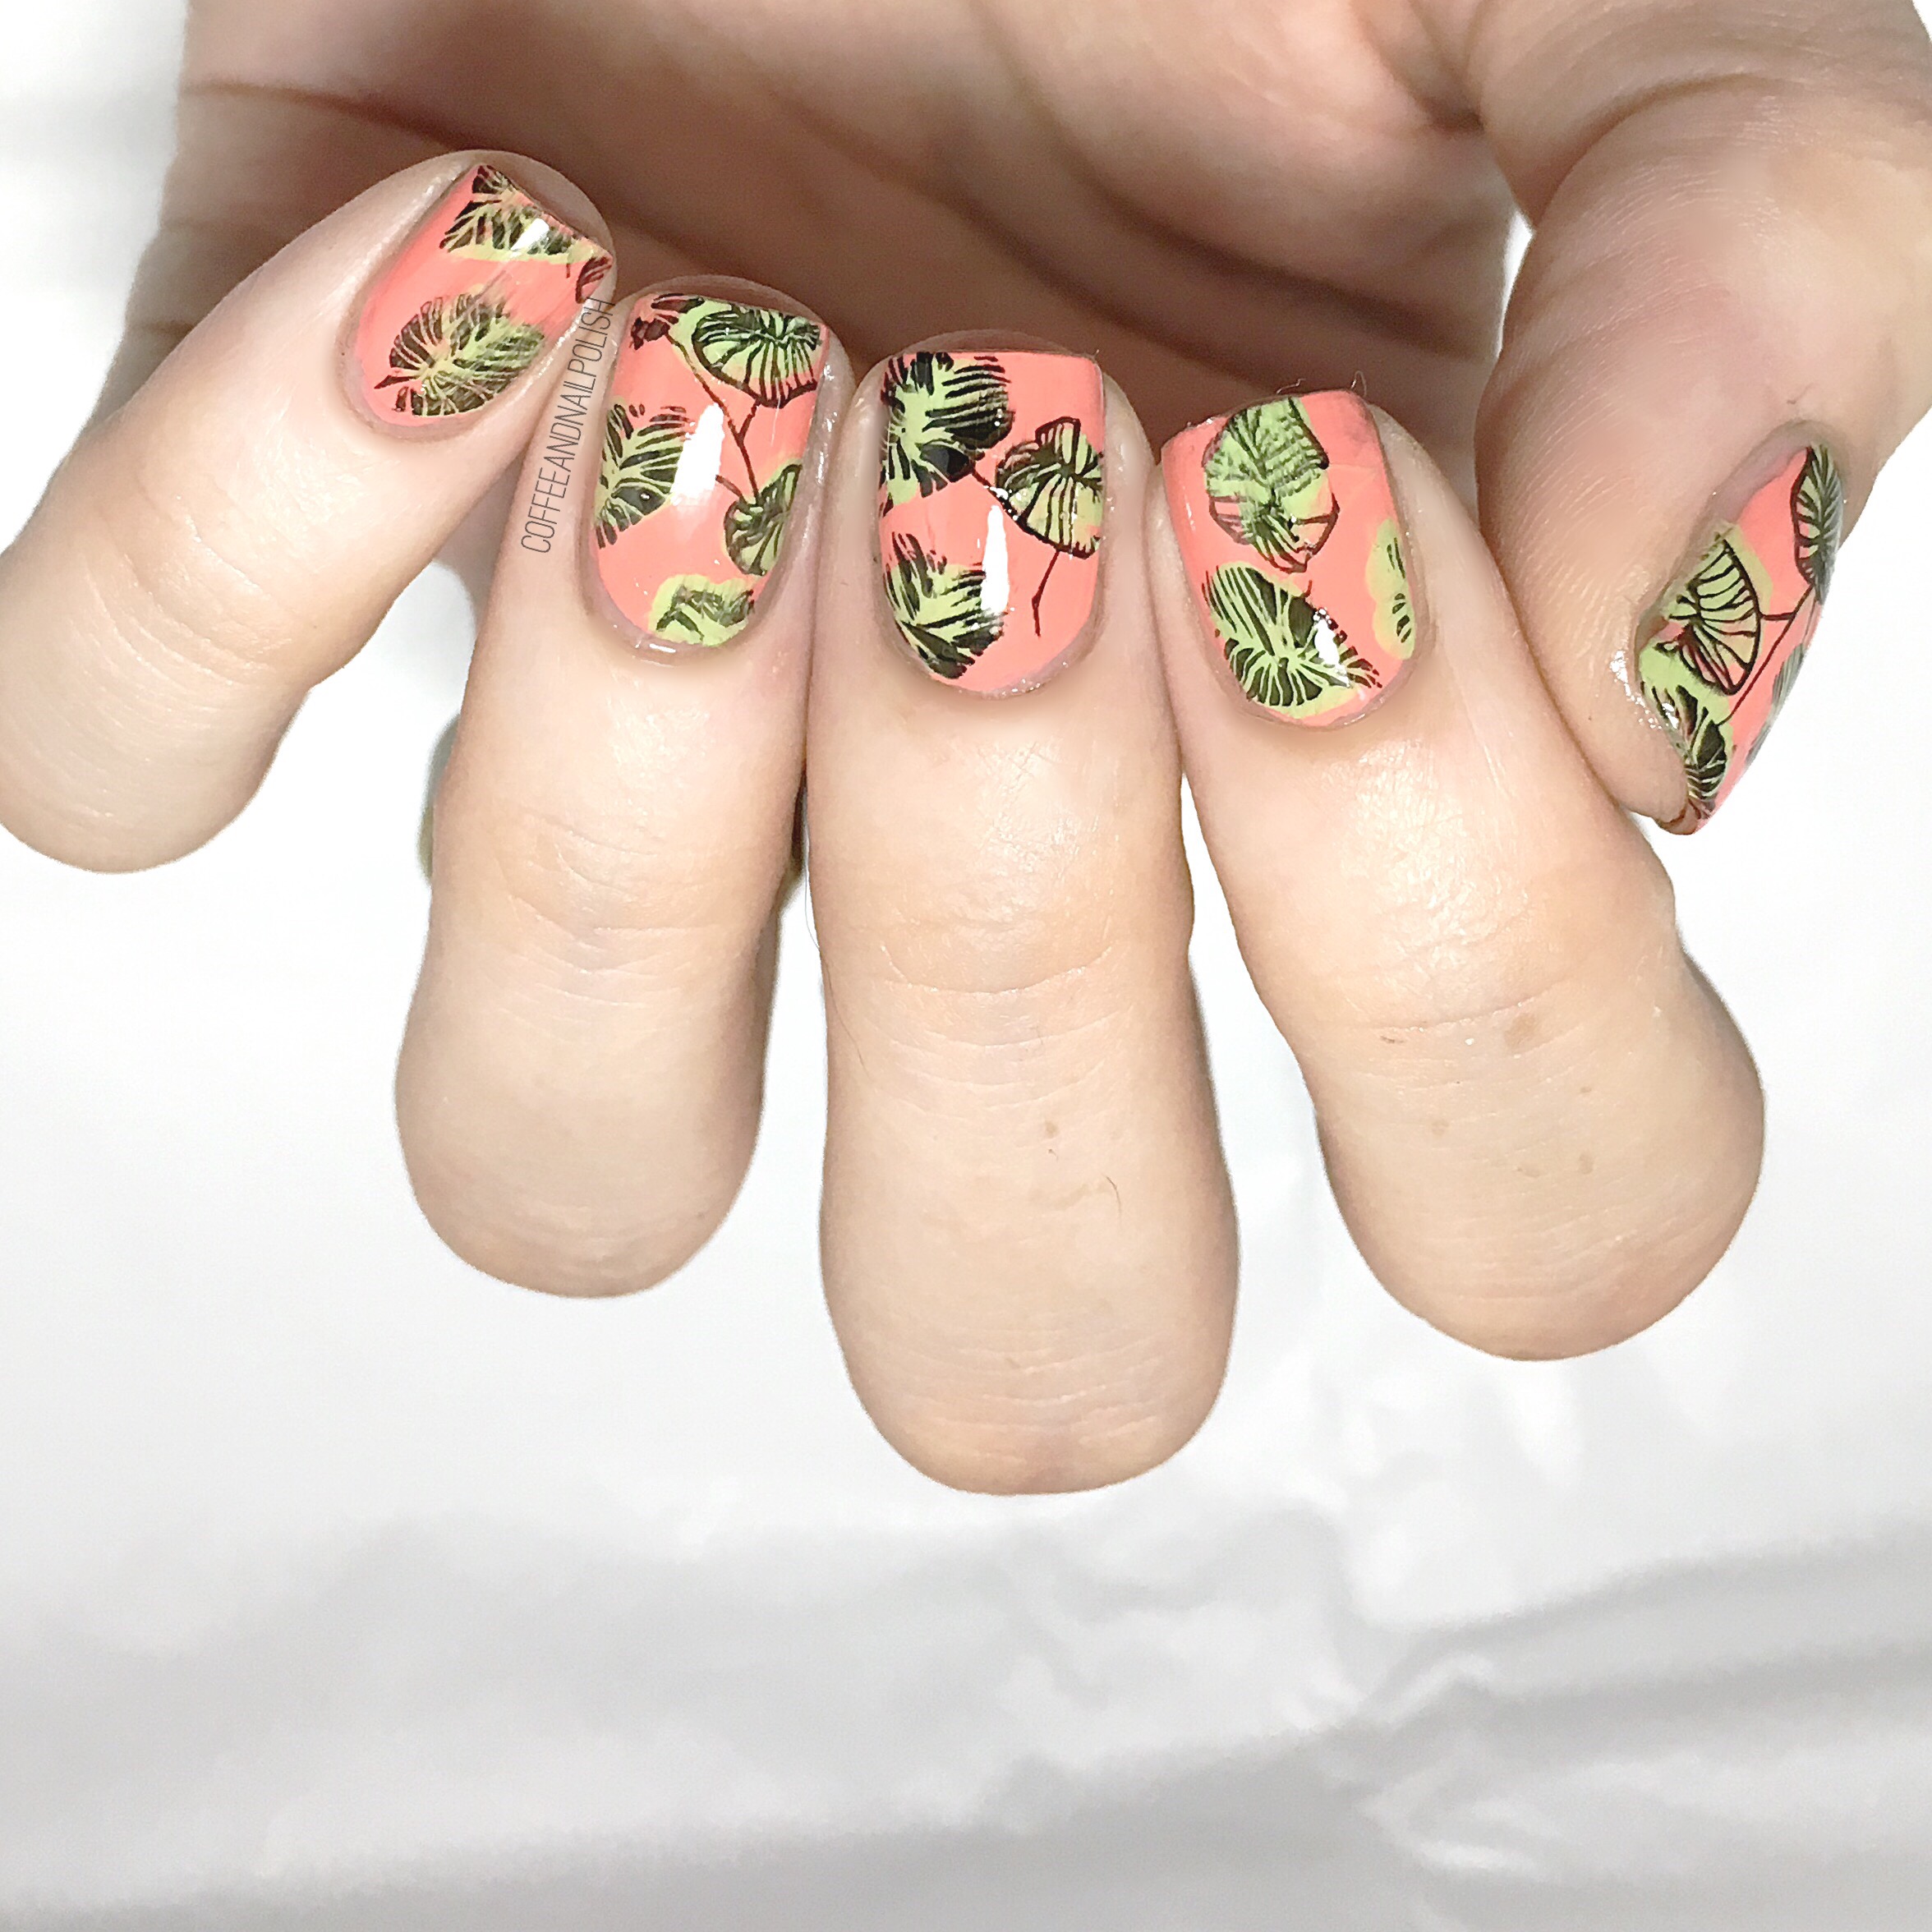
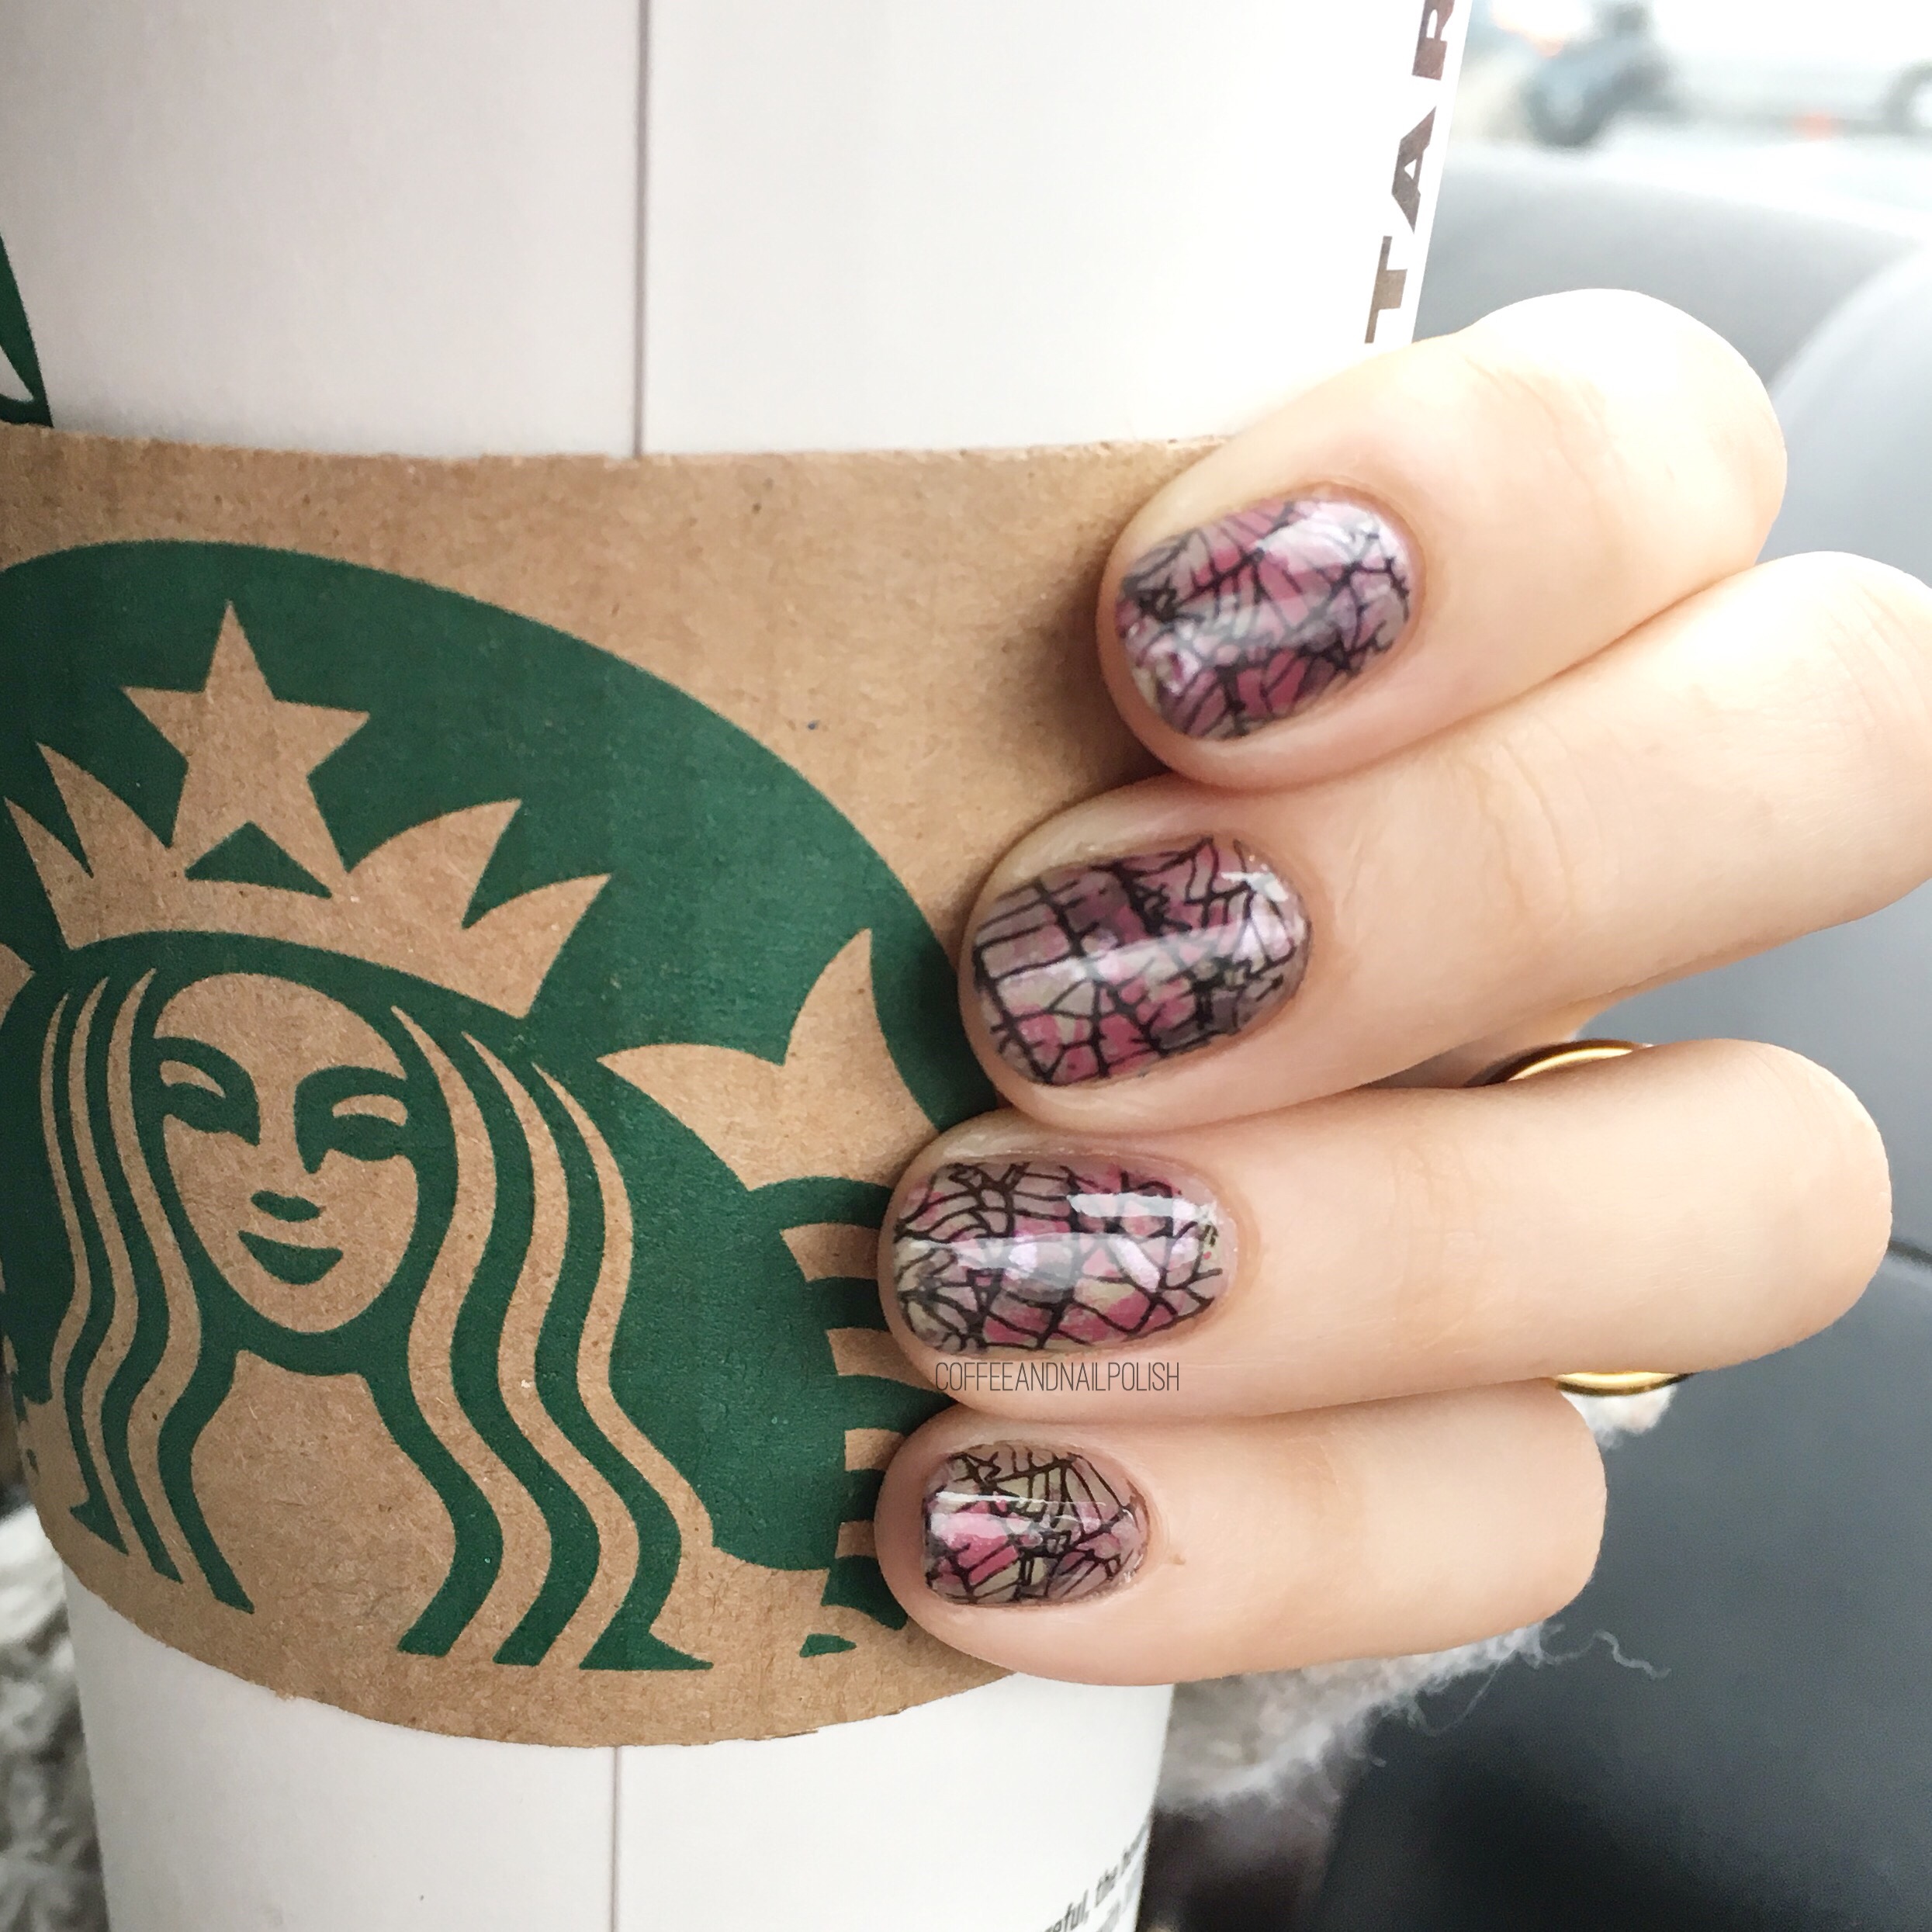
& can I just say I freaking love how this design turned out?! Okay so my husband may have said that he thought they looked like spiderwebs but he’s a boy & it doesn’t count. 😂 

For this manicure, the products I used were: 

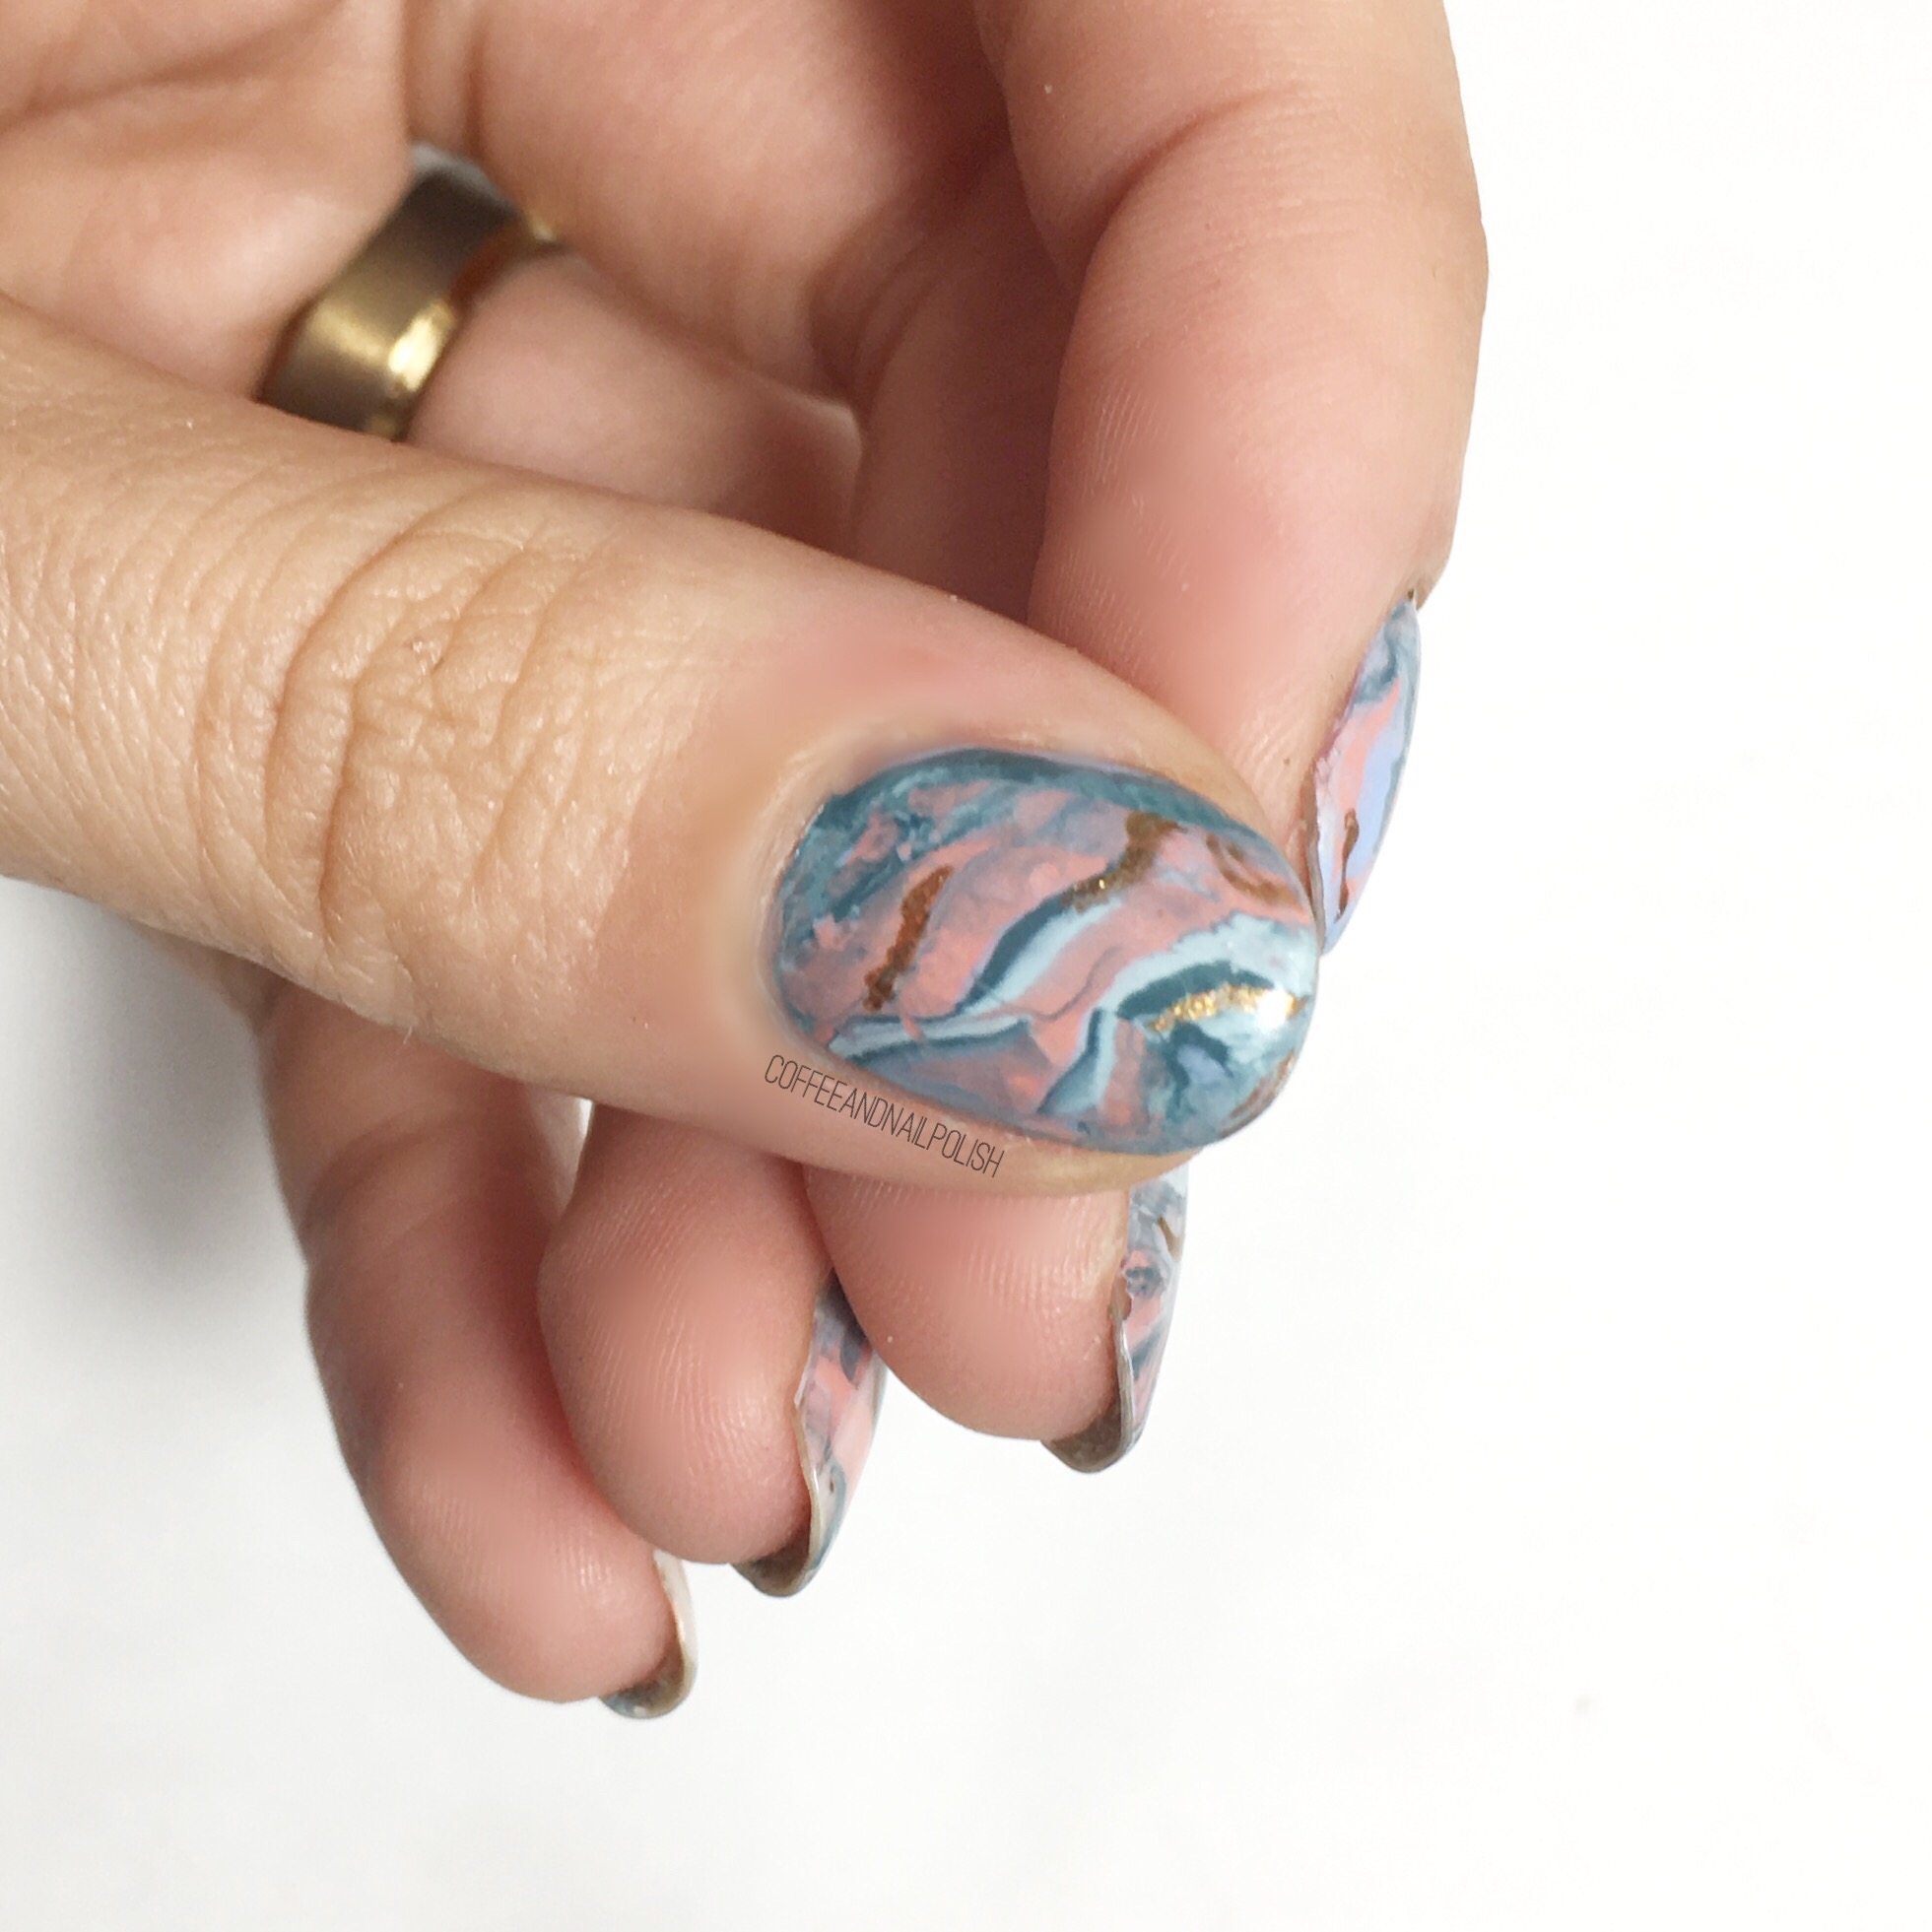
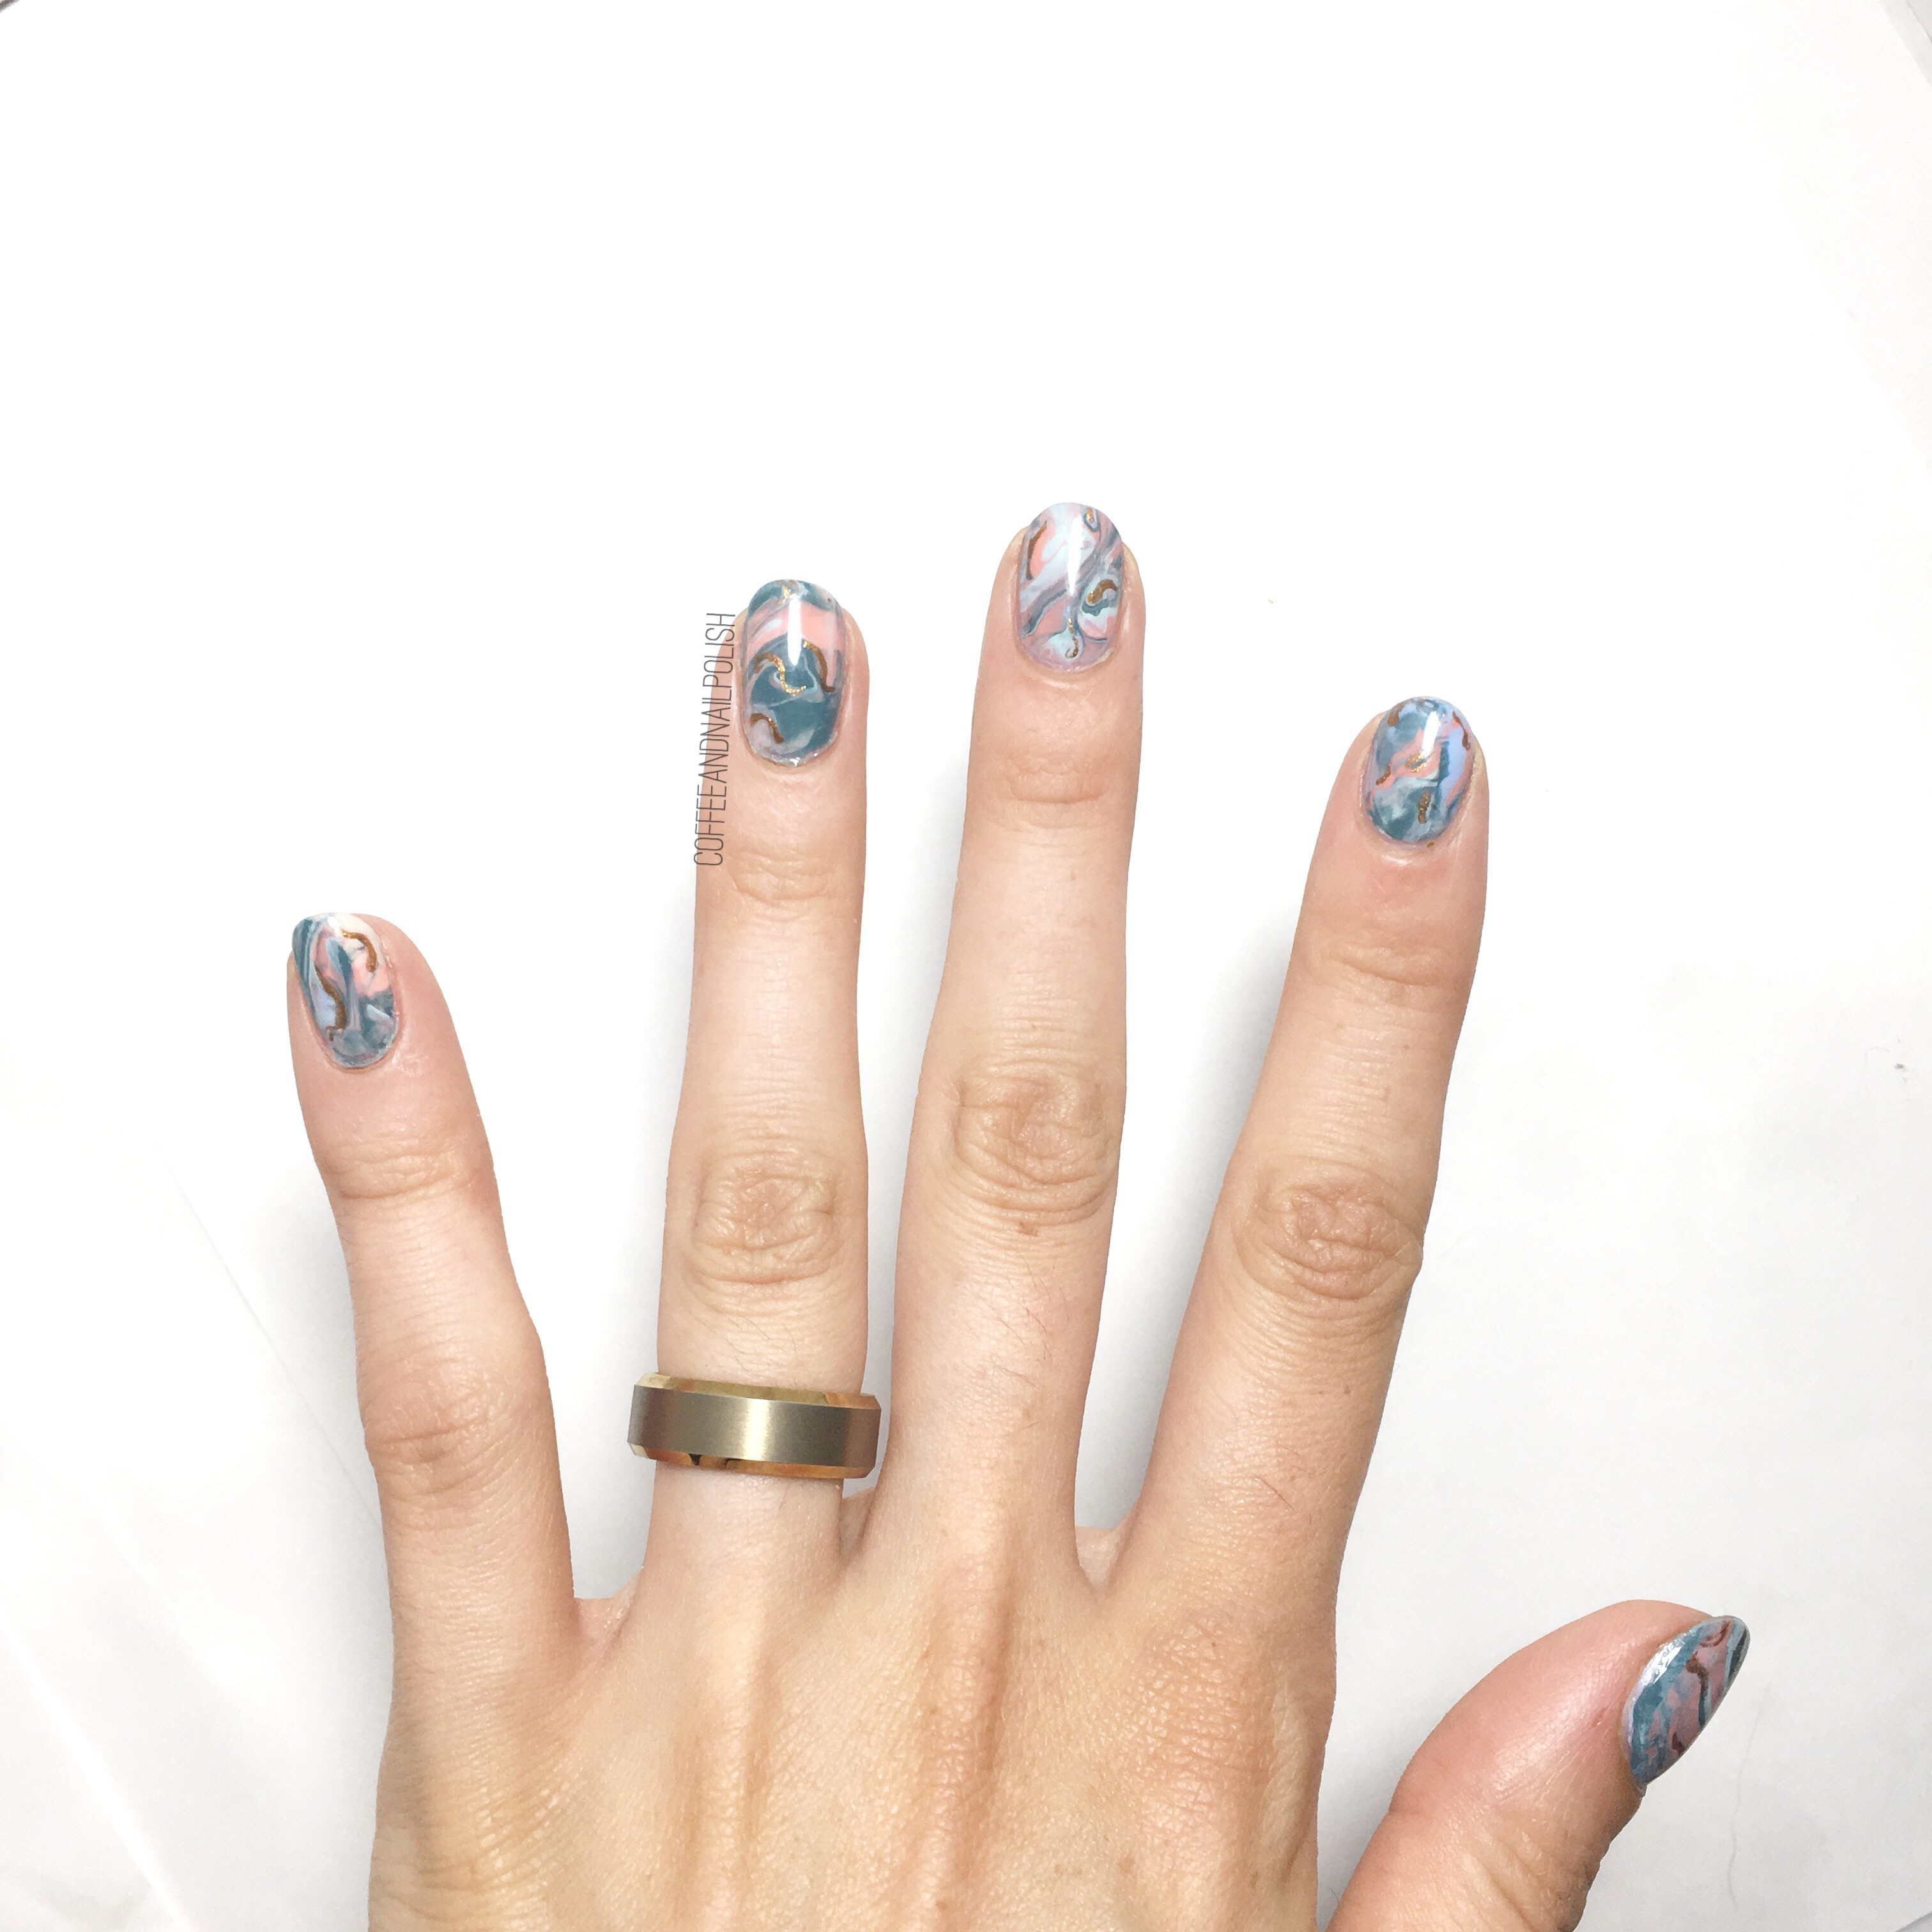
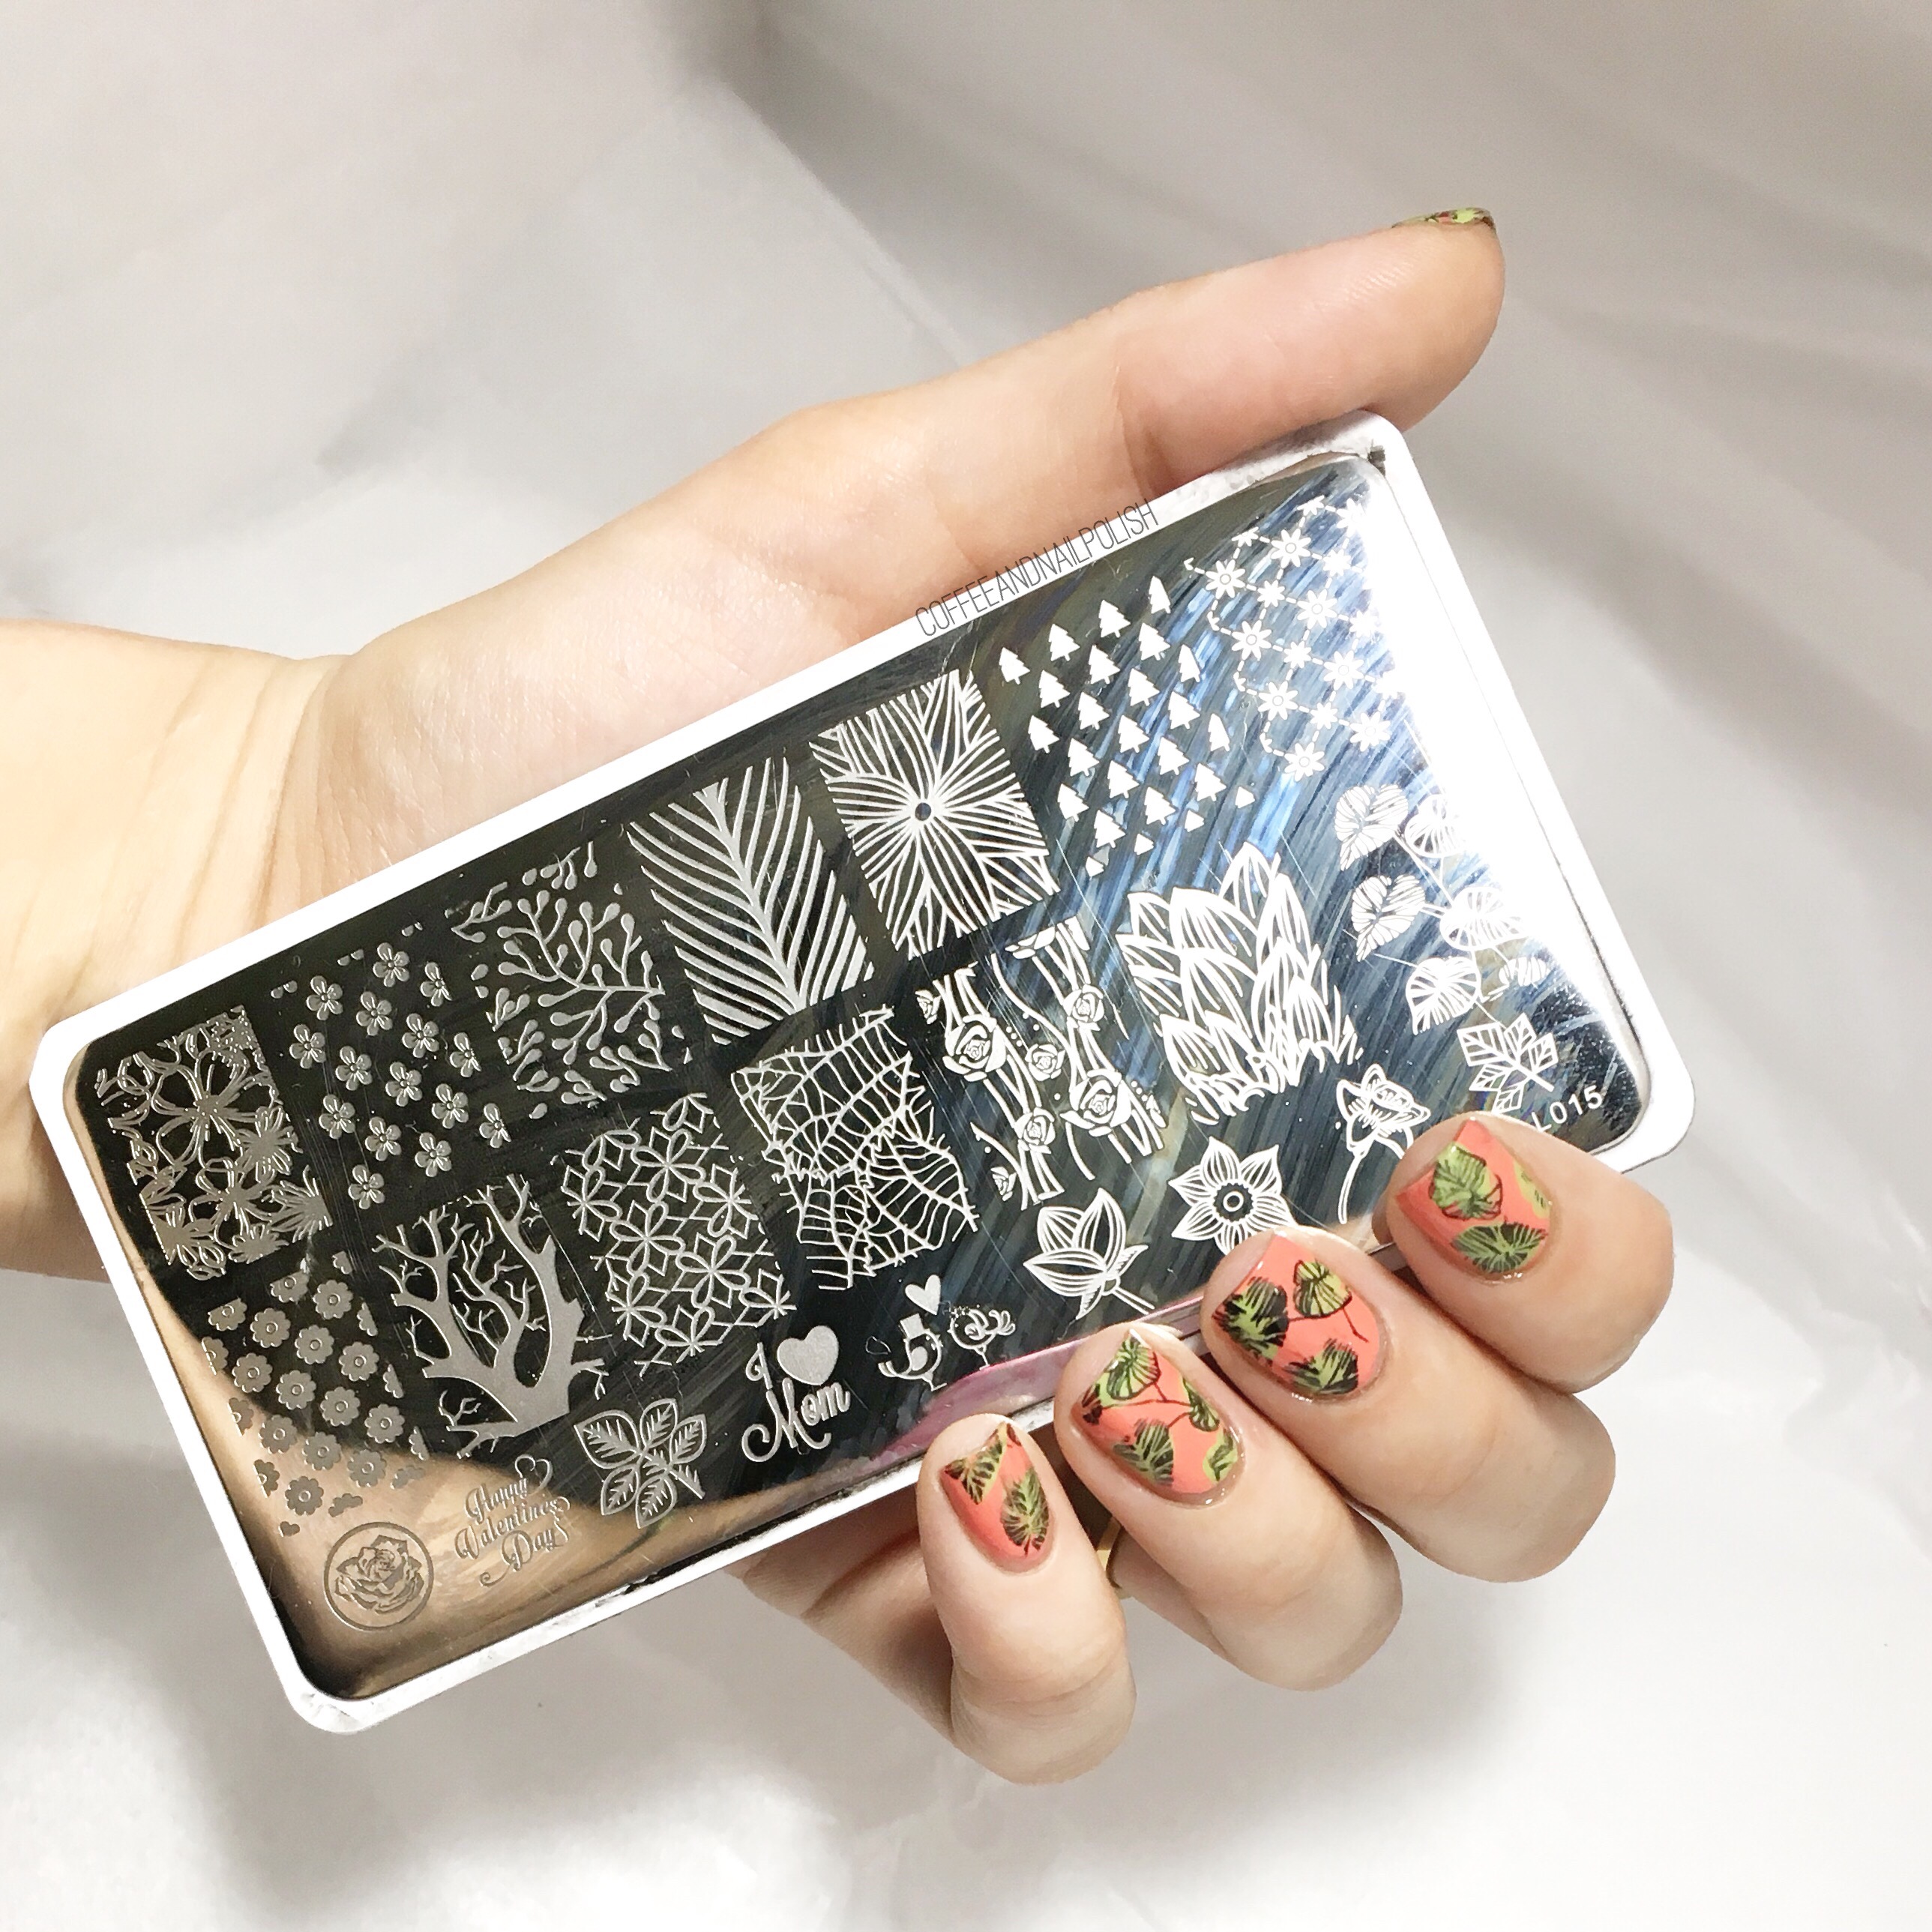
I started off with a base shade of This Isn’t Iceland the used my other OPI shades to create a Saran Wrap splatter. I topped that with clear nail polish that I knew would smear the polishes so it blended them together better. Then I stamped the leaf print over top over the blend using Back to Black to finish the design. I topped everything with top coat to seal in the design, & used a brush dipped in acetone to clean up around the cuticles. I love using Back to Black for stamping because not only does it stamp well, it cleans up easily & doesn’t leave my cuticles stained black when using acetone. There is nothing worse! 

I’m digging this pattern. I wish I could have gotten a picture with an actual leaf but mine aren’t quite on fire yet. I’ll have to repeat this stamping again when the leaves are in full colour change, just for the chance to take a picture! That, or I’ll recreate one of my all time favourite Fall designs. 
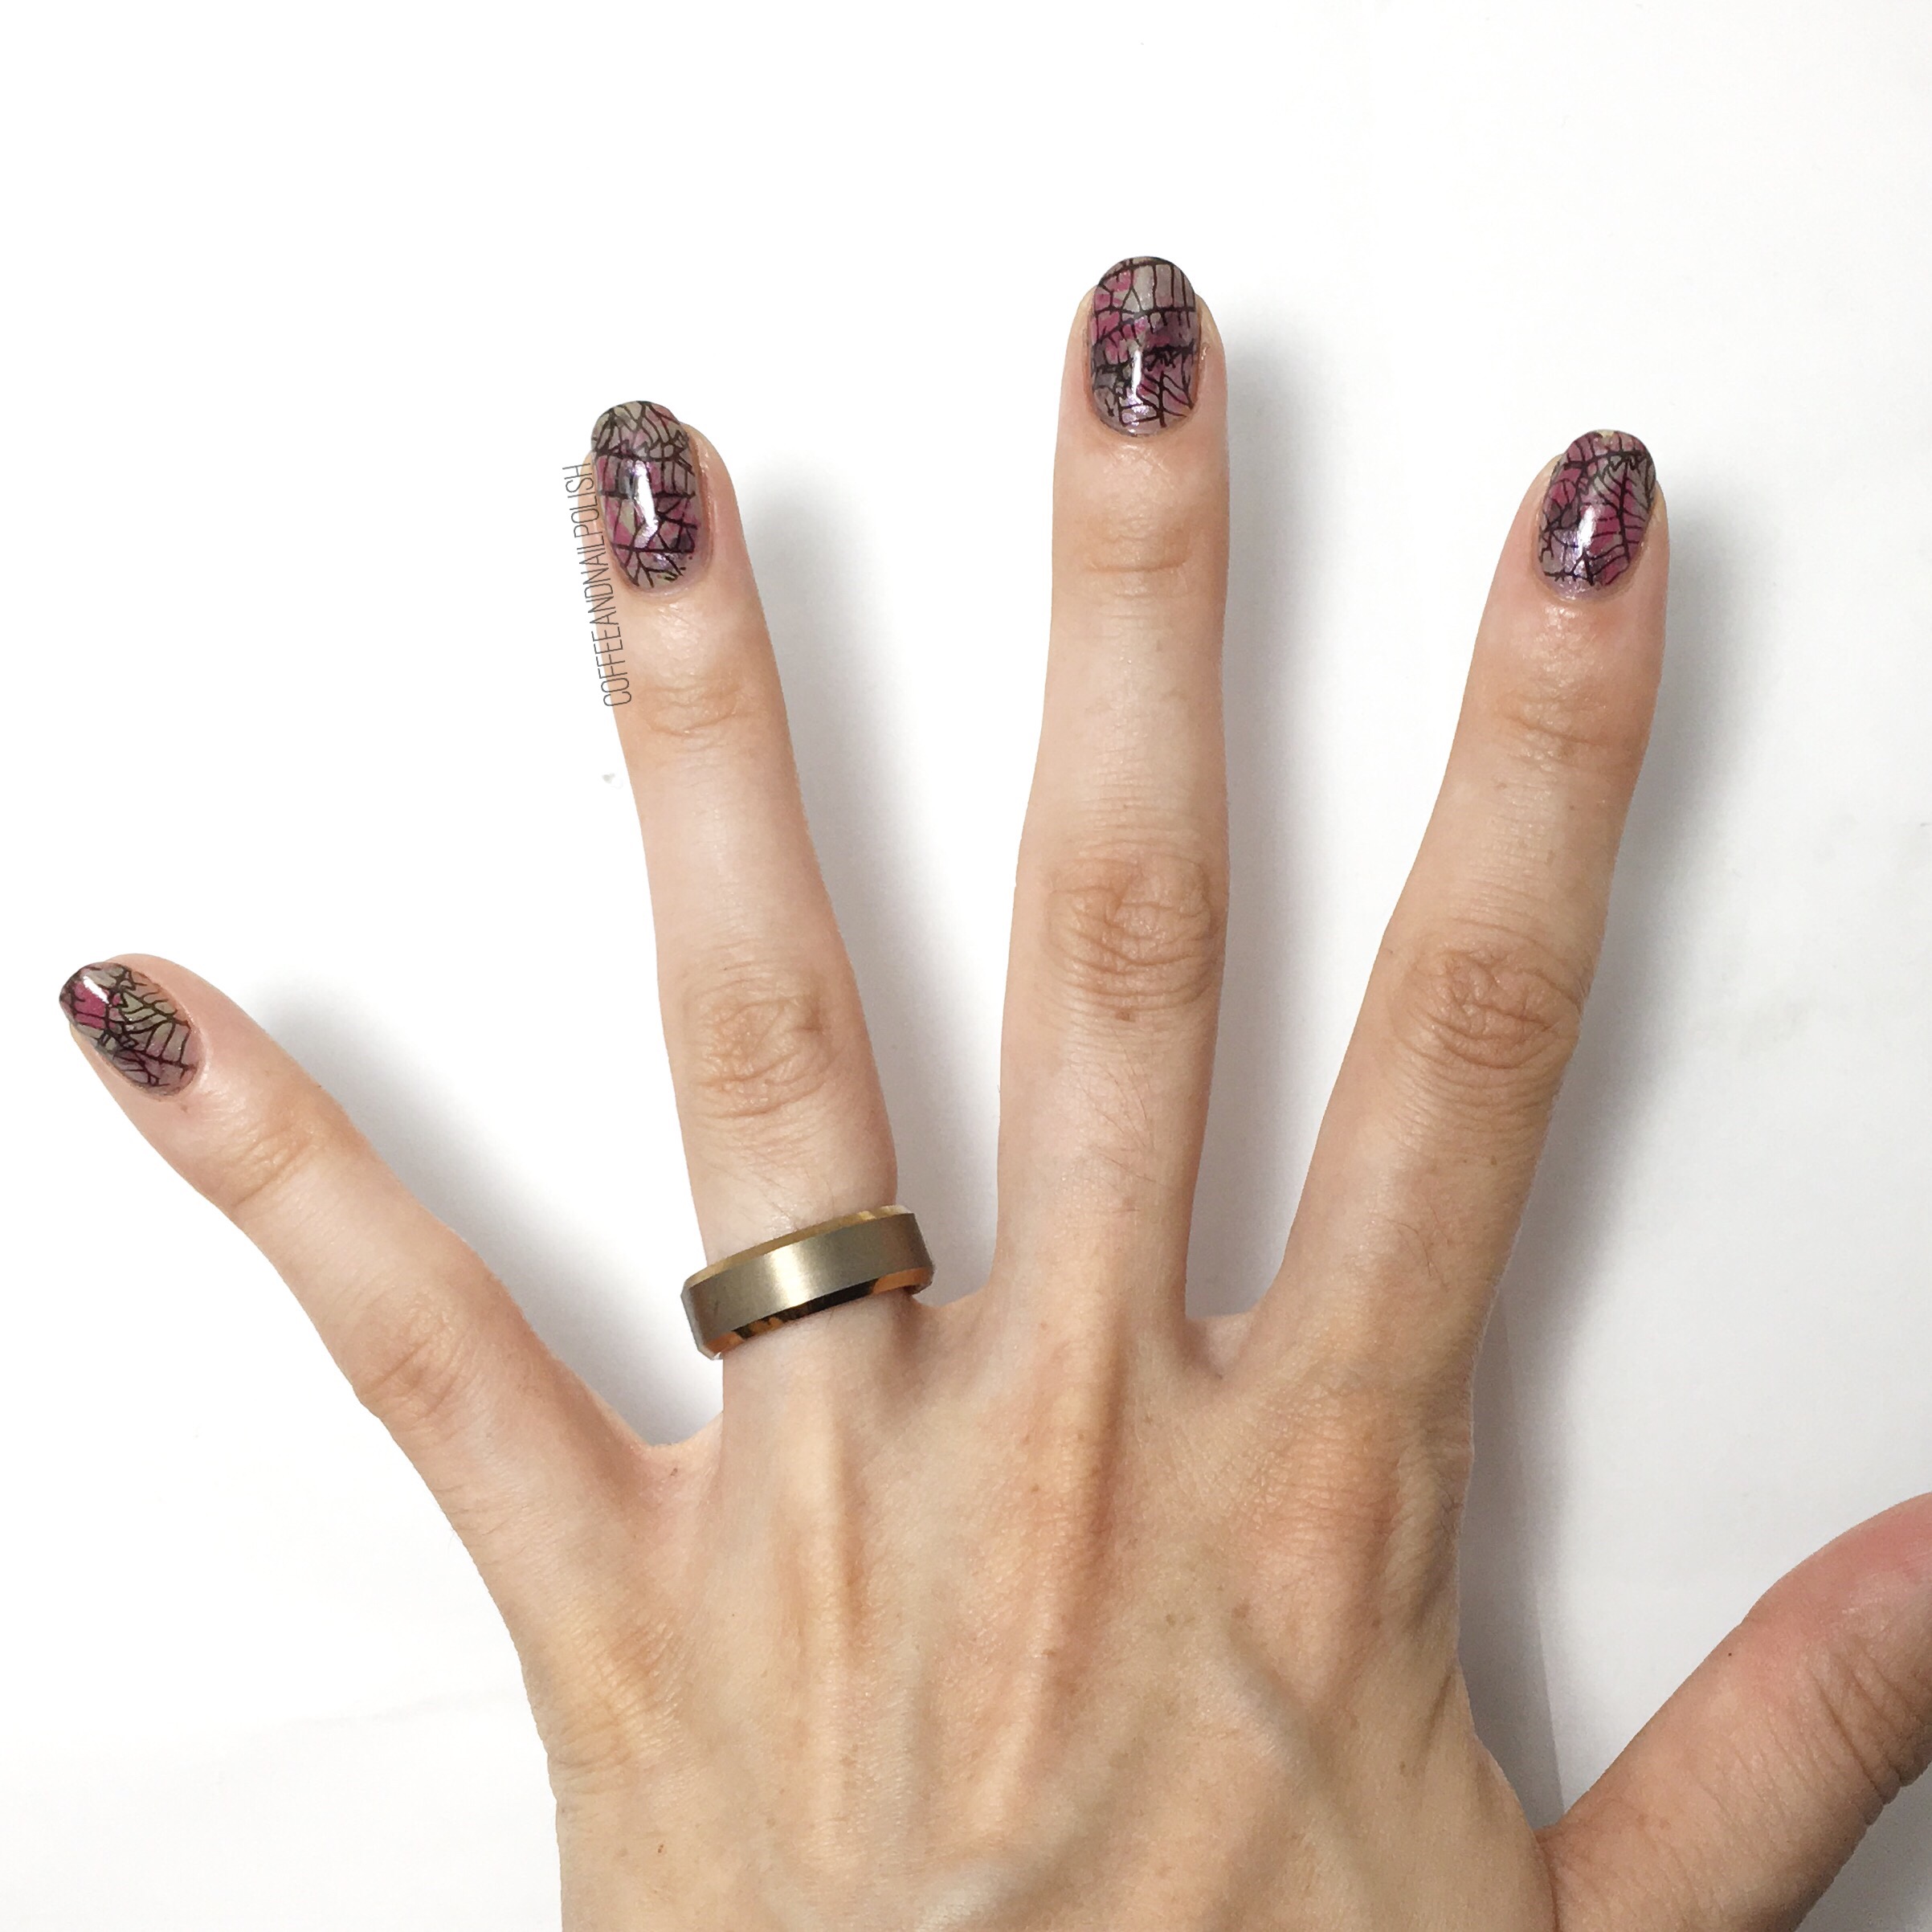
What do you think of these Fall leaf nails? Do you see leaves or spider webs? Let me know what you think in the comments below! 

Some of these lovely polishes were all gifted to me by OPI as part of the #PreenMeVIP program. 

Geometric stamping over Sally Hansen Mermaid’s Tale 

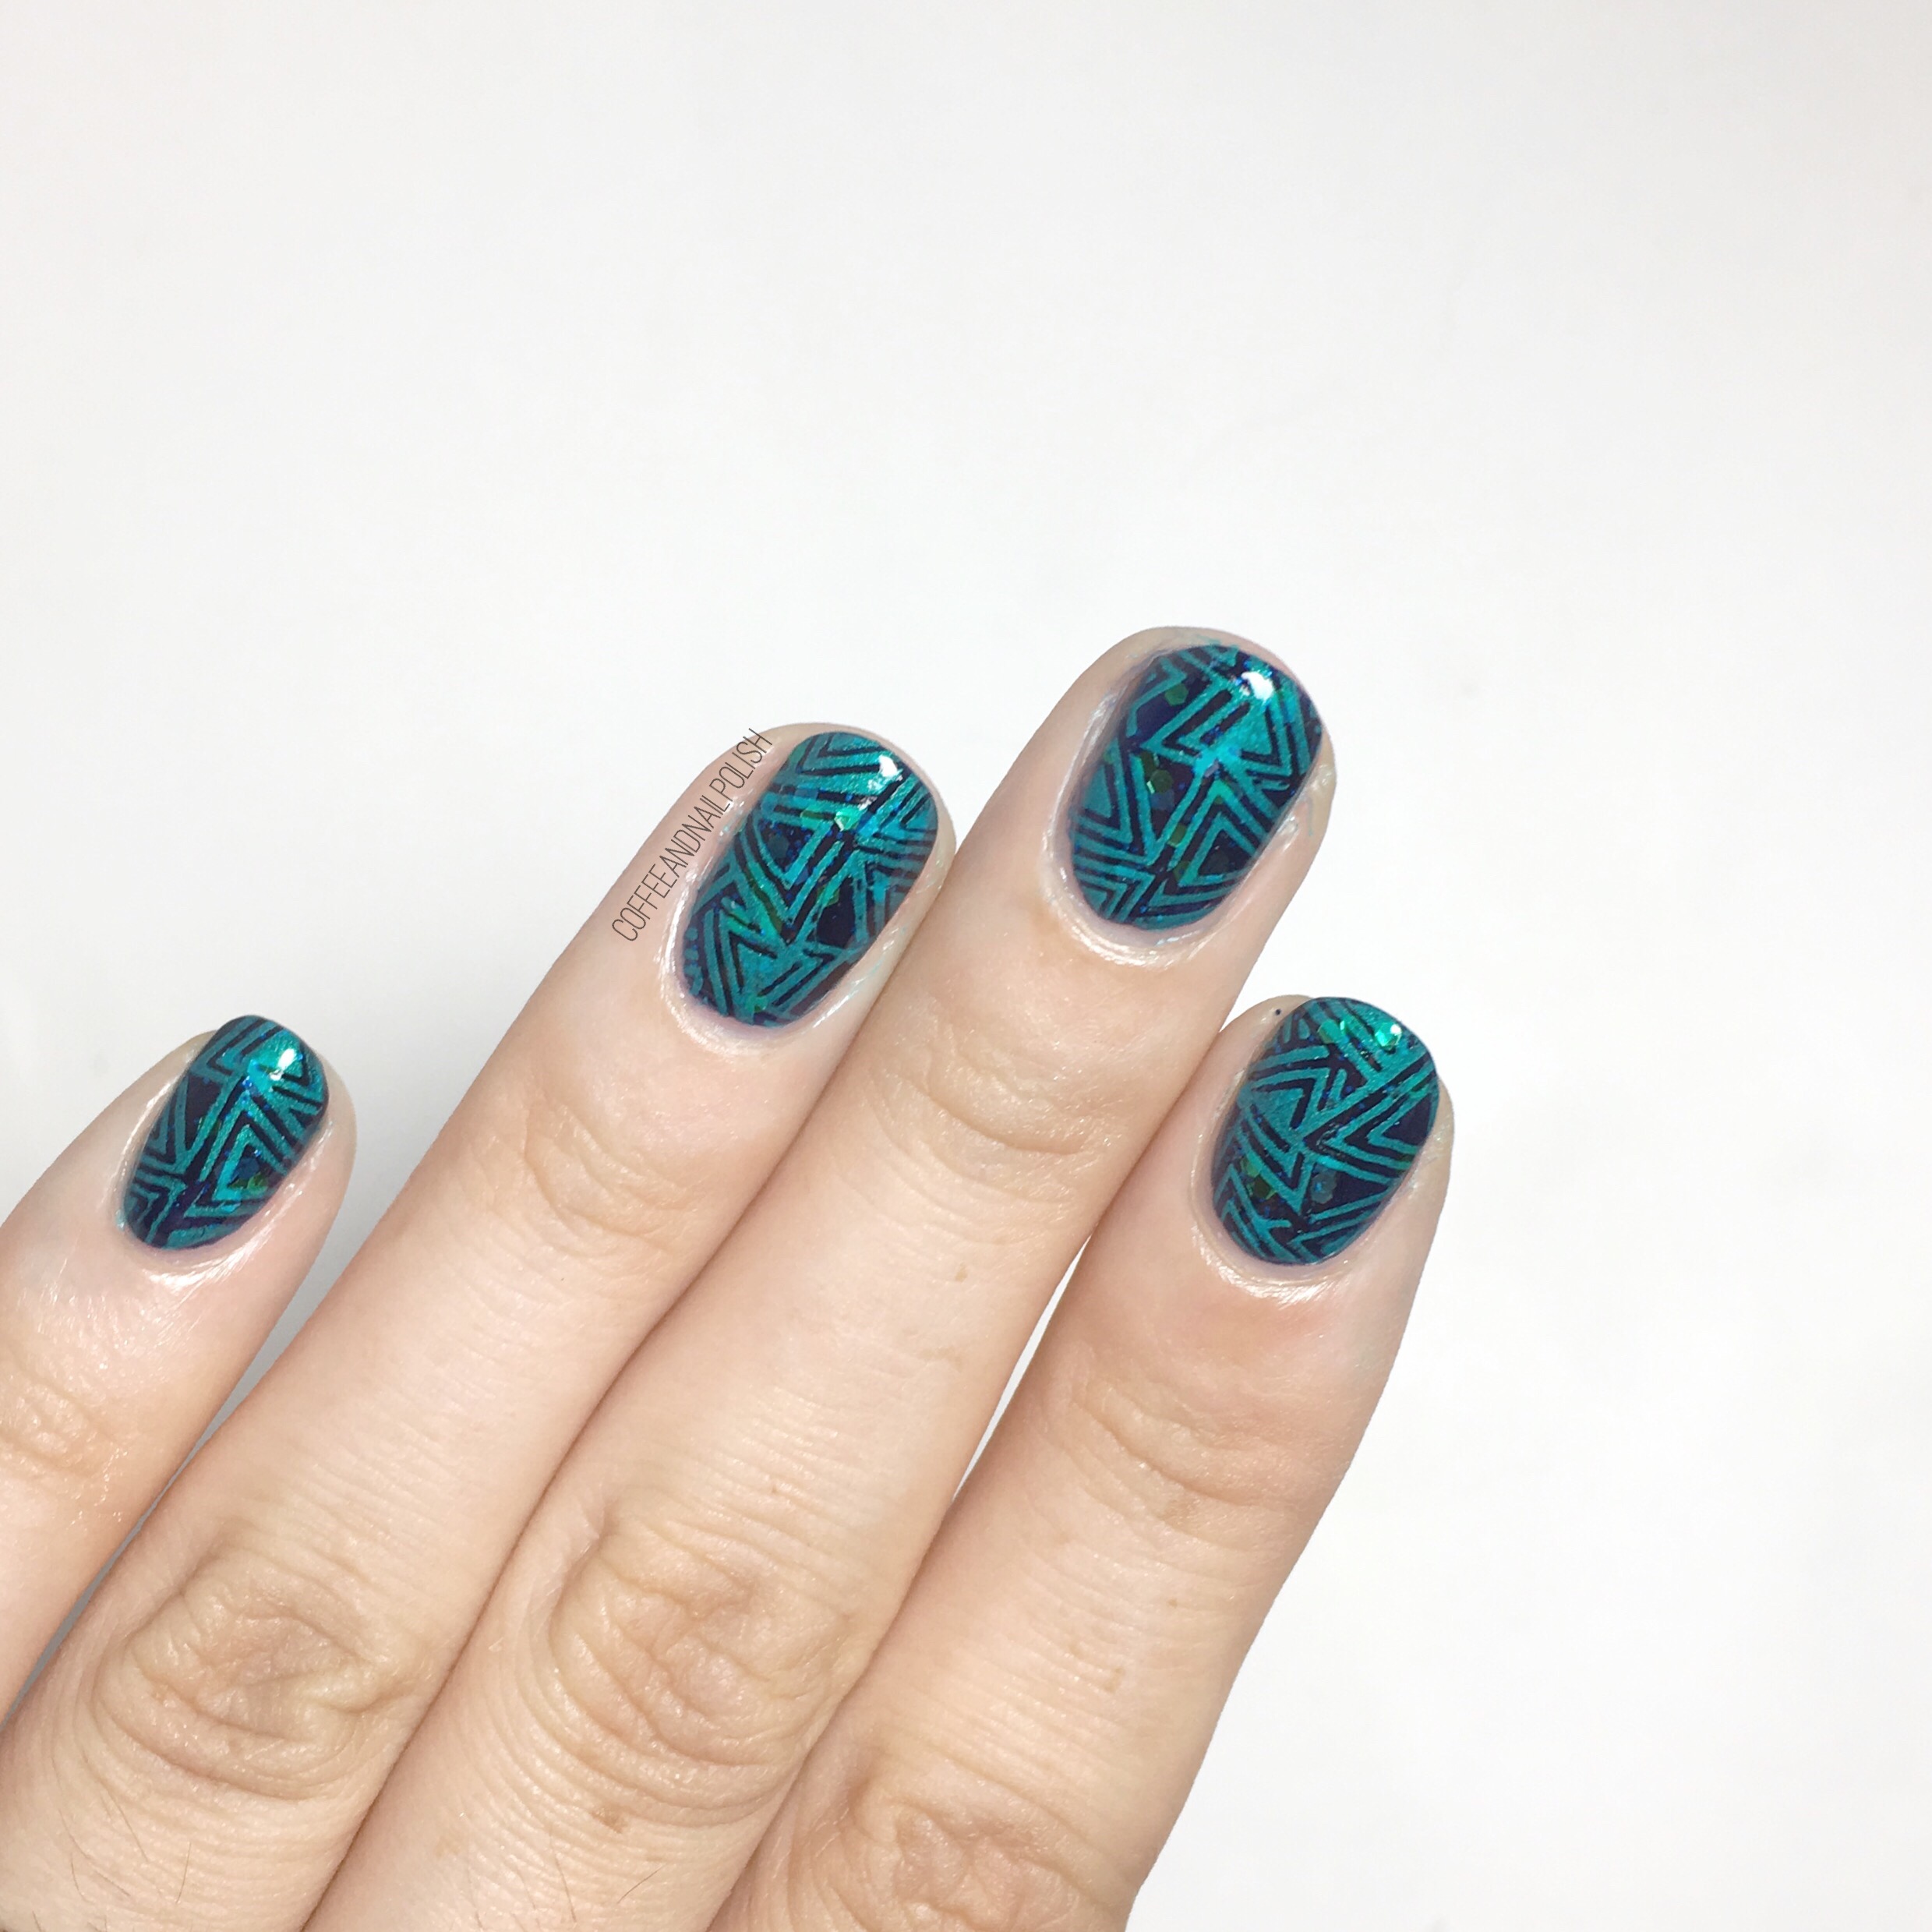
Yesterday I featured a swatch of Sally Hansen CSM in Mermaid’s Tale–a beautiful teal jelly glitter shade. Today I have the mani I did using that shade as my base colour! I’ve really had a lot of fun getting into stamping, & practicing, so I decided to try stamping a pattern over the glitter. I knew black wouldn’t show up over such a dark base, so I decided to grab something fun & bright (Turquoise) & the end result turned out perfect. 

For this manicure, the polishes used were:

  • Base Coat: Finger Paints Peel Off Base Coat for Glitter
  • Top Coat: Cutex Quick Dry Top Coat
  • Essie Under the Twilight 
  • Sally Hansen Complete Salon Manicure Mermaid’s Tale
  • China Glaze Turned Up Turquoise
  • Born Pretty Store Clear Jelly Stamper item #24059
  • Older Born Pretty Stamping Plate that’s no longer available — this plate contains the same image. 

Can I just say how impressed I am with how well Turned Up Turquoise stamps? I was shocked with how opaque it was on the nail, especially over such a dark base colour. I wasn’t sure how it was going to look, but it turned out awesome! I always find myself so drawn to dark shades in the Fall months, but the pop of colour over top works well for a transitional manicure–just enough of Summer & just enough of Fall, all in one design. 


What do you think of this stamping? What polishes do you love for stamping? Share all your secrets in the comments below! I’m going to be ordering a bunch of new stamping plates (especially Halloween/Christmas themed plates) in the next couple days so I’m looking for all the best stamping polishes for playing. 

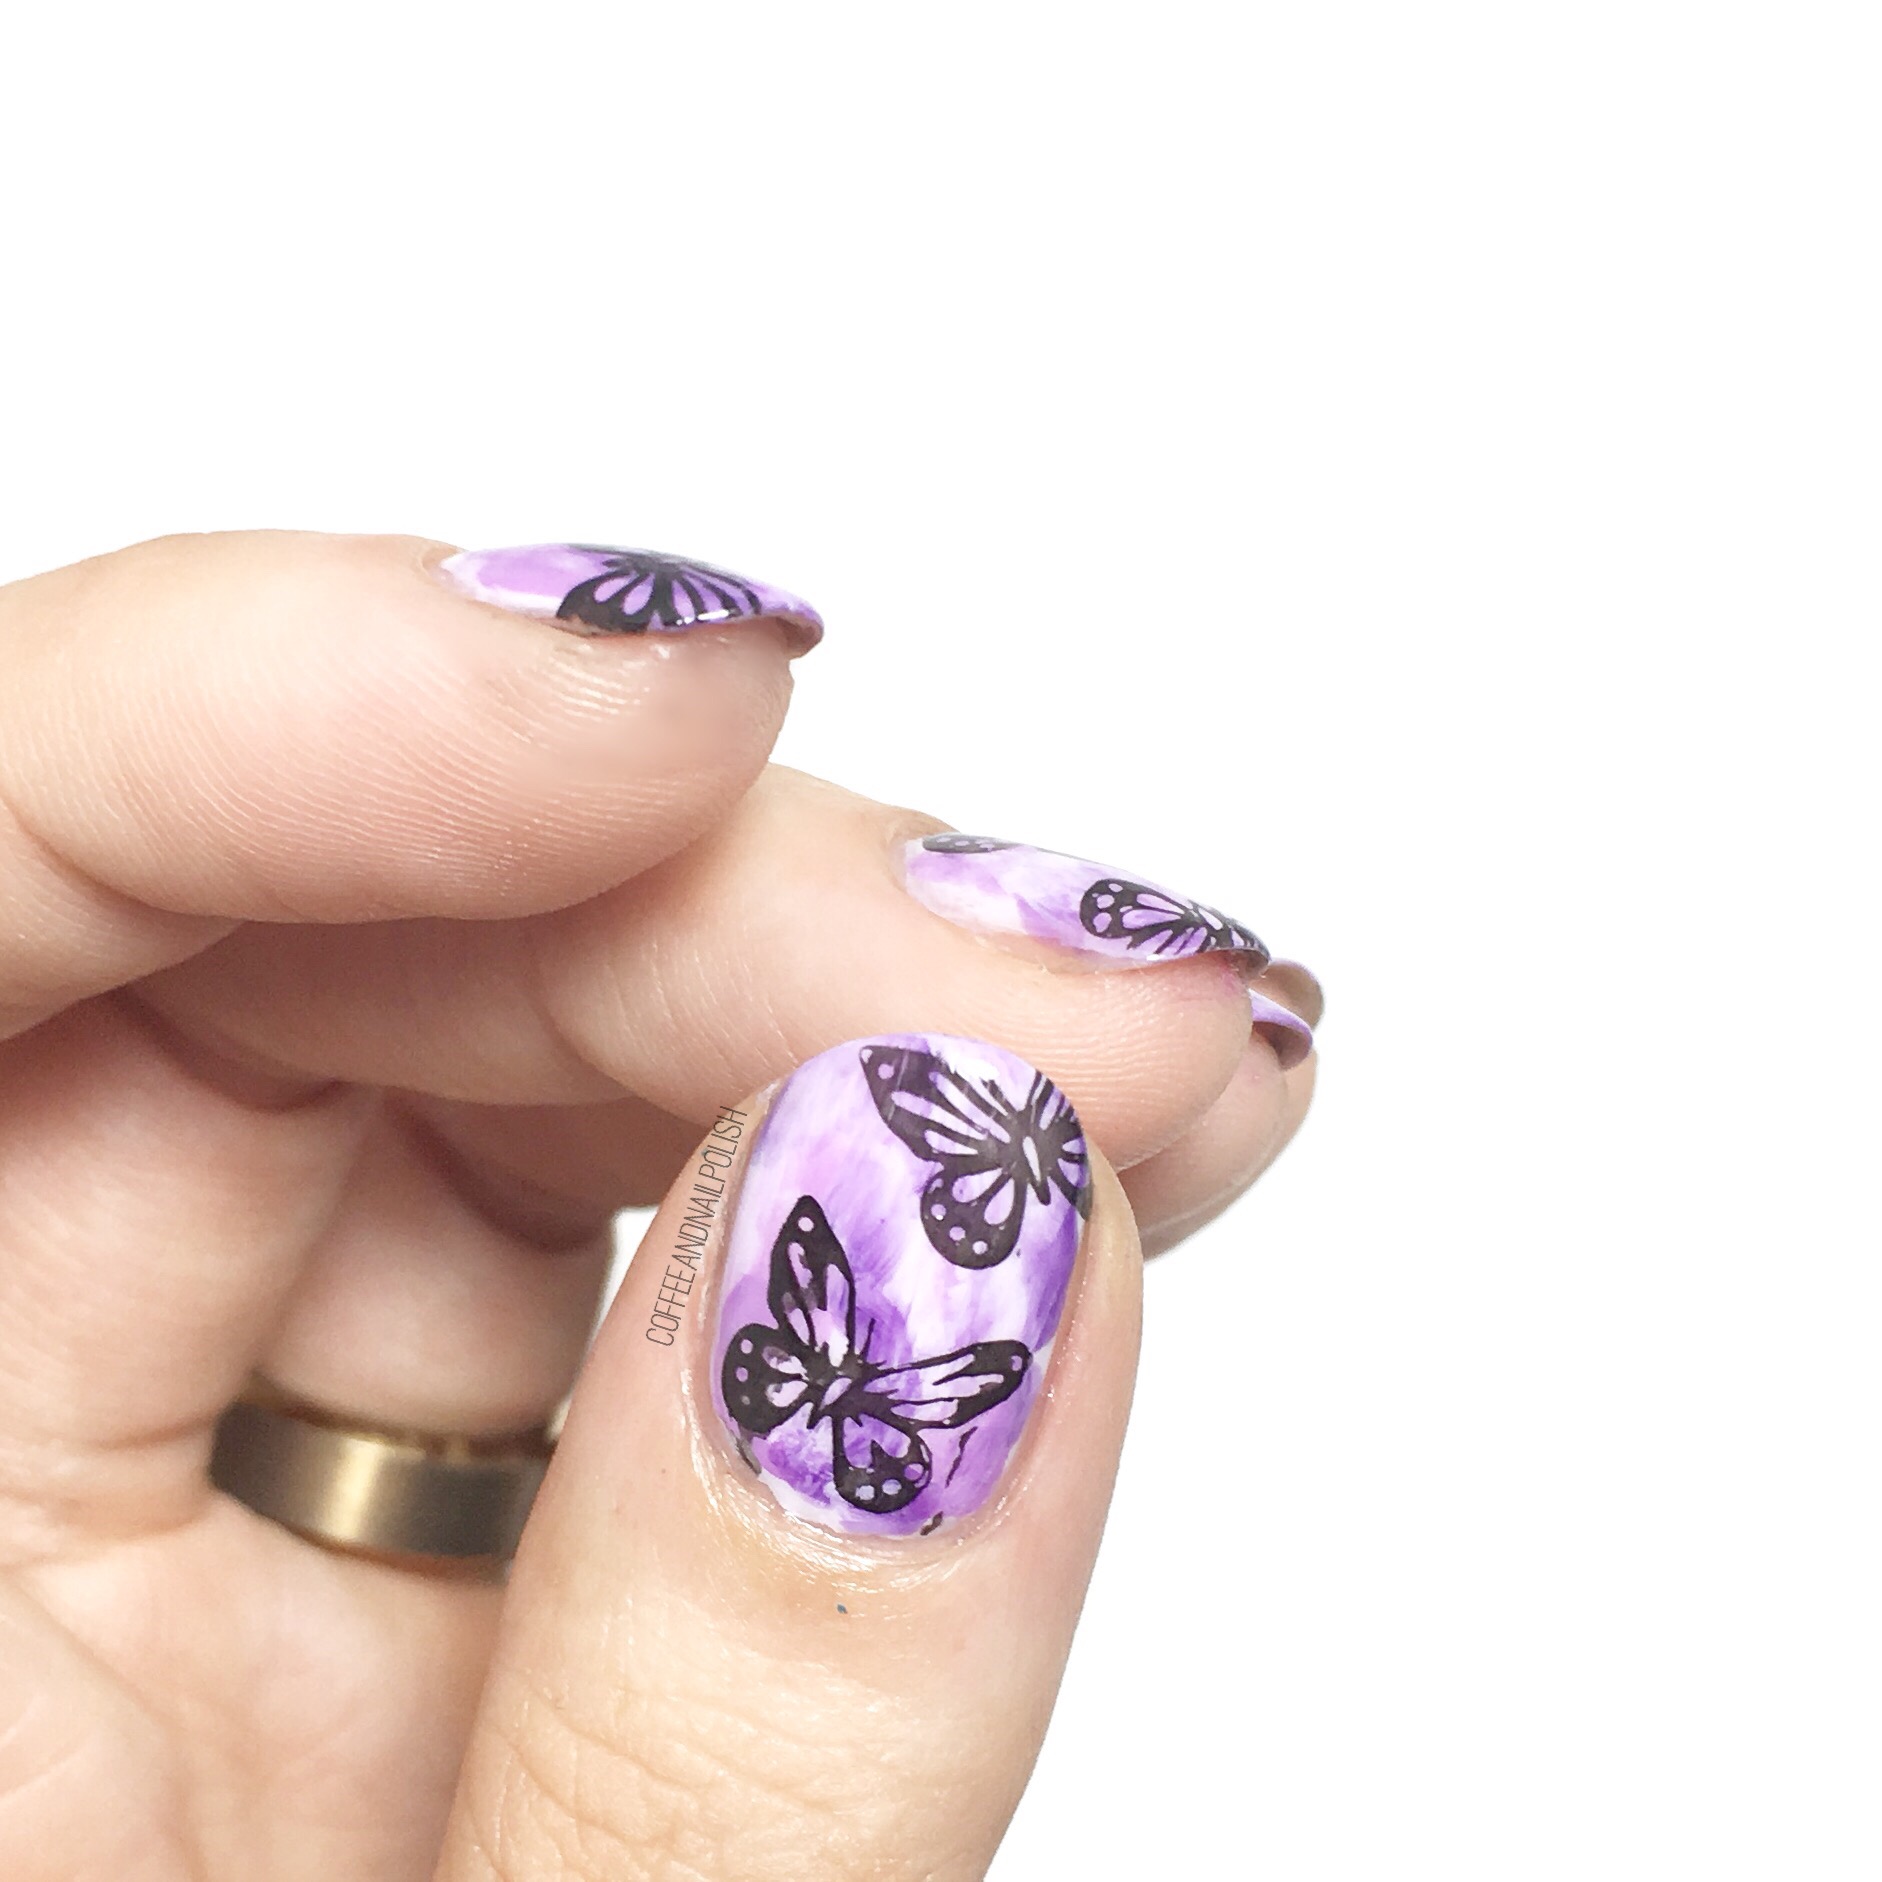
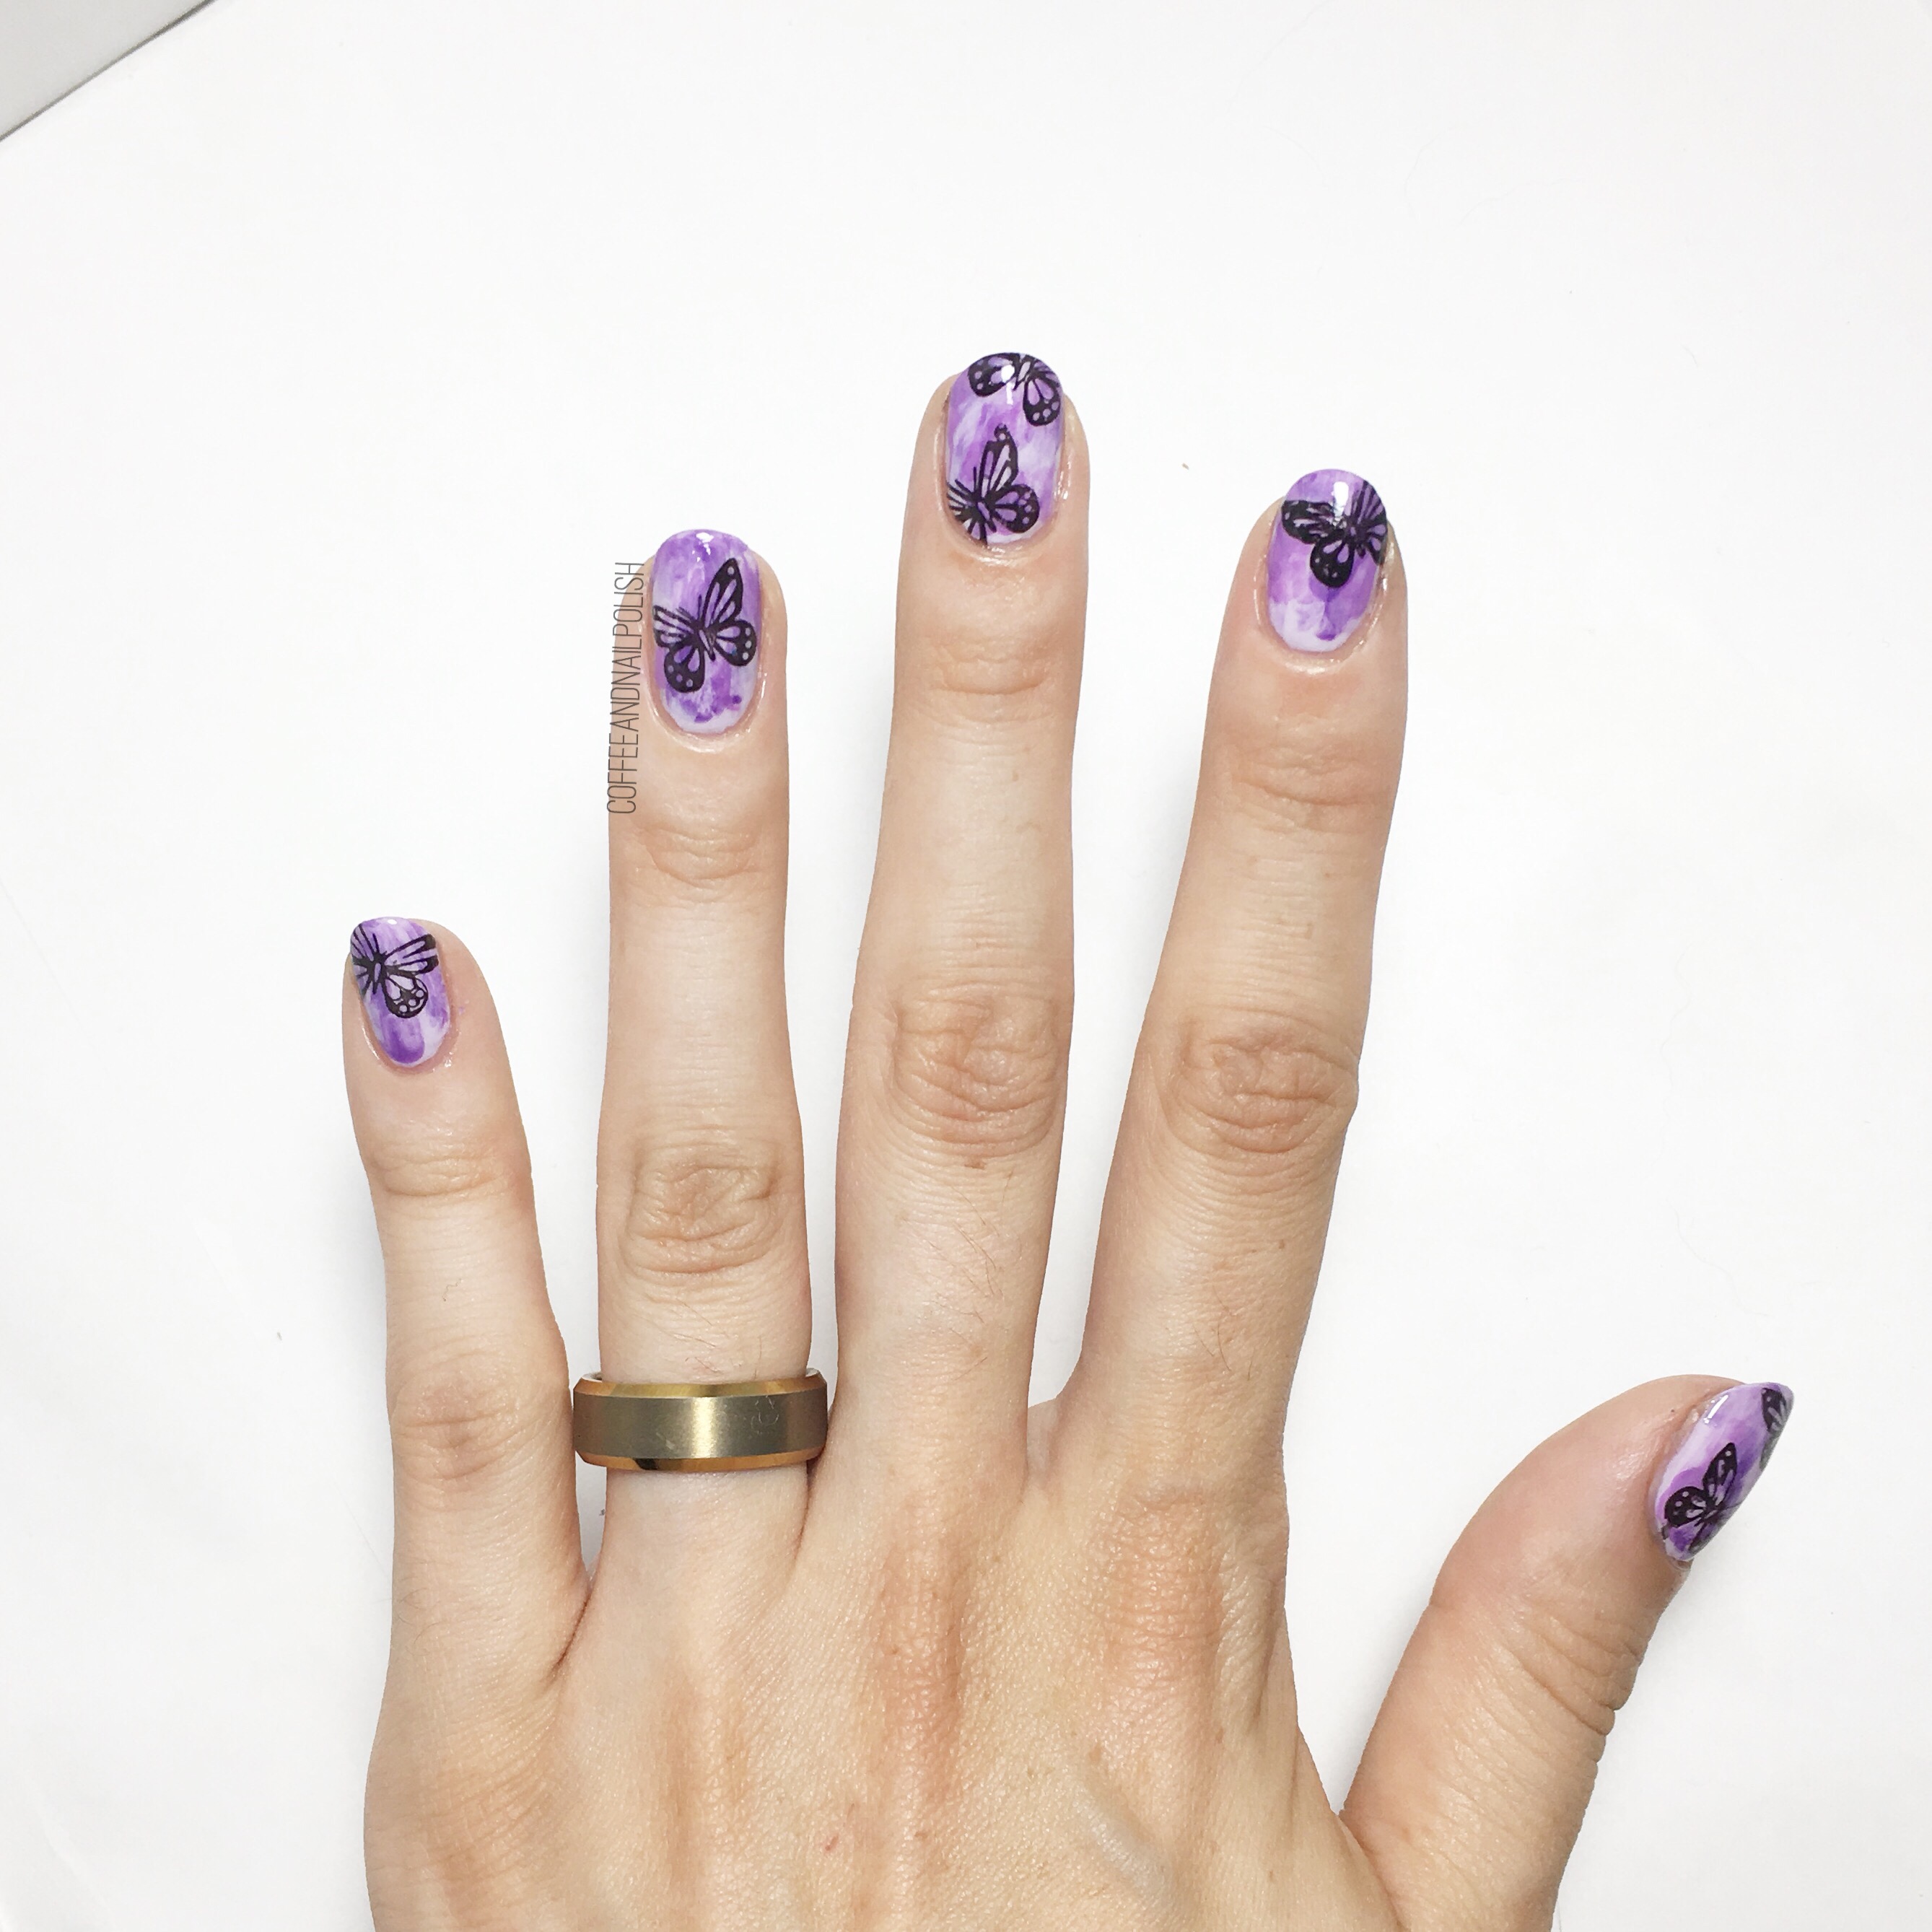
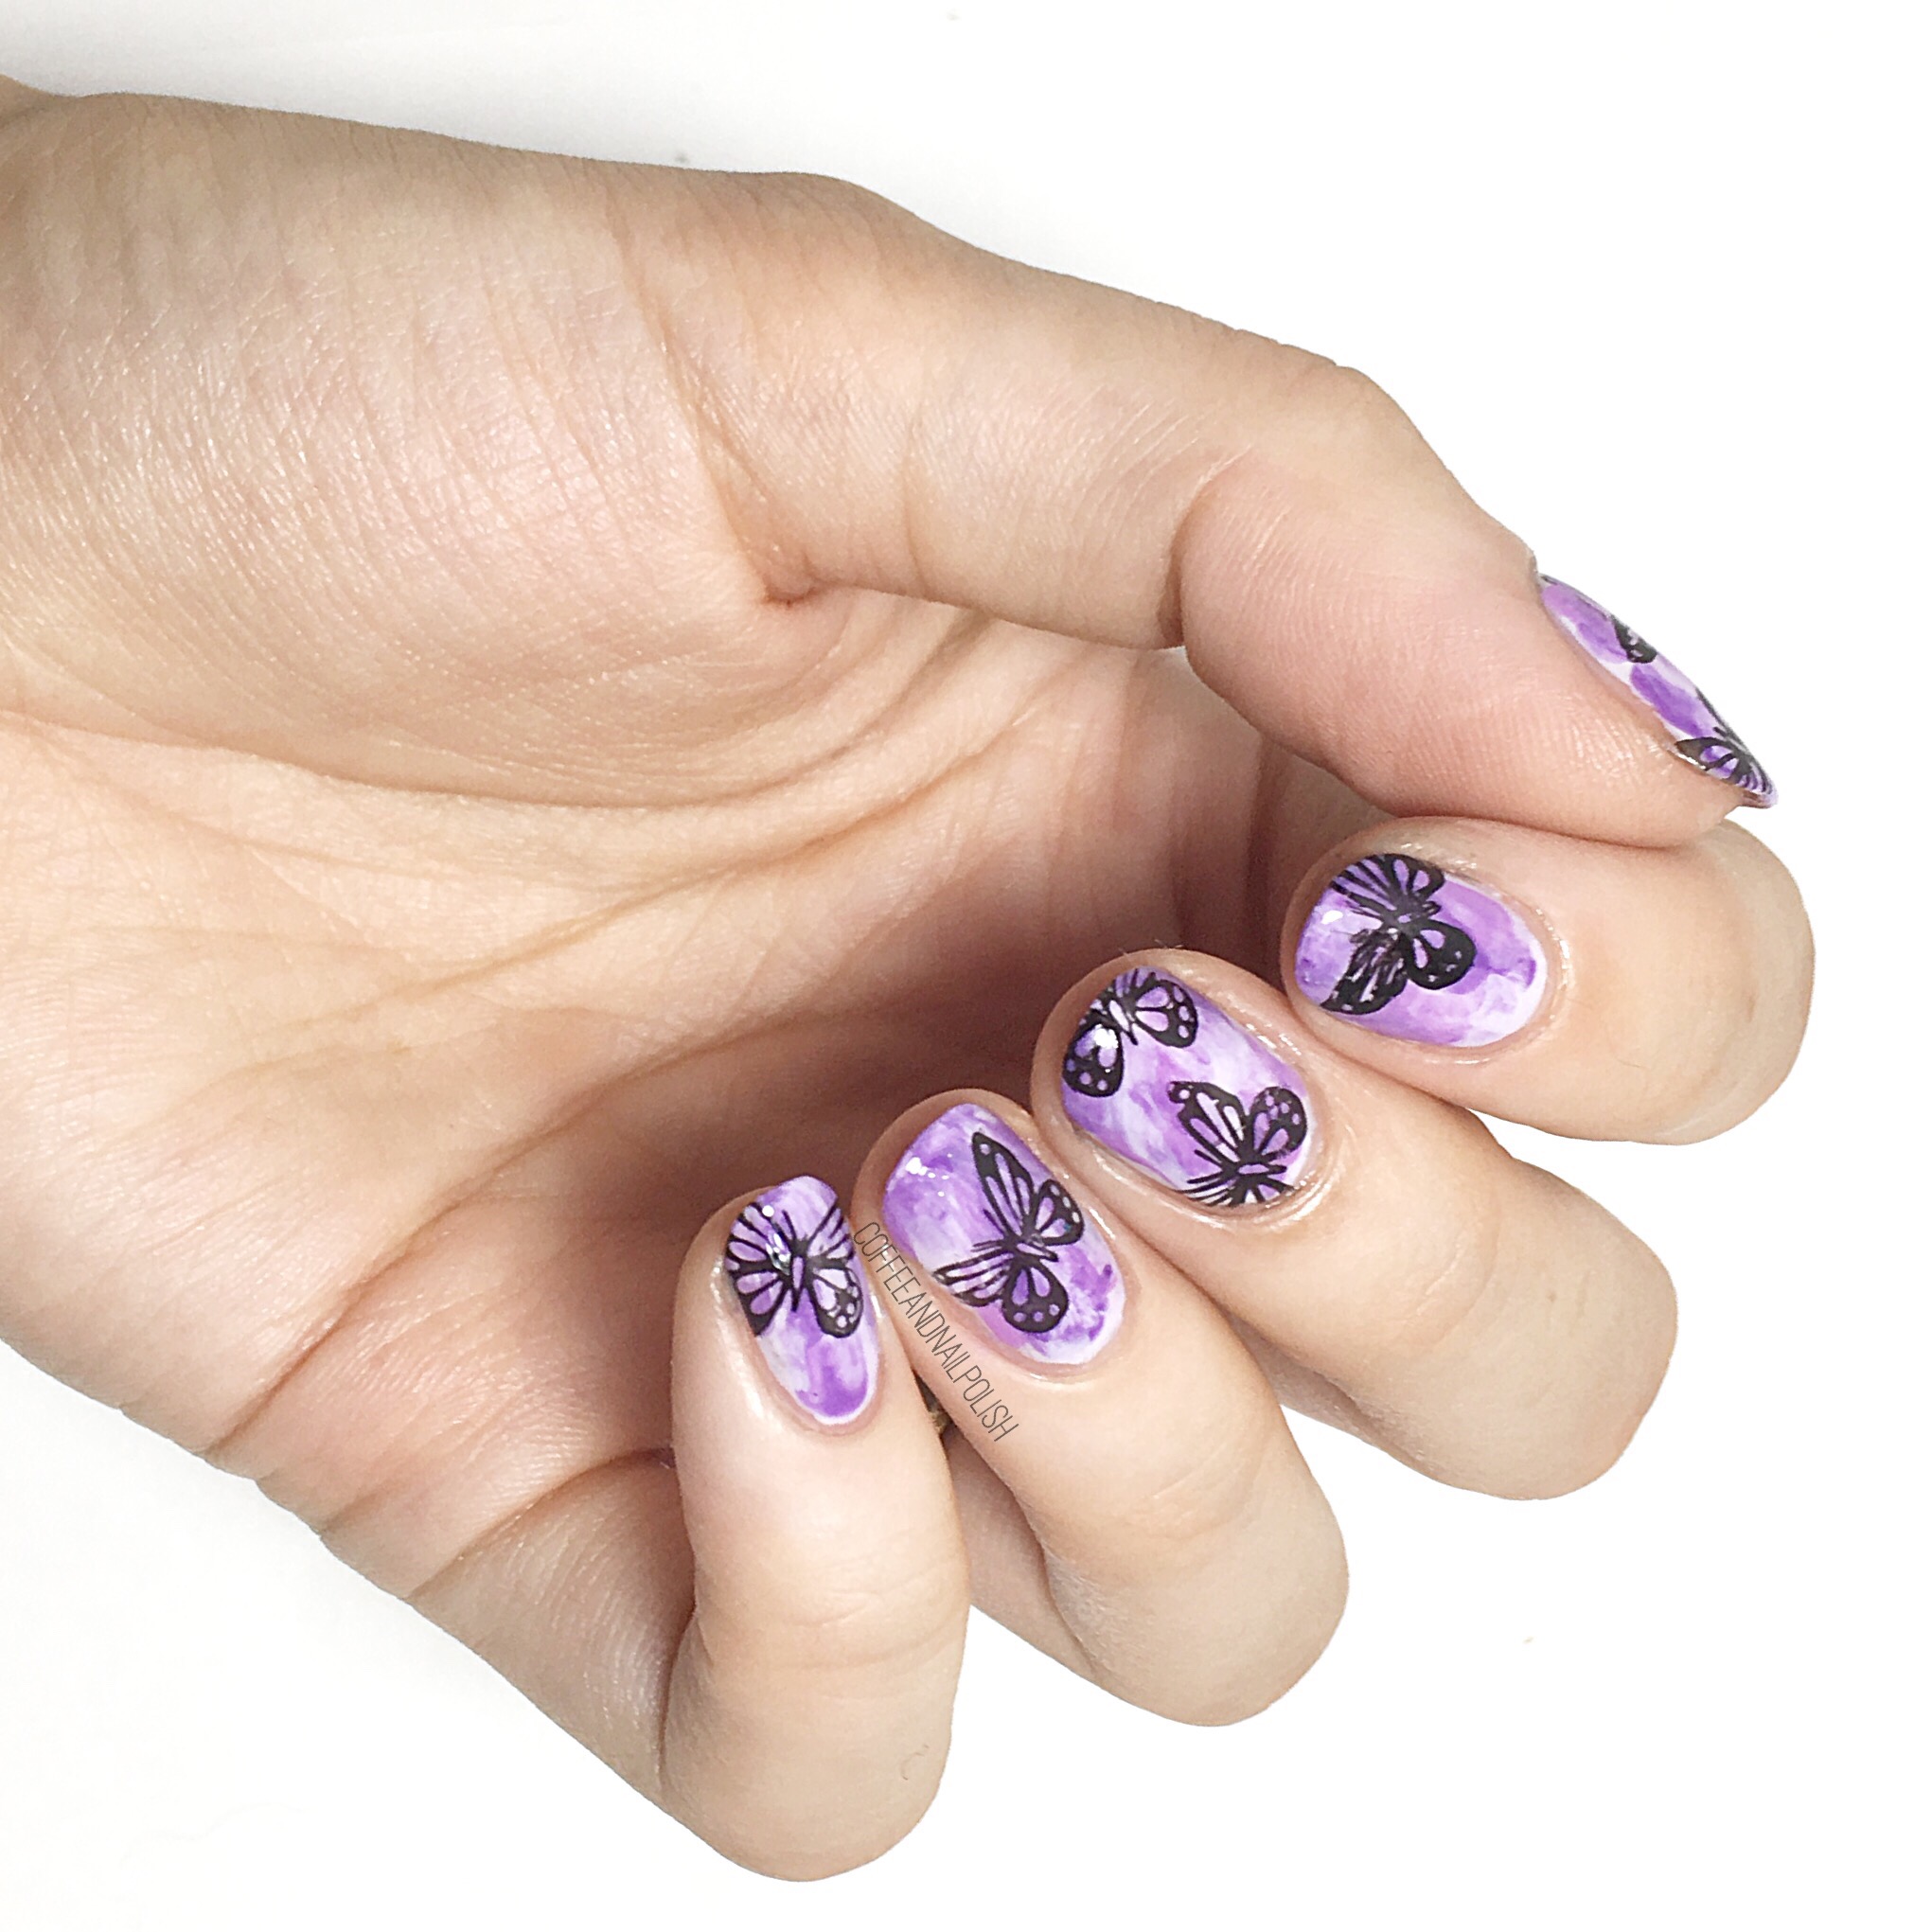
Purple Butterflies with #thenailartsquad


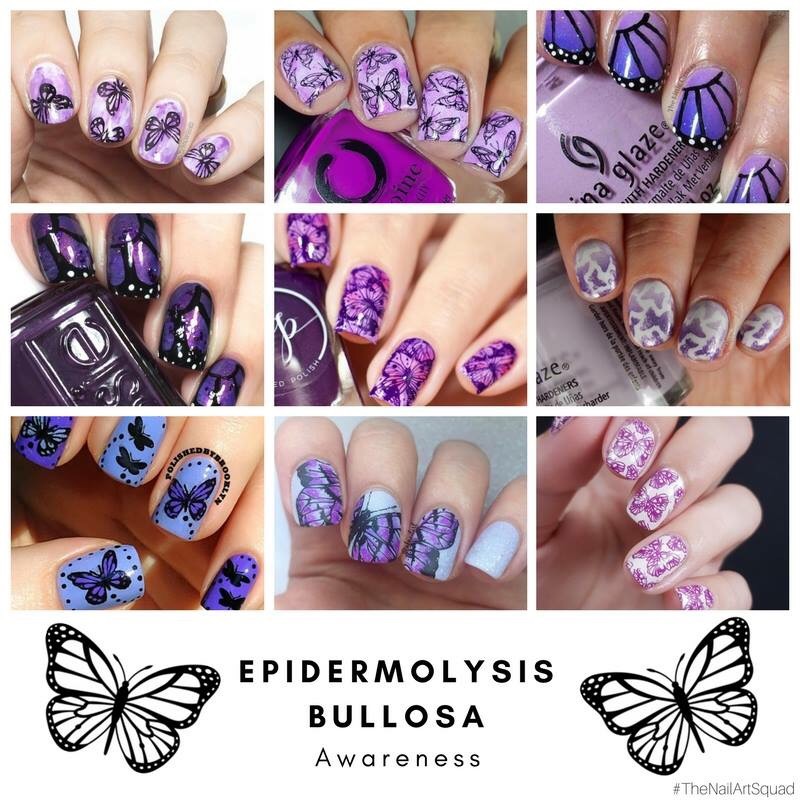
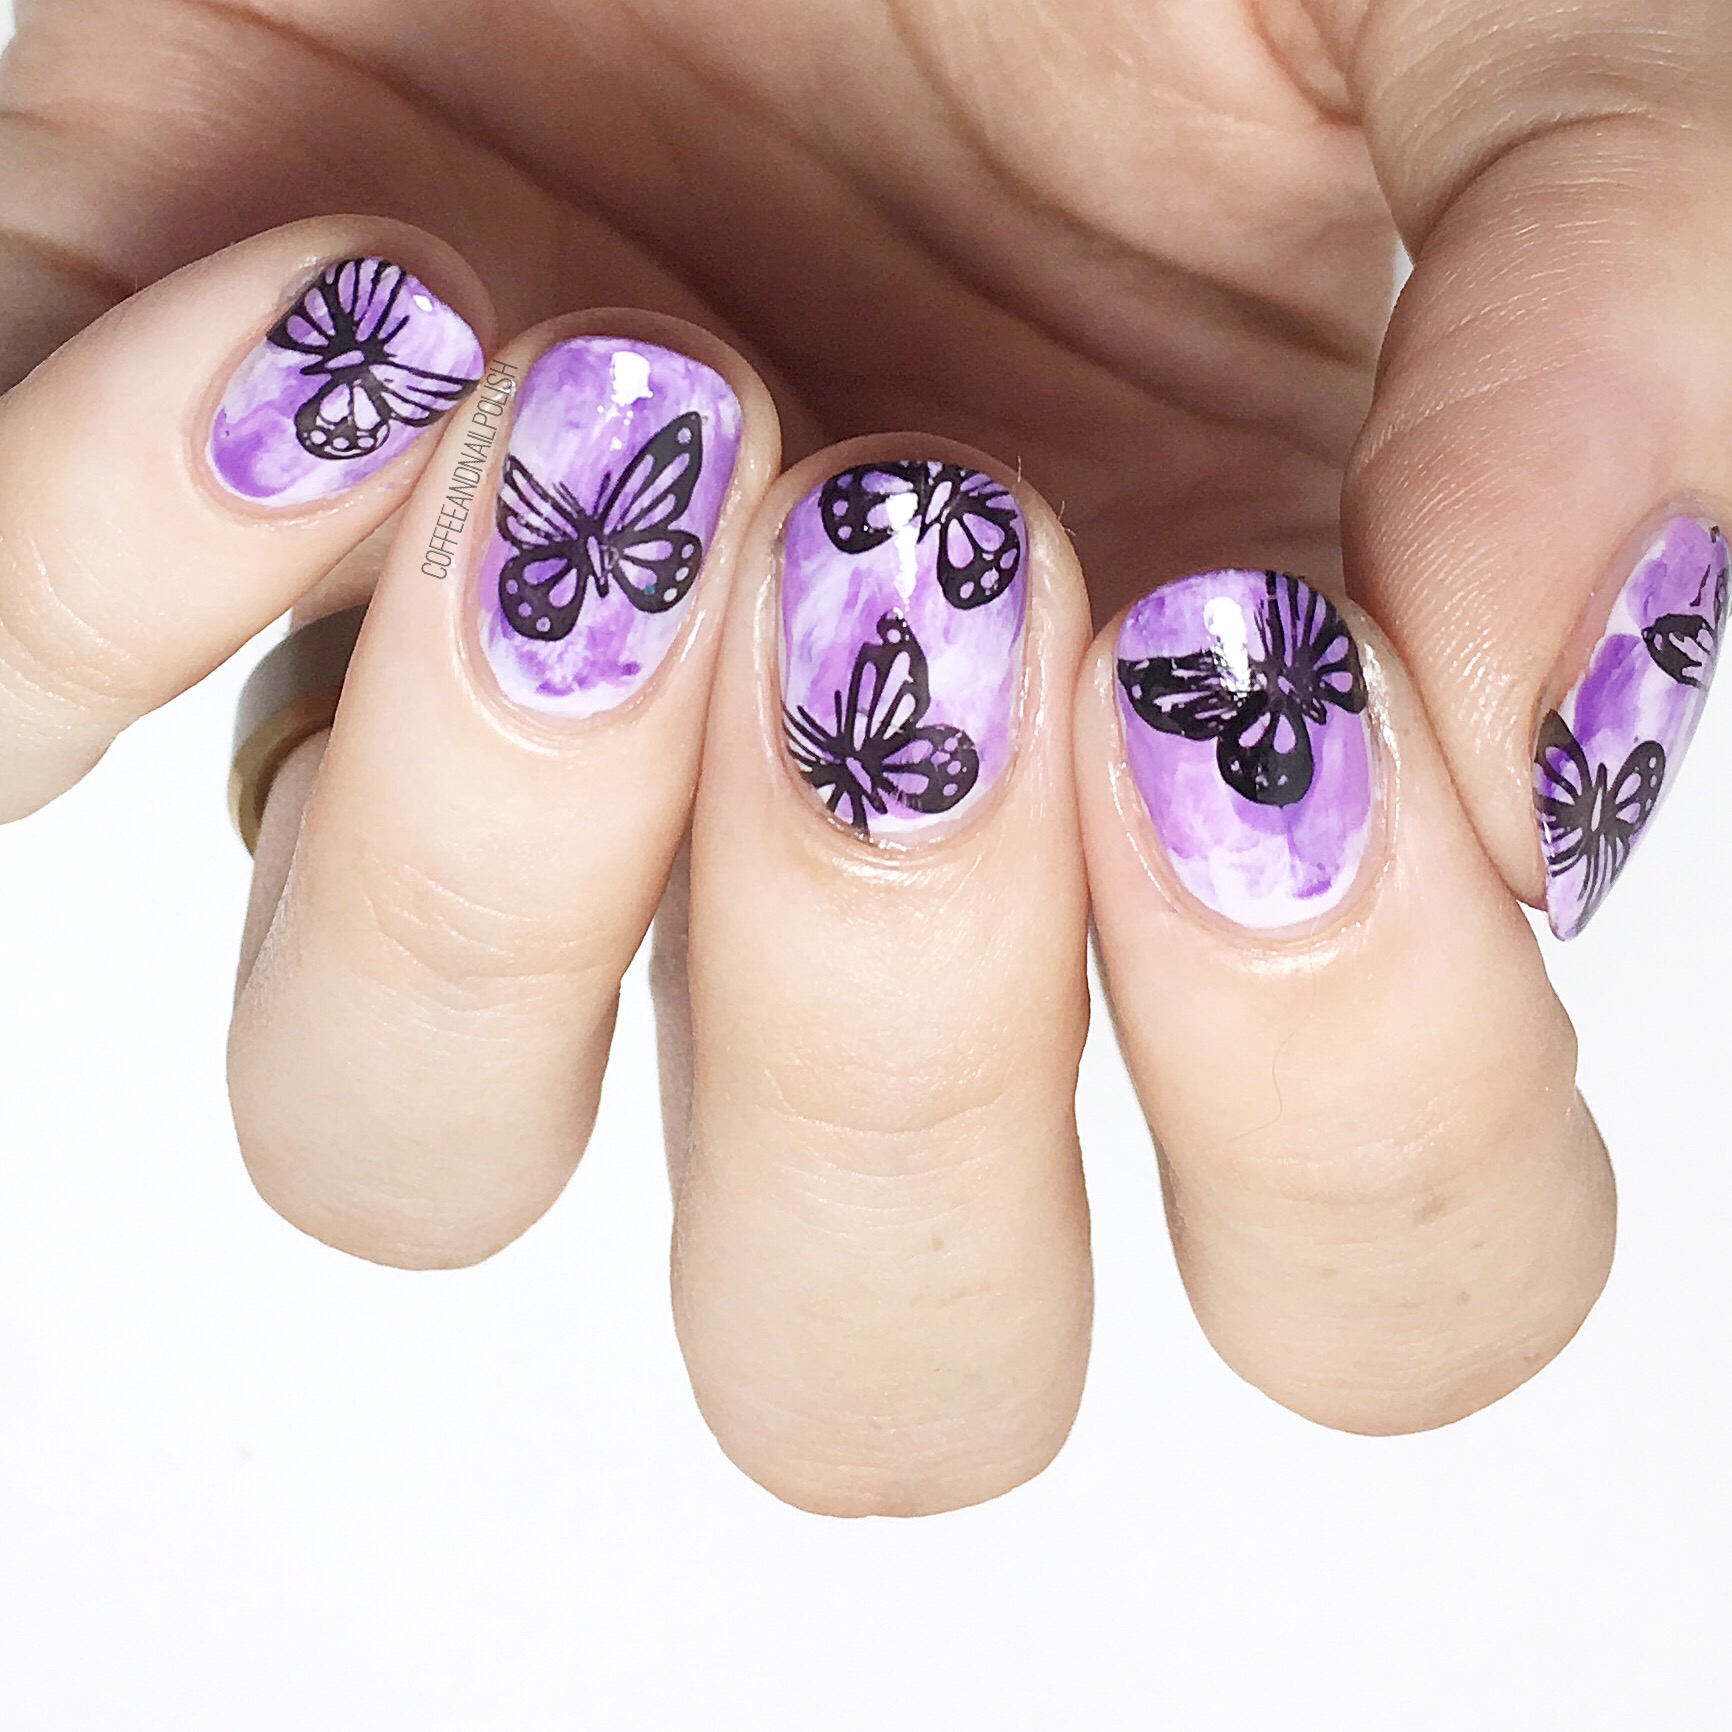
Today I have a very special manicure to brought to you by The Nail Art Squad. We got together to create beautiful purple butterfly designs in honour of Epidermolysis Bullosa. Epidermolysis Bullosa is a rare genetic disease that causes the blistering of skin, & has no known cure & in severe cases can be fatal. Children with Epidermolysis Bullosa are often called “butterfly children” which is why we chose butterflies to create (purple is the colour used for the awareness of the disease). This was a personal manicure for our group to take on as one of our members recently lost a friend to the disease. 

For my manicure, the products I used are:

  • Base Coat: OPI Natural Base Coat
  • Top Coat: Cutex Quick Dry Top Coat
  • Essie Go Ginza
  • Essie Play Date 
  • LA Colors Color Craze Orchid
  • Essence Black Is Back
  • Unknown stamping plate (which I bought as part of a set at Dollarama years ago.)

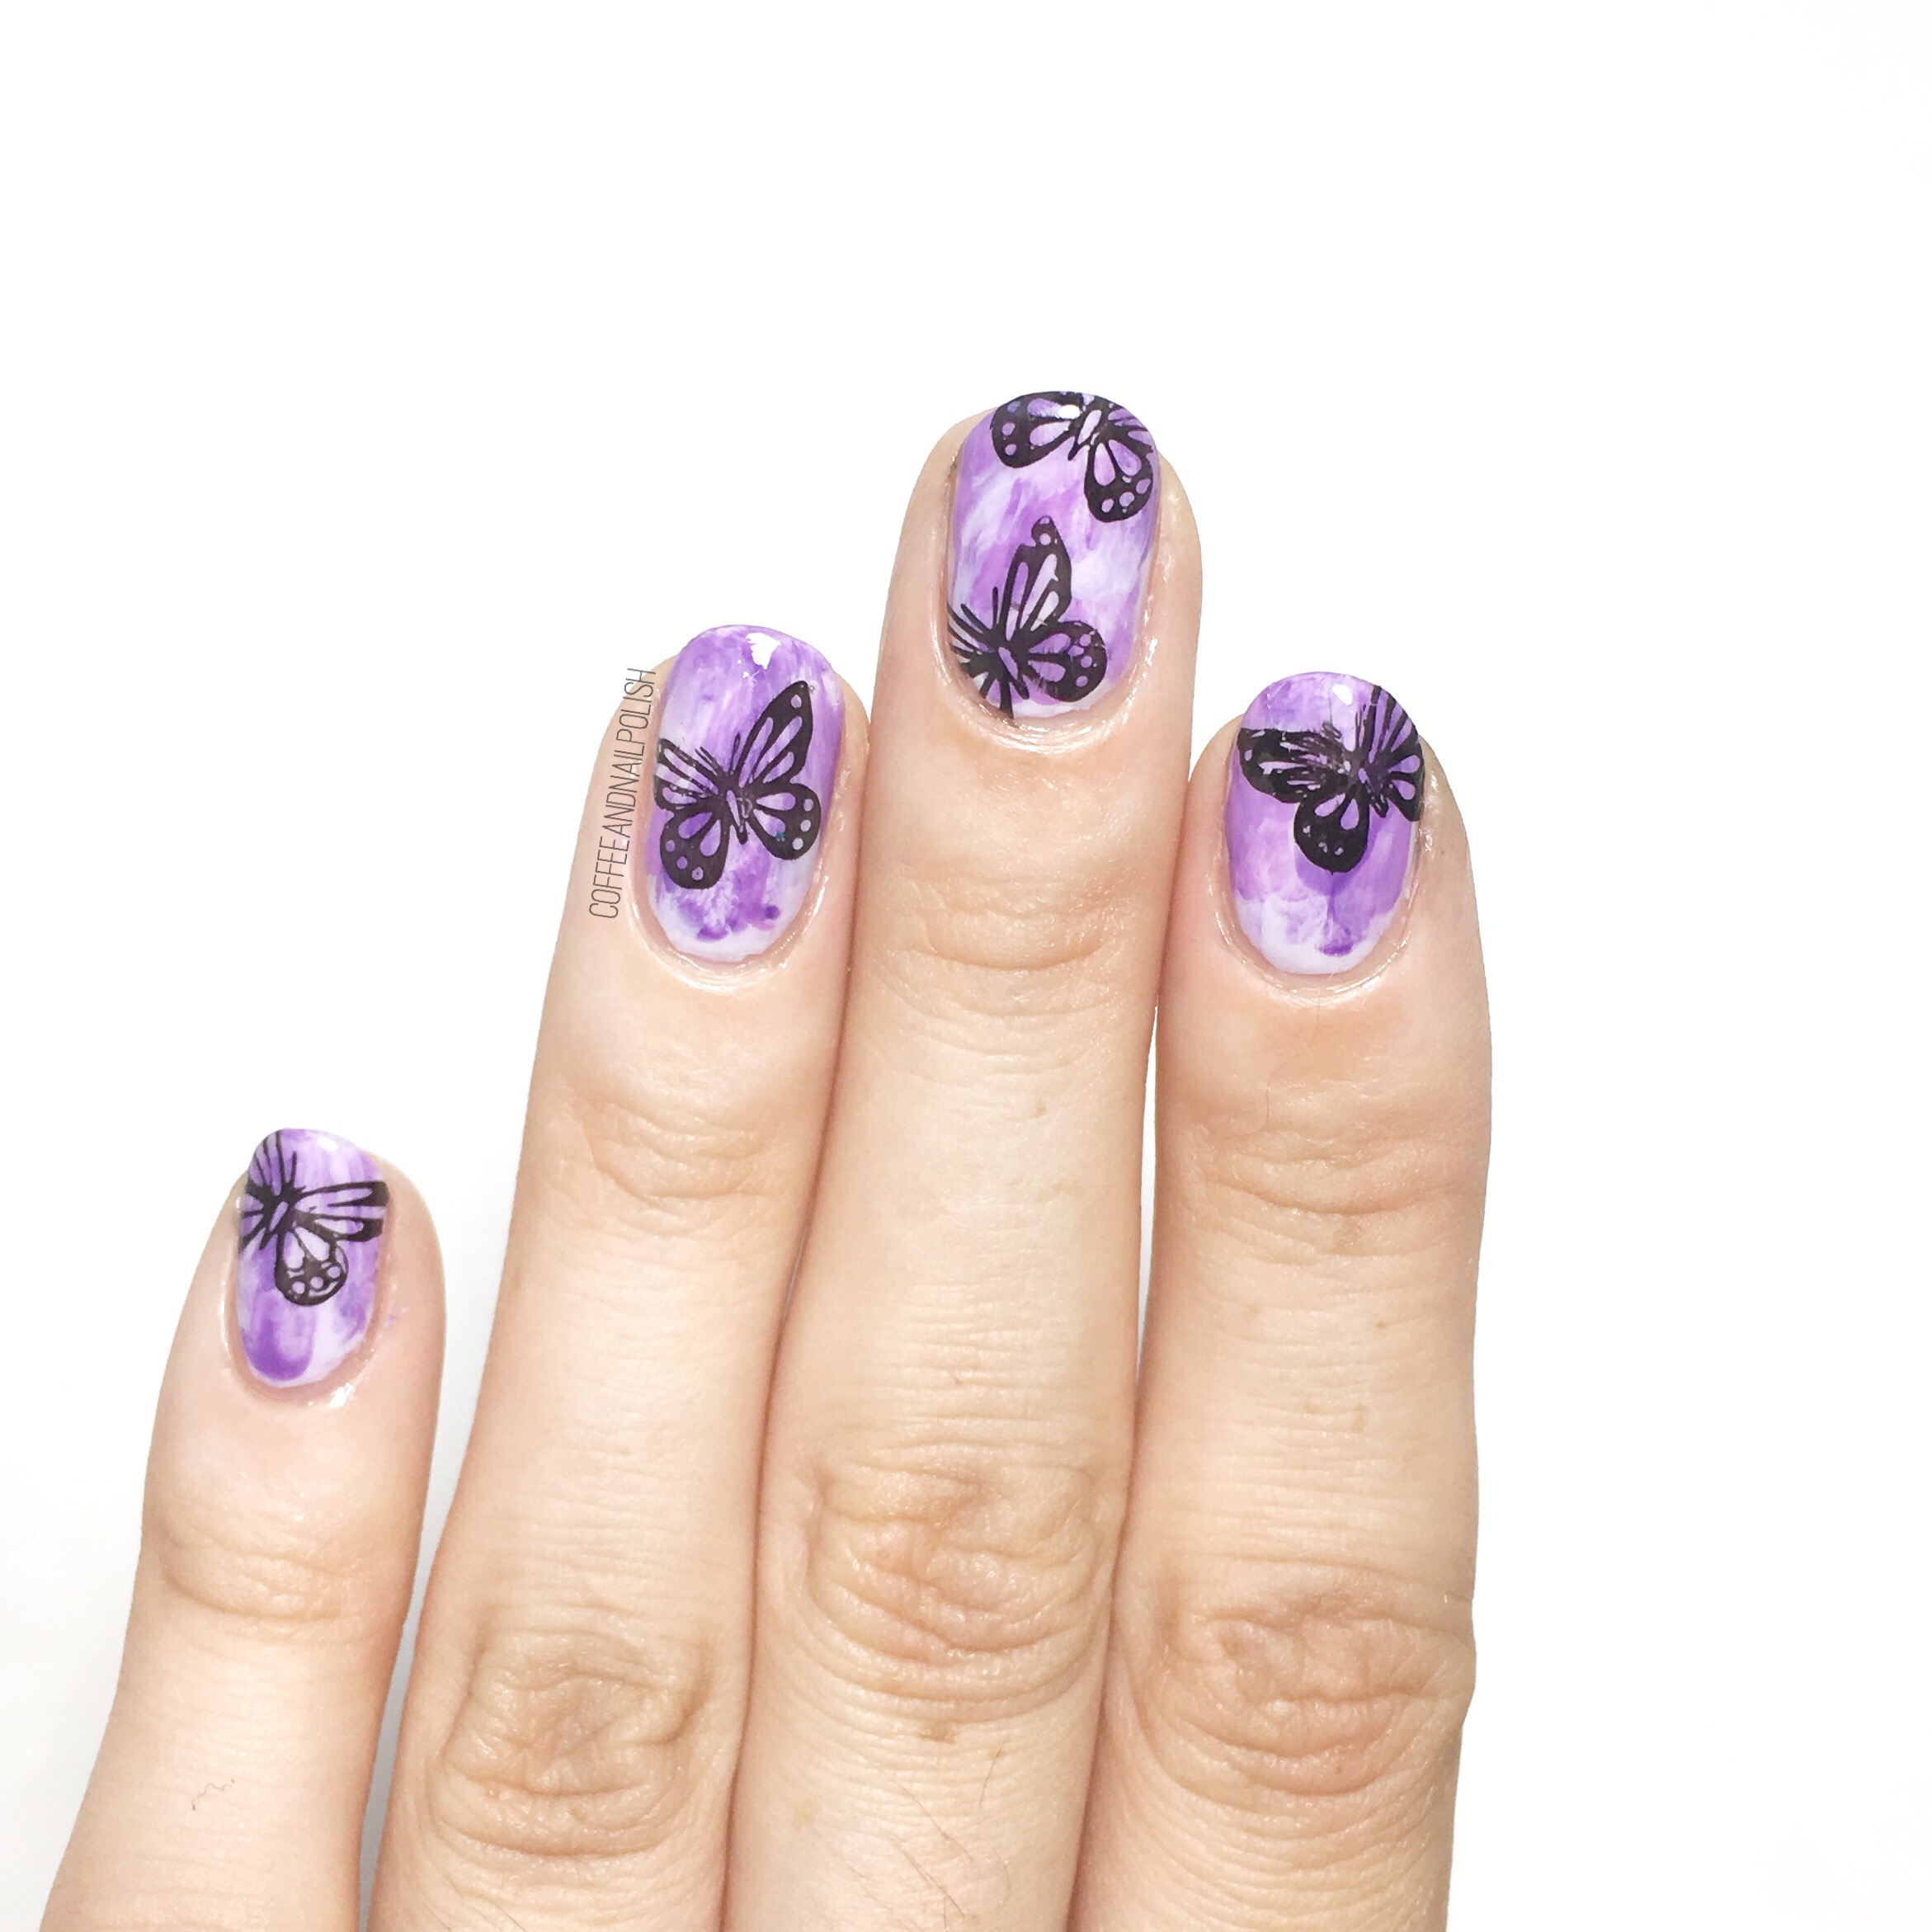
These nails were simple to do, but turned out so beautiful. I thought about freehanding butterfly wings, but didn’t think I could do them justice & because we were creating these nails for such a special reason I wanted them to be as perfect as possible. The stamping plate I used was found in a set at the Dollarama years ago, but as you can see the image stamped perfectly clear. 


I feel so honoured I could join in bringing awareness to such a special cause. 💜 to see the other purple butterfly manicures, don’t forget to check out the hashtag #thenailartsquad on Instagram. 

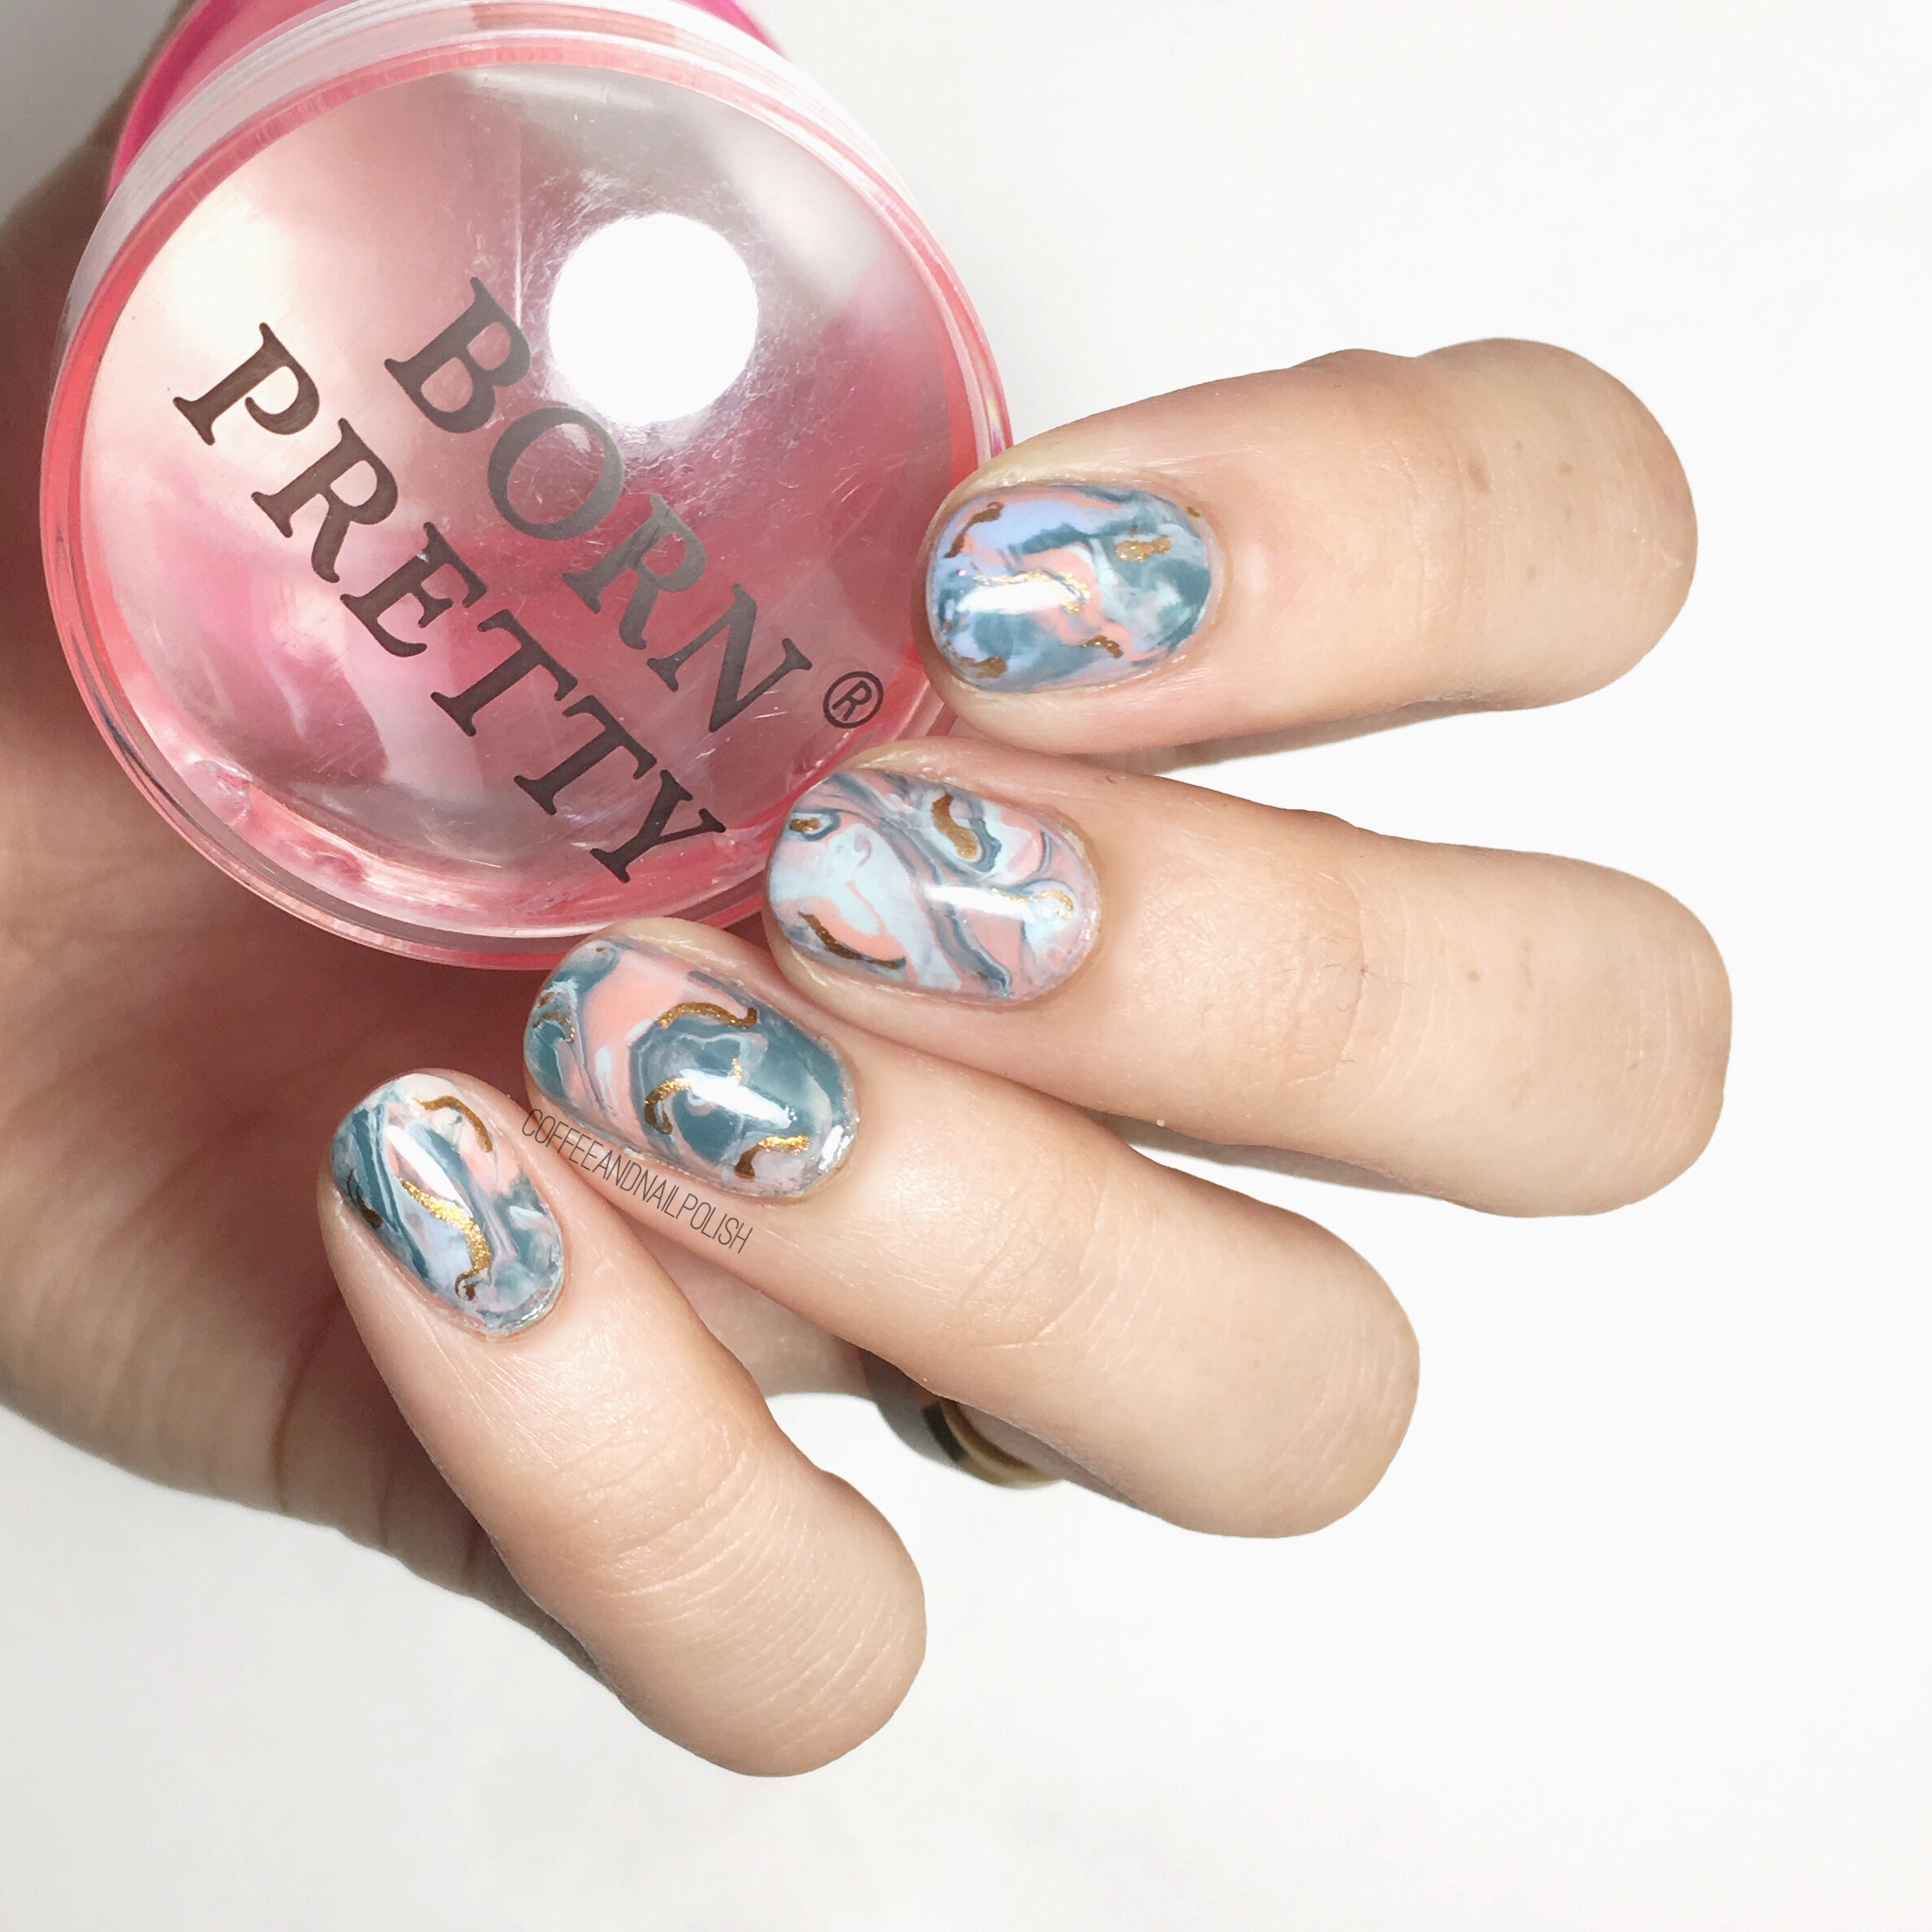
Easy Geode Marble nails using Born Pretty Store Clear Jelly Silicone Stamper item #38611

Happy Wednesday! Today I have a two in one for you–a review of this clear silicone jellly stamper (item # 38611) sent to me for review & a new technique for creating quick & easy geode nails using it! 

I used this stamping head for a few stamped manicures (including this design) but I found it was a bit too squishy for my likes for capturing the image & I prefer this Born Pretty stamper. I still wanted to see what I could do with it because it is a great product, so I decided to play around with it using a silicone mat & discovered it was great for creating these geode style nails. The size of this stamping head is especially perfect for achieveing this look. The size of means you can stamp down in one go (which is very important for getting your design to look like this). 

For this manicure, this polishes I used are:

  • Base Coat: Cutex Brittle Nail Fix
  • Top Coat: Quick Dry Top Coat 
  • Essie Bikini So Teeny
  • Essie Mint Candy Apple
  • Essie Pool Side Service
  • Essie Peach Side Babe 
  • Essie Leggy Legend 
  • Born Pretty Store 3.9cm Clear Jelly Silicone Stamper
  • Silicone craft mat (or another nail art mat… Born Pretty Store also makes a great affordable one! )
  • Small dotting tool or water marble tool. 
  • Small nail art brush. 

I tried to make a video of how to do this, but I’m still working on figuring out the best angle/set up but this video was farther away than I would have liked. Hopefully I’ll figure how to film a video where you can really see what I’m doing. But here is a rough example of how I created this design using a stamper. 

​

​

  1. Paint your nails your base shade of choice (I used Bikini So Teeny for mine)
  2. Gather all your shades around your silicone mat & make sure to pre open the bottles. I forgot to do this, & it slows down the process some. 
  3. Going colour by colour, drop the polish down on your silicone mat. Try and overlap the shades together. There is no amount of polish to put down but try & make sure you can see a little bit of each other. 
  4. Using a dotting tool, drag you polish through each other. 
  5. Using your stamper, press down on the polish. Next press down again your prepainted nail. The clear stamper is great for this because you can see through & decide which part of the pattern you want to apply. 
  6. Using a small nail art brush, go in & apply small lines of metallic shade (I used Leggy Legend). This is a great way to hide any mistakes. 
  7. Finish off with top coat to seal in design. 


You definitely want to move quickly & carefully when applying it to your nails. When pressing down, don’t move your nail because it will smudge the design which will ruin the geode look of the design. 

This Born Pretty stamper is so perfect for achieving this look. I tried it using a small stamper & it didn’t work well at all. You need that large squishy space for the polish to spread out. I do have a warning–be careful while cleaning this stamper. I used pure acetone to try & clean mine up (I was not thinking) & it caused some clouding of the plastic. So be very careful! 

If you’re looking for a versatile stamper, I would definitely recommend this stamper. Like I said, I had some difficulties using it for actually stamping but that could have something to do with my personal learning curve. However I will always gush about clear stampers because I feel like the options for nail art are endless! & this stamper in particular with its pink shell is just so pretty. 

If you’re interested in ordering this stamper (or something else) from Born Pretty Store feel free to use my discount code COFFK31 to save 10% off any regular price items! I’ve been ordering from them for years, & I love the wide variety of products you can find for all your nail polish addict needs! 

Born Pretty Store Review — BORN PRETTY Stamping Polish Plate Set Flower Leaf Tree Image Template item #39933. 


Hey lovelies! I know… I disappeared a bit. A lot has been going on since getting home from vacation. But that’s okay! Because today I have another review of one of the items I received for review from Born Pretty Store–the flower leaf image stamping plate set item #39933. 

As I’ve said with all my reviews, I still consider myself a stamping newbie but I definitely feel like I’ve gotten better with all this practice. For today’s nails I played around with the BORN PRETTY Stamping Polish Plate Set Flower Leaf Tree Image Template item #39933 which comes with two stamping plates (a large square plate, & a smaller round floral plate) plus two stamping polishes. 

For this design I used:

As I’ve written before, I find their is a learning curve that comes along with stamping. Or maybe just natural talent. Either way I think this is a great set for beginners because it has so many image options & comes with stamping polishes. Now personally I’m not a fan of the stamping polishes, not because they don’t stamp (they do!) but I just haven’t found a way to use them that doesn’t make a huge mess! If anyone has any tips, please please share because I love the end result. But if you’re just trying out stamping I think this set would be a good introduction for you. 

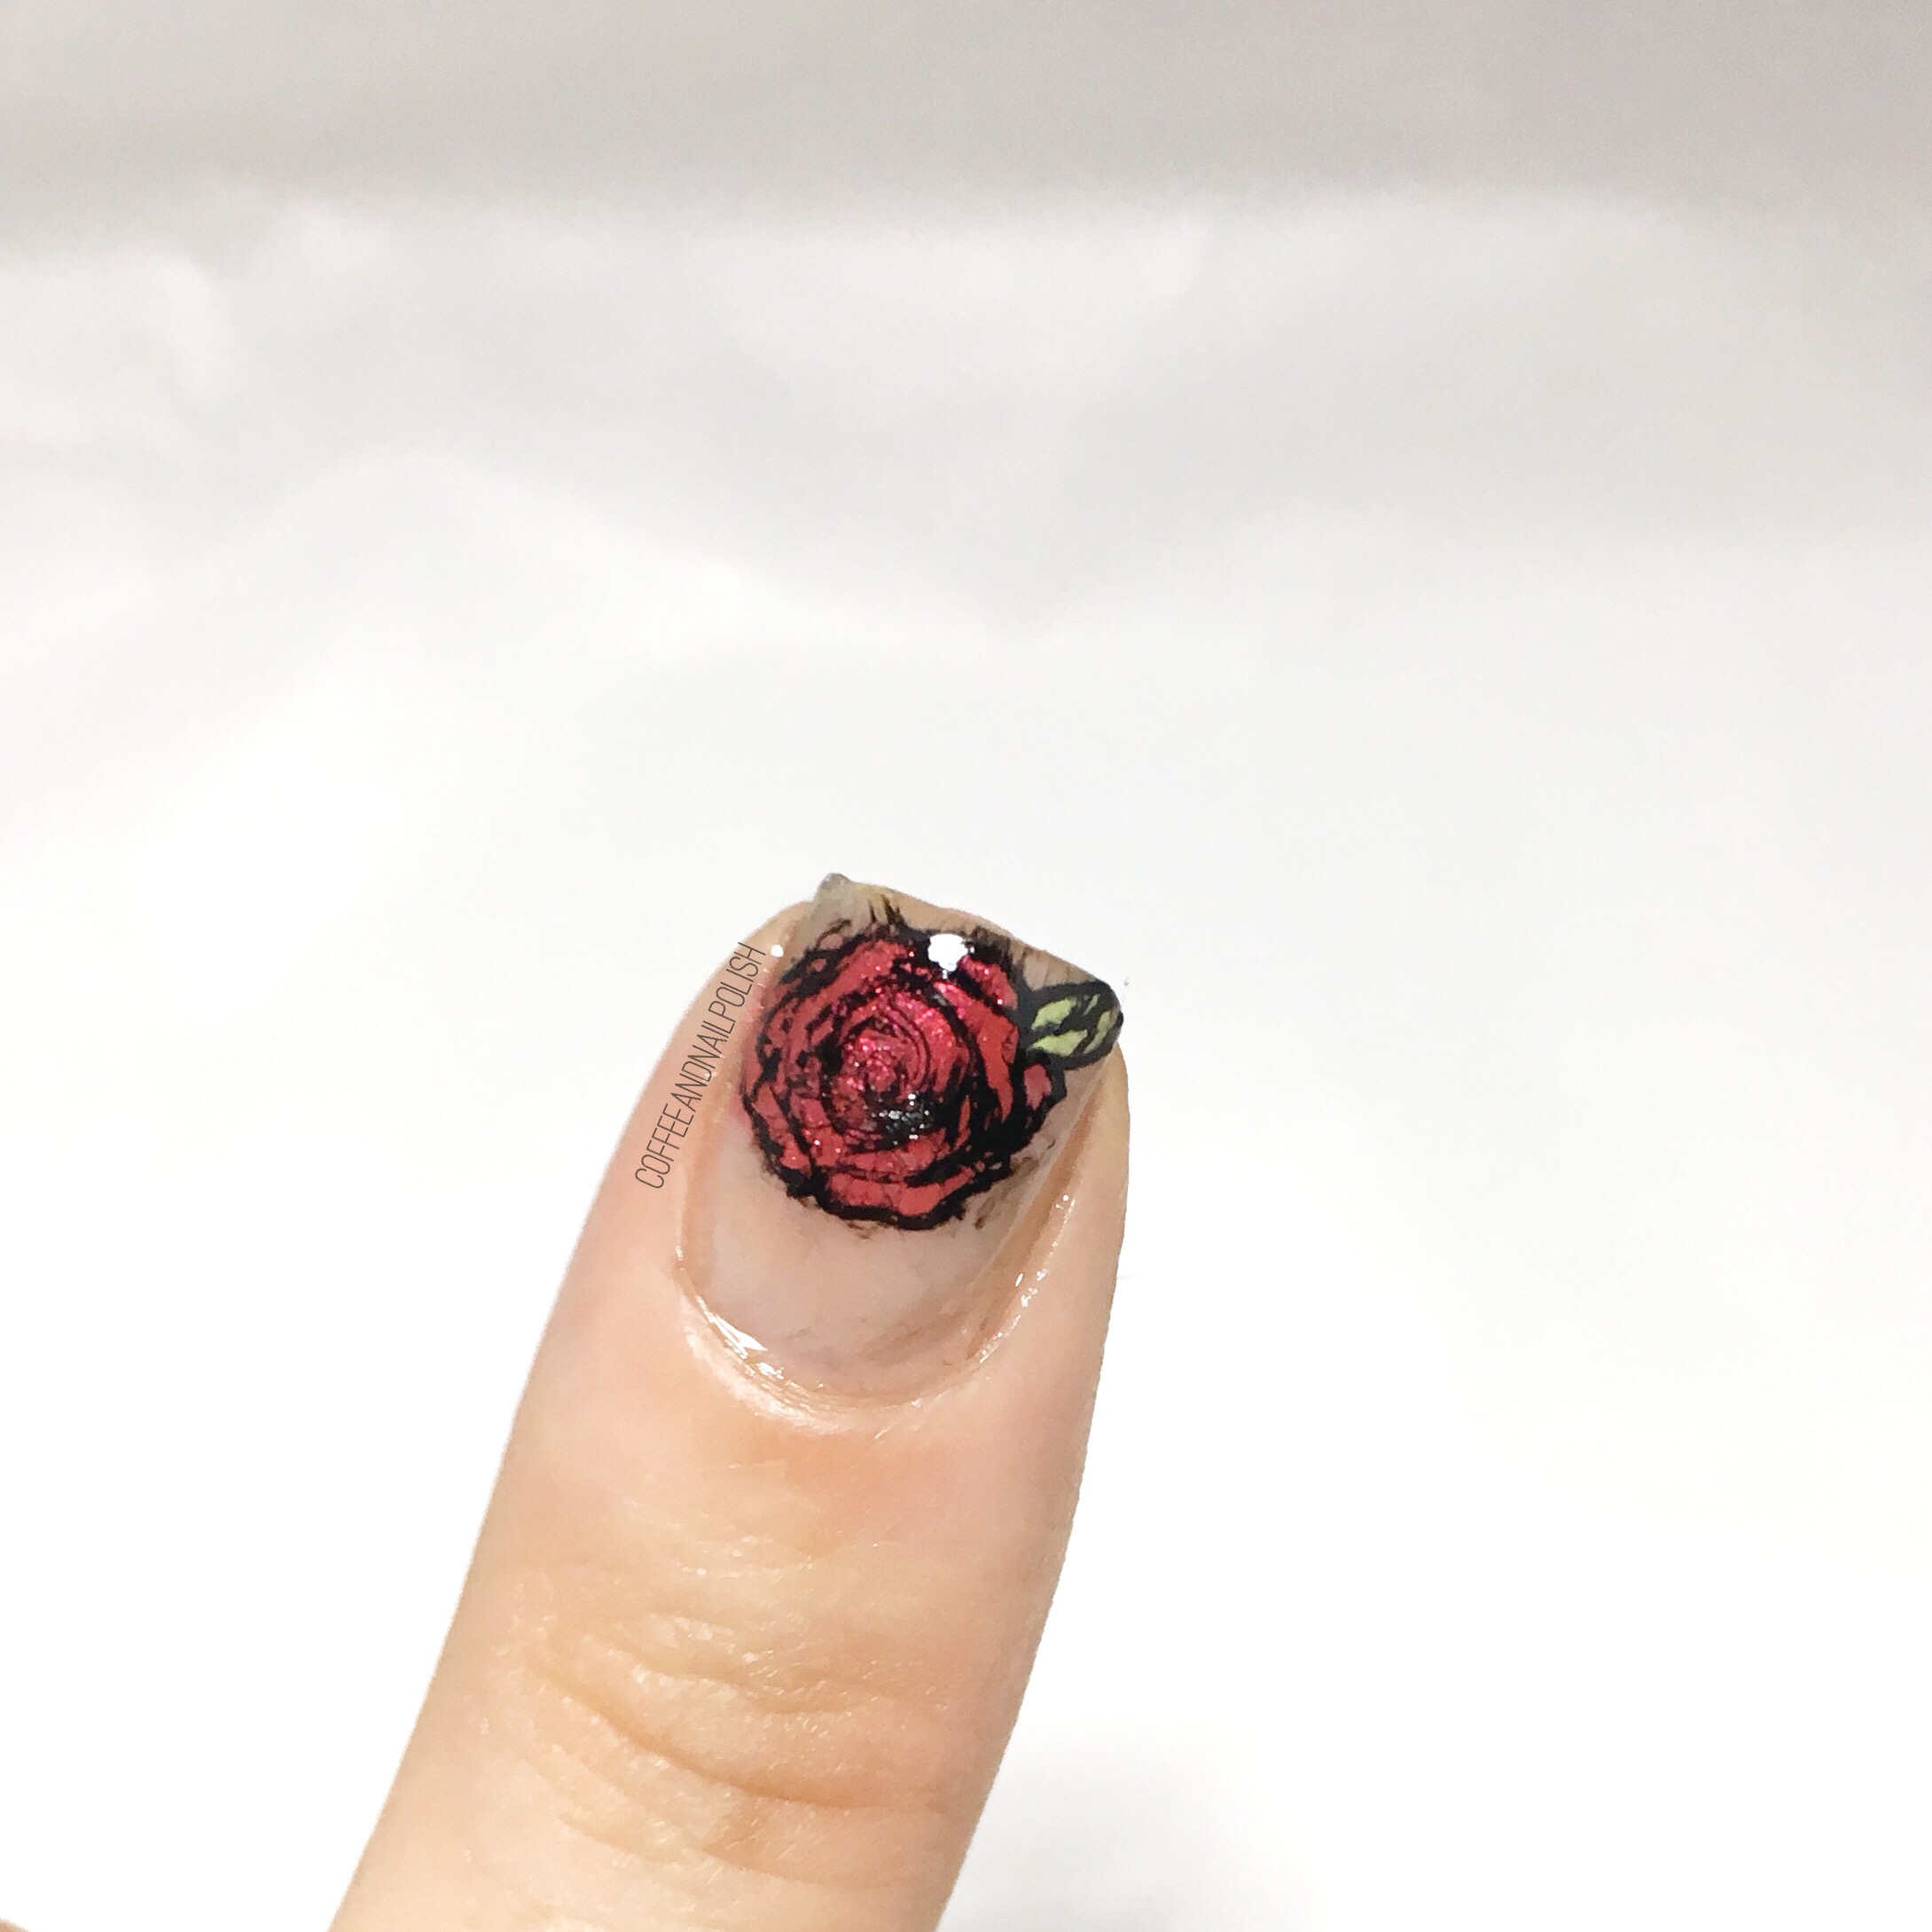
Personally I liked the larger square stamping plate over the smaller round plate. I tried reverse stamping a rose, but it didn’t turn out exactly how I hoped. That plate took a few more tries to get things right, but I did eventually accomplish my goal (even if it wasn’t the prettiest). The smaller plate definitely worked better for me when I was just stamping the image straight onto my nails, & not taking time to be fancy. 


All in all, I would definitely recommend this set to anyone itching to try out stamping, but would warn practice does make perfect. Don’t be frustrated if it takes a bit of time to get things looking perfect because the end result is worth it. 

If you’re interested in ordering this stamping set (or something else) from Born Pretty Store feel free to use my discount code COFFK31 to save 10% off any regular price items! I’ve been ordering from them for years, & I love the wide variety of products you can find for all your nail polish addict needs!