Hello lovelies & happy Wednesday! It’s a rainy Wednesday here, which is a tad disappointing. But I have some fun vibrant nails to share to shake things up a smidge because I’m so over Winter, & I want all the bright colour.

The polishes I used for this manicure are:
- Base Coat: China Glaze Calcium Gel Fortifer
- Top Coat: China Glaze Fast Forward Top
- Sally Hansen Xtreme Wear Purple Craze
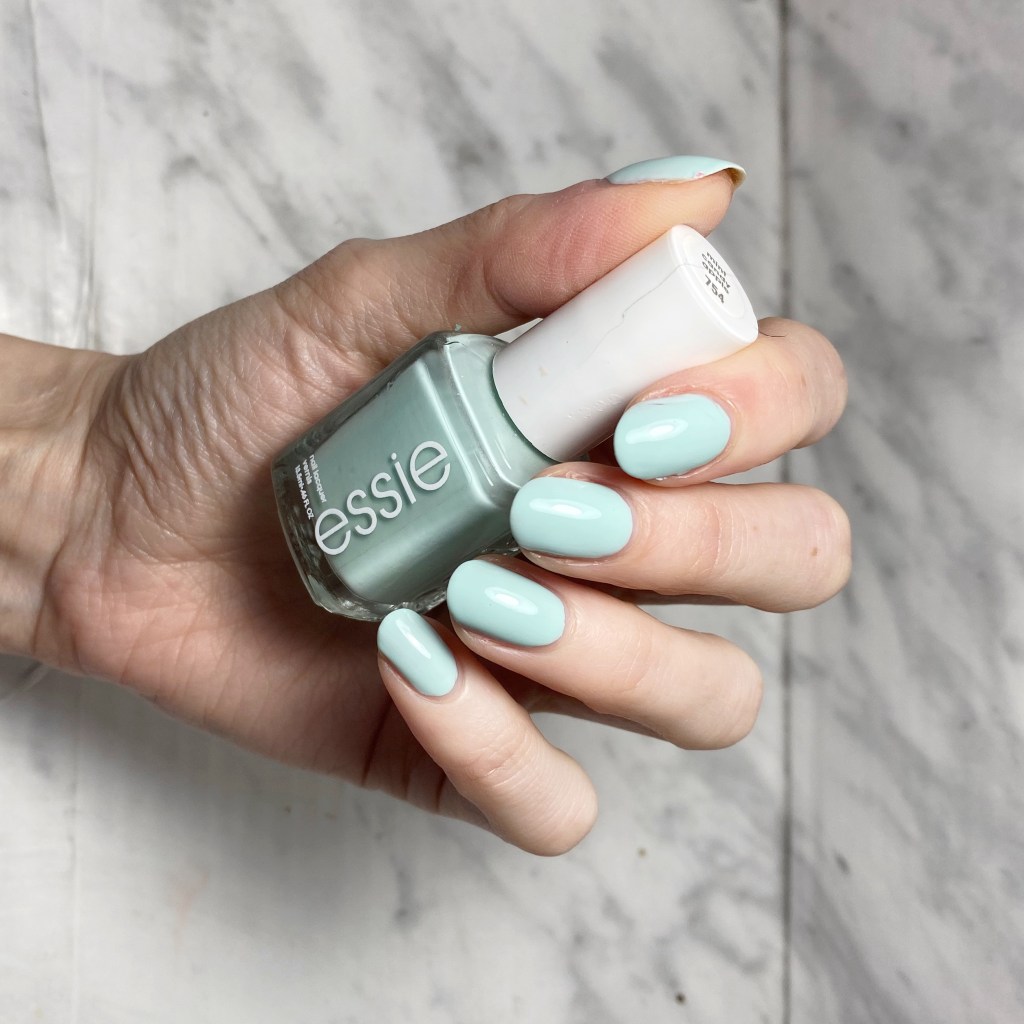
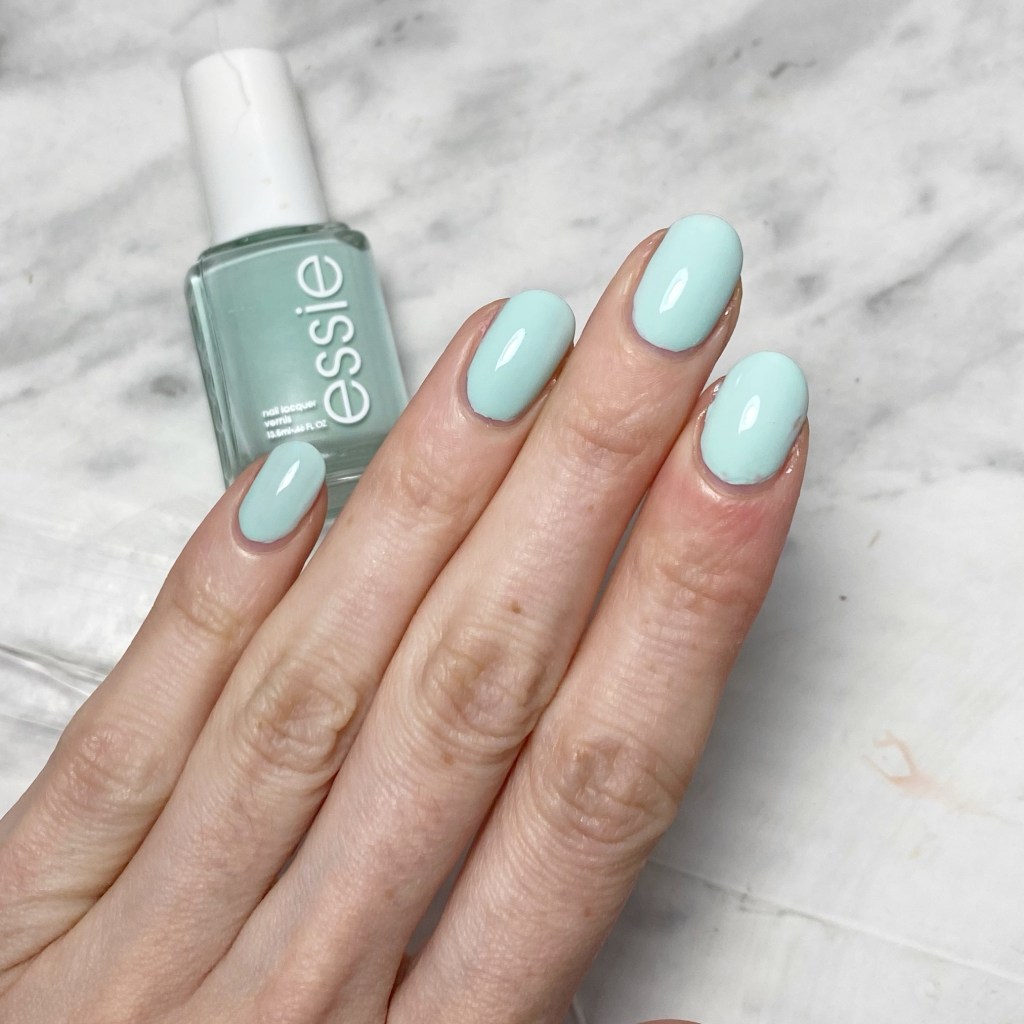
- Essie Expressie FX Iced Out
- Essie In the Cab-Ana
- Nailstuff.ca Mermaid Tail 7mm liner brush
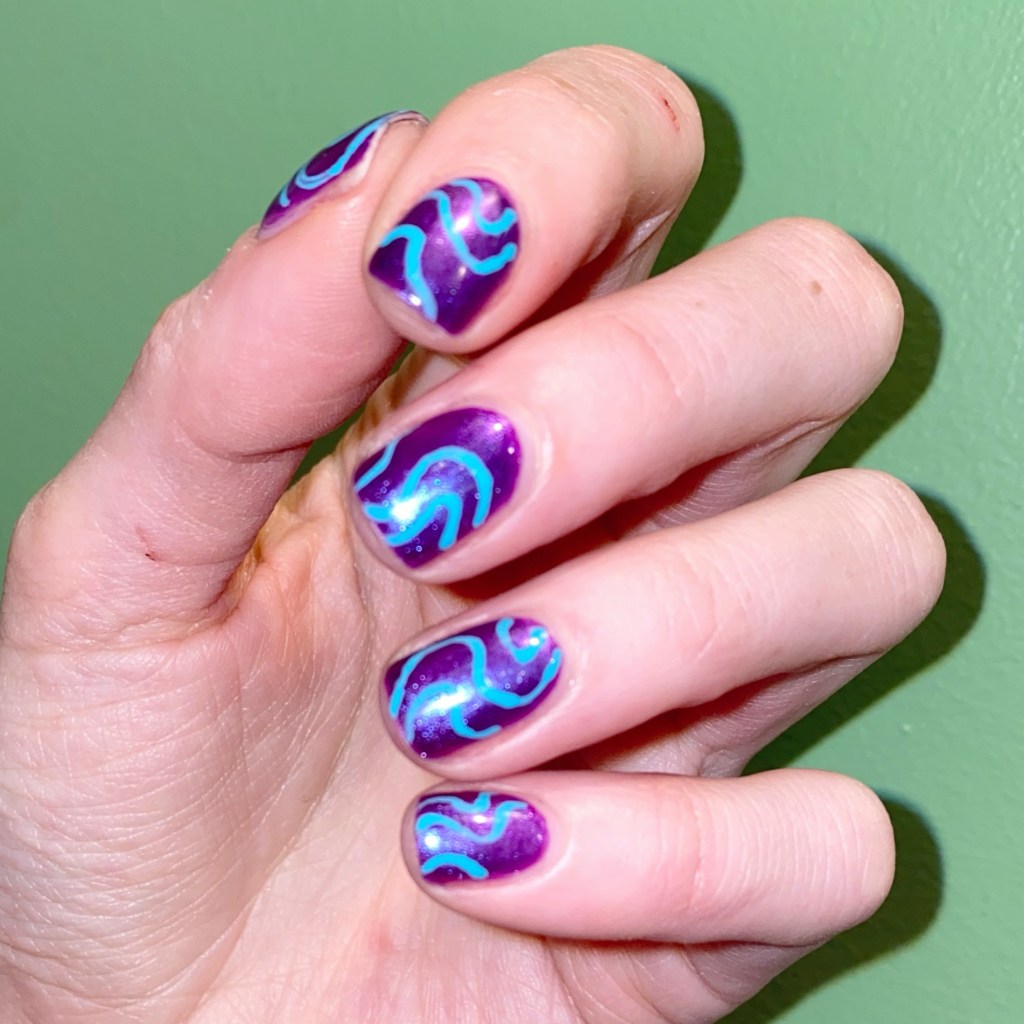
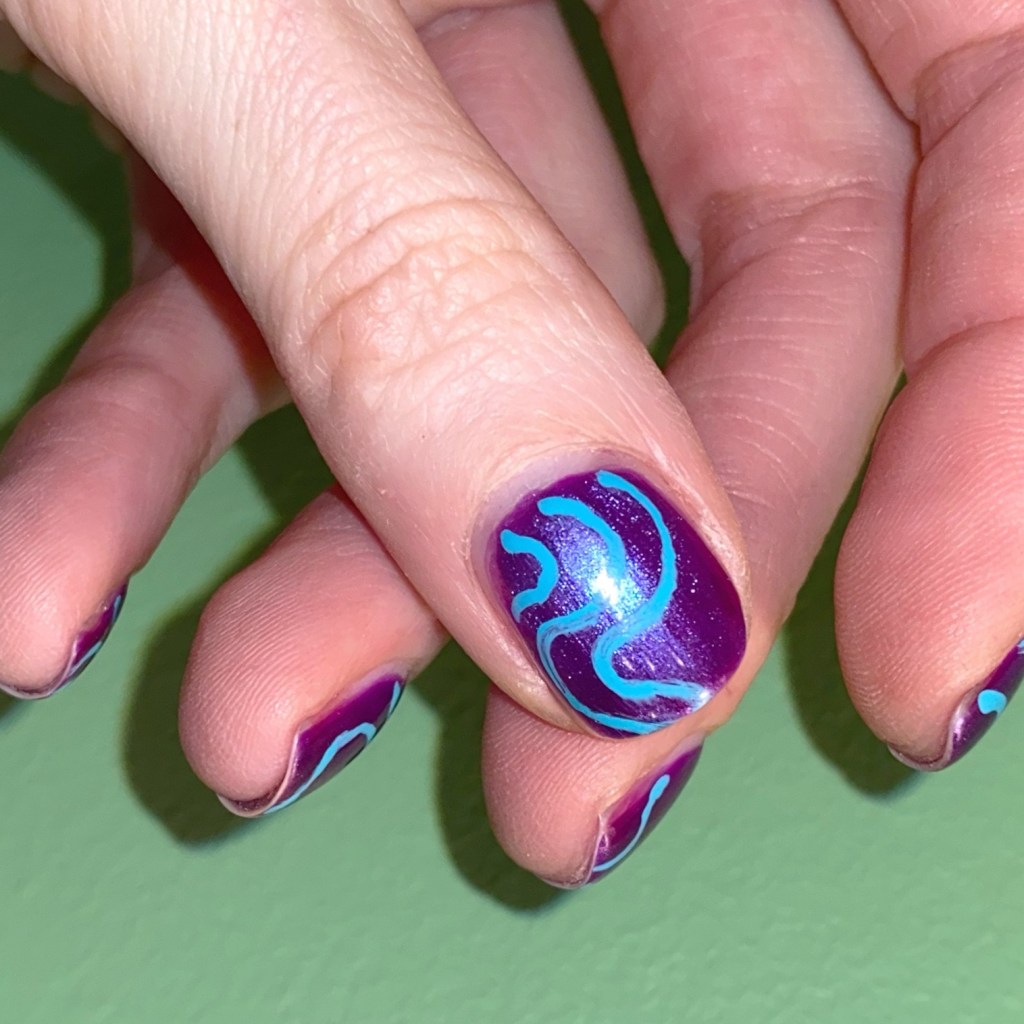
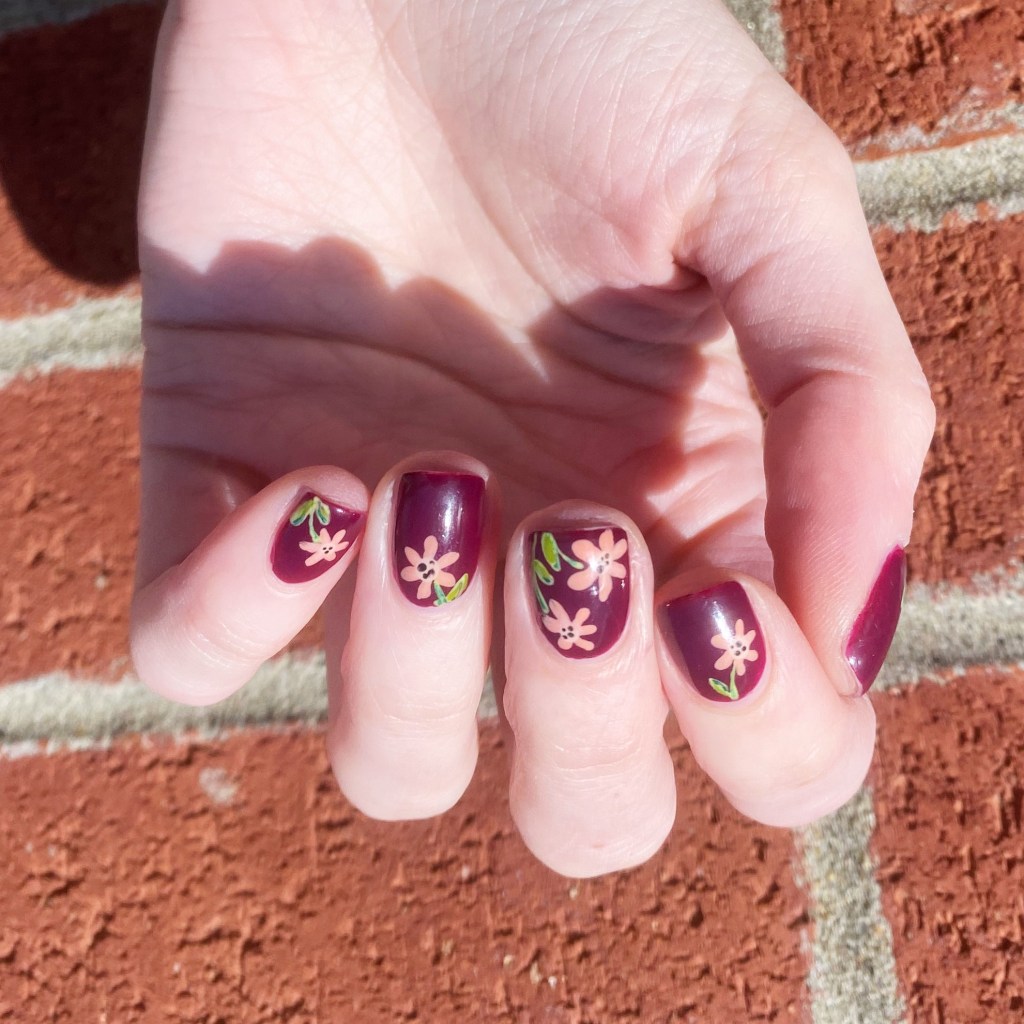
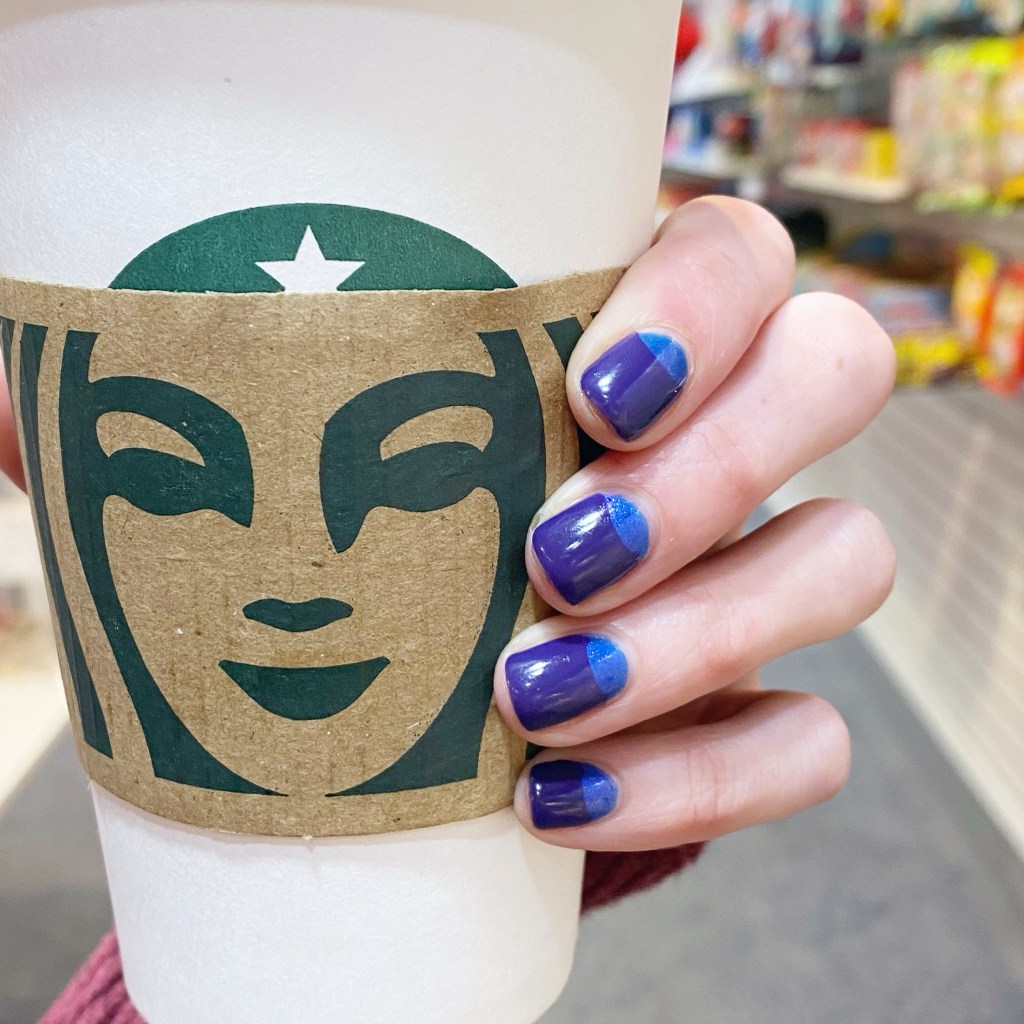
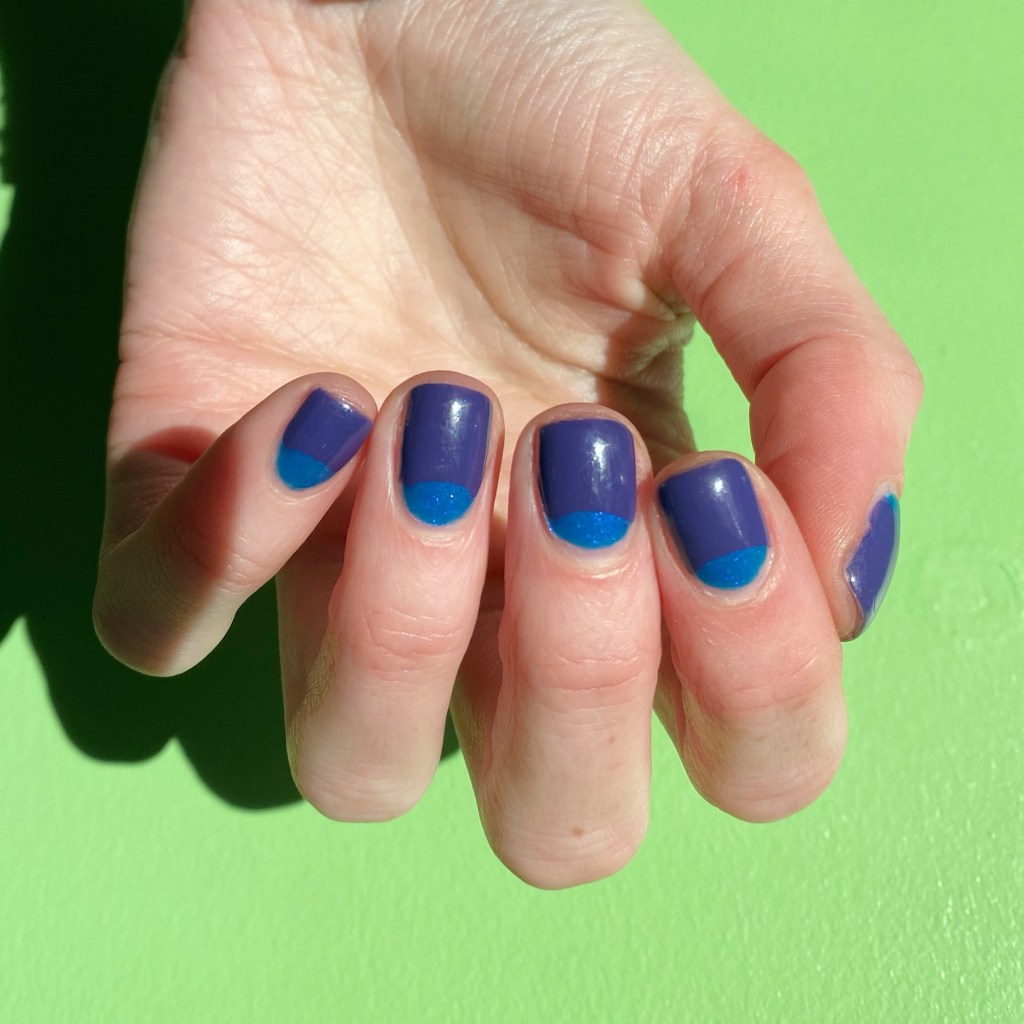
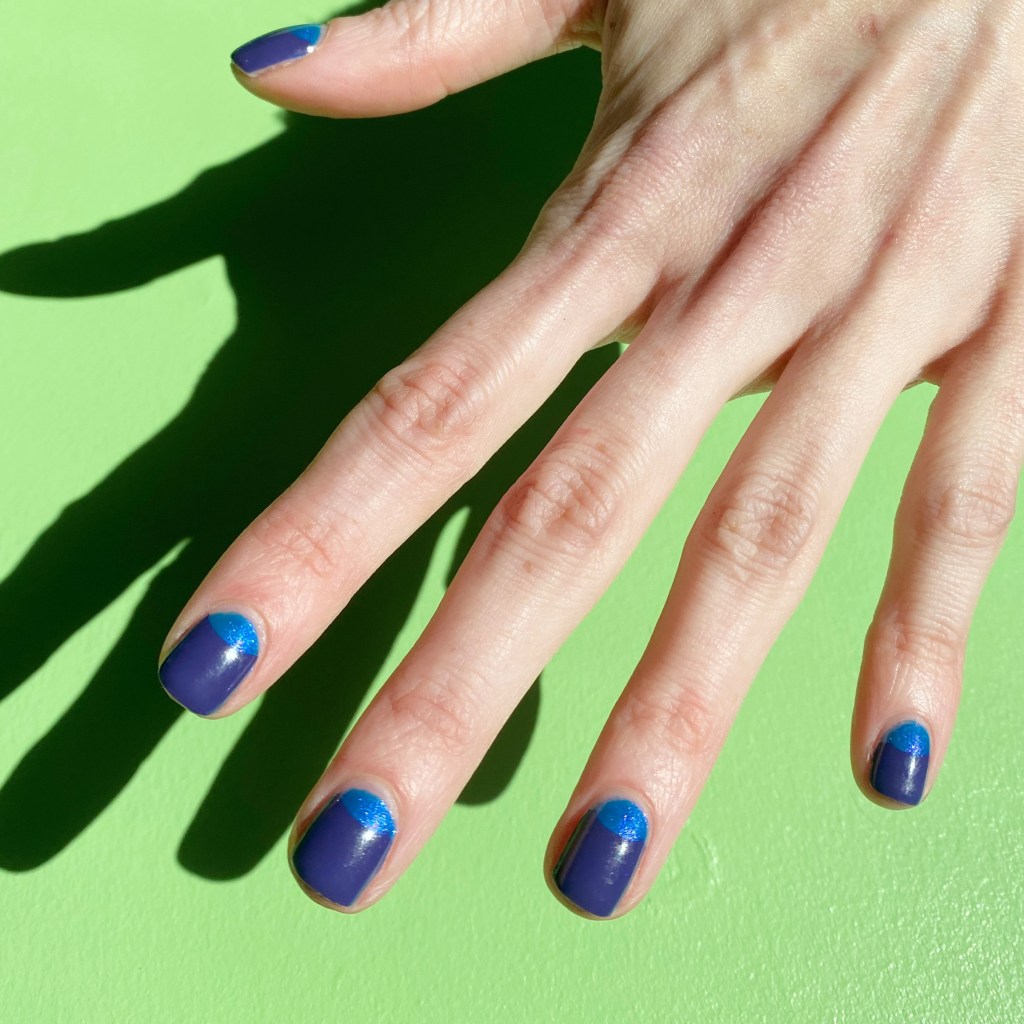
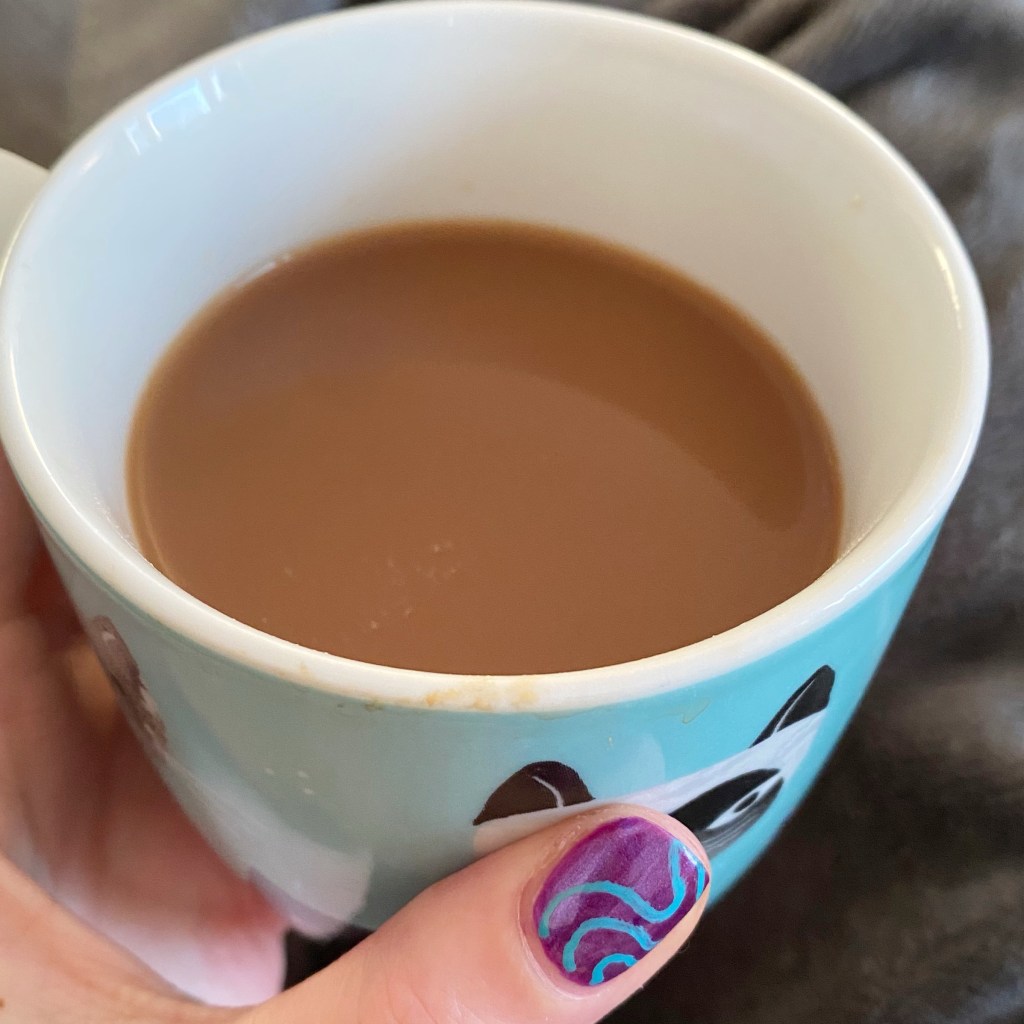
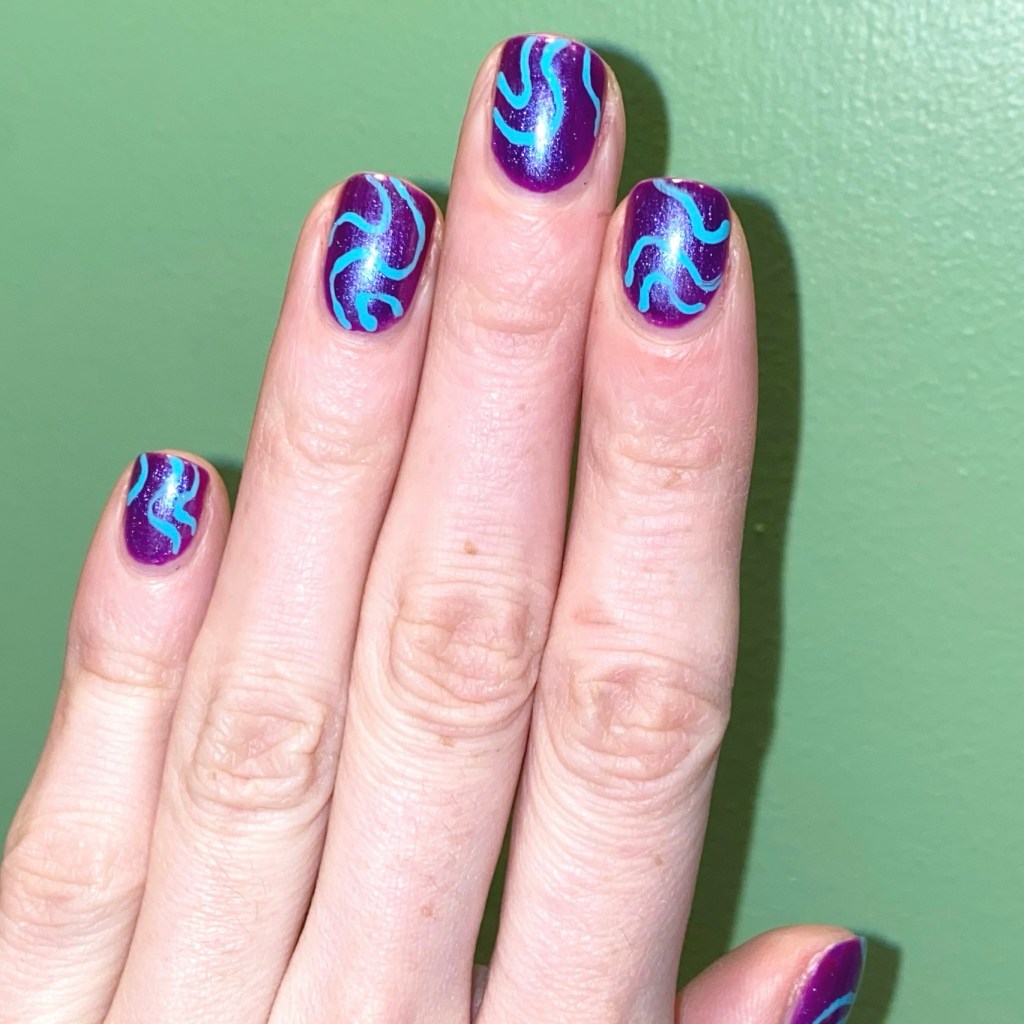
These were super simple to create. I started with my shimmery purple base, then just drew some wavy lines in a brighter, lighter shade overtop. So easy!
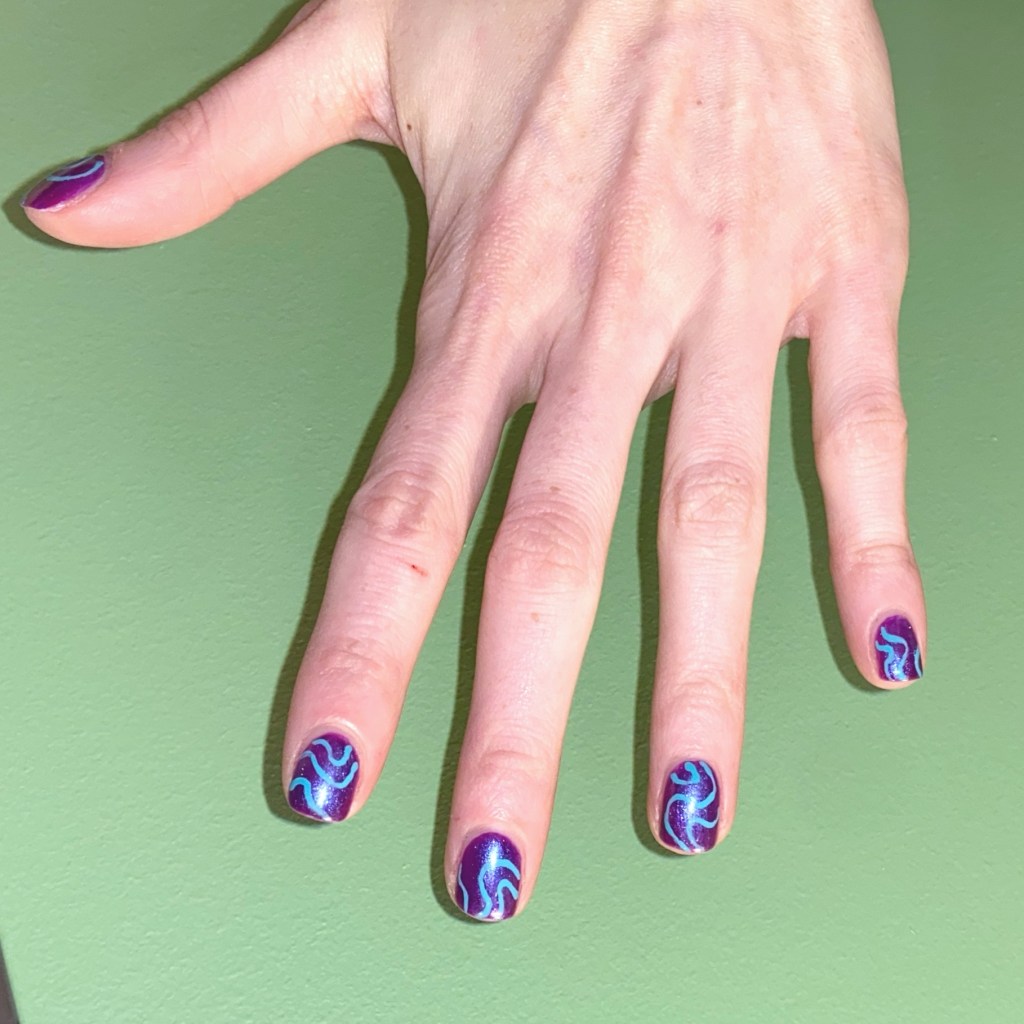
What do you think of these purple & turquoise wavy lines? It’s an easy look to do, but definitely catches the eye. I’m still trying to create fun nails, but lacking in inspiring (even after perusing Pinterest for far too long) but hopefully as the days get warmer, I’ll feel more like painting my nails & creating fun looks!
Enjoy your Wednesday loves! ♥︎