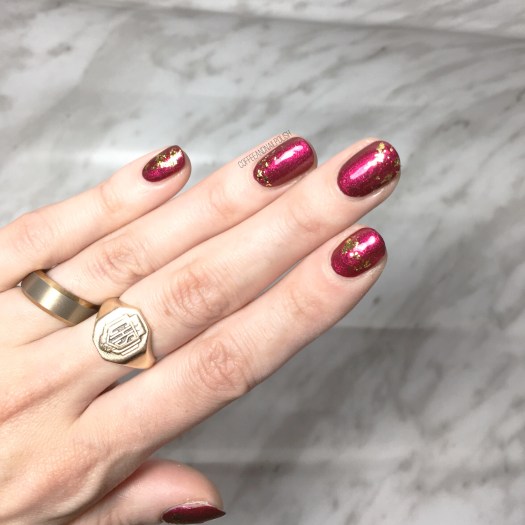
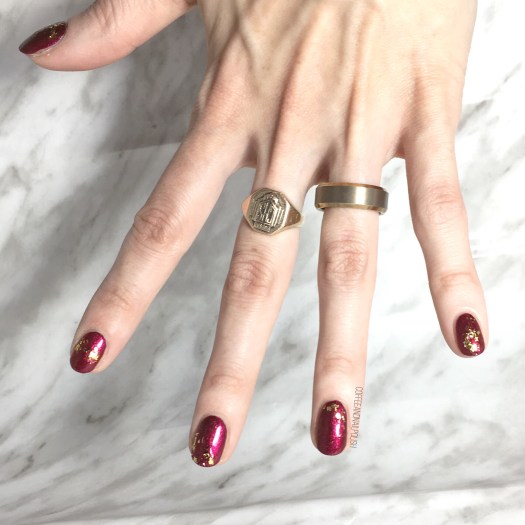
SWATCH SUNDAY — NailStuff.ca Blue Metallic Foil Flakies

Good Morning Lovelies!

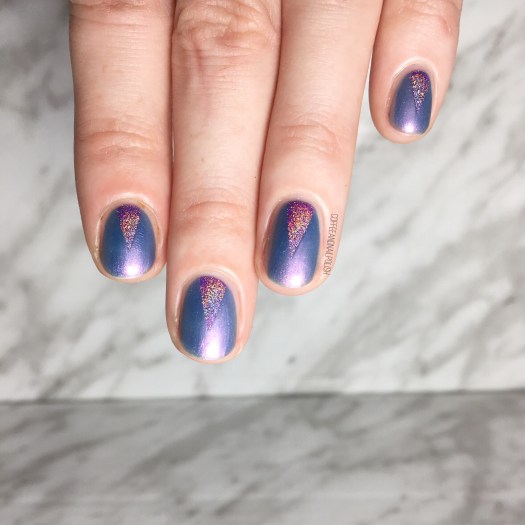
Today I’m sharing one of the beautiful new goodies I was recently gifted from NailStuff.ca! I showed off one of their new nail stud wheels earlier in the week, & now I have these metallic blue flakies swatched for you.

PR Sample. This product was gifted to me for review.

Application was super easy & simple! I love the fact that you can apply these without having to worry about using gel.

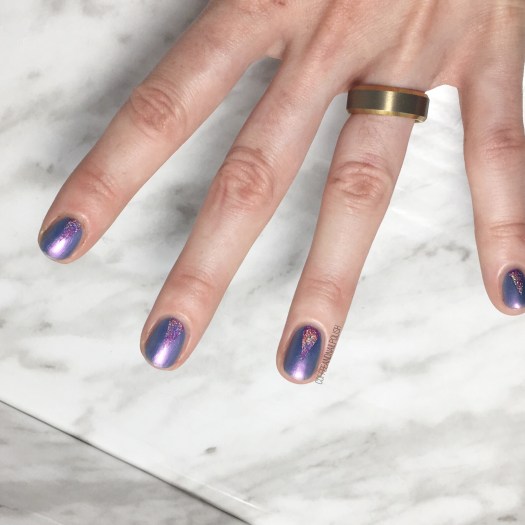
For this look, I started off by painting my nails in a complimentary shade (Sally Hansen original Pacific Blue). After a few moments applied a coat of Finger Paints Peel Off Base Coat over my blue, which is my preferred method of flakie application. Once my nails had dried somewhat, I dipped the applicator into the pot of flakies, pulled a small amount out, & brushed them down over the nail. After each nail was covered I sealed the look in with top coat.

It looks like sapphires on the nail & I’m in love with it. 💙💎
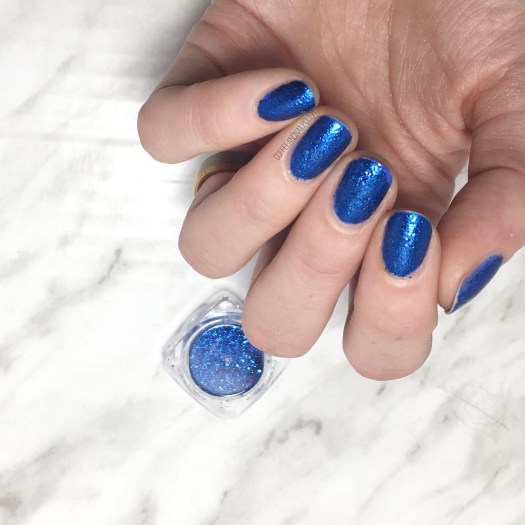
These flakies are so, so easy to apply & I love it. I stayed away from using nail powders for so long because I was concerned about making a huge mess, but surprisingly I never have any issues with these NailStuff’s product!

These flakies in particular are awesome because they almost clump together like magnets when picking them up out of the pot. You don’t have to worry about spilling all your flakies all over the couch (which my husband would not be impressed about!) Also I’m so glad how little product you need to use to achieve this look–one little swipe covered each nail so I still have a ton more for future designs!

Down below shows off this look in natural light. So happy for summer for beautiful green grass backgrounds!
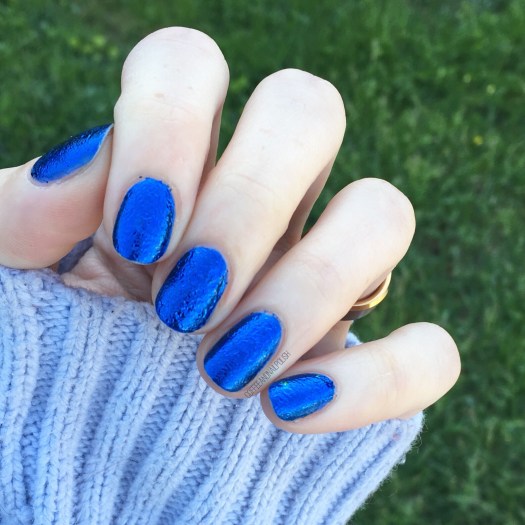
What do you think of these gorgeous blue metallic nails? Want to achieve this look for yourself — you can shop all the nail flakies available by NailStuff.ca here including these blue ones & a whole slew of other colours as well.

Have a happy Sunday loves! 💎
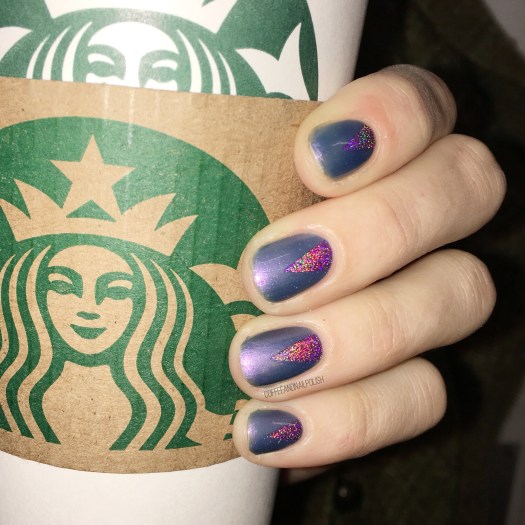
Holo Claws!

Happy Friday lovelies. I, for one, am very excited for the impending weekend–even though I work tomorrow, I can’t wait for this week to be over. After getting over some sickness at the beginning of the week, I ended up with some eye issues which has kept me from doing nail art. I hate when that happens! Thankfully I managed to finally repaint my (very) chipped nails last night & will hopefully be able to create some new nail art tonight.

So for today’s post, I went back into my phones camera roll & found a design from a while back (the last time my nails were rounded).

For this design the polishes I used were:

Oooooh I’m LOVING the combination. The pink compliments the blue really well, & even blends into it… until it hits that light & BAM! holo amazing-ness. & talk about distracting… I wore these nails to work & spent a large chunk of my day trying not to get distracted by the beautiful holo on my nails. I don’t wear Wrenn Polish Enchanted nearly enough. It’s just such an absolutely stunning polish.

Also you can never go wrong with chevron claws, especially when they’re holo. ✨

what do you think of this colour combination & style? Share your thoughts in the comments below!

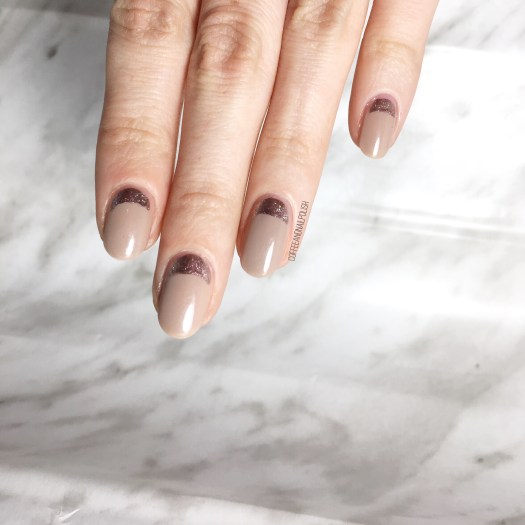
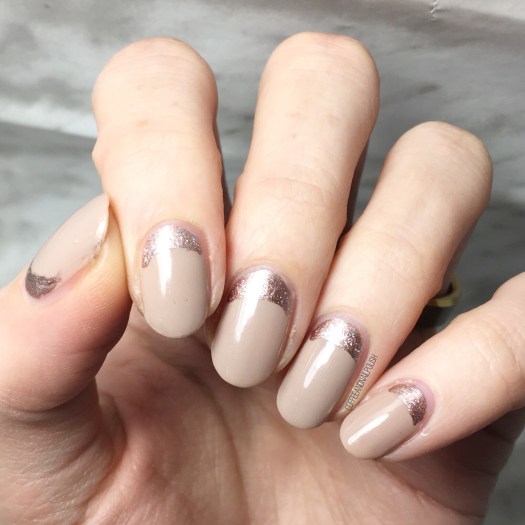
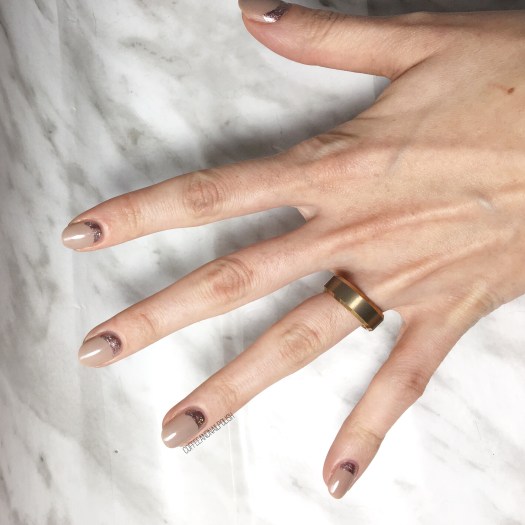
Easy Nude & Gold Ruffian

Good morning lovelies! It’s currently 6:33am as I write this & I’m sitting here waiting for my bright & early flight to Ottawa–my first time on an airplane in 9 years & my first time being away from the little guy. I figured I would distract myself from reality by posting! I have quite a few manis saved up that I haven’t posted yet, so even though I won’t be doing my nails this week I’ll still have lots of content to share.

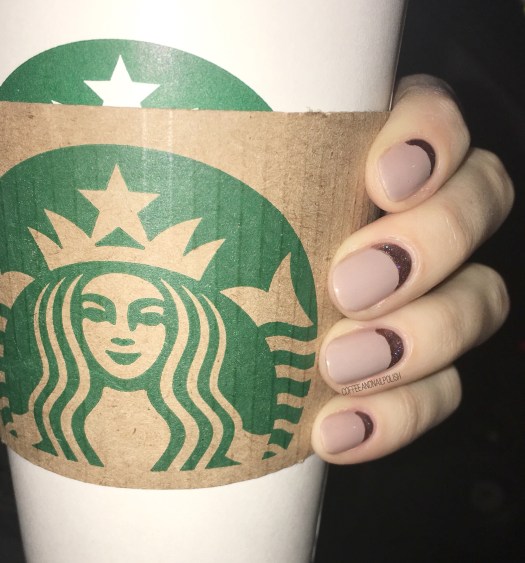
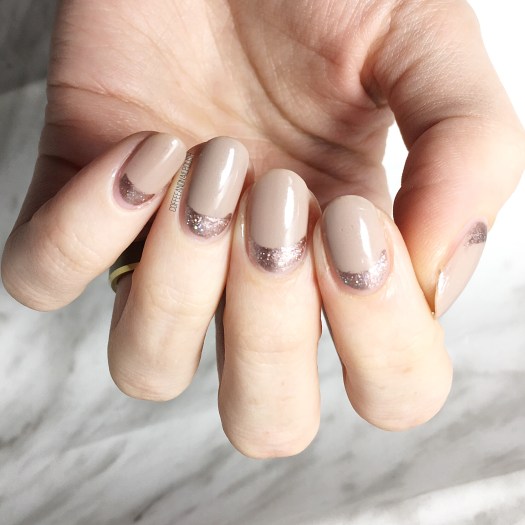
Today’s design is a design that I’ll be thinking about in my head for a while. I did them when I started out my job search & was trying to come up with interview/office appropriate designs. Sometimes you just want a little more than plain nude nails, but don’t want to push it too far.

For this manicure, the polishes I used were:

  • Base Coat: Quo by ORLY Breathable Kiss Me, I’m Kind
  • Top Coat: Seche Vive
  • Essie Topless & Barefoot
  • L’Oréal Feeling Kilty
  • Quo By ORLY Fallen Star
  • Paper Hole reinforcements

Oh man, I love ruffian designs but sometimes they can be tricky to get right. Using the paper hole reinforcements means you can create the look with barely any trouble. This was the first time I’ve tried it this way, & I’ll definitely be “cheating” & using them from now on. Just like my favourite half moons, it’s just so much easier. & I like easy.

What do you think of this design? Have you tried this technique for creating ruffian designs? Do you find freehand or nail vinyls/guides easier? share your thoughts in the comments below!

Now I’m off to Ottawa, so I will see you later! Have a great Monday!

Gold Flakie Glitter Placement

Happy Saturday lovelies! Hope everyone is having a wonderful first week of 2018. Today I am super excited, not only because I have these super cute flakie nails to share, but I created a tutorial for you… a VIDEO tutorial! I’ve been toying with the idea of creating videos for a while, but kind of nervous how doing it. But 2018 is all about challenging myself when it comes to this blog! & honestly, it turns out wasn’t as scary as I thought it would be! It’s actually kind of fun. ♥️

<<
oducts used for this manicure:

  • Base Coat: Nailtek 2
  • Top Coat: Seche Vive
  • Morgan Taylor Don’t Toy With My Heart
  • Nailstuff.ca gold foil flakies
  • Dotting tool (mine is from Bundle Monster)

<

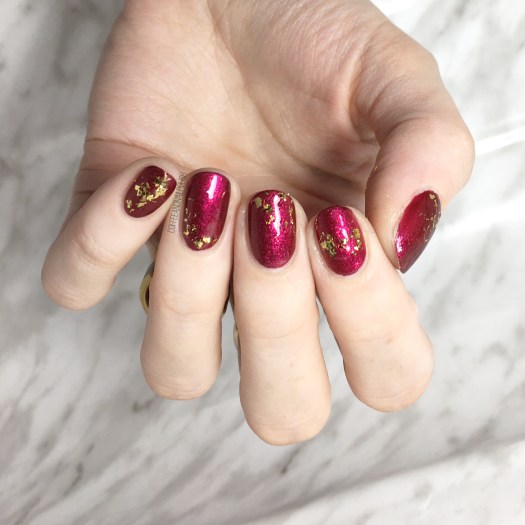
I always love a good glitter placement, & I thought these gold foil flakies from Nailstuff.ca paired so well with the red base of Morgan Taylor Don’t Toy With My Heart. It’s a little different trying to place flakies verses glitter from polish, but the end result looks just as gorgeous. I’ll definitely be trying this look with a few of the iridescent flakies I own.

A close up of these nails shows how cool the flakies look. I’m definitely going to be using this technique more often!

what do you think of this glitter placement design? I plan on making more tutorial videos, so let me know what you’d like to see & anything I can do to improve!

✨

*PR SAMPLE* Some of these items were sent to me for review. However, all opinions are my own.

<These polishes were all gifted to me by Morgan Taylor as part of the Preen.Me #PreenMeVIP program>

Morgan Taylor Little Miss Nutcracker Collection

Happy 2018 Everyone! ✨ I know I’ve been a little quiet over Christmas, but we spent it up in Northern New Brunswick with my Mum & Dad & Granddad & I decided because it was Lil Bubs first Christmas I wanted to be in the moment completely, hence putting the blog aside for a little while to enjoy the moments! Now I’m back, & I have some gorgeous swatches of some gorgeous polishes (which are WAY overdue).

Yes, I know… normally I would wait until Sunday for all these swatches but that just means you’ve get double the swatches this week! But I wanted to get this Morgan Taylor Little Miss Nutcracker polishes up finally–yes, this collection is technically for the holidays but once you see these swatches you’ll realize they’re great shades for all through the year!

<These polishes were all gifted to me by Morgan Taylor as part of the Preen.Me#PreenMeVIP program>

Continue reading “Morgan Taylor Little Miss Nutcracker Collection”