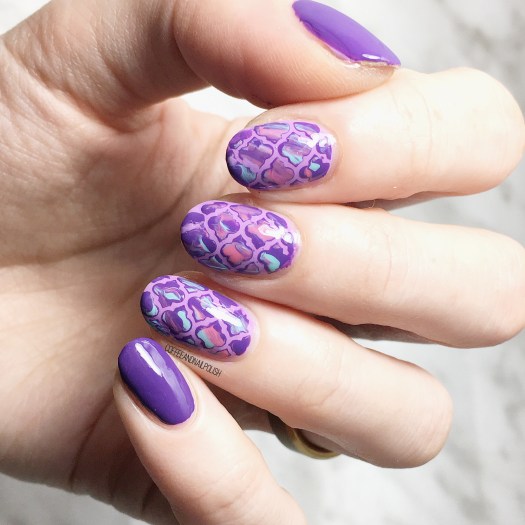
Purple Quatrefoil Pattern Accent Nails

Hello lovelies! I’ve got another fun design to share with you. I felt a bit like I was getting a little too premature with the Fall colours, so I decided that I needed some bright & more Summer-like colours in my life again.

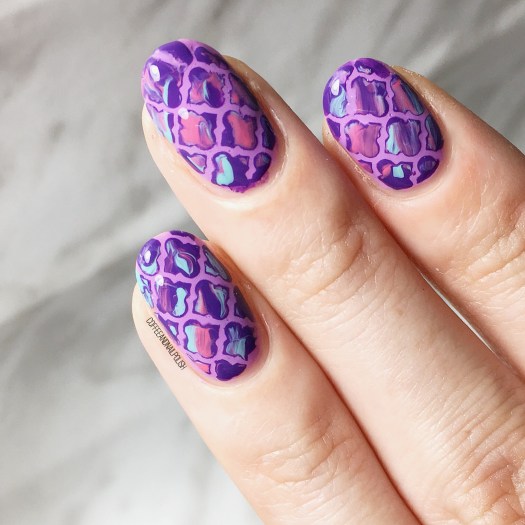
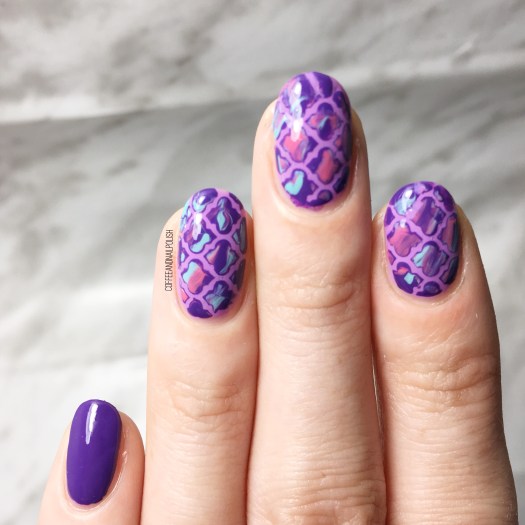
Today’s design is a fun quatrefoil design using some vinyls from What’s Up Nails, which I haven’t pulled out in a while. In fact, after going through my stash of vinyls I’m definitely going to need to order some more soon because I’m starting to run out of my favourites!
For this manicure, the polishes I used were:

  • Base Coat: Sally Hansen Complete Salon Manicure Strengthening Base Coat
  • Top Coat: Essie Gel Couture
  • Sinful Colors Amethyst
  • Essie Play Date
  • Essie Mint Candy Apple
  • Sally Hansen Miracle Gel Bourbon Belle
  • What’s Up Nails Moroccan Nail Vinyls

I thought this look turned out really unique, although using a white base might have made the pattern pop even more.

Also I would have loved to have done this on all my fingers, but like I said I’m starting to run low on my Moroccan nail vinyls so I have to use them sparingly until I order more of them. But I do think the three accent nails look really neat! & the bright polishes I picked are a little bit more Summer-y than a lot of my nail art has been lately.

What do we think about how this look turned out? Would you try out this design? Let me know in the comments below!

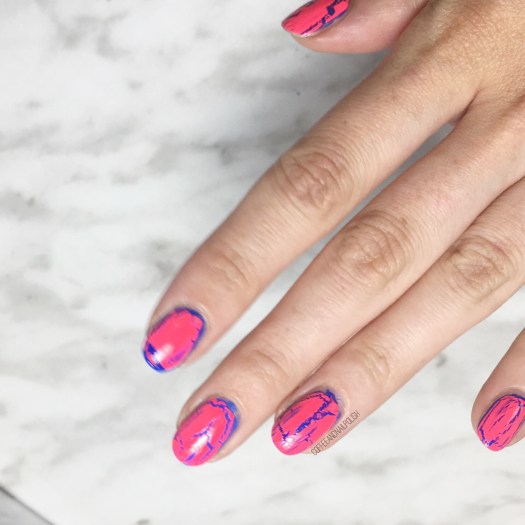
Blast from the Past — Crackle Nail Polish

I’m sure if you’ve been a part of the nail polish community for any amount of time, you’ve seen quite a few nail polish trends come & go: feather nail polish, magnetic nail polish, textured nail polish & of course… crackle nail polish.

For those who don’t know what crackle nail polish is, it was a kind of topper you would apply over already painted nails, that would crack as it dried, revealing the base colour underneath. I was first introduced to crackle nail polish back with the Katy Perry Teenage Dream collection from OPI, & though it was the most genius idea, so naturally my obsessive brain had to own as many crackle polishes as possible! Thankfully, even nail polish company & their friend seem to come out with their own version of crackle so it was easy to get my hands on a whole slew of brands, colours & finishes!

Most of my shades have long since dried up & are pretty much impossible to use, but every so often I get the urge to pull out one of my bottles still holding on & play around with it. Thank you nostalgia.

For this manicure, the polishes I used were:

  • Base Coat: Sally Hansen Bamboo & Green Tea Strengthener
  • Top Coat: Essie Gel Setter
  • My blues from my cobalt blue comparison post
  • Icing Shatter nail polish Electric Graffiti

As you can see, even though this polish is about 7 years old, it still works semi well in terms of the crackle effect (minus my pointer finger… I have no idea what happened there!) Like I said, I collected quite a few of these shades during the heigh of their popularity, but only a few of them still work to this degree. & now that my nail art techniques have improved over the years, I don’t really grab these shades like I once did.

& just for fun, I wanted to share the very first mani I ever did using this fun polish. Please excuse the awful quality in all regards (painting, photography, ect)

As you can see, the actual cracking abilities of Electric Graffiti has dwindled over the years, but for a polish way past prime, I’m impressed I can still get any crackle out of it. I feel like because the formula has thickened up a lot, that’s the reason the shatter is different. A thinner application would definitely give me a reaction much more like my throwback manicure… wondering if adding a bit of thinner to the bottle would revive it. I’m curious to find out.

what are your thoughts on the crackle/shatter nail polish trend from years past? I know some people have very strong feelings about these polishes (& how much they hate them). Let me know if you’re team crackle or hate it?

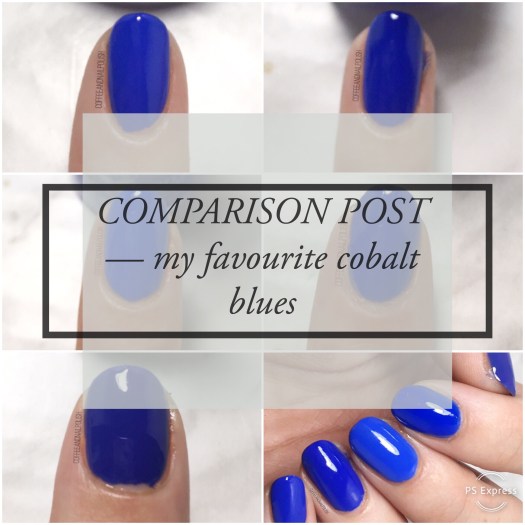
COMPARISON POST — My Favourite Cobalt Blues (Pacific Blue Dupes)

Hello lovelies & happy Wednesday! Today I have a special post I swear I’ve been meaning to do FOREVER but just never got around to doing — a comparison post featuring a few of my favourite cobalt blue shades!

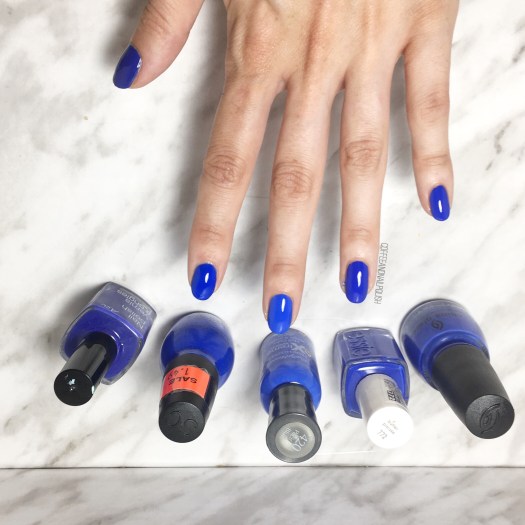
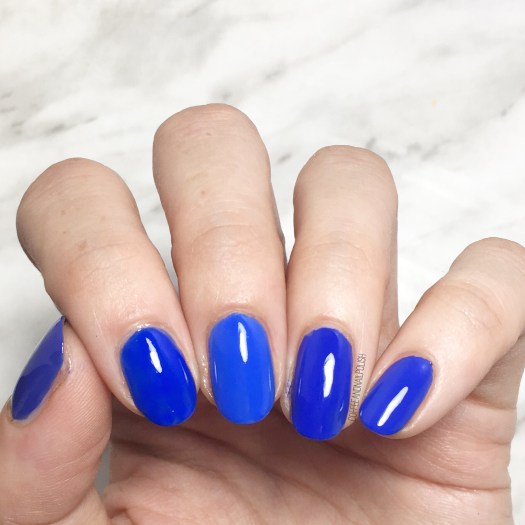
I have done a couple of these comparison posts in the past, & they always prove to be popular, so I thought that it would be fun to do another. All the shades you’re about to see are inspired by my love of one polish: the original formula Sally Hansen Xtreme Wear Pacific Blue. If you don’t know, Pacific Blue was the most perfect cobalt blue polish that ever existed, which sadly saw a formula change in 2014… a formula change which led to serious uproar in the nail polish community. This led to mainly nail bloggers searching for dupes, & stocking up on any old formula bottles they could find… myself included. As a result, I have quite a few cobalt blues in my nail polish collection… & I wanted to compare a few of my favourites to see how they lived up to the original.

As you can see, I’ve selected 5 of my many blues for comparison… can you tell which ones are which from the above swatches? All polishes were applied over my base & finished with top coat (Essie Gel Setter).

Continue reading “COMPARISON POST — My Favourite Cobalt Blues (Pacific Blue Dupes)”

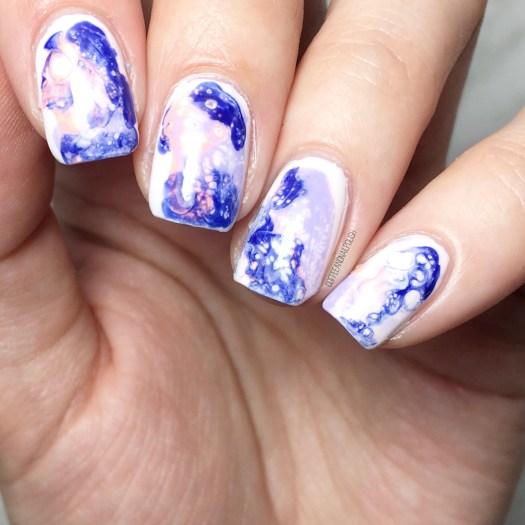
Marble Fluid Nails

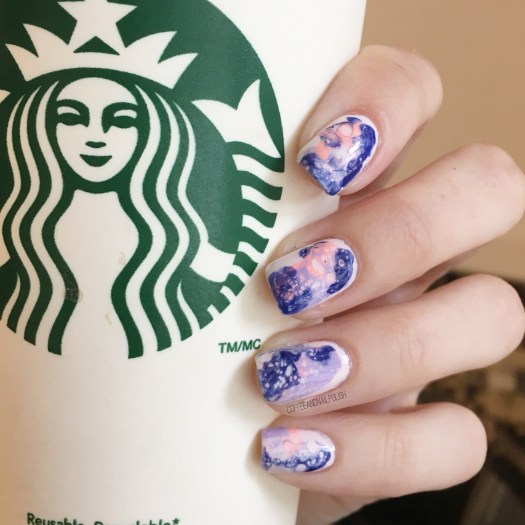
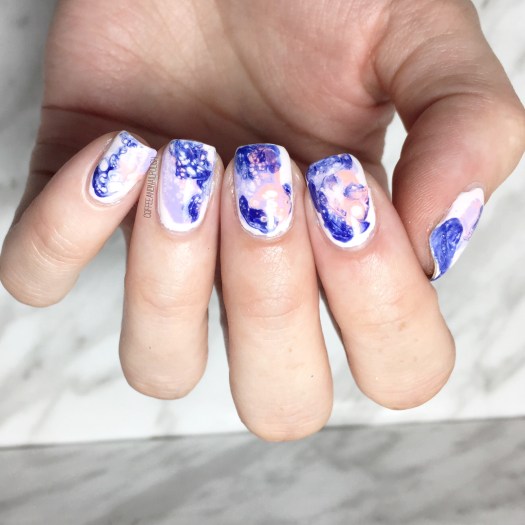
Good morning lovelies & happy Friday! Who else is excited for the weekend!? Today I have some brand new nails with a new to me technique I’ve been wanting to try for AGES: fluid nails.

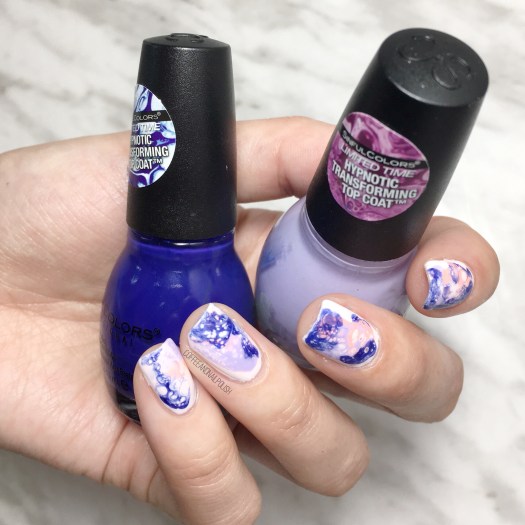
This technique has been popping up on Instagram for a while & I’ve been obsessed with how they looked just as long — I even went out & bought a few of the Sinful Colours Hypnotic Transforming Top Coats that were released a few years ago, but was dawdling on actually giving the technique a try!

The polishes I used for this design were:

  • Base Coat: Sally Hansen Bamboo & Green Tea Strengthner
  • Top Coat: Essie Speed Setter
  • Sally Hansen Miracle Gel Pretty Peony
  • Sally Hansen Miracle Gel Neons Peach Please
  • Sinful Colors Hypnotic Transforming Top Coat Rebel Rebel
  • Sinful Colors Hypnotic Transforming Top Coat Purpunk
  • Stamper (I used my clear stamper from Nailsuff.ca)

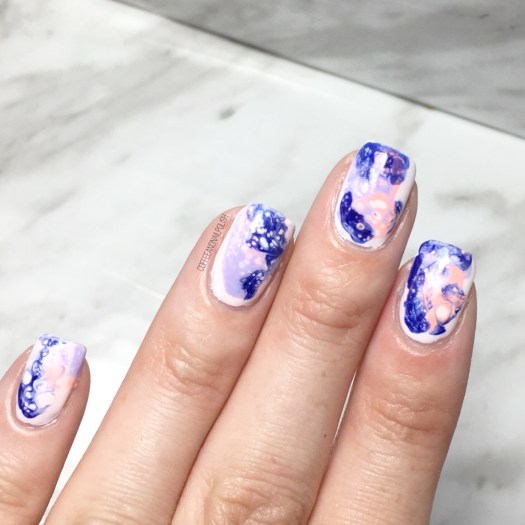
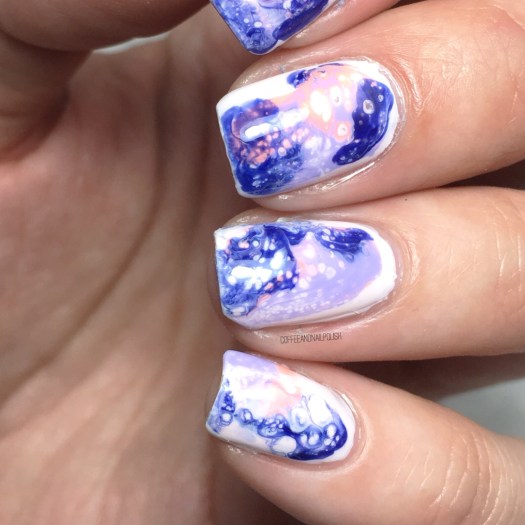
Most of the tutorials I saw involved creating decals to make your cells for the fluid look, but being lazy (& tired) I decided to see if I could use the smoosh technique to get a similar look. I painted my nails my base colour of choice & then applied drops of polish including my Sinful Colors Hypnotic Transforming Top Coats & then quickly pressed down using a stamper to smoosh my shades together. & it worked!

I was a little careful with application to keep mess to a minimal (couldn’t find my Edge Perfection & wasn’t in the mood for a ton of clean up) but you could definitely make the fluid look cover more of the nail if you applied more polish & smooshed down harder. I will definitely be trying this look again & seeing if I can do a fuller nail look. However, that being said my pinky was the first nail I did & it turned out my favourite!

Have you tried out the fluid nail art look yet? I know I’m about 2 years behind, but I’m so glad I finally gave it a try & finally used these awesome spotted polishes I’ve had in my stash forever!

What do you think of this look? Let me know in the comments below!

Pink Drag Marble with Gold Glitter

Hello lovelies & Happy Tuesday! Hope everyone is recovering from the time change this past weekend. I’m currently trying to recover from another fantastic cold, but I did manage to get my nails done before it struck me down this weekend! & it was so exciting to play around on my nails.

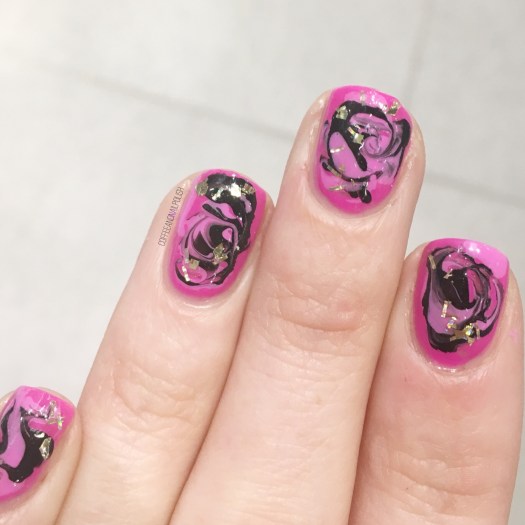
& what was I feeling? A drag marble. & oh boy was I rusty!

The polishes I used for this manicure:

  • Base Coat: OPI Nail Envy
  • Top Coat: Essie Speed Setter
  • Ardene ACO Dashing
  • Ardene ACO Road to Nowhere
  • Sally Hansen Hard as Nails Black Heart
  • Sinful Colors Twilight Twinkles
  • Nailstuff.ca dotting tool

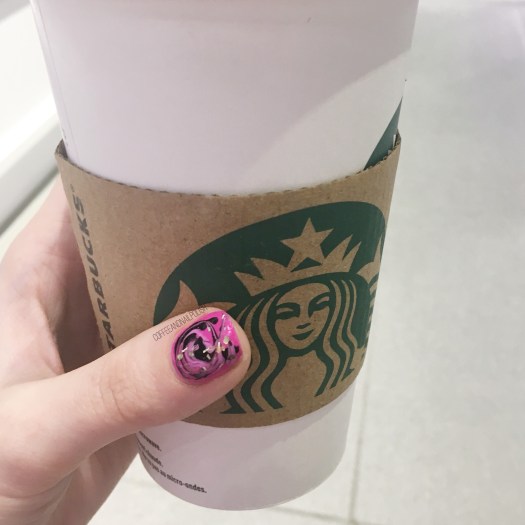
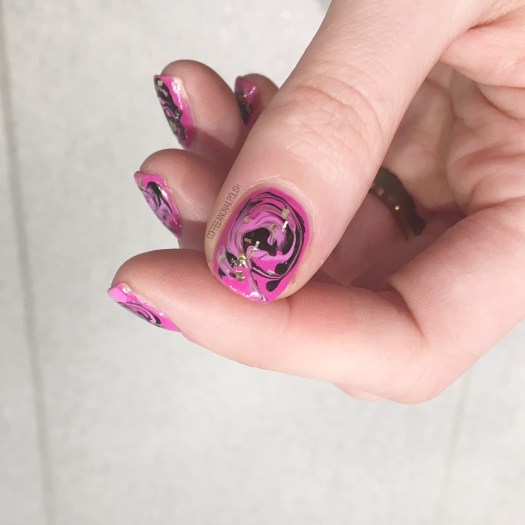
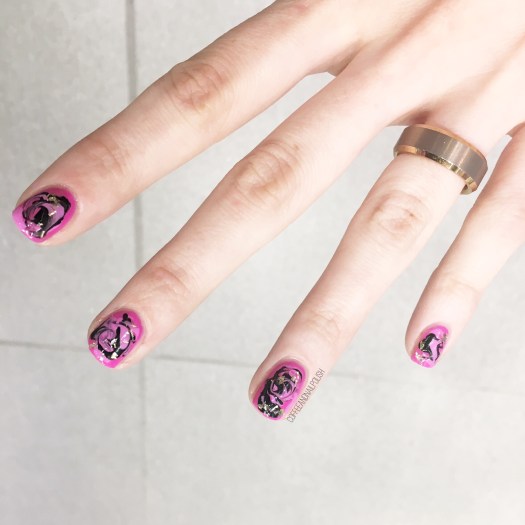
It’s been forever since I attempted any kind of drag marble design & my base shade (Ardene Dashing) was a little too quick drying which added some difficulty to my look. But the more I look at this design, the more it’s grown on me. I added a bit of gold glitter flakes which I’m not sure if it added to the design, but I was a little haphazard with my placement.

& my favourite nails? My thumb & my pinky. The design on both definitely turned out be best. As you can see, the swirl on my thumb looked just perfect. If only every nail had turned out this amazing.

What do you think of this look? Which nail do you think turned out best? Which colour combo do you think I should try next?

Share you thoughts down in the comments below!