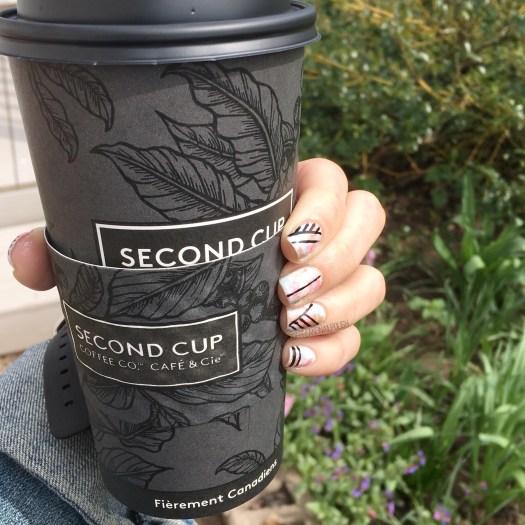
Hello lovelies & Happy Tuesday. I hope whenever you are, the weather is beautiful & Spring like. Today I’m featuring a design using the brand new Sally Hansen Canada Miracle Gel Pastel Punk collection. I saw this collection in stores & was super excited by all the beautiful colours… & then I was just lucky enough to receive the WHOLE collection courtesy of Sally Hansen Canada themselves. I have a full swatch post coming up (this weekend… stay tuned!) which will show you the awesomeness of the colours on their own, but in the mean time I have the first of many designs featuring these awesome shades!
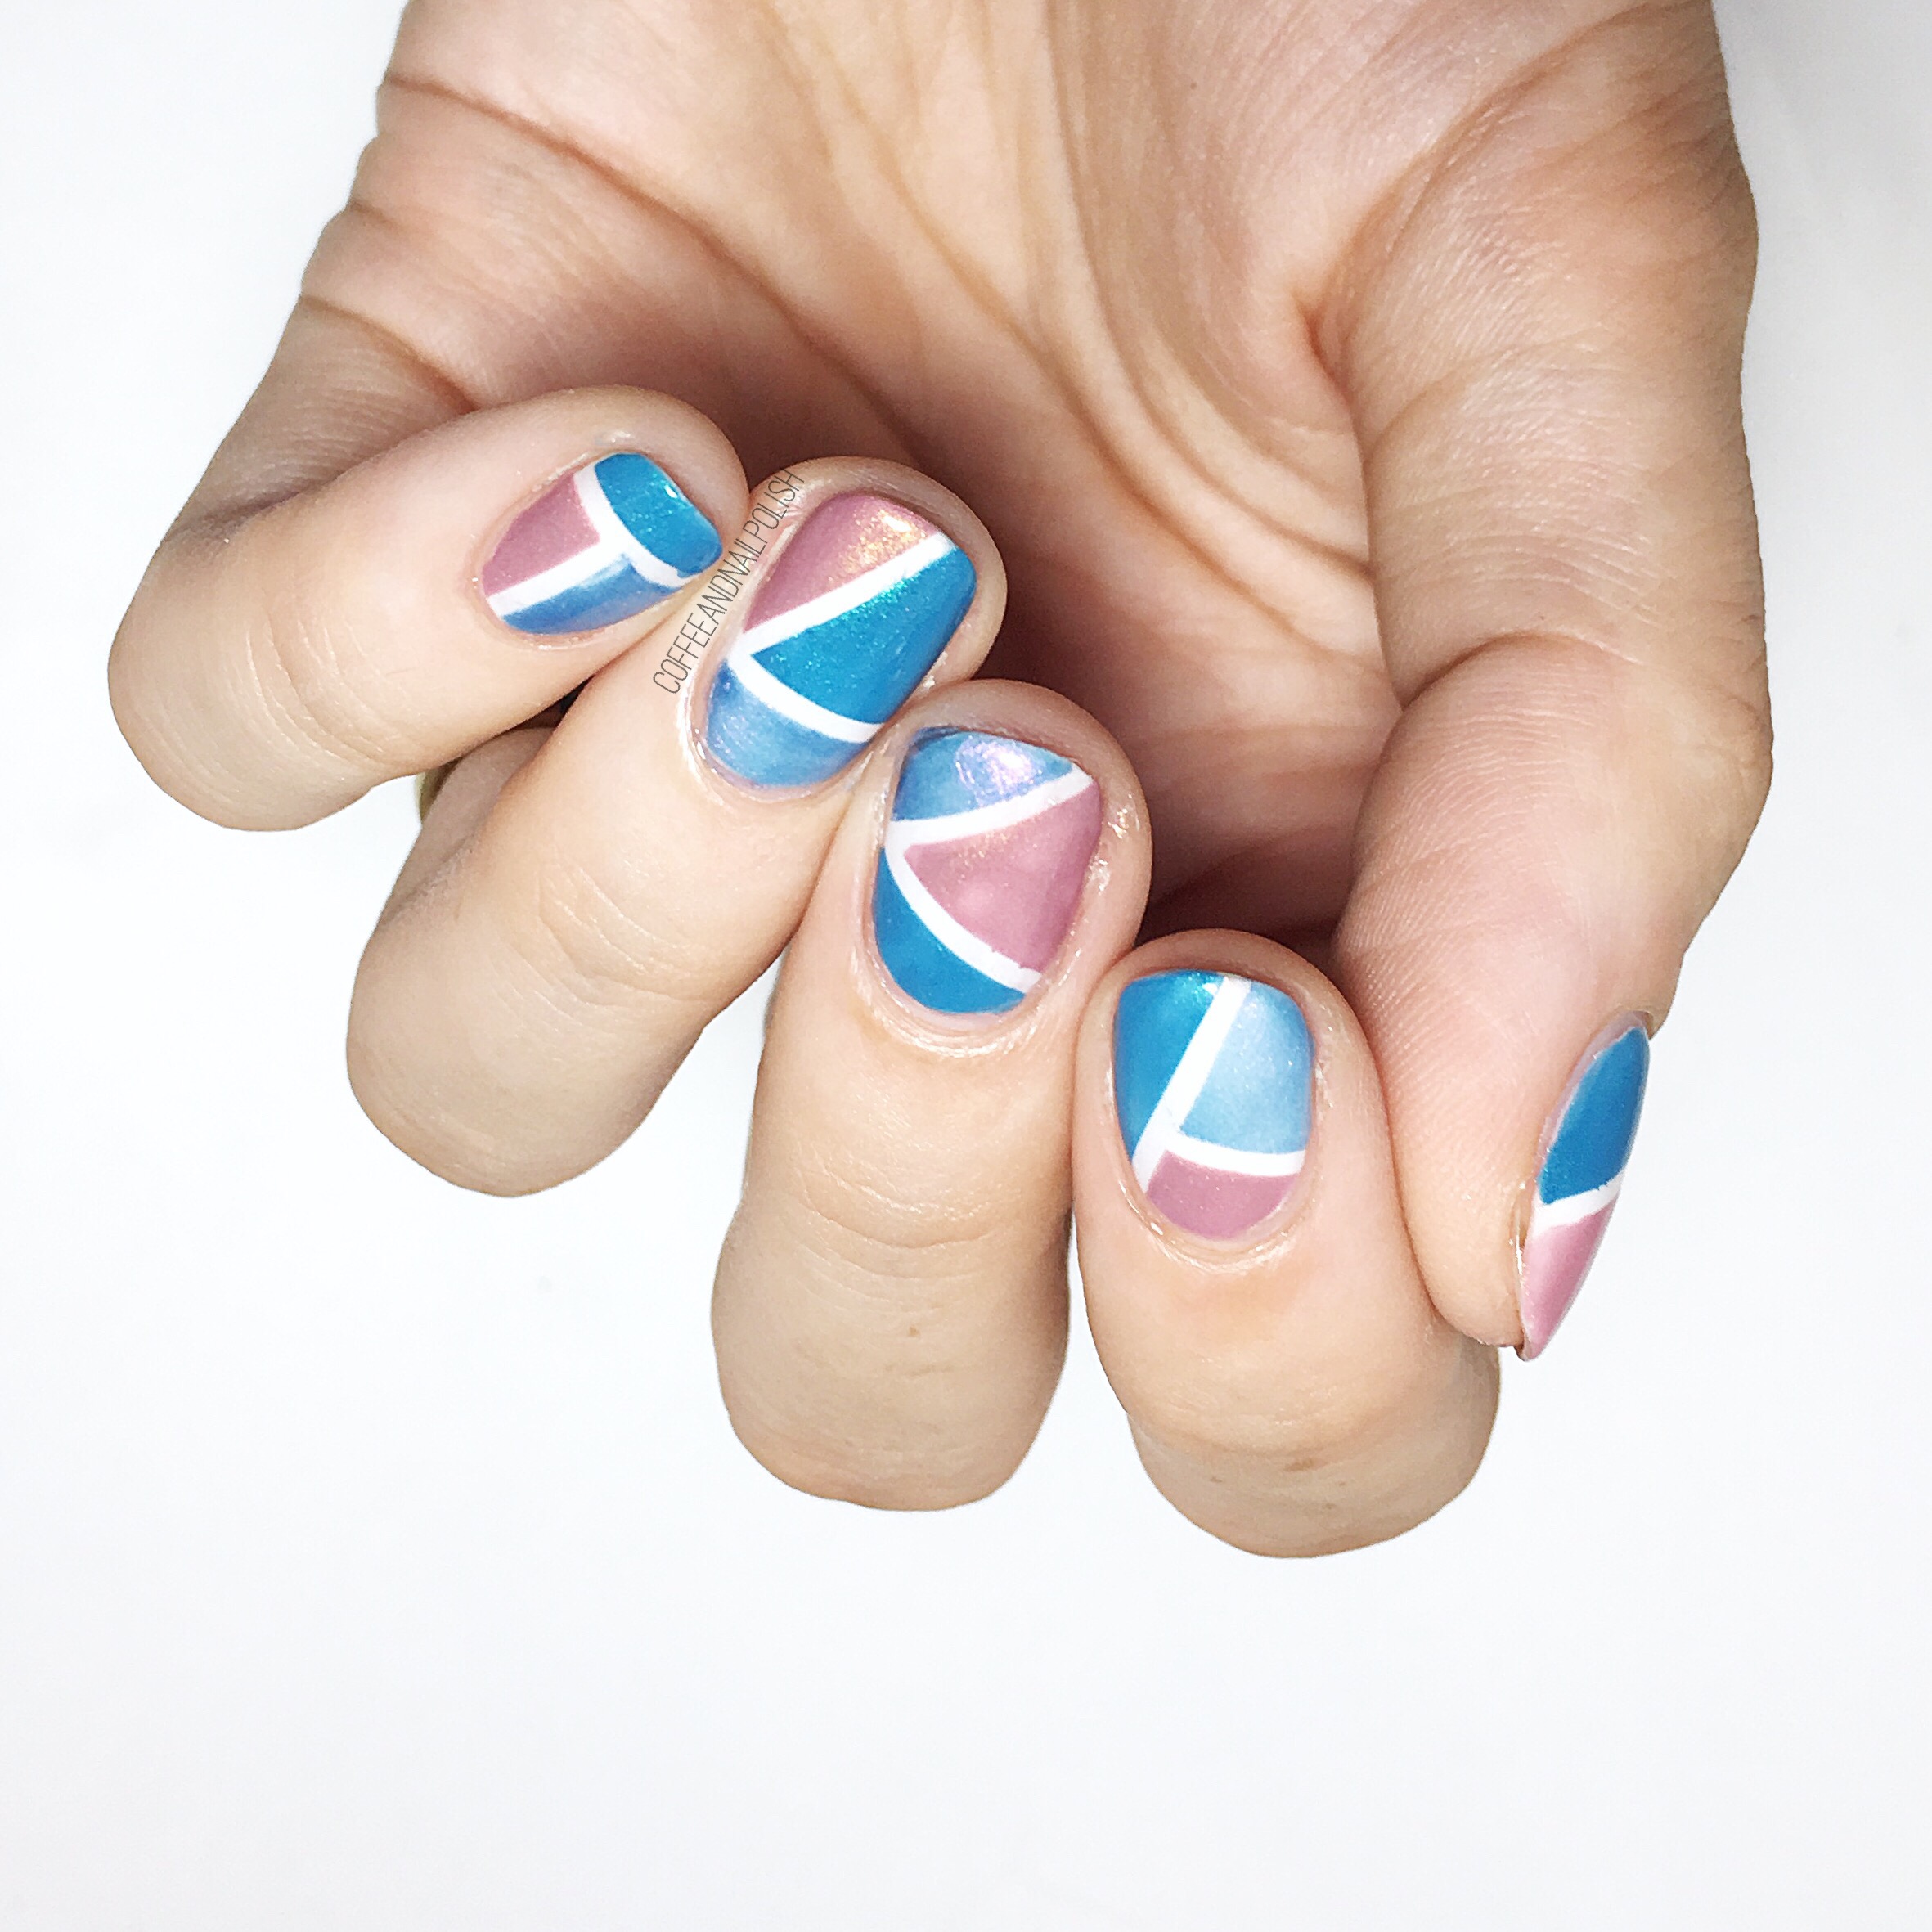
First up…. some dry brushing & geometric lines!


For this manicure, the polishes I used were:
- Base Coat: Nailtek 2
- Top Coat: Sally Hansen Miracle Gel Top Coat
- Sally Hansen Miracle Gel After Altar
- Sally Hansen MG Just Maui’d
- Sally Hansen MG Ocean Daze
- Sally Hansen MG I Lava You
- Sally Hansen MG Shell-ebration
- Sally Hansen MG Golden Glow
- Sally Hansen Hard As Nails Black Heart
- Bundle Monster striping brush.
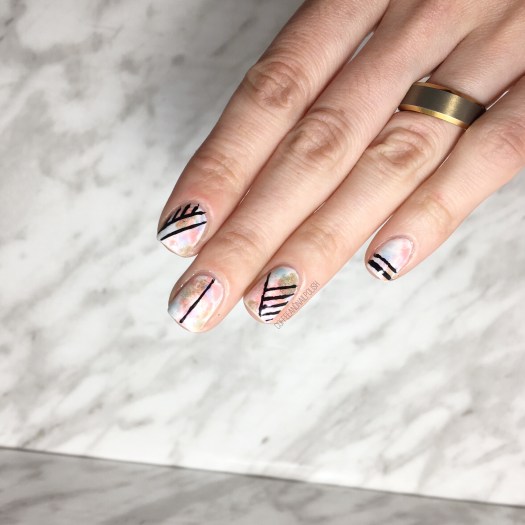
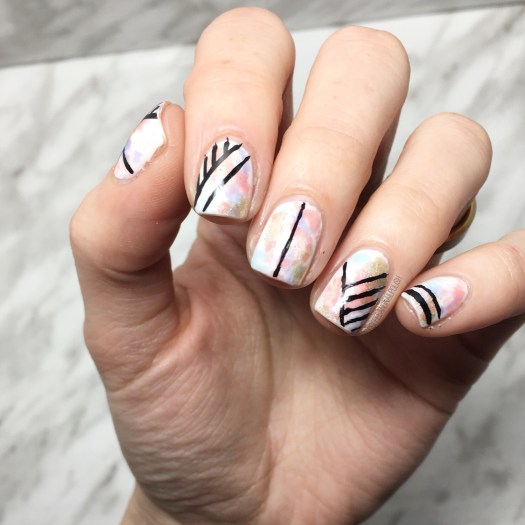
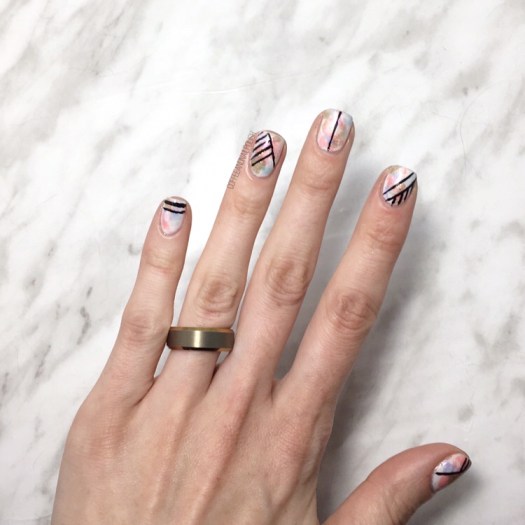
This whole collection is full beautiful spring shades & they go together so well. The first design I had to do with them just had to be a dry brush & I love how well these colours compliment each other. & then I love the black lines over top the softness of the dry brush because of how well it pops. It feels like I don’t do my free hand lines nearly enough so I wanted to practice a little. I bought acrylic paint forever ago, but I have zero clue where it is. It probably would have made my design a lot easier to do. I did it using polish & it turned out slightly wonky. Never less, I do love how this pattern turned out.

I know I said that the Sally Hansen Miracle Gel Travel in Colour collection was my favourite for Spring, but this collection made have beat it. It’s that blue & the shimmers & everything. It’s just so pretty. Even though I don’t wear it nearly as often as I should, I just love a good pink polish. & there are TWO in this collection. & I love, love, love them. 💗 When I get my swatches posted this weekend, you’ll see all the reasons why this collection is amazing. I can foresee a lot of designs coming up featuring these lovely shades.


have you sought out the Sally Hansen Pastel Punk collection yet? Which shade is your favourite? What do you think of this dry brush & graphic line design?
Let me know your thoughts in the comments below!


