White & Purple Drag Marble 💜

Good Morning lovelies & happy Tuesday! Hope everyone had a fantastic beginning to their week.

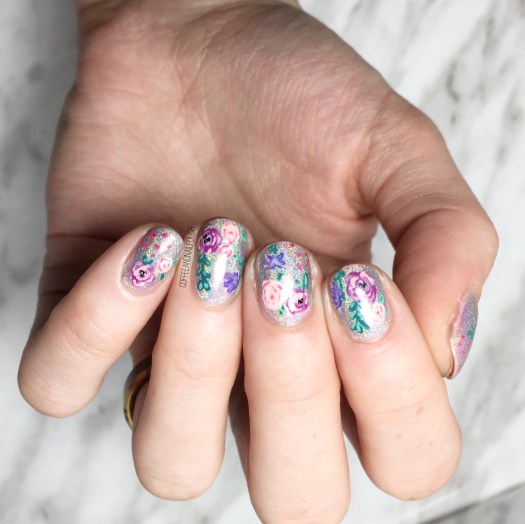
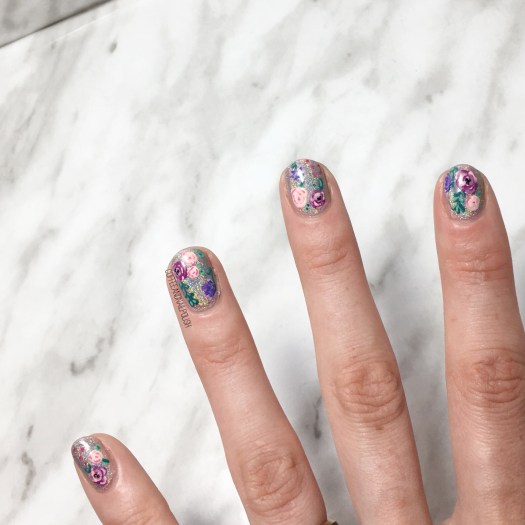
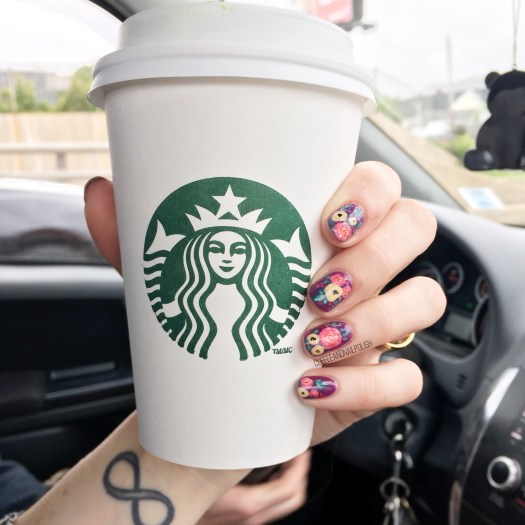
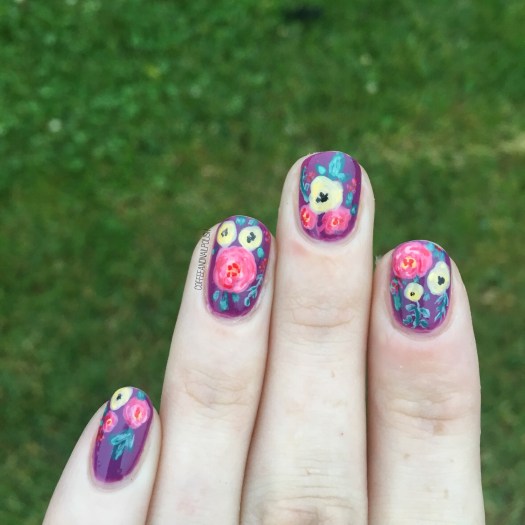
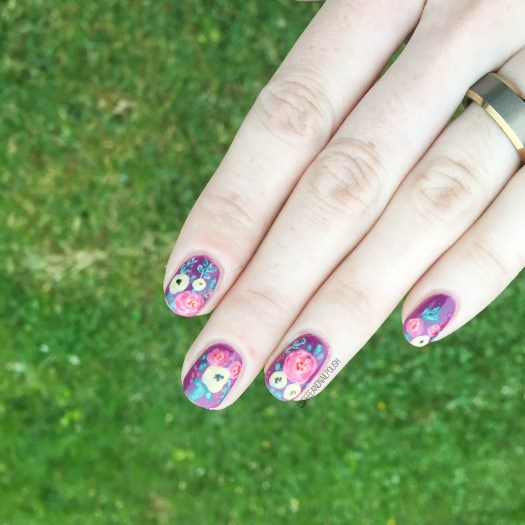
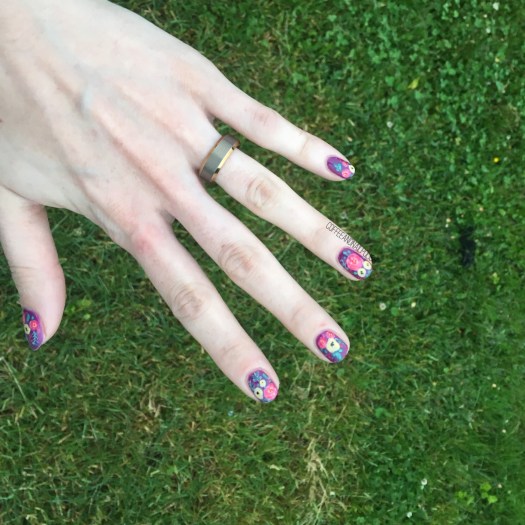
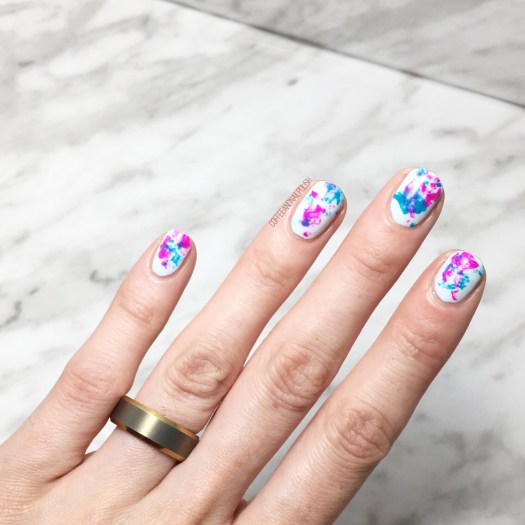
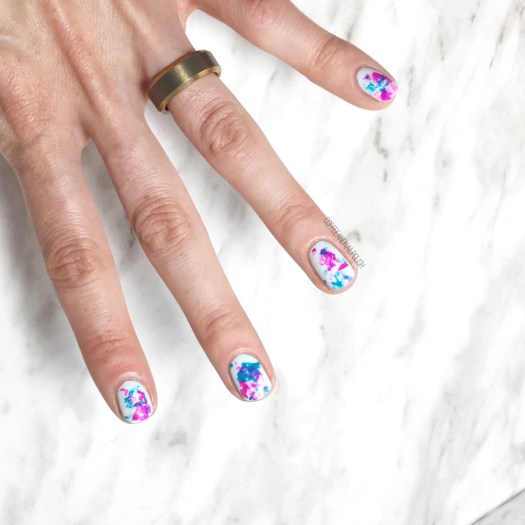
Today I’m showing off some brand new nails & a design I haven’t done in a while: drag marble. I literally couldn’t remember the last time I attempted one–I’ve been trying so many awesome marbling techniques–that it felt like a good time to give an old favourite another try!

For this manicure, the polishes I used were:

  • Base Coat: OPI Nail Envy
  • Top Coat: Essie Gel Setter
  • Sally Hansen Complete Salon Manicure Lets Snow
  • Sally Hansen Miracle Gel Just Maui’d
  • Color Club Eternal Beauty
  • Bundle Monster drag tool.

Drag marbles were my first foray into marble nails because they seemed like the least messy option! Definitely takes a bit of practice to keep your nails from looking swampy (or one colour completely taking over the entire nail!) but once you get that down, the end result can be stunning!

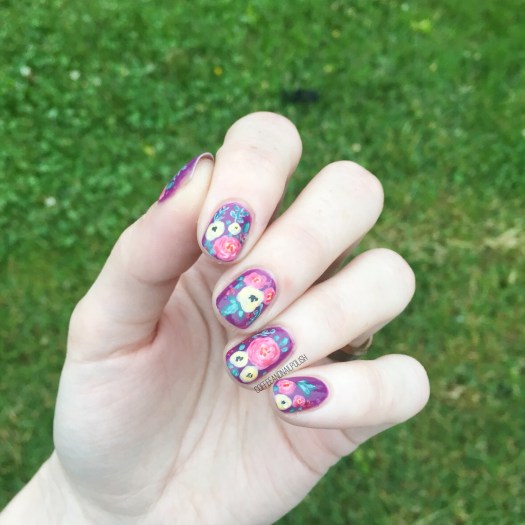
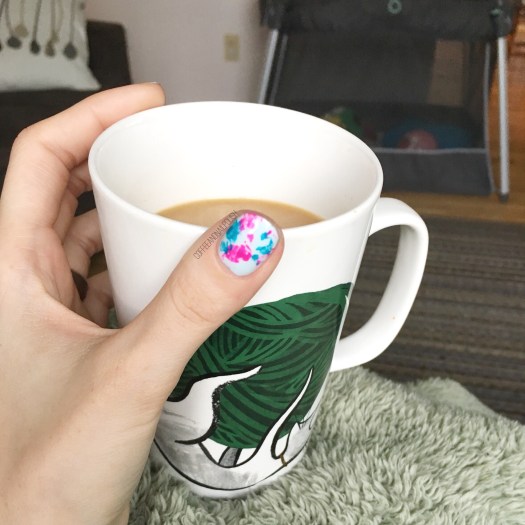
Of all my nails, I think my ring finger probably turned out the best, followed by my middle finger. Sadly, I was using a more than half empty bottle of top coat, so there were way too many bubbles happening… but I guess that helps add to the marble effect! & thankfully you can’t really see them from far away. It was just me they bothered immensely.

What do you think of this drag marble design? What’s your favourite marble technique? Let me know all your thoughts down below!

Floral & Holo

Holy how is it July already? Seriously, it feels like just yesterday I was posting Christmas designs & now it’s hot & humid & I’m so excited I can finally pull out all my fun Summer dresses to wear without needing leggings underneath. I’ve been rocking a lot of floral lately… especially on the nails.

I know that it doesn’t matter what time of year it is, I’m pretty much always going to rock floral. But when the sun is shining & the temps are climbing, wearing floral just feels right!

For this manicure, the polishes I used were:

  • Base Coat: OPI Nail Envy
  • Top Coat: Essie Gel Setter
  • NailStuff.ca holo powder (applied over Sally Hansen Complete Salon Manicure Rose to the Occasion)
  • Essie Playdate
  • Color Club Pucci-licious
  • Sally Hansen CSM Killer Heels
  • Sally Hansen CSM Red It Online
  • Sally Hansen CSM Rose To the Occasion
  • Sally Hansen CSM Blush Against The World
  • Sally Hansen I ♥️ Nail Art pen in green
  • Quo by ORLY Second Hand Jade
  • Bundle Monster small detail brush
  • Bundle Monster small & large dotting tool

Oh man, this holo powder from NailStuff.ca is one of my all time favourites. Easy to apply & such a strong holo look. I never thought of using it as a base for nail art, but it was the perfect base for this floral. Plus in the sunlight…. oh, in the sunlight. I’ve been obsessing over wearing holo nails on good days because it’s so distracting! I would be lying if I said I didn’t get caught staring at my nails once or twice (or five times) while wearing this mani!

what do you think of this design? Are you a fan of a holo base for nail art? Share your thoughts in the comments below & let me know what you think. ♥️

Vintage Roses (take #17283)

You know when you did that perfect pair of jeans or shirt or outfit that looks amazing, & fits your perfectly, & just makes you look amazing? You wear it constantly (maybe more than you should), because it just looks so good? That is how I feel about floral & vintage rose nails. & that is why I have ANOTHER floral design to share with you.

This design is actually inspired by an old design of mine, this time using blues instead of pinks. Yep, I’ve done a different version of these simple roses a lot but they never get old to me, so hopefully they’re not tired to you.

For this manicure, to polishes I used were:

  • Base Coat: OPI Nail Envy
  • Top Coat: Essie Gel Setter
  • Essie Find Me an Oasis
  • OPI Angel with a Leadfoot
  • Sally Hansen Complete Salon Manicure Rose to the Occasion
  • Essie Bachelorette Bash
  • Sally Hansen Insta-dri Petal Pusher
  • YSL Beauty Vert D’Orient
  • Essie First Timer
  • NailStuff.ca Mixed Decoration Nail Wheel in Gold
  • Small dotting tool
  • Small detail brush from Bundle Monster

Oooooh these roses over white is definitely one of my favourite accent nails to do. I love all floral nails, but there is something about vintage roses that just looks so good: easy to do, but looks beautiful & complicated every time. Not to mention, roses are one of the easiest florals to do because I find (for me at least), they’re one of ten hardest florals to mess up.

My tutorial on how I do roses is Here.

So what do you think of this design? Are you a vintage roses person or do you prefer other floral? Share your thoughts down below!

Rustic Floral Pattern Nails

Can you never have too many floral manicures in your life? Personally, I don’t think so. We all know how much I adore flowers–from clothes, to shoes, to cellphone cases to my nails, I can never have enough! Recently I found a Rifle Paper Co. phone case at Winners on payday, so I decided to attempt to recreate said pattern on my nails.

My attempt definitely turned out a little more rustic than its inspiration, but I think that is why I love the end result so much!

For this manicure, the polishes I used were:

  • Base Coat: OPI Nail Envy
  • Top Coat: Essie Gel Setter
  • Boho Green Make Up Moonlight
  • Quo by ORLY Breathable Pep in my Step
  • Sally Hansen Miracle Gel Pretty Piggy
  • Sally Hansen MG Pretty Peony
  • Sally Hansen MG Off the Shoulder
  • Essie A-List
  • China Glaze Sun Upon My Skin
  • China Glaze Metro Pollen-tin
  • YSL Vert D’Orient
  • Sally Hansen Insta-dri Thyme is Money
  • Essie First Timer
  • Sally Hansen I ♥️ Nail Art pen in Black
  • Bundle Monster detail brush

I’m kind of excited for Summer because it means I can change up my backgrounds & use outside. How lush does this design look with green grass in the background? Definitely throwing my pictures back to my pre-light-box days with these photos & I’m loving it! Seriously, staged photos are awesome but something about natural light makes your manicures look that much better.

If that doesn’t say Summer, I don’t know what else does! Also I’m never, ever going to get sick of doing floral. Never. How could you ever get sick of something so pretty! Hence why I keep filling my closet with more & more floral clothing pieces. The obsession continues! 🌿🌼🌱

what do you think of this design? Are you feeling Summery? Leave a comment down below & let me know!

Neon Saran Wrap Splatter

Happy Tuesday lovely… a very rainy, gross Tuesday (again).

I thought it would be a good day for some more bright & colourful nails, featuring one of my favourite easy to do designs–Saran Wrap Splatter! This is a design I do a surprisingly amount–which you may have noticed–because it’s easy to do, doesn’t require any specific nail art tools & truthfully is not too messy to clean up. & the colour combinations are endless.

For this design, the polishes I used were:

  • Base Coat: Sally Hansen Green Tea + Bamboo Strength
  • Top Coat: Essie Gel Setter
  • Essie Find Me An Oasis
  • Essie Strut Your Stuff
  • China Glaze Purple Panic
  • Plastic Bag (I used a plastic grocery bag that I cup up into smaller pieces.)

Please ignore the chip on my middle finger above–I keep forgetting to take pictures of my nails until after work, which leads to the above situation. Thankfully the design is so busy you barely notice the little chip at the tip. Also I’m loving the combination of this fuchsia & blues–the colours go really well together over the pale blue.

What do you think of this nail art design? What colour combination would you like me to try in a Saran Wrap splatter next? Share your ideas down below!