Gorgeous Galaxy Nails 🌌

Hello lovelies & happy Thursday! Today I have what might possibly be my favourite & most gorgeous nail art ever to share with you.

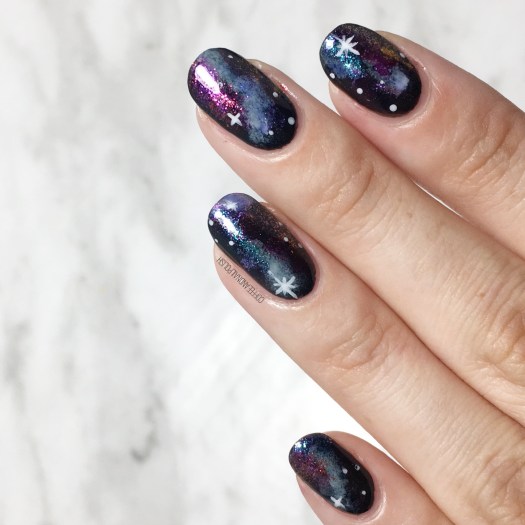
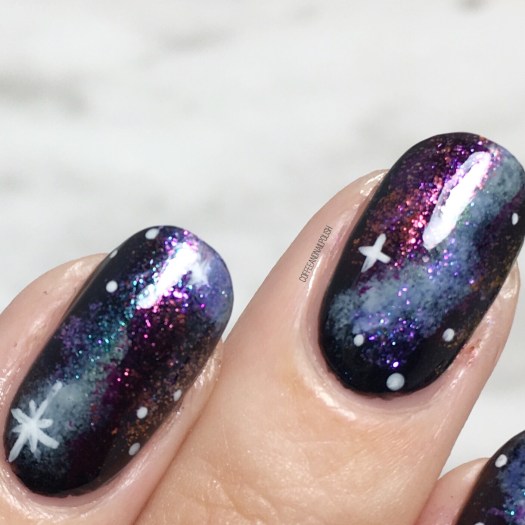
Today’s look is a galaxy design, which I haven’t done in over two years! After browsing all my duo & multichrome polishes (while thinking about my favourite Fall shades), I decided it would be fun to pair a few in a galaxy design. 🌌 & oh boy did it turn out beautiful!

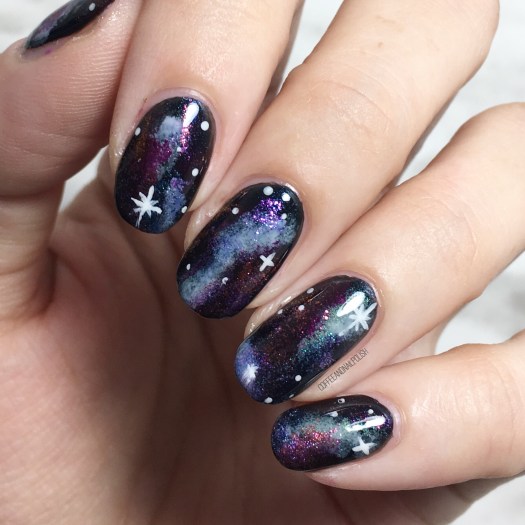
For this manicure, the polishes I used were:

  • Base Coat: Sally Hansen Complete Salon Manicure Strengthening Base Coat
  • Top Coat: Essie Gel Couture Top Coat
  • Essie Spun in Luxe
  • Quo by ORLY Breathable Power Packed
  • Sally Hansen Complete Salon Manicure
  • FingerPaints Surreal Sunset
  • FingerPaints Hues Blue
  • Claire’s Venomous
  • Claire’s Poison Apple
  • Claire’s Chromance
  • Sally Hansen Miracle Gel Get Mod
  • Nailstuff.ca Mermaid Tail detail brush
  • Nailstuff.ca Dotting Tool
  • Latex Free Make Up Sponge (ripped into small pieces)
  • Tweezers

Look at the close up & those glitters! How gorgeous! It really does look like some far off galaxy.

I always forget how easy Galaxy nails can be until I start doing them. I love the fat they don’t have to be perfectly crafted, you kind of just go in with your collection of colours & see how they turn out, maybe adding some polka dots for stars. I actually created a tutorial for galaxy nails in the very early days of my blog which can be found here. I will definitely say that the longer your nails are, the better your galaxies will turn out.

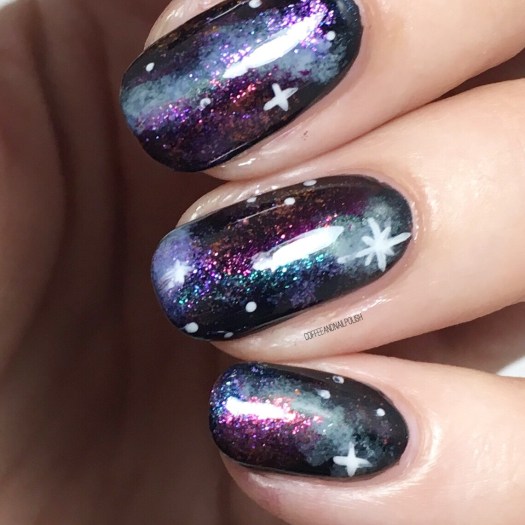
Again, just check out that close up action & those glitters! Have you ever seen anything more beautiful? I’m just so, so happy with how this design turned out. Which, let’s be honest you can probably tell because I took about 1000 pictures of this look to share!

I just can’t stop staring… why has it taken me so long to do another galaxy design? I never want to take these off!
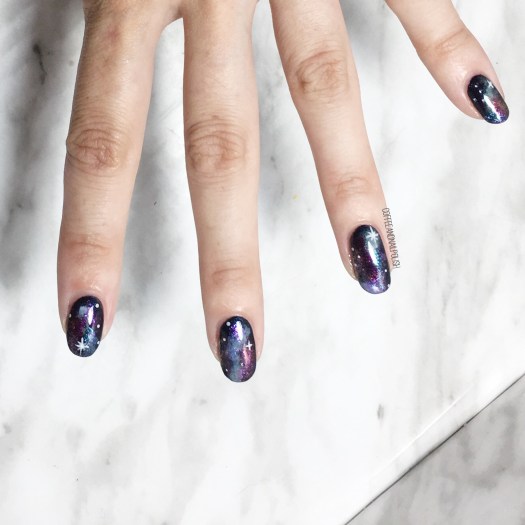
So what are we thinking about these galaxy nails?

Do you have favourite polishes for creating a galaxy look?

Let me know your thoughts down in the comments below!

Black & White Chevron Accent Nails

Good morning lovelies& happy Tuesday!

I know things have been quiet on the blog, but I have a good reason: baby #2 has made her arrival! Madeleine Lena was born very early last Tuesday morning, so I’ve had a busy week of readjusting to newborn life. & I’m still wearing my blue drag marble nails which ended up being my labour nails!

However, going through my phone I found a few nail art looks I haven’t yet posted, so until I’m able to actually paint my nails–which is hard when you’ve got two little ones keeping you busy… no surprise there!–I have a few nail polish & nail art looks that I can post for you!

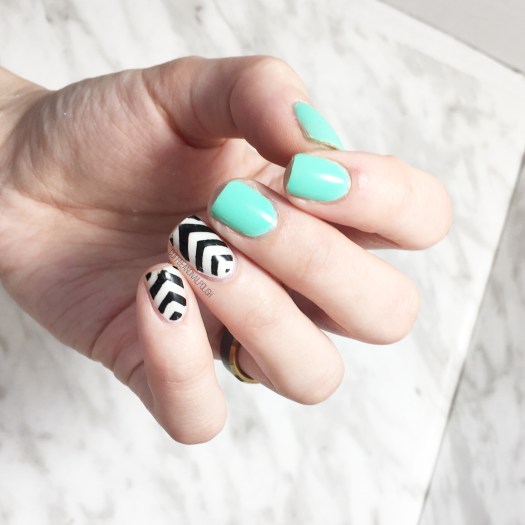
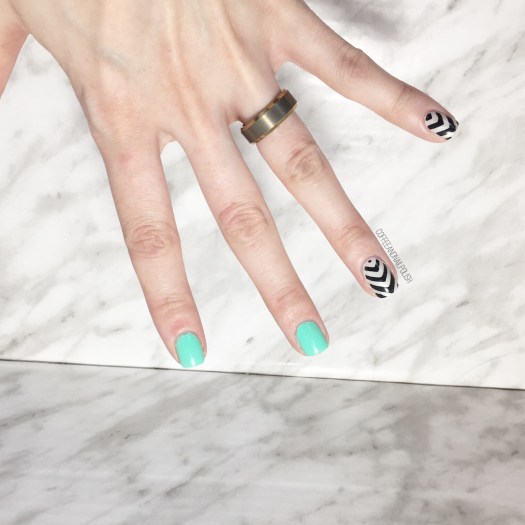
First up I have some stacked chevron accent nails–this is a look I’ve done before a few times because it’s super easy to do & is such a cute look!

For this manicure, the polishes I used were:

  • Base Coat: Sally Hansen Bamboo & Green Tea Strengthener
  • Top Coat: Essie Speed Setter
  • China Glaze Too Yacht To Handle
  • Quo by ORLY Platina
  • Sally Hansen Miracle Gel Blacky-O
  • The Base Coat Vinyls Stacked Chevron

First off I love love love how blinding China Glaze Too Yacht To Handle is! Such a great Summer Polish to wear for a serious pop of colour. It’s just so good! I thought the simplicity of black & white accent nails worked really well because it added some art while still letting my polish shine.

what do you think of this look? Share your thoughts down in the comments below.

SWATCH SUNDAY — Quo by ORLY Color Amp’d LA Dreamin’

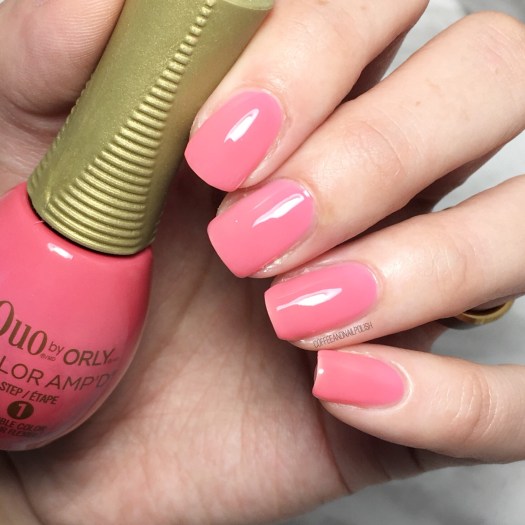
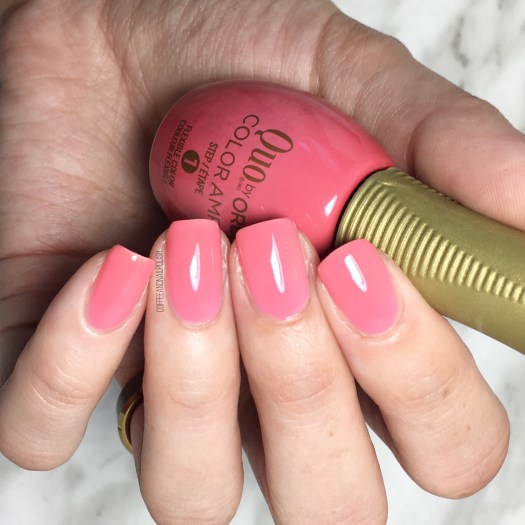
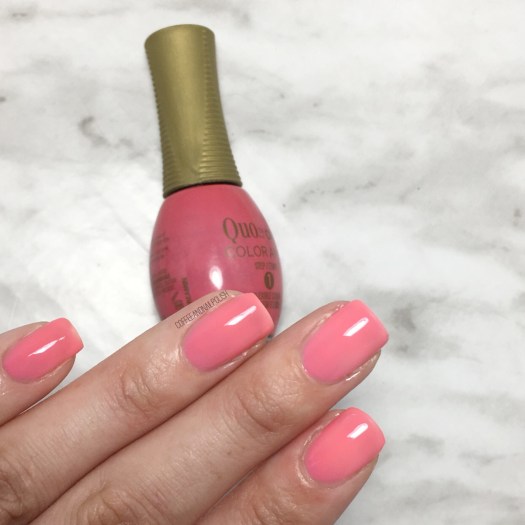
Good morning lovelies & happy Sunday. Today I’ve got a bright & girlie pink to share with you from deep in my stash: Quo by ORLY Color Amp’d in LA Dreamin’. This shade is from the Shoppers Drug Mart based Quo by ORLY range & I picked up this particular shade in the clearance last Summer for only $1!

For those who don’t know, these Color Amp’d shades are designed to wear like gel, lasting longer than your tradition polishes. They are designed to be paired with a Gel-like top coat that, when paired with the polish, will create that gel like bond on your nail.

For my swatches, I used 3 coats of polish & finished with top coat. The polish itself is very, very thin so you need a lot of layers in order to build opacity. You could definitely use some white undies to keep layers to a minimum, but for my swatches I wanted to show the polish on its own.

Even with 3 coats, there is still some visible nail line showing (although not as well in my swatches). Even though I don’t usually like thin formula polishes like this that show off nail line, there is something about this pink shade that I don’t mind it as much. It also has this slightly neon quality to it that I really like with my skin tone for Summer because it brings out the natural olive undertones in my skin & makes me look more tan… which is ALWAYS a good thing.

Who doesn’t love pink!? What colour do you feel like is your shade for Summer? I feel like with how much I’ve been wearing it lately, pink/coral is going to be the shade for me for Summer 2019!

Pink Vintage Roses

Good morning lovelies & I hope you’re having a lovely Thursday. The weekend is so close you can’t almost taste it!

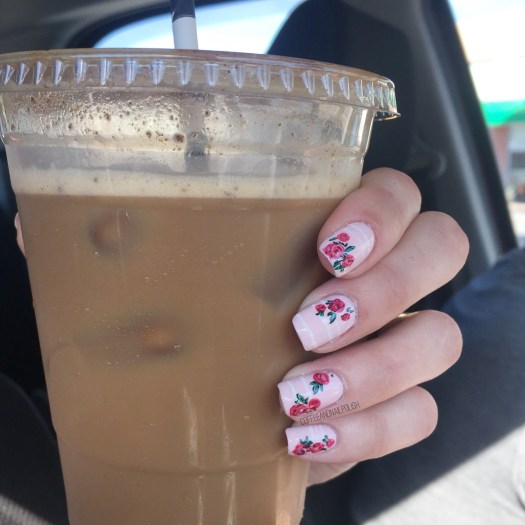
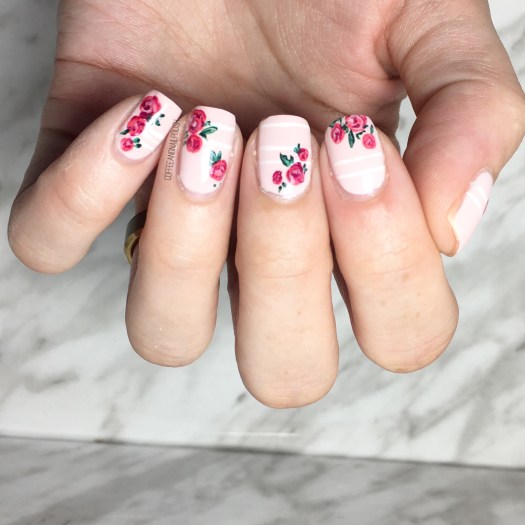
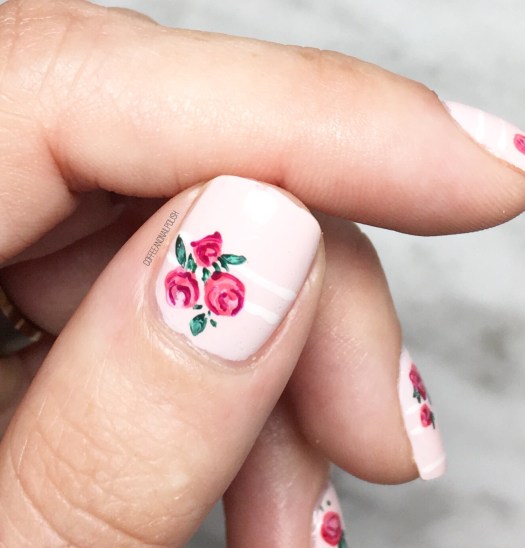
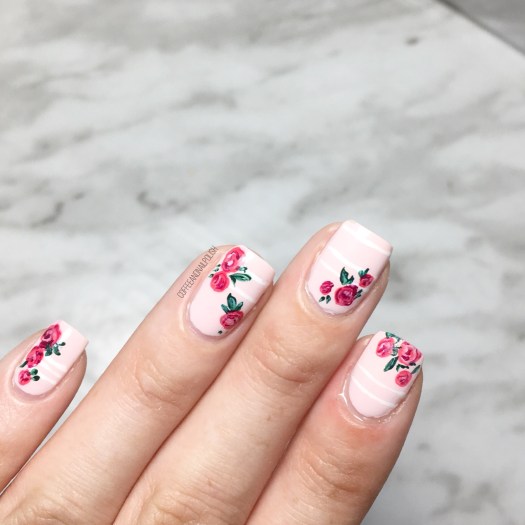
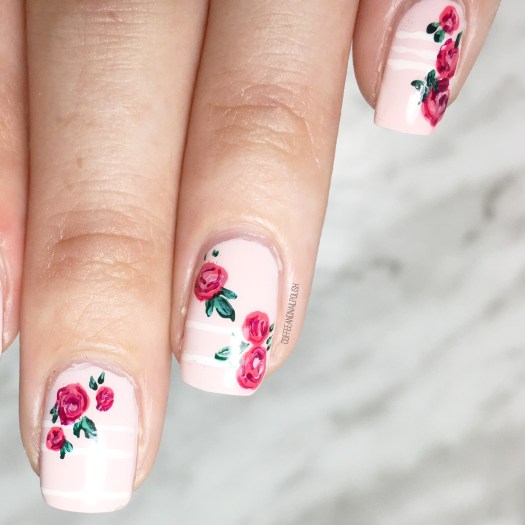
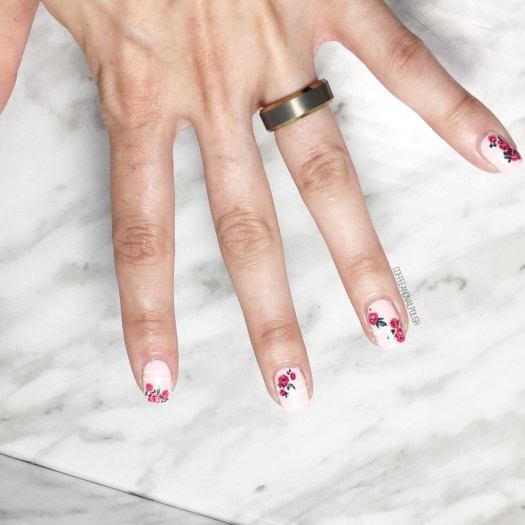
Today I’ve got some brand new nail art that I haven’t done in a while–roses! I was feeling inspired by this pretty pink polish & decided that some vintage rose inspired nail art would look so pretty over it! (& maybe I was feeling slightly girlie & romantic.)

The polishes I used for this manicure were:

  • Base Coat: Sally Hansen Bamboo & Green Tea Strengthener
  • Top Coat: Essie Speed Setter
  • ACO by Ardene Flawless
  • Kiss Nail Art Striper in White
  • Essie Peach Daiquiri
  • China Glaze Life is Rosy
  • Sally Hansen Insta-Dri Racing Rose
  • QUO by ORLY Breathable The Antidote
  • Essie Off Tropic
  • Essie First Timer
  • NailStuff.ca dotting tool set & nail art brushes

So very in love with how these turned out, even if it’s been so long since I created roses that I’m a little rusty. But it’s like riding a bike: you never really forget how to do it, just takes some practice to get steady again.

I will say, having teeny tiny detail brushes really does make a huge difference in creating your petals, so a micro detail brush like THIS can give you a very realistic finished product! Same thing goes for your leaves–I feel like my floral designs have gotten so much better since I got amazing brushes. So it’s definitely worth it to invest in fantastic brushes & I’m lucky enough that I have received some fantastic detail brushes from NailStuff that have brought my floral designs to another level!

What do you think of this floral design? Would you like to see me attempting more florals again? Share your thoughts down in the comments below!

SWATCH SUNDAY — Color Club Wham! Pow!

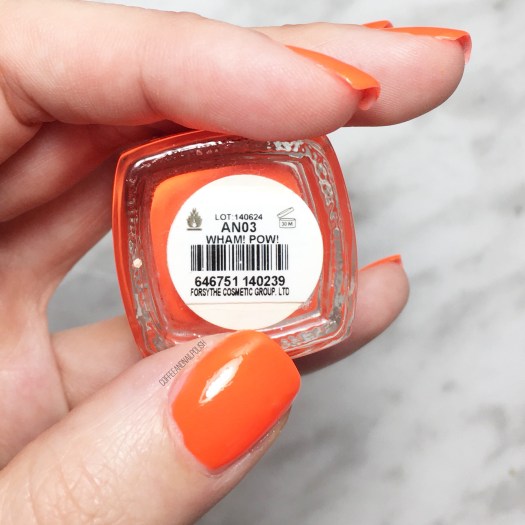
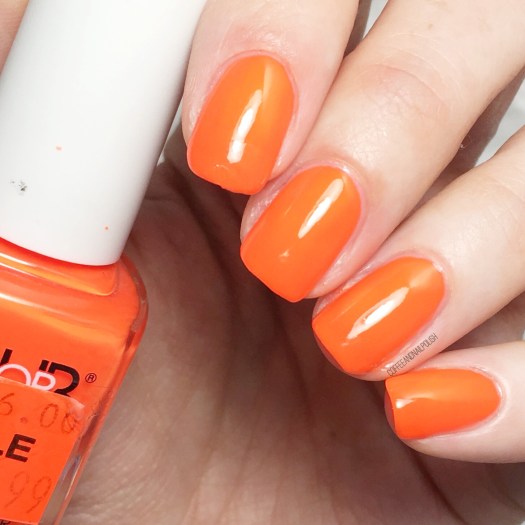
Good Afternoon lovelies & Happy Swatch Sunday! I know I missed last week, so I’m back this week with a colour totally out of my comfort zone–Color Club Wham! Pow!

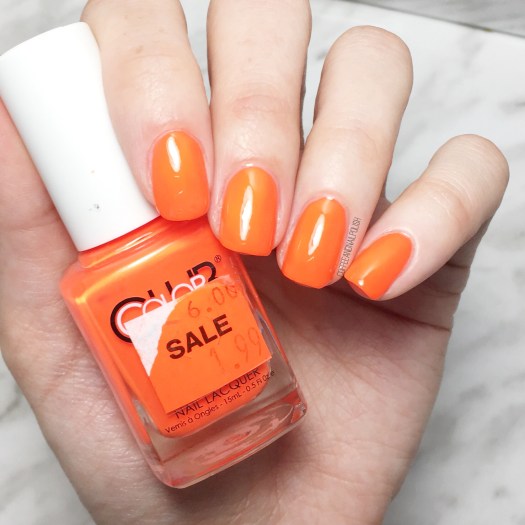
According to NailPolishCanada, this shade was originally released as part of the Poptastic collection. I picked up my bottle in clearance at my favourite pharmacy, for only $1.99, but you can find this shade online for a mere fraction of its original cost.

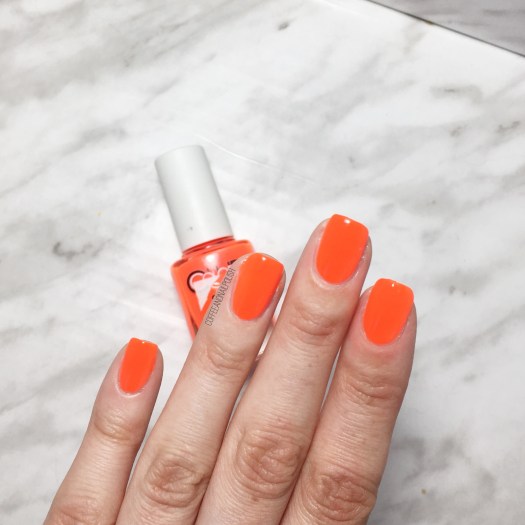
This shade is very neon, like highlighter orange neon, which obviously made for a difficult time while trying to photograph in my light box with my iPhone. For my swatches, I did 2 coats of base coat, 2 coats of polish & finished with a glossy top coat.

I was super impressed with the formula–sometimes Neons can be less than easy to apply with super thin formulas that need white undies, or they drag really bad, & need too many coats, but Wham! Pow! went on with only 2 easy coats. The first was kind of patchy, but the second coat filled everything in & levelled beautifully.

This colour is definitely out of my comfort zones–usually when I pick oranges I go for more coral shades as opposed to something so bright & neon, but I was feeling in the mood for something different! I do like how shades like this always make you look more tan than you actually are.

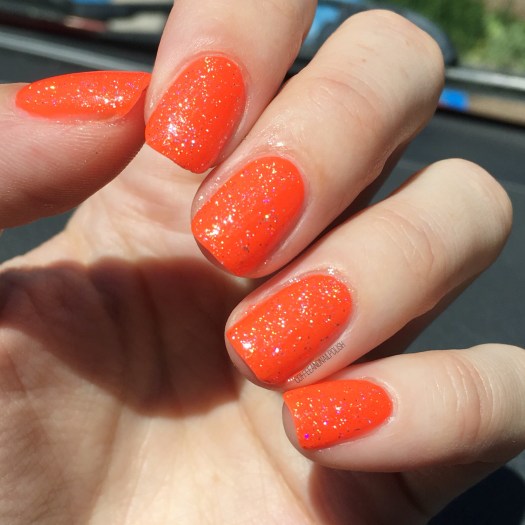
& below is what I did with my swatch: I added some holo glitter with both Sally Hansen Make It N-ice & Quo by ORLY Falling Star. You can also see how the colour shows more truly in the sunshine versus the photos in my light box.

what do you think of today’s Swatch Sunday pick? Would you rock this colour? Let me know in the comments below!