Negative Space Chevron Moons & Polka Dots

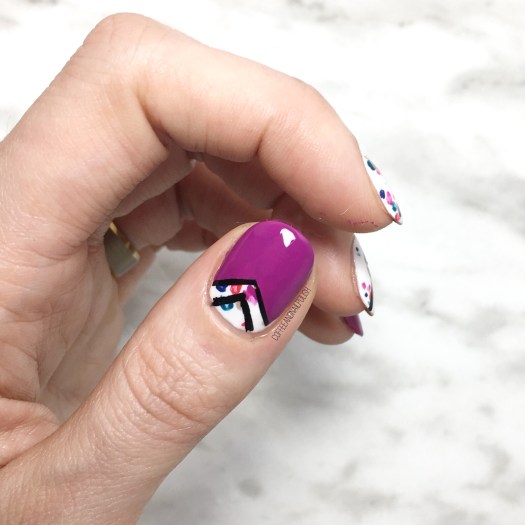
Happy Saturday my lovelies! Today I have a brand new design to share with you! Today’s inspiration comes from my obsession with Vanderpump Rules.

I was watching clips of Watch What Happens Live the other night while trying to come up with nail art inspiration, & stumbled across clips from a few months ago featuring an appearance from Stassi. I immediately noticed the gorgeous dress she was wearing & realized it would make for an amazing nail art design. I was absolutely in love with the neckline, the colour & the polka dots! It was the perfect combination for a not too difficult design, which was exactly what I needed at 11:30pm. So off I went to find my trusted dotting tools & nail vinyls.

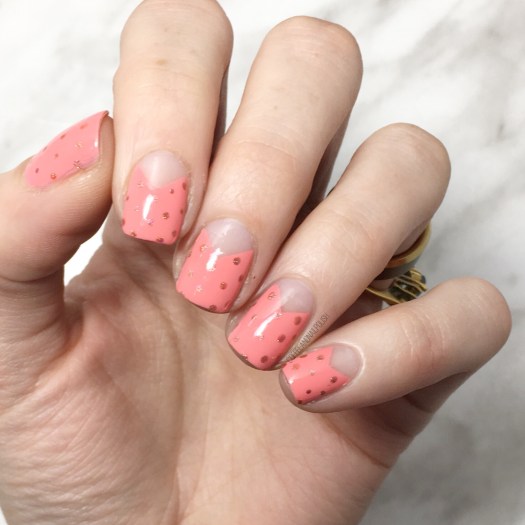
For this manicure, the polishes I used were:

  • Base Coat: Nailtek2
  • Top Coat: Seche Vive
  • Essie Lounge Lover
  • Color Club Sidewalk Psychic
  • The Base Coat Stacked Chevrons (singles)
  • Bundle Monster small dotting tool

Sadly it was a little too cloudy yesterday to really appreciate the beauty of Sidewalk Psychic but it worked really well overtop Lounge Lover. Also can we talk about how beautifully vibrant Lounge Lover is? I forgot how beautiful it was! It almost looks neon on my nails, which on a grey & cloudy awful day is exactly what I needed to cheer myself up.
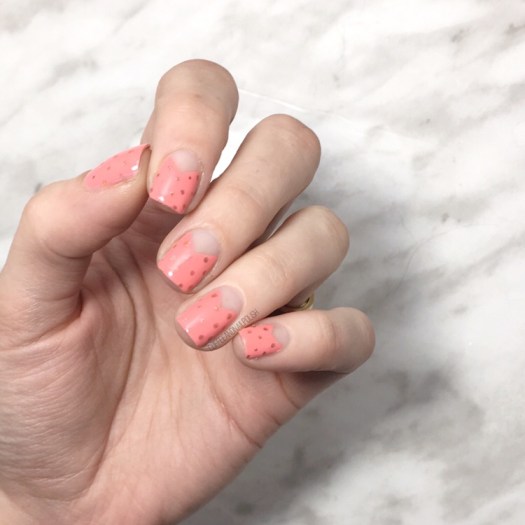
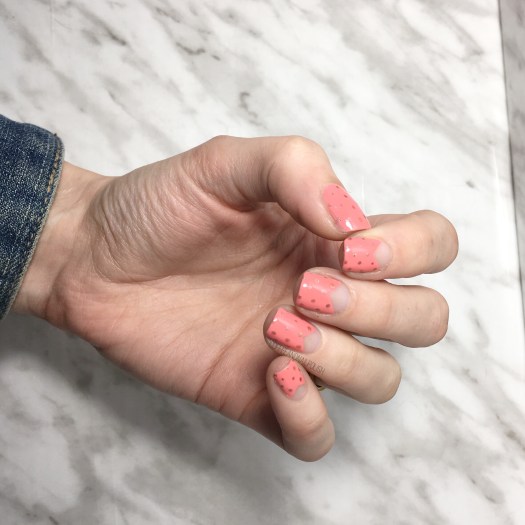
Oooooh, I need to do negative space chevron moons more often. Also I never thought to do polka dots with negative space! I think it came out pretty close to the dress that inspired it. Literally my two favourite nail art designs combined into one. 💗 Also adds in my current obsession (Vanderpump Rules) which is what makes my Monday’s the most exciting. Does anyone else watch the show? I went back & rematches the series from the beginning about 3 months ago & it’s such a fun mindless entertainment tv show. Also I totally want to visit LA just to go to Sur.

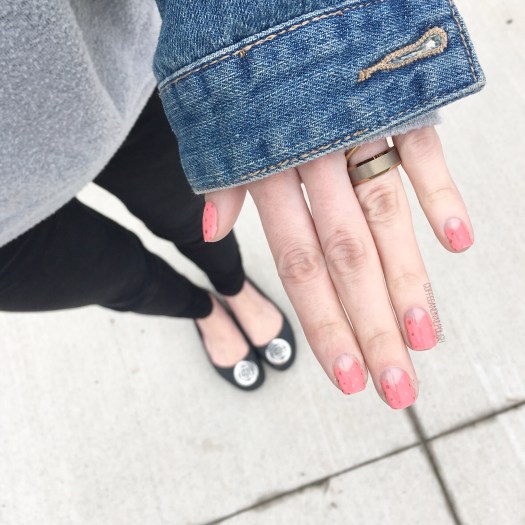
what do you think of this design? Do you think it was reminiscent of its inspiration? What’s your favourite reality TV show?

Share your thoughts in the comments below! 💗

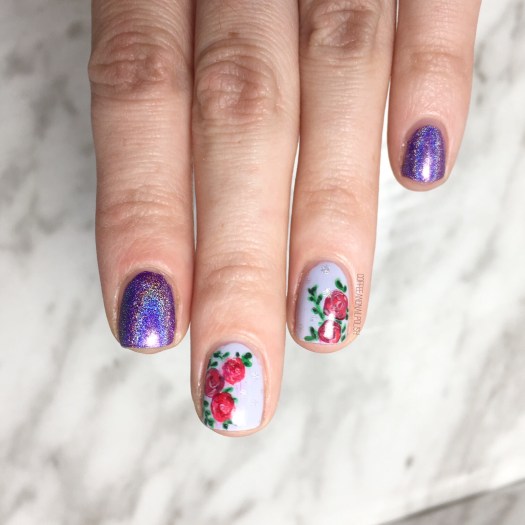
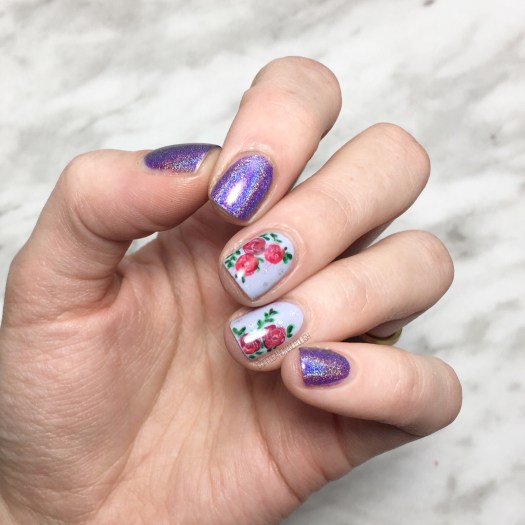
Floral Accent Nails featuring Color Club Eternal Beauty

Happy Friday lovelies! Two posts in a row, I’m on a roll! Today I’m sharing more floral accent nails because my obsession isn’t dying down any time soon. It’s just a floral kind of week I guess!

Today’s design features Color Club Eternal Beauty from the Halo Hues collection which I picked up at Winners a few weeks back. It’s a stunning purple holo, so I decided that it would look lovely with some roses. Honestly, I think every polish looks lovely with roses.

For this manicure, the polishes I used were:

  • Base Coat: Nailtek 2
  • Top Coat: Essie Speed Setter
  • Color Club Eternal Beauty
  • Essie Go Ginza
  • Essence Out of Space Stories We Will Spock You
  • Sally Hansen CSM Killer Heels
  • Sally Hansen CSM Red It Online
  • Sally Hansen CSM Rose To the Occasion
  • Sally Hansen CSM Blush Against The World
  • Sally Hansen I ♥️ Nail Art pen in green
  • Quo by ORLY Second Hand Jade
  • Bundle Monster small detail brush
  • Bundle Monster small & large dotting tool

Check out those rainbows… seriously! Eternal Beauty is such an absolutely beautiful shade & the holo is absolutely vivid & incredible. I finally understand the Color Club Halo Hues obsession & the reason people rave about them so much! They really are just incredible polishes. I really need to go back & pick a few more up before the rest of the world snaps they all up! You can never own enough holos! They make those chilly but sunny days just so much better.

what are you wearing on your nails on this Friday? Let me know in the comments below!

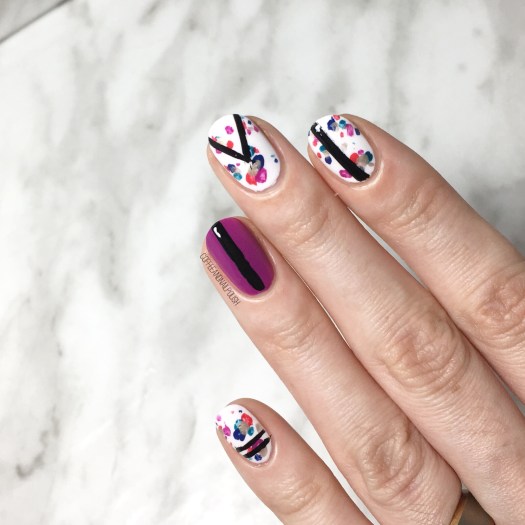
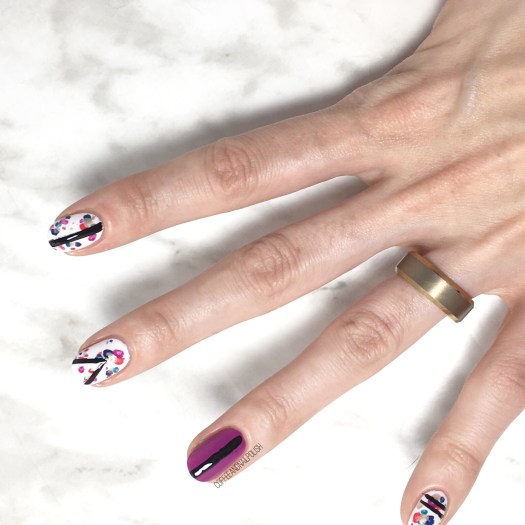
Spring Splotches & Geometric Lines

Happy Monday Lovelies! Today is a super exciting day for me because I’m officially starting at my new job after my week away training, which is both nerve wracking & a brand new adventure for me. Also exciting is today’s manicure which was inspired by a few make up cases I stumbled across at Superstore while grocery shopping.

I love when I find inspiration when I’m not looking for it. This pattern just screams nail art, so obviously I had to snap a picture for future nail designs. I loved the imperfect splotches of colour against the white background & loved how well it paired with the other make up back.

For this manicure, the polishes I used were:

  • Base Coat: Quo by ORLYBreathable Kiss Me, I’m Kind
  • Top Coat: Seche Vive
  • Sally Hansen Hard As Nails Hard To Get
  • Essie Flowerista
  • Essie Too Too Hot
  • Essie Garden Party
  • Essie All the Waves
  • L’Oréal Feeling Kilty
  • Quo by ORLY Nail Art Striper in Black
  • Medium size nail art brush

I just love love love how these turned out! The pretty spring colours, the splotches of colour with the geometric lines. It just turned out as perfect on the nail as I pictured in my head. I feel like I don’t do my freehand lines as often as I used to, so I’ve been trying to practice more!

What do you think of this design… do you think I stuck close enough to my inspiration? Where do you get your nail art inspiration from? Let me know your favourite place to find inspiration (or who inspires you) down in the comments below!

Happy Monday everyone 🌸

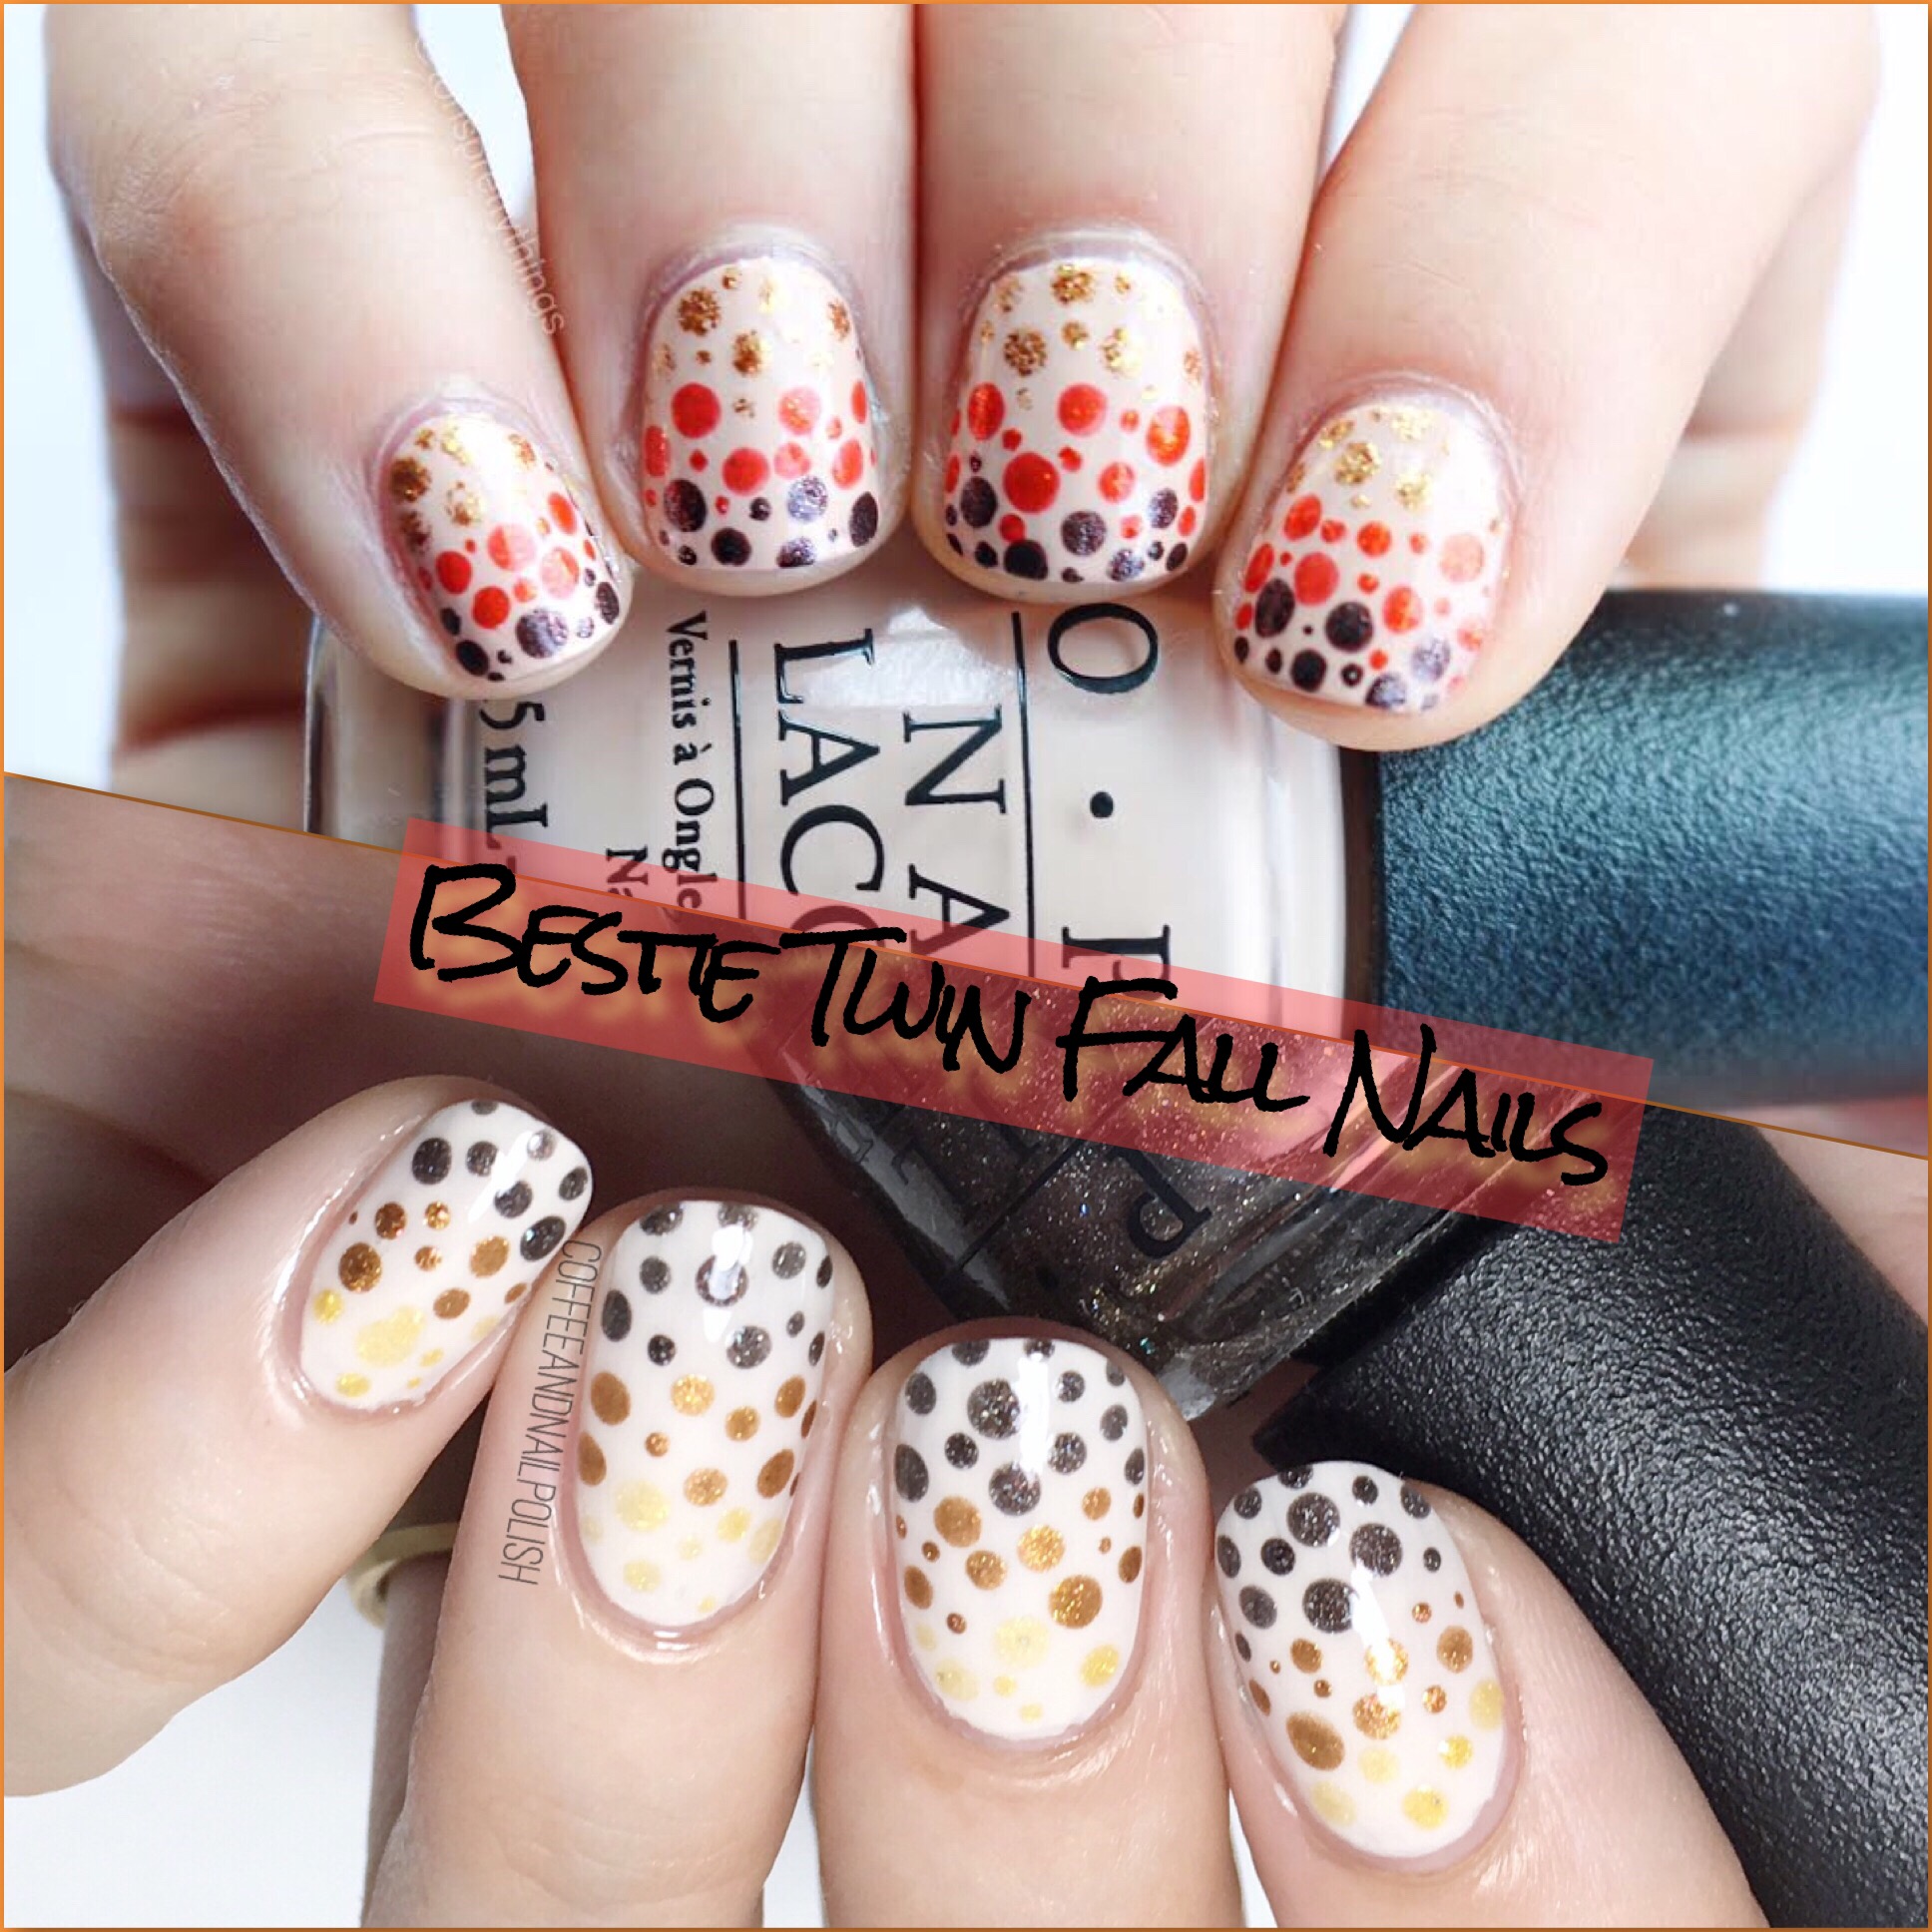
Bestie Twin Nails with @torisprettythings


I always get really, really excited when I can team up with fellow nail polish addicts I love, admire & am inspired by. So I was really excited when I had the opportunity to team up with Tori of @torisprettythings! 

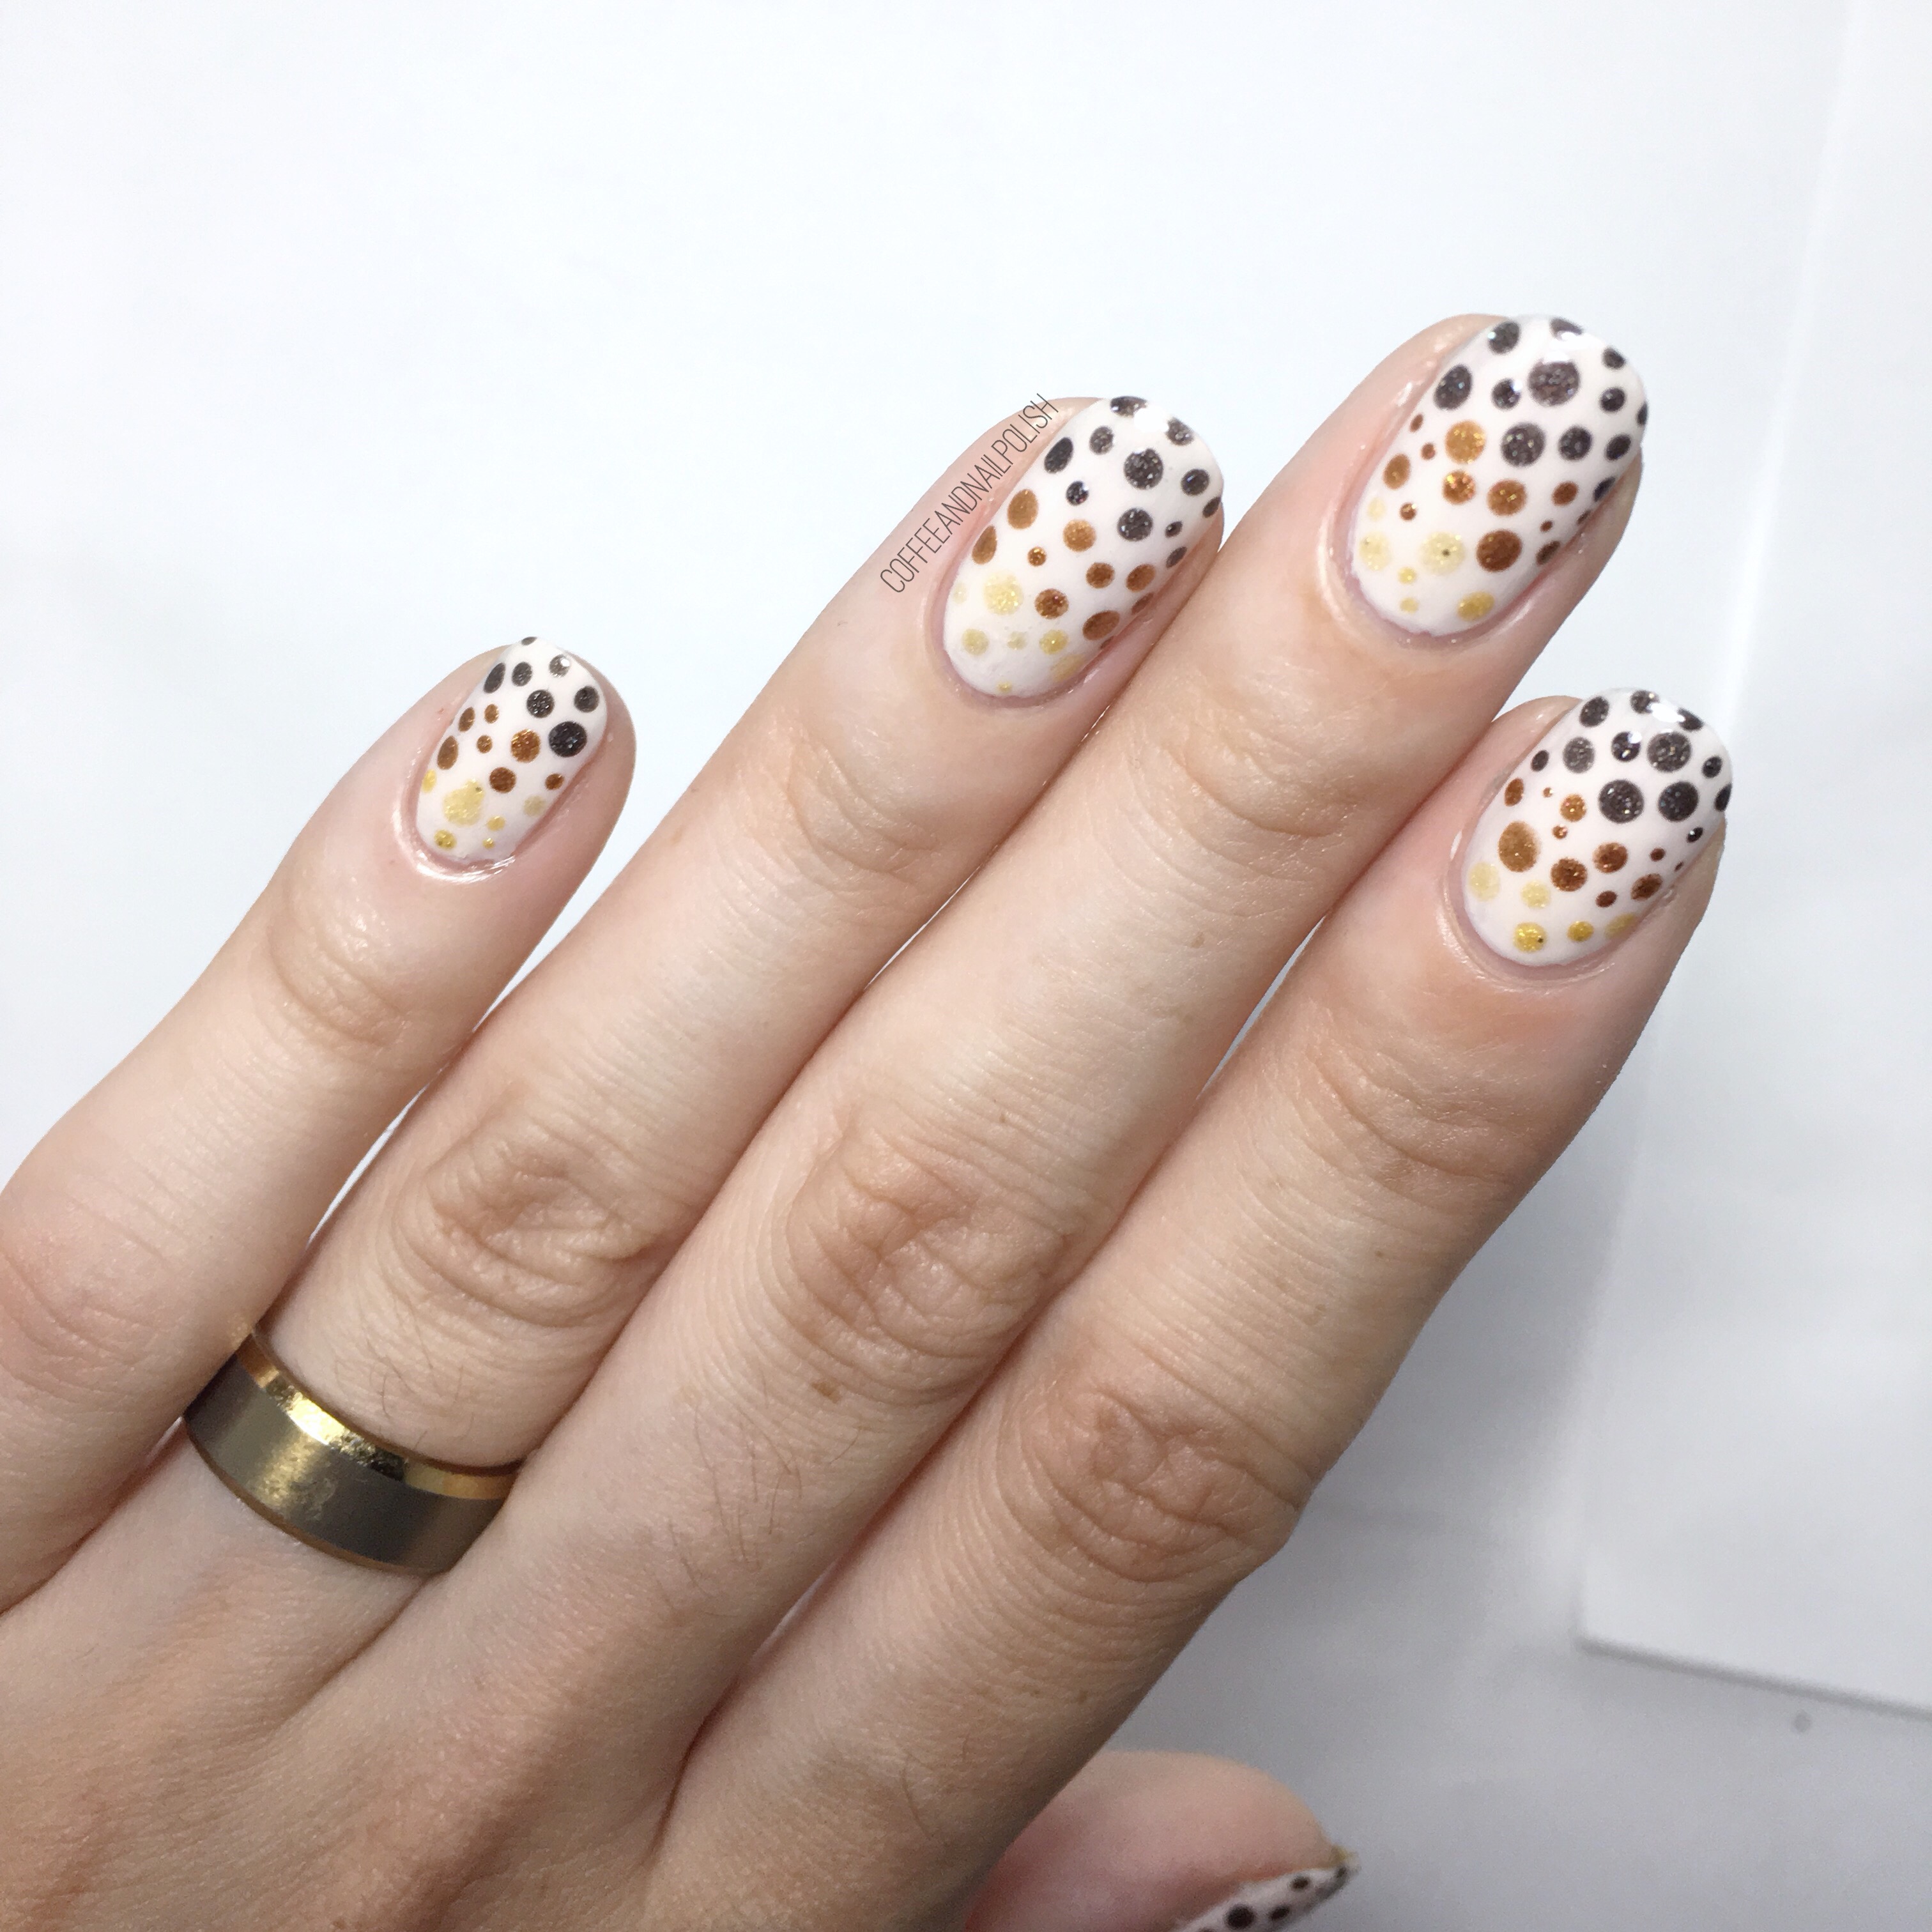
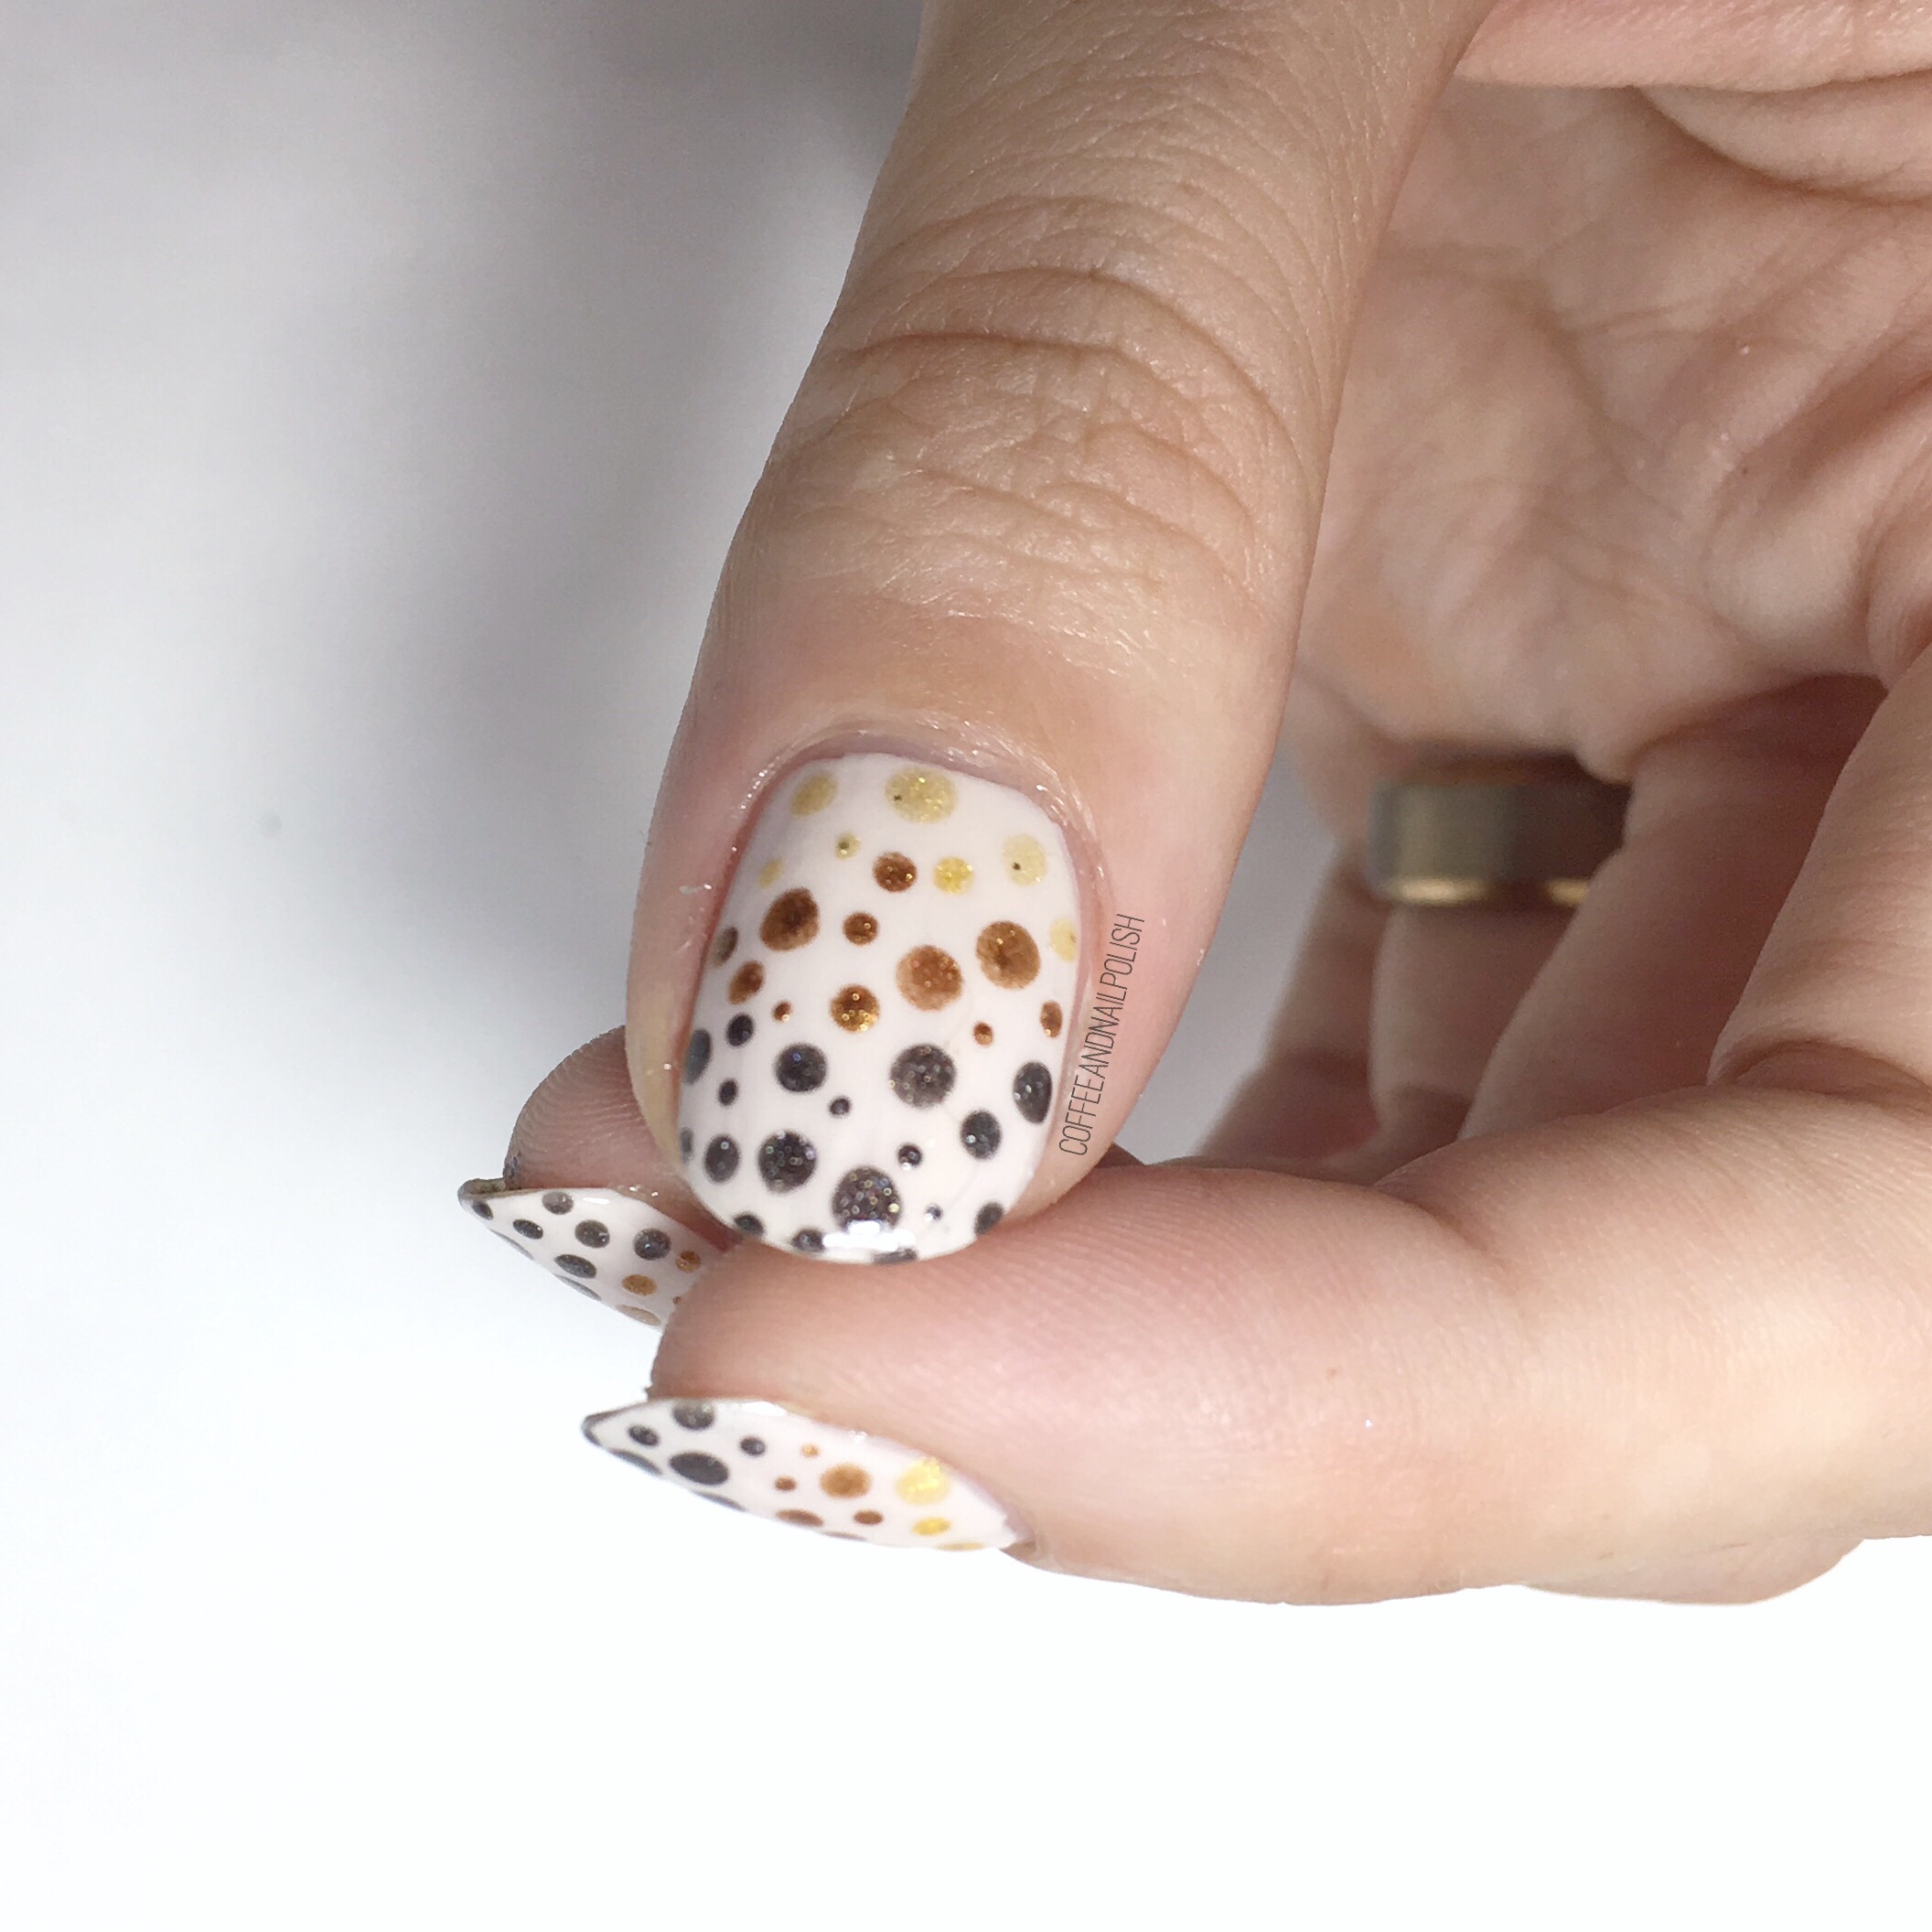
I’ve been friends with Tori on Instagram for a long time, but somehow we’ve never come together for a collaboration. 😳 Thankfully we’ve finally amended that with these fun Fall polka dot nails inspired by a mani she found on Pinterest originally by Oooh Shinies. 


For this manicure, the polishes I used were: 

  • Base Coat: OPI Natural Nail Base Coat
  • Top Coat: Sally Hansen Diamond Flash 
  • Essie Wrap Me Up
  • China Glaze Champagne Bubbles
  • Essie Leggy Legend
  • OPI My Private Jet
  • Small & tiny dotting tool. 

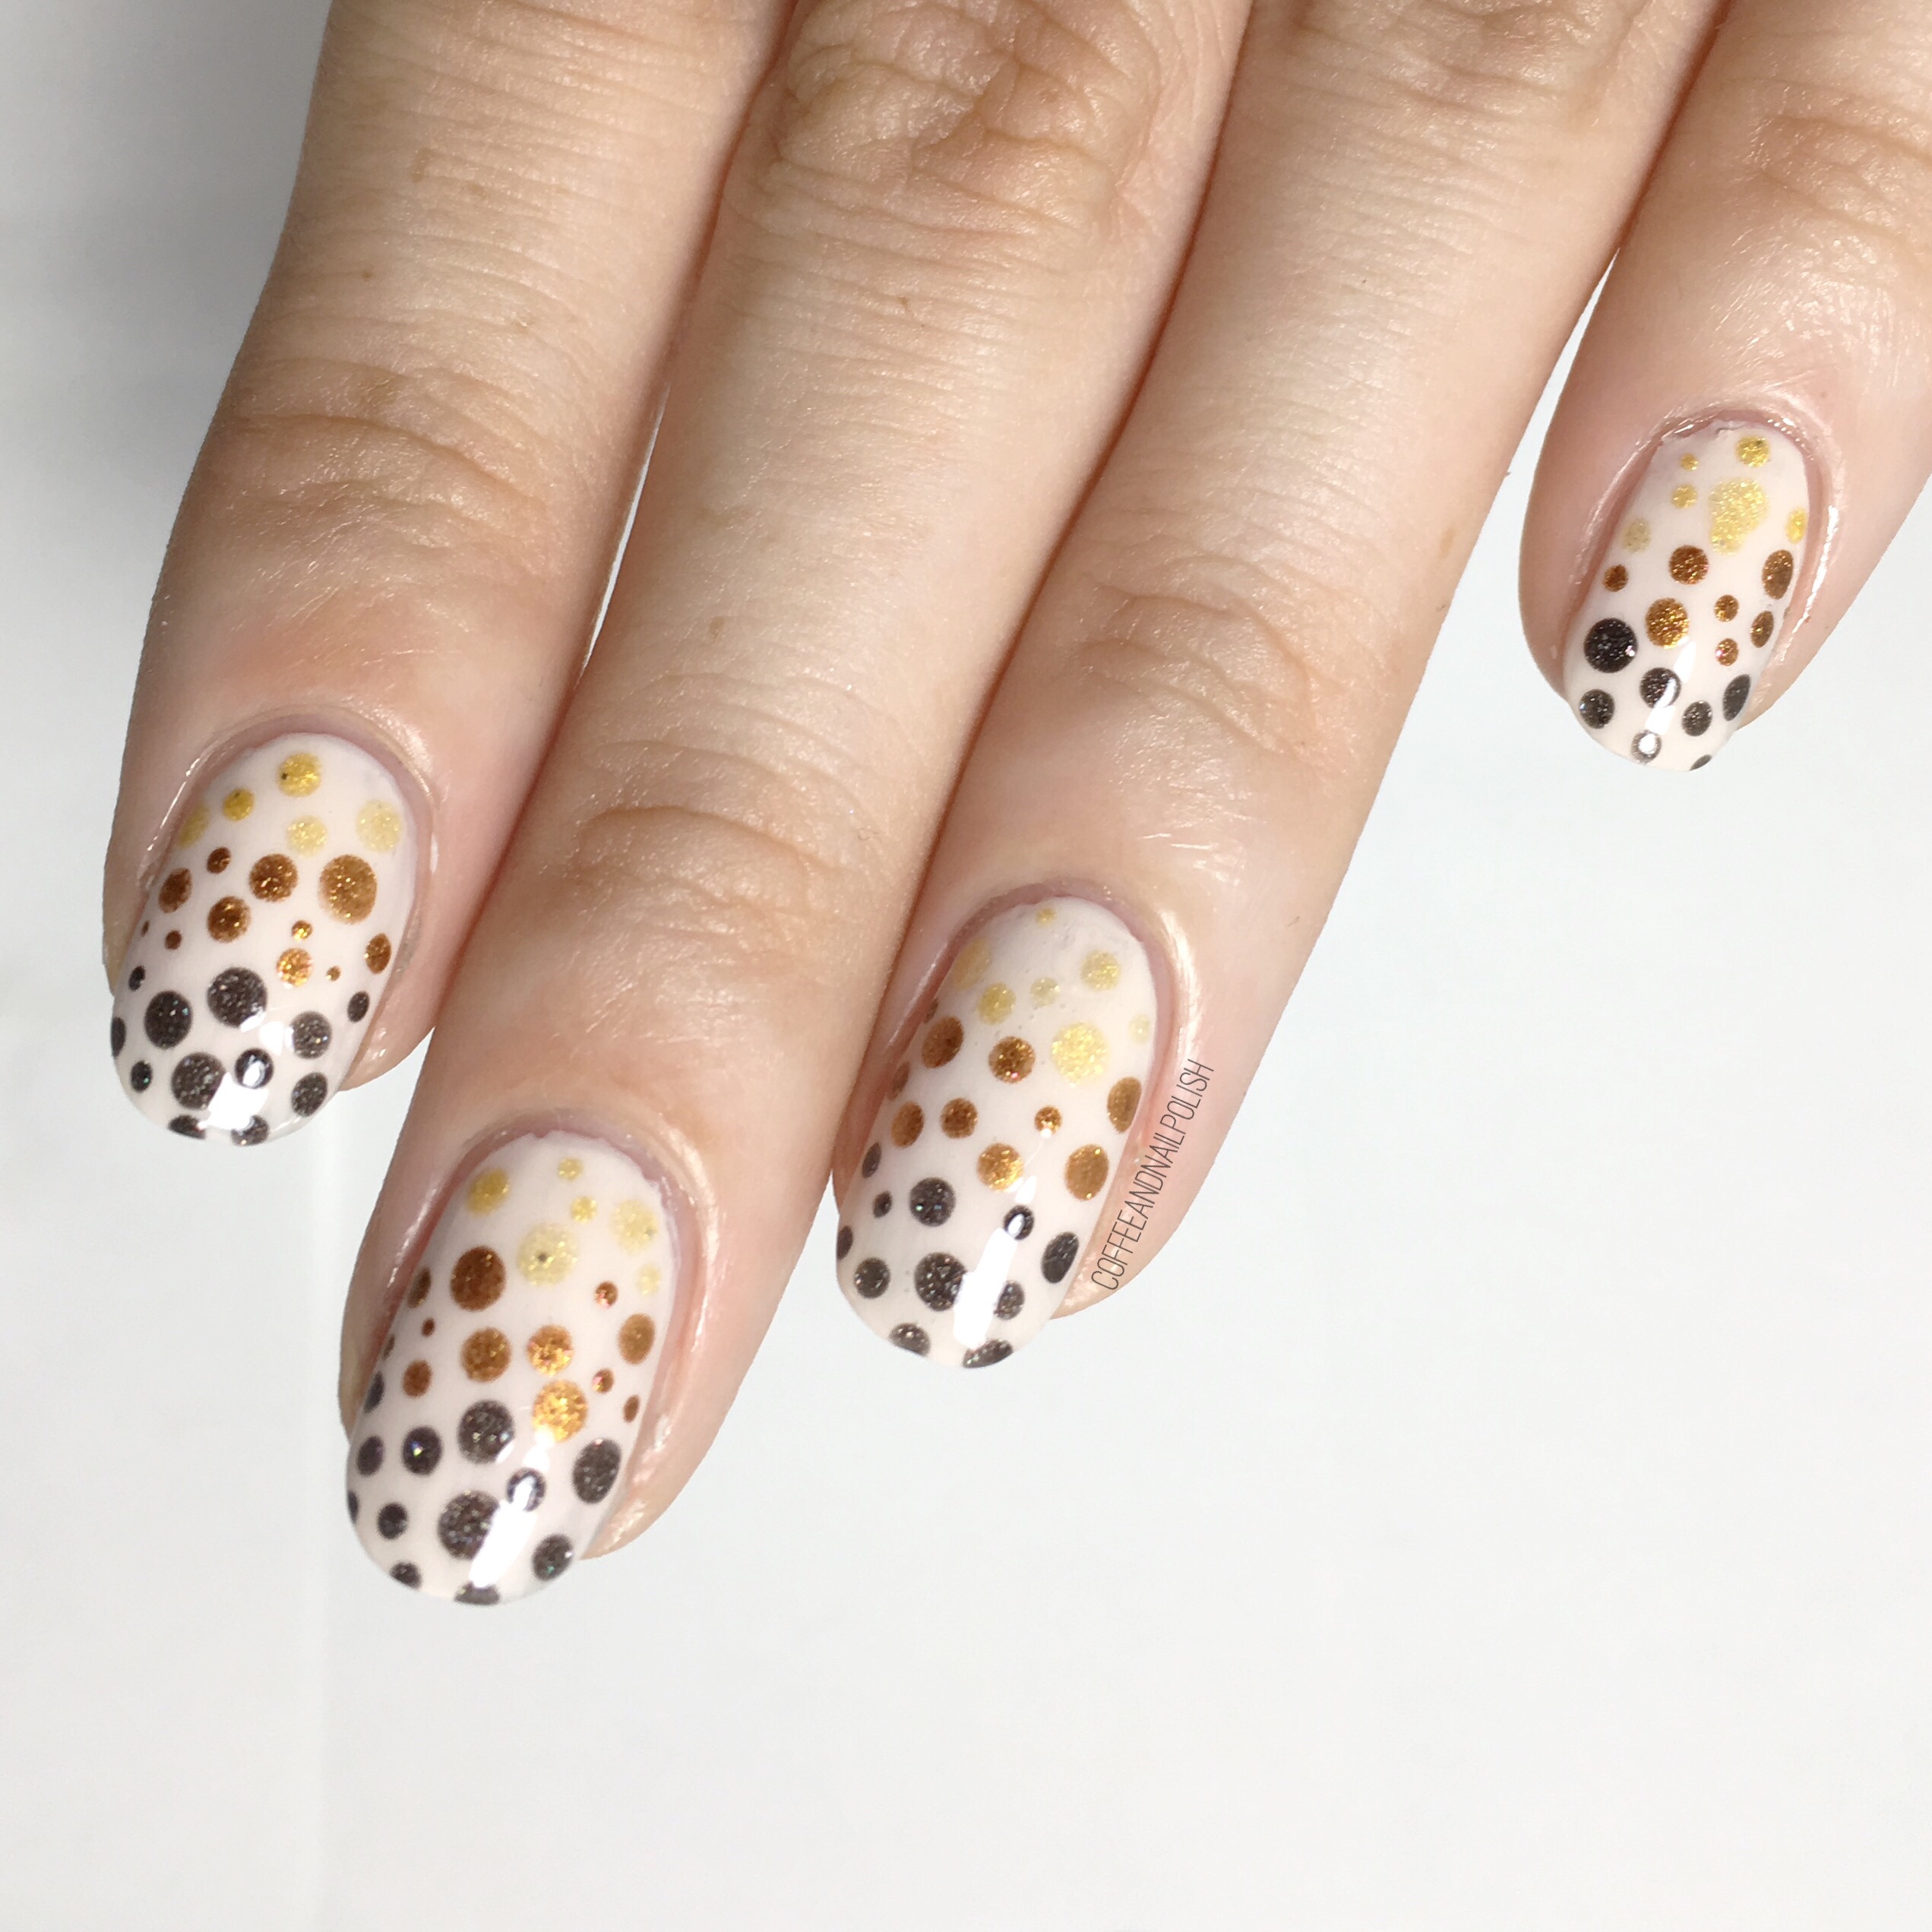
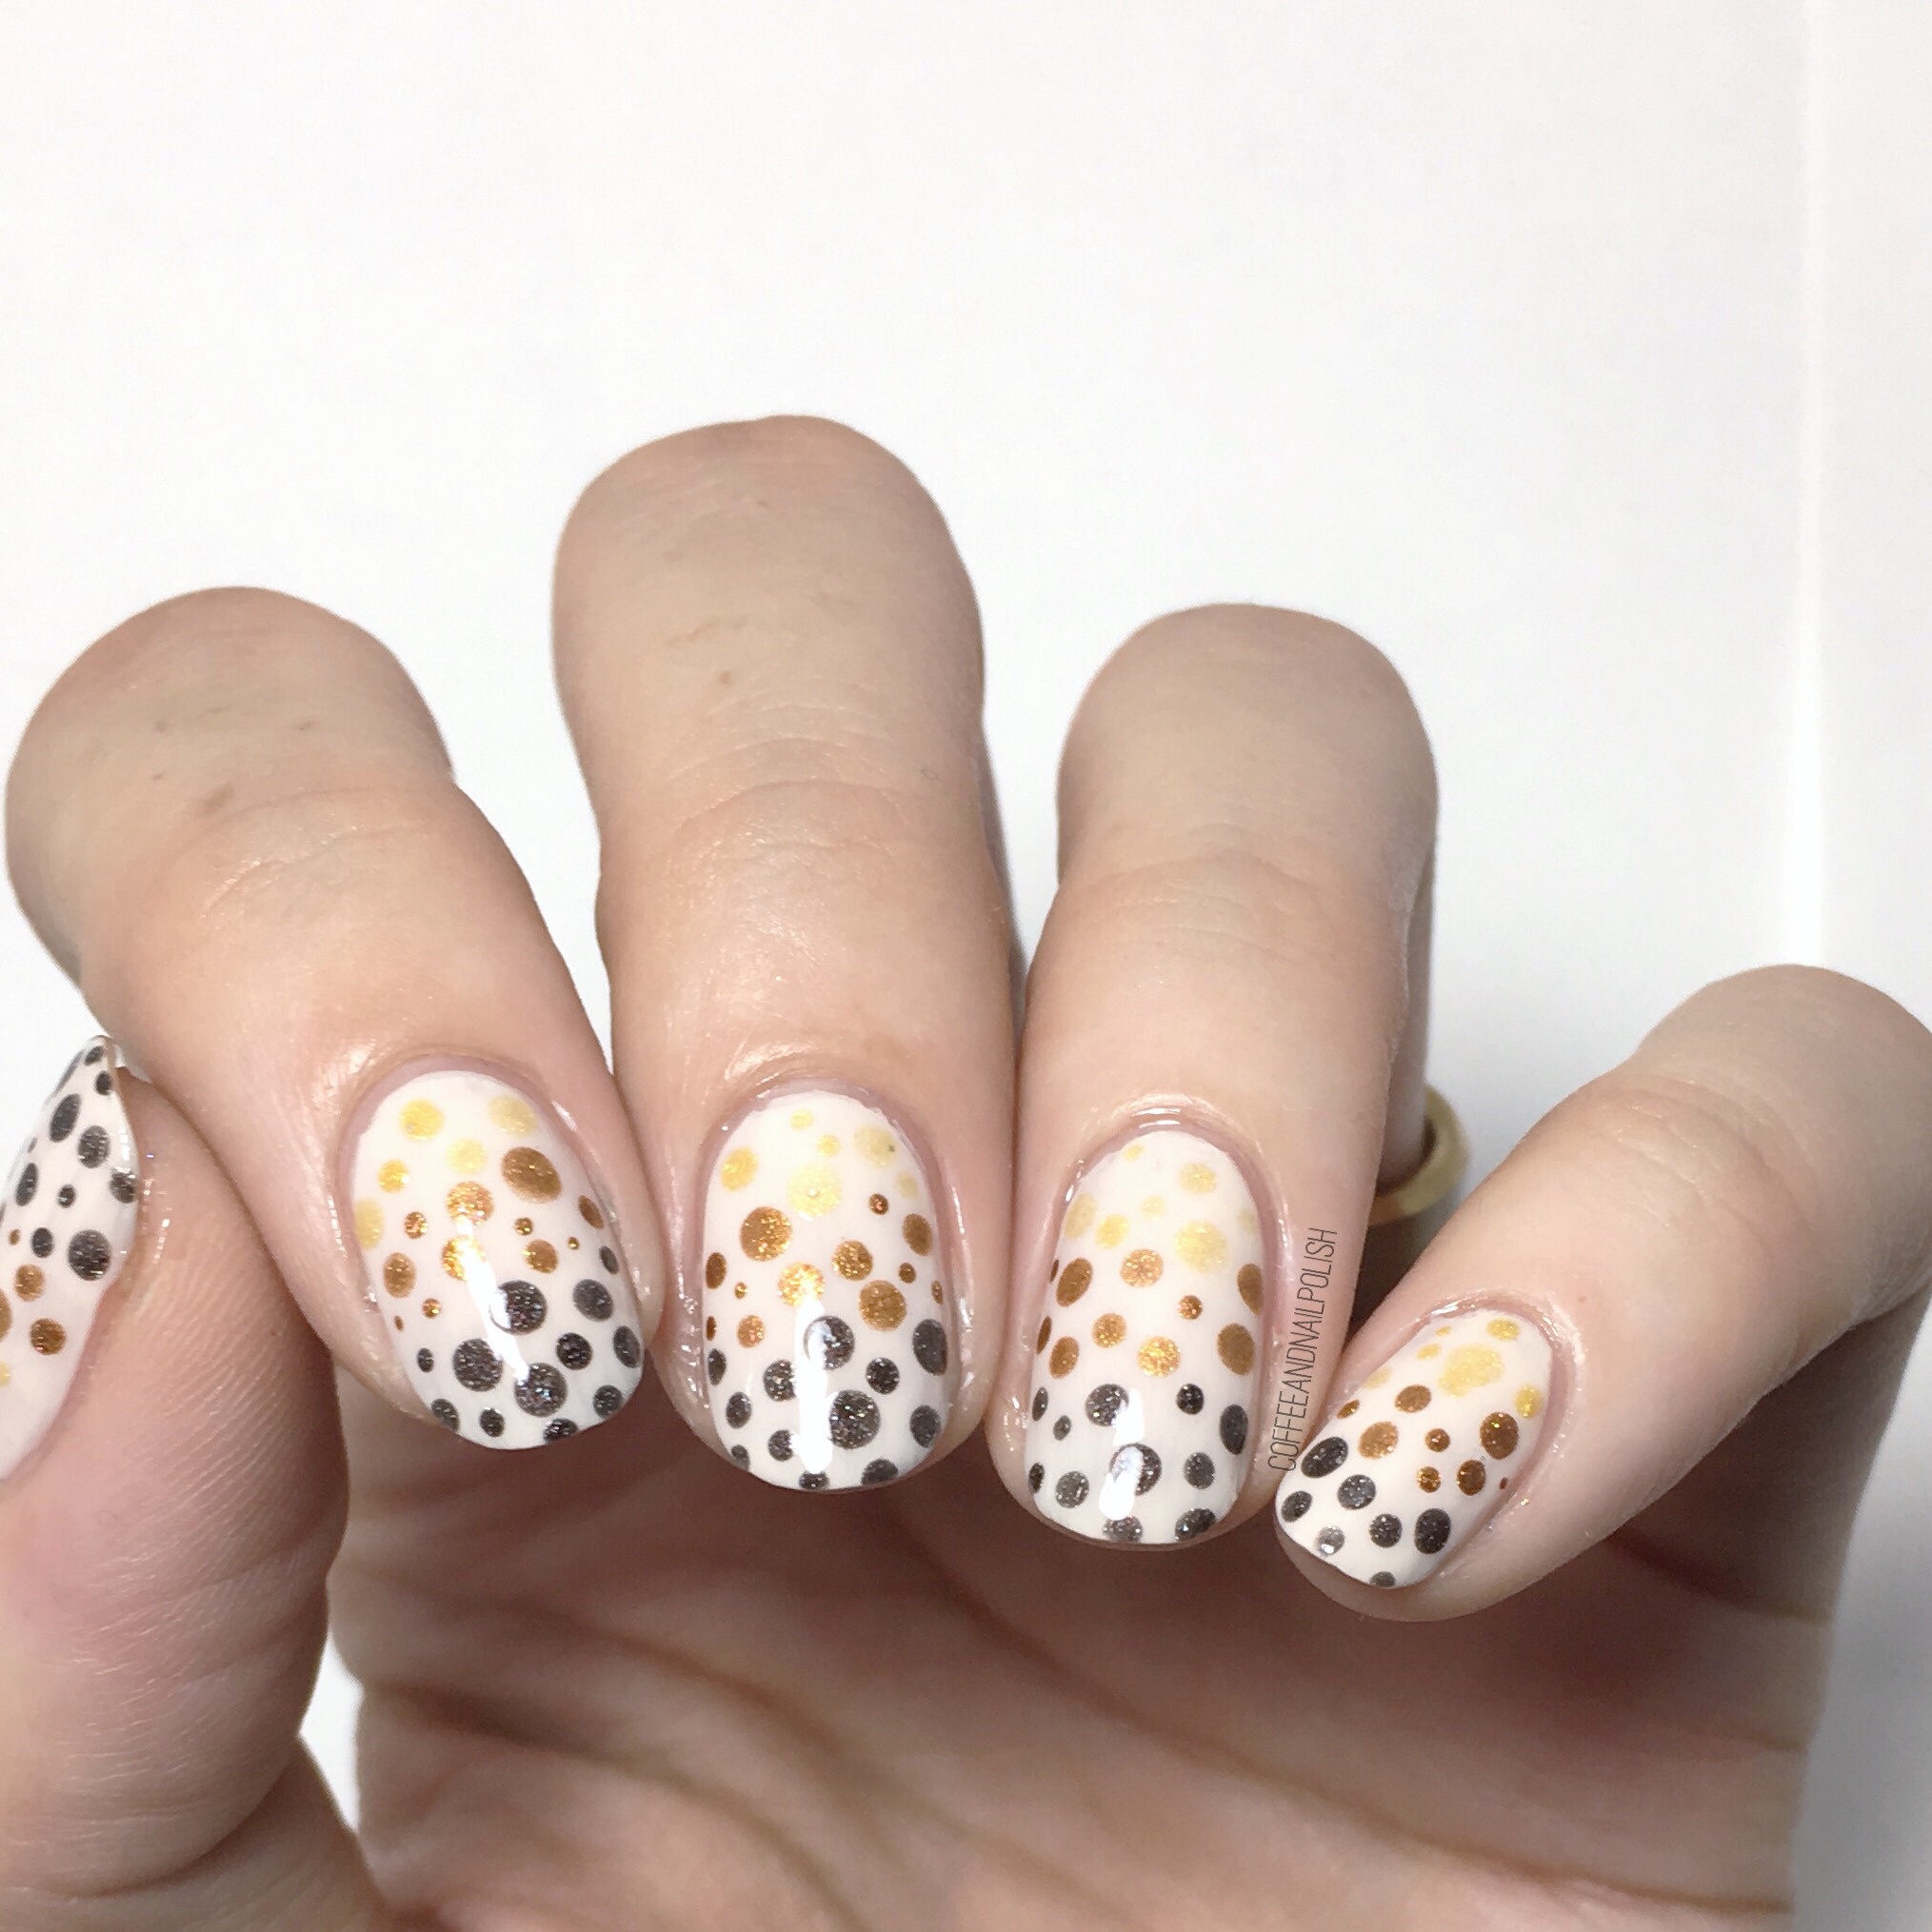
How perfectly Fall is this manicure? Both Tori & I are all about that Fall weather so we were pumped to team up on some Autumn inspired nails. I haven’t done a dotticure this fun in a while so it was really fun to sit down & play around. 

 Sometimes the simpler designs actually bring out your most creativity. This isn’t a super hard design & would be great for a nail art beginner! All you need is a dotting tool & some complimentary shades & people will be in awe of your nails. I am going to be doing a whole week of beginner nail art designs coming up (I’ve already been collecting & playing with manicure ideas) but this would definitely be on the list of great beginner designs. 

What do you think of this bestie twin nail collaboration? Don’t forget to check out Tori’s Instagram…. not just for all the beautiful nail art inspo she posts, but also her awesome OOTD & make up looks. 

Polka Dots! Featuring Essie’s New Speed Setter Top Coat

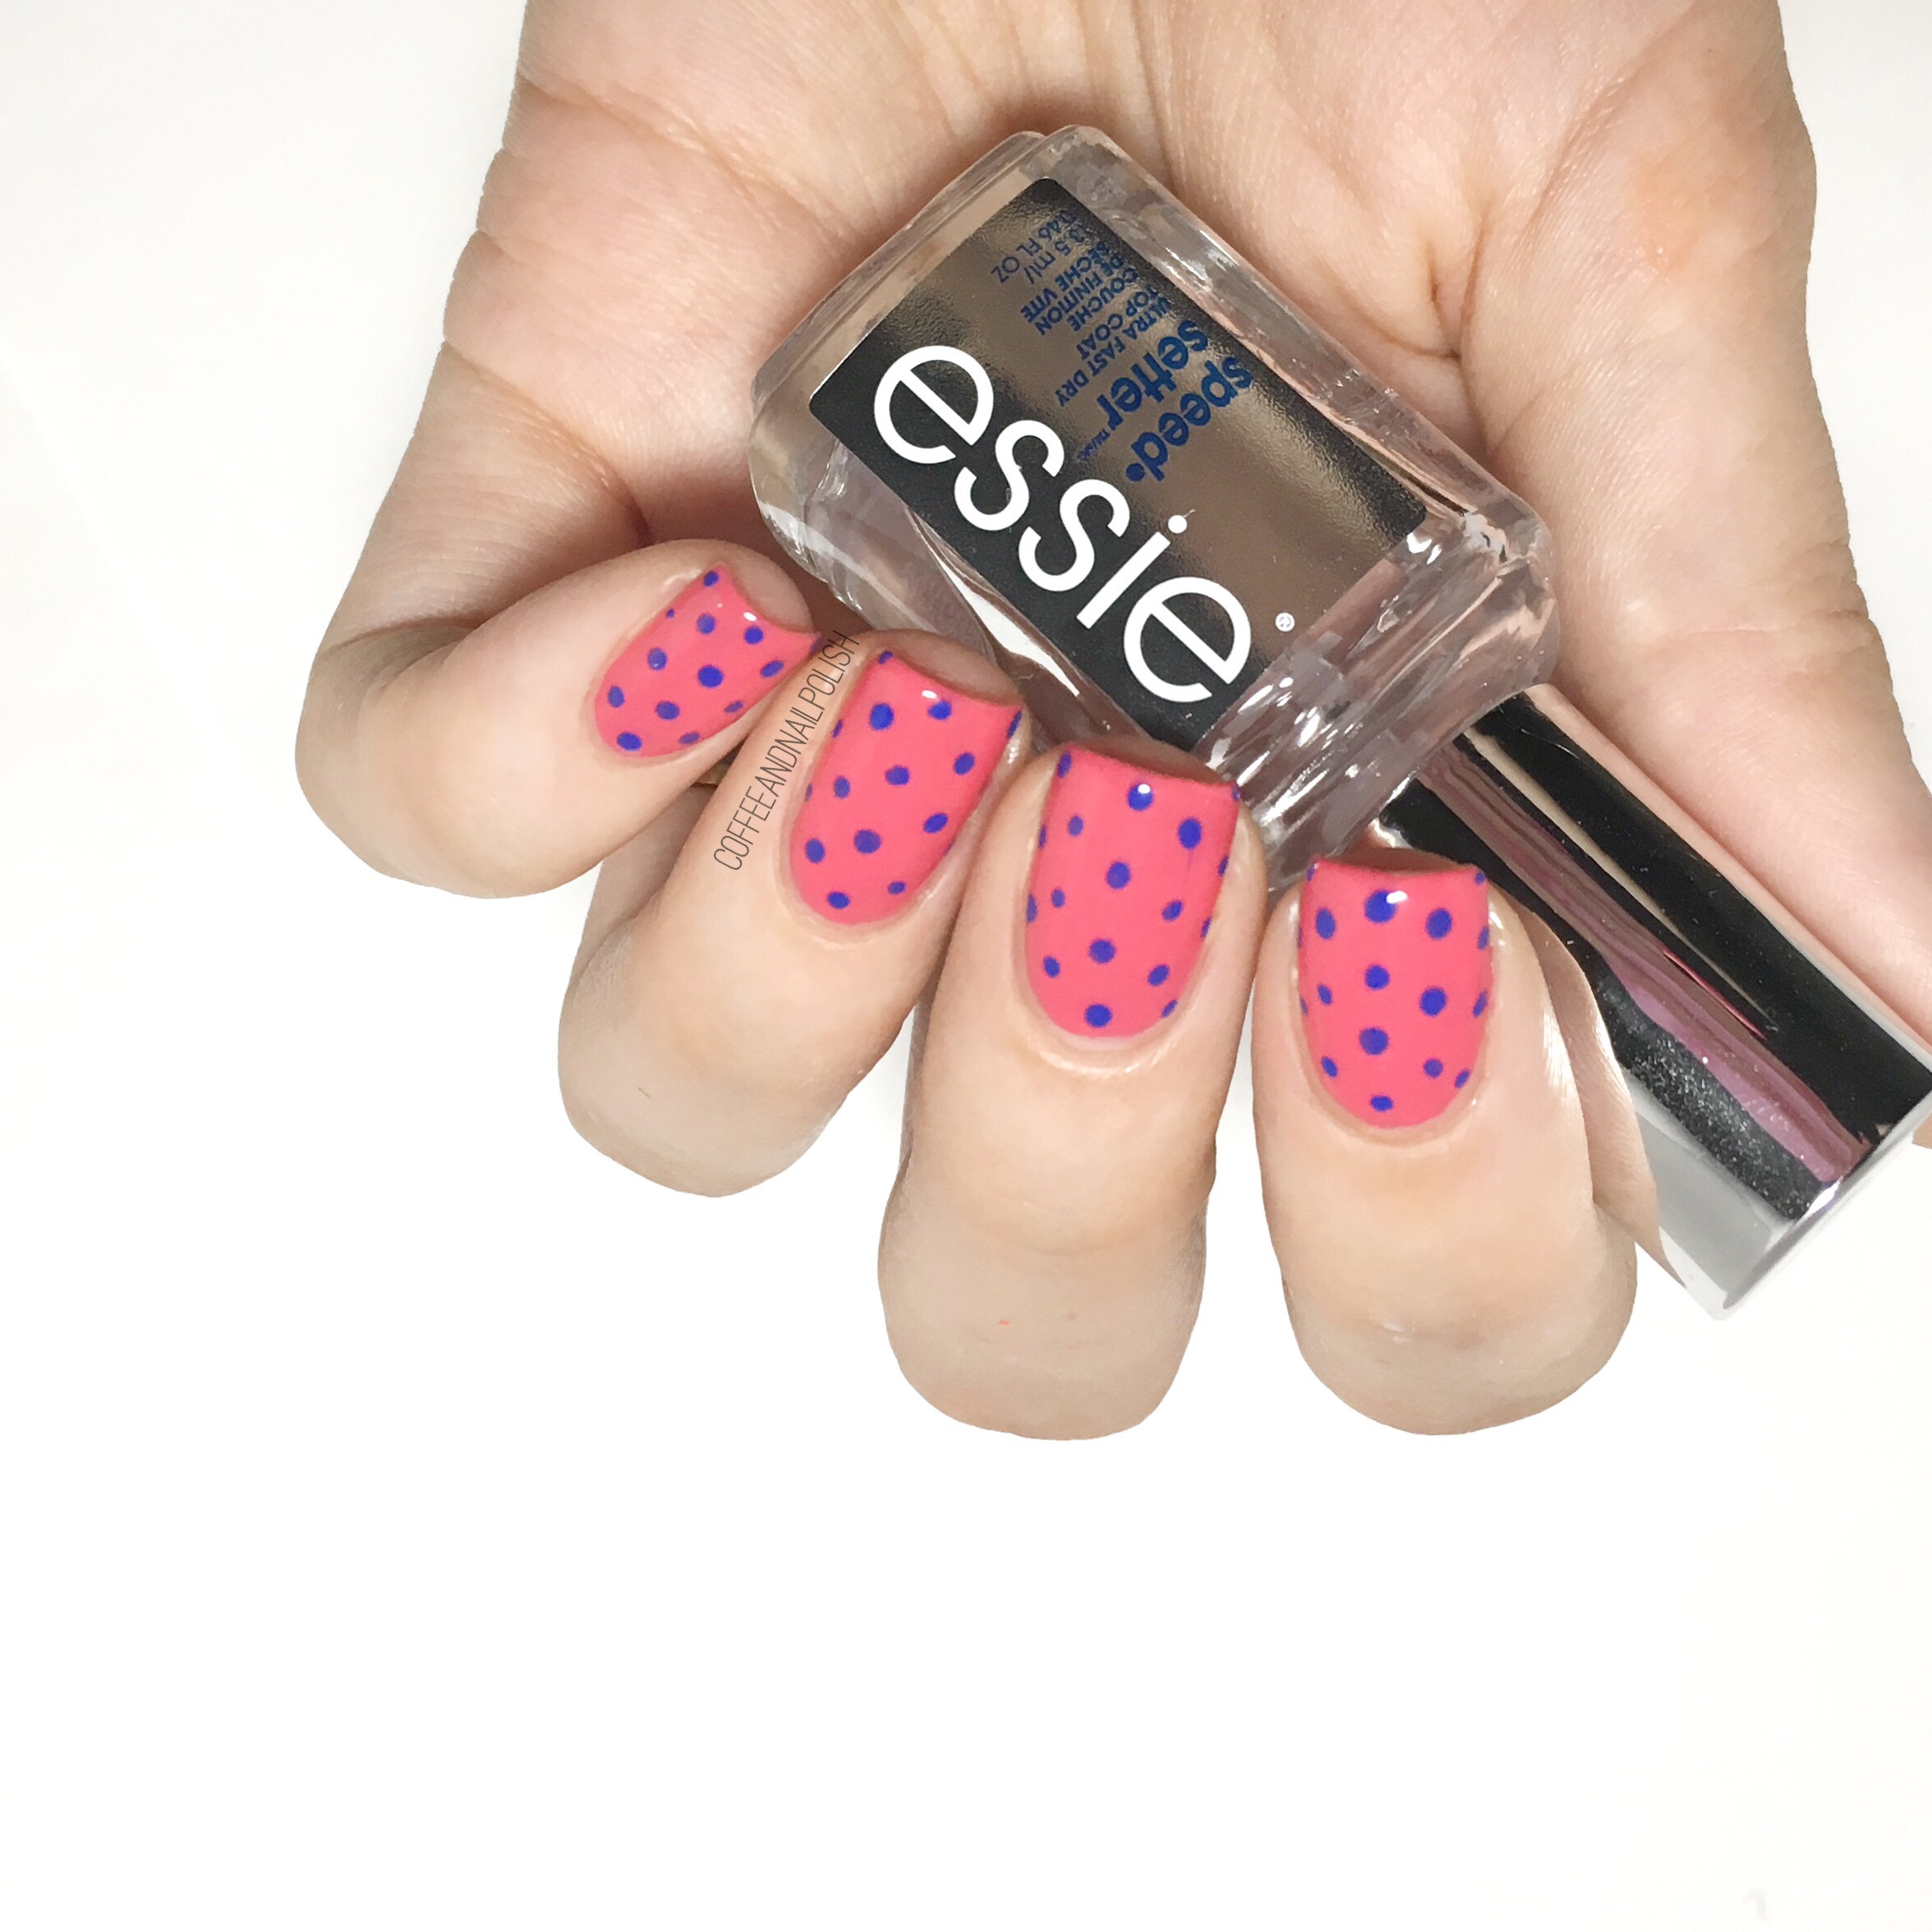
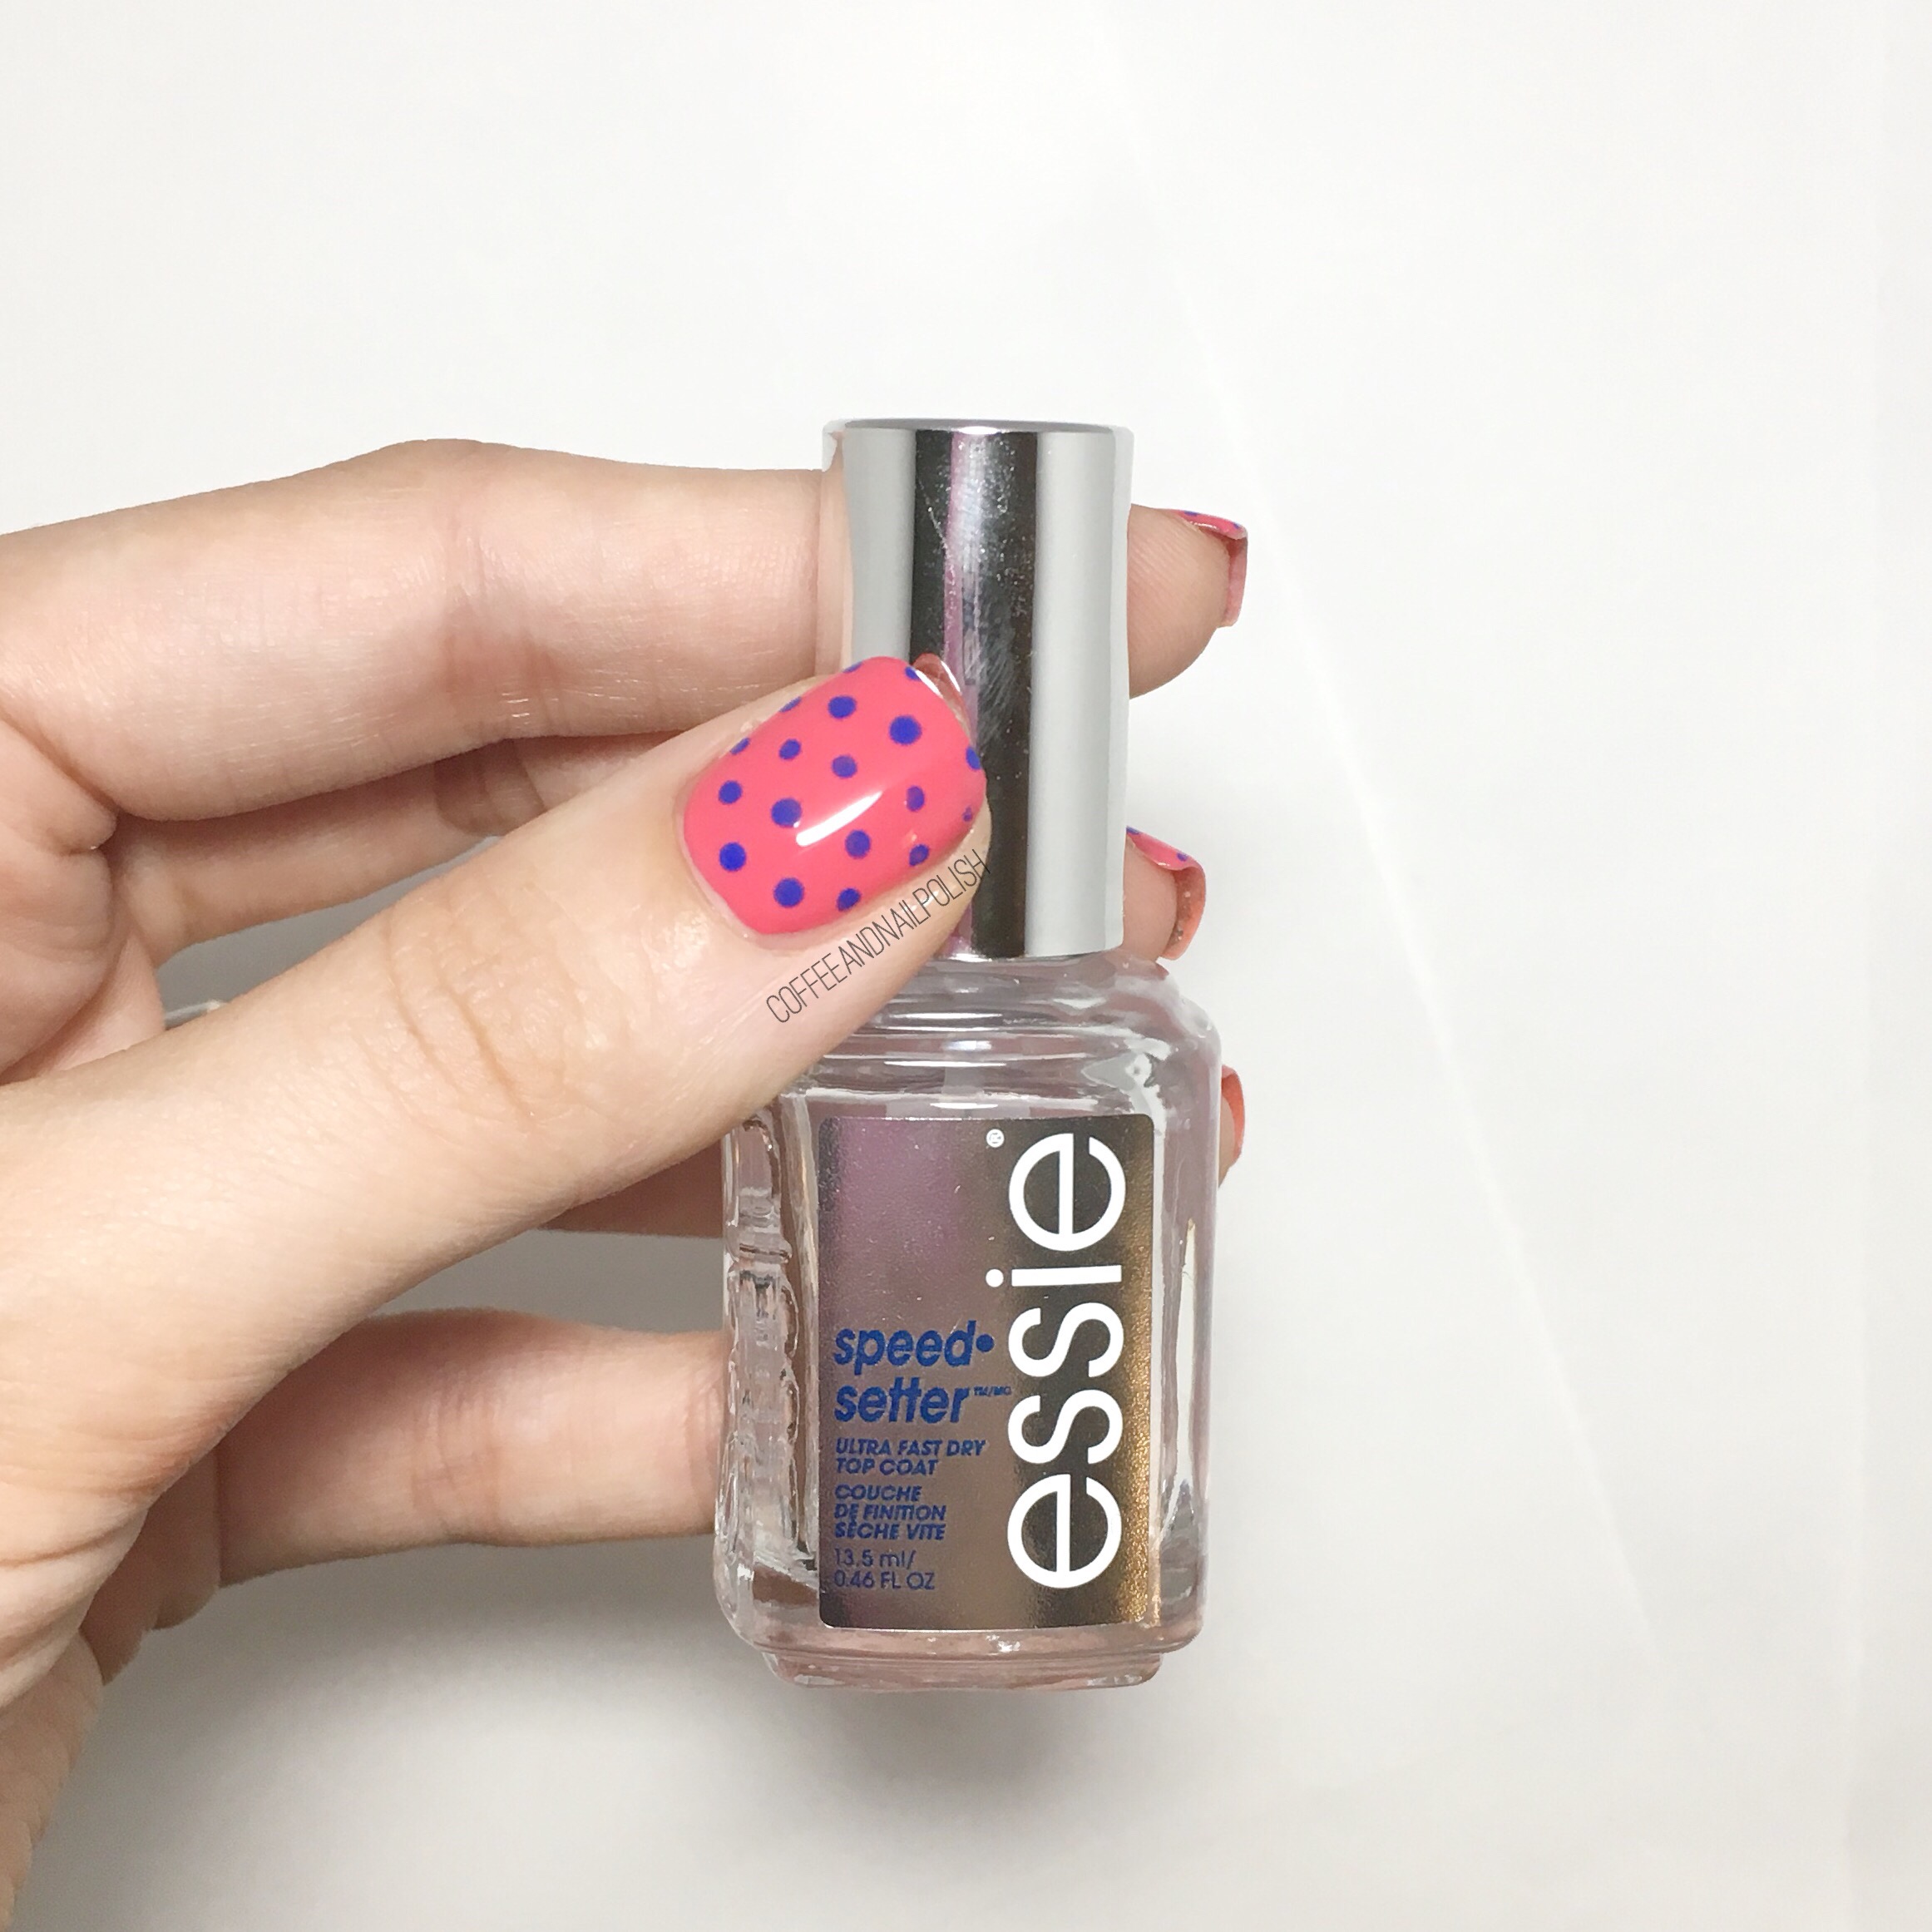
You know, I don’t think there is anything that I enjoy more (aside from my daily caffeine) than discovering a new quick dry top coat to make my life easier. While some people are top coat loyalists, I am always on the look out for what’s new! & if you go back through the archives I’ve been varied in my top coat love, but one brand I’ve always seem to return to is Essie. So when I saw they had a brand new quick dry top coat coming out–touting 60 second dry times!–I knew that I was going to need to give it a try. 

A few weeks back I found it hiding on the shelves at my local pharmacy, & I quickly snatched it up so I could see if it was worth all the hype. Now that I’ve used it on quite a few manicures, I felt safe giving it an honest review!

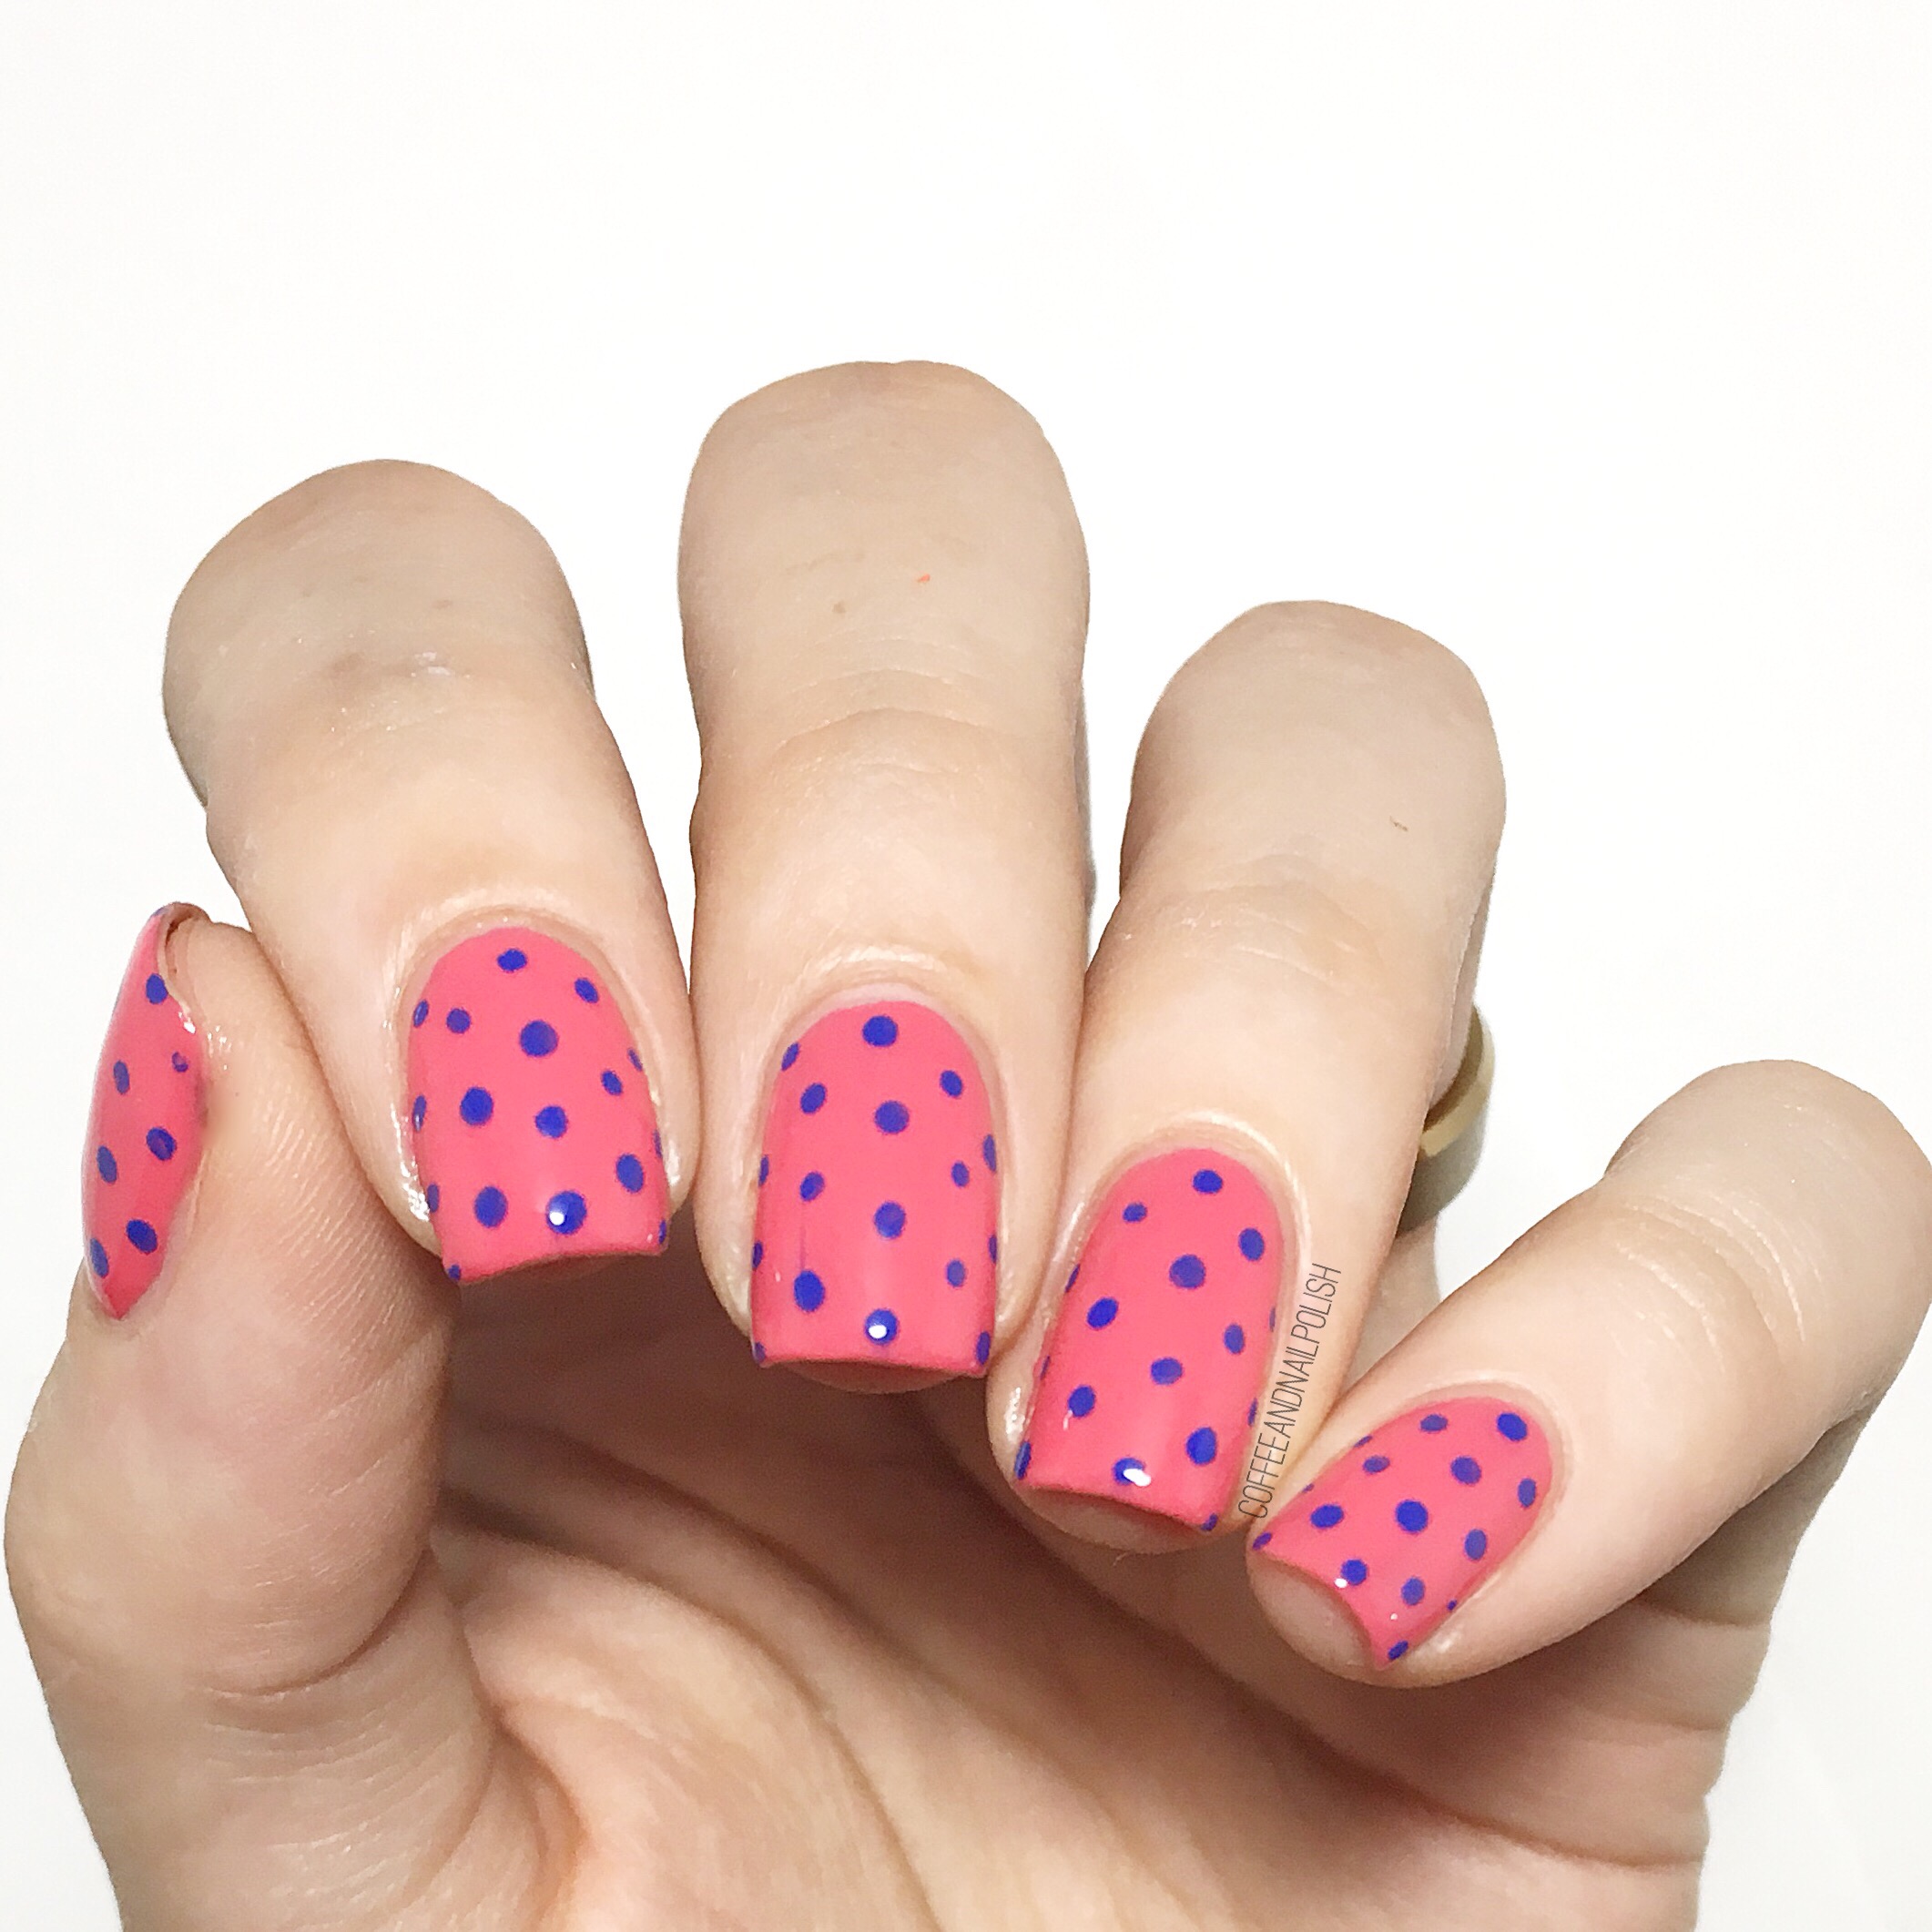
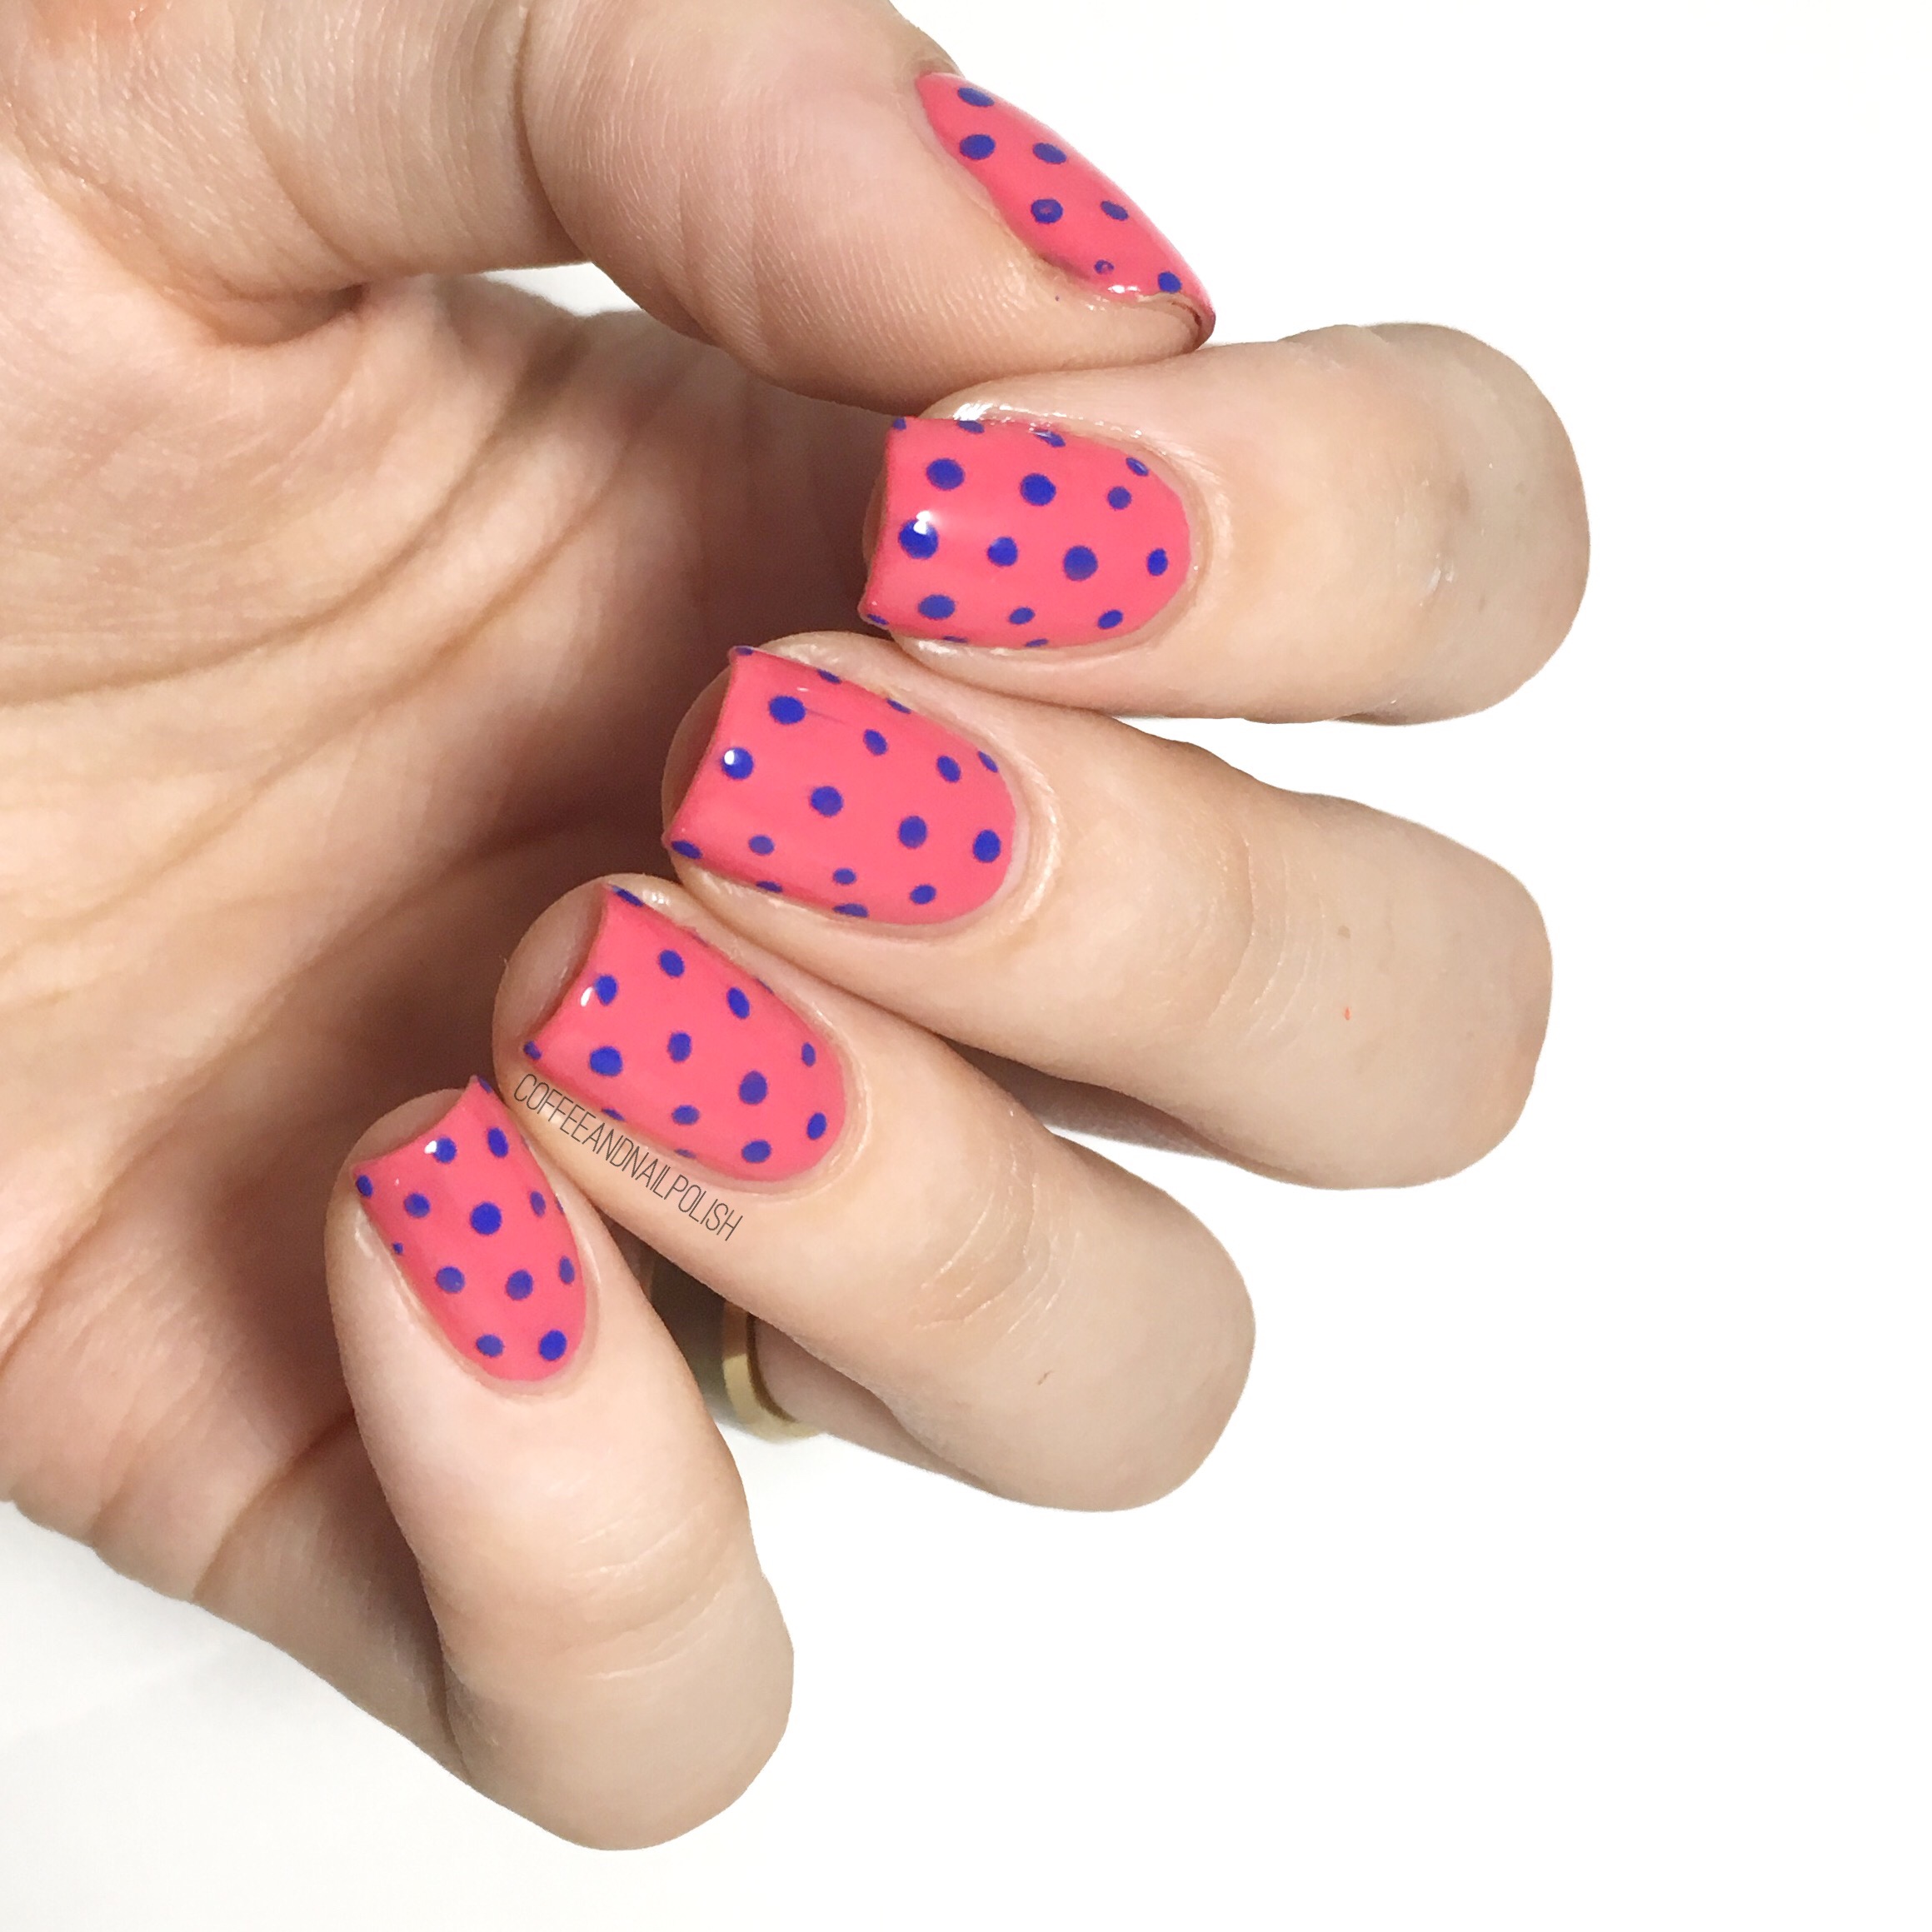
For this manicure, I used:

  • Base Coat: L’Oréal All In One
  • Top Coat: Essie Speed Setter
  • Essie Peach Daiquiri
  • Essie Butler Please
  • Small dotting tool from Bundle Monster 

I have to say the Speed Setter dries impressively fast. You won’t be applying nail vinyls after 60 seconds, but there is definitely a serious increase in dry time as opposed to Essie’s Gel Setter or Good To Go. Within 15-20 minutes my nails were dry enough to apply nail vinyls without having to worry about ruining my base colour. & when you have limited time to get your nails dry, that comes in handy! It also adds a good amount of shine to your manicure. As far as lasting time, I rarely leave on a manicure for more than 2-3 days but it held up with minimal tip wear.  

After a few weeks of using this top coat, I’m impressed enough to buy a second bottle. Unlike a lot of quick dry top coats, I haven’t noticed it thickening up towards the end of the bottle which is a plus. Nothing worse then trying to scrap those last few sticky drops of top coat out of the bottom of the bottle. But my only complaint with Essie’s new Speed Setter is the fact it smears nail art if you don’t apply it carefully (or, sometimes, even if you do.) But with all the pluses, I’m willing to overlook the smearing issue. Having to wait an extra couple minutes to apply my top coat still doesn’t take as long over all as some other to coats I’ve used in the past. As long as it keeps impressing me, I will definitely keep using it as my #1 top coat of choice. 

Have you tried Essie’s new Speed Setter top coat yet? What are your thoughts? Let me know in the comments below! & if you haven’t given it a try yet, let me know which top coat is your holy grail top coat of choice.