Neon Saran Wrap Splatter

Happy Tuesday lovely… a very rainy, gross Tuesday (again).

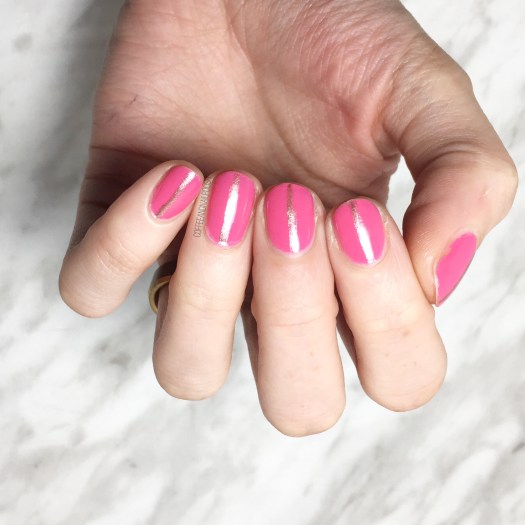
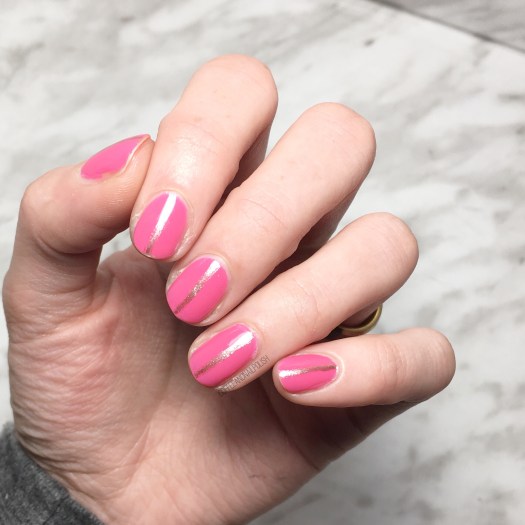
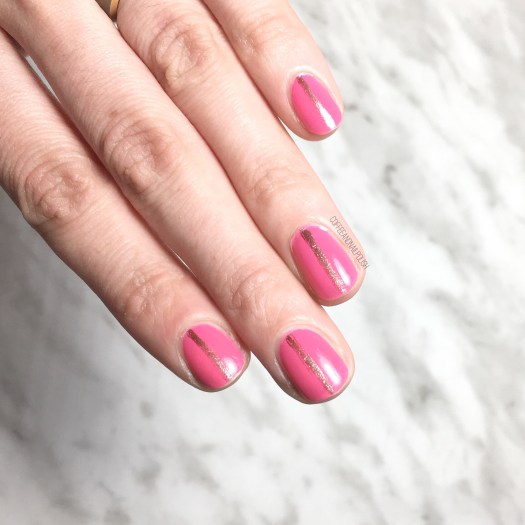
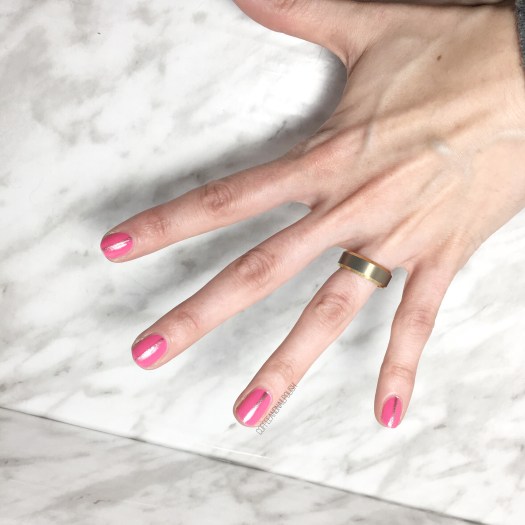
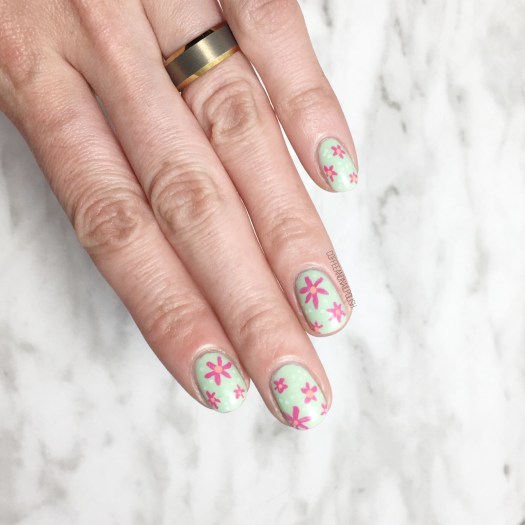
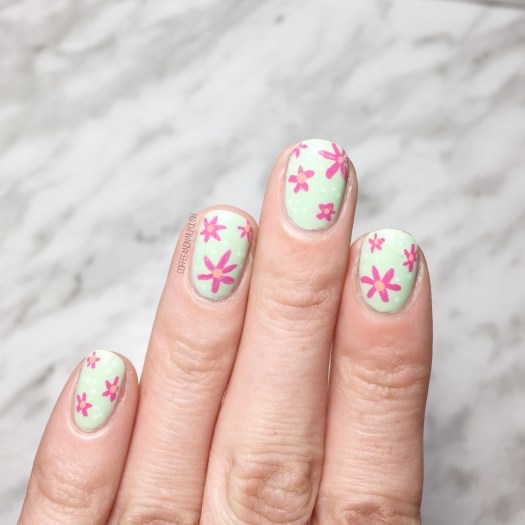
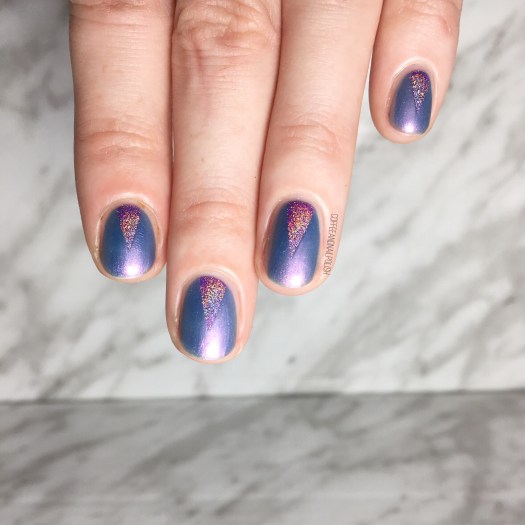
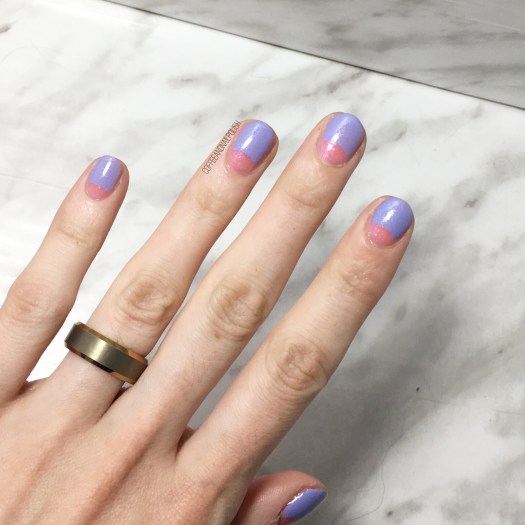
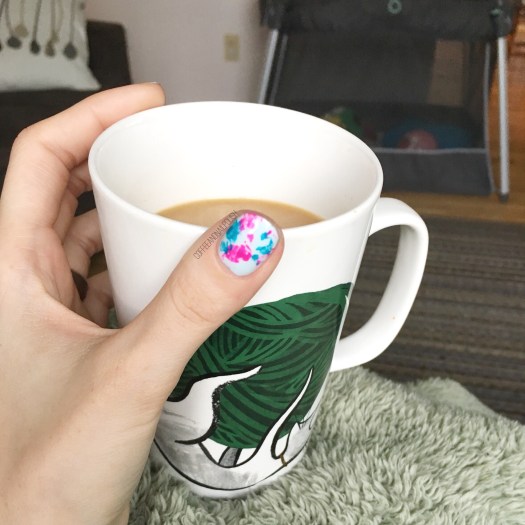
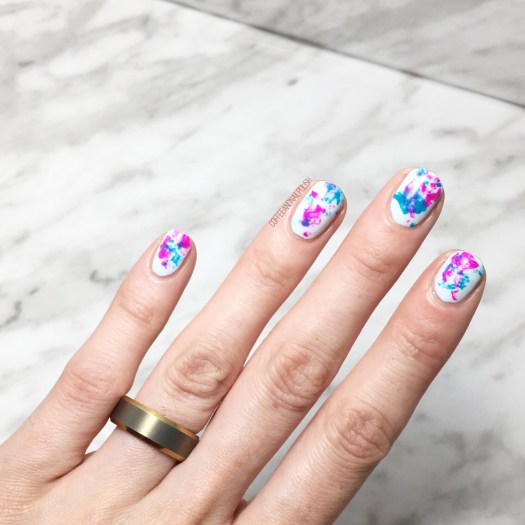
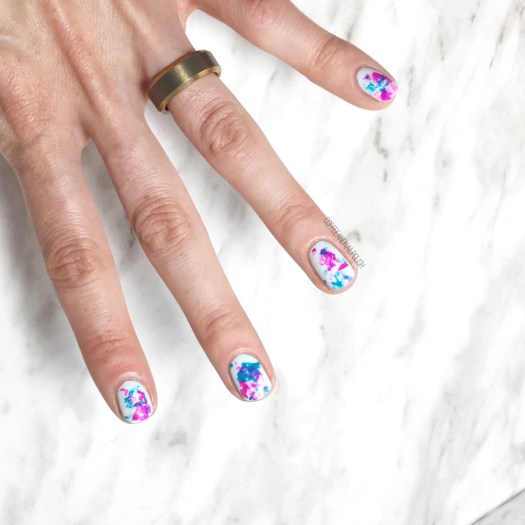
I thought it would be a good day for some more bright & colourful nails, featuring one of my favourite easy to do designs–Saran Wrap Splatter! This is a design I do a surprisingly amount–which you may have noticed–because it’s easy to do, doesn’t require any specific nail art tools & truthfully is not too messy to clean up. & the colour combinations are endless.

For this design, the polishes I used were:

  • Base Coat: Sally Hansen Green Tea + Bamboo Strength
  • Top Coat: Essie Gel Setter
  • Essie Find Me An Oasis
  • Essie Strut Your Stuff
  • China Glaze Purple Panic
  • Plastic Bag (I used a plastic grocery bag that I cup up into smaller pieces.)

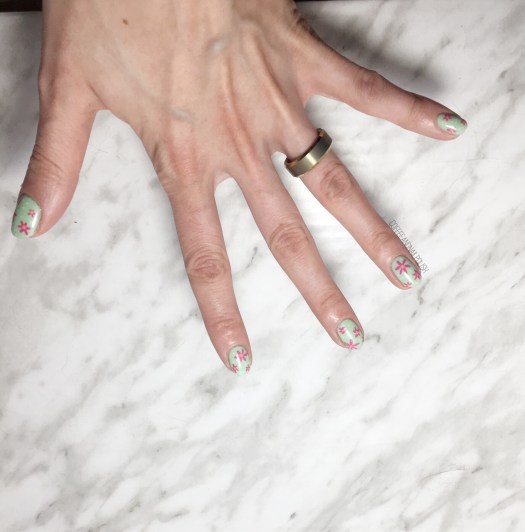
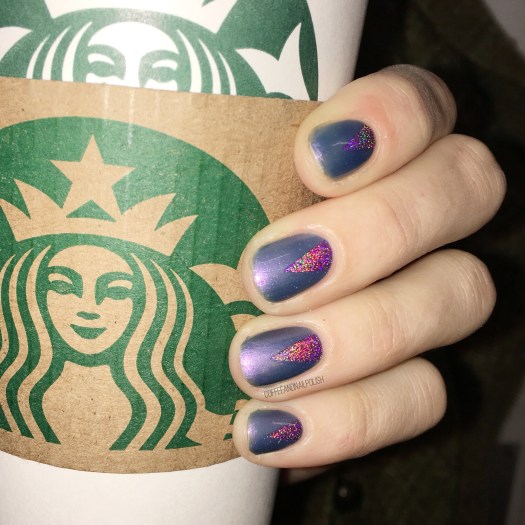
Please ignore the chip on my middle finger above–I keep forgetting to take pictures of my nails until after work, which leads to the above situation. Thankfully the design is so busy you barely notice the little chip at the tip. Also I’m loving the combination of this fuchsia & blues–the colours go really well together over the pale blue.

What do you think of this nail art design? What colour combination would you like me to try in a Saran Wrap splatter next? Share your ideas down below!

Gold Lines & Pretty Pink Nails

Happy Friday lovelies! I hope you’re all excited for the weekend as much as I am! Today I’m sharing a design I was actually wearing the last couple days. I’m in a bit of a nail art rut right now, so I decided to add something simple to my pretty pink nails.

I’ve also been wearing my Quo by Orly shade polishes as my nails have been in super rough shape (hence why my nails have been trimmed down… again). I decided some gold lines might make my nubs look slightly longer, so I freehanded them over top. A simple design, but enough of a pop for me!

For this design, the polishes I used were:

  • Base Coat: Quo by ORLY Breathable Kiss Me I’m Kind
  • Top Coat: Essie Speed Setter
  • Quo by ORLY Breathable Pep in Your Step
  • Quo by ORLY Breathable Fairy Godmother
  • Bundle Monster small detail brush

This gorgeous pink from Quo by ORLY has to be one of my favourites from the Breathable line. In fact, I added it to my toes at the same time! I’ve raved in the past just how much I adore this polish line because it’s designed to help the health of your nails. & trust me–I need it! Between boxes of stock & hand sanitizer, I’ve been finding I’m having so much trouble keeping my nails healthy. I’m upping my moisturizer & oil routine, but even still I need a little extra help & this polish is a god send!

Plus thanks to all the cute colours in my stash, I can create lots of cute nail art looks too!

what are you wearing on your nails for the weekend? Let me know in the comments below!

Easy Pink Flower Print 🌸

Happy Wednesday loves! & it’s a floral kind of Wednesday. I mean, every single day is a floral kind of day, but with the less than seasonable weather happening outside I figured some more floral print was needed.

This is also a super simple design that I think almost anyone could do on their nails, so it’s a great design for nail art beginners. For this design, I decided to pull out my trusty Sally Hansen nail art pens.

The polishes I used for this design are:

I don’t know if you’ve used the Sally Hansen I ♥️ Nail Art pens before, but they’re one of my favourite nail art tools. I’ve been using them for years & years & I keep buying them because they are great for creating easy designs, from floral to polka dots to delicate patterns. In fact, I recently lost of my green pen (the joys of a busy 1 year old who likes to hide things!) so I will be purchasing a whole bunch of new ones on pay day.

For this design, I made sure my base was nice & dry & then went in with my magenta pen & drew the flower petals. Afterwards, I went back & dotted the middle with my secondary colour (Flip Flop Fantasy) & added some white dots with my white pen. Bam! Instant flower pattern nails with minimal effort.

What do you think of this easy flower design? Let me know your thoughts in the comments below!

Holo Claws!

Happy Friday lovelies. I, for one, am very excited for the impending weekend–even though I work tomorrow, I can’t wait for this week to be over. After getting over some sickness at the beginning of the week, I ended up with some eye issues which has kept me from doing nail art. I hate when that happens! Thankfully I managed to finally repaint my (very) chipped nails last night & will hopefully be able to create some new nail art tonight.

So for today’s post, I went back into my phones camera roll & found a design from a while back (the last time my nails were rounded).

For this design the polishes I used were:

Oooooh I’m LOVING the combination. The pink compliments the blue really well, & even blends into it… until it hits that light & BAM! holo amazing-ness. & talk about distracting… I wore these nails to work & spent a large chunk of my day trying not to get distracted by the beautiful holo on my nails. I don’t wear Wrenn Polish Enchanted nearly enough. It’s just such an absolutely stunning polish.

Also you can never go wrong with chevron claws, especially when they’re holo. ✨

what do you think of this colour combination & style? Share your thoughts in the comments below!

Blurple & Pink Pastel Half Moons 🌙

Good Morning lovelies! Hope you’re having a fantastic Thursday. I seriously can’t believe that it is almost the weekend already! & the May long weekend at that. Well, unless you work in retail of course… & then it is just another weekend with a slightly busier Monday.

Today I’m showing off some pretty half moons featuring a few shades from the Sally Hansen Canada Miracle Gel Pastel Punk collection. & as you can see, I’ve made a return to rounded nails. My nails in general have been feeling pretty weak ever since my return to work (a combination of not oiling & moisturizing them every hour, dealing with lots of stock & having to use a liberal amount of hand sanitizer) so after another break I decided a return to rounded was in order.

For this manicure, the polishes I used were:

  • Base Coat: Nailtek 2
  • Top Coat: Sally Hansen Miracle Gel Top Coat
  • Sally Hansen Miracle Gel I Lava You
  • Sally Hansen Miracle Gel Just Maui’d
  • Paper Hole reinforcements

I’ve raved again & again just how much I adore the look of half moon designs, especially how EASY they are! Because this kind of design was my first ever real “nail art” I did, aside from maybe poorly door polka dots, this is one of my top nail art design suggestions for those just getting into nail art. Especially because the only “tools” it requires can be bought at Walmart or Dollarama (or any dollar store) for less than $2.

Also check out how much more purple Just Maui’d looks paired with I Lava You versus on its own when I swatched it. It pairs so well with the pinks, I can’t get over it. Definitely in love.

what do you think of this half moon combination? What is your favourite colour combination? Share your thoughts in the comments below!

Also I’m on the hunt for any suggestions on how to help my nails feel less frail. Going to be switching up my base coat–thinking about trying out Nail Envy again. If you have any suggestions let me know! 💜