Rustic Floral Pattern Nails

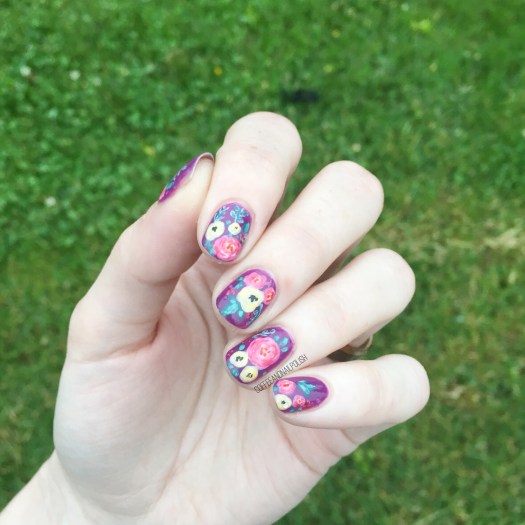
Can you never have too many floral manicures in your life? Personally, I don’t think so. We all know how much I adore flowers–from clothes, to shoes, to cellphone cases to my nails, I can never have enough! Recently I found a Rifle Paper Co. phone case at Winners on payday, so I decided to attempt to recreate said pattern on my nails.

My attempt definitely turned out a little more rustic than its inspiration, but I think that is why I love the end result so much!
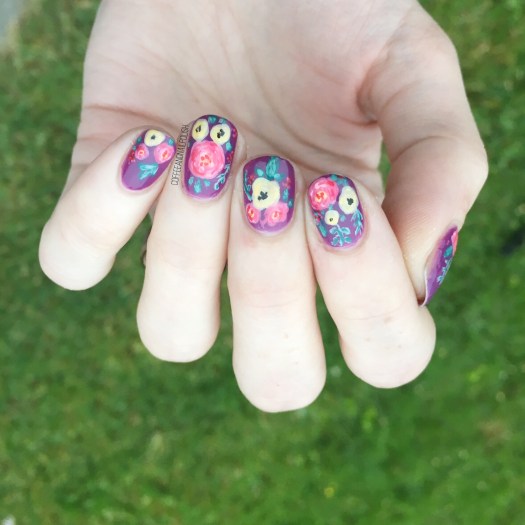
For this manicure, the polishes I used were:

  • Base Coat: OPI Nail Envy
  • Top Coat: Essie Gel Setter
  • Boho Green Make Up Moonlight
  • Quo by ORLY Breathable Pep in my Step
  • Sally Hansen Miracle Gel Pretty Piggy
  • Sally Hansen MG Pretty Peony
  • Sally Hansen MG Off the Shoulder
  • Essie A-List
  • China Glaze Sun Upon My Skin
  • China Glaze Metro Pollen-tin
  • YSL Vert D’Orient
  • Sally Hansen Insta-dri Thyme is Money
  • Essie First Timer
  • Sally Hansen I ♥️ Nail Art pen in Black
  • Bundle Monster detail brush

I’m kind of excited for Summer because it means I can change up my backgrounds & use outside. How lush does this design look with green grass in the background? Definitely throwing my pictures back to my pre-light-box days with these photos & I’m loving it! Seriously, staged photos are awesome but something about natural light makes your manicures look that much better.
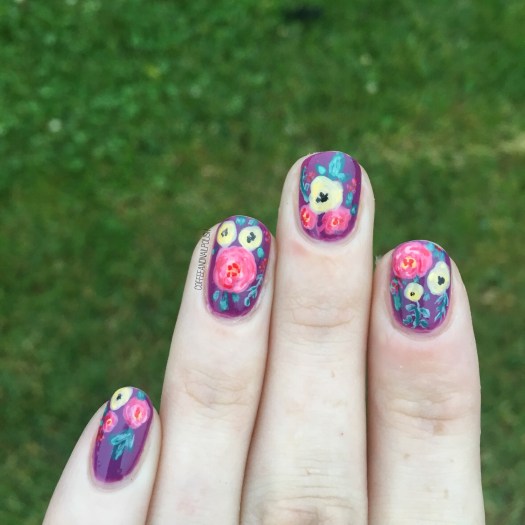
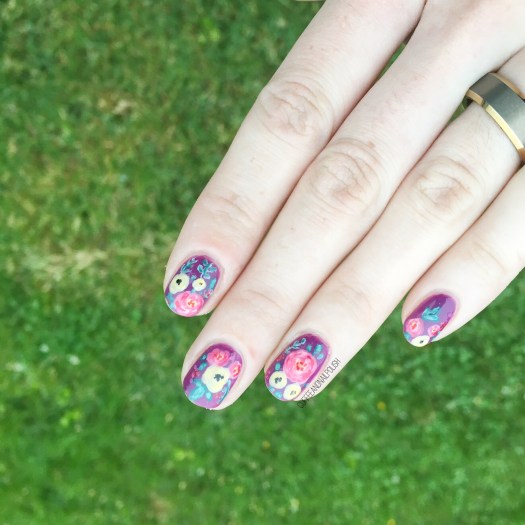
If that doesn’t say Summer, I don’t know what else does! Also I’m never, ever going to get sick of doing floral. Never. How could you ever get sick of something so pretty! Hence why I keep filling my closet with more & more floral clothing pieces. The obsession continues! 🌿🌼🌱
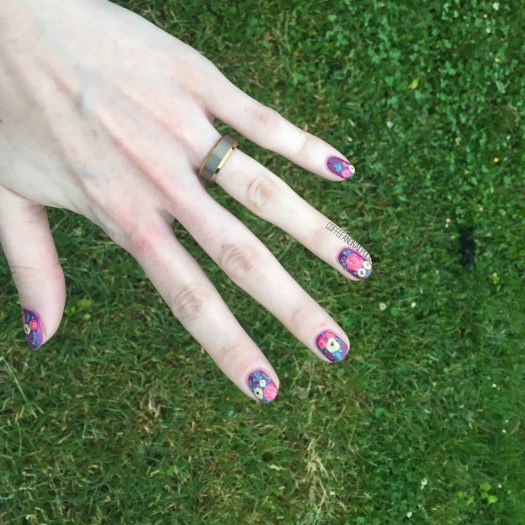
what do you think of this design? Are you feeling Summery? Leave a comment down below & let me know!

Floral & Gold Nails inspired by @thelittlecanvas

Happy Saturday! & Happy Royal wedding day! Who else was up early watching all the Royal wedding coverage? The Bubs had me up at 5:30am, but I was already planning on getting up to watch coverage of the event.

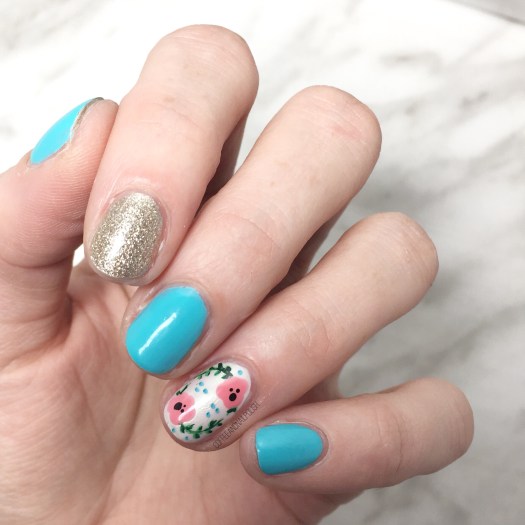
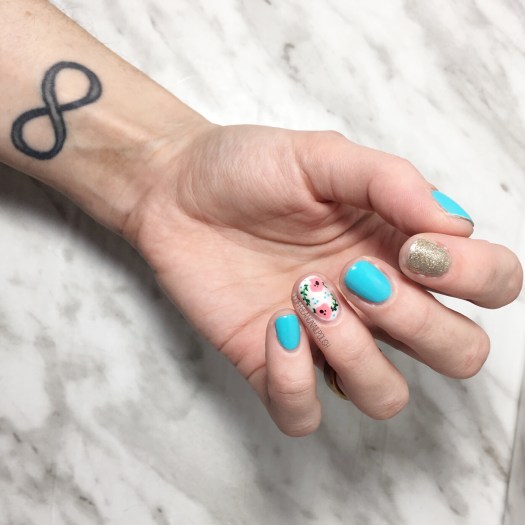
I don’t have royal themed nails to share with you today, although personally I think this floral design would be perfect for any wedding! Today’s design was inspired by a manicure @thelittlecanvas posted back in March. I loved everything about it (Alaina always does the prettiest accent nail designs!), so naturally I had to recreate. Plus it was an opportunity to pull out one of my favourite vibrant blues that I haven’t worn in a while.

For this manicure, the polishes I used were:

  • Base Coat: Nailtek 2
  • Top Coat: Seche Vive
  • ACO by Ardene Whacky
  • OPI My Favourite Ornament
  • OPI Chiffon My Mind
  • Sally Hansen Miracle Gel Pretty Piggy
  • Sally Hansen Miracle Gel Super Charge
  • Essence The Green & The Grunge
  • Sally Hansen I ♥️ Nail Art Pen in Black
  • Bundle Monster detail brush
  • Bundle Monster large & small dotting tools

I love that event though this is a relatively easy design to create, the combination of everything just makes your nails look so fancy. Plus they look way more complicated than they actually are. I’m still trying to find more floral designs to do that aren’t just my typical roses that I can pull out when I’m feeling floral on my nails. Which, lets be honest, is 95% of the time.

What do you think of this floral? Do you think I stayed true to my inspiration? & if you’re on the hunt for new nail art inspiration & haven’t already discovered Alaina, definitely check out her Instagram & blog because she always come out with the most amazing patterns & designs!

Floral Flash Nails

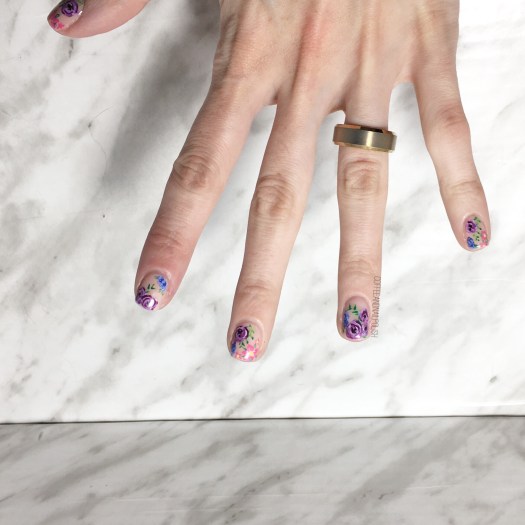
Happy Tuesday lovelies! I hope you’re enjoying the beginning of your week. Today I’m sharing some brand new nails with you–& yep, more floral! I truly believe you can never wear too much floral. Now if only I had taken more pictures of this design…. sadly I only snapped a few to share with you!

For this manicure, the polishes I used were:

  • Base Coat: Nailtek 2
  • Top Coat: Seche Vive
  • Sally Hansen Miracle Gel In the Sheer
  • Essie Play Date
  • Essie Go Ginza
  • Sally Hansen Complete Salon Manicure Trouble Maker
  • Sally Hansen Miracle Gel Super Charge
  • Essence The Green & The Grunge
  • Sally Hansen I ♥️ Nail Art pen in Pink
  • China Glaze Metro Pollen-tin
  • Sally Hansen I ♥️ Nail Art pen in Black
  • Sally Hansen Royal Hue
  • China Glaze I Sea the Point
  • Bundle Monster detail brush
  • Bundle Monster dotting tool

It always takes so many polishes to create my favourite florals, but when you see it all put together it’s so worth it. Gosh I love floral designs over almost bare or really sheer polishes. They’re is just something romantic about how they come together. Love love love. Also I felt like I needed some untraditional floral colours–like purple roses. Something just a little bit different from my more recent floral & rose designs. I’m a little bit floral obsessed right now–I just picked up a new floral phone case, & I keep buying floral shirts & dresses. There is just no such thing as too much floral! 🌸

What do you think of this design? Are you a fan of negative space florals? Share your thoughts down in the comments below!

Vibrant Colour Blocking

Good Morning lovelies & Happy Saturday!

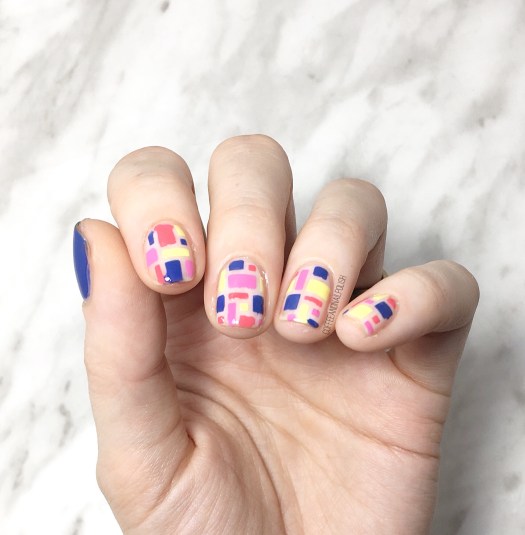
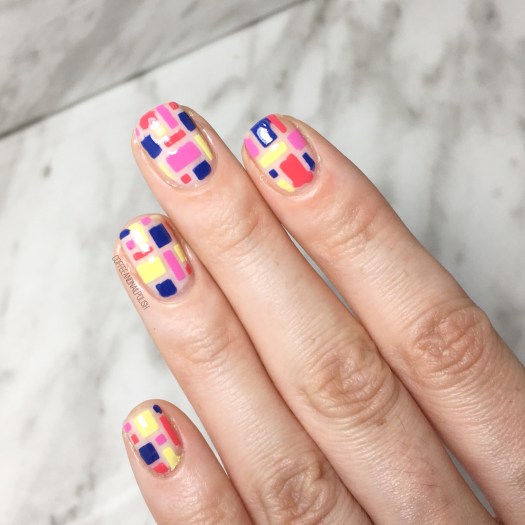
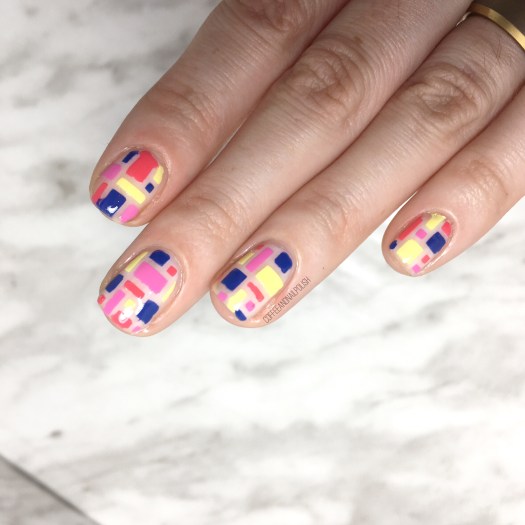
I don’t know how the weather is where you are, but here in Halifax they’re calling for lots of sunshine over the next little while & I couldn’t be more exciting. I’ve worn dresses for the last few days, & I’m pretty dedicated to keeping my no pants streak going. Obviously, my cheery mood is translating to my nails because I’m all about bright & colourful nails! Today I’m showing off a colour block design done using a few vibrant polishes & nail vinyls.

For this manicure, the polishes I used were:

  • Base Coat: Nailtek 2
  • Top Coat: Seche Vive
  • Sally Hansen Miracle Gel In The Sheer
  • Essie Splash if Grenadine
  • Essie All the Wave
  • OPI I Eat Maine-ly Lobster
  • China Glaze Sun Upon My Skin
  • Xroma Polish & Vinyls Mosaic Stencils
  • Dotting Tool

Oooooh I love so much how these colours go together. This combo is feeling very 90s to me for some reason, & I love it! So blinding, which is perfect because I just bought brand new (giant) sunglasses. 🕶 To me, this is just the perfect bright design… the colours, the pattern. I’m seriously in love with everything about it! Plus I feel like these colours are perfect for making me look way more tanned than I actually am. & when you spend 10+ hours inside, you’ll take any hint of a tan you can get!

What do you think of this colour block design? Would you rock this pattern on your nails? What is your favourite nail polish shade combination? Share all your thoughts down in the comments below & let me know what you’re wearing on your nails for the weekend! 💅🏻☀️🌵

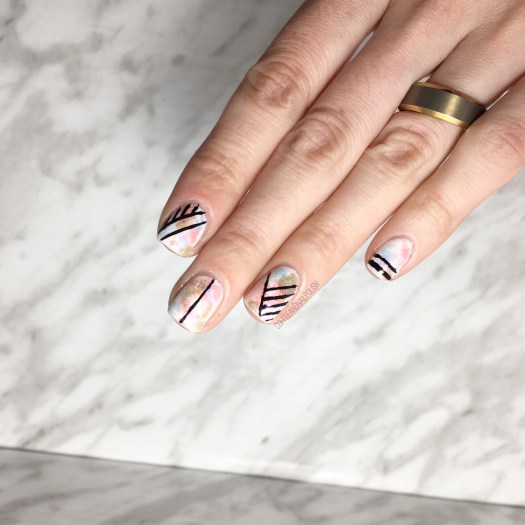
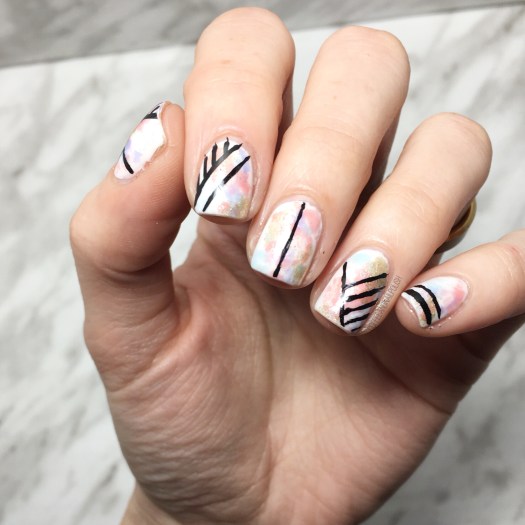
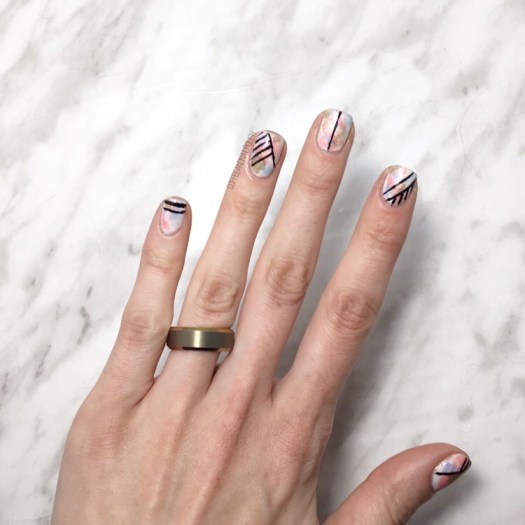
Saran Wrap Splatter & Geometric Lines featuring Sally Hansen Canada’s Miracle Gel Pastel Punk Collection 💀🌸

Hello lovelies & Happy Tuesday. I hope whenever you are, the weather is beautiful & Spring like. Today I’m featuring a design using the brand new Sally Hansen Canada Miracle Gel Pastel Punk collection. I saw this collection in stores & was super excited by all the beautiful colours… & then I was just lucky enough to receive the WHOLE collection courtesy of Sally Hansen Canada themselves. I have a full swatch post coming up (this weekend… stay tuned!) which will show you the awesomeness of the colours on their own, but in the mean time I have the first of many designs featuring these awesome shades!

First up…. some dry brushing & geometric lines!

For this manicure, the polishes I used were:

  • Base Coat: Nailtek 2
  • Top Coat: Sally Hansen Miracle Gel Top Coat
  • Sally Hansen Miracle Gel After Altar
  • Sally Hansen MG Just Maui’d
  • Sally Hansen MG Ocean Daze
  • Sally Hansen MG I Lava You
  • Sally Hansen MG Shell-ebration
  • Sally Hansen MG Golden Glow
  • Sally Hansen Hard As Nails Black Heart
  • Bundle Monster striping brush.

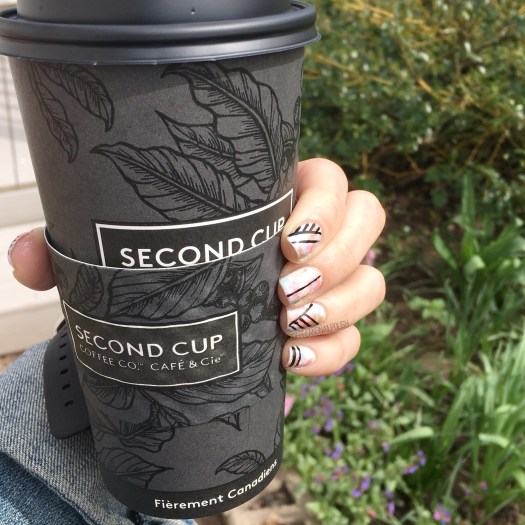
This whole collection is full beautiful spring shades & they go together so well. The first design I had to do with them just had to be a dry brush & I love how well these colours compliment each other. & then I love the black lines over top the softness of the dry brush because of how well it pops. It feels like I don’t do my free hand lines nearly enough so I wanted to practice a little. I bought acrylic paint forever ago, but I have zero clue where it is. It probably would have made my design a lot easier to do. I did it using polish & it turned out slightly wonky. Never less, I do love how this pattern turned out.

I know I said that the Sally Hansen Miracle Gel Travel in Colour collection was my favourite for Spring, but this collection made have beat it. It’s that blue & the shimmers & everything. It’s just so pretty. Even though I don’t wear it nearly as often as I should, I just love a good pink polish. & there are TWO in this collection. & I love, love, love them. 💗 When I get my swatches posted this weekend, you’ll see all the reasons why this collection is amazing. I can foresee a lot of designs coming up featuring these lovely shades.

have you sought out the Sally Hansen Pastel Punk collection yet? Which shade is your favourite? What do you think of this dry brush & graphic line design?

Let me know your thoughts in the comments below!