Freehand Tribal Print Accent Nails

Hello lovelies! & happy Saturday!

Today I’m sharing the most amazing design with you. It feels like absolute ages since I created any kind of tribal design. (I went back & checked–it was December!) So it felt like the perfect time for a new tribal design.

I’ve done tribal a lot in the past, but sometimes I struggle creating the line work. I love my prepolished stripers, but they end up junky & chunky so quickly. Thankfully I received some new nail art brushes from NailStuff.ca & couldn’t wait to see how they would work for freehanding!
For this design, the polishes I used were:

  • Base Coat: OPI Nail Envy
  • Top Coat: Essie Speed Setter
  • Essence Let’s Get Lost
  • Sally Hansen CSM Let’s Snow!
  • Sally Hansen CSM Ruby Do
  • Essie Mint Candy Apple
  • Essence Black is Back
  • Nailart.ca Mermaid Tail nail art brush trio
  • Born Pretty Store Aurora Rainbow Nail Striping Tape in purple (item #40423)
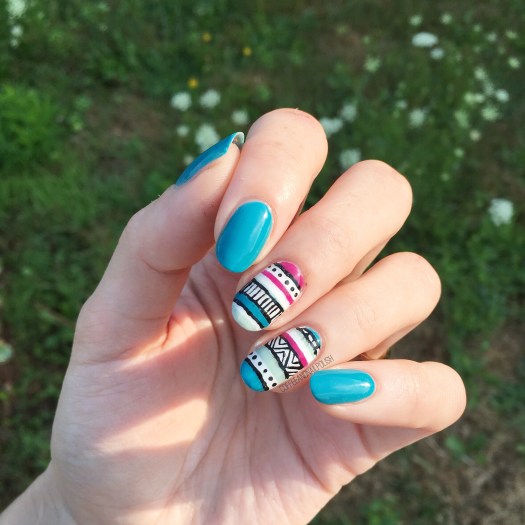
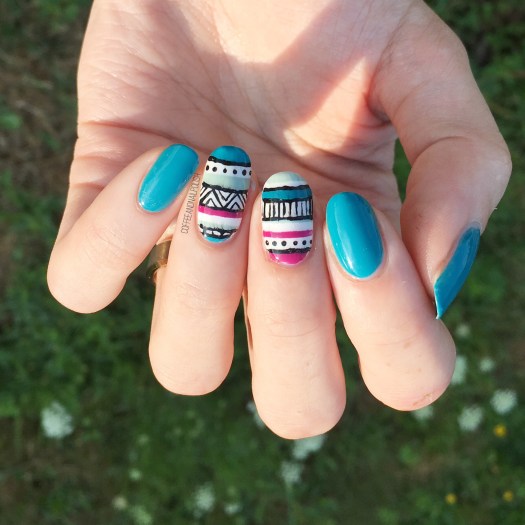
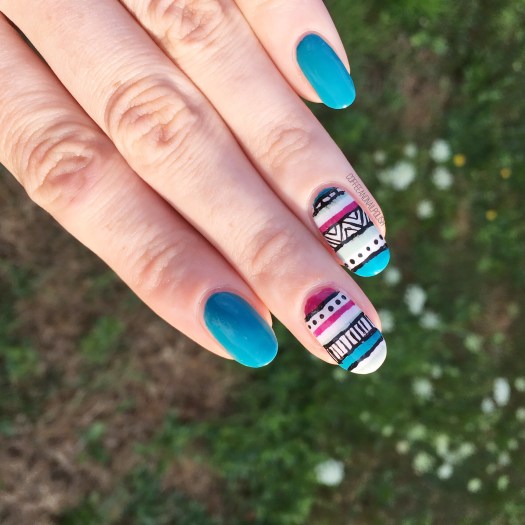
I cheated a little bit & used striping tape to create my thicker lines of colour & then use my smallest detail brush from Nailstuff.ca to go in & create my print details with black polish. & I’d be lying if I said I wasn’t incredibly proud of myself for how this design turned out! Especially the chevron/zigzag line work on my ring finger. This design just ended up looking exactly how I hoped & I feel so accomplished. My new nail art brushes were definitely the main reason this look turned out so well–not only were they so easy to use, but how find the brush was meant my line work didn’t end up looking like a blobby mess!
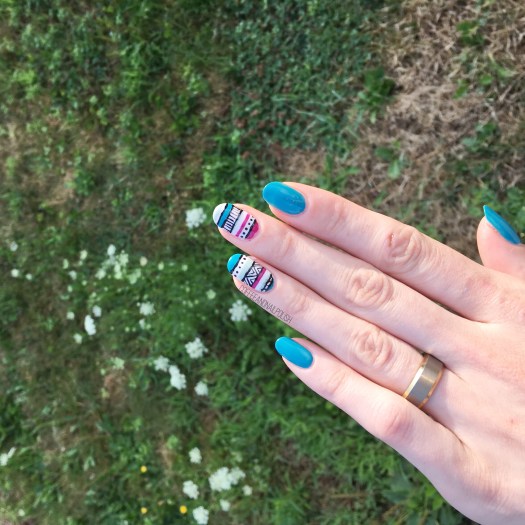
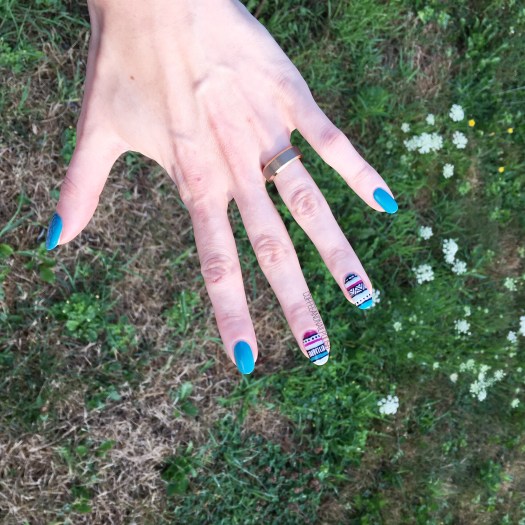
This look turned out so lovely, & I like the hint of Fall it’s giving off. These colours are such good jewel tones & just what I need in the inbetween time before Fall really hits!

So what do you think of this design? Shade your thoughts down in the comments below. ♥️
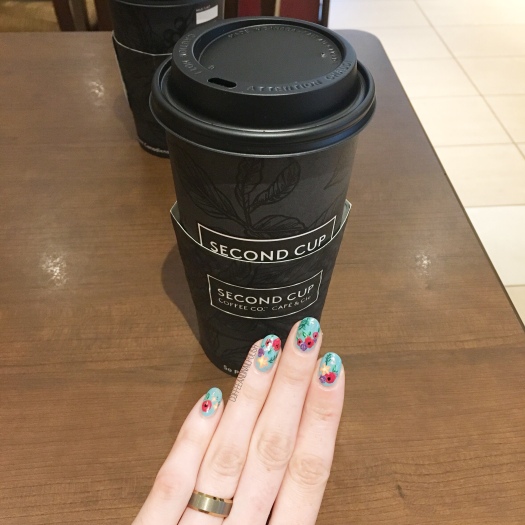
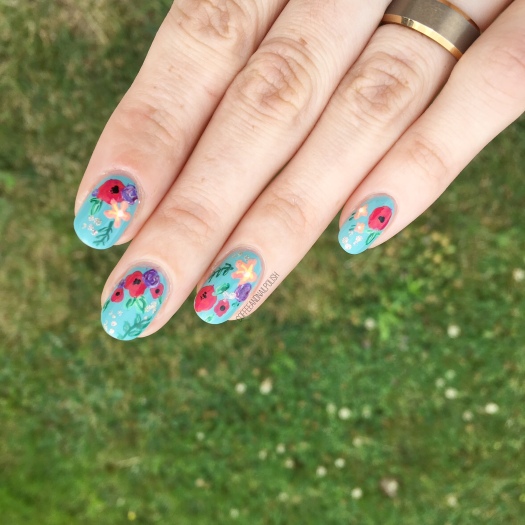
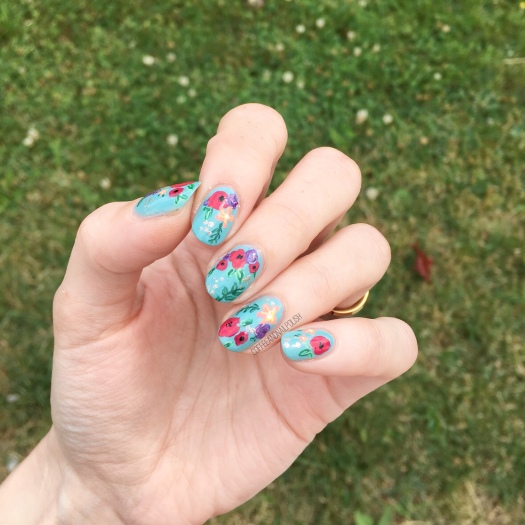
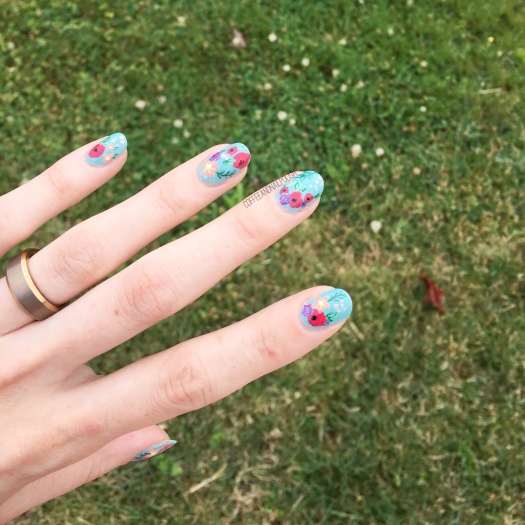
Rifle Paper Co Phone Case Inspired Floral

Good morning lovelies & happy Tuesday… as happy as a Tuesday can be! Today I have some floral nails from a few weeks back to share. This design was inspired by a brand new phone case I picked up at Winners recently… a Rifle Paper Co phone case! & I was so excited by the pattern that I just had to recreate it on my nails!

For this manicure, the polishes I used were:

  • Base Coat: OPI Nail Envy
  • Top Coat: Essie Speed Setter
  • Essie In the Cab-Ana
  • OPI Koala Berry
  • OPI My Chihuahua Bites
  • Essence The Green & The Grunge
  • Essie First Timer
  • Sinful Colours Amethyst
  • Essie Play Date
  • Sally Hansen Miracle Gel Sweet Tea
  • China Glaze Metro Pollen-tin
  • Sally Hansen I ♥️ Nail Art pen in black
  • Essie Jiggle Hi, Jiggle Lo
  • Small detail brush from Bundle Monster

I’m really, really loving this pattern. It’s been a little while since I rocked floral, so I’m was excited to break it out again. Especially since it’s already starting a feel a little Fall like in the morning, & I feel the call of cosy sweaters & jewel toned polishes already!

So what do you think of this floral design? Have you ever been inspired by a phone case? Share down below!

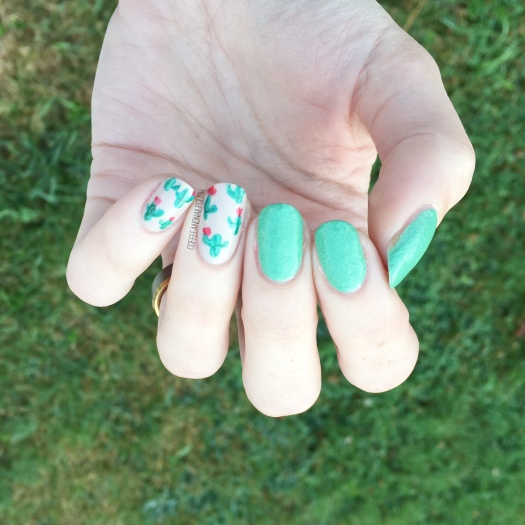
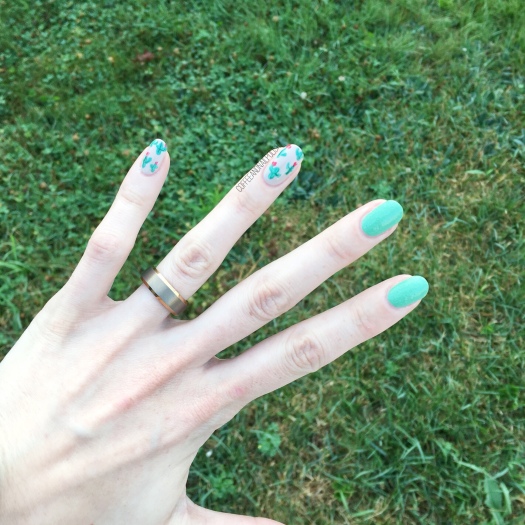
Cactus Accent Nails 🌵💅🏻

Happy Thursday! It’s been a while since I rocked any cactus nails, & I was craving some vibrancy. I don’t often reach for green polish when painting my nails, but I’ve been trying to get out of my comfort zone. Keeping with that, I decided to pull a green (textured) polish from deep in my stash that I haven’t worn in too many years to count, & paired it with some cute cacti on my accent nails!

Polishes I used for this design were:

  • Base Coat: OPI Nail Envy
  • Top Coat: Essie Speed Setter
  • LA Girl Sand Blast Nail Polish in Green Island
  • China Glaze What’s She Dune?
  • Essie First Timer
  • Essie Off Tropic
  • Deborah Lippmann She Drives Me Crazy
  • Essie A-List
  • OPI I Eat Maine-ly Lobster
  • Small detail brush (from Bundle Monster)
  • Small dotting tool (from Bundle Monster)

Sadly I kind of hid the texture of LA Girl Green Island with my top coat, but it came through a bit. This was my very first textured polish, back in the very early days of my nail art. It was also the beginning of my obsession with finding nail polish deals at Lawton’s—I remember scoring it & a blue Sand Blast Polish for only a dollar. & so began my obsession with finding old polishes at awesome deals. & I still hate spending full price for polish to this day!

Also I love creating these little freehand cactus. Still on the search for some cactus nail vinyls, because I’m a little cactus obsessed, but in the meantime I don’t mind freehanding my cacti. I also just picked up a new stamping plate from Essence with a cactus on it, so stay tuned as I plan on trying it out soon (hopefully this weekend!)

What do we think of this design? Do you still have any textured polishes in your stash? Let me know down in the comment below!

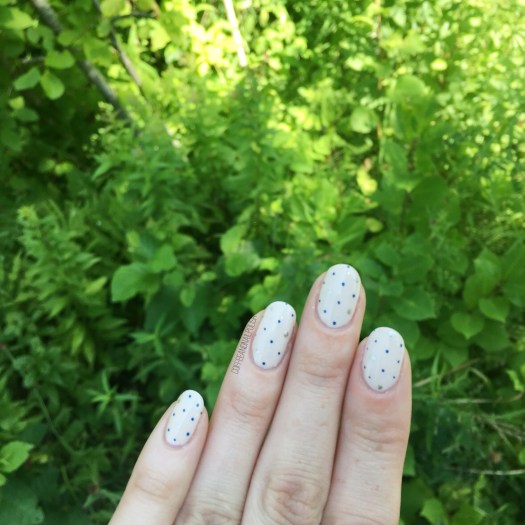
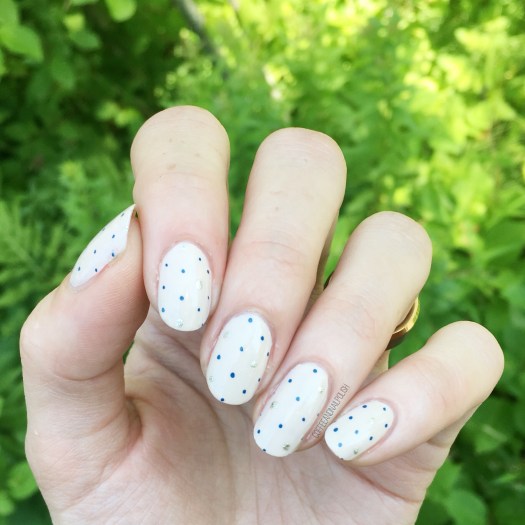
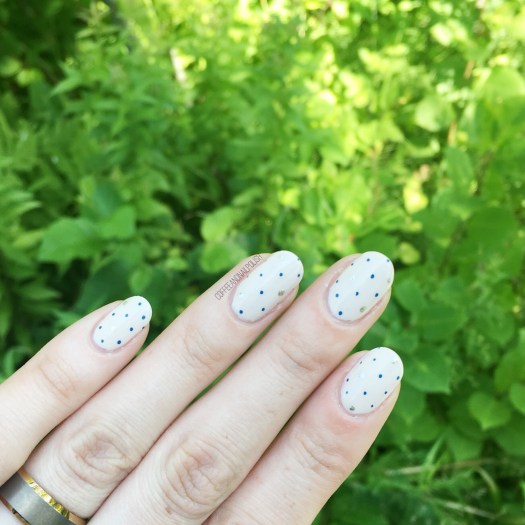
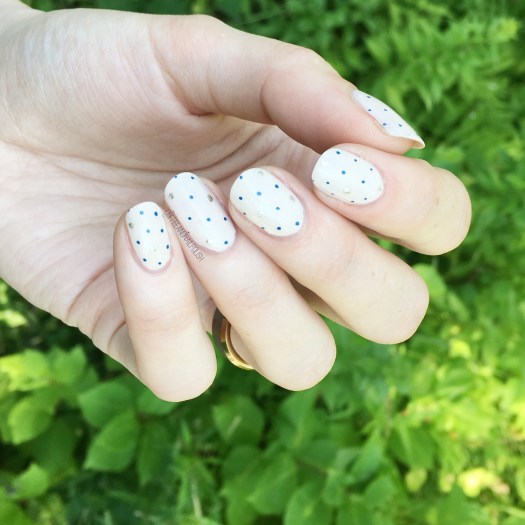
Petite Dotticure

Good Morning Lovelies & happy Tuesday. I hope everyone had a good weekend & those who had yesterday off had a good extra long weekend! Today I’m starting off with a dotticure. It feels like absolute ages since I wore polka dots of my nails, so this manicure was long overdue. Plus I was in need of a quick look that I could do, looked snazzy & still meant I could get to bed at a reasonable time. Polka dots are always the right answer!

For this design, the polishes I used were:

  • Base Coat: OPI Nail Envy
  • Top Coat: Essie Speed Setter
  • ORLY Decades is Dysfunction
  • Sally Hansen I ♥️ Nail Art Pen in Navy
  • Essie Jiggle Hi, Jiggle Low
  • Small dotting tool

Don’t get me wrong, I love big bold dotticure designs (& I’ve been dreaming of a few as we get closer to Fall & Fall Polish season) but there is something about a teeny tiny dotticure that is just so satisfying. It’s such a fresh clean look, & so much more forgiving if your polka dots aren’t completely perfect. Also I still love using my Sally Hansen nail art pens for this purpose! So much easier to control when creating dots. & let’s be honest—when it’s 11pm & I have to be up at 5:45am to get ready for work, I don’t need to be re-dotting my nails for hours trying to get them right!

What do you think of this dotticure look? Do you prefer petite or regular sized polka dot designs? Let me know your thoughts down in the comments below! & if there is any looks you’d love to see me do, share them too!

♥️

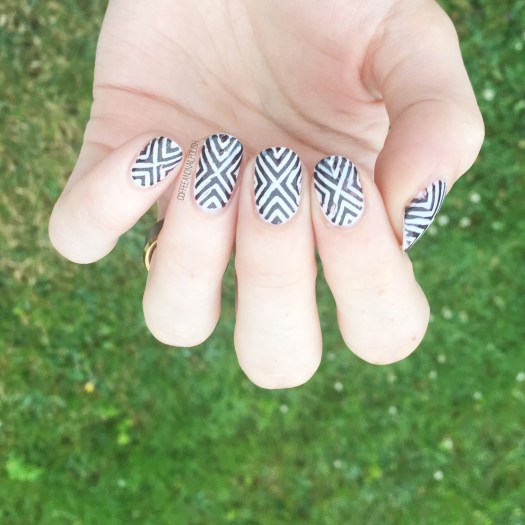
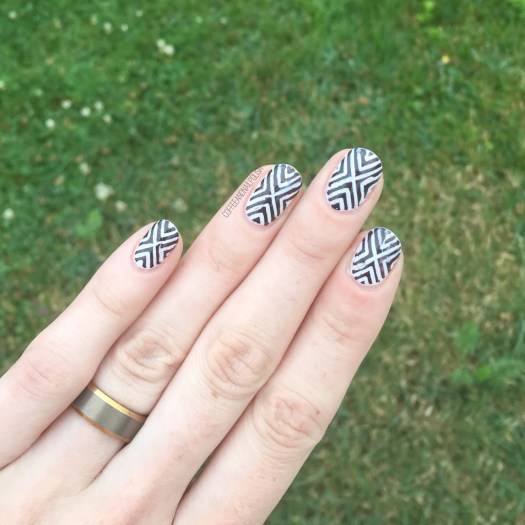
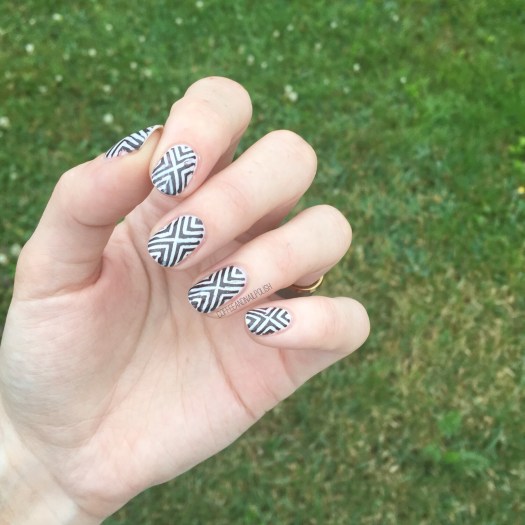
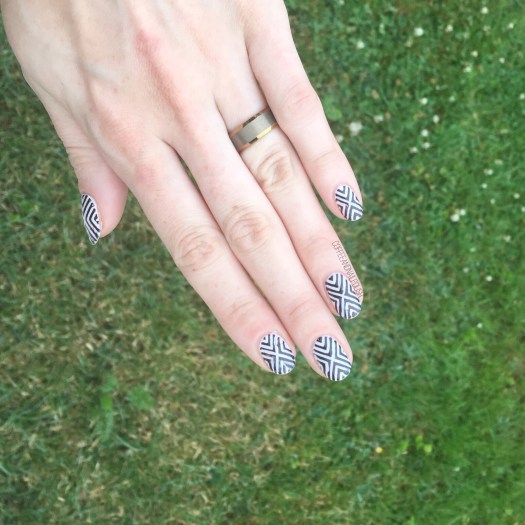
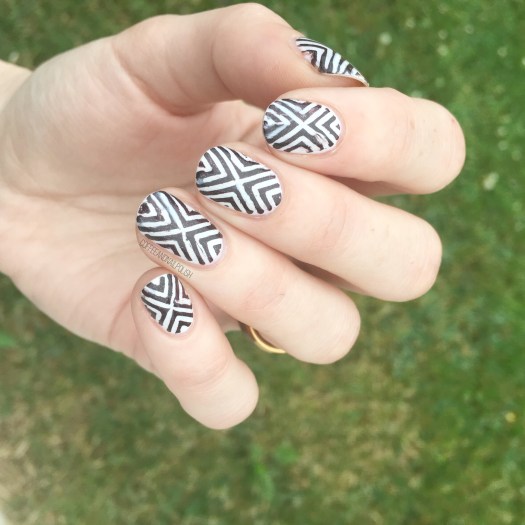
Black & White X-pattern Nails ✖️

Happy Tuesday lovelies! Anyone else currently attempting to survive the heat? Thank goodness for air conditioning because I haven’t really had to deal with the humidity much. Never thought I would be happy to spend 95% of my day at work, but if it keeps me from being sweaty I’m all for it!

Today I’ve got the day off though, & I’m showing off a fun design I wore for 3 days last week. You know I’m in love with a design when I wear it for more than a day, & I really loved this look! Seriously, I probably would have worn it longer, but my nails started chipping at work & I couldn’t deal.

For this manicure, the polishes I used were:

  • Base Coat: OPI Nail Envy
  • Top Coat: Essie Speed Setter
  • Sally Hansen CSM Let’s Snow
  • Essie Frock ‘N Roll
  • Xroma Polish & Vinyls X-Pattern Nail Stencils
  • Make Up Sponge

How cute is this look?! This was the last of my x-pattern vinyls, so I’m definitely going to need to pick up some more ASAP. I’ve tried to freehand this look before but it looks way better when it’s done with vinyls (oh, & takes WAY less time too!) Also even though Essie Frock ‘N Roll isn’t technically a black polish, it looks close enough & works so perfectly over my white base. I love wearing black & white nail designs & pairing them with a bright & colourful outfit.

So what do you think about this black & white design? What are you wearing on your nails this week? Share down below! ♥️