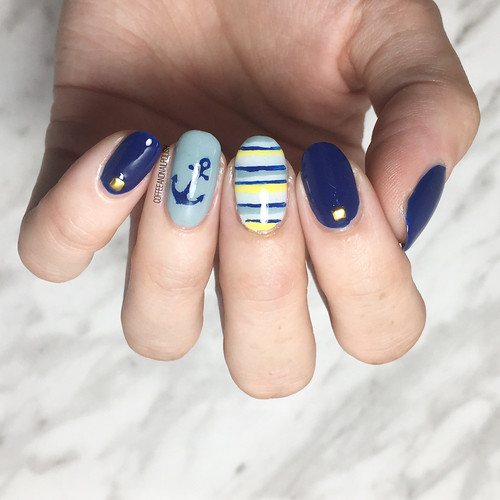
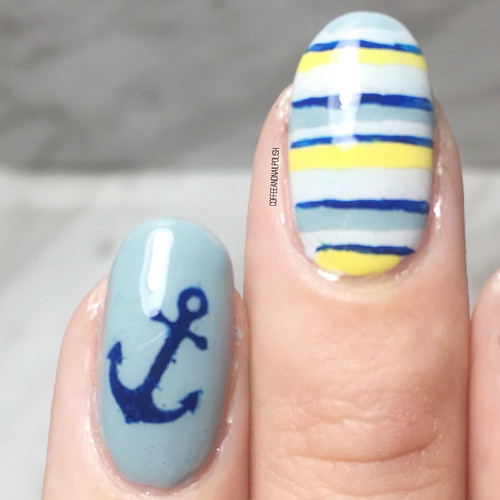
Nautical Themed Nails for #glamnailschallengeaug

F3C21474-03FE-4E4C-8421-021A00C9F32F

9F6A8310-0785-4FDD-A798-6D0956F243A7

Hello lovelies! & happy Monday. This month I’ve decided to try something different & dedicate myself to a nail art challenge. This is not the first time I’ve attempted a nail art challenge, but when I saw the prompts for the Glams Nail Challenge for August, it seemed a little less daunting than those I’ve attempted in the past… while still sparking some creative new designs!

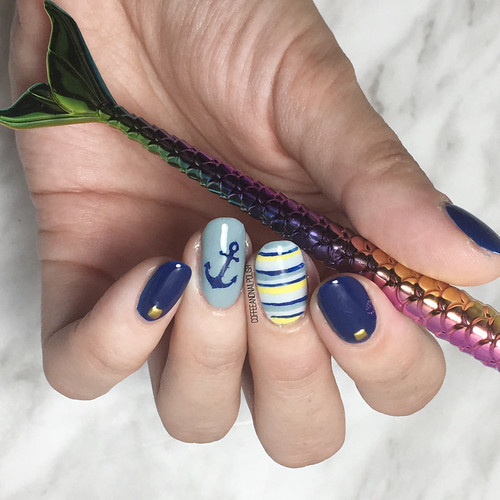
There are 8 prompts for the month of August, starting with Nautical Nails! It’s been quite a while since I attempted any kind of nautical design, so I was very excited for the opportunity. Plus it gave me a chance to test out a colour combination I’ve really wanted to do for a while.

4688CF34-5FE6-49D9-9E85-2B2D07AB074F

66360B2F-B038-4717-9C11-E947CA410765

For this manicure, the polishes I used were:

  • Base Coat: OPI Nail Eny
  • Base Coat: Quo by ORLY Bonder
  • Top Coat: Essie Gel Couture
  • Morgan Taylor Baby It’s Bold Outside
  • Essie Parka Perfect
  • OPI I Cannoli Wear OPI
  • OPI I Just Can’t Cope-acabana
  • What’s Up Nails Anchor Vinyls
  • Skinny & Wide Striping Tape
  • NailStuff.ca Mermaid detail brushes
  • NailStuff.ca small gold studs from Gold Mixed Decoration Wheel
EB085190-383E-464D-97A6-7684C9D6F38F

B5E5B5C7-B2BF-4DBE-9F1B-03FF97A58DD3

I honestly can’t remember the last time I did any nautical themed nails, so I was excited for the inspiration to give it a fresh go!

I’m absolutely smitten with how this look turned out. The colours go really well together & I like how it’s not your typical colour scheme for this kind the yellow has that nice pop of colour, & is a little bit different. It’s so funny, because a few years ago my best friend got married in a nautical themed wedding, & these nails would have been perfect for us bridesmaids to wear — matches her colour scheme she had used too! For reference, these were the nails I wore to her bridal shower in the Wedding colours.

36D21041-2A59-4078-B00F-CB09C8828379

What do you think about these nautical nails? What colour scheme would you use to recreate this design? Let me know down in the comments below & stay tuned this month for more fun new designs thanks to the Glam Nails Challenge!

(More) Freehand Tribal Print Accent Nails

Hello lovelies! Hope everyone is enjoying their week so far. I’m super excited today because not only did I get the chance to do some nail art, but I managed some freehand nail art!

It feels like absolute ages since I had any time for anything more complicated than polka dots on my nails, but I had a quick minute the other night to do my nails & you better believe I took it! I had been scrolling through my Instagram feed after my Swatch Sunday post, & obsessing over some tribal/Aztec inspired designs from the past & decided I wanted no, needed to do some accent nails! So I grabbed one of my custom engraved detail brushes from nailstuff.ca, & went to work.

For this manicure, the polishes I used were:

  • Base Coat: Sally Hansen Complete Salon Manicure Strengthening Base Coat
  • Top Coat: Essie Gel Couture Top Coat
  • OPI Gelato on My Mind
  • Essence You & Me?
  • Sally Hansen Miracle Gel Beatnik
  • Essence Black is Back
  • China Glaze Friends Forever Right?
  • Nailstuff.ca 7mm detail brush {PR SAMPLE}
  • Nailstuff.ca dotting tool {PR SAMPLE}
  • Straight nail vinyls

So my line work is definitely sloppier than previous designs, but I feel like I’m just out of practice. Plus I didn’t grab my thinnest detail brush, which definitely made a difference in my freehand work. Also I totally cut a few corners & used vinyls for my blocks of colours, just to save me a bit of time. But over all, I really like how this turned out. Obviously I wish I could have done this look on all my fingers, sometimes all you have time for is an accent nail (or two.)

Also trying out this Essie Gel Couture Top Coat again to see if the lasting power is good. I’m really on the hunt for something that will help my manicures last longer, as I’m just not able to do my nails every night like I used to. Maybe someday when my nights are more free, but right now I need something that will keep my nails from chipping after a day.

Also plan on picking up a bottle of Orly Bonder Base as I’ve heard that it can really improve Manicure lasting time as well! & that is what I need in my life!

so what do you think of these accent nails? Do you think tribal/Aztec nails look better as accent nails or a full hand design? Let me know your thoughts in the comments below!

Blue on Blue Dotticure

Good morning lovelies & happiest of Mondays! I hope the weather where you are is nicer than here on the East Coast — it’s raining, again.

My favourite.

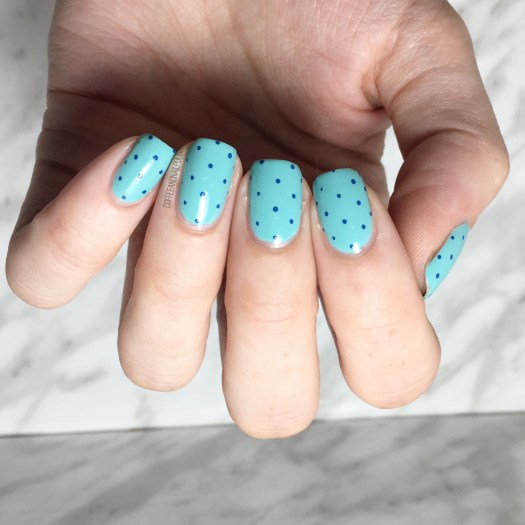
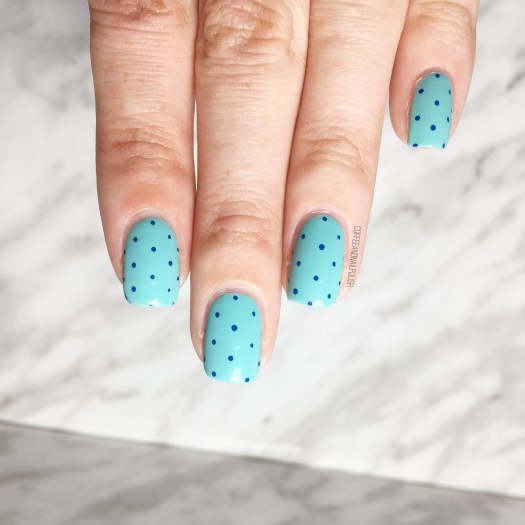
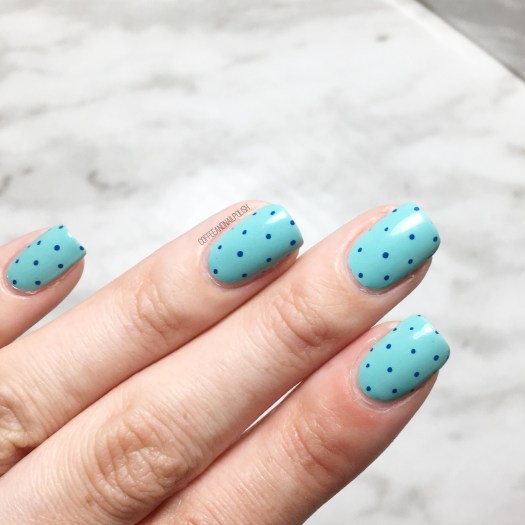
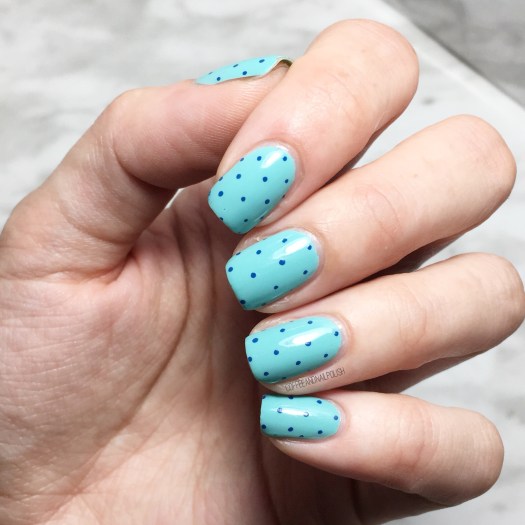
Today I’m showing off a quick & simple nail art look that I did last week. Now that the countdown for baby #2 is down to days, I’ve been trying to keep my manicures quick & simple. & there is nothing I love more when I want quick nails than a dotticure!

The polishes I used for this manicure were:

  • Base Coat: Sally Hansen  Green Tea & Bamboo Strengthener
  • Top Coat: Essie Speed Setter
  • China Glaze For Audrey
  • Sally Hansen I ♥️ Nail Art Pen in Navy

I’ve mentioned before how much I love my Sally Hansen nail art pens for creating dotticures. I find they’re the easiest because you don’t have to constantly need to reapply polish to your dotting tool, you just need to touch the nail. Obviously, that’s for petite polka dots as opposed to bigger dots.

This was also my first time wearing China Glaze For Audrey in absolute ages & I forgot how pretty it is. Fun fact: For Audrey was the very first China Glaze shade I ever bought (shortly after our very first Sally Beauty opened) & I bought it completely based on the fact Breakfast At Tiffany’s is one of my favourite movies.

What do we think about this dotticure? Do you have a favourite polka dot combination? Share your favourites down in the comments below!

(Even More) Cactus Nails

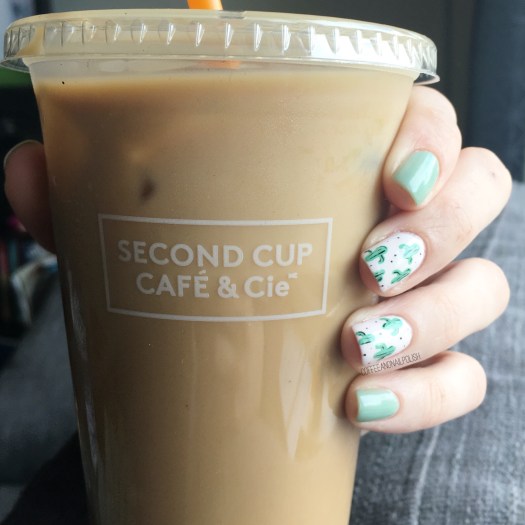
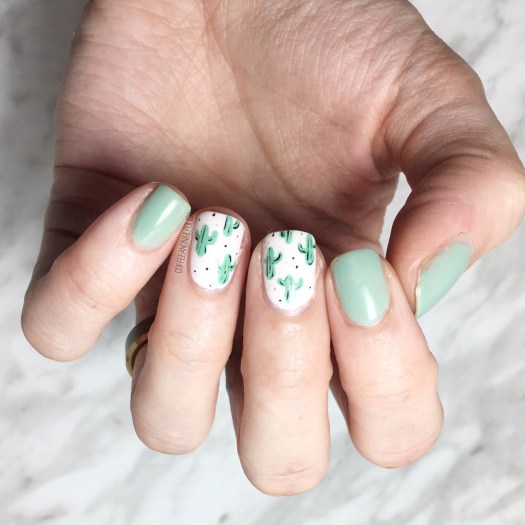
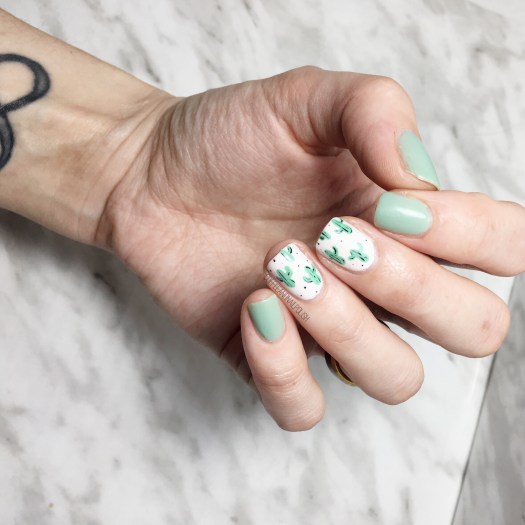
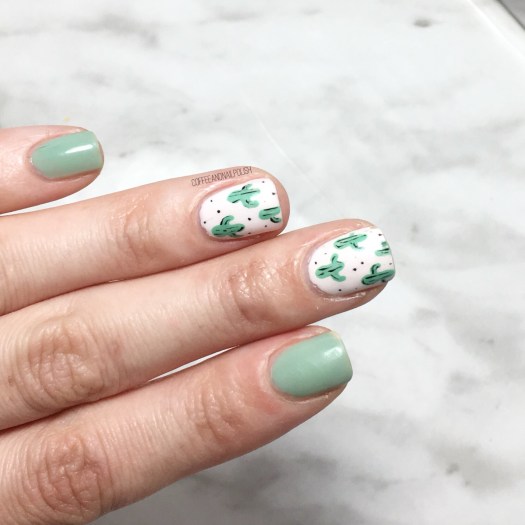
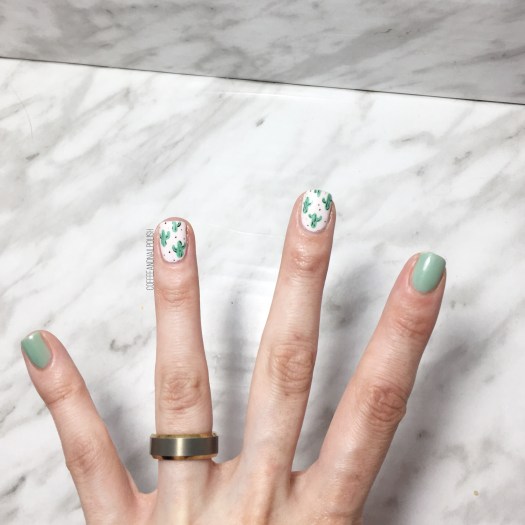
Good morning lovelies. I hope you’re not sick of cactus nails yet! I was inspired by my brand new make up from my previous post, so obviously I had to create some nails to match!

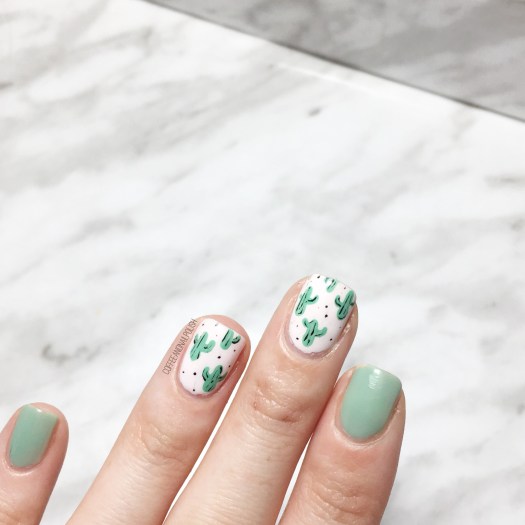
Cactus pattern nails have become a serious favourite design of mine to do, & I love how each nail design always turns out just a little bit different.

For this manicure, the polishes I used were:

  • Base Coat: OPI Nail Envy
  • Top Coat: Seche Vive
  • Essie Turquoise & Caicos
  • Sally Hansen Miracle Gel Get Mod
  • Essie First Timer
  • Sally Hansen Hard As Nails Black Heart
  • Nailstuff.ca 4mm micro detail brush {PR sample}
  • Nailstuff.ca dotting tool {PR sample}

How cute are these? I know I’m slightly bias, but I really like how these turned out. I think adding the black detailing really makes the design pop out more on the nail & reminds me of a pillow I have. Originally I was going to try & do some stamping, but I couldn’t find the plate I was looking for, so freehanding it is! & using my super tiny detail brush from NailStuff.ca was perfect for this tiny little design.

what do you think of this cactus design? Are you sick of cactus yet? Let me know what designs you’d like to see next by commenting down below!

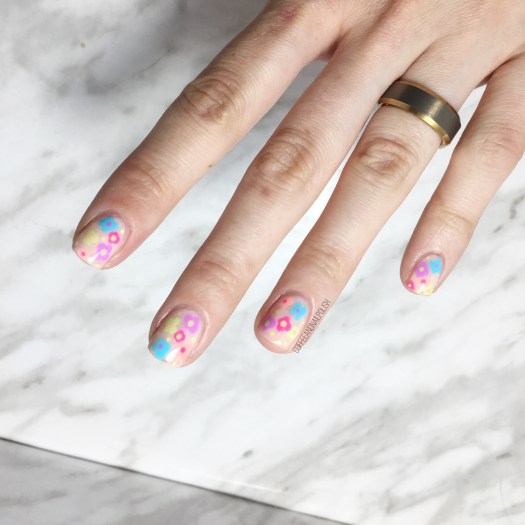
Neon Dotticure Flowers

{PR Sample}

Hello lovelies! Hope everyone is having a lovely Wednesday — here in Halifax it’s raining (again) is I decided the best way to cheer myself up would be creating another look using my newly gifted Sally Hansen Neons!

If your looking for actual swatches of these polishes, you’re in luck–I finally got the energy to swatch & photograph last night so that post will be coming this weekend! In the meantime, I’ve been having a blast coming up with fun & colourful nail art looks using these polishes.

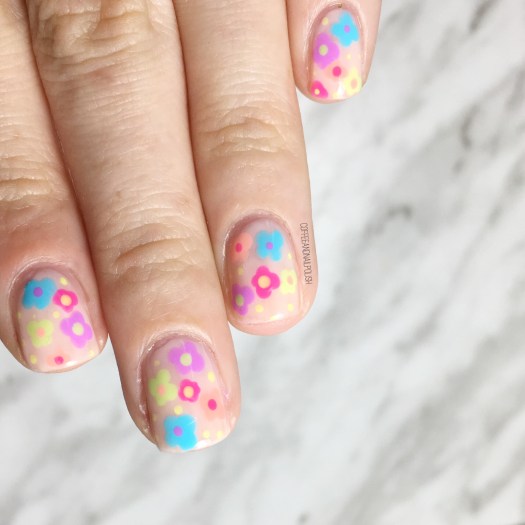
Today’s design is a super simple nail art look I am pretty confident in saying anyone can achieve! All you need in a dotting tool (or a bobby pin) & an assortment of colours.

For this manicure, the polishes I used were:

  • Base Coat: OPI Nail Envy
  • Top Coat: Seche Vive
  • Sally Hansen Miracle Gel In the Sheer
  • Sally Hansen Miracle Gel Electri-Lime
  • Sally Hansen Miracle Gel Fuchsia Fever 
  • Sally Hansen Miracle Gel Lemon Chillo
  • Sally Hansen Miracle Gel Miami Ice
  • Sally Hansen Miracle Gel Peach Please
  • Sally Hansen Miracle Gel Violet Voltage

I was really feeling some vibrant 70s vibes & this design turned out just how I imagined in my head. The pop of colour of the flowers over the sheer base just really works together–very Summer-y & fun, which is what I’m all about right now! & cheers up the blahs brought on by the torrential rain we’ve been having the last couple days. The simplicity of this design also makes me happy–I managed to create these nails in about 30 minutes last night, after I finished all my swatching, which meant I could still make it to bed before 11pm! Haha it’s the simple things in life that make me happy.

what do you think of this neon dotticure floral looking using the new Sally Hansen Neons? Have you seen these polishes in stores yet? I saw them in my local Shoppers Drug Mart just the other day, so you should definitely see them start popping up soon!

*PR SAMPLE* Some of these items were sent to me for review. However, all opinions are my own