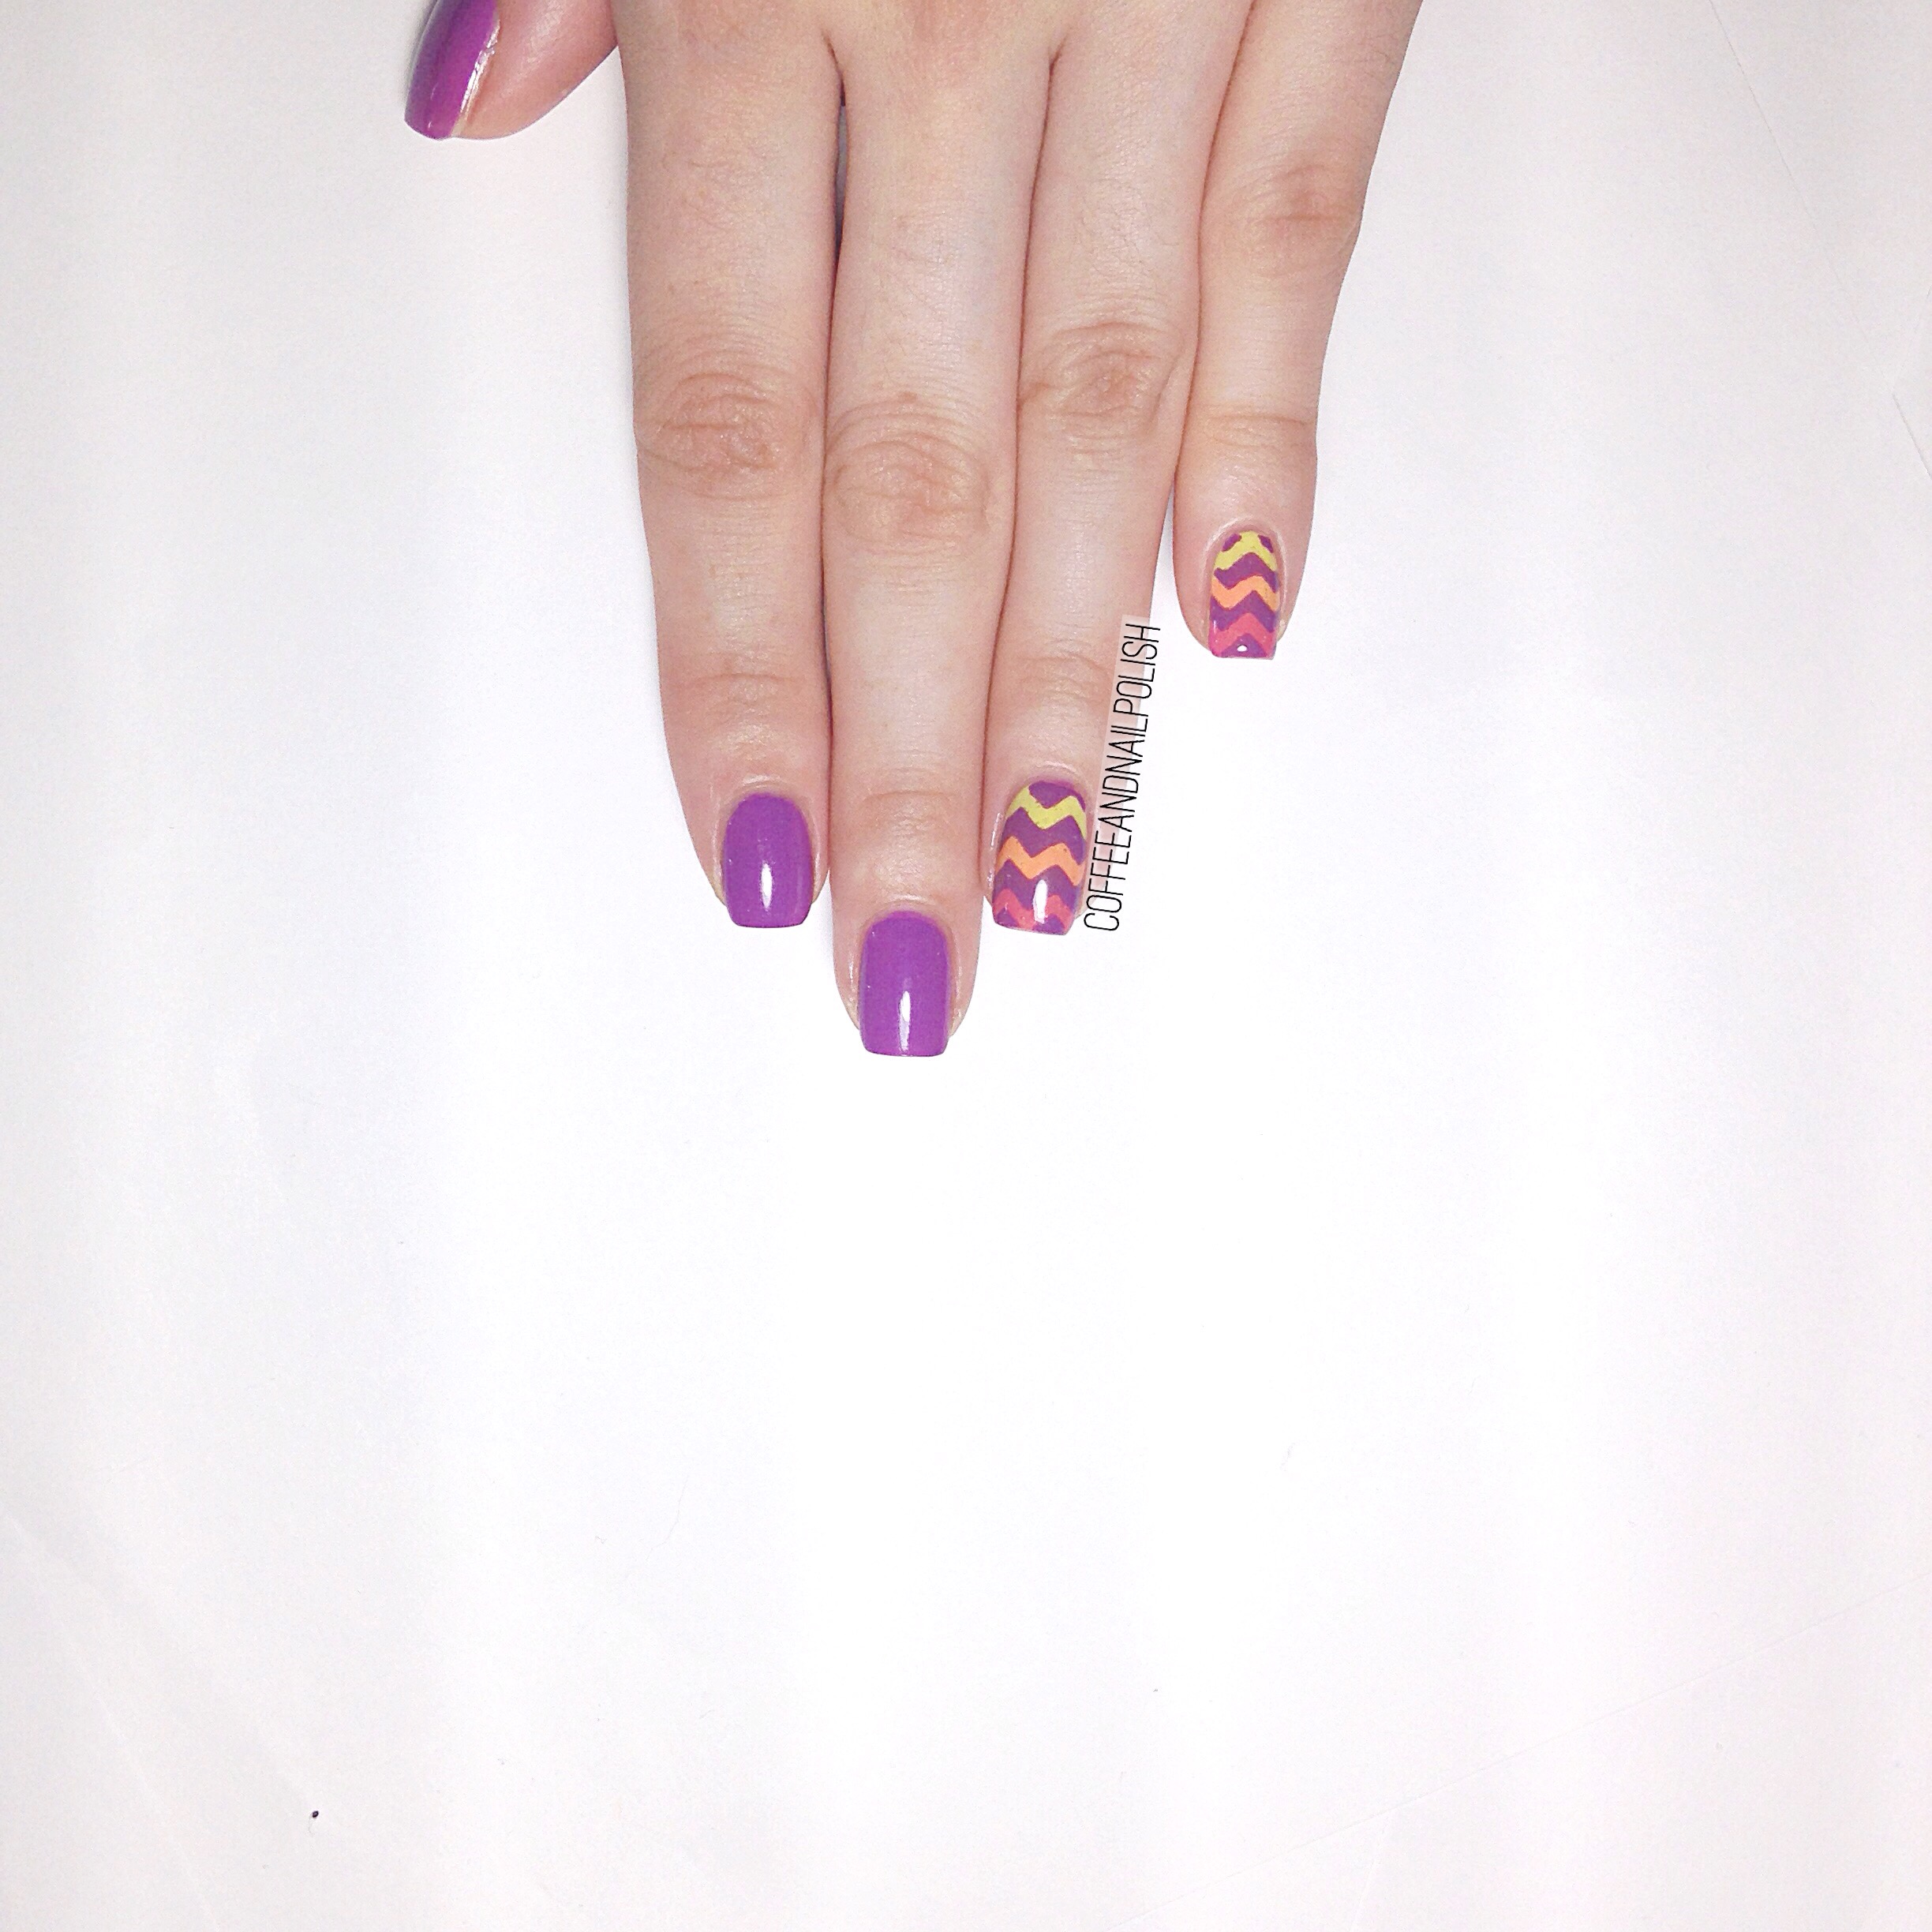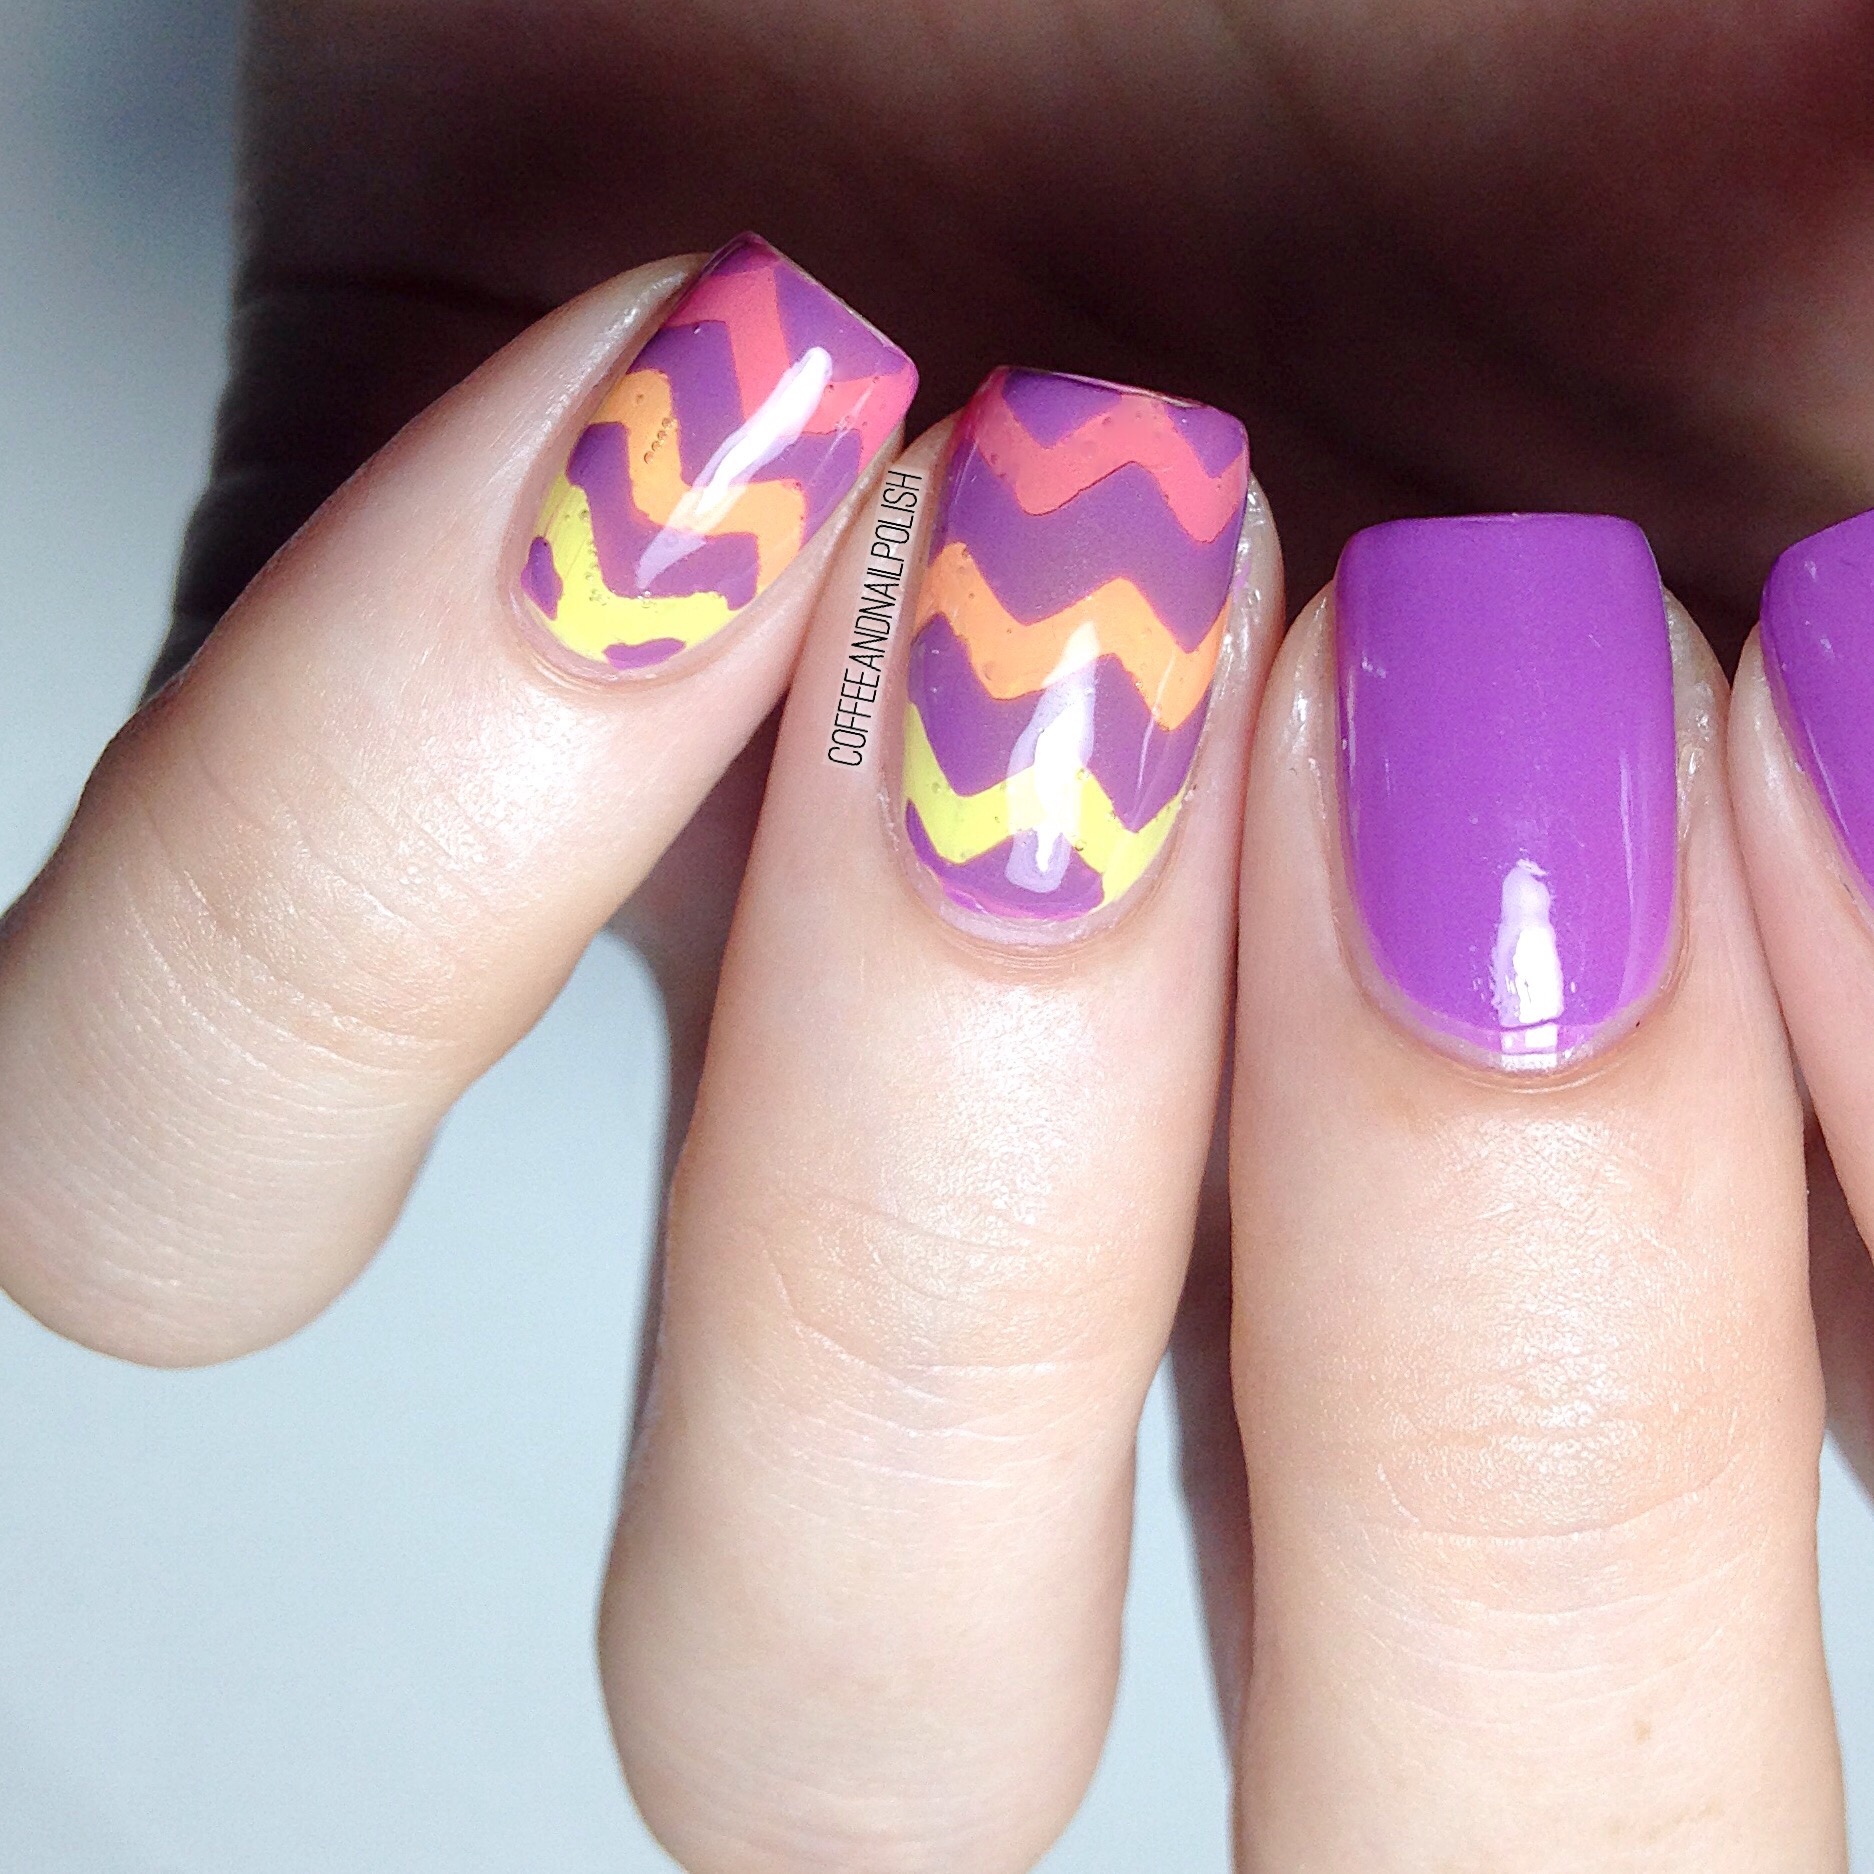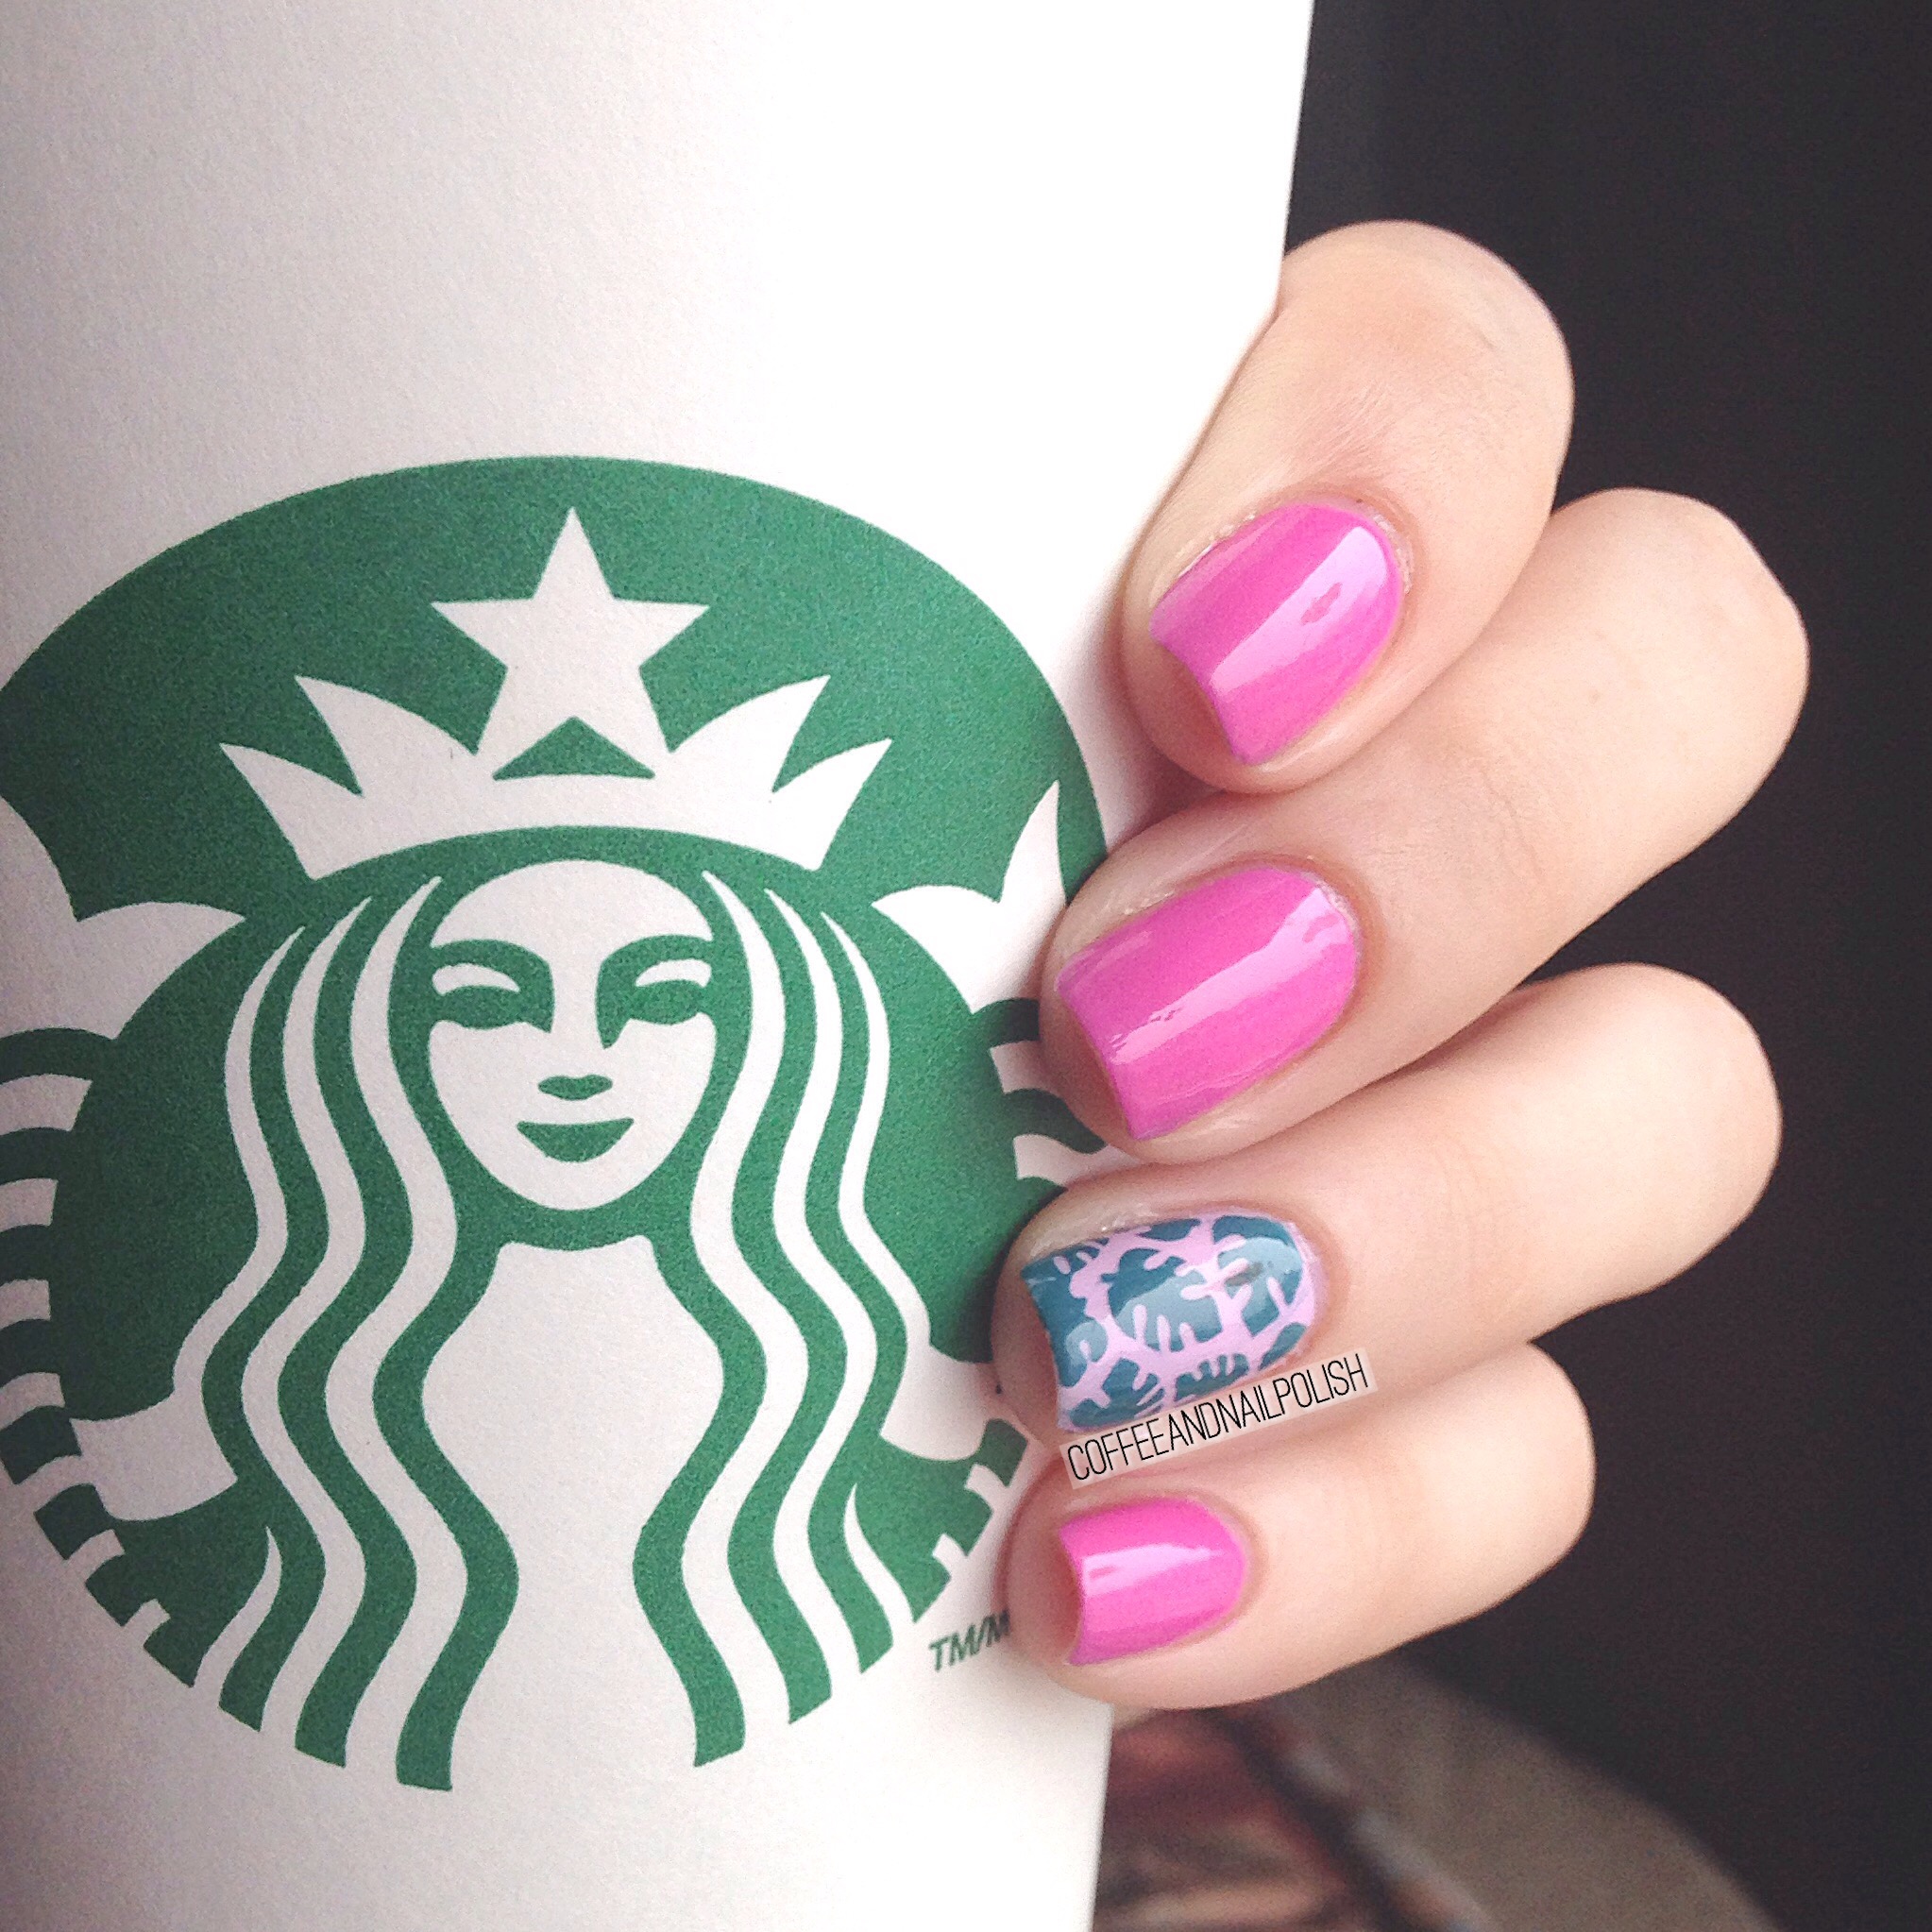
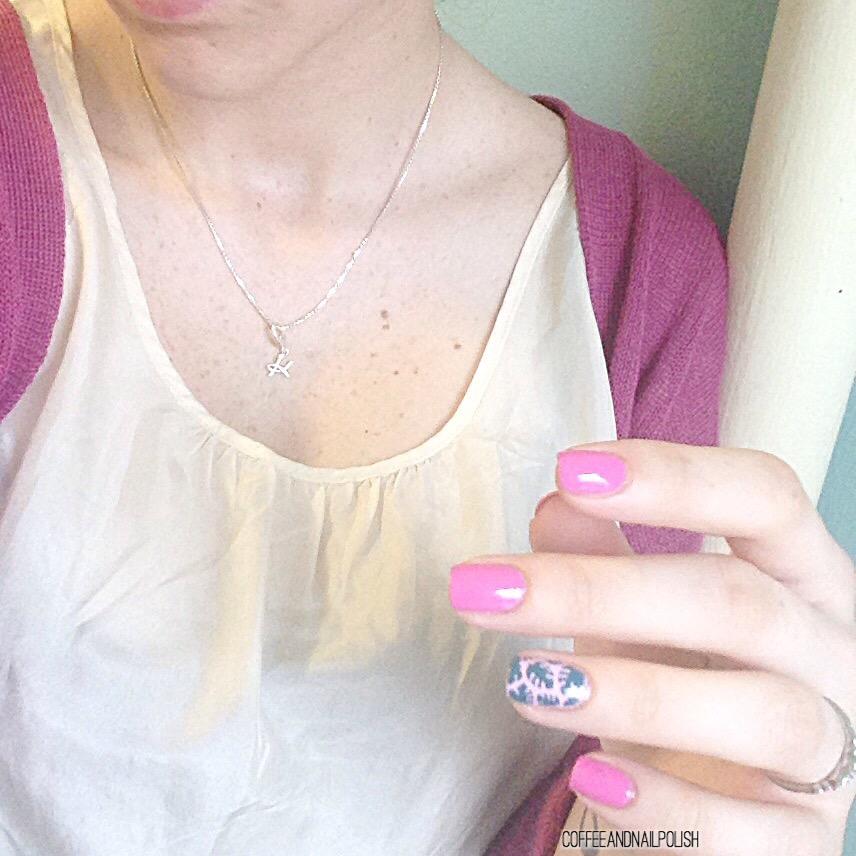
Tropical Leaves Accent Nail featuring OPI Fiji minis. 

Recently I entered a contest hosted by OPI Canada on Instagram, and surprise! I won! And my prize was the OPI Fiji Collection minis. I will hopefully have full swatches of the minis coming soon, but first I have a mani featuring a few of the colours to share. 
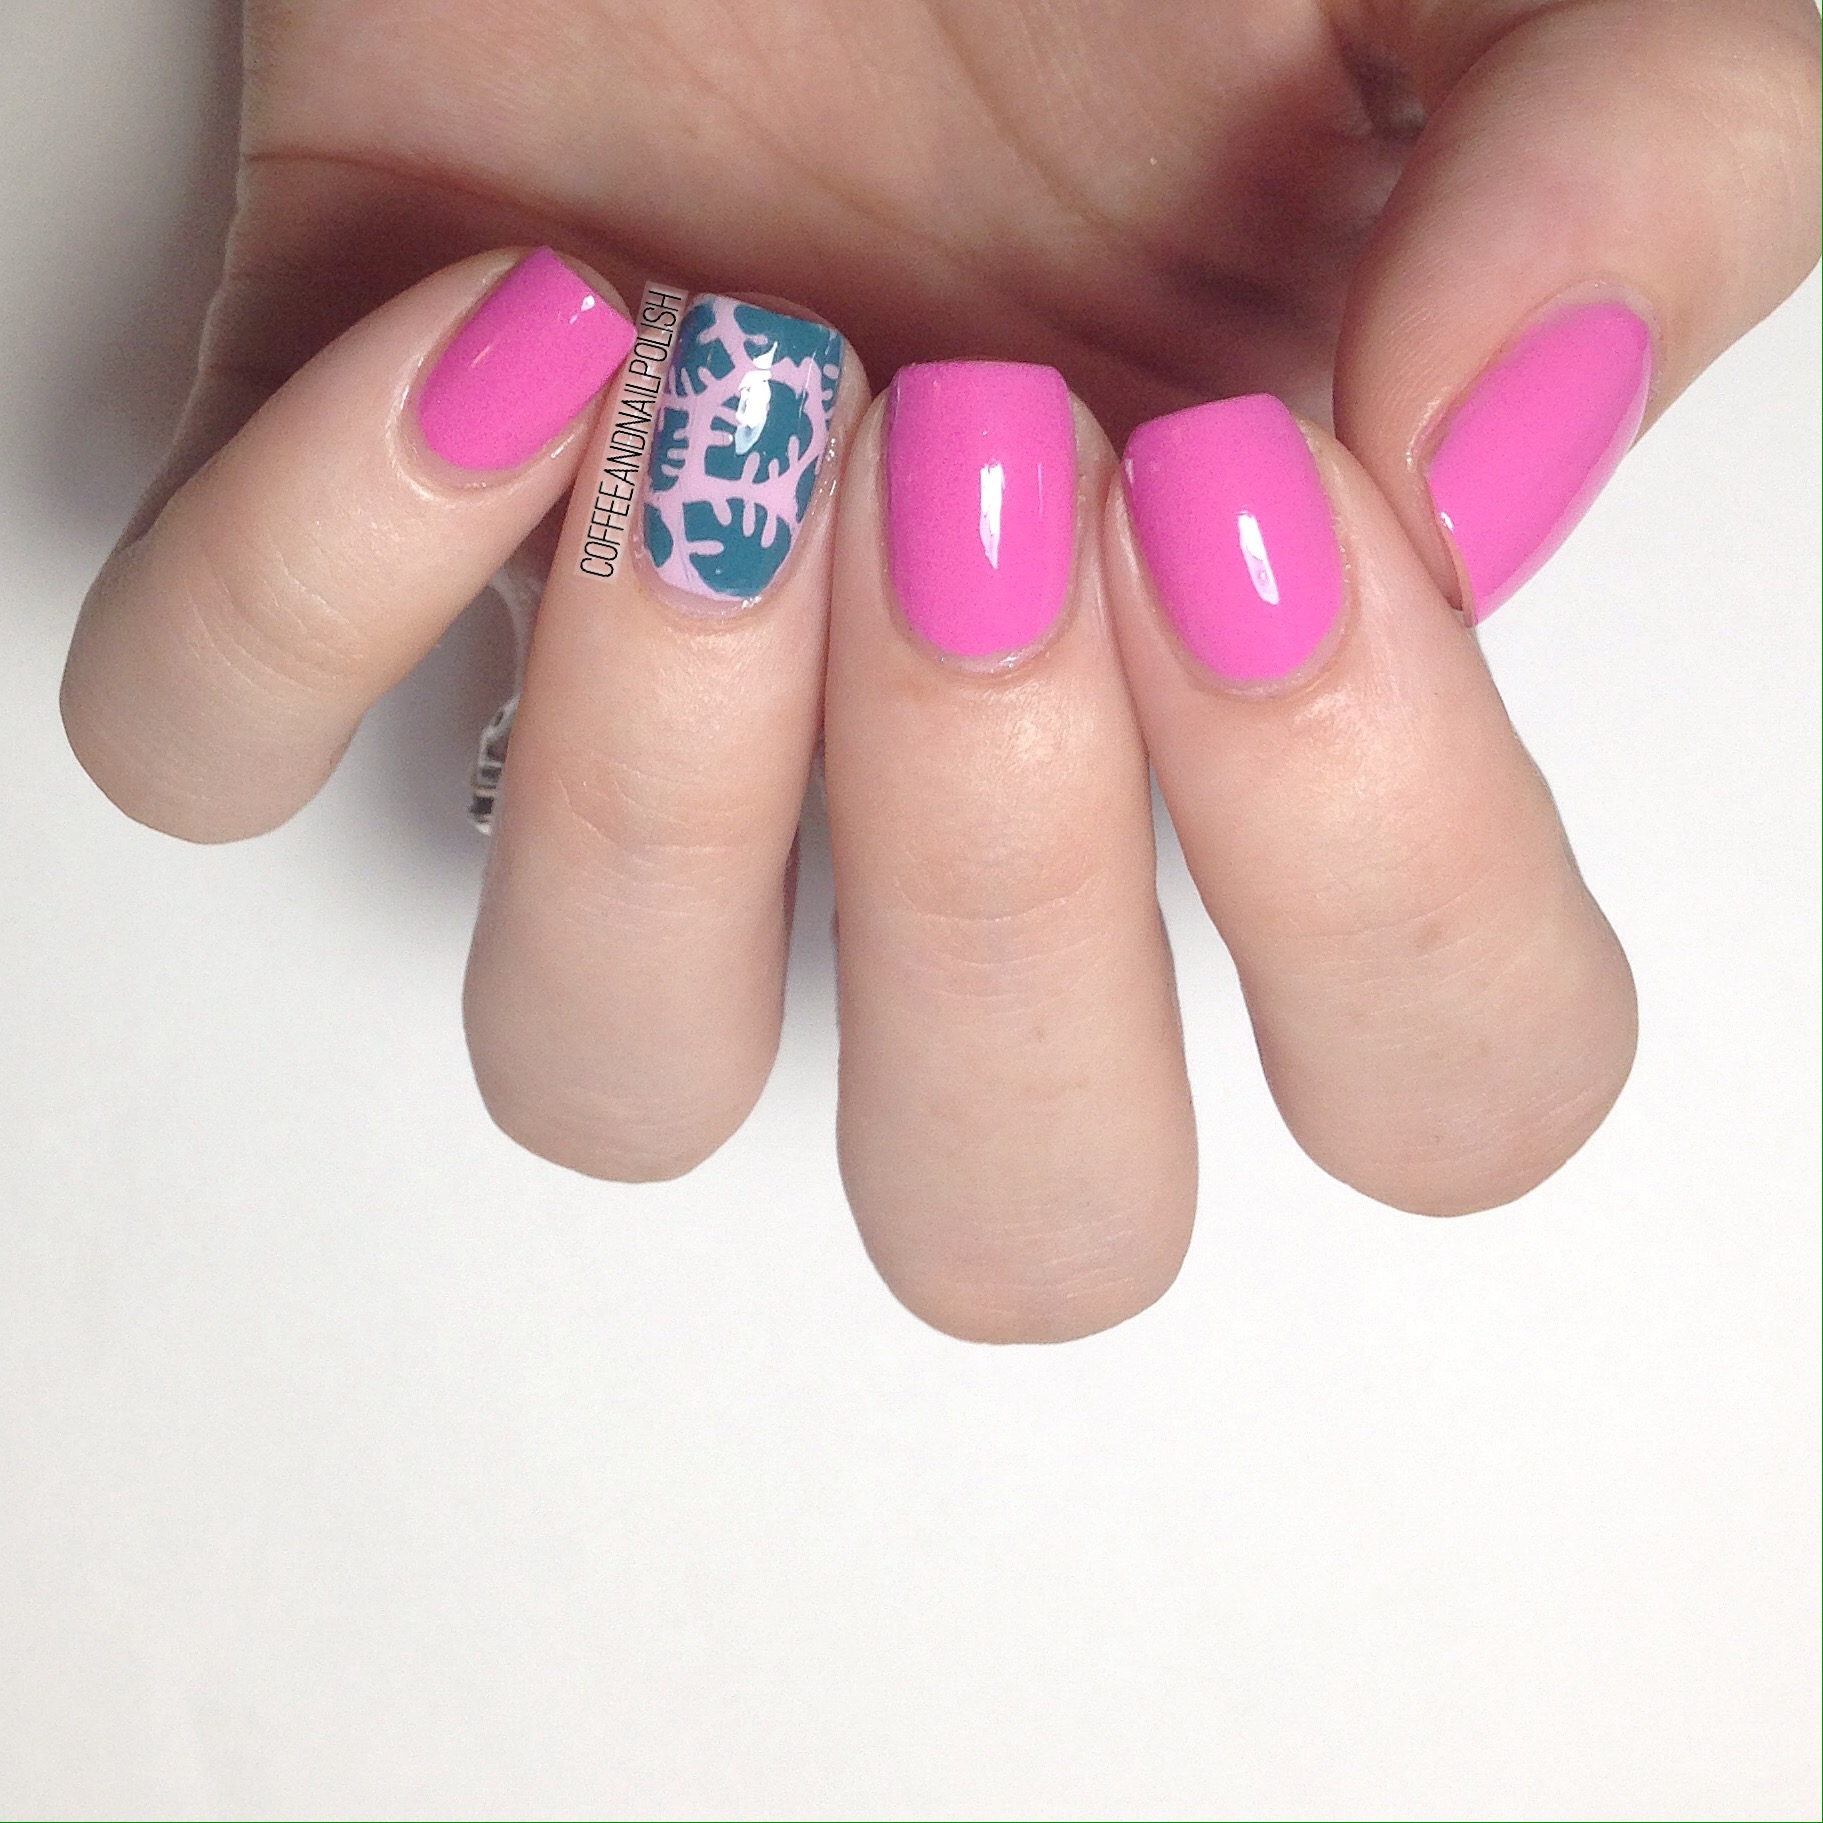
For this manicure, the Products I used are:

  • OPI Two Timing The Zones
  • OPI Getting Nadi on My Honeymoon 
  • OPI Is That A Spear In Your Pocket? 
  • Cutex Quick Dry Top Coat
  • What’s Up Nails Tropical Leaves Stencil

I seriously couldn’t think of a more perfect combination than these gorgeous colours and this pretty leaf accent nail. I ordered these stencils from What’s Up Nails recently on my vinyl buying splurge. They just looked so fun for Spring/Summer. 

These OPI Fiji polishes are gorgeous. I’ve always loved the mini sets OPI releases because it gives you the chance to try out a few polishes for a great deal, & then go pick up a big bottle (or bottles) of the ones you really love. 
Have you picked up any of the polishes from the OPI Fiji collection? Which ones are you favourite? Let me know in the comments below. 
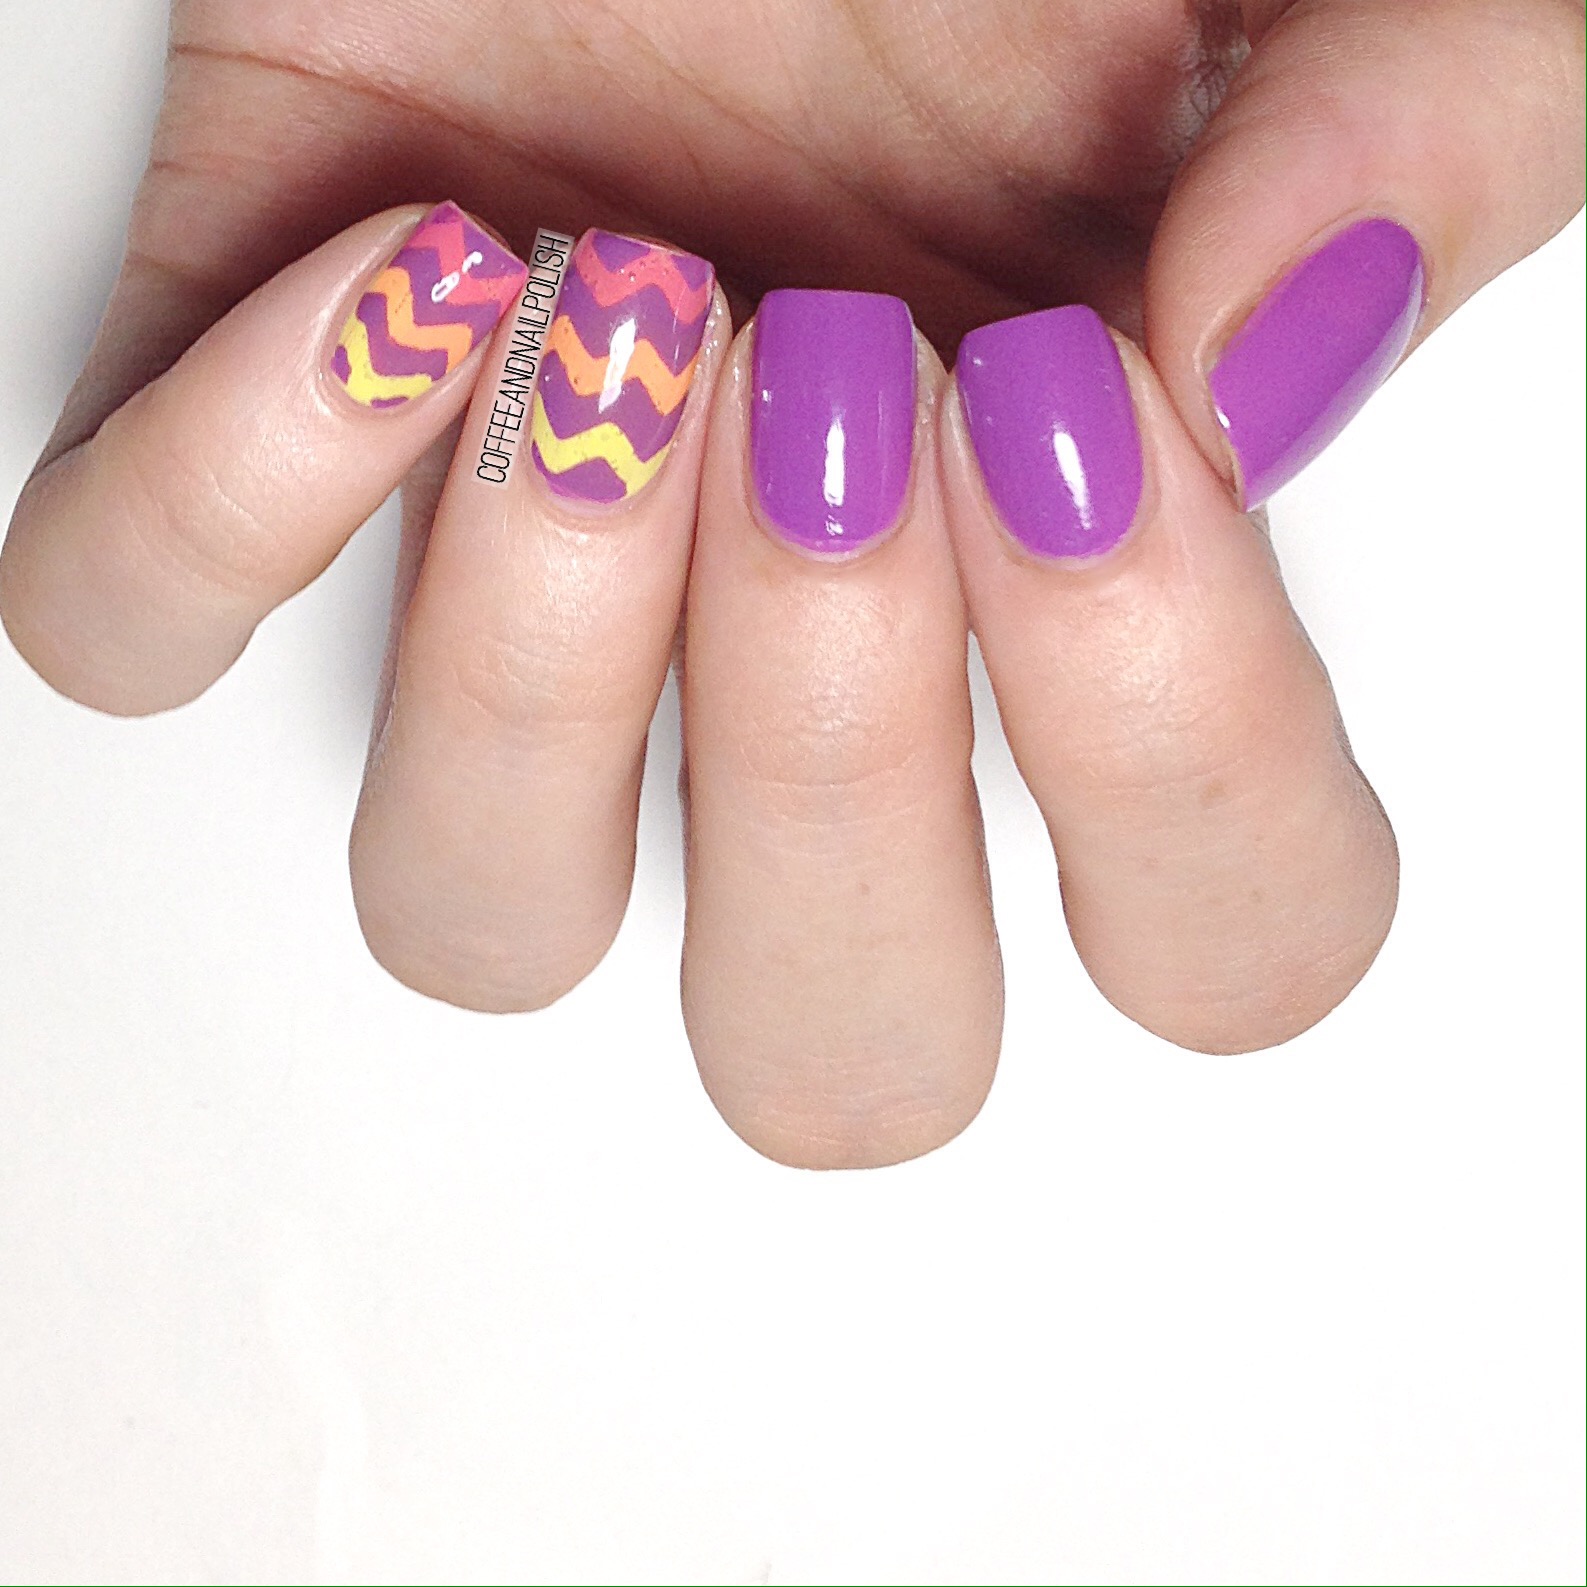
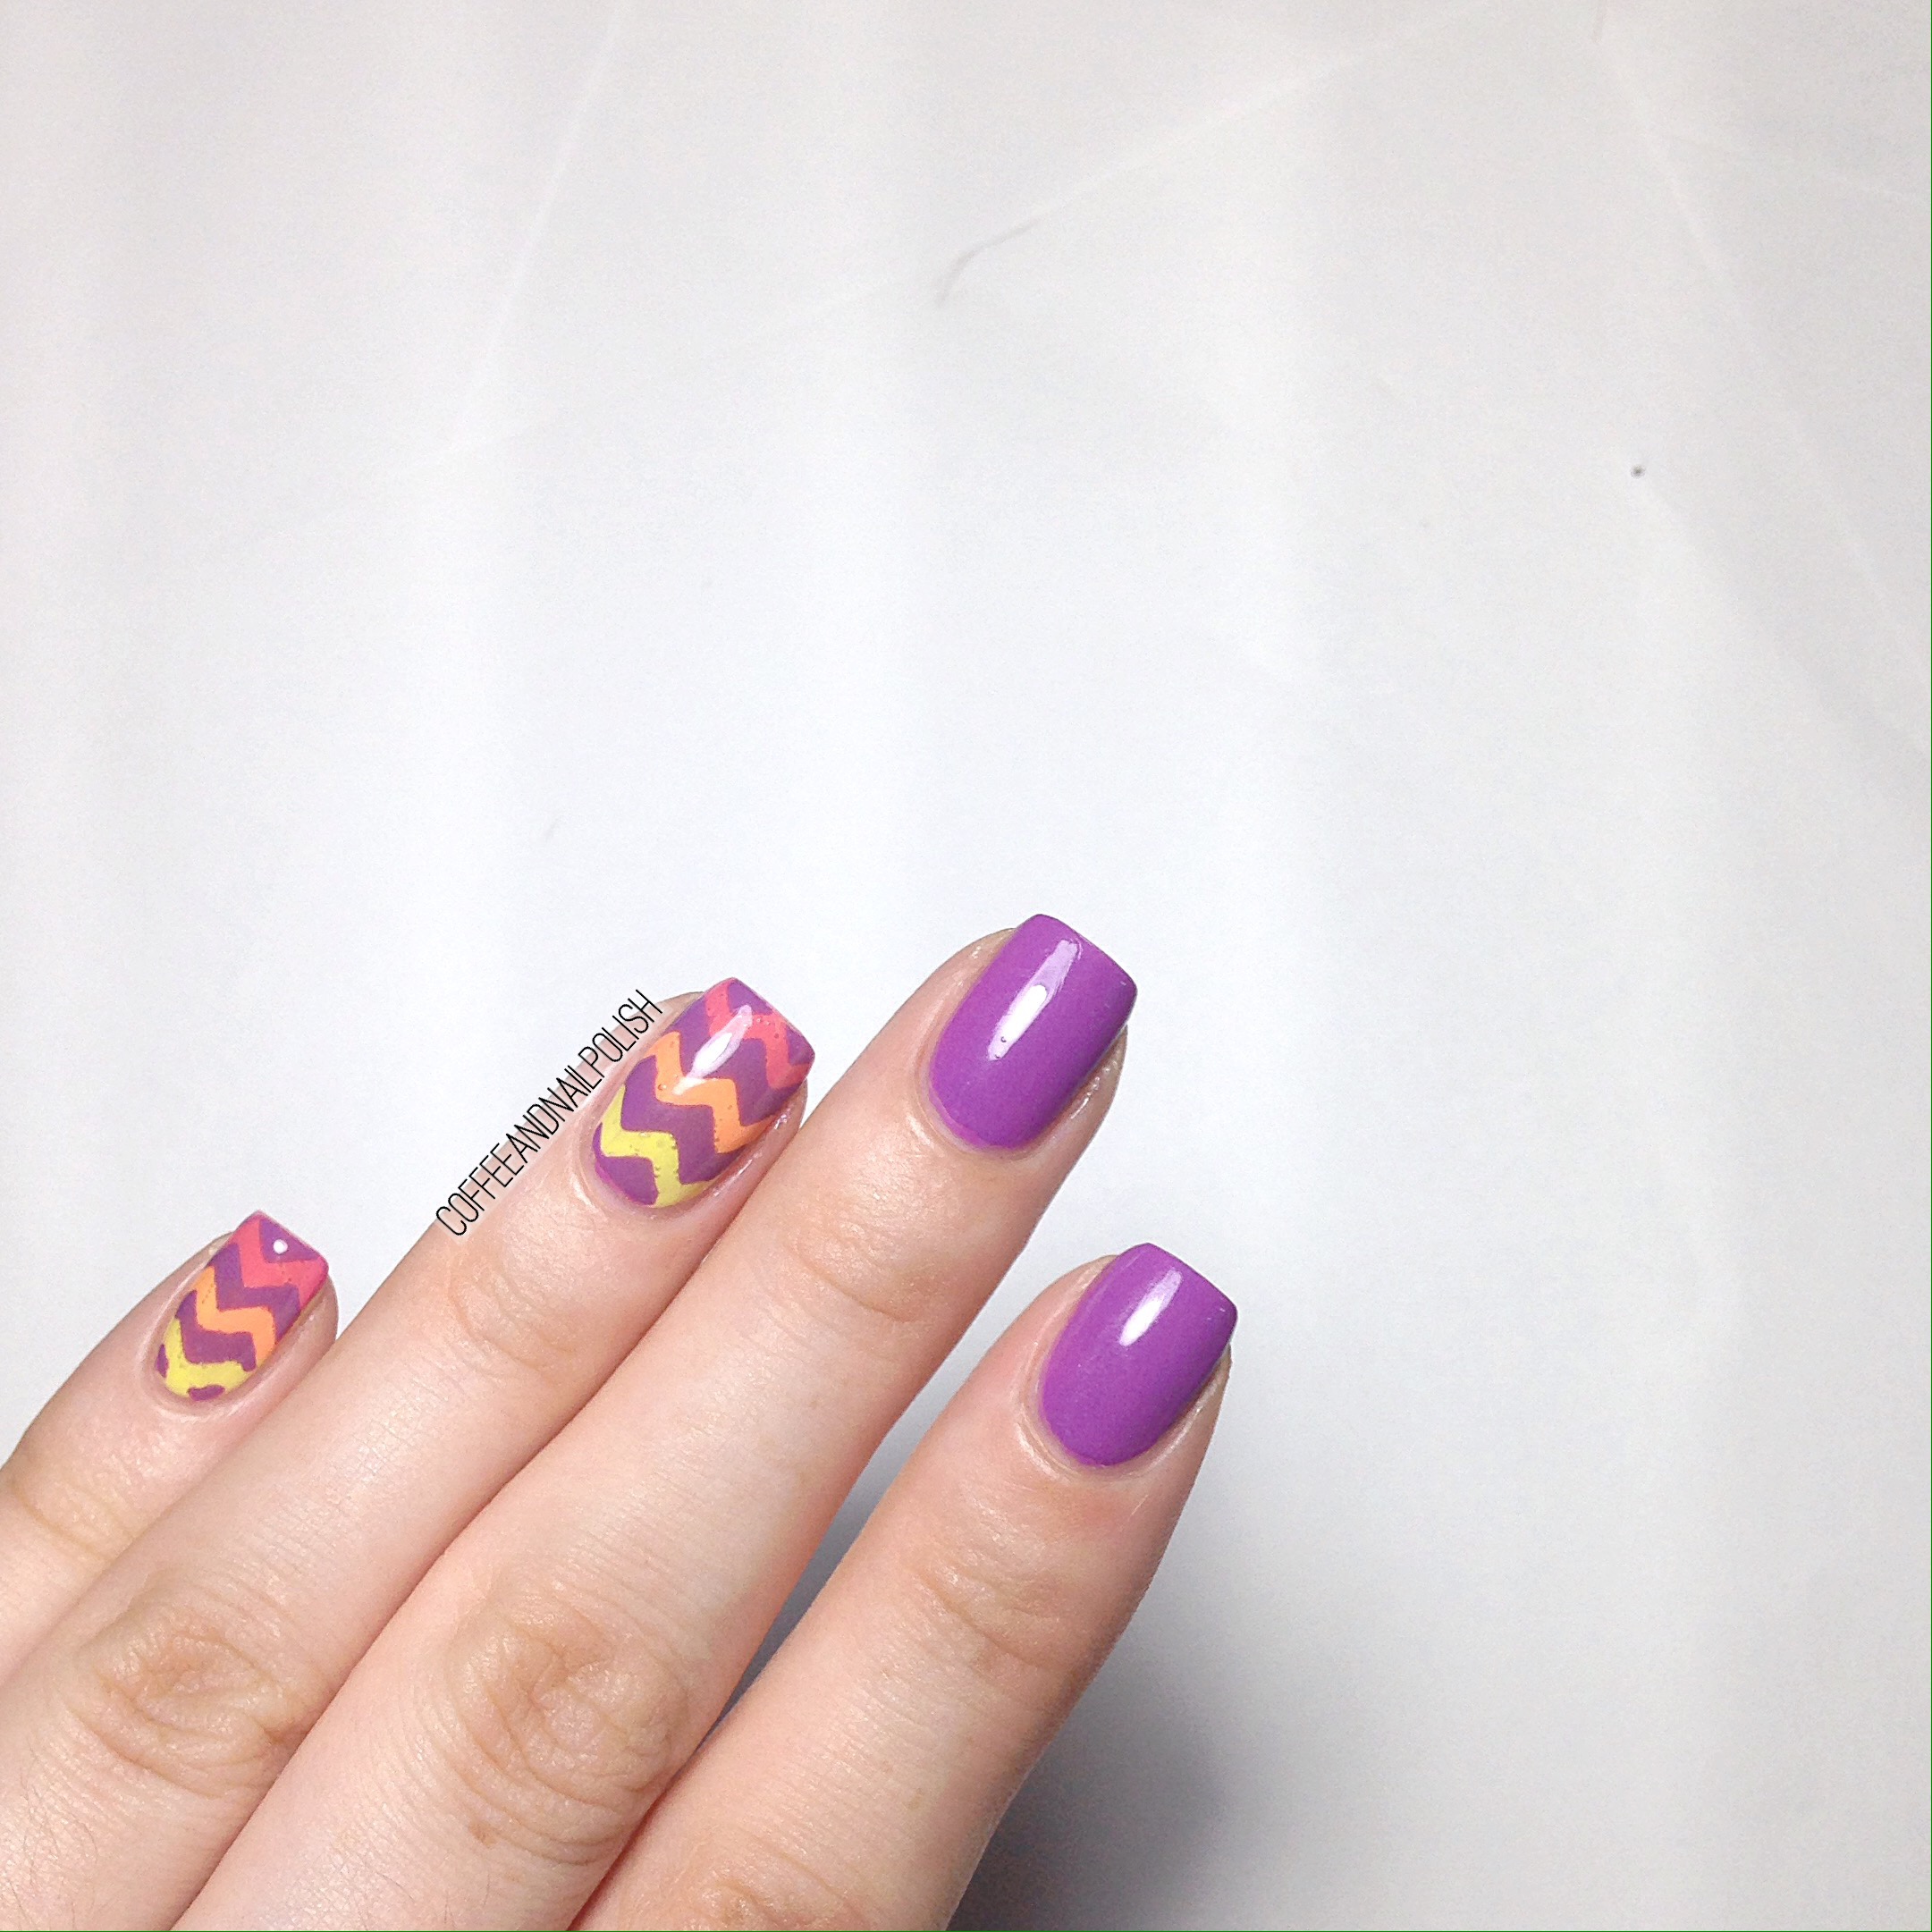
Easter Zig Zag Chevrons

Happy Easter! Was the Easter bunny good to everyone? Did you get lots of chocolate & maybe a few polishes of choice in your basket too? 🐰 I went out earlier in the week & picked up my husbands Easter treats (& a few goodies for my self in the clearance polish section at Lawton’s.) We’re also heading to my Mother in Law’s later for an egg hunt for the kiddos and dinner. 

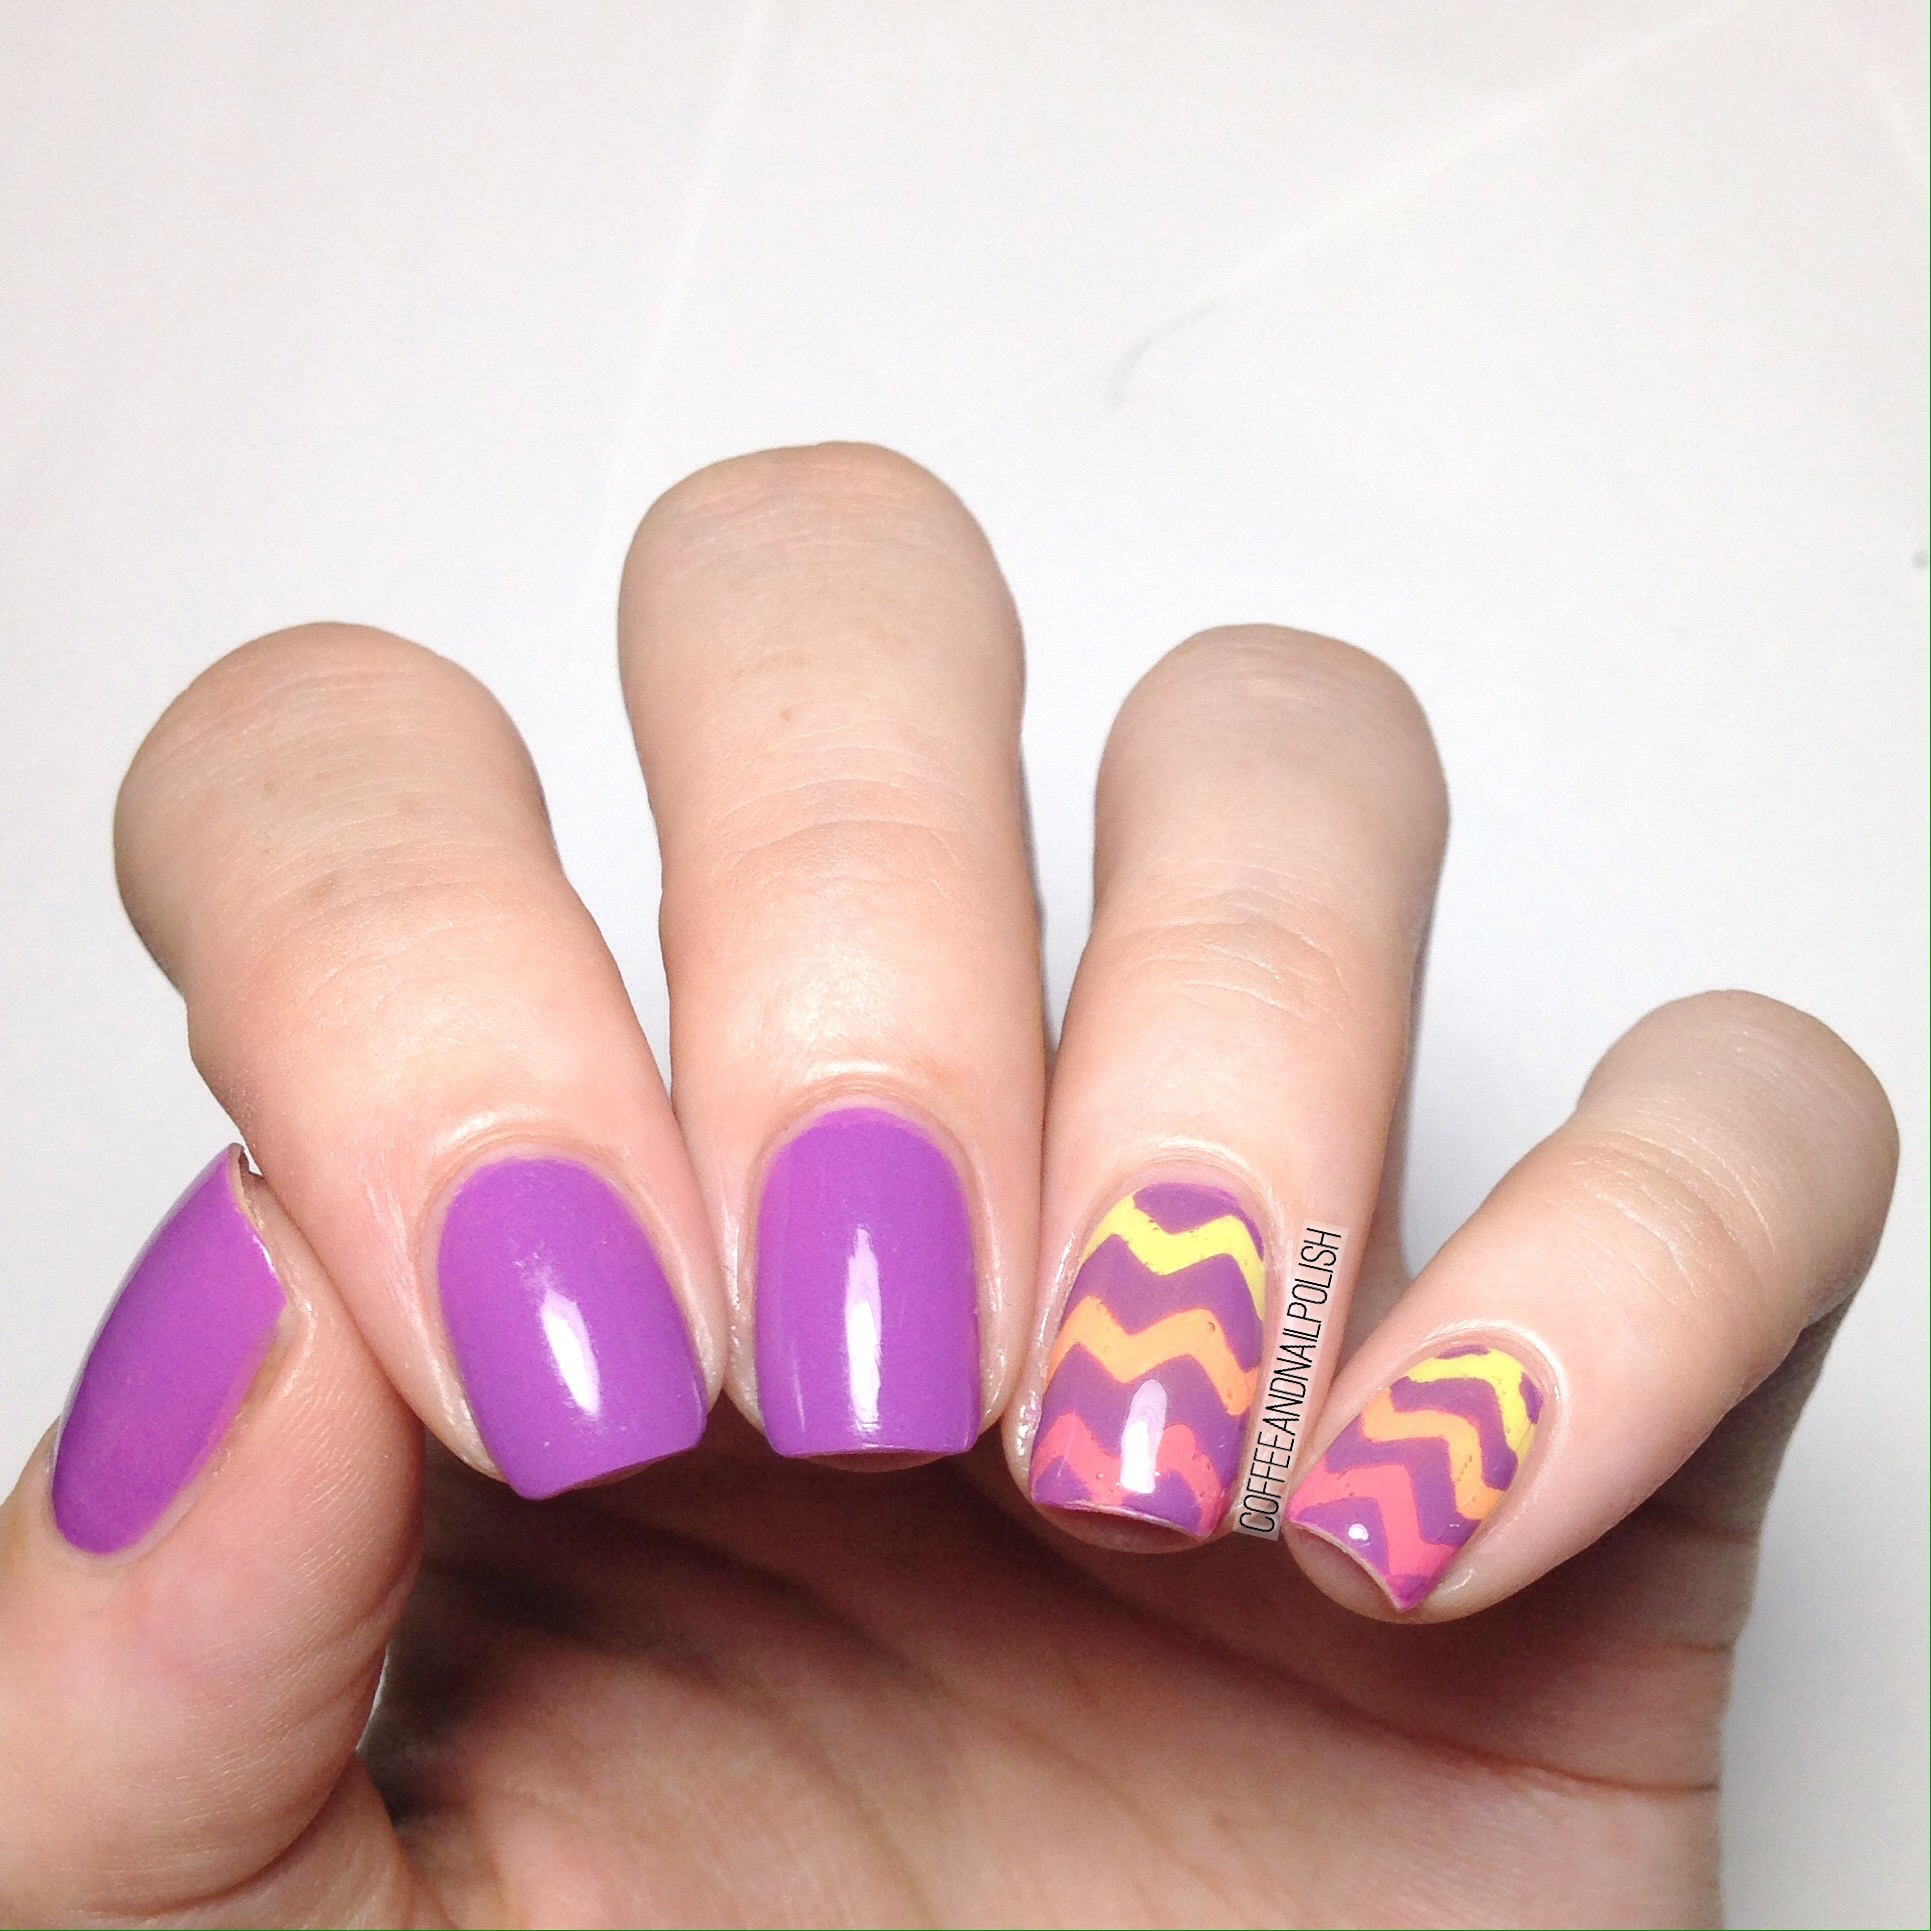
 I thought in honour of Easter I’d share these zig zag chevron nails that look kind of like Easter eggs! Outside of Easter, these could definitely work as just a fun Spring mani as well. 

The polishes I used for this manicure were:

  • Base Coat: Perfect Formula Pink Gel Coat
  • Top Coat: Cutex Quick Dry Top Coat
  • China Glaze Sun Upon My Skin
  •  Essie Lounge Lover
  • OPI Getting Nadi On My Honeymoon
  • Essence You Let My Heart Skin A Beat 
  • Kiss Products Nail Art tips (Chevron vinyls) 

This colour combination works so perfectly for Easter & totally looks like Easter eggs. This would be a great design to go with when you need a quick Easter inspired mani, but don’t have the time (or patience) to do something freehand. 

What are you wearing on your nails today? Did you go with a simple Easter mani, or something more fun? Let me know in the comments below! & don’t forget to enjoy all that chocolate the Easter bunny brought you! 

Easter Mini Egg Nails

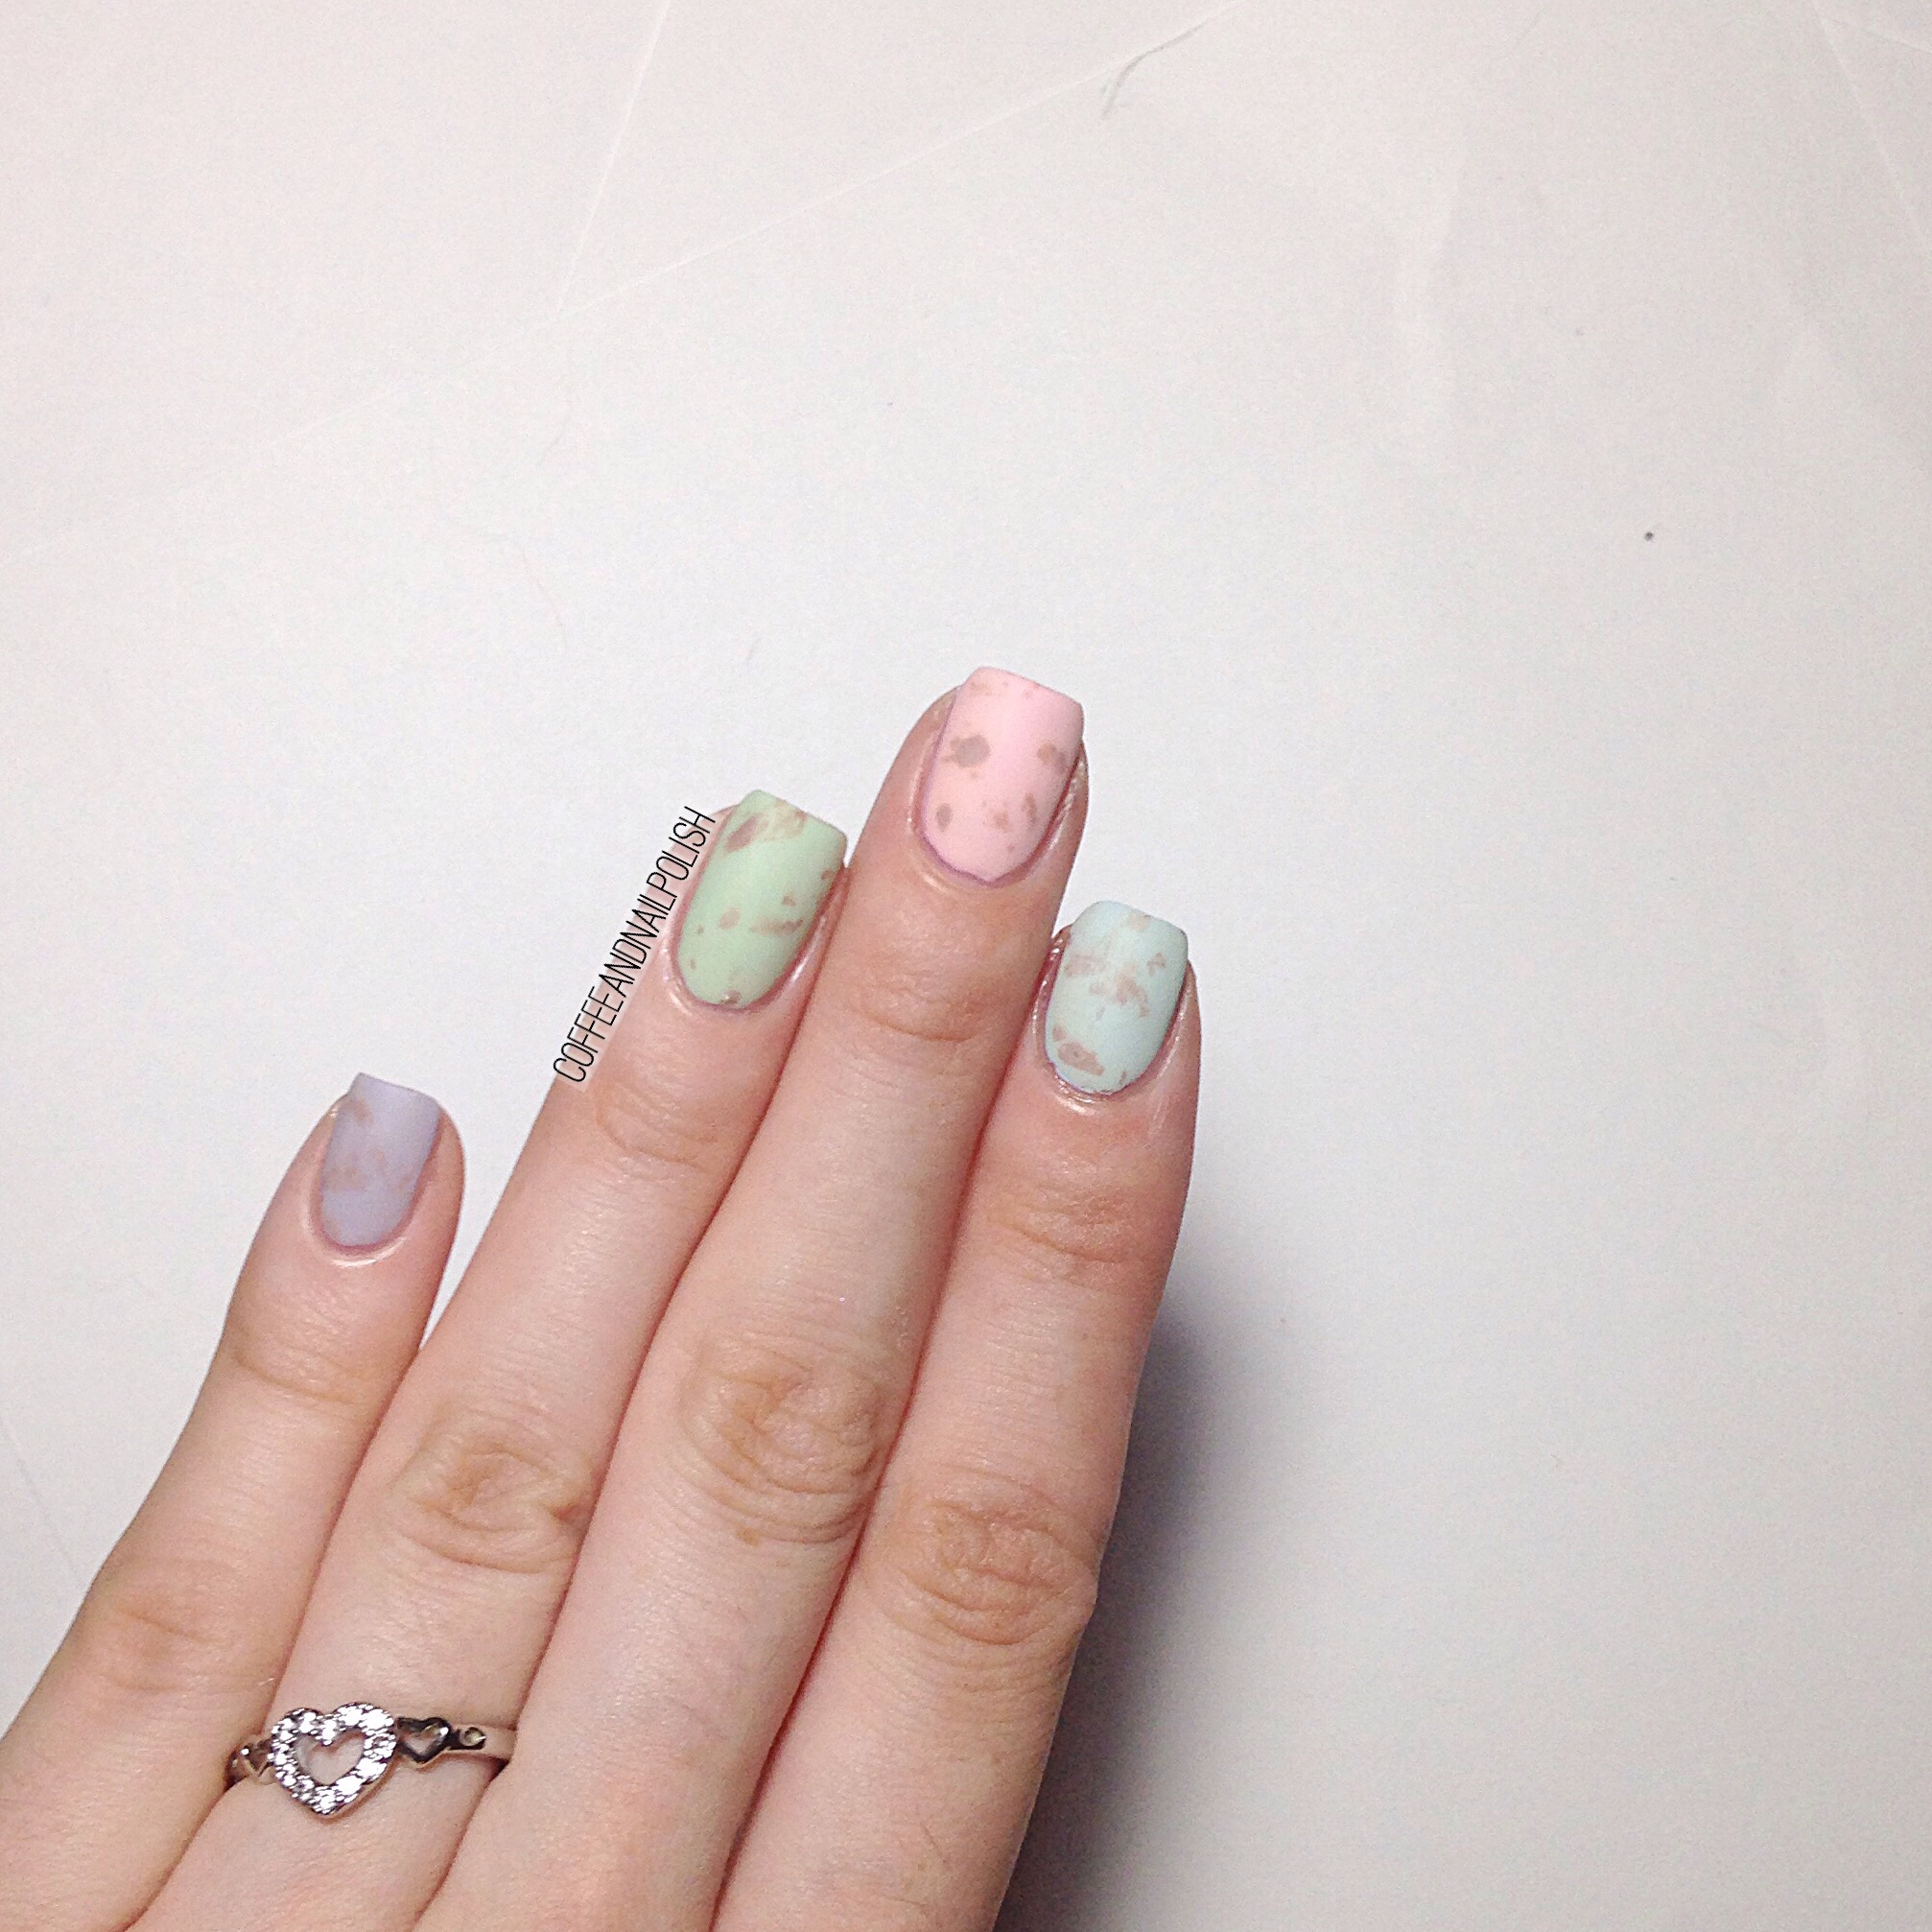
Is there anything more Easter-y than  Cadbury Mini Eggs? Well, I mean back in the day when they only came out at Easter. Sadly my lactose intolerance has come back since having the little one, but that doesn’t mean I don’t still love those delicious chocolate eggs (it just means I can eat them.) & since I won’t be enjoying them in my Easter basket this year, I thought I would continue the tradition of recreating them again on my nails. (I did mini egg nails previously in 2015 here & 2016 here) 


For this mani, the polishes I used were:

  • Base Coat: Perfect Formula Pink Gel Coat Base Coat
  • Top Coat: Cutex Quick Dry Top Coat
  • Matte Top Coat: L’Oréal the Matte Velvet top coat. 
  • China Glaze Sun Upon My Skin
  • Hard Candy Sky
  • OPI Getting Nadi On My Honeymoon
  • Revlon Minted
  • Nubar New Mood
  • Essie Cocoa Karma
  • Wet N Wild 2% Milk
  • Crinkled Up Plastic Wrap


 I’ve been doing these nails every year and I love how each time year turn out differently depending on the polishes and techniques used. I also think it’s because they’re just so easy to do, but it looks fantastic & just the right amount of festive! But fair warning: they will make you crave chocolate mini eggs. & if you can’t eat chocolate that could become problematic. Haha.  Don’t say I didn’t warn you!


What’s your favourite Easter designs to create & recreate? Do you already have planned what you’re wearing on your nails for Easter? Let me know in the comments below! 🐰

Mani Swap with @PolishedFingernails


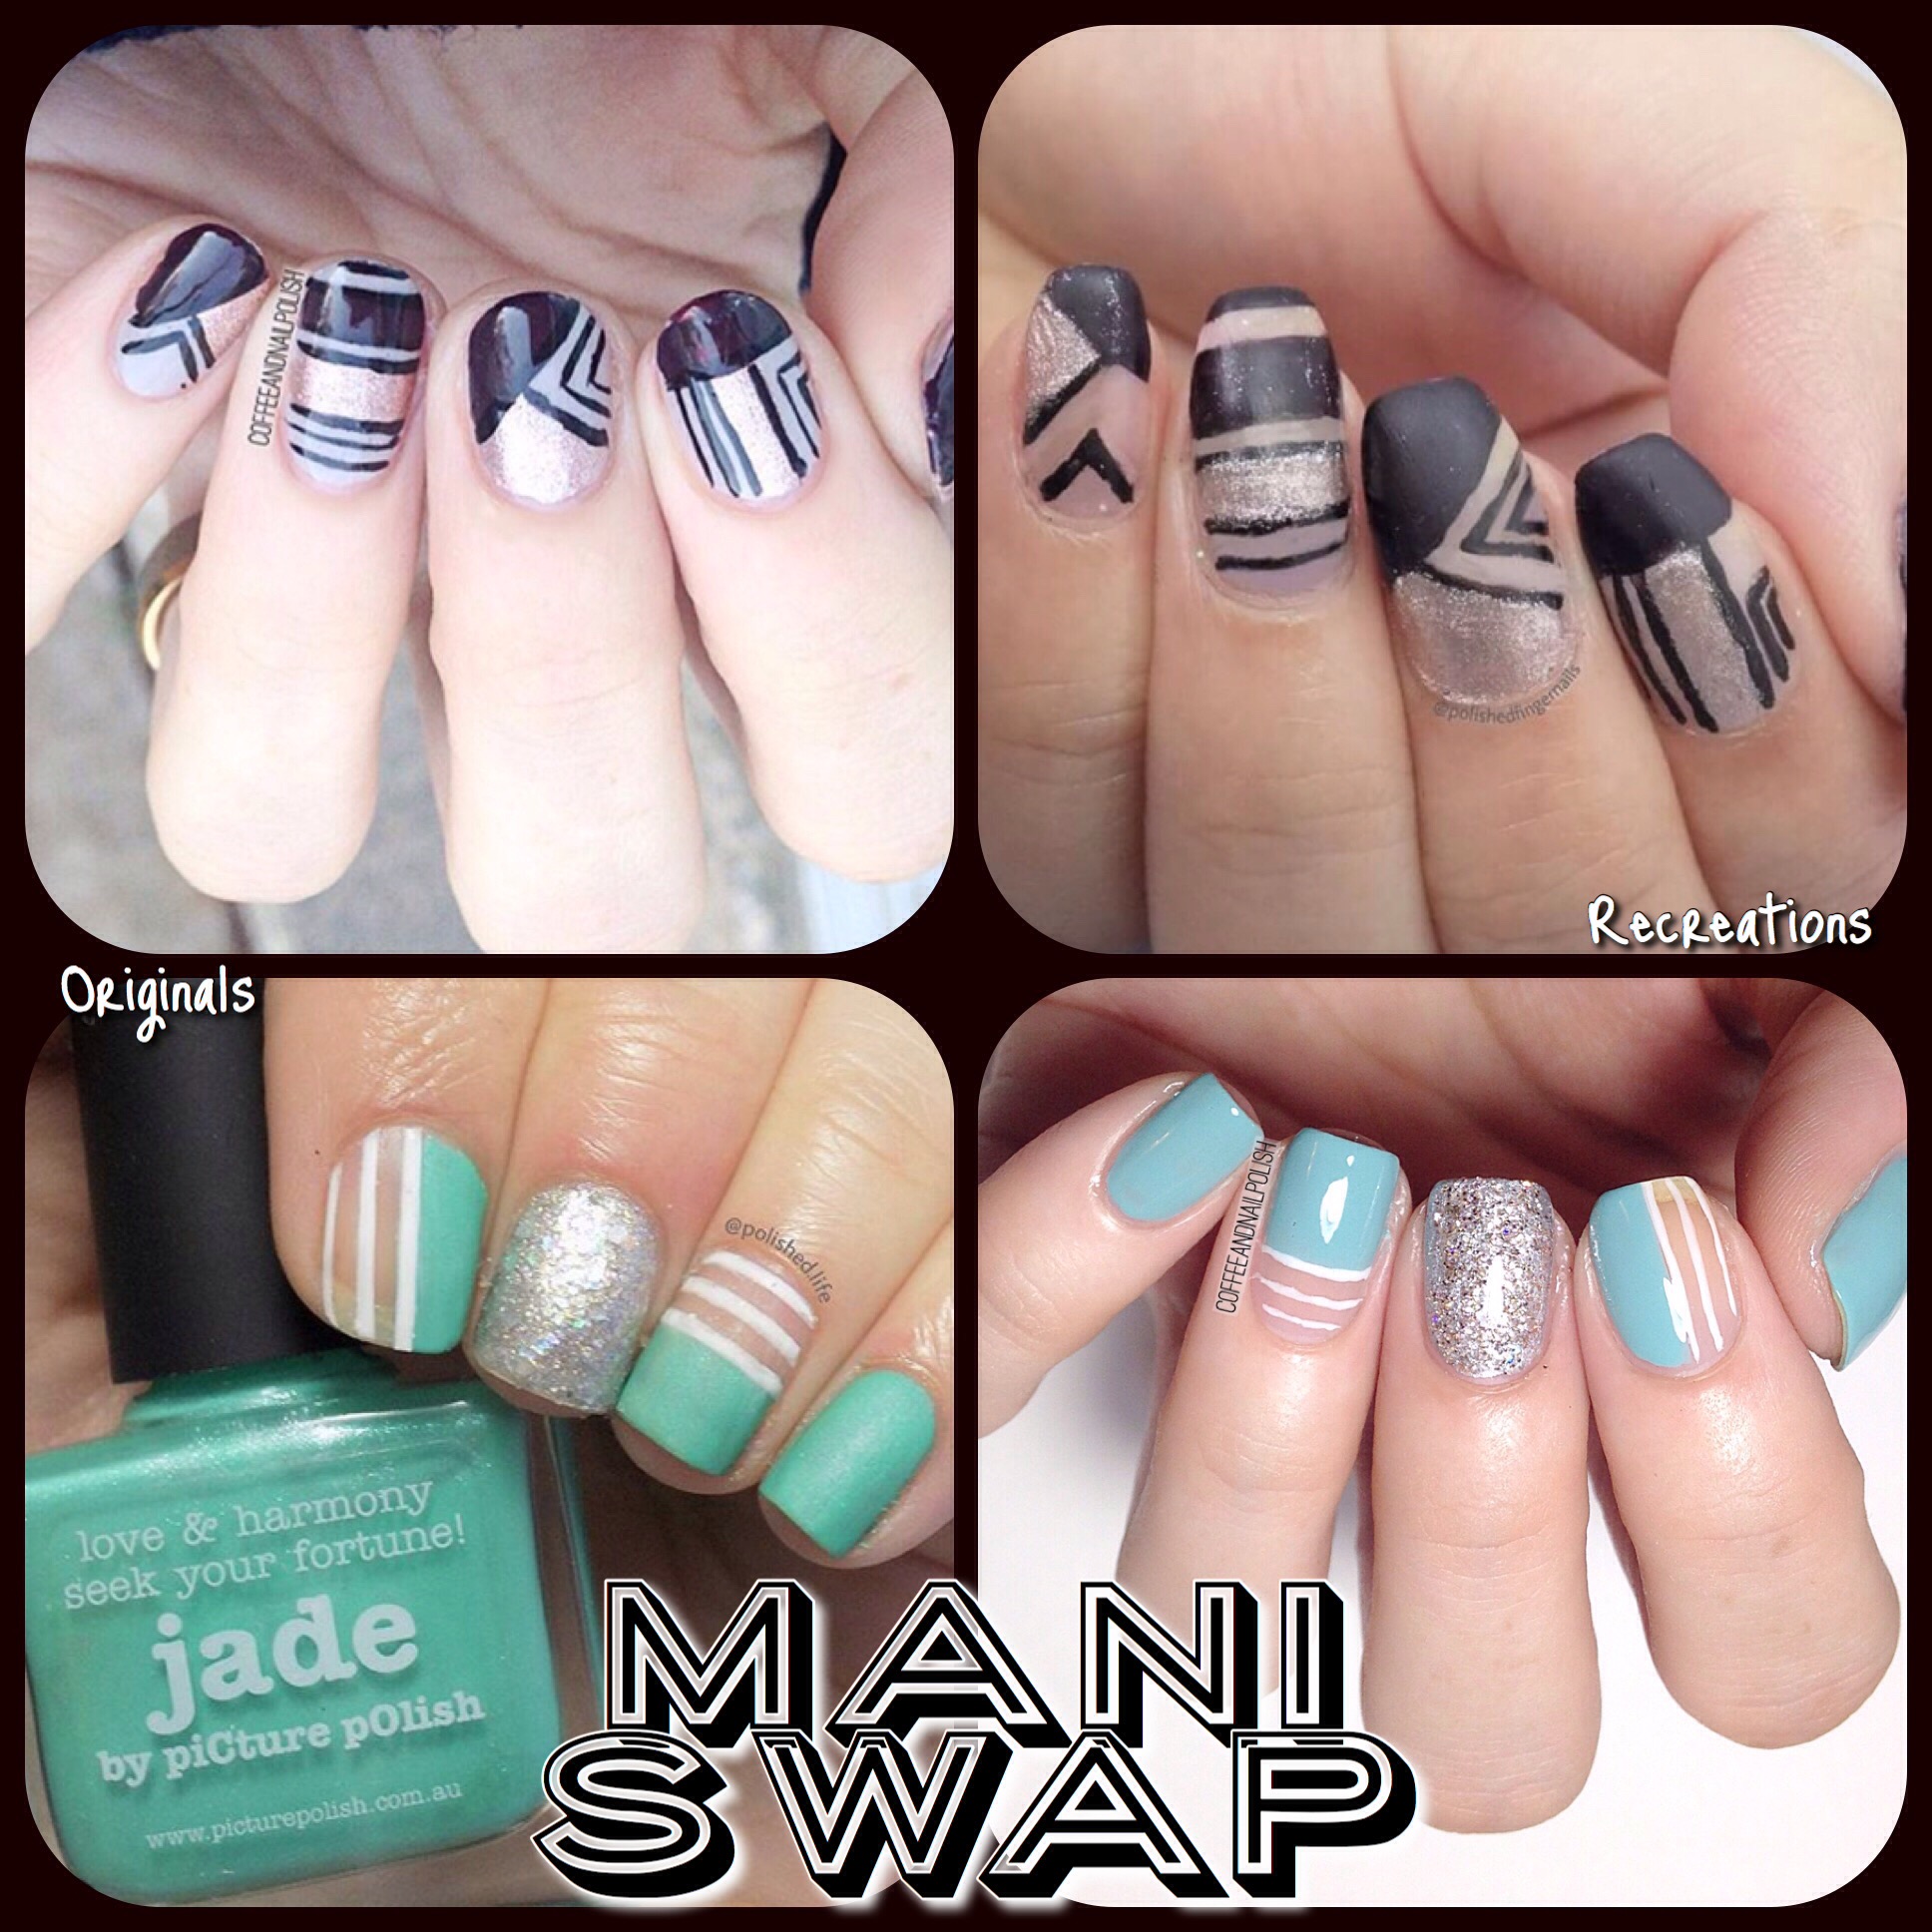
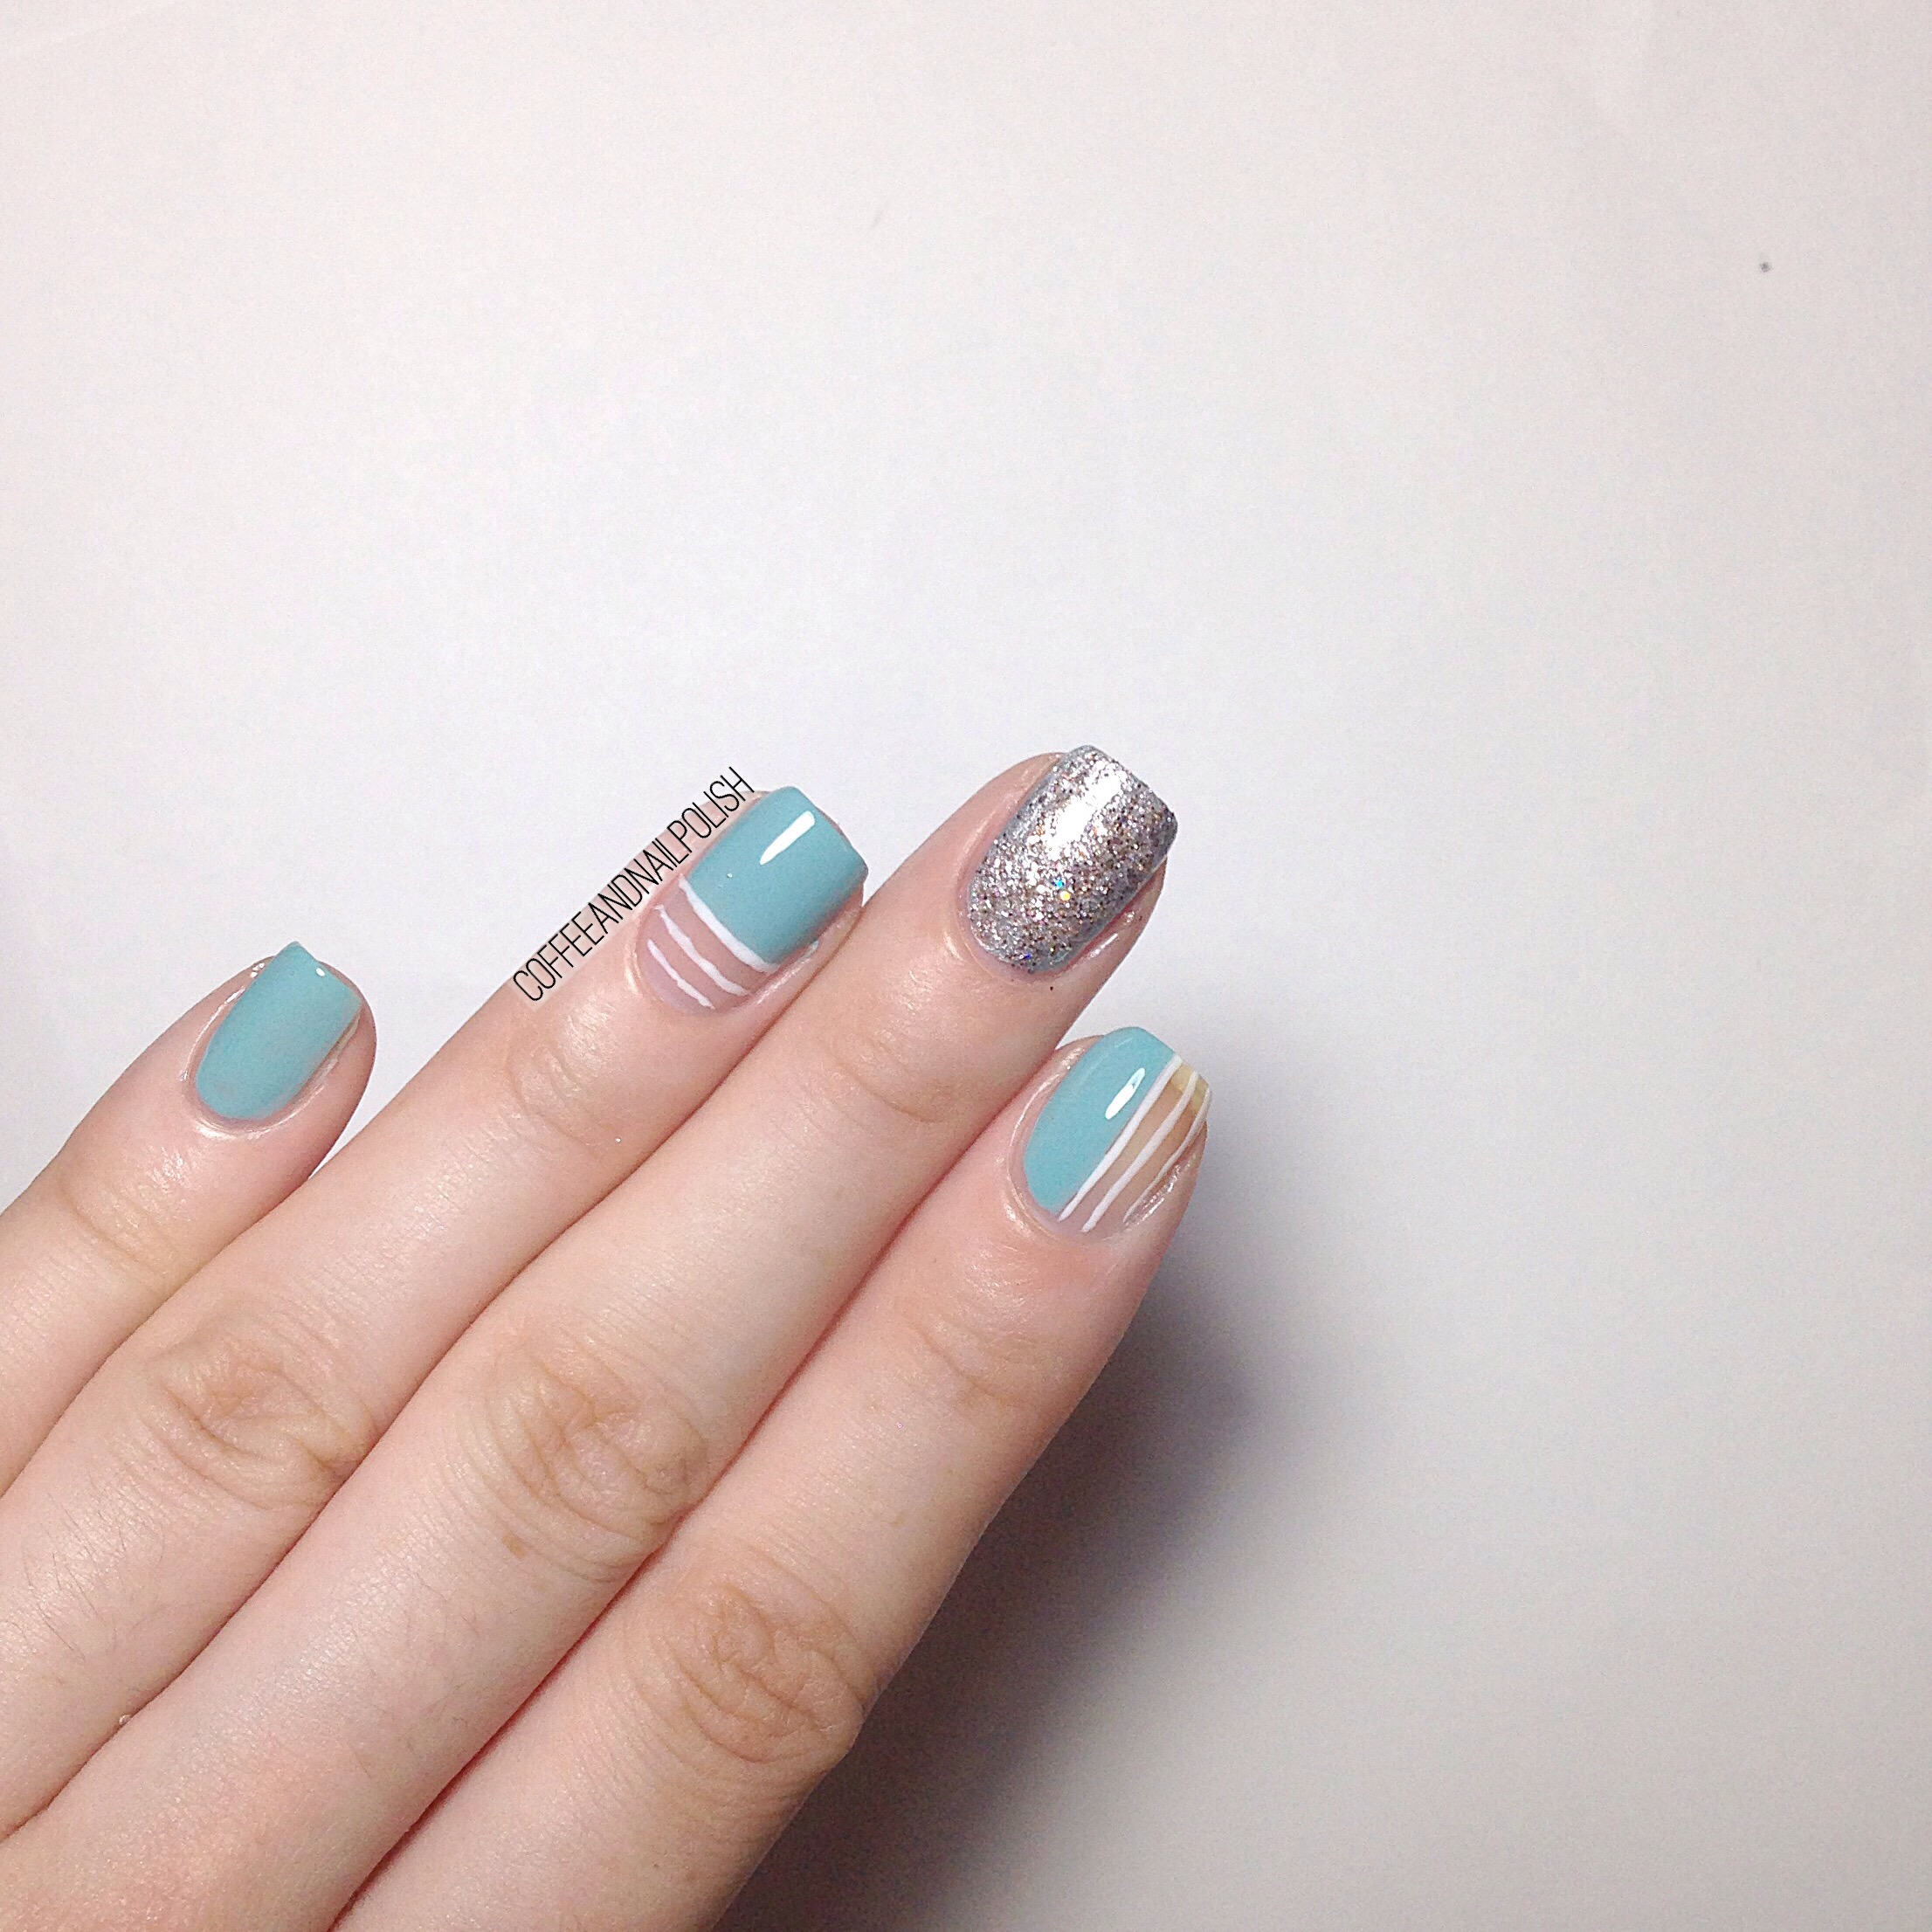
I hope you’re excited because Mani Swap week continues with a fun swap I did with Sophie (@polishedfingernails). For this swap, we both went similar directions picking Negative Space designs with line details–Sophie recreated my vampy colour blocking,  & I picked her pretty teal and white design!

For this manicure, the polishes I used were:

  • Base Coat: Perfect Formula Pink Gel Coat
  • Top Coat: Cutex Quick Dry Top Coat
  • Essie Where’s My Chauffeur?
  • OPI By The Light Of The Moon
  • OPI Ce-less-tial Is More
  • Kiss Products Nail Art Striper in White

I’m not going to lie, I love this mani extra amounts because I managed to freehand everything. I’ve been trying to practice my line work, & I’m so happy with how these turned out. Also I kind of improvised the thumb nail, adding my own touch which is kind of cheating, but I didn’t know what the thumb looked like so I gave it my own spin & I think it fits in so well with the design. 

So what do you think of this swap? Thanks to Sophie for joining me in this swap, & you definitely need to check out her Instagram account! She always had such unique designs! 

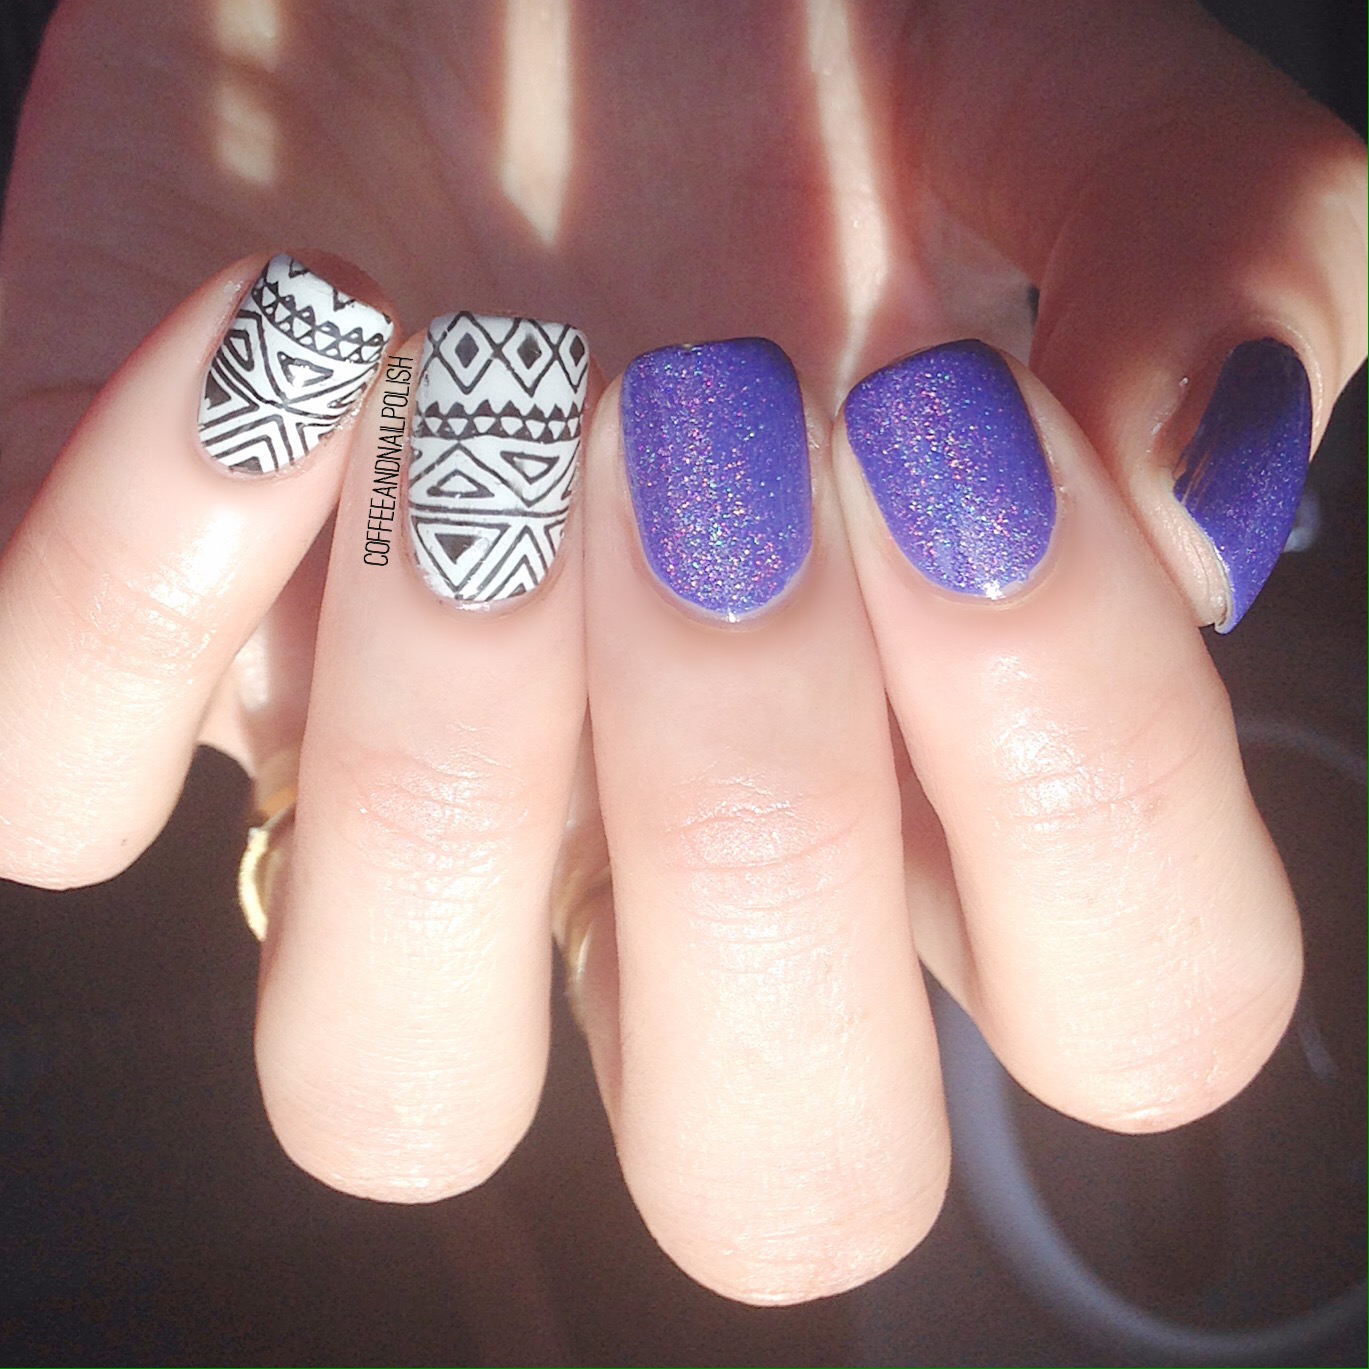
Born Pretty Store Clear Jelly stamper review 

Happy Sunday!

Today I have a review of some products that were kindly sent to me by Born Pretty Store for review. 

You’ve probably seen that Crystal nail art stamper a are everywhere! I’ve been considering getting one for a while, and when Born Pretty offered to send me one for review I jumped at the chance. I’ve made attempts at stamping before, but I’ve never been very good. 

The stamper (item #24059) itself is a good size, and the pad is clear and nice and squishy. It’s also completely clear, which means that you can see through so that you can know exactly where you are placing your design. 

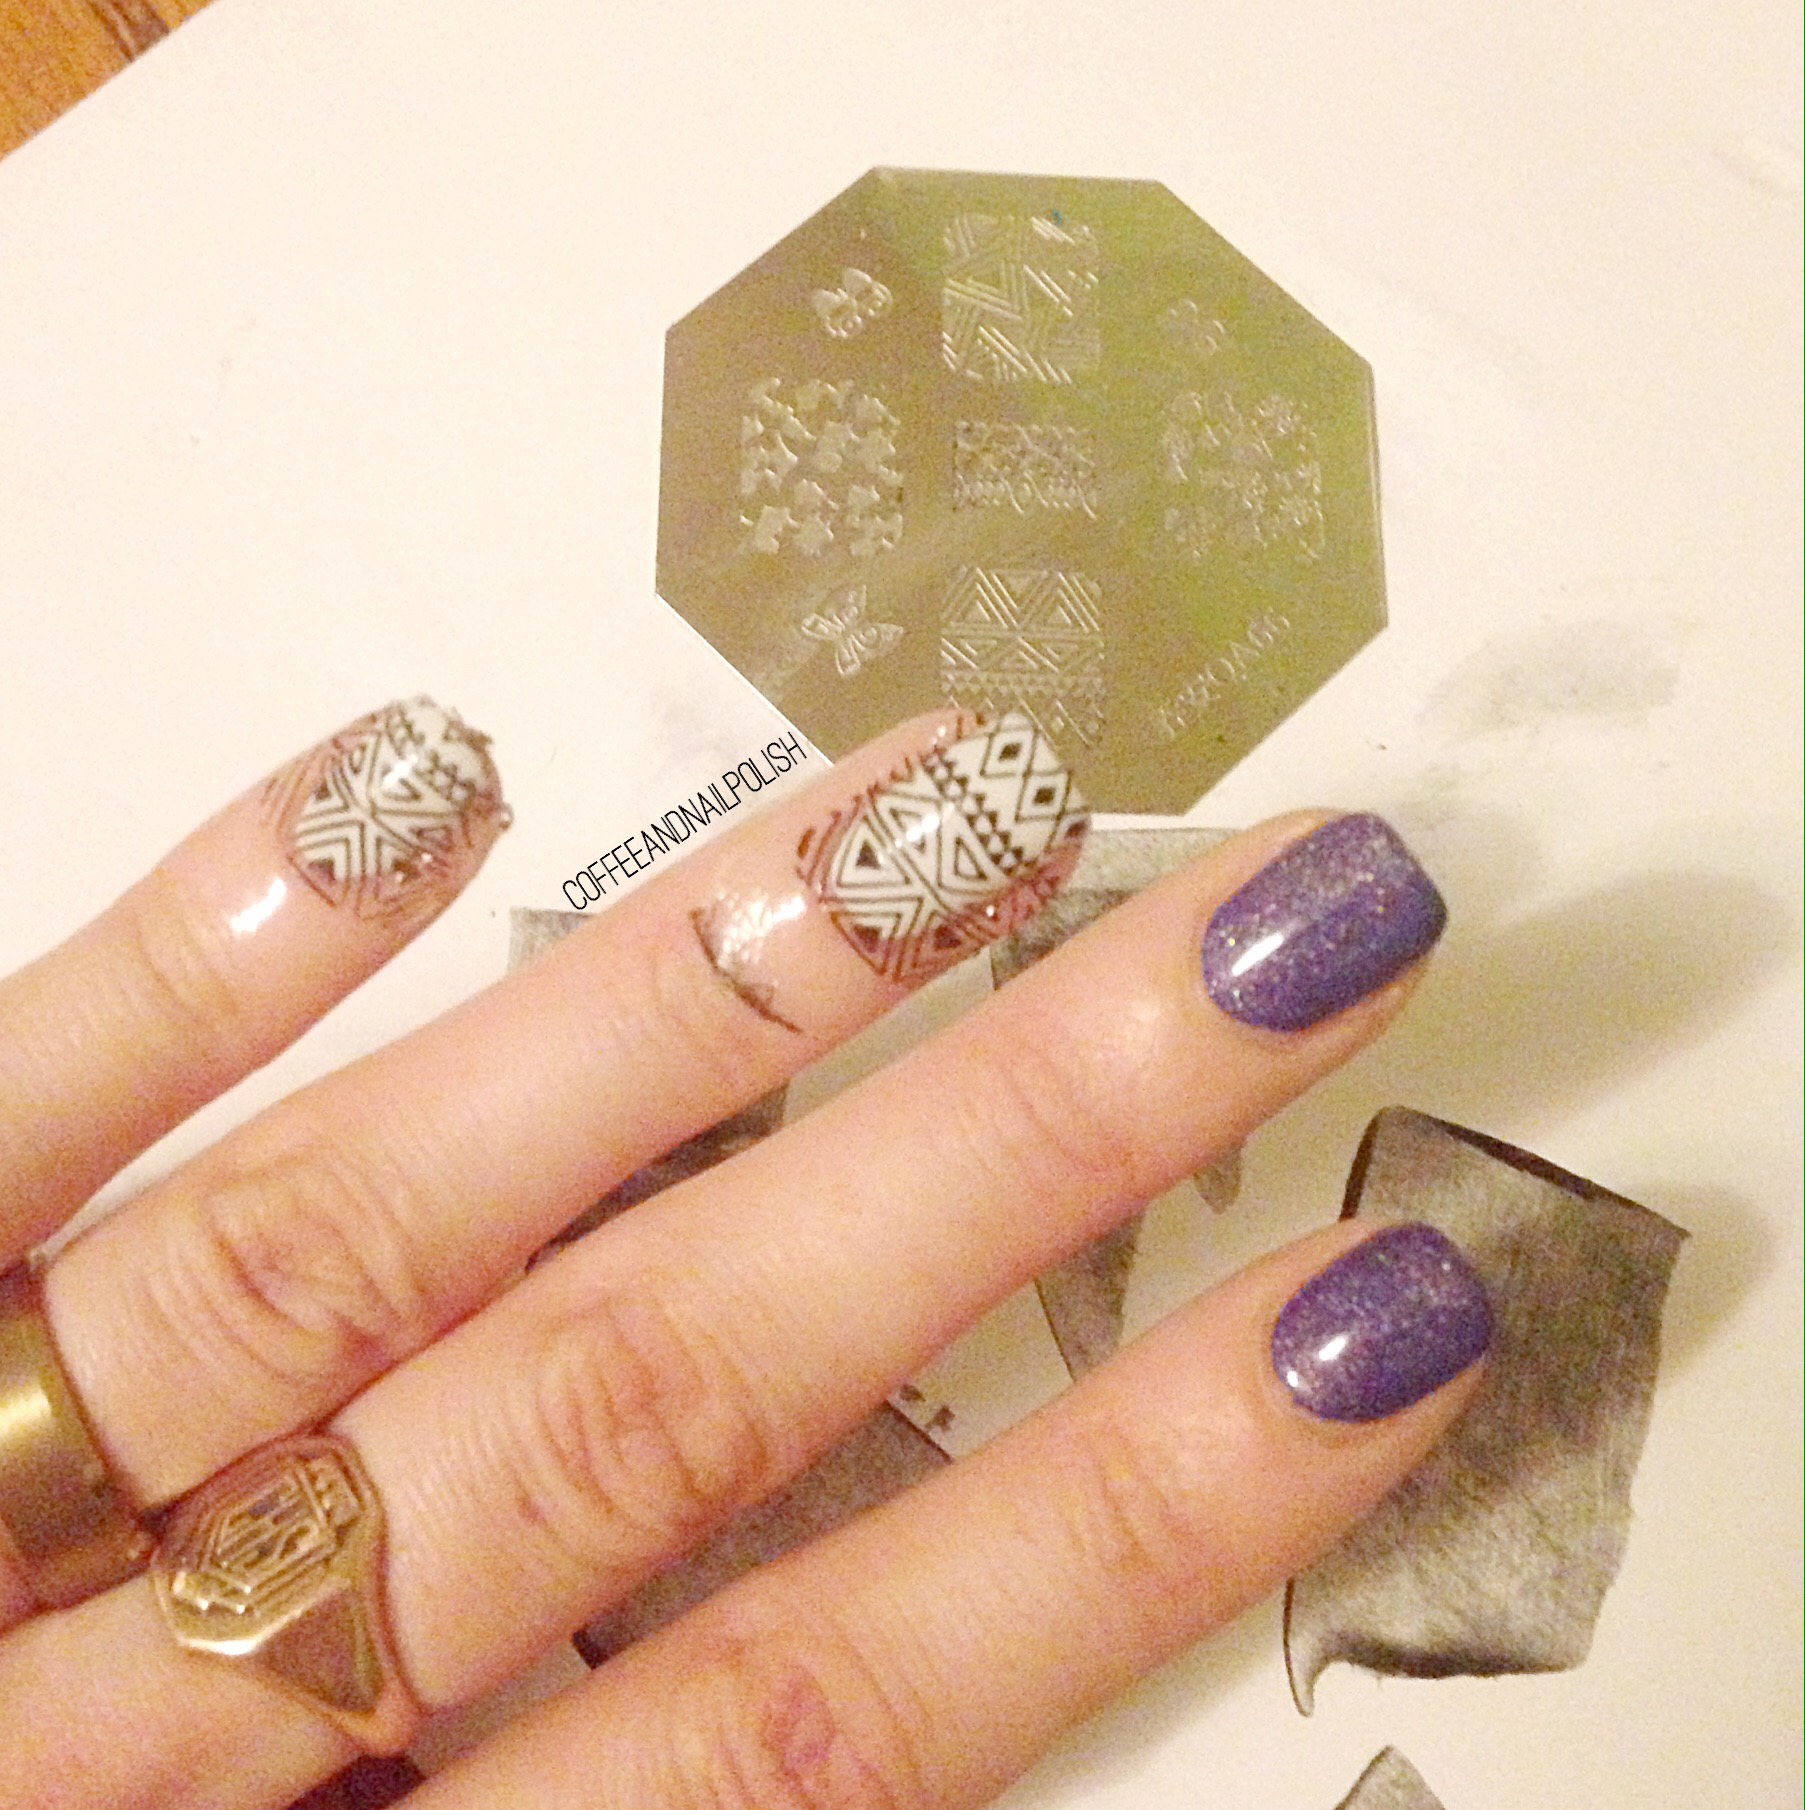
I started off by painting my nails with my base colours. I used a purple My Beauty Spot polish with Nubar Treasure layered overtop and OPI I Canolli Wear OPI. Next, I used liquid peel off tape (also from Born Pretty!) and applied it around my cuticles to limit clean up. I also discovered it’s much easier to do one hand at a time as sometimes the peel off tape sticks together and comes off. 

Before applying the design to my nails, I tested it on a peice of paper to see how it would turn out. I used OPI Who You Callin’ Bossy as I don’t own any stamping polish. 

Going one hand at a time, I applied the design to each nail. I am not someone who has an easy time with keeping things straight when stamping, but with this clear stamper it was so easy to know exactly where my design was going! Once I applied the design, I peeled off my peel off tape and applied to top coat to seal in my design. I finished off by cleaning up the rest of my cuticle area using a small brush dipped in acetone. 

And the finished product! 

I’m so impressed with this clear jelly stamper, I can’t recommend it enough! If you’ve been considering starting to stamp I would definitely suggest checking out the selection on Born Pretty Store! You can use my discount code COFFK31 to save 10% on your purchase!