Graveyard Nail Stencils with NailPolishCanada (& how to score your own set of vinyls for free!)

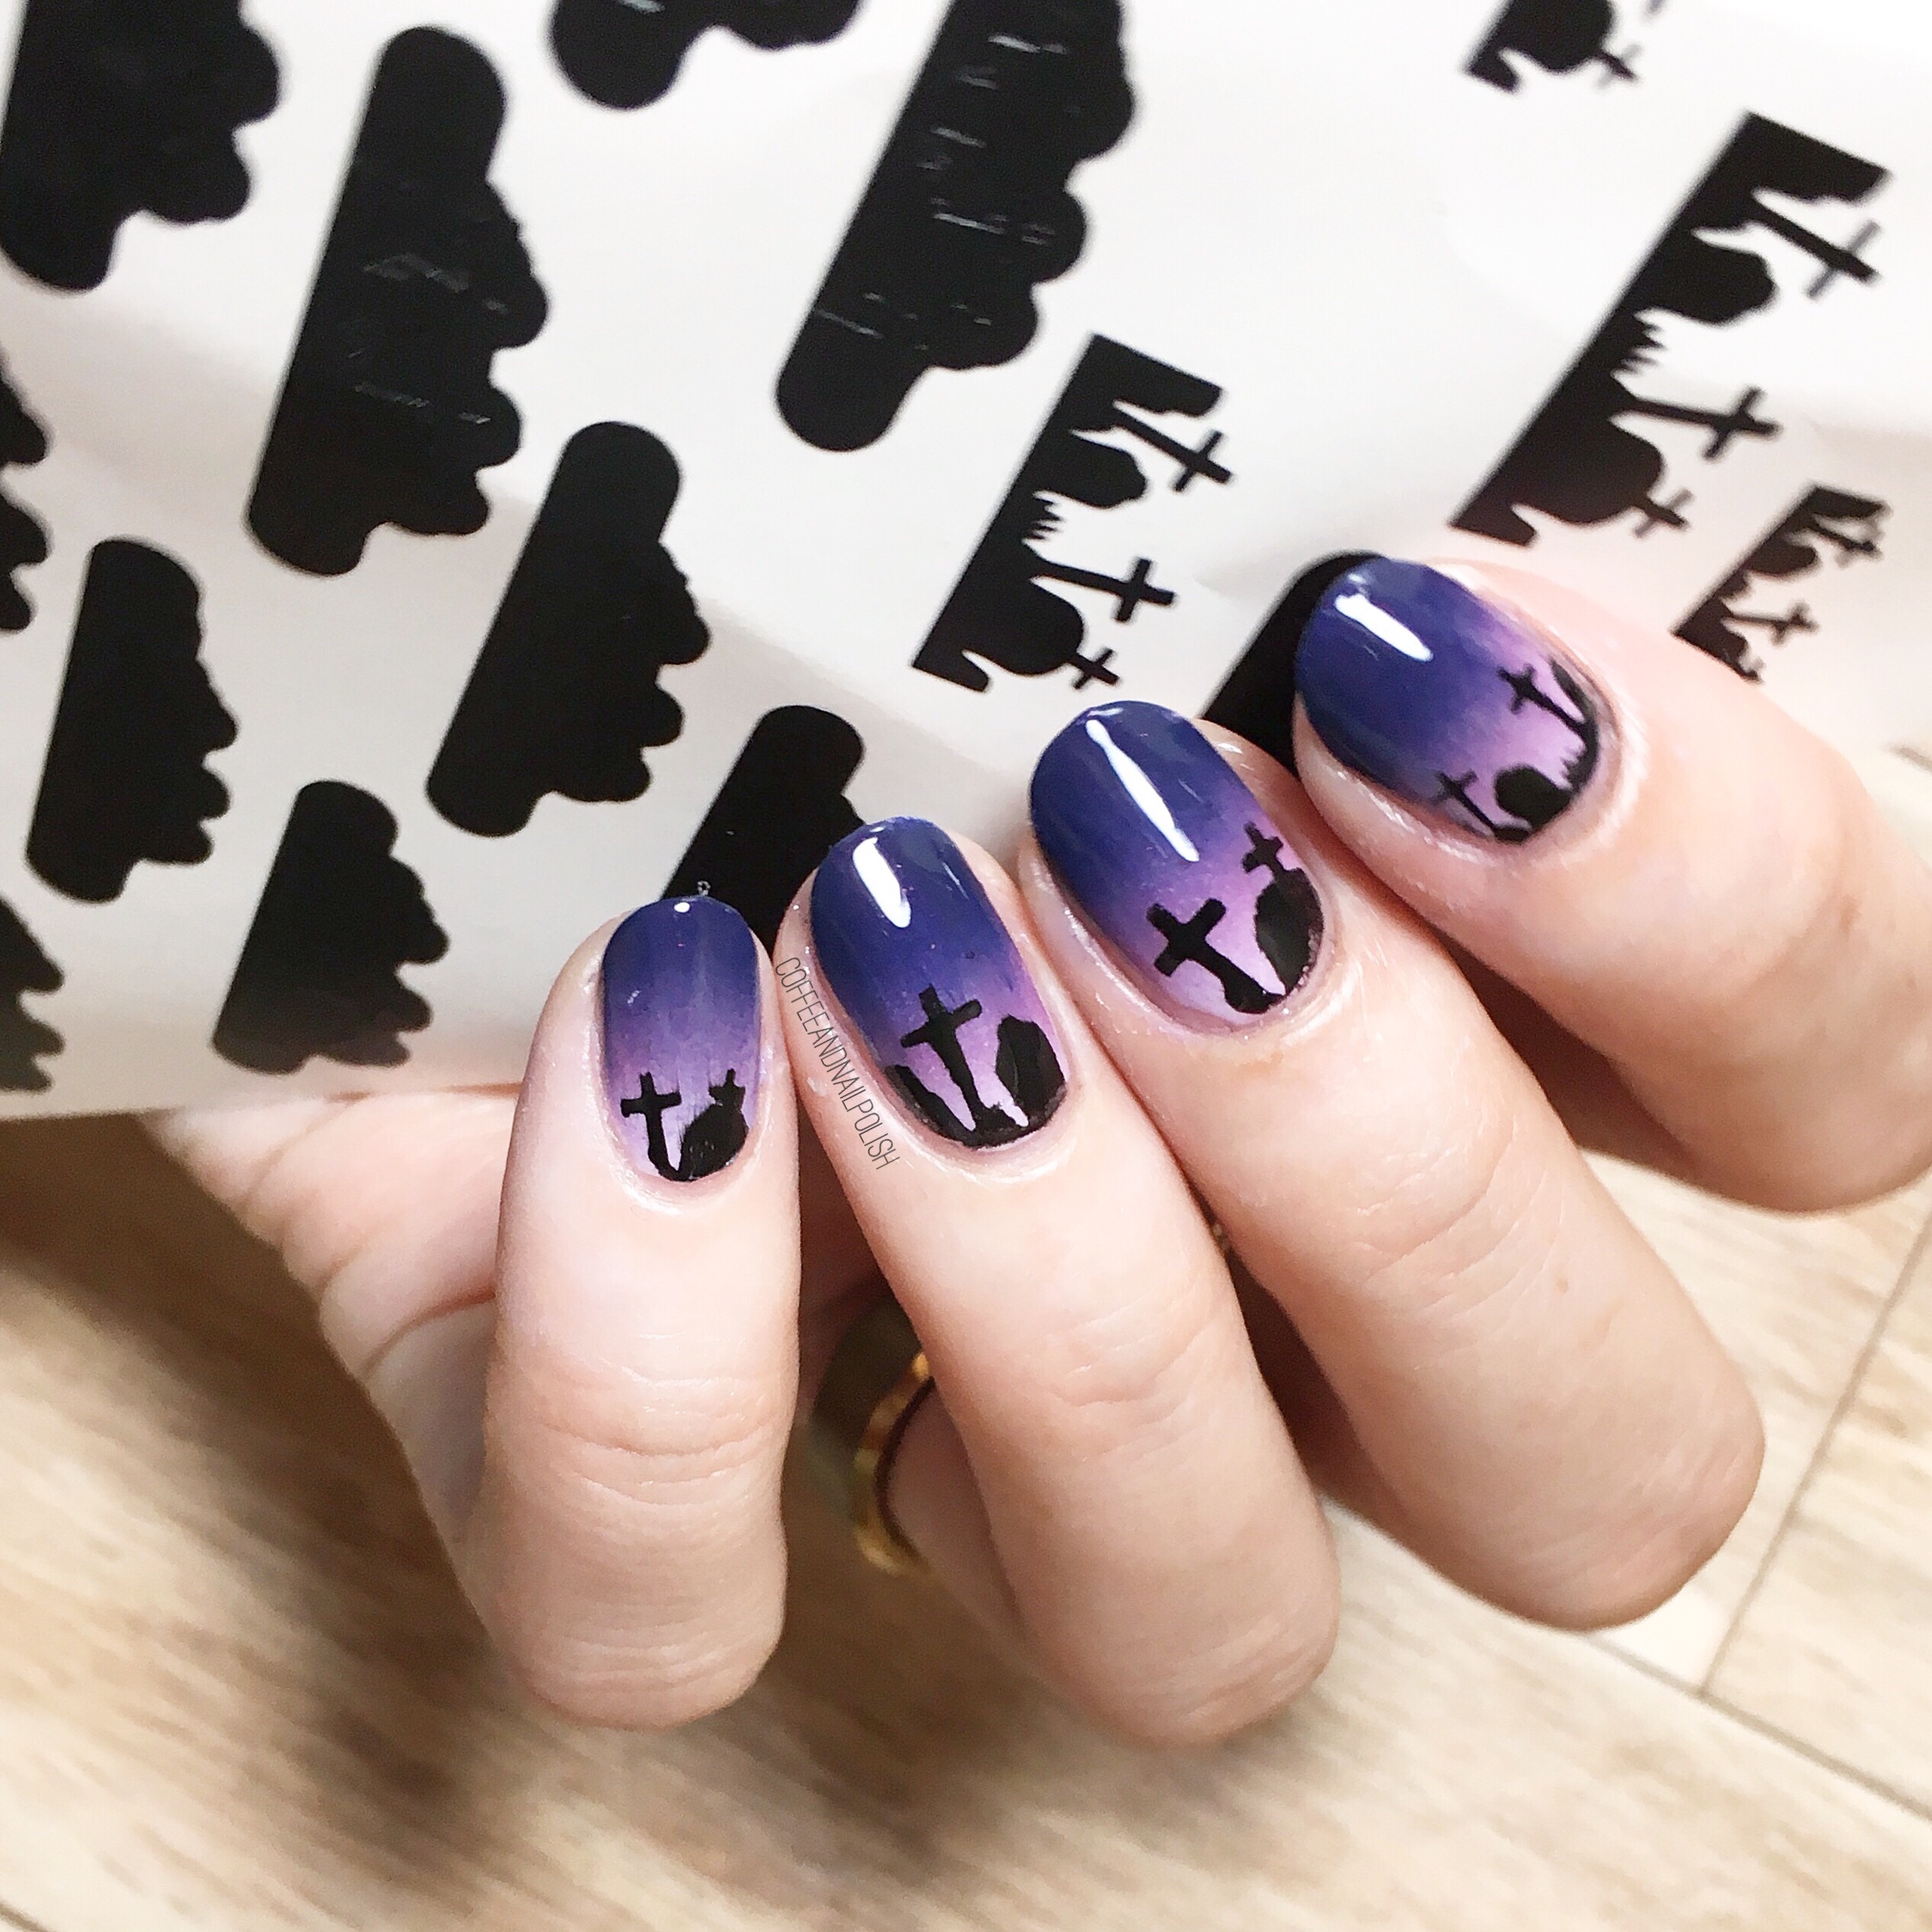
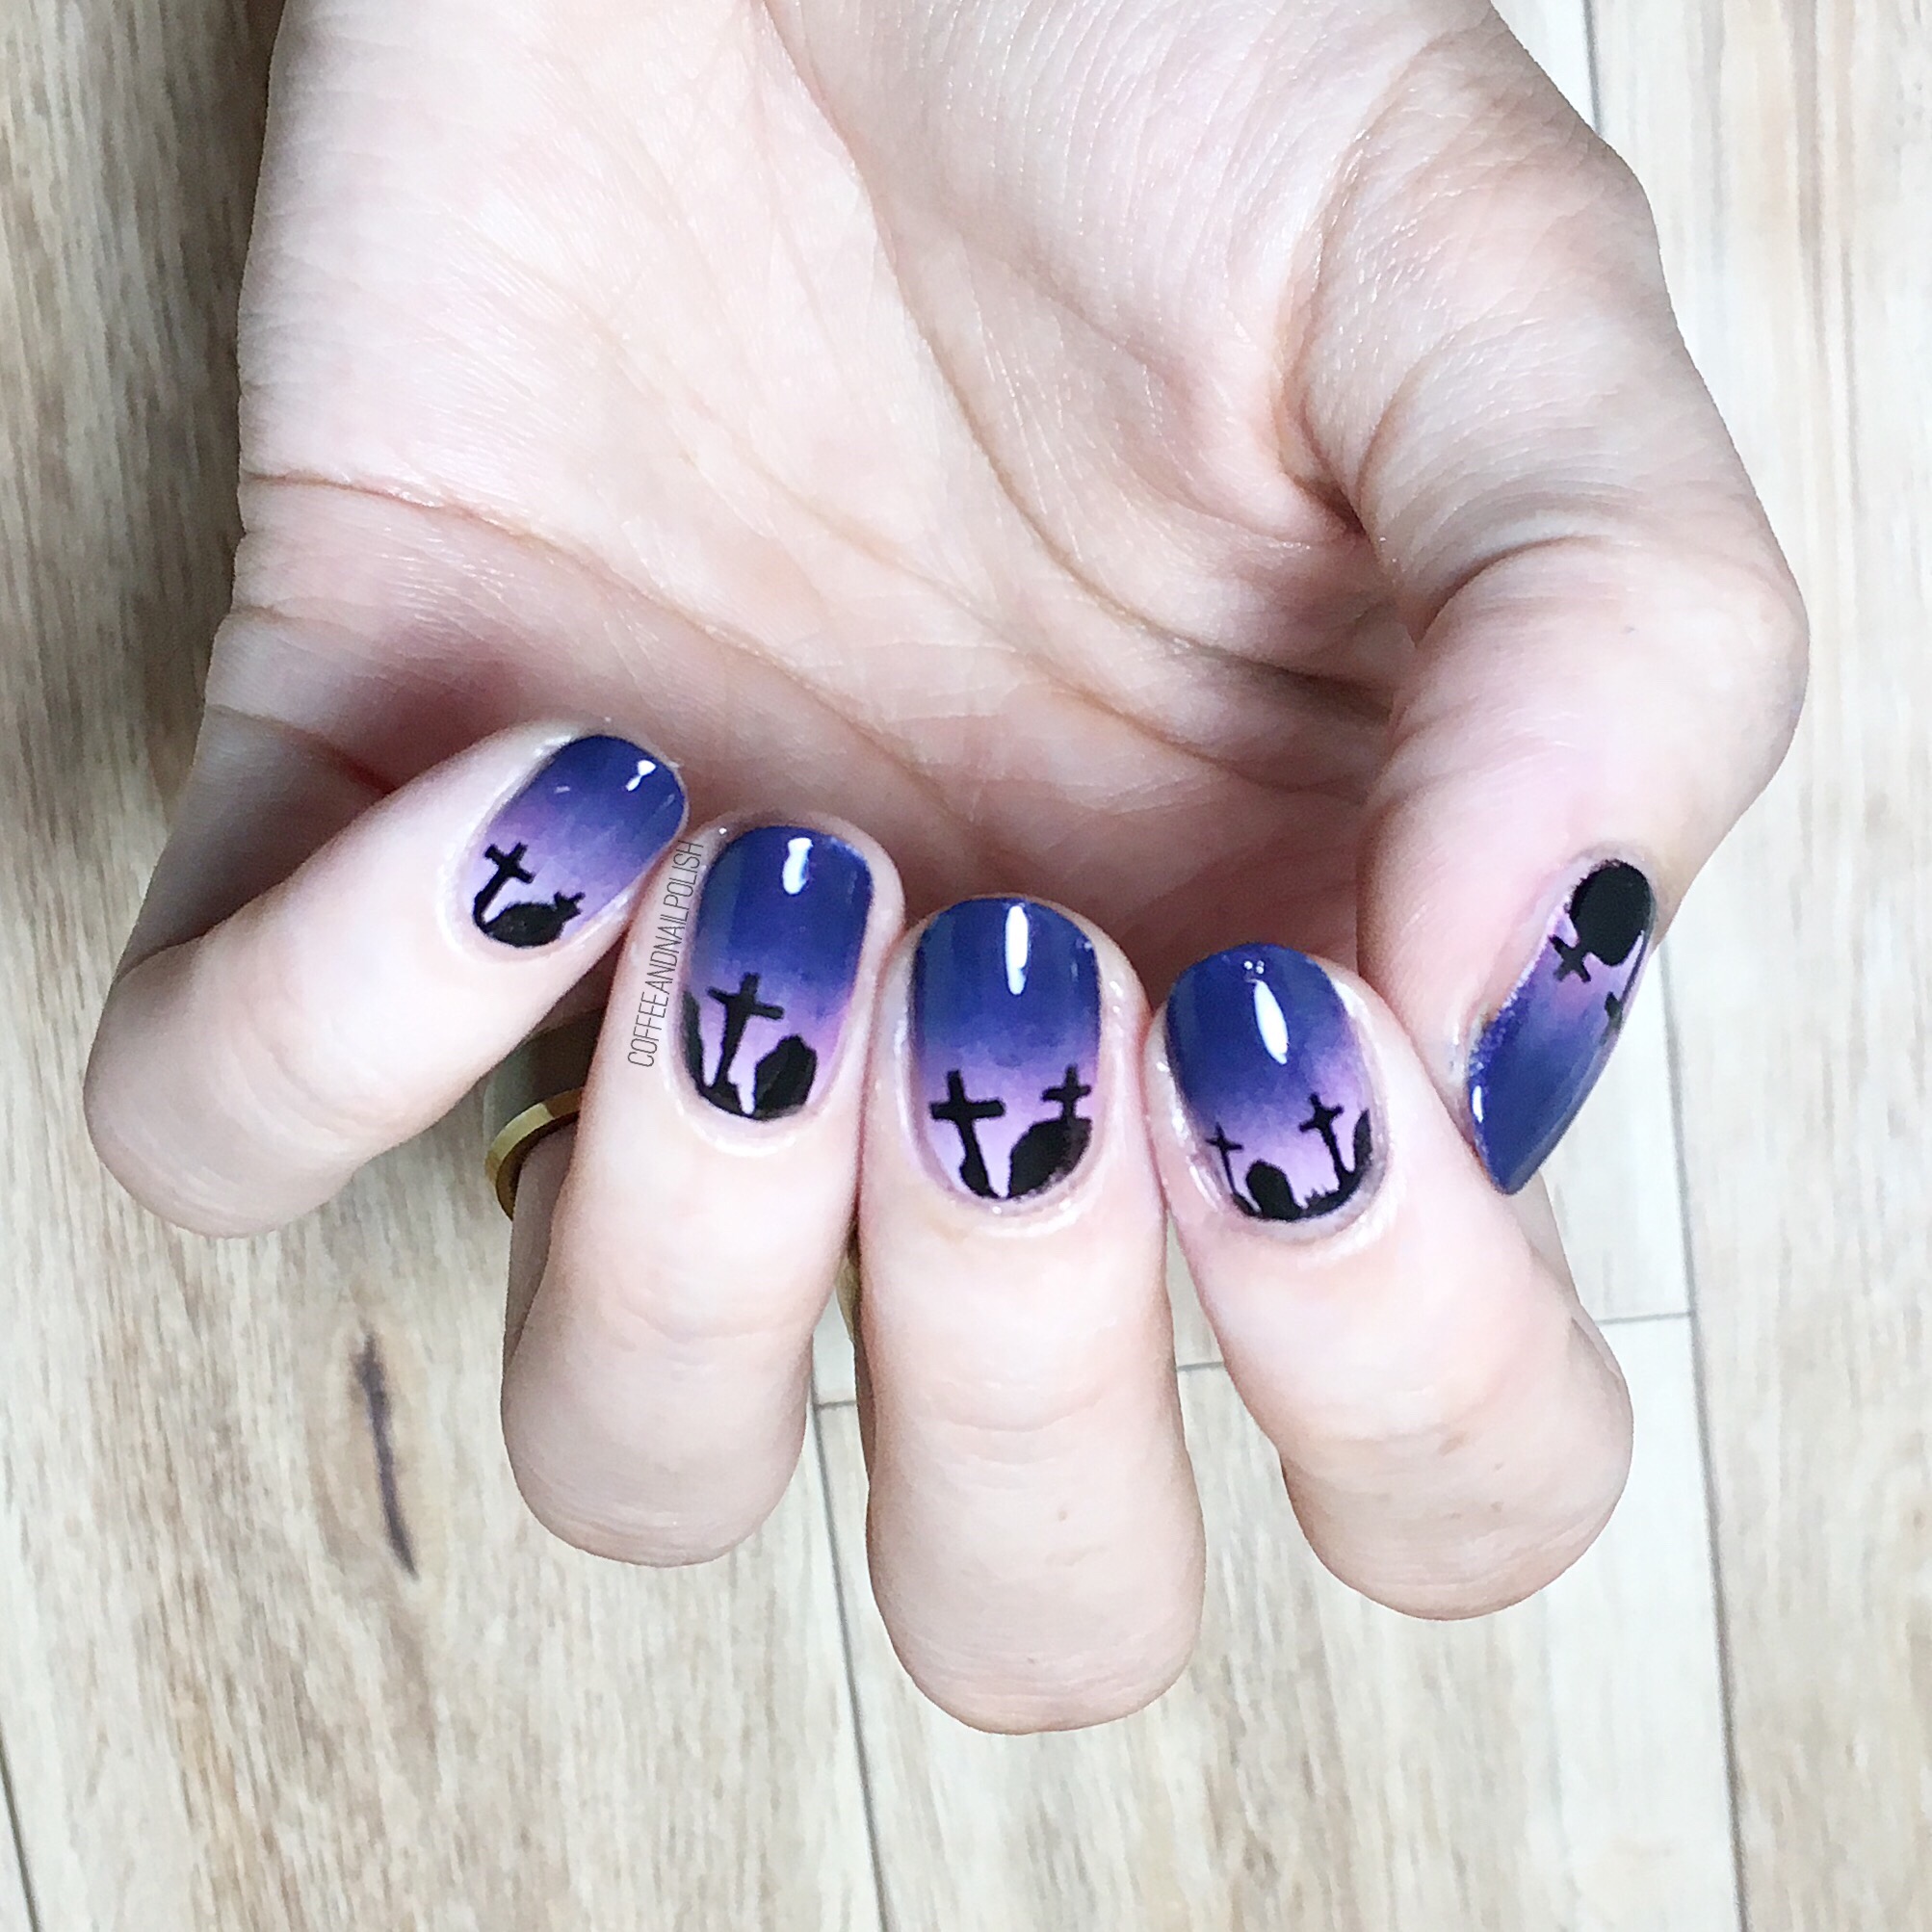
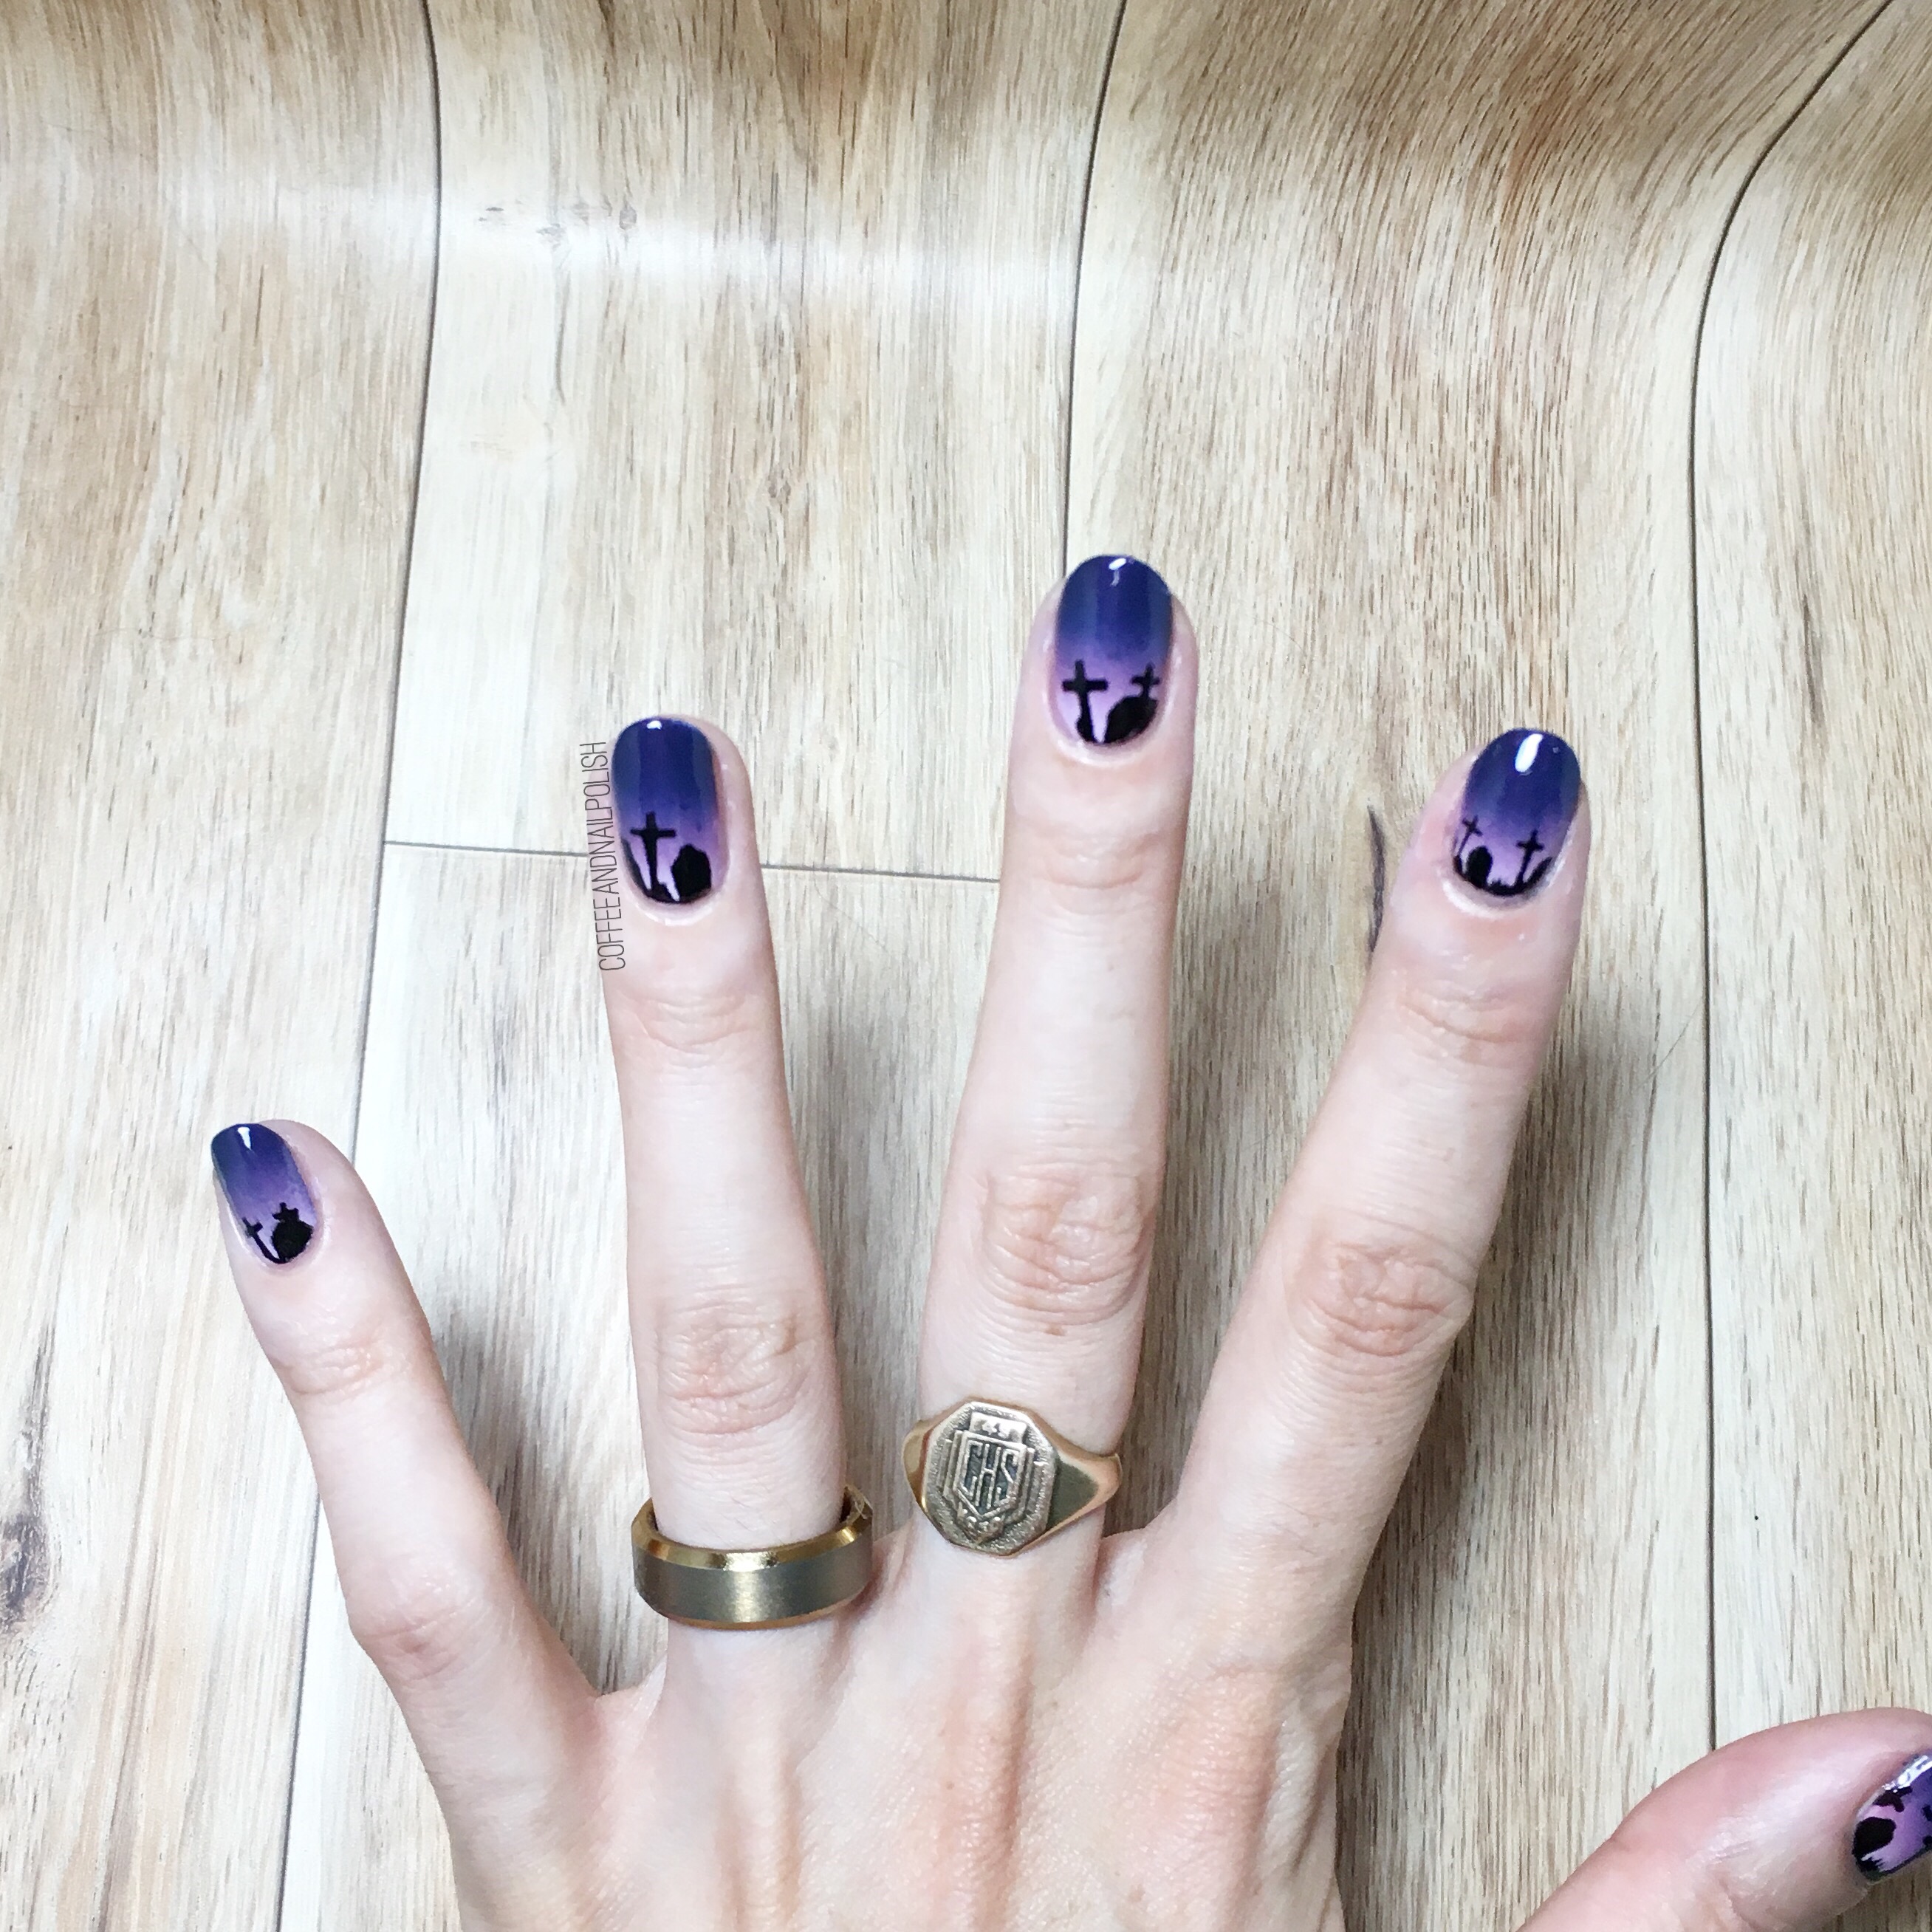
We’re over halfway to Halloween, which it’s time to get serious about Halloween nail designs! & what is more Halloween than spooky graveyard nails! Thanks to What’s Up Nails & Nail Polish Canada, I had a quick & easy time creating the spookiest of nails! 🎃 

The polishes used for this manicure were:

  • Base Coat: OPI Natural Nail Base Coat
  • Top Coat: Cutex Quick Dry Top Coat
  • Essie Go Ginza
  • OPI Auroa Berry-alis 
  • China Glaze Sleeping Under the Stars
  • Essence Back to Black 
  • What’s Up Nails Graveyard Stencils c/o: Nail Polish Canada 

These graveyard vinyls are great because they have multiple ways you can use them—my favourite is to use them as a stencil & paint in the design. I found it worked best by sponging on the black using a tiny piece of make up sponge. You could also apply the stencil to your nail & paint over top or you could use the vinyl itself & seal it all in with top coat. Each sheet of Graveyard vinyls comes with 20 vinyls (inner & outer) in small & large size which means you have a ton of graveyard nails to do in the lead up to Halloween. 

I’ve been lucky enough to team up with Nail Polish Canada to share a code for TEN of my readers to score their very own graveyard vinyls just in time for Halloween! You can click here & enter the code E75337KJX9A1B in order to claim your own set of vinyls. 

What do you think of these graveyard nails? What Halloween design are you most excited to wear this year? Let me know in the comments below. 🖤

Happy Birthday Nails! 🎉🎈🎂 

I know, it’s Sunday which means normally I would be sharing a swatch with you. But today is not just any Sunday… it’s my birthday! So obviously I had to do something fun on my nails in honour of the occasion & I couldn’t think of anything more fun to put on my nails than a glittery purple cupcake nail (which are a few of my favourite things.) After perusing Pinterest searching “cupcake nails” I had an idea of how I wanted my design to look, & I’m so happy that they turned out exactly how I imagined! 

For this manicure, the polishes I used were:

  • Base Coat: OPI Natural Nail Base Coat
  • Top Coat: Cutex Quick Dry Top Coat
  • ORLY Plum Sugar
  • Nails INC Cherry Road
  • Sally Hansen Hard As Nails Hard To Get
  • Color Club Evolution
  • Cosmetic Arts Unnamed Baby Pink
  • Color Club A Warm Place
  • URSugar Zig Zag Nail Vinyls item #AUB39877 
  • Dotting Tool
  • Small Detail Brush


I really really love my birthday cupcake nails. I feel like it’s been ages since I freehanded anything & I was a little nervous about my cupcake but it turned out so cute! These are going to be fun to wear for my birthday celebrations with my family later this afternoon. Last year I spent my birthday in a dark room with an eye infection, so I’m determined to make up for that this year! 

Have a great Sunday everyone! 💜

Saran Wrap Smoosh Nails

I don’t do a lot of Saran Wrap smoosh nails, mostly because I find them fairly messy (& I ran out of liquid latex & I’m being lazy in replacing it). But every time I see one pop up on my Instagram feed I tell myself I need this technique in my life again. They just always look so cool! I’ve been struggling with inspiration lately, so I decided to risk the messy clean up & do a smoosh. 

For this manicure, the polishes I used were:

  • Base Coat: OPI Natural Nail Base Coat
  • Top Coat: Cutex Quick Dry Top Coat 
  • Essie Cocktails & Coconuts
  • China Glaze VII
  • Quo by ORLY Fairy Godmother
  • Saran Wrap, or plastic bag of some sort. 

If you’ve never done a Saran Wrap smoosh, there are lots of tutorials on the internet (this one from @snowglobenails is great). From my expirence, I find sometimes they can take a few tries before you figure out what works for you, but for me less is more.  I prefer to use maximum 3 shades together, otherwise I find my nails can end up looking kind of swampy. & I also try not to push blend colours too much when pressing down on my plastic. 

What’s your thoughts on smooshy nails? Do you have a favourite colour combination? Let me know your thoughts in the comments below! 

Halloween Glitter Gradient 

Who else is super excited for October? I am! Obviously I love Fall & the fact the weather has cooled down to much more seasonable temperatures (I got to wear my Uggs the other day!) has me pumped for the month to come. Thanksgiving, my birthday, & especially Halloween! 🎃 October is full of lots of fun, & I’m ready for all the accompanying nail art designs. So I thought I would start off with a quick & easy Halloween-esque glitter gradient. 

For this manicure, the polishes I used were:

  • Base Coat: OPI Natural Nail Base Coat
  • Top Coat: Sally Hansen Diamond Flash
  • OPI Lincoln Park After Dark
  • Sinful Colors Pumpkin Spice
  • Latex Free Make Up Sponge

Please excuse the bubbles in my mani… my top coat is reaching the end of its life & starting to get a little thick & bubbly. Thankfully the glitter hides a lot of the bubbles. Even still, I love this combo—it just screams Halloween to me without being too over the top! It’s also a super easy design that anyone can do without too much fuss. 

Sinful Colors Pumpkin Spice is such a great Fall glitter shade, & not just because it caters to my latte loving inner basic white girl! I bought my bottle a few (I think close to 3) years ago, but I saw it at my local Lawtons yesterday so definitely check in store if you’re looking for it! I believe it’s a seasonal shade that Sinful Colors releases every year. 

I have a whole list of Halloween manicures I’m planning (thank you Pinterest!) so stay tuned for lots of fun nail art designs. Also still trying to come up with something fun to wear on my birthday. So if you have any design suggestions, let me know in the comments below! 

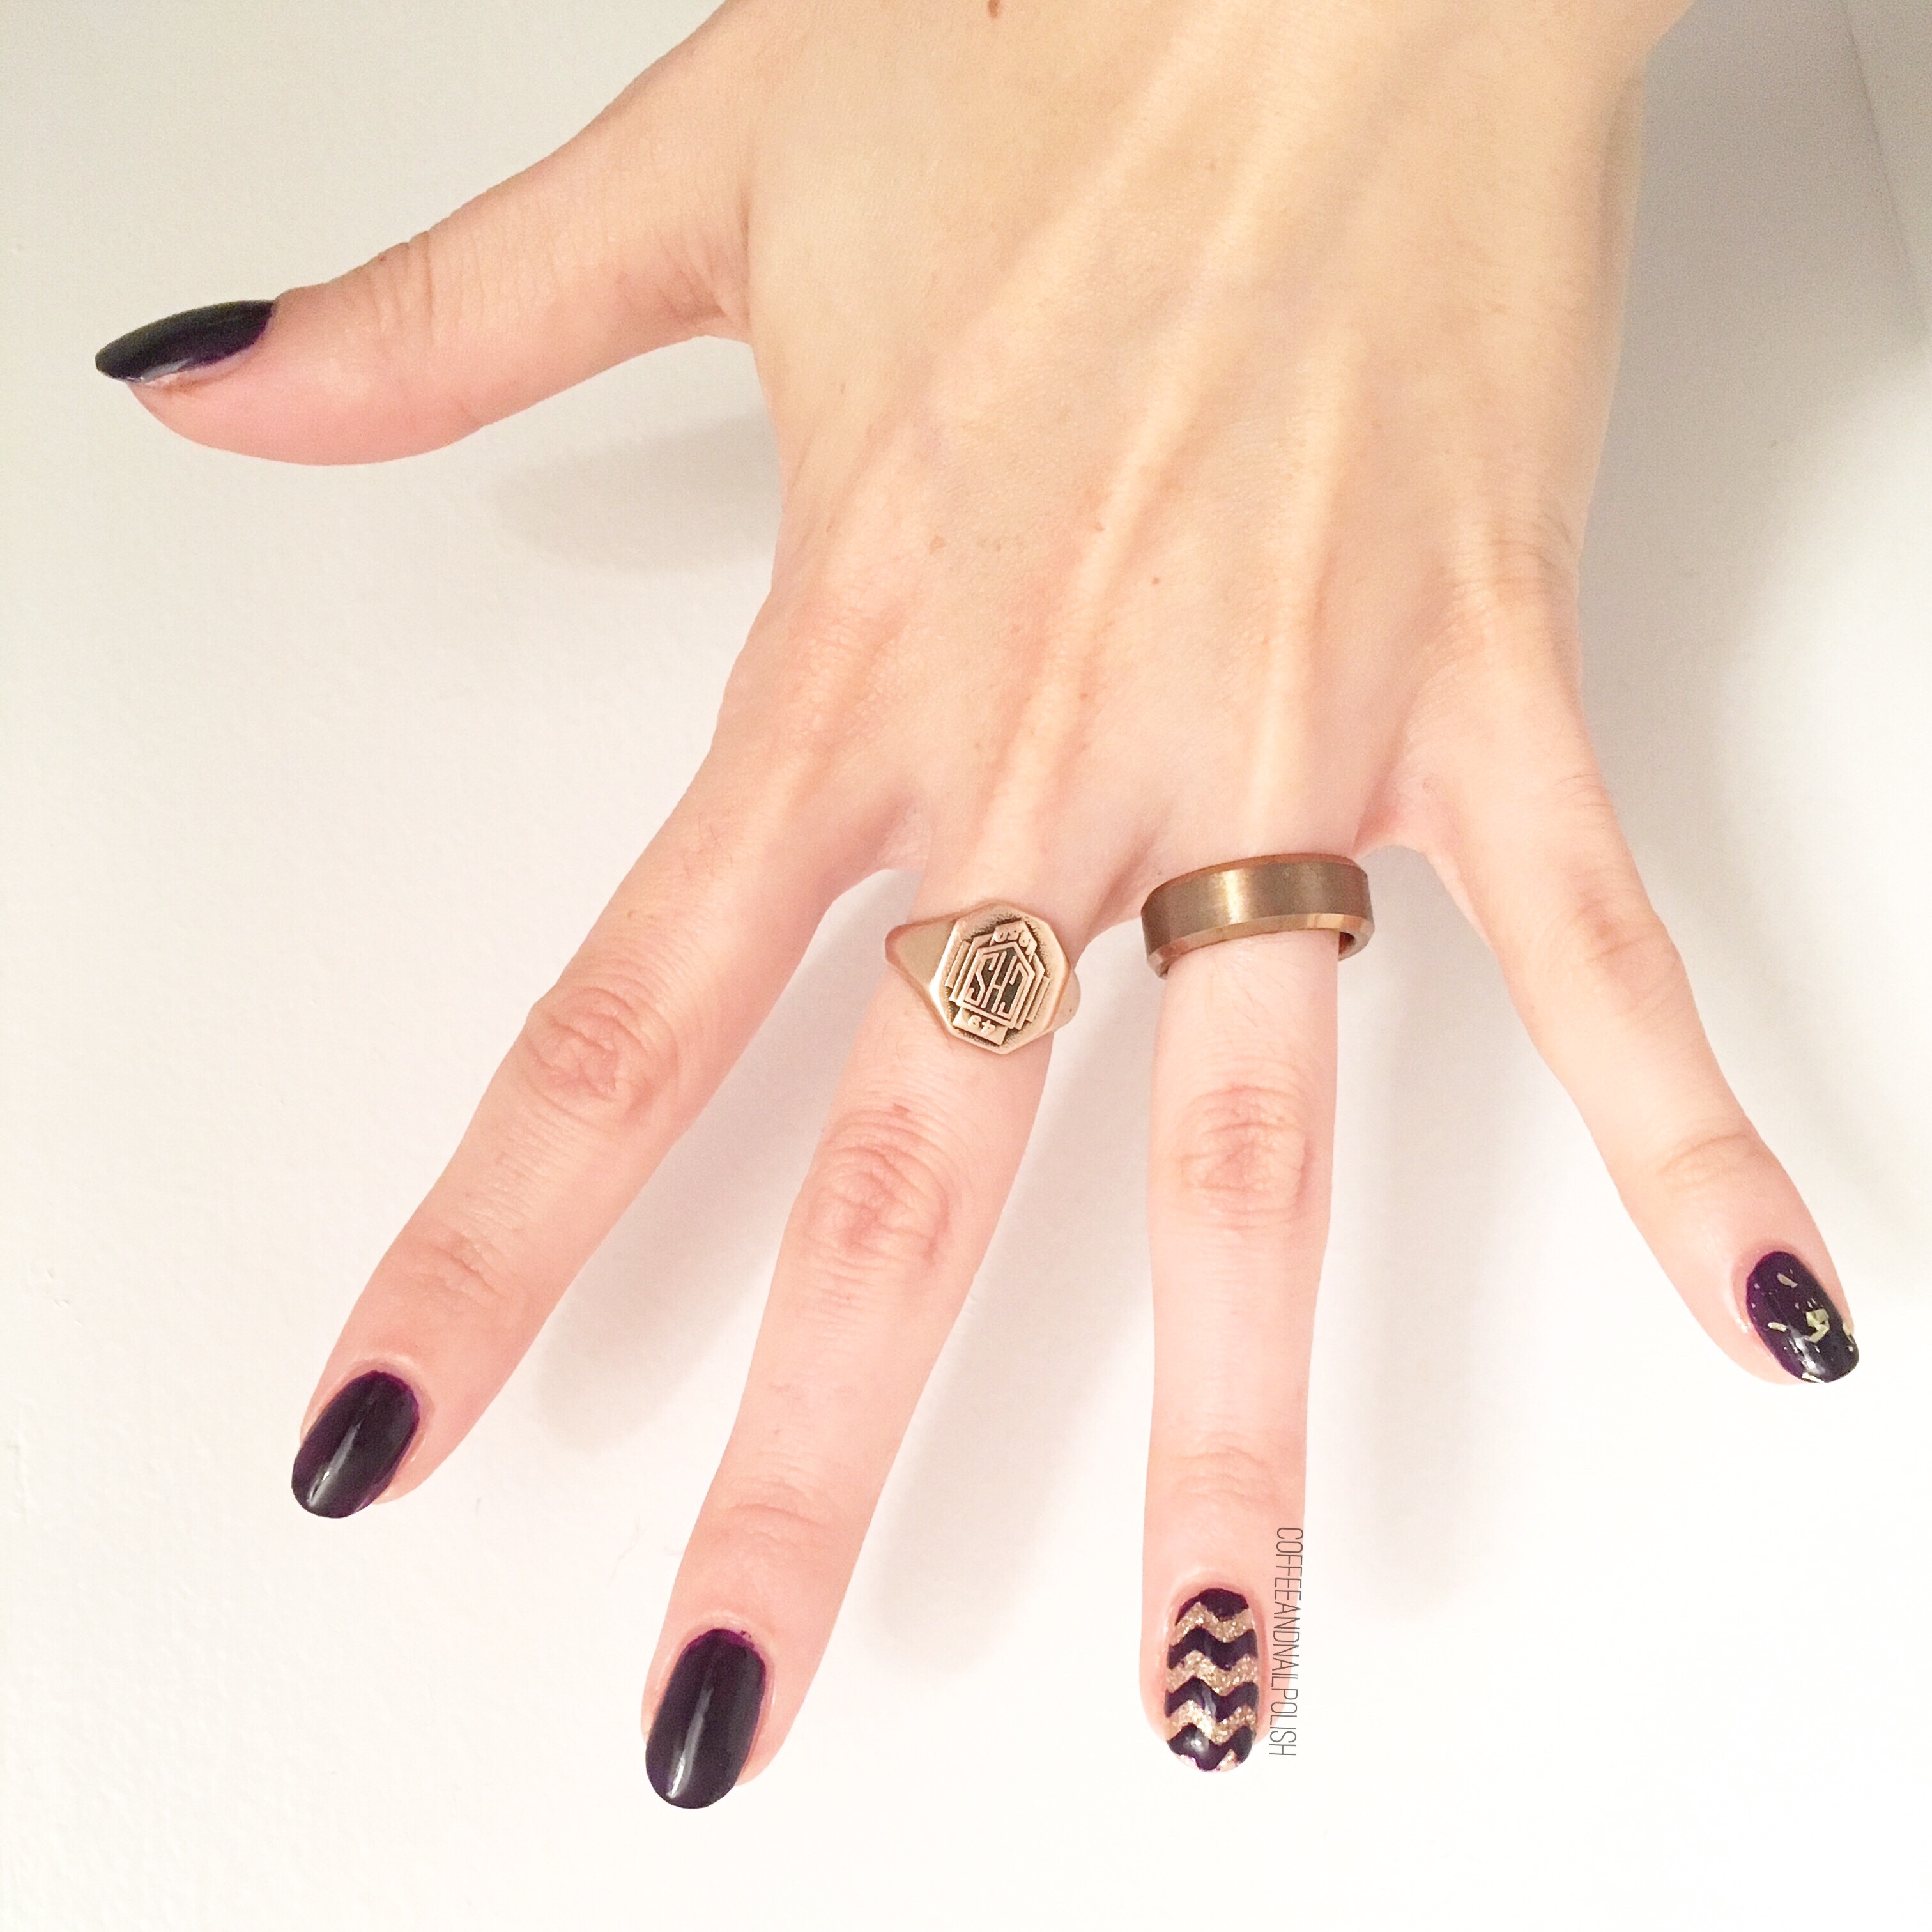
My Very First V-Gap Design

Over the years, I’ve expiremented with lots of different nail art designs. One I haven’t tried though is the v-gap! This design has been around a long time & according to Google the creation of the design is credited to a nail artist by the name of Sophy Robson. Yes, I know. I’m always so behind on these trends! But you know how much I love chevron moons, & I thought this would be a nice change up for my favourite look. 

For this manicure, the polishes used were:

  • Base Coat: OPI Natural Nail Base Coat
  • Top Coat: Sally Hansen Diamond Flash
  • OPI My Favourite Ornament
  • OPI Lincoln Park After Dark 
  • Xroma Polish & Vinyls skinny Straight Vinyls
  • Xroma Polish & Vinyls X-stencil (inner pieces) 

There are lots of different tutorials for creating this look you can find online, but I chose to use nail vinyls to make it easiest. I applied my chevron vinyls first then added the straight vinyls down the middle—this was the easiest way to make sure everything was straight. For those who want to make this design even easier, I know What’s Up Nails has stiletto nail vinyls that would work perfectly for this design! 

I just love how these turned out—they feel super classy with the dark over the gold! This would be a great design to wear to any kind of fancy event… I know Fall is just beginning but it’s almost time for holiday parties, & these would look beautiful with a cocktail dress. 

What’s the last new design you tried? Let me know in the comments below!