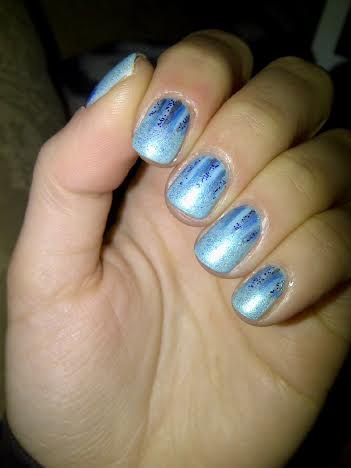
I went in a different direction for the animal print prompt of this challenge. I’ve already done leopard print, and I wasn’t feeling zebra print, so I tried to think of something I could do that would be different. I’ve been wanting to do feather nails for a while. I’m a huge bird lover, and so I thought why not try doing feather nails. Okay, it’s not technically an animal print, but it’s pretty close!
I was trying to figure out how I want to do about doing feather nails. I considered doing a real feather manicure, but in the end decided to try out some new polishes I picked up, and draw on my own feathers. These didn’t end up exactly how I pictured them in my head. I think my main problem was that the colors I chose for my feathers were too close to the base color I used.


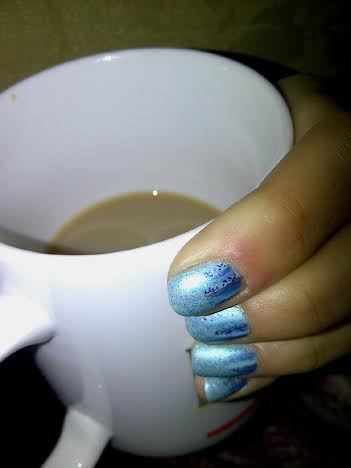
The polishes I used for this manicure were:
- Color Club’s Silver Lake (from the Girl About Town collection) — the base color on my nails.
- Nicole by OPI’s My Jay or The Highway — the brown outline of the feathers, and accent dots on the feathers.
- Art Club Nail Art Duo in Baby Blue — Light blue strokes in the feathers.
- Revlon’s Minted — Mint colored strokes in the feathers (which kind of got hidden within the other colors.)
- Nicole by OPI’s Oy Oy Oyster — Sheer shimmer layered over feathers (which didn’t show up in the pictures I took, but are much more visible in person.)
This is not my favorite–nor best–nail art. I’m actually pretty disappointed with how these turned out, if only because I imagined them looking a little different in my head when I started. I was especially disappointed when the boyfriend told me they looked more like branches than feathers. However, I’m still showing them off because if anything, it just means more practice will make perfect. I think a different color combination would make a world of difference. I’m definitely going to try these again now that I know what I needed to avoid–and that, to me, is the whole point of this challenge! To try new things, and work at improving my nail art skills.
What do you think of these “animal print” nails? What tips would you suggest for better feather nails next time?