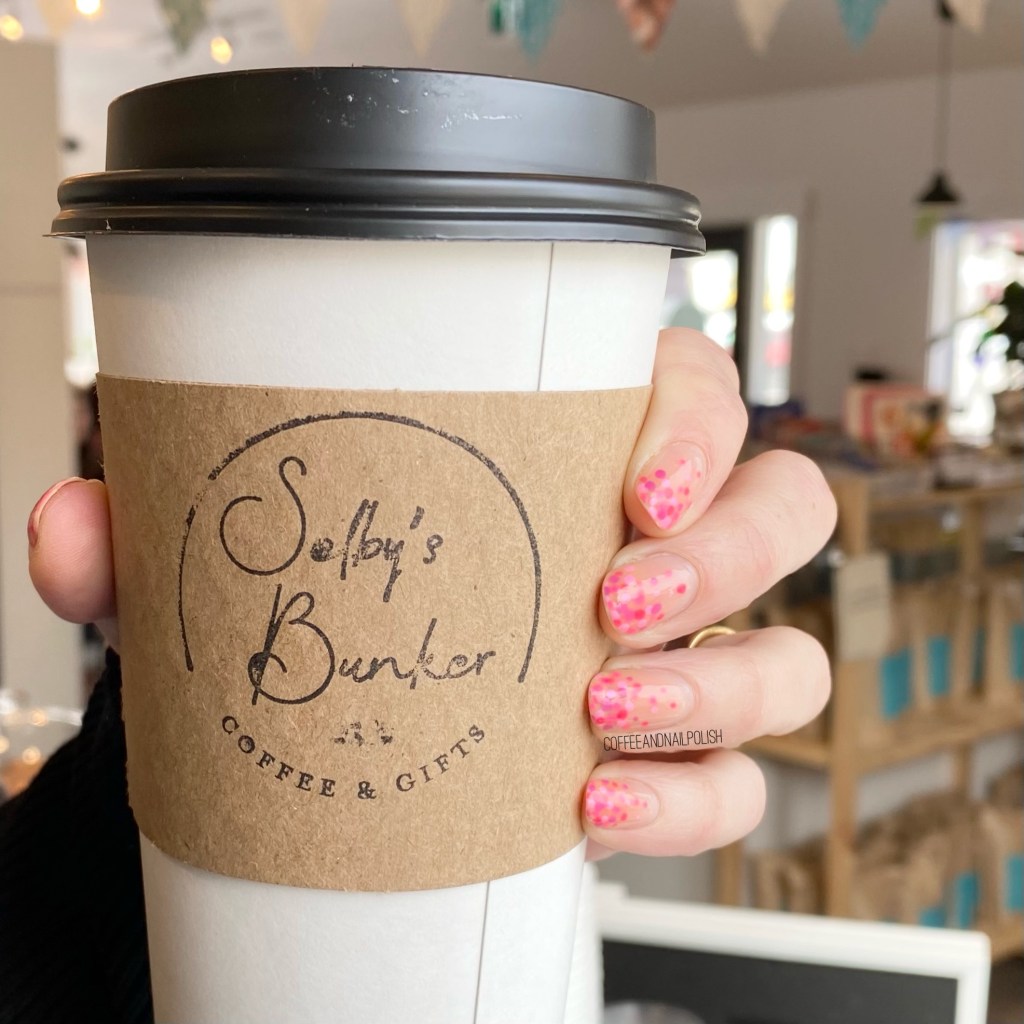
#GlamNailsChallengeFeb — Polka Dots

Hello lovelies & happy Wednesday! Today marks Day one of GlamNailsChallengeFebruary, which I’ve been planning for since the prompts were released last month! I’m really excited, because there is a good mix of prompts that can be for Valentine’s Day (which I love doing nail art for!) & some non-holiday prompts as well.

First up, we have Polka Dots — & naturally I was feeling a pink inspired Valentine’s Day dotticure. You can always use more pink in your life. Plus I had this Quo by ORLY set that had been sitting around for absolutely ever that I bought & never used, so I figured why not pull it out & use it a pretty gradient dotticure!
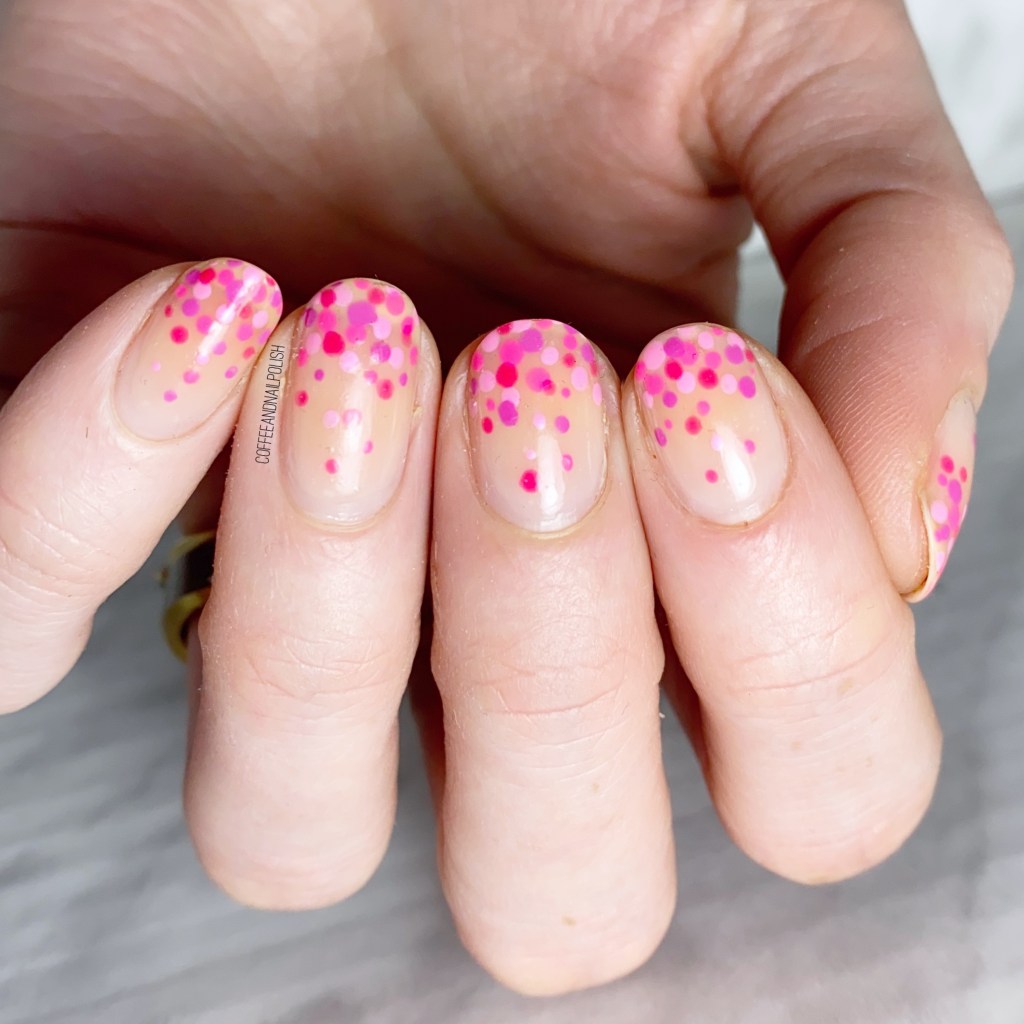
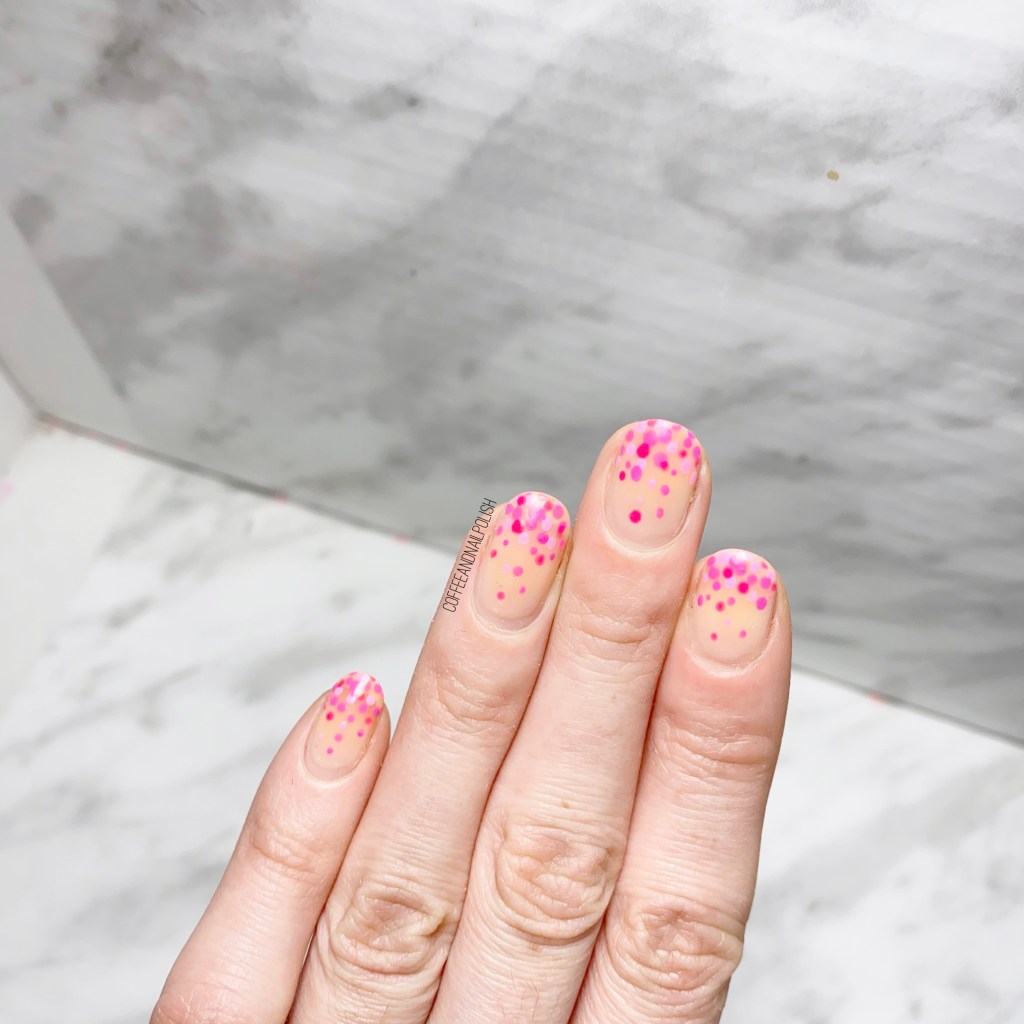
For this manicure, the polishes I used were:

  • Base Coat: Essie Strong Start
  • Top Coat: Sally Hansen Miracle Gel Top Coat
  • Sally Hansen CSM Nail Primer
  • Quo by ORLY Holiday 2014 collection — “the Pinks” (none of these mini bottles have names associated, so I can’t give you specifics sadly.)
  • NailStuff.ca Dotting Tool Trio (COFFEE10 saves you 10%!)
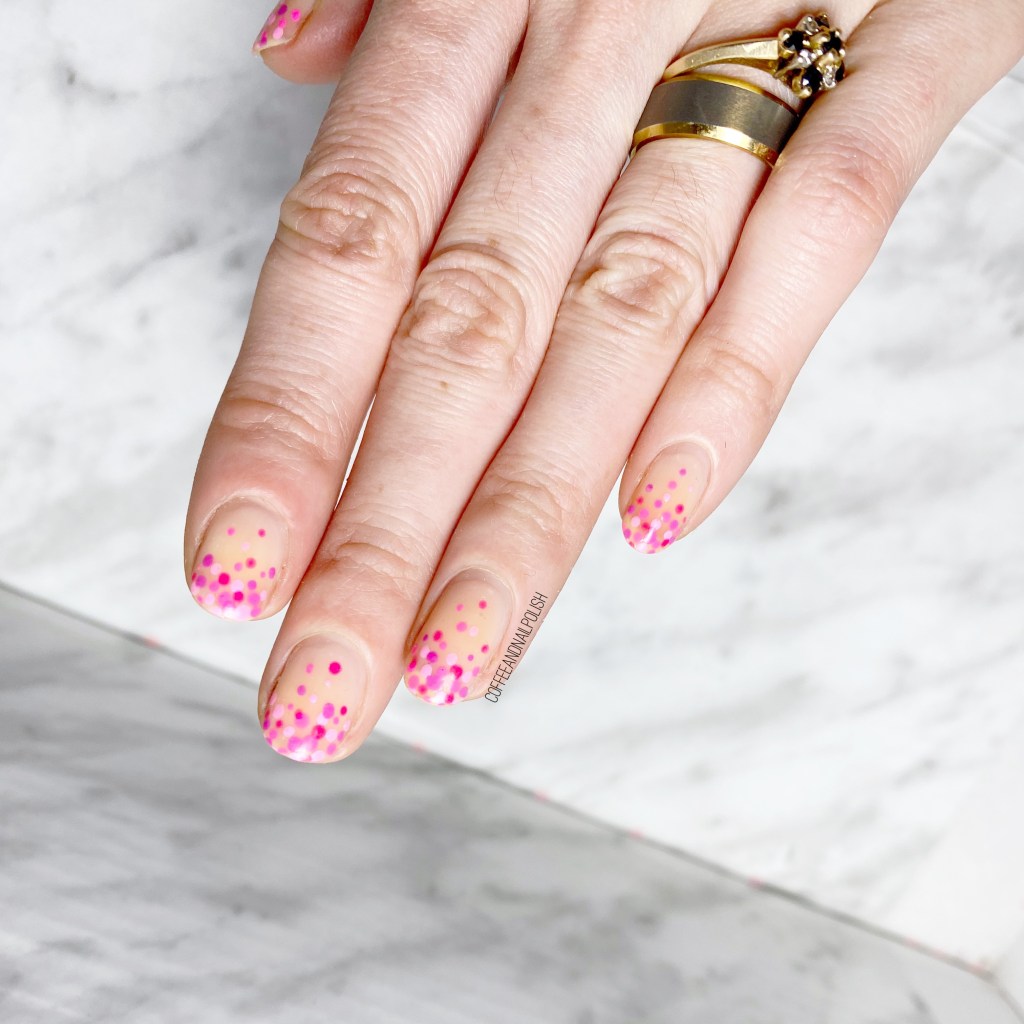
Oh man, I love a good gradient dotticure, especially one that is as vibrant & pretty as this! I’ve done a few versions of this look over the years, especially for Valentine’s Day, which makes it a classic in my books! Especially great if you’re short on time, but want some pretty & standout nails! & you don’t even need tools to do it — a hair pin works just as easily as a dotting tool.

What do you think of my gradient dotticure for the first prompt of #glamnailschallengeFeb? I’m so exciting to be participating again this month, & can’t wait to play around with all the prompts to come!

It’s going to be a really good month for nail art so stay tuned!

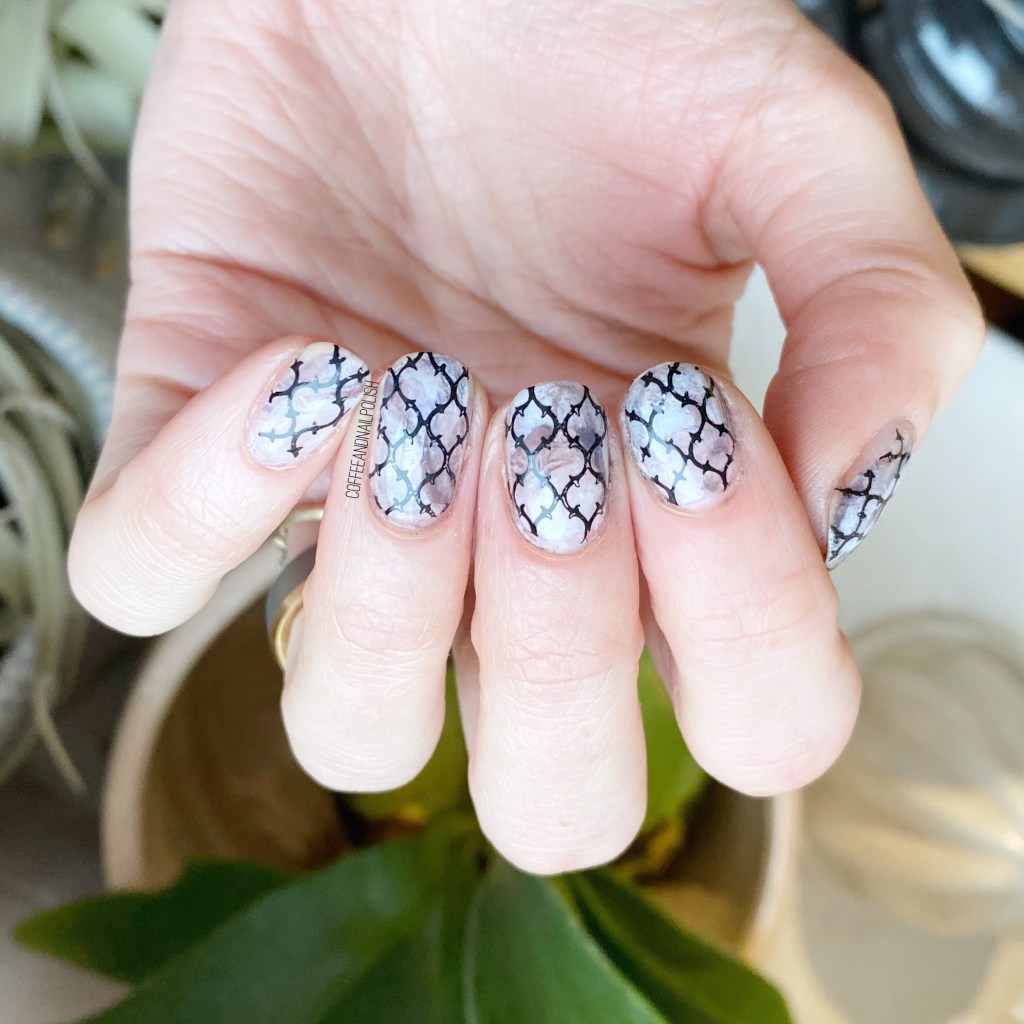
Greyscale Quatrefoil

Good morning lovelies & happy February! It’s officially the month of love. 💗 But before I jump headfirst into all pink, all the time, I thought I would share a look a I created a week or so ago, when I was feeling the grey January blahs.

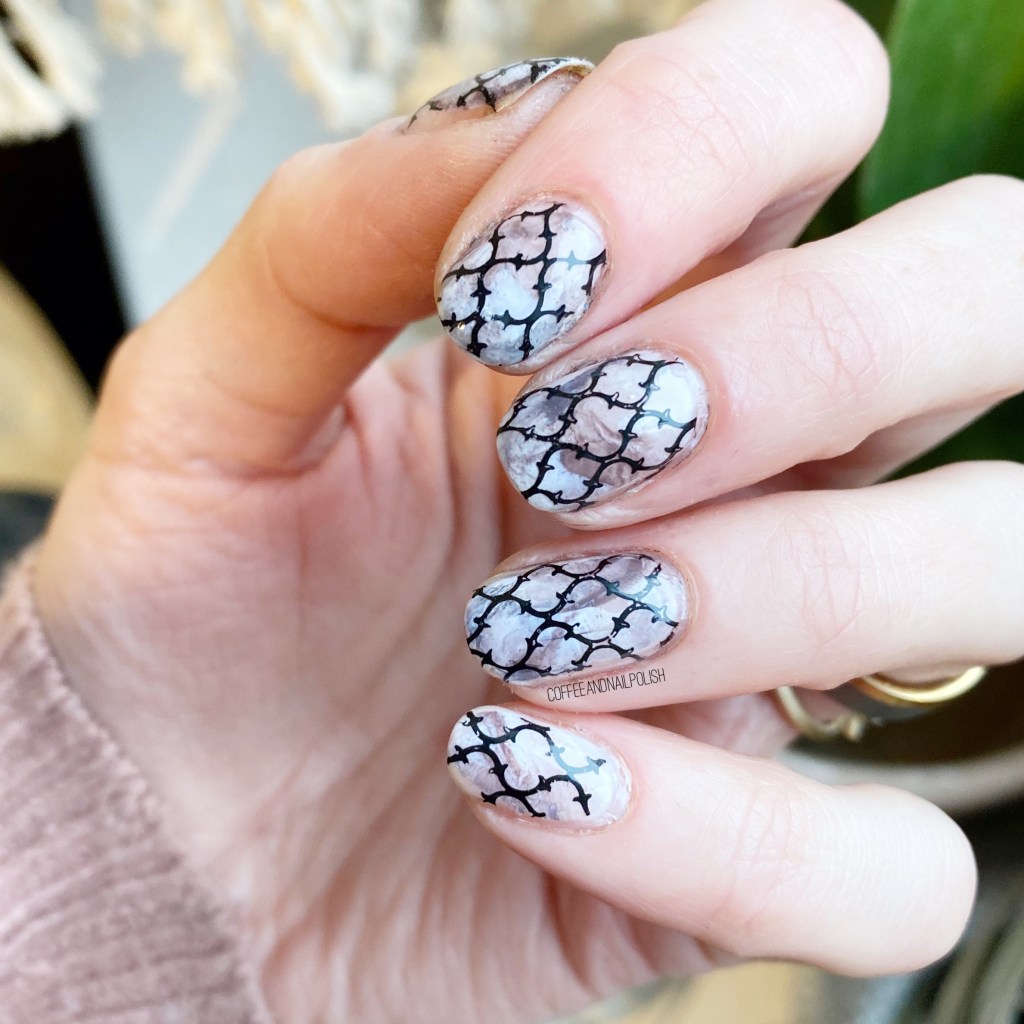
Today’s look started out as just a grey smooshy design, which was lovely, but looked like the perfect base from some tile inspired nails! So I pulled out one of my many stamping plates I don’t use nearly enough, & switched things up!

For this manicure, the polishes I used were:

  • Base Coat: Essie Strong Start
  • Top Coat: Sally Hansen Miracle Gel Top Coat
  • Sally Hansen Miracle Gel Get Mod
  • Sally Hansen Xtreme Wear Grey Area
  • Essence Rock My World!
  • Starrily Vantablack
  • NailStuff.ca Clear Stamper (COFFEE10 saves you 10%)
  • Born Pretty Store stamping plate BP-L003 (item #17921) — quatrafoil image (no longer available)

Seriously, how pretty is this greyscale look? I love how the base isn’t super in your face, & then the black really pops against it. Completely achieves the look I was trying to accomplish, & who wouldn’t want tile like this in their house? I know I certainly would! Plus it looks gorgeous posed against the greenery in my background (a plant shelf at work, right beside the window — the perfect nail art background!)

What do you think about this greyscale quatrefoil design? Would you wear something like this?

Pinky Stripes

Hello lovelies & happy, happy Thursday! I hope everyone is having a lovely day.

This week is almost over — & so is this month! Hard to believe we’re already a month in 2021. But I’m very excited it’s almost February because that means all the Valentine’s Day looks! I’m also planning on participating in GlamNailsChallengeFebrury which has some pretty awesome prompts!

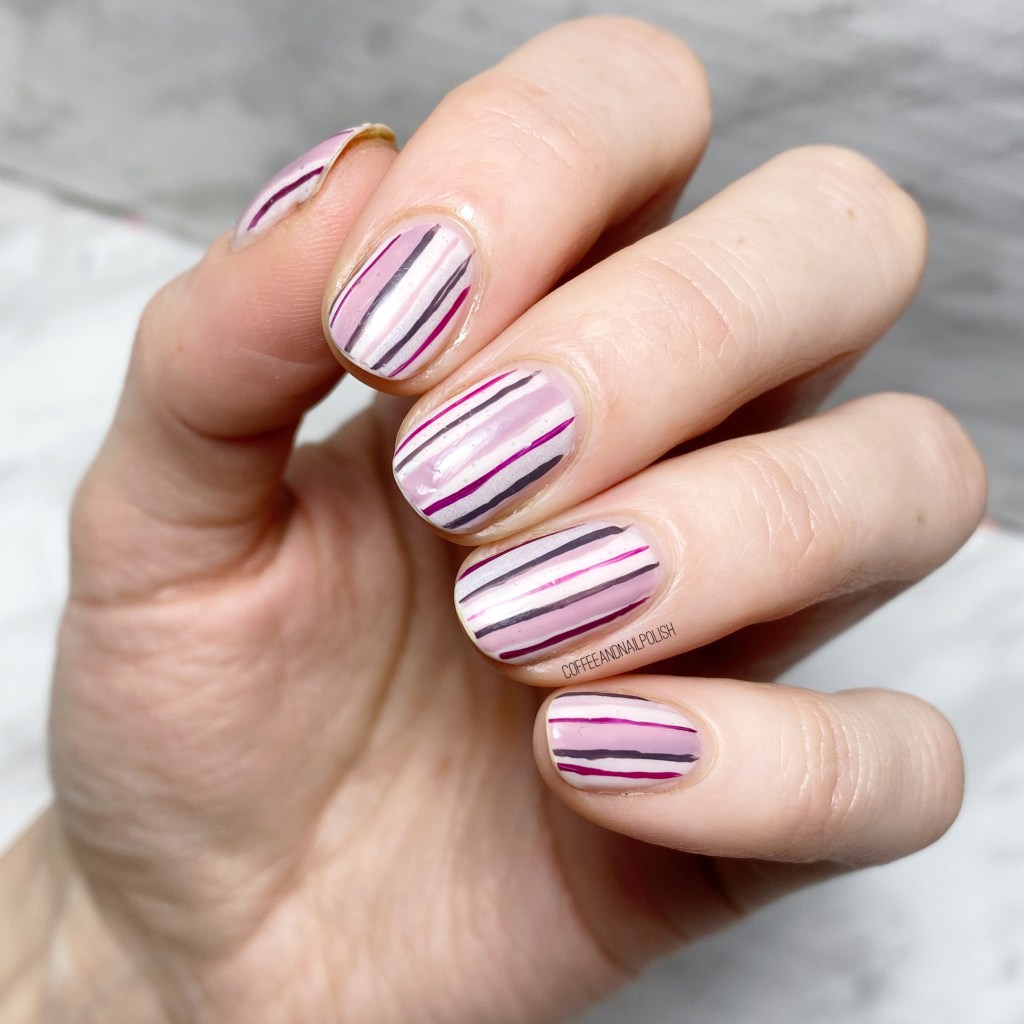
For this manicure, the polishes I used were:

  • Base Coat: OPI Nail Envy
  • Top Coat: Sally Hansen Miracle Gel Shiny Top Coat
  • Londontown — Jane Austen
  • Londontown — Bell Flower
  • Londontown — Opal
  • Sally Hansen Complete Salon Manicure Clean Slate
  • Sally Hansen CSM Ruby Doo
  • NailStuff.ca 16mm Striper Brush (COFFEE10 saves you 10% on your purchase!)

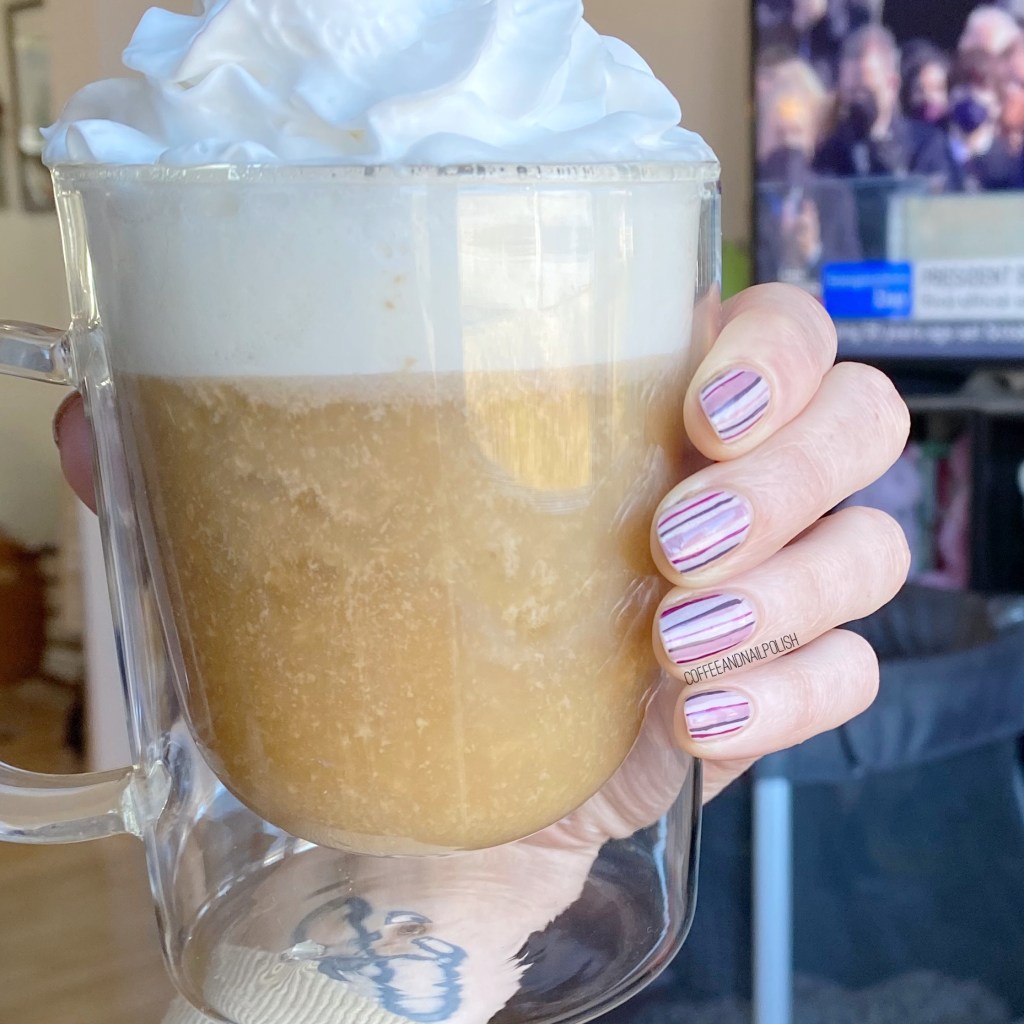
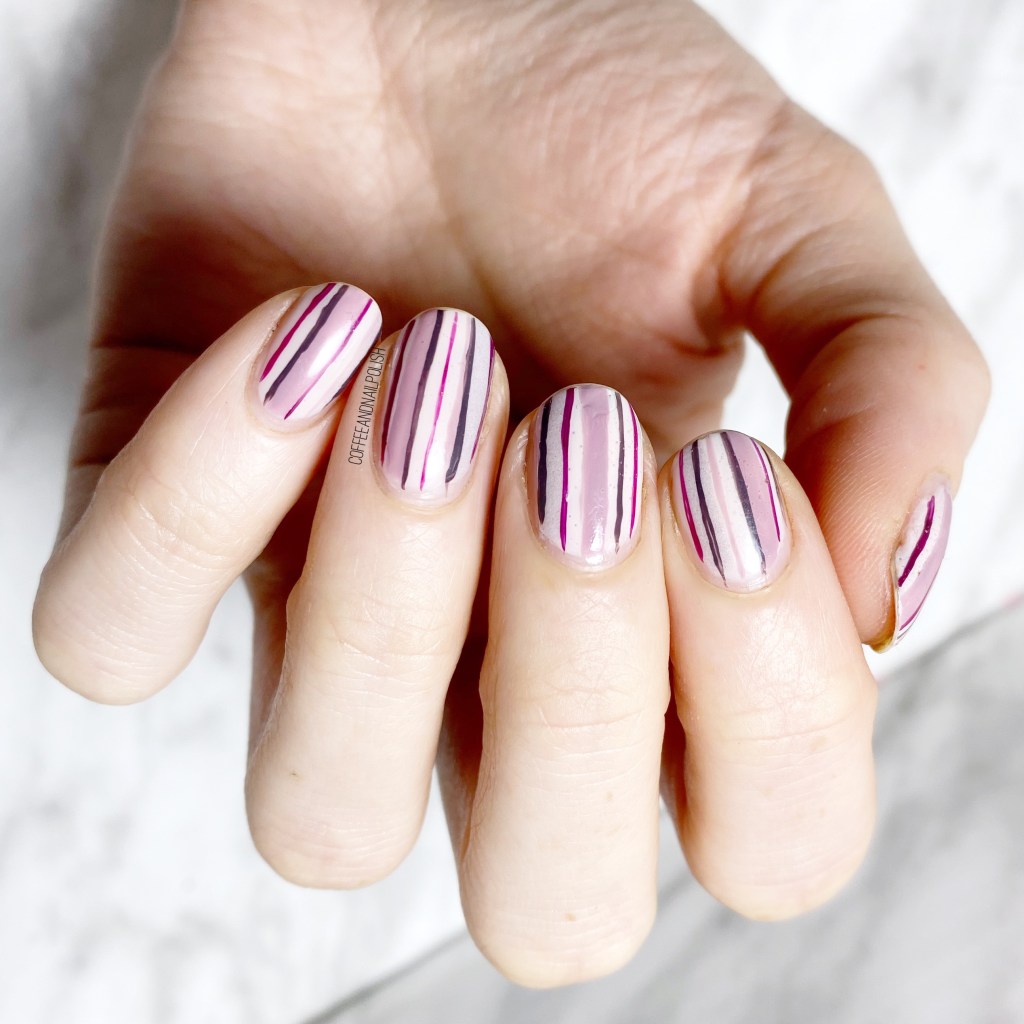
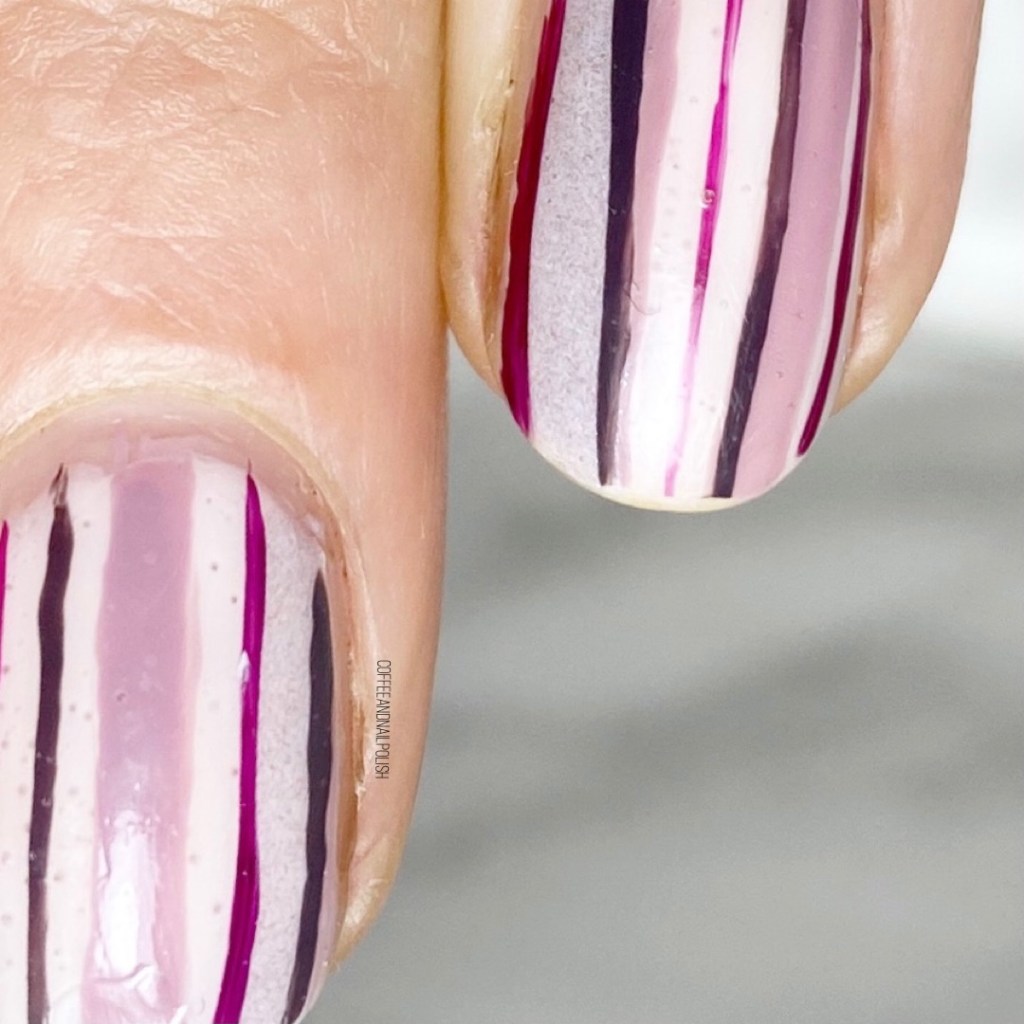
Vertical stripes are such an easy & cute nail art look — plus they have the added bonus of giving your nail the illusion of looking longer! Which I’m always here for, especially right now when the Winter cold is leaving my nails brittle & peel-y, so they’re not growing long like I would like. I also feel like this colour combination is a great one for Valentine’s Day, with the combinations of pinks & purples.

This time of year is the only time of year when I wear this much pink on my nails. But I’m definitely not complaining! Also currently planning another Valentine’s Day inspired Swatch Sunday post with some shades I’m loving for the big day!

What do you think about this stripey look? Would you wear an easy stripe design like this? Let me know what you think down in the comments below!

Matte Gold Shatters Glitter Placement

Hello lovelies & happy Monday! Hopefully you’re having a wonderful start to your Monday, & not a rough one! I have today off, so the plan is to be productive—we’ll see how successful I end up being!

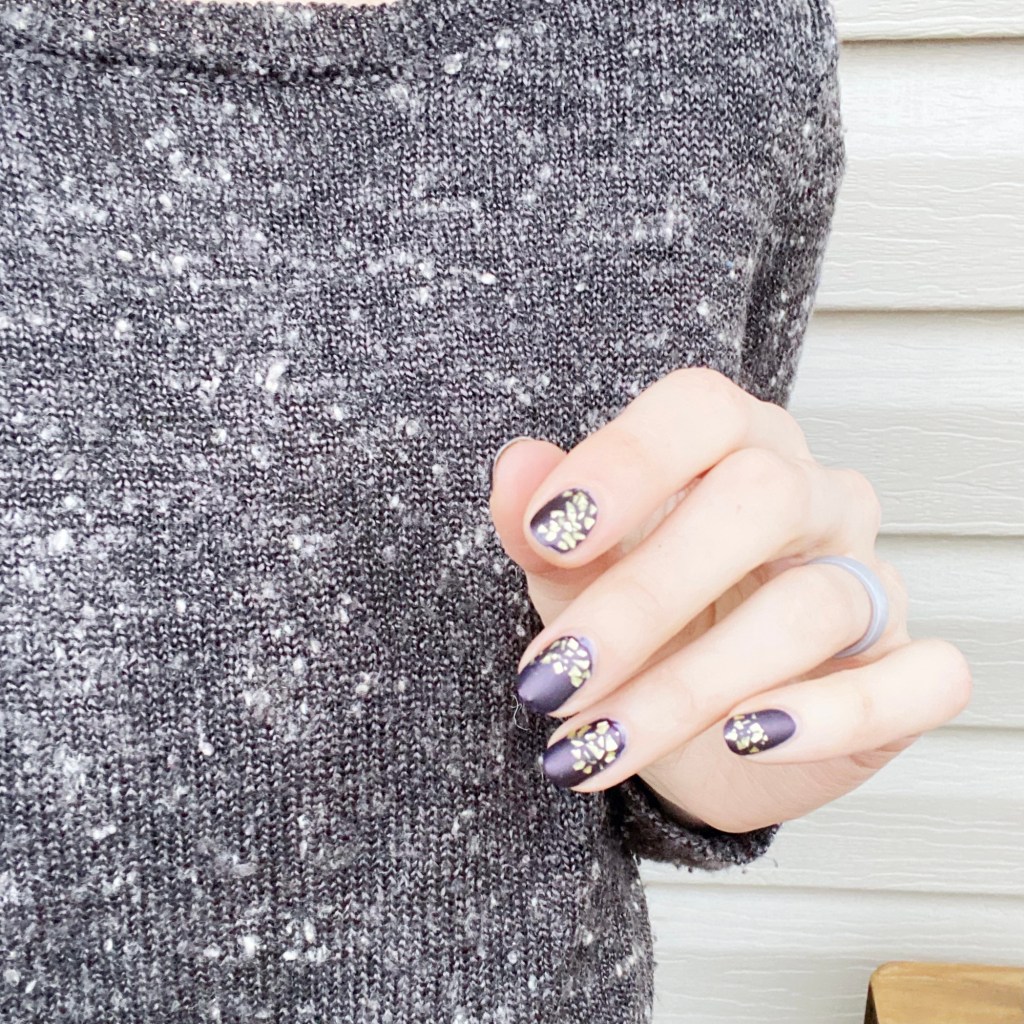
Today though, I have some nail art to show you! As I mentioned a few post backs, I’ve really been wanting to return to trying out some old nail art techniques I have done in forever. I used to love doing shattered glass glitter placements, like this one Here, but it’s been a minute since a did one. So it was definitely, definitely overdue.

For this manicure, the polishes I used were:

  • Base Coat: Sally Hansen Hard As Nails
  • Top Coat: Sally Hansen Miracle Gel Shiny Top Coat
  • Matte Top Coat: Butter London Matte Top Coat
  • Sally Hansen CSM Belle of the Ball
  • YSL Beauty Feuille D’Or
  • small dotting tool (mine are from NailStuff.ca — save 10% using COFFEE10)

I’m really quite obsessed with these, especially with the added effect using matte top coat! It really feels like absolute ages since I pulled out any shattered glitter like this a glitter placement look, & it was long overdue. Plus the gold looks so beautiful over this pretty navy base shade.

I also really like how this manicure has a bit of an edge to it! I feel like it needs to be worn with a leather jacket &, maybe, a pair of motorcycle boots.

What do you think about this glitter placement look? Are you a fan of these kinds of designs? Let me know all your thoughts down in the comments below!

Freehand Hearts 💗

Hello lovelies & happy Tuesday! I hope everyone has had a lovely start to their week so far. I had yesterday off so I spent the day watching season 2 of Vanderpump Rules & dealing with organizing an excessive amount of clothing I’ve been neglecting for the last few weeks.

I also have been thinking & planning for some Valentine’s Day nail art looks! So I figured why not start now—after all, January doesn’t call for much nail art inspo.

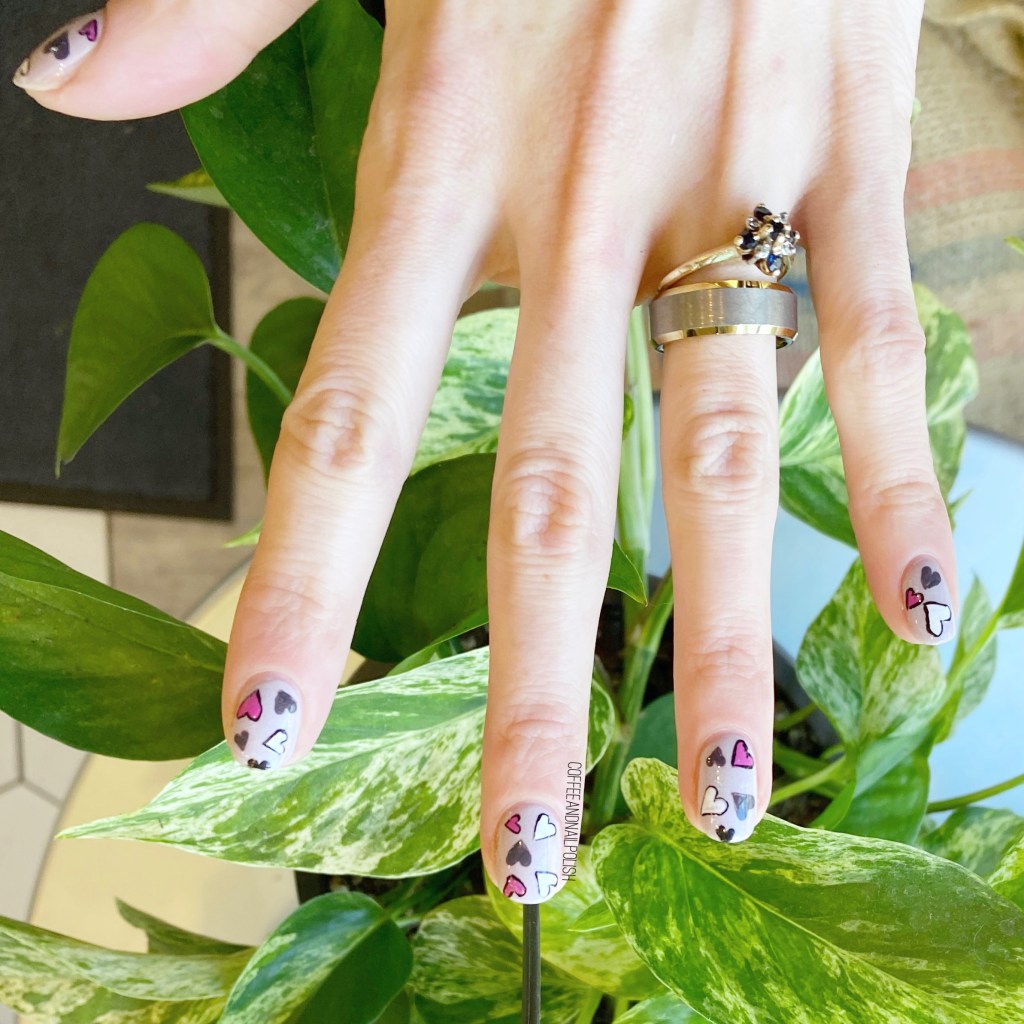
For this manicure, the polishes I used were:

  • Base Coat: Sally Hansen Hard As Nails
  • Top Coat: Sally Hansen Miracle Gel Shiny Top Coat
  • Londontown USA Opal
  • L’Oréal Vintage Vinyl
  • Sally Hansen Miracle Gel Get Mod
  • Sally Hansen Good Kind Pure Peony Origins
  • Starrily Vantablack
  • NailStuff.ca 4mm Micro Detail Brush (COFFEE10 saves you 10%!)
  • NailStuff.ca Dotting Tool Trio

This is the first time I’ve attempted freehanded hearts in a long, long time & I’m so beyond happy with how they turned out! I used a base of Londontown Opal as it was such a beautiful shade, perfect for a romantic design like this. I had this idea in my head, & I am really really happy with how it turned out! This would totally be a cute Valentine’s Day look for anyone who doesn’t want to go over the top with pink! You get a little bit of pink, but the grey, & white & black really keeps it from being too over the top girlie (I think.) But you could definitely do a variety of colour combinations.

What do you think about this heart design? Have you already started to think about potential Valentine’s Day designs? Let me know what you think down in the comments, & what nail art looks your planning for February! 💗