SWATCH SUNDAY — Revlon Super Luxurious Nail Polish Black Cherry

Hello lovelies & happy Sunday! Can you believe we’re more than 1/2 way through October. Halloween is in TWELVE DAYS! I haven’t even 100% figured out my Halloween costume yet… but I’m sure it will come together!

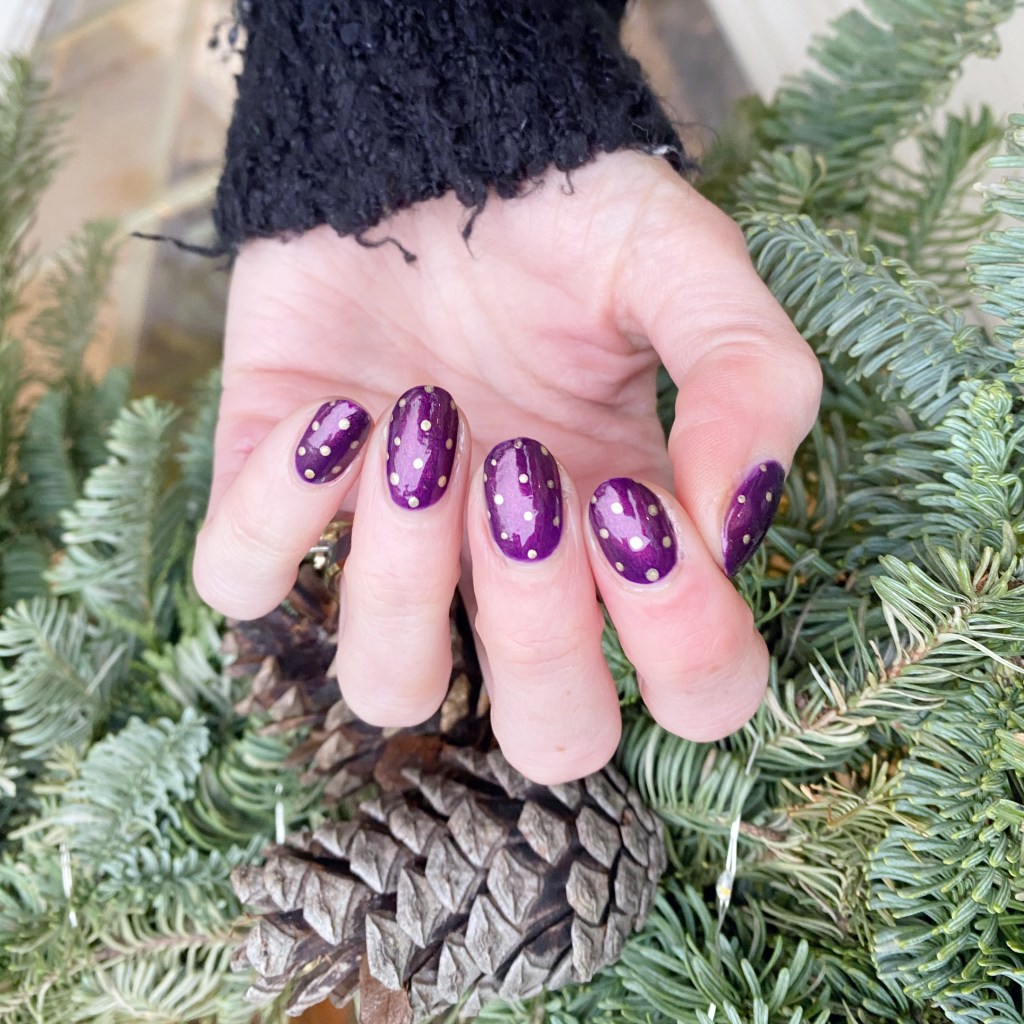
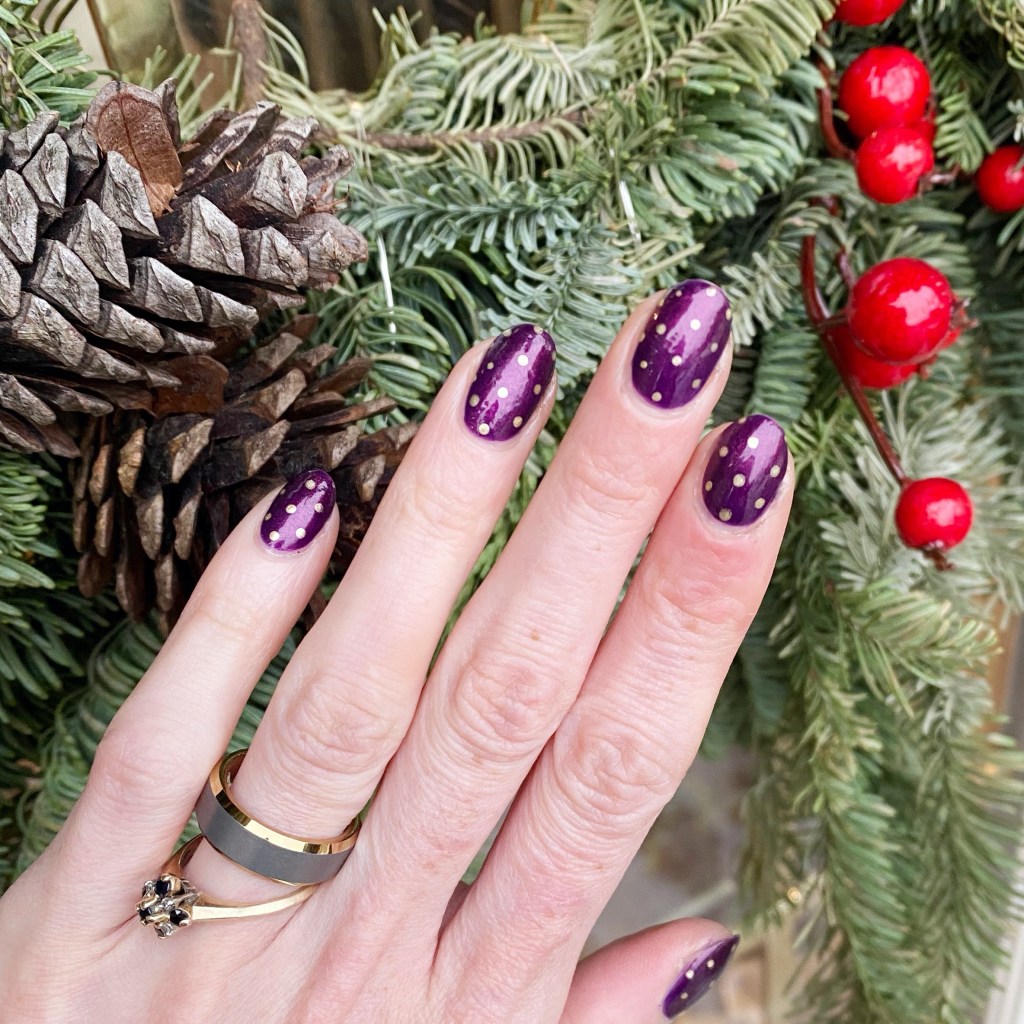
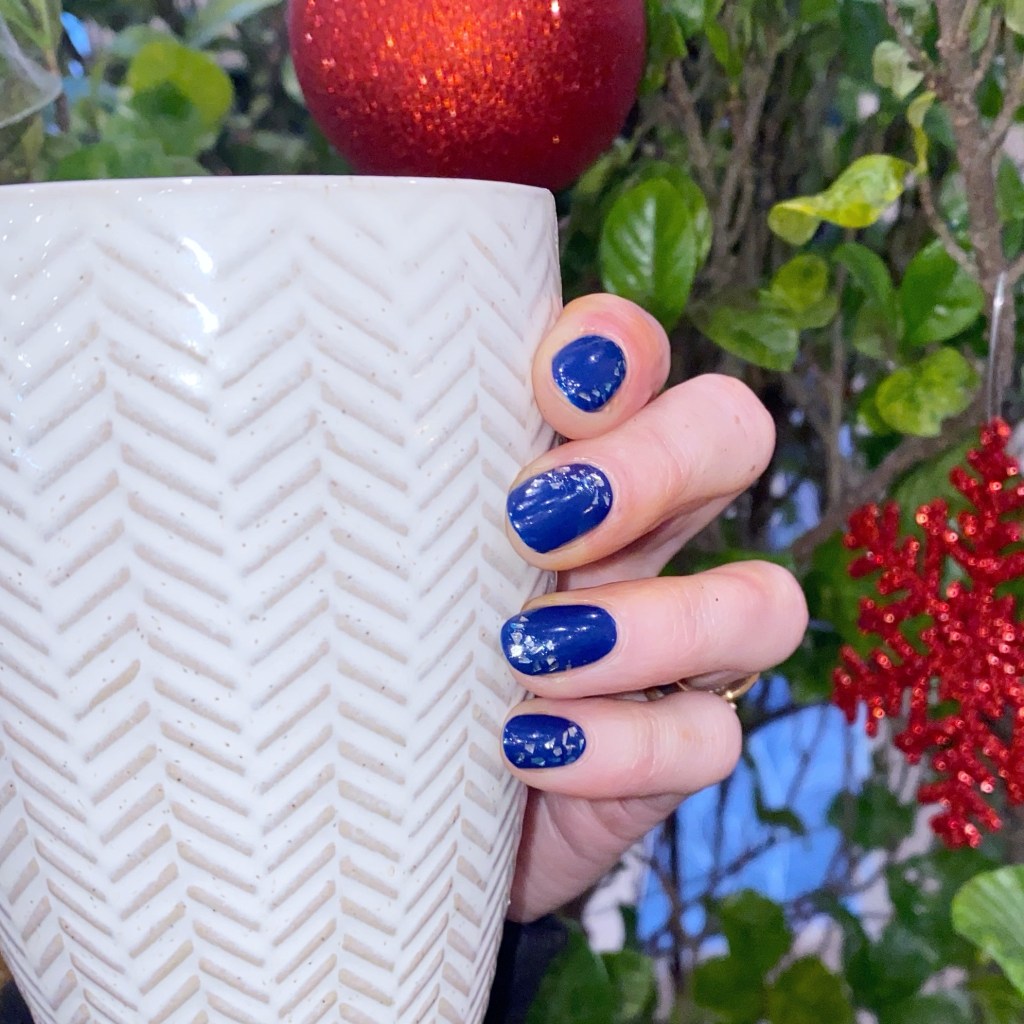
Today though it’s all about nails, & I recently picked up some new Revlon nail polishes from Shoppers Drug Mart while they were on sale. I’ve always had a special place for Revlon polishes, but it had been a long time since I bought any new ones. & I was feeling some deep & dark shades to add to my collection. First up? Revlon Black Cherry.

2 coats + top coat

This beautiful dark, dark purple applied opaquely in two easy coats. The colour is a very, very dark purple — so dark that from far away it would be easy to mistake it for black. As you can see from the edge of my cuticles, it does have a bit of a reddish tone which I guess fits the name Black Cherry.

I do love a dark, dark shade like this. Would you call it a plum? I’m not 100% sure. It’s a great choice to the latter part of October though! A little glitter added (an accent nail of Essie Shine of the Times perhaps) & you could have instant Witch nails.

I picked up my bottle of Revlon Black Cherry at my local Shoppers Drug Mart for $5.99 CAD, although I believe they normally retail for around $10 CAD when not on sale. It’s part of the core ljne, so you can find this shade wherever you buy Revlon nail polish.

What do you think of Revlon Black Cherry? Do you like this gorgeous dark shade? Let me know all your thoughts down in the comments below.

Happy Sunday!

🖤

SWATCH SUNDAY — Sally Hansen Triple Shine Wavy Blue

Good morning lovelies & happy Sunday! & happy Thanksgiving Sunday to my fellow Canadians. I hope your day is full of yummy turkey, stuffing & pumpkin pie.

Today I’m digging deep, deep into my nail polish stash for another polish from years past. I found a line of Sally Hansen polish I had almost forgotten existed (it was pushed very far into the back of my drawer), but I’m excited to decided to pull it out because it’s very pretty!

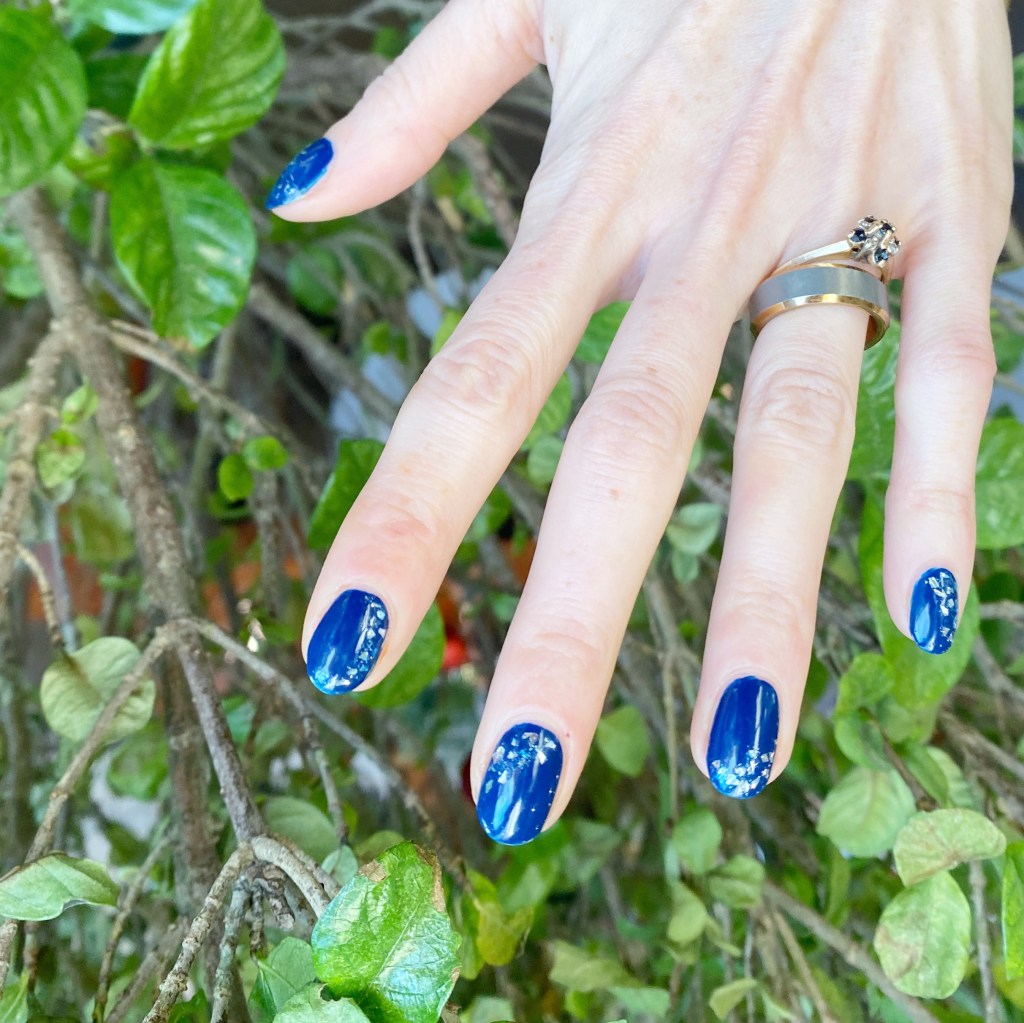
This is Sally Hansen Triple Shine Wavy Blue.

3 coats, no top coat

As far as I can see from my Google research, this line was released in 2014 & was marketed as being extra glossy, without the need for top coat.

The formula on Wavy Blue is definitely on the thinner side, which means I needed a solid 3 coats for full opacity— but it’s thin enough, it dries very quickly. Obviously if I was on the run, I would slap a quick dry top coat, but it does have a nice shine without.

The colour is beautiful, although I was kind of expecting more of a purple shift like in the bottle. I wonder if you applied it over something like black, would that duochrome shift show more. Overall though, it’s a beautiful polish, wifh a beautiful finish. I’m not entirely sure why it’s sat in the back of my stash, untouched, for so long — but I’m glad I decided to reach for it!

What do you think about this old school Sally Hansen shade? Do you remember this line of polishes? I feel like it was pretty short lived — which is a shame, because the colour is very lovely!

Happy Sunday

🖤

Cosy Autumn Plaid🧣

Hello lovelies & happy Friday! & happy Thanksgiving Weekend to my fellow Canadians celebrating this weekend. It’s officially shifted into Fall weather (almost in overdrive) & the days are feeling cool, & the leaves are feeling crunchy!

Today’s look is one I’ve done a million (plus) times, but still remains a favourite. Nothing screams Autumn to me more than a plaid nail art look.

The polishes I used for this manicure are: 

  • Top Coat: Sally Hansen InstaDri Top Coat (red bottle) 
  • Base Coat: Essie Hard to Resist (purple)
  • NailStuff.ca Essentials Raven *pr
  • OPI Icelanded A Bottle of OPI
  • Color Club What’s The Matte-r
  • OPI I Cannoli Wear OPI
  • Revlon Devine
  • NailStuff.ca 16mm Striper Brush

I wanted to start off with a super dark base, so I went with my bottle of NailStuff Essentials Raven. Such a good black! (& I’ve been loving black lately.) Then using my other colours, I layered on lines to create the woven plaid look. Super easy, & comes out beautifully.

What do you think of my cosy Autumn plaid? Do you like these seasonal designs that aren’t necessarily Halloween centric designs? Let me know all your thoughts in the comments below!

🖤

GLAM NAILS CHALLENGE OCTOBER 2025 — Ghost 👻

Hello lovelies & happy Wednesday! It’s hope your week has been as calm & peaceful as can be.

Today is our third prompt for Glam Nails Challenge October, which is ghost! I do love a good ghost design especially this time of year, so I was excited to give this a go. I wanted to create a ghost look slightly different from ones I’ve done in the past, & I think I managed to create a spooky & fun look. & I’m so in love with how they turned out.

The polishes I used for this manicure are: 

  • Top Coat: Sally Hansen InstaDri Top Coat (red bottle) 
  • Base Coat: Essie Hard to Resist (purple)
  • China Glaze Skyscraper
  • Essence Pastel Ombre Top Coat
  • OPI Alter Ego
  • Icing Store Black
  • Small Dotting Tool (NailsStuff.ca Dotting Tool Trio)

So the trick of creating these translucent ghosties is using a really, really shear white polish (or mixing a more opaque white with a clean polish to thin it out.) I Have this Essence Pastel Ombre Top Coat from years, & years ago, & while I’ve never used it for an ombre design, it works perfectly for nail art like this! I also added a bit of OPI Alter Ego for a bit of extra shimmer/glow.

What do you think about this ghostly design? Do you like the spooky sheer effect of the ghosts. I feel like these ones are definitely more on the spooky side, compared to my ghost designs of years past — which I’m loving! Let’s go for all the spooky vibes this October — I am here for it!

Happy Wednesday

♥︎

GLAM NAILS CHALLENGE OCTOBER 2025 — Sugar Skull 💀🌸

Hello lovelies — Happy Monday! Today is a beautiful start to the week, because it’s time for the second prompt of Glam Nails Challenge October! & the next prompt we have is Sugar Skull! I attempted Sugar Skull nails only once before, but wasn’t exactly super happy with how they turned out. So I had an idea to redeem myself, & I’m actually obsessed with the end result!

The polishes I used for this manicure are: 

  • Top Coat: Sally Hansen InstaDri Top Coat (red bottle) 
  • Base Coat: Essie Hard to Resist (purple)
  • Icing Store Black
  • Claires Cosmic Babe Nail polish Cosmic Blue
  • Madam Glam Nail Art Pen Orange *pr
  • Madam Glam Nail Art Pen Yellow *pr
  • Madam Glam Nail Art Pen Blue *pr
  • Madam Glam Nail Art Pen White *pr
  • Sally Hansen I ❤️ Nail Polish pen in Purple
  • Dollarama Spooky Halloween Nail Stickers (skulls)

So my original plan was I was going to hand paint skulls on my nails, but that wasn’t really working — & then I was going to stamp on a skull, but I didn’t really like the images that I had. But I remembered I recently purchased some new nail art stickers at Dollarama so I decided to use those are my base for my sugar skull design!

After I applied my skull stickers to the fingers I wanted them on, I then went in with my nail art pens one colour by one colour, & created a fun pattern on each skull face. I tried to do something bright, & eye catching, plus some fun little flowers. Then, on the two fingers I didn’t do skulls, I just added a few colourful dots in a half moon to keep them all looking fluid & cohesive.

What do you think about my Sugar Skull nails? Do you think I did the prompt justice?

Don’t forget that you can follow along with all the designs this month by checking out #glamnailschallengeoct25 on Instagram. There are so many beautiful designs to see, I definitely recommend taking a peek!

Happy Monday

🖤